Features
Living and Religious places in Castle
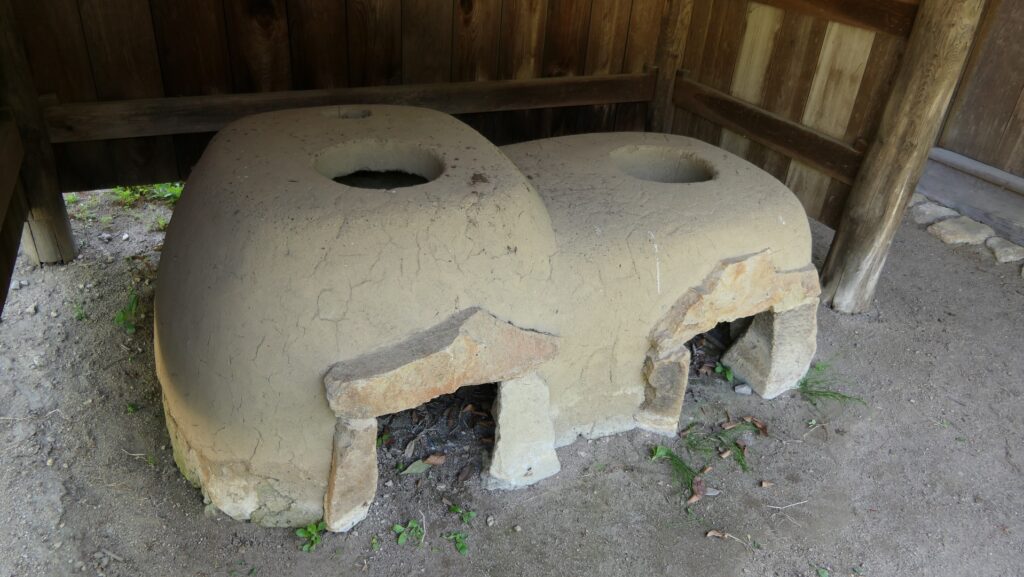
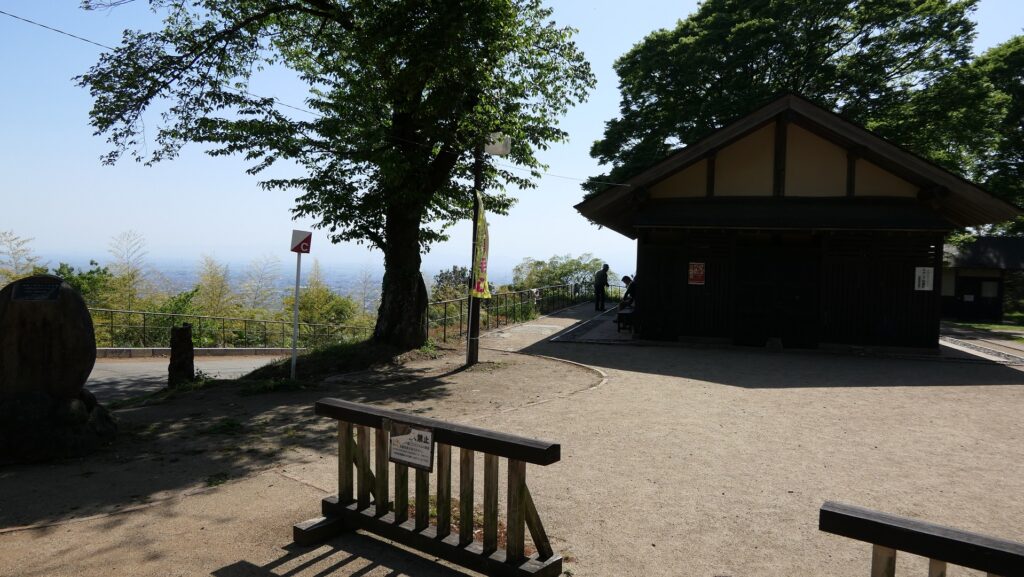
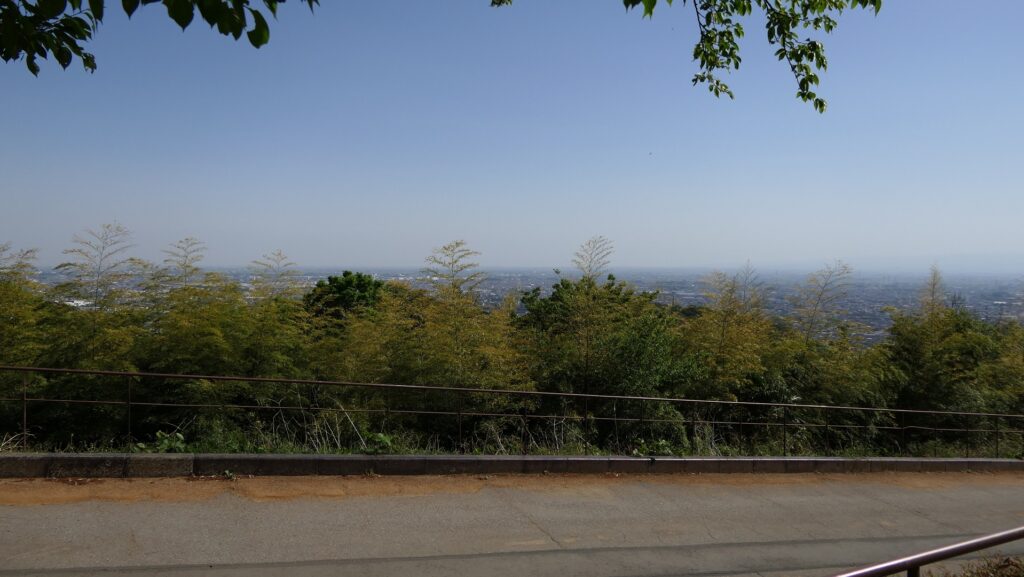
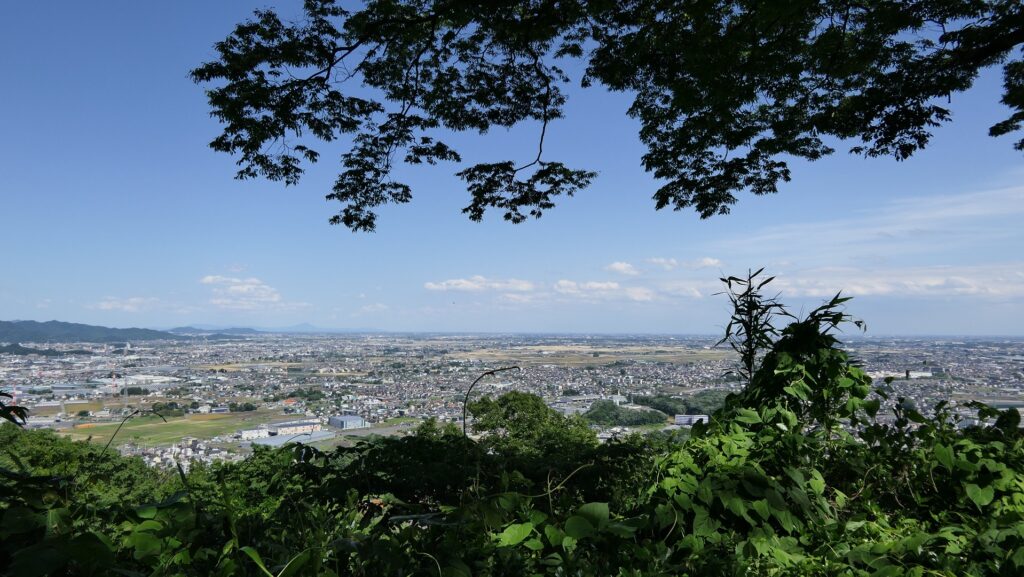
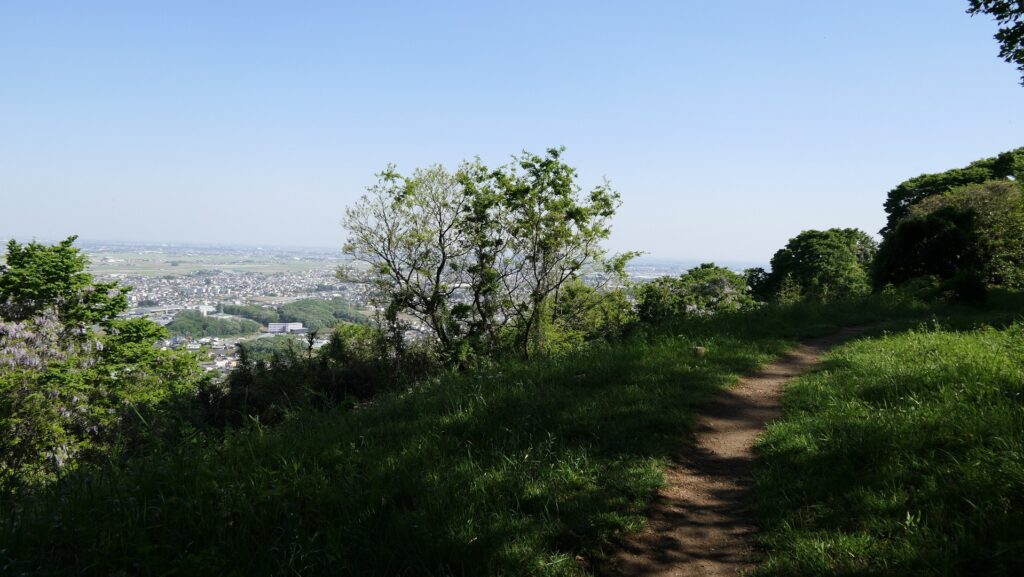
The enclosures on the upper tiers were used as another pivot point as well as a place for living. The team found traces of kitchen stoves and a well, which were restored with a hut on the Southern Upper Tier Enclosure at the same time as the stone walls. The Southern Enclosure on the top of the tiers is used as the rest house, which is another viewing spot.
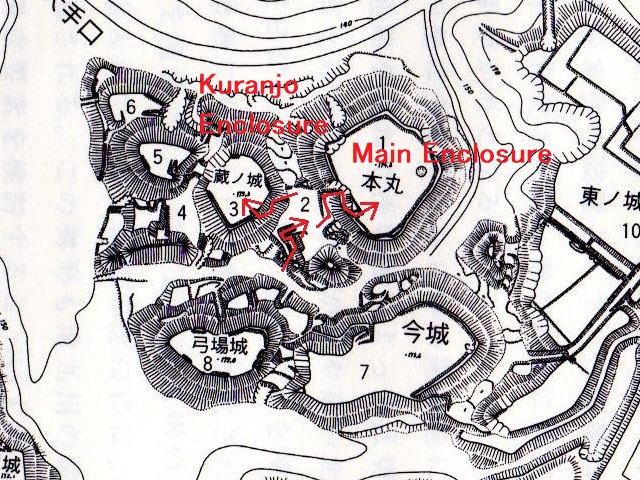
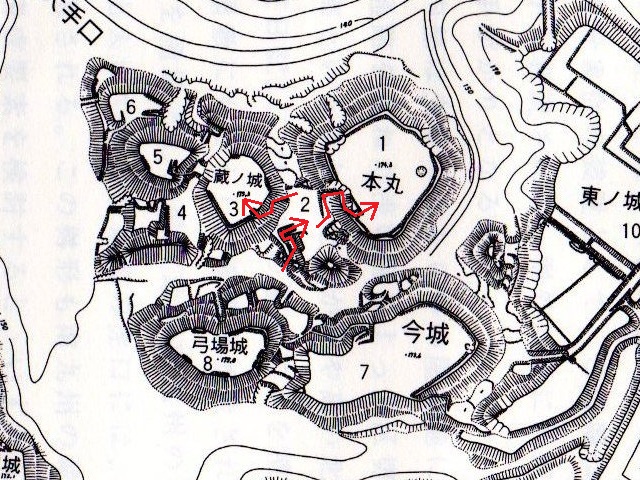
The map of the main portion of the castle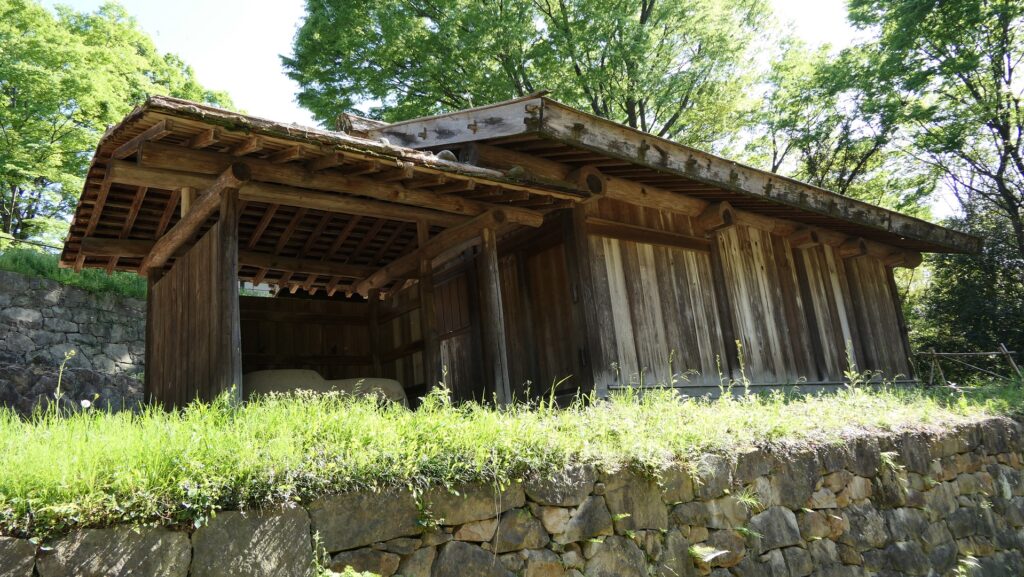
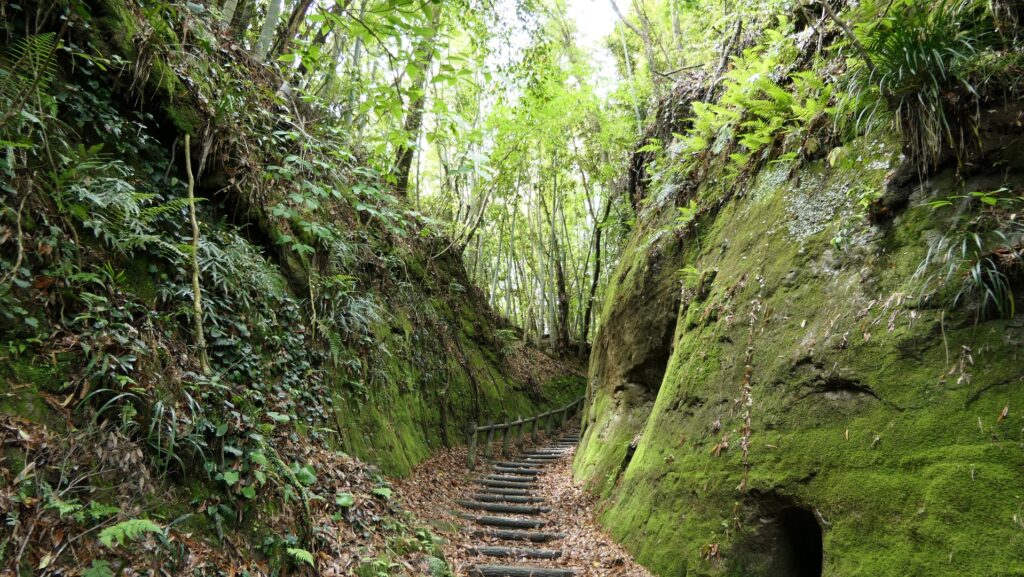
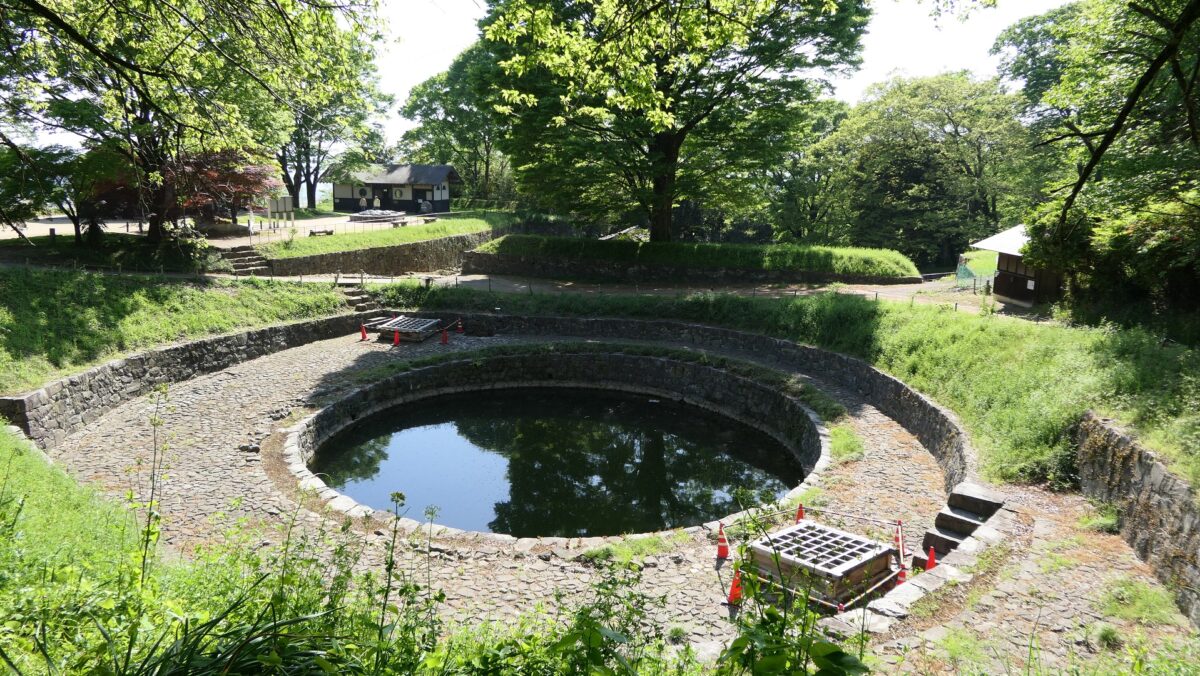
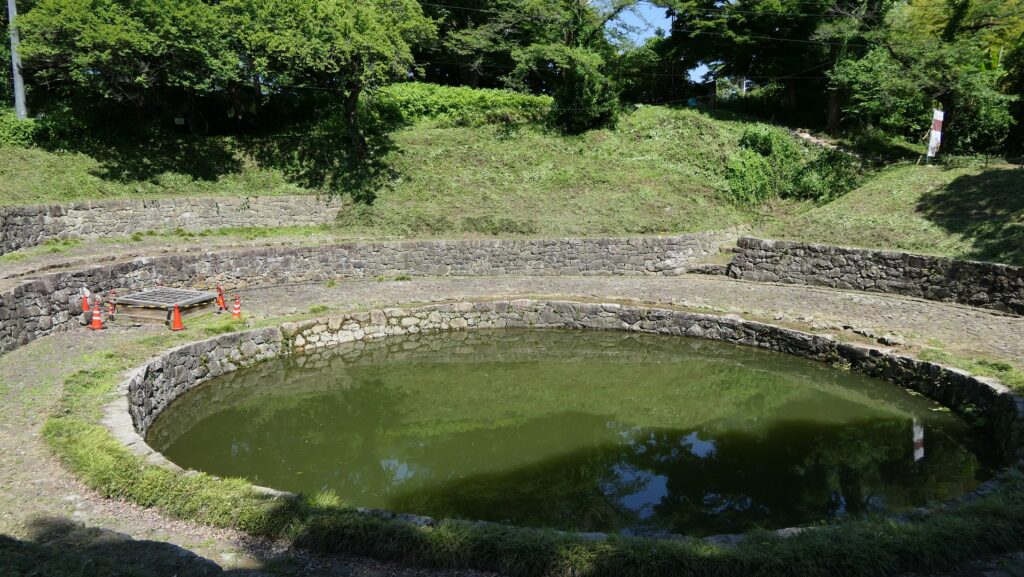
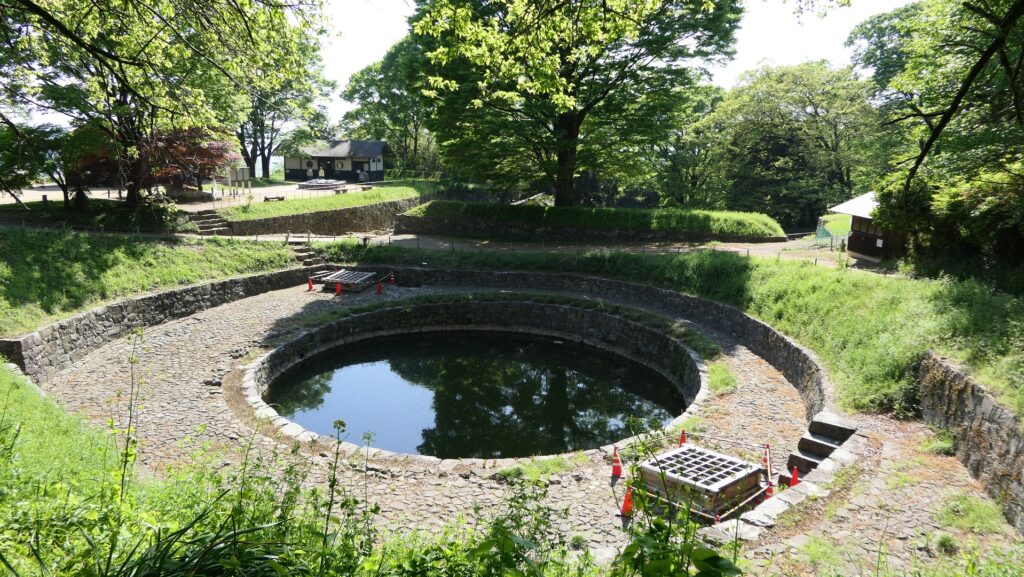
To reach the Main Enclosure on the top of the mountain, you will pass and see a larger pond being covered with stone mounds as well, called Hi-no-ike or the Sun Pond. This is actually not a reservoir but a well, which had been famous as a holy place since the Ancient Times before the castle was built. That’s why people in the castle used it for religious services.
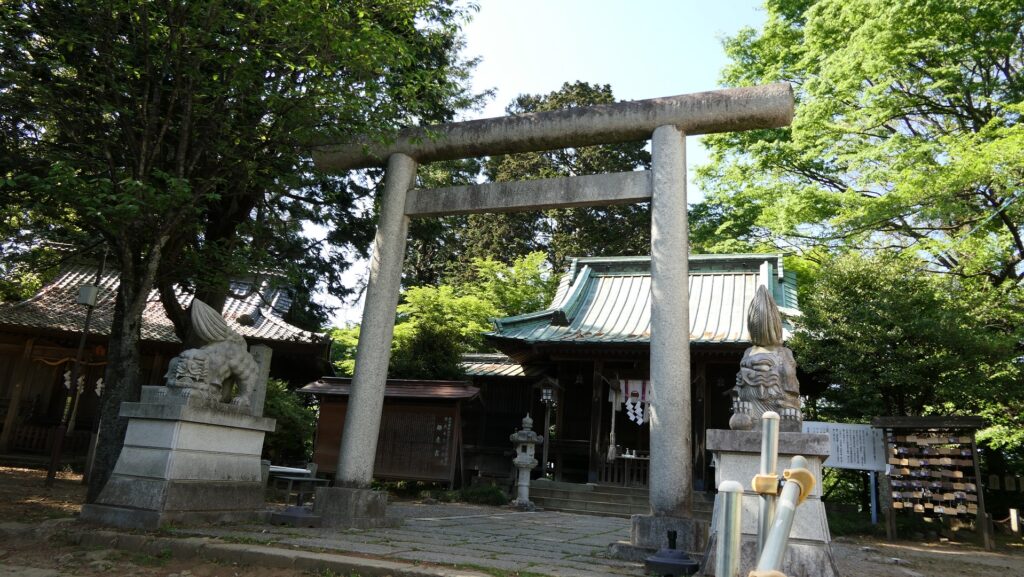
Main Enclosure is used as Shrine
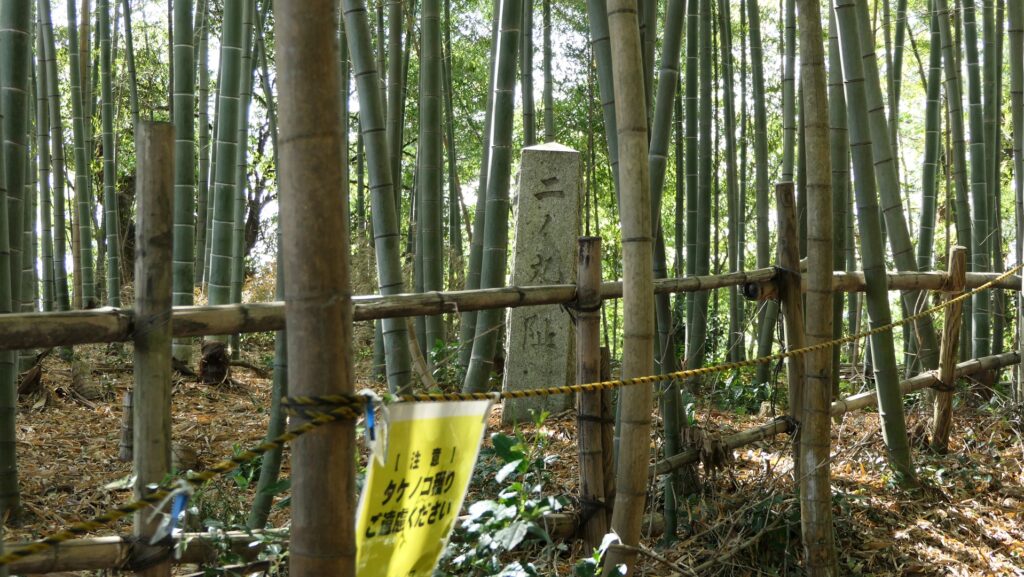
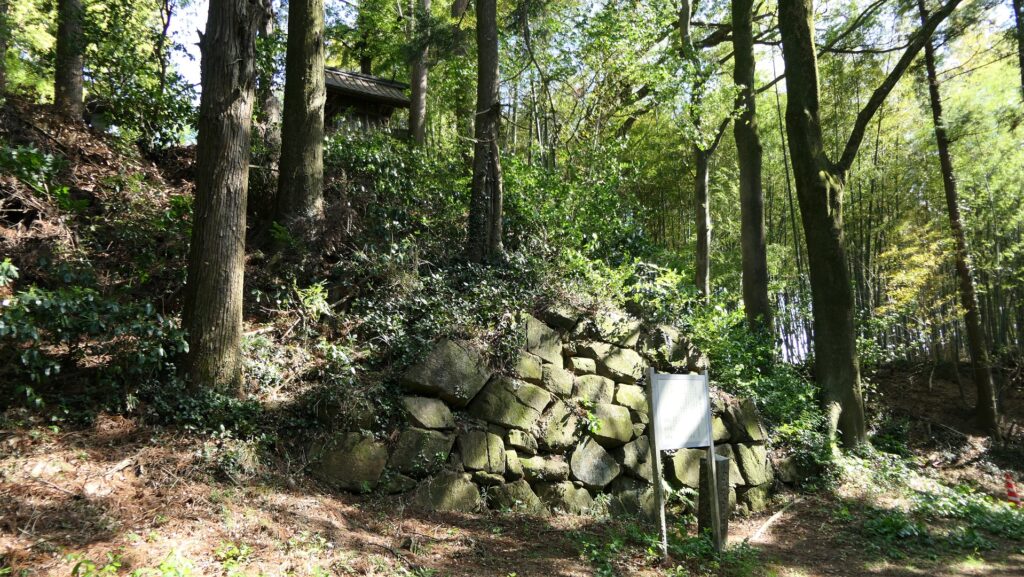
Around the top of the mountain is the Main, Second, Third Enclosures, but you can not access the two of the latter because they are privately owned. You will eventually go to the Main Enclosure on the top, which is now used as Nitta Shrine. As for the castle ruins, you can walk around the enclosure, called Musha-bashiri or the Defense Passage, and see the partially remaining original stone walls which are also uncertain as to who first built them.
Later History
After Kanayama Castle was abandoned, the Tokugawa Shogunate banned people from entering its mountain area to provide Matsutake mushroom to the shoguns during the Edo period. In fact, the Matsutake produced at the mountain was served to the Imperial Families until 1964.
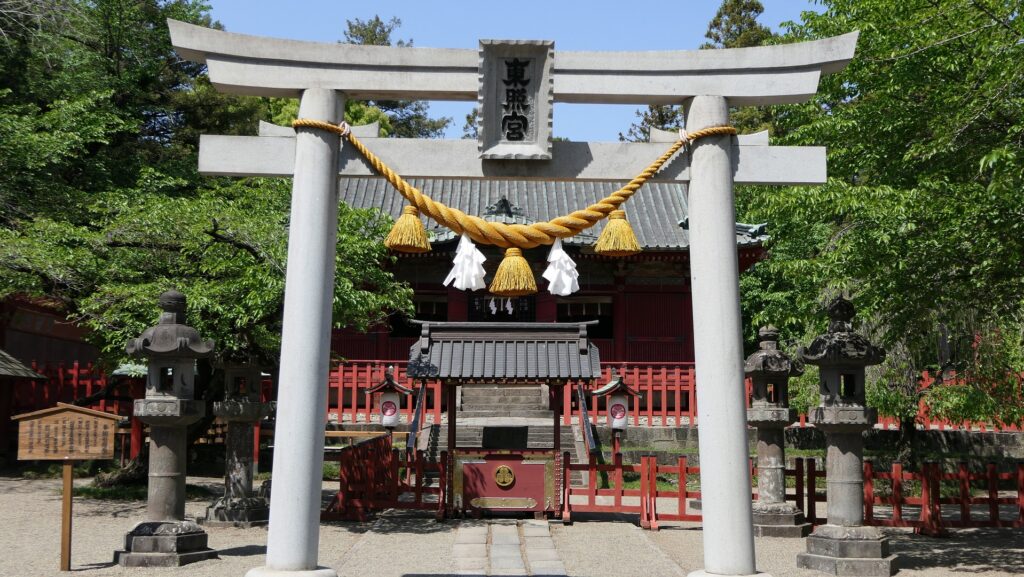
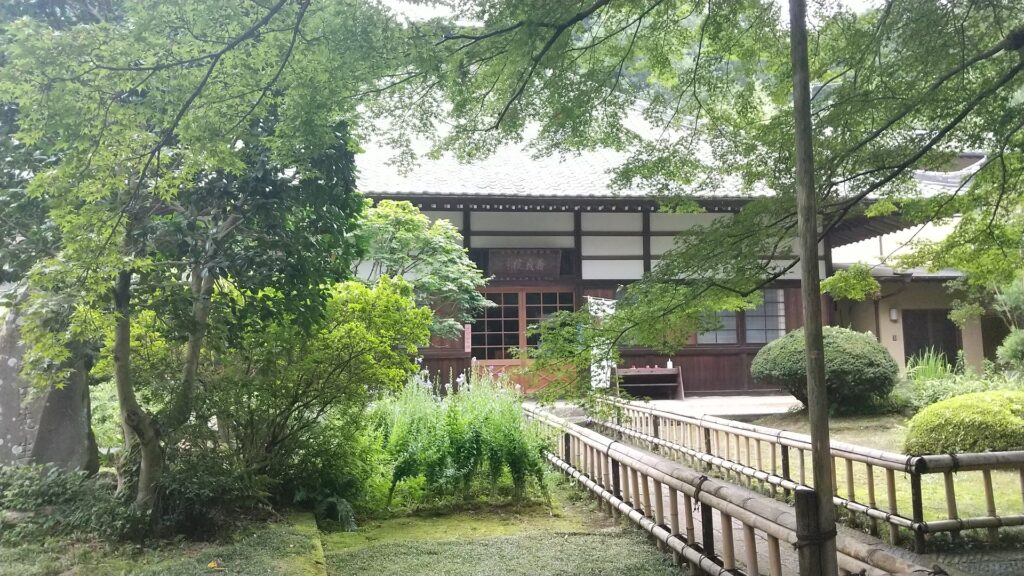
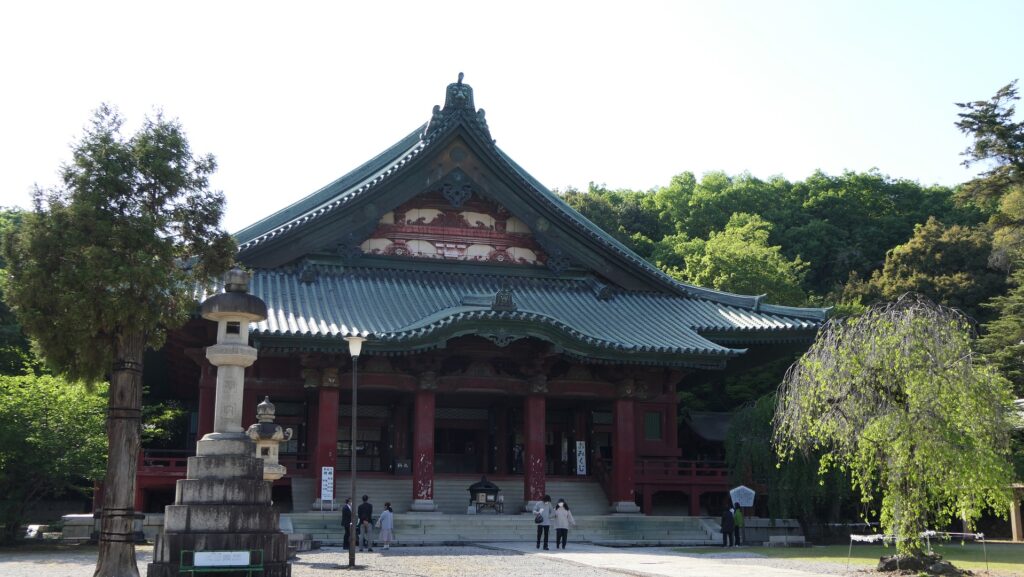
The shogunate also conserved the former area of the Nitta Manor by building religious facilities such as Serada Toshogu Shrine, Kinryuji and Daikoin Temples as they had declared the shoguns were a branch of the Nita Clan, which meant they were descendants of the Minamoto Clan. Even the shogunate needed the authority to govern the whole country. As for castle ruins, Kanayama Castle ruins were designated as a National Historic Site in 1934. Ota City has been excavating and developing them as a historical site since 1995.
My Impression
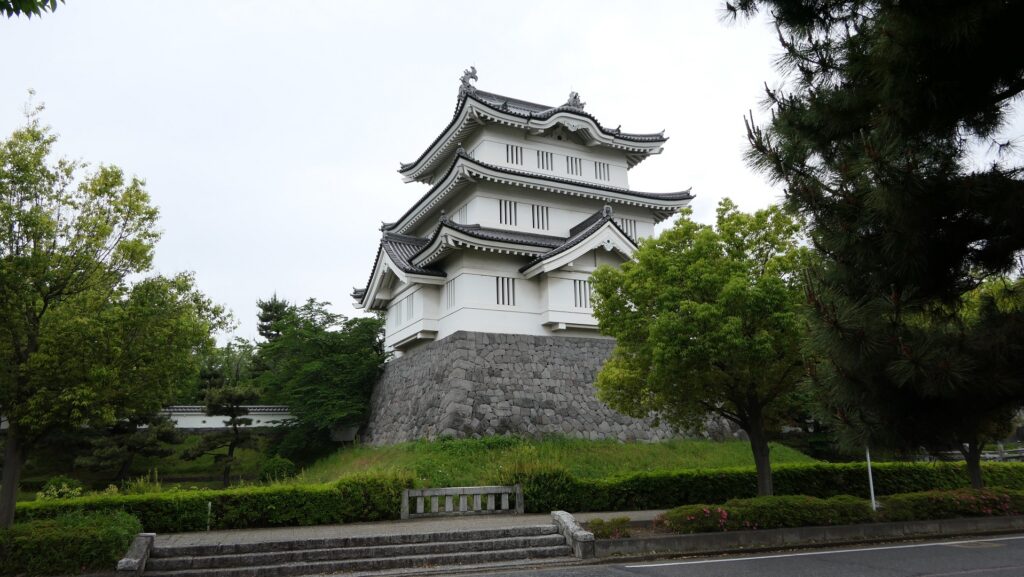
When the Yura Clan was banished from Kanayama Castle, only the lord’s mother, Myoinni was against the idea of Hojo Clan keeping the castle. Even after she gave it up, she joined Maeda’s troops to attack the Hojo Clan in 1590 when she was already 77 years old. That caused the Yura Clan to survive while the Hojo Clan to decline in the end. I guess if she and the Yura Clan could still stay in the strong Kanayama Castle even with only a few defenders, there might have been a dramatic event at the castle when Hideyoshi invaded the Kanto Region like Nagachika Narita fought with Mitsunari Ishida at Oshi Castle.
How to get There
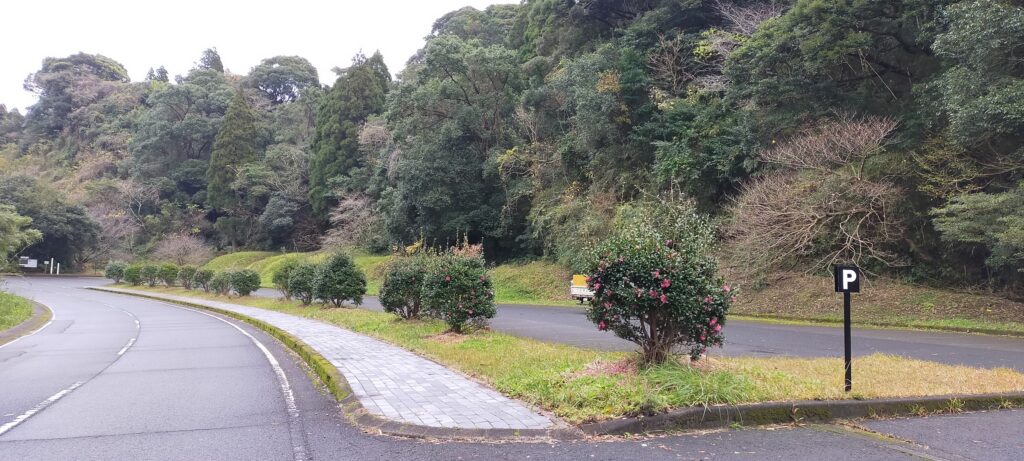
I recommend using a car when you visit the castle ruins because there are no buses that go directly to the ruins available. It is about a 10-minute drive away from Ota-Kiryu IC on the Kita-Kanto Expressway. There are several parking lots at the foot, halfway up, and at the top of the mountain.
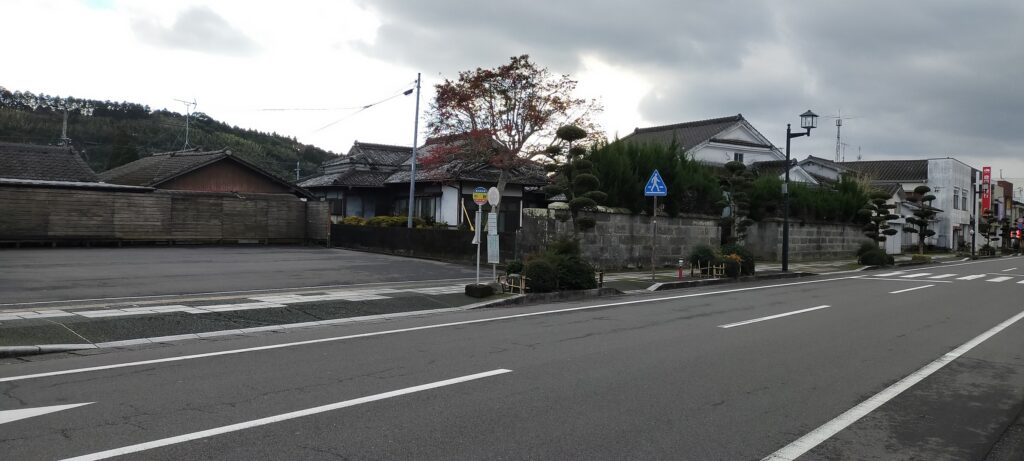
If you want to use public transportation, it takes around 1 hour from Ota Station. It would be better to take a taxi from the station.
From Tokyo to Ota Station: Take the JR Ueno-Tokyo Line from Tokyo Station and transfer to the Ryomo limited express on the Tobu Isesaki Line at Kitasenju Station.
That’s all. Thank you.
Back to “Kanayama Castle Part1”
Back to “Kanayama Castle Part2”