イントロダクション
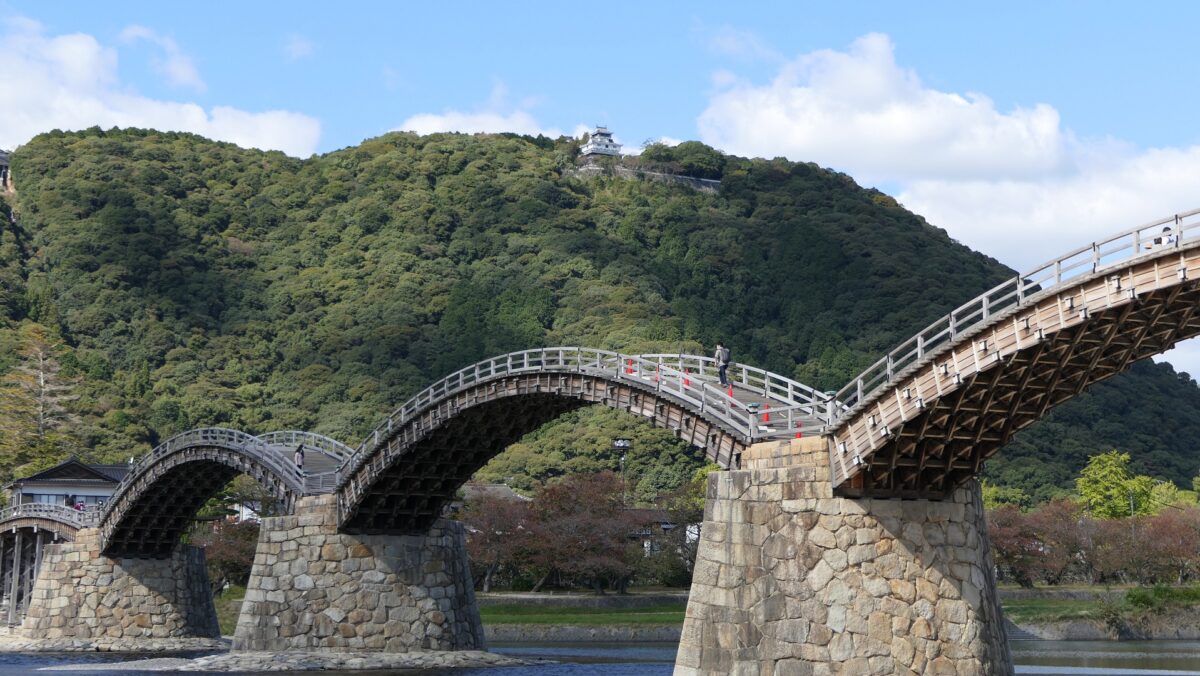
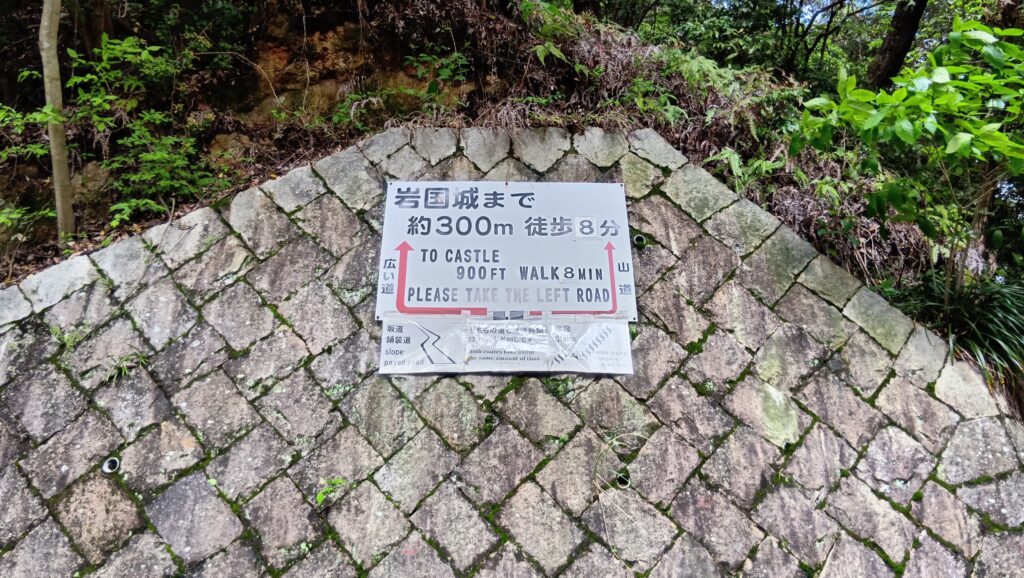
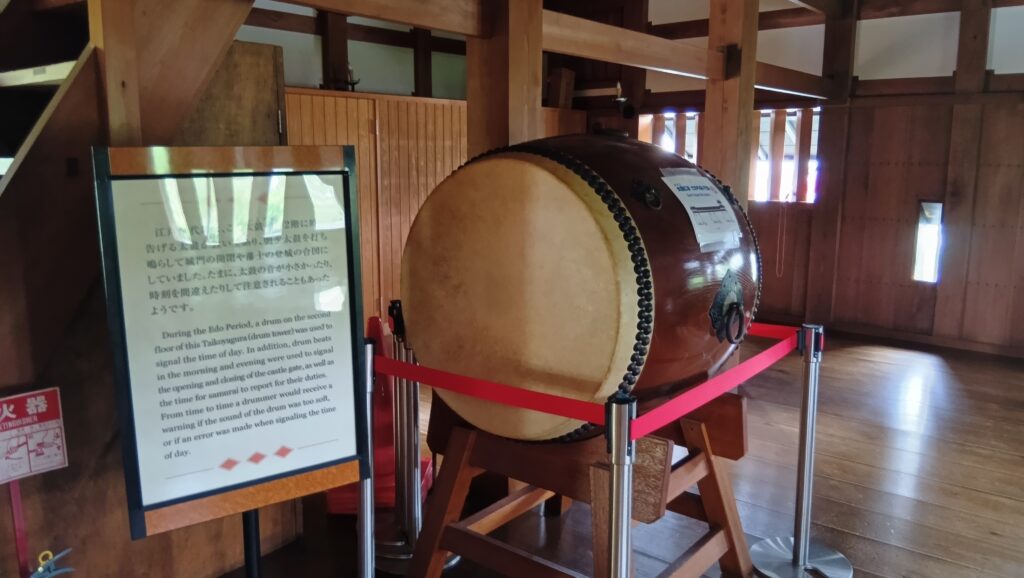
岩国といえば、まず錦帯橋を思い浮かべる人が多いのではないでしょうか。また岩国城といえば、その天守が錦帯橋の背景として、セットで思い浮かべる人もおられるでしょう。しかし、その天守は現代になって再建されたもので、実際には天守を含む城は、公式にはわずか7年しか存在しなかったのです。城主だった吉川氏は、城の一部を「陣屋」として存続させました。
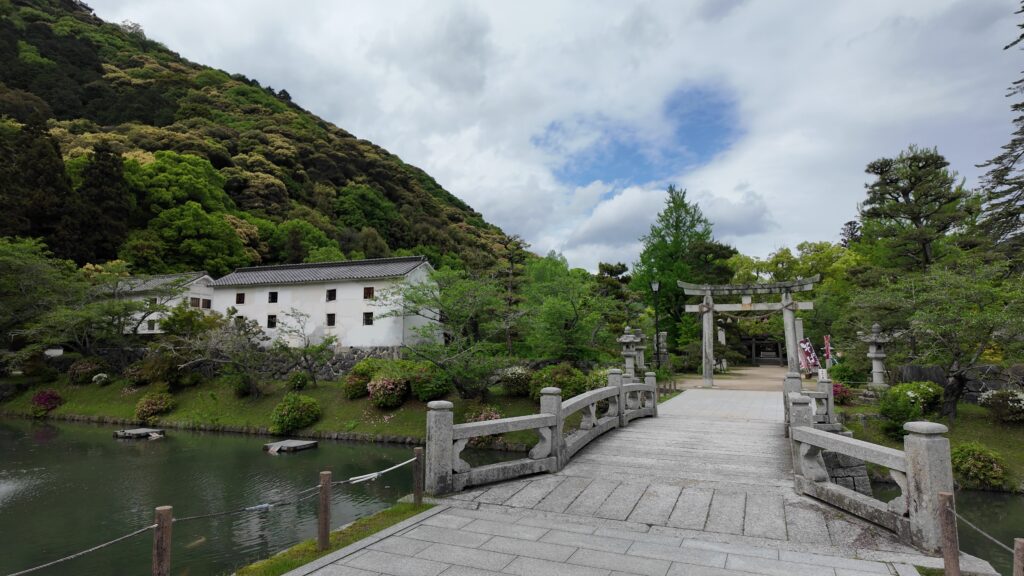
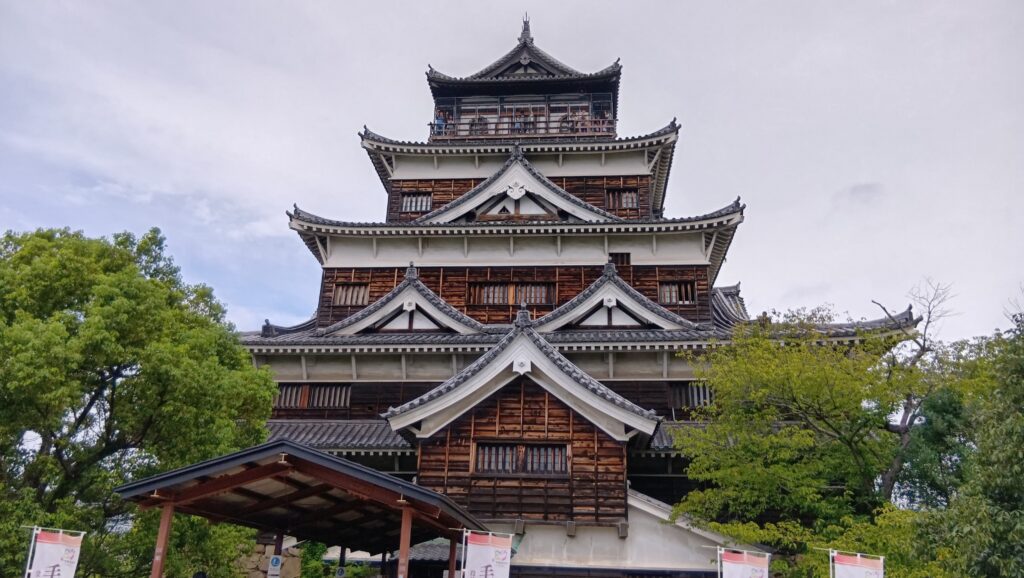
 錦帯橋と背景の岩国城再建天守
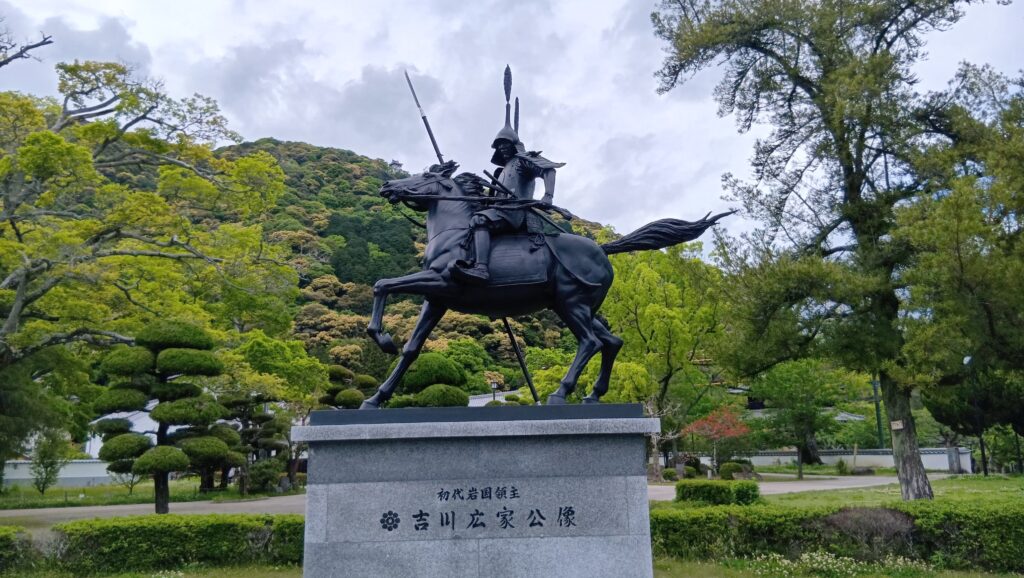
岩国城を築いたのは、吉川氏の初代当主・広家でした。広家といえば、関ヶ原の戦いで西軍方の主家・毛利勢を参戦させず、東軍の勝利にも関わらず、大名家として存続させた「救世主」という評価があります。しかし一方、西軍は敗退し、毛利氏は大幅に領地を減らされたこともあって、当時から「裏切者」との見方もされてきました。現時点で振り返ってみた場合、どういうことが言えるでしょうか。
岩国城の歴史は、どうやら吉川広家の武将人生と大きく関係しているようです。そこで、今回はまず、広家の関ヶ原の戦い前後の動向をチェックしてから、岩国城の築城、そして早すぎる「廃城」をご説明したいと思います。最後は、「陣屋」としての岩国城のその後、そして錦帯橋の歴史にも触れていきます。
今回の内容を趣向を変えて、Youtube にも投稿しています。よろしかったらご覧ください。
立地と歴史(吉川広家と岩国城の歴史)
実は迷っていた?関ヶ原前の吉川広家
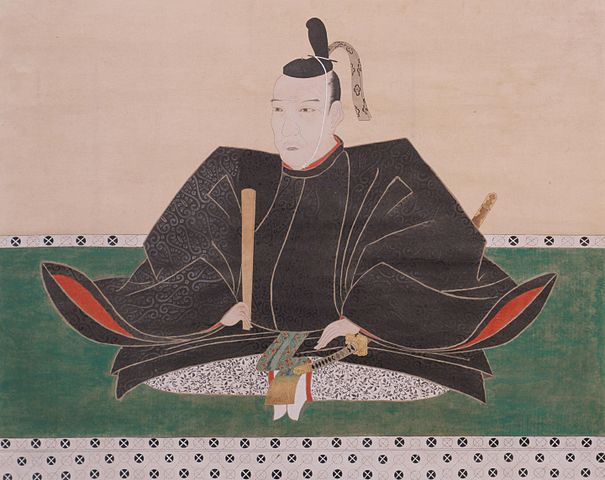
吉川広家は1561年(永禄4年)、吉川元春の三男として生まれました(参考資料①より、以下番号のみ記載)。吉川元春は、毛利元就の次男で、三男の小早川隆景とともに、主家の毛利氏が中国地方の大大名になることに貢献しました。戦国時代末期の毛利当主は、元就の孫・輝元でした。豊臣秀吉による天下統一のフェーズになると、毛利氏は秀吉に味方し、領土を安堵されましたが、その代わりに容赦なく戦いに動員されました。1586年(天正14年)に始まった九州平定において、元春と跡継ぎの長男・元長が相次いで病没してしまうのです(①)。元長が亡くなった翌年(1588年)、広家は吉川家を継ぎました。広家は月山戸田城を居城とし、朝鮮侵攻に動員されるのですが、その最中(1597年、慶長2年)、小早川隆景が亡くなっています。つまり、秀吉没後の関ヶ原の戦い直前には、広家は、主家を支える毛利一門の最重要人物いう立場になっていたのです。
 吉川広家肖像画、東京大学史料編纂所蔵(licensed under Public Domain via Wikimedia Commons)
1600年、慶長5年6月、五大老筆頭の徳川家康は、上洛を拒否した上杉景勝を征伐するために出陣しました(会津征伐)。毛利輝元・吉川広家にも参加を命じたのです。しかし、石田三成たち奉行衆は、その隙を狙って家康排除のために挙兵しました。安国寺恵瓊は、奉行衆とともに輝元を説得し、「西軍」の総大将に担ぎ上げました。7月19日輝元は、以前家康がいた(③)大坂城西の丸に入城しました。広家は西軍に身を置きながら、毛利氏の取次だった黒田如水経由で親交があった黒田長政を通して、密かに「東軍」の家康に連絡を取りました。西軍の勝利はありえないと確信していたのです。広家は(事実かどうかは別として)「輝元様の大坂城入城は家康様打倒計画とは無縁ですべて恵瓊の企てである(④)」と釈明しました。8月までに、西軍による伏見城、安濃津城攻めがありましたが、立場上広家も参加せざるを得ませんでした。そして、関ヶ原近くの南宮山に、毛利勢の総大将・毛利秀元とともに着陣したのです。黒田長政は当然、広家の行動に疑いを持ちました。広家は、他の重臣(福原弘俊)と諮り、毛利家存続のためには東軍に内通するしかないと決断しました。合戦前日の9月14日、東軍に人質を差し出し、合戦では中立を守るという条件で、毛利領はそのまま安堵されるという約束を取り付けました(下記補足1)。合戦当日、広家は最前線に陣取り、後方(長宗我部軍)から毛利秀元に催促が来ても、一切動かせませんでした。関ヶ原合戦は周知の通り、わずか一日で東軍の大勝利に終わりました。広家は合戦直後の17日、それまでの事情を記した「関ヶ原始末書」を輝元に提出しています。(段落全体①②)。
(補足1)9月14日付吉川広家・福原広俊宛井伊直政・本多忠勝起請文
一.輝元に対して、家康が粗略にしないこと。
一.吉川広家と福原広俊が家康に忠節を尽くすうえは、家康が粗略にしないこと。
一.忠節が明らかになれば、家康の直書を輝元に渡すこと(分国の安堵も相違なし)。
(「毛利家文書」、現代語訳は⑦より)
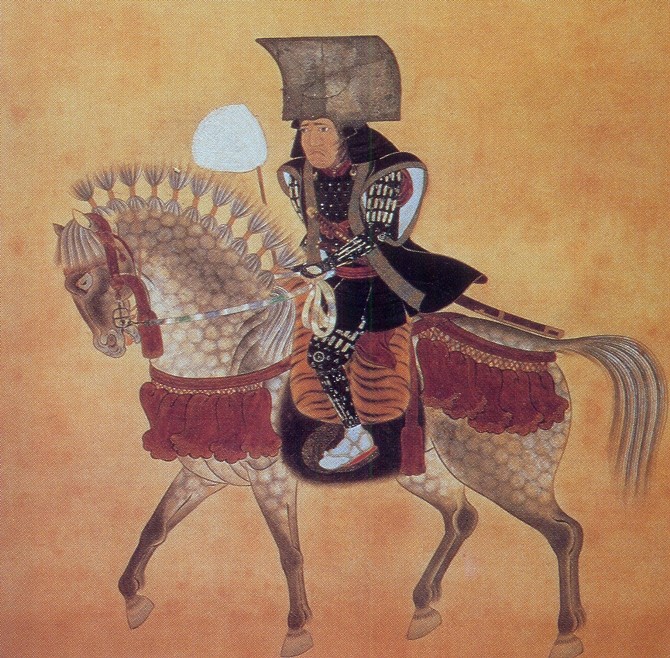 黒田長政肖像画、福岡市博物館蔵 (licensed under Public Domain via Wikimedia Commons)
しかし最近の研究によると、広家は必ずしも一貫した態度をとっていた訳ではないようです。順を追って、根拠を示します(段落全体③)。
1.決起当初の7月14日付の家康家臣・榊原康政宛の広家書状案文(発送されなかった)は、毛利氏の西軍参加は恵瓊の独断である旨を知らせようとした内容でしたが、実際は後日作成されたか、内容が事実と異なる(輝元も了解していた)可能性があります。
2.現在確認できる東軍との最初の接触は、7月28日頃駿府に届いた広家の書状(詳細内容不明)、発送したのは7月25日頃とみられます。西軍は19日に伏見城攻撃を開始しましたが、城代・鳥居元忠らの頑強な抵抗にあっていました。その返事として、8月8日付黒田長政宛徳川家康書状(下記補足2)、8月17日付広家宛黒田長政宛書状(下記補足3)が送られました。
(補足2)吉川殿からの書状を詳細に読みました。(広家の)ご弁明については、もれなく了解しました。輝元とは兄弟のように相談して決めることとしていたので、(今回の行動を)不審に思っていたところ、(反徳川闘争の企てを)知らなかったということを聞いて、気が晴れました。(「吉川家文書」、現代語訳は③より)
(補足3)このたびの決起について、輝元はご存じなかったのですね。安国寺が一人で企てたことであると、家康公も認識されました。そこで、輝元に対して、このことを念には念を入れておっしゃって、家康公と(輝元とが)懇意になるように、(広家の)工夫が最も大切です。あなた次第で、こちらは私が調えます。合戦でこちらが勝利した後では、講和することも不可能ですので、前もってご油断しないで思案されることが道理に叶っていると思います。(「吉川家文書」、現代語訳は③より)
3.上記に対する広家の返答は直ちにはなく、黒田長政が8月25日に督促の書状(下記補足4)を送っています。この頃は8月1日に伏見城が落城し、戦闘が一段落していました。
(補足4)先の書状で申し入れましたが、届きましたか。とにかく、毛利家が存続するように(あなたが)ご思案されることが道理に叶っています。詳しいことを記したご返事の書状を送ってください。(中略)家康が早くも駿河国府中まで出陣したという情報が、昨夜届きました(実際には9月1日江戸出発)。(「吉川家文書」、現代語訳は③より)
8月23日東軍が西軍の岐阜城を攻略、そして翌日西軍も東軍の安濃津城を落としたものの大損害を出しました。広家勢も300人以上もの死傷者を出しています(⑤)。黒田如水からも9月3日付で家康との講和を勧める書状が送られてきました(⑥、下記補足5)。このような状況と、家康西上の情報を得て、交渉を再開したものと考えられます。
(補足5)家康が西上しているとの噂です。間違いないでしょう。家康が来る方面にあなた(広家)が居られるので、大変心配しています。失敗しないように判断することが大事です。上方の軍勢はすべて家康に同心するようですので、あなたの(判断が)大事です。(「吉川家文書」、現代語訳は⑥より)
毛利輝元も実際には阿波や伊予への侵攻を行っていましたが、一方で家康とも何らかの連絡を取っていたようです。そして現地に対しても、家老の一人・福原広俊を通じて状況を把握し、コントロールを行っていました。吉川広家の動きも「小早川秀秋と西軍から離反する」という噂になっていたので、把握していたと見るべきでしょう。つまり、毛利勢はどのみちどちらにもつけない状態でした。広家が東軍との交渉を主導していたことは確かですが、その他の勢力も虚々実々の駆け引きを行っていたのです。(参考③⑥)
 毛利輝元肖像画、毛利博物館蔵 (licensed under Public Domain via Wikimedia Commons)
関ヶ原後、岩国築城へ
関ヶ原後、毛利輝元は領地安堵を前提に、大坂城を退去しました。ところが、家康が大坂入城後に精査したところ、輝元は中立的立場ではなく、西軍の盟主として行動していたことが発覚しました。家康は激怒し、毛利の全領地を没収し、そのうち周防・長門の二カ国を広家に与えることにしたのです。しかし広家が、切々と毛利本家の存続を懇願した結果、10月10日、家康はその二カ国を、毛利輝元・秀就(ひでなり)父子に与える誓書を書きました(補足6)。広家に対しては、輝元に命じて、周防国の東部を割譲させました。これが岩国築城につながります。(①)
(補足6)周防、長門の両国を据え置くこと、輝元・秀就父子の身命には異議のないこと、(大坂城をめぐる)虚説について究明すること(毛利輝元・秀就宛徳川家康誓書、毛利博物館蔵、現代語訳は①より)
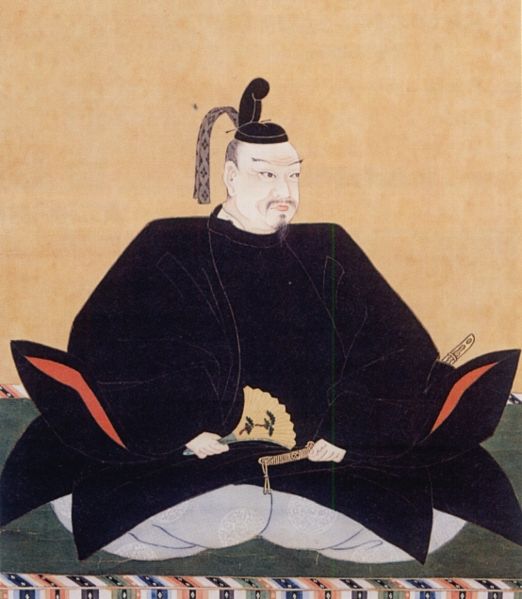
 徳川家康肖像画、加納探幽筆、大阪城天守閣蔵(licensed under Public Domain via Wikimedia Commons)
しかしこの経緯の元ネタは、吉川家の記録(「吉川家譜」)にしかなく、歴史家によると、後に吉川家が藩内での家格を高めるために作ったものだろうとされています。つまり、家康は毛利の抵抗を恐れて、輝元が大坂城を退去するまでは所領安堵を匂わせておいて、退去後にそれを反故にしたのです。輝元としても、関ヶ原敗戦で権威が失墜し、抵抗する力もなく、減封を拒否することは不可能でした。せめて実子の秀就の地位を保証されることで妥協したものと考えられます(それまでの跡継ぎは養子の秀元だった)。(段落全体③)
これでは、広家は窮地に落とされたことになります。見方によっては、西軍敗北だけでなく、毛利の大減封(約119→30万石)の一大原因を作ったことになってしまうからです。広家自身も、独立大名格から毛利家臣扱いになり、石高も減らされました(約11万5千→3万4千石)。(参考③)広家は関ヶ原の翌年に、輝元宛に長文の書状を認め、思いを伝えようとしていますが(下記補足7、④)、その当時の広家の苦しい立場を反映しているのではないでしょうか。
(補足7)毛利輝元様
このたび、関ヶ原の合戦の和睦は整い、私ども満足しております。私のこの戦いにおける行動が西軍大敗の一因と世間で批判されていることは遺憾に思います。私は和睦が成立した後に申し開きをしたいと思っておりましたが、これまで時間がかかりましたので今まで出来ませんでしたが、一書をもって一部始終申し上げます。(④、冒頭部分)
実は、この頃の広家には、毛利から出奔しようとした形跡があるのです。一つは、関ヶ原の年の11月に、黒田長政が広家を自分の藩に誘っていると取れる書状が残っているのです(下記補足8)。その3年後には、広家が独立大名になる交渉が行われた形跡もあります(下記補足9)。実際に毛利家臣は総じて大幅減封になっていたので、出奔する者もいたのです。しかし広家は最終的に毛利に残る決断をしました。(段落全体③)
(補足8)慶長5年11月18日付吉川広家宛黒田長政書状(一部)
ご知行などについて、かねての首尾と異なる状況になりましたら、私の領内においてでも提供いたしますので、ご心配されませんように。(「吉川家文書」、現代語訳は③より)
(補足9)慶長8年7月16日付吉川広家宛末長良昧書状(一部)
先日の箇条書きについて、大部分は決着しましたので、ご安心ください。江戸において長政は私へ「広家に対して知行を与えるとのことだ」と言われましたので、恐れ多いことですが、喜ばしいことと存じ申し上げます。(「吉川家文書」、現代語訳は③より)
毛利氏の新領国となった長州藩は、萩城を本城とし、国境については東に吉川広家を、西に以前の跡継ぎだった毛利秀元を配置しました。広家は萩城の縄張りに関わったと言われています。広家・秀元は、毛利家臣でありながら、独立大名的な性格も持っていました。その一つが、居城の設置を許可されたことでした。秀元の居城は櫛崎城で、広家の場合、それが岩国城だったのです。(以上③)もしかすると、広家の残留条件だったのかもしれません。
 萩城天守の古写真(licensed under Public Domain via Wikimedia Commons)
長州藩(現山口県)の範囲と城の位置
堅固な城、しかし突然の「廃城」
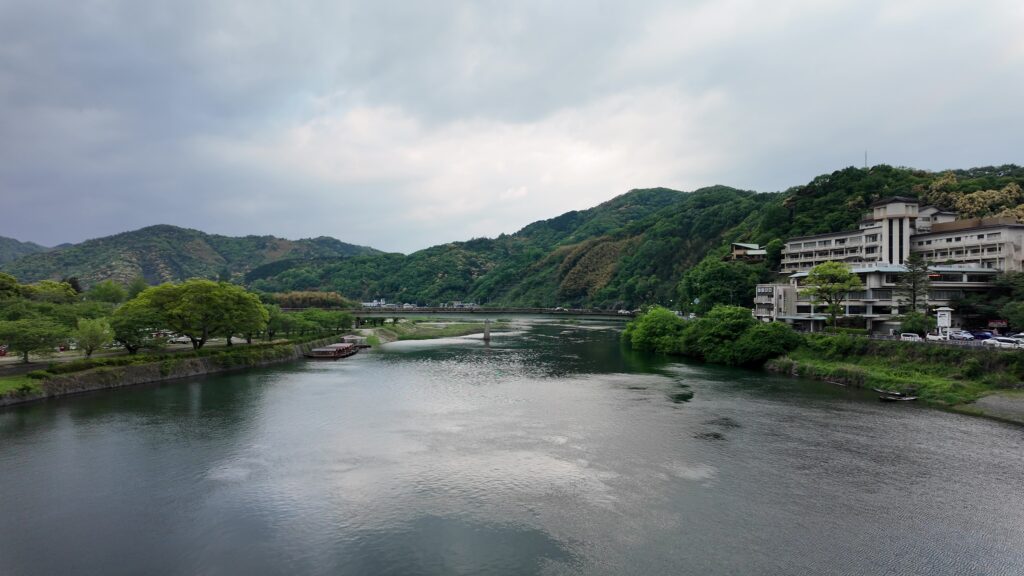
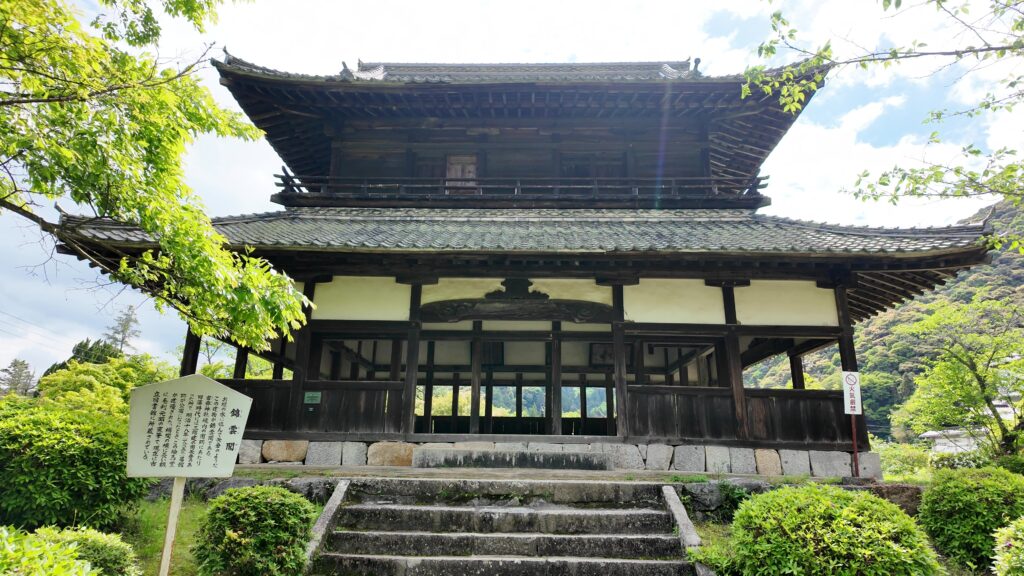
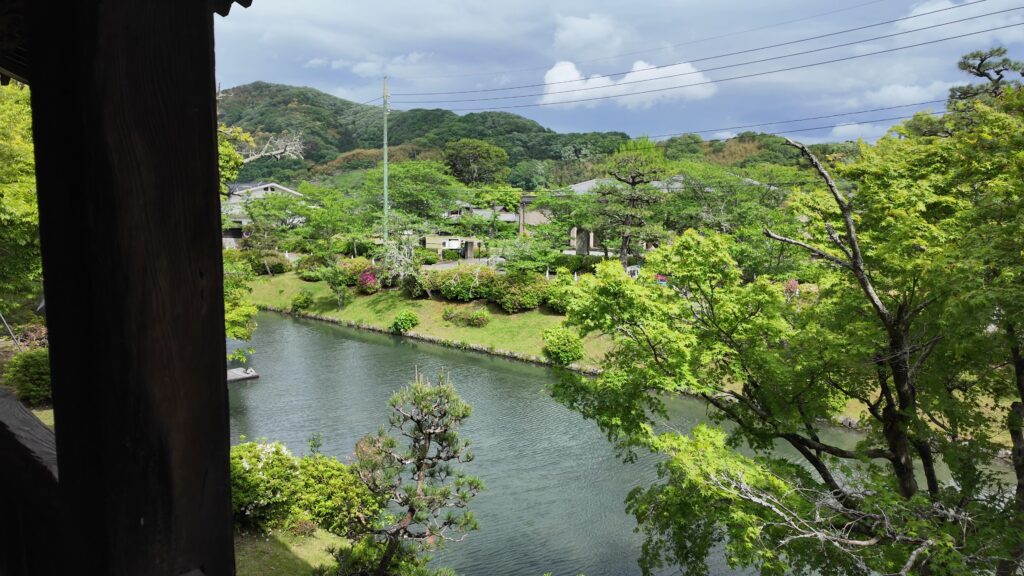
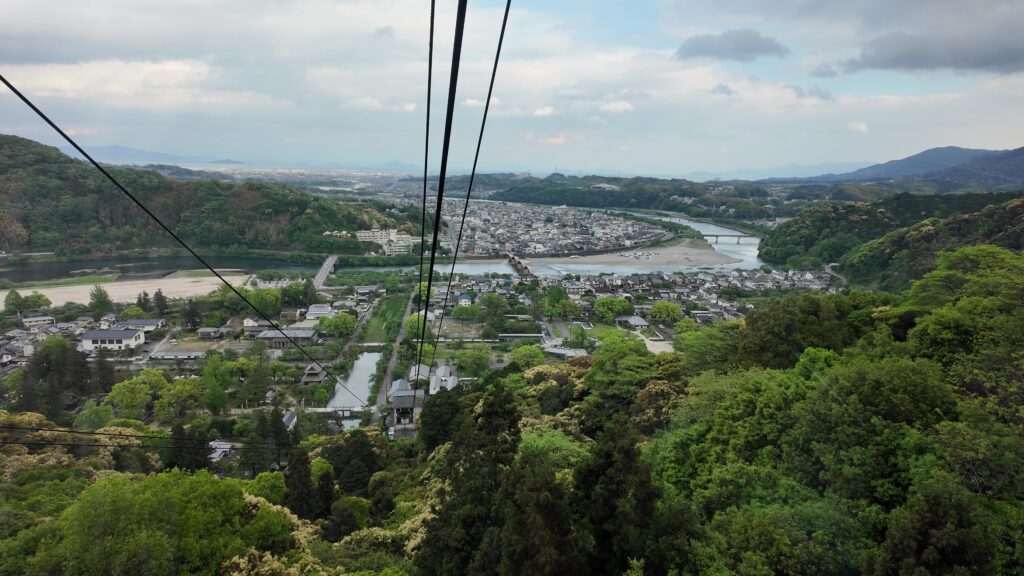
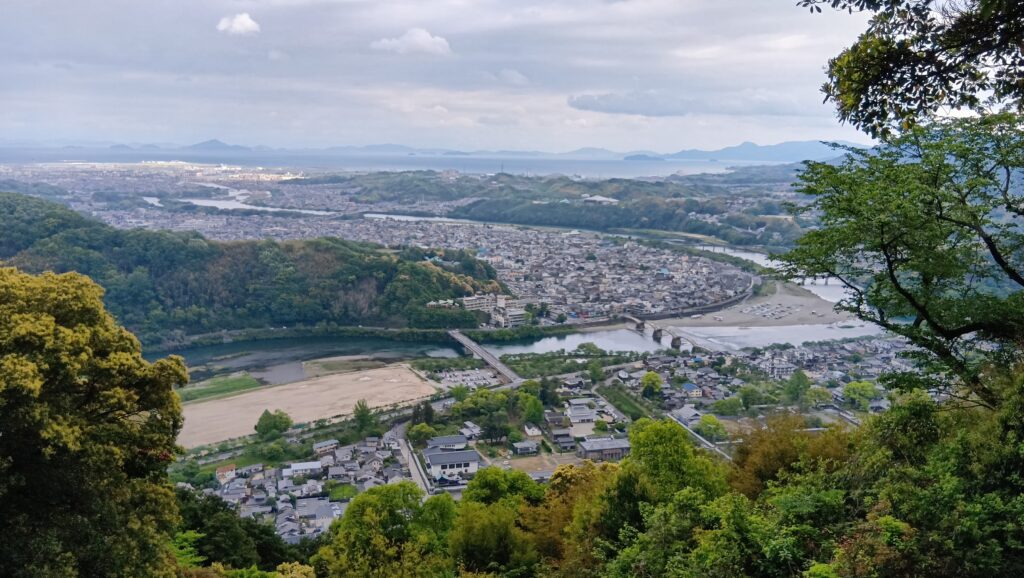
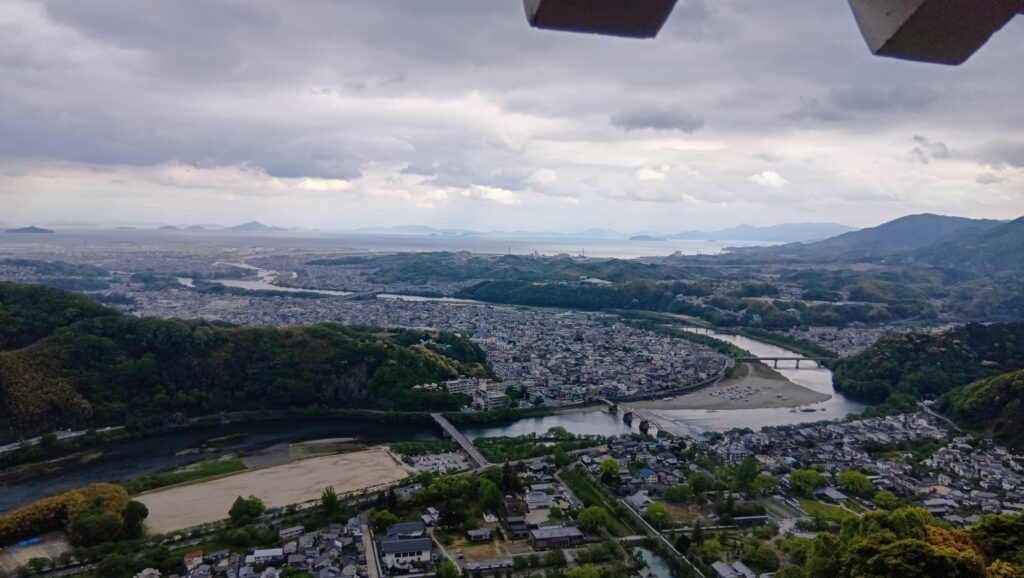
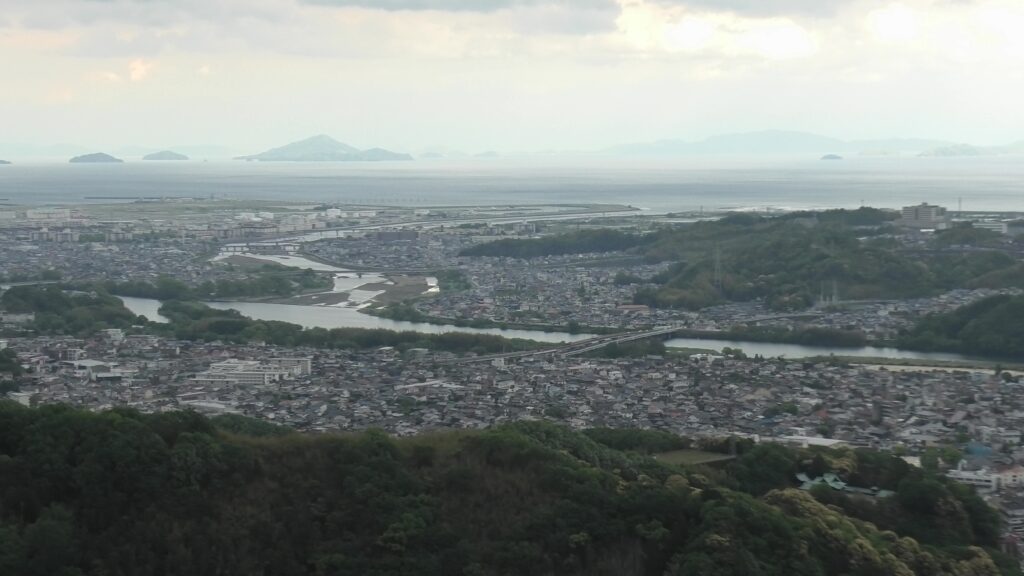
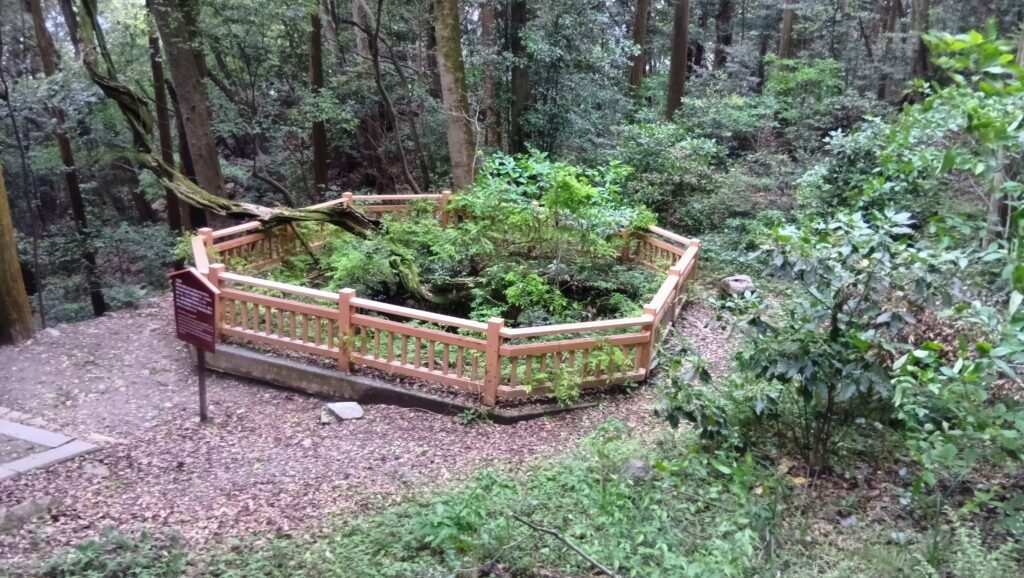
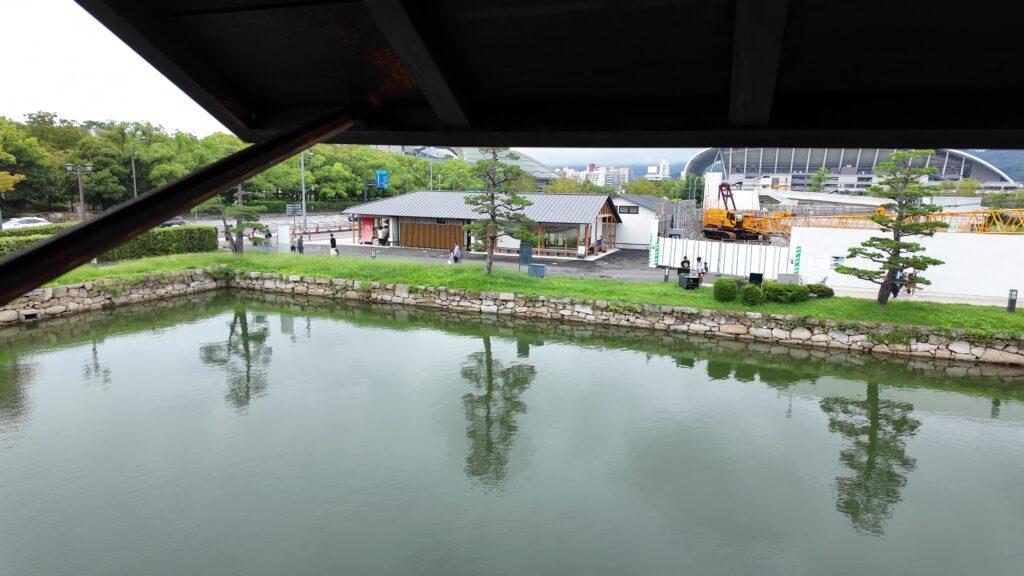
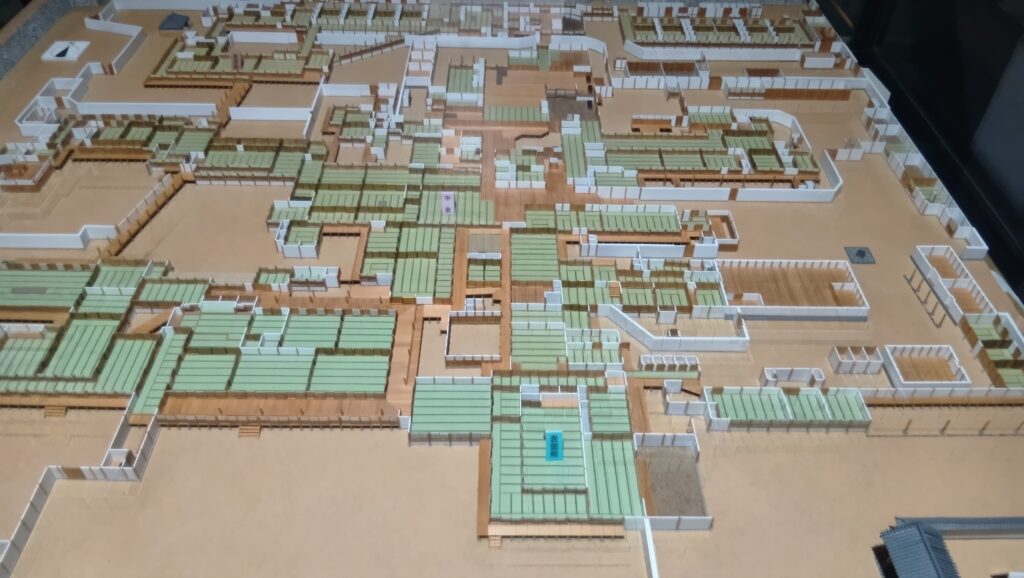
岩国城は大きく蛇行する錦川に囲まれた標高約210mの城山を中心に築かれました。川を下れば港(今津)に近く、川の対岸には山陽道・石州街道が通っていました。つまり、城の地は水上交通、陸上交通の結節点だったのです。そこは「横山」と呼ばれていて、広家の祖父・毛利元就は1557年、中国平定(大内氏討伐)のとき、ここを本陣にしました。広家の当時は、寺(永興寺)があったものの荒廃していました。(段落全体⑧⑨)
城周辺の起伏地図
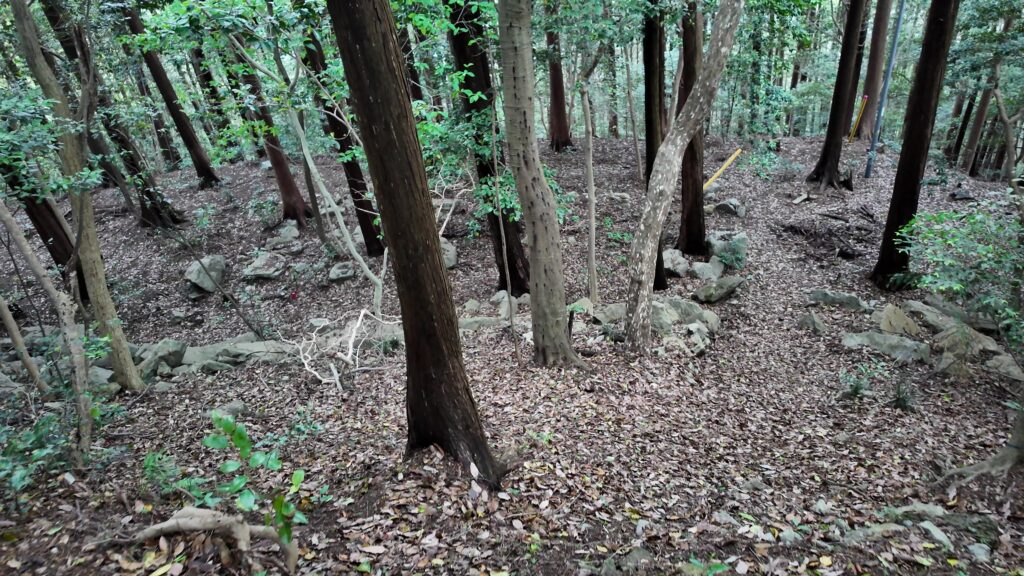
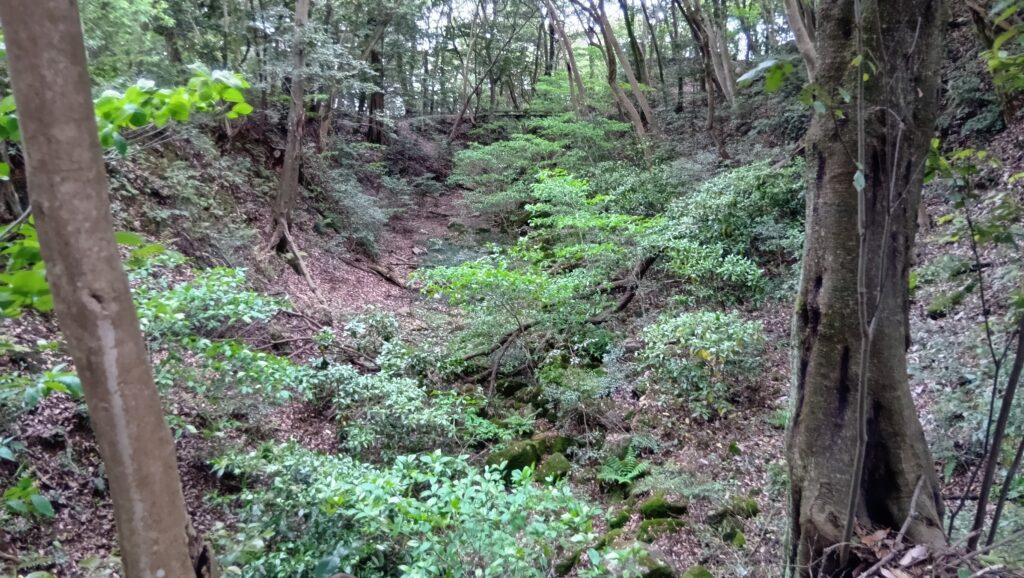
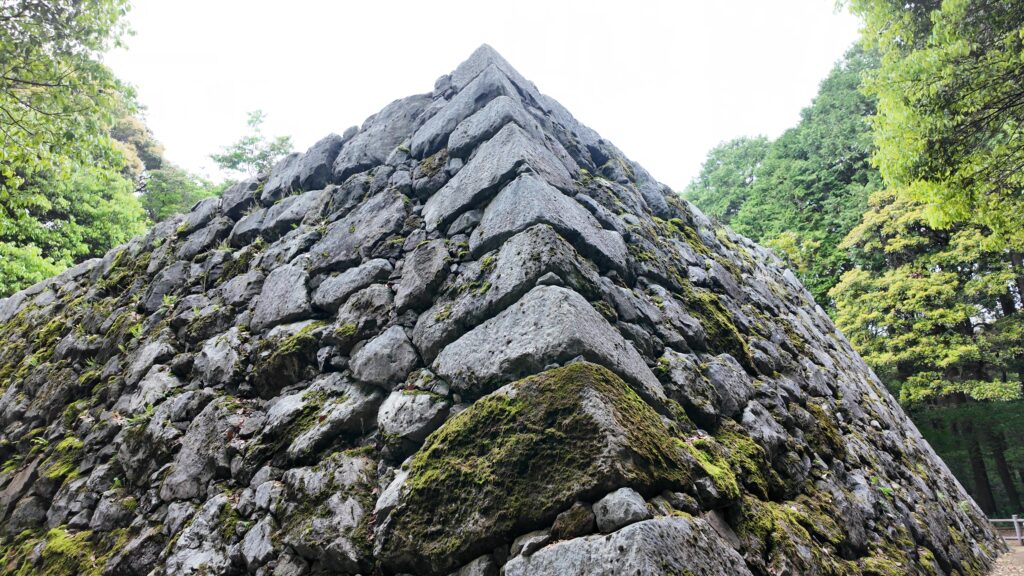
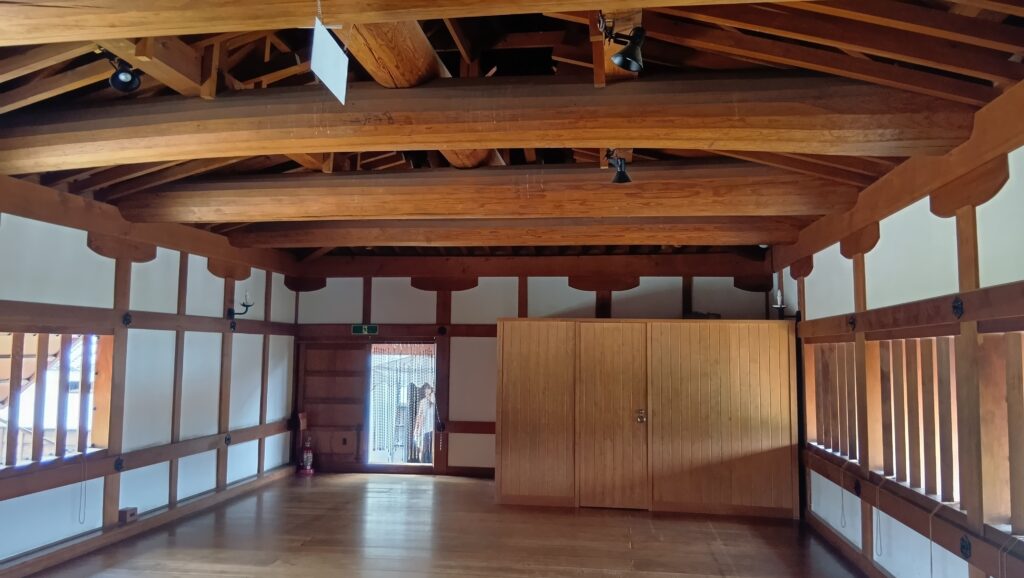
当時、新規築城の山城は珍しく、さらなる戦いが起こると想定していたのかもしれません。ただし居館(御土居)部分は山麓にあって、工事はこちらから始まりました(1603年)。山上部分は本丸・北の丸・二の丸を中心に総石垣で築かれ、枡形、連結された櫓群、空堀などで守られた近世城郭となりました。完成は1608年(慶長13年)とされています。(段落全体➉)
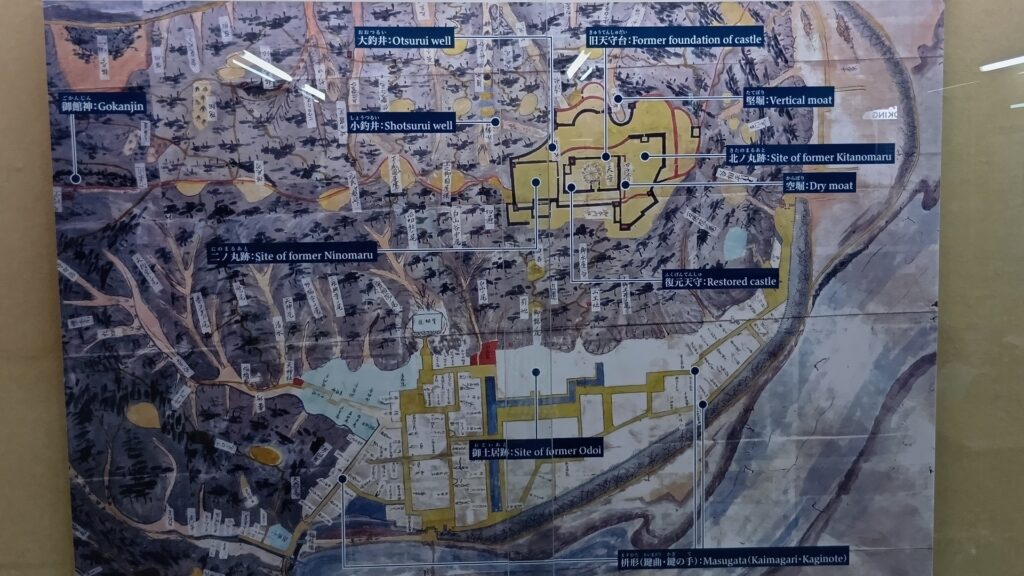
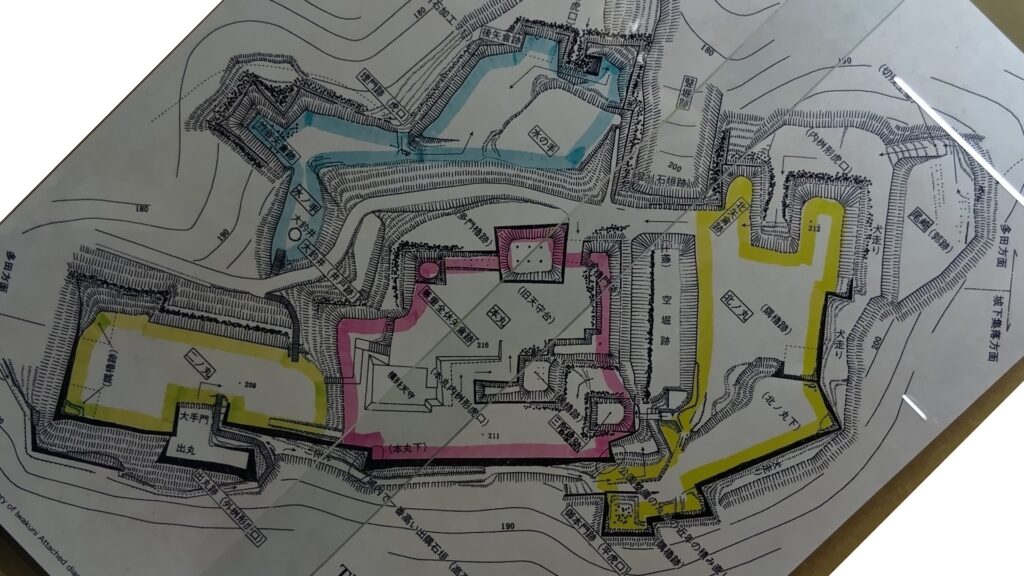 山上部分の縄張り図、岩国城天守内にて展示
広家が、岩国城の縄張りについて出した細かい指示が記録として残っています。これによると、広家が縄張りに精通し強いこだわりを持っていたこと、実践的な構造だけでなく、見栄えも重視していたことがわかります。(段落全体③、下記補足10)
(補足10)慶長9年5月28日付吉川広家条々写(一部)
一.南の小丸くびの門の位置については、地形にあわせて設置せよ。東の方の尾崎側でも構わない。
一.尾くび左の櫓は、麓からの見える場所なので、長い方を見せるのが適切である。
一.天守は御庄側の切り立った部分を延ばした場所を防御するためのものである。また、一つには、山頂部の平地があまりに広いため、本丸部の段差を大きくして、二の丸を防御するためにも、本丸内におさめて石垣を築造することは当然であるので、両方の用途を対照して判断し、適切に造成せよ。
一.天守の大きさは六間×八間とすべきである。東西を長辺として普請しなさい。
一.天守と尾くびの櫓を連結する石垣について、時間・労力を費やしてでも、切り立った部分を延ばすので、丁寧にじっくりと申し付けなさい。(「藩中諸家古文書纂」、現代語訳は③より)
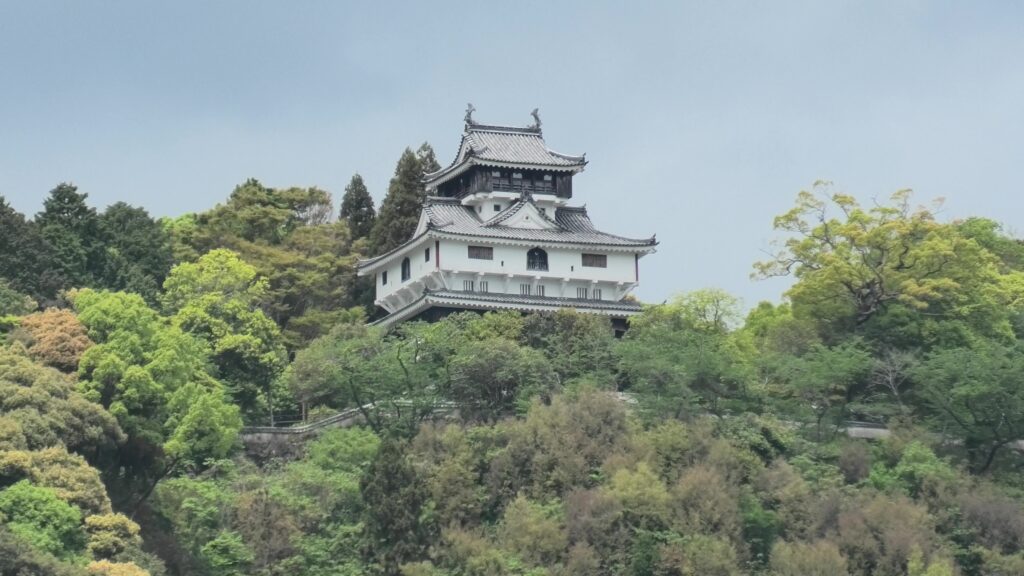
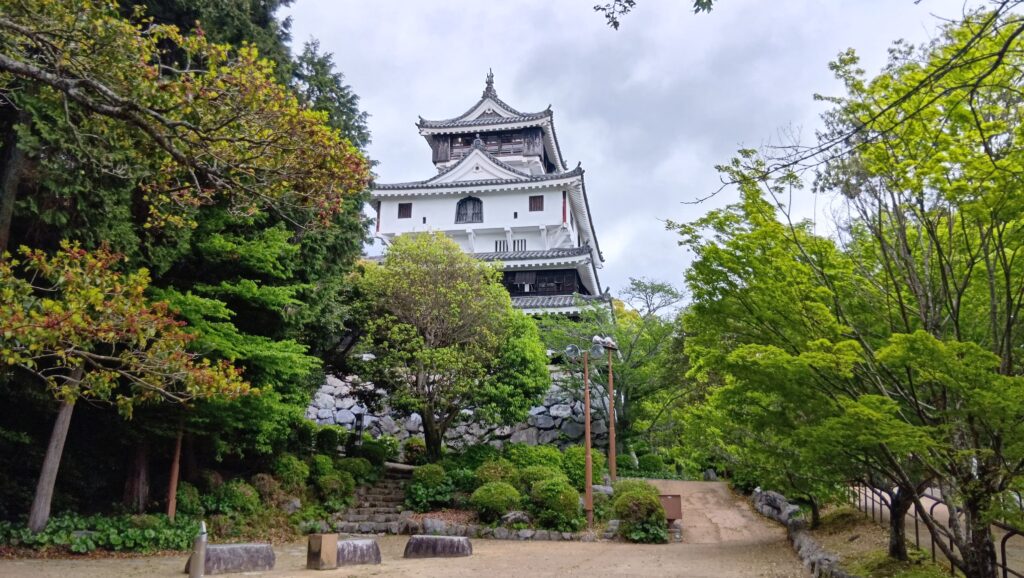
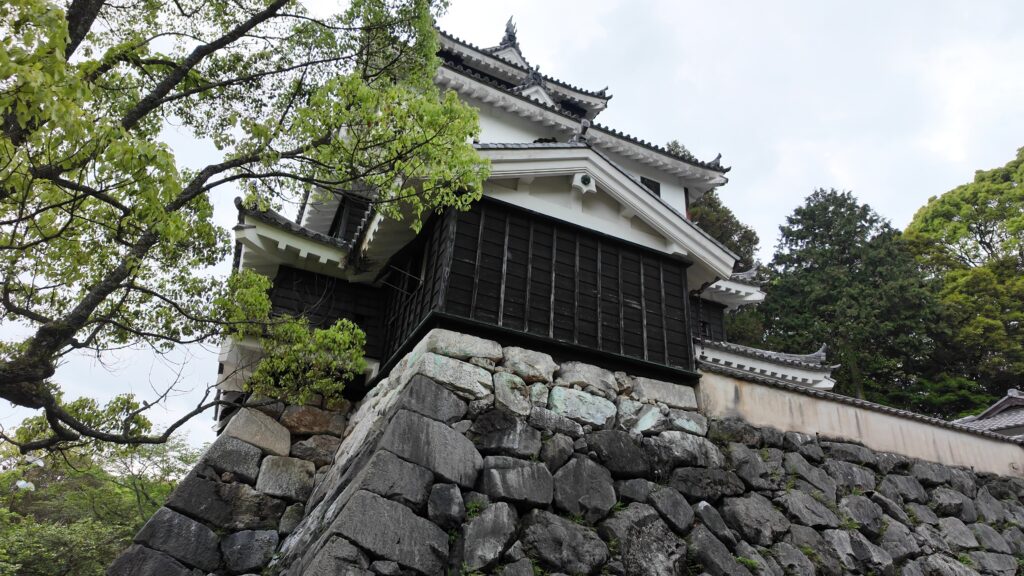
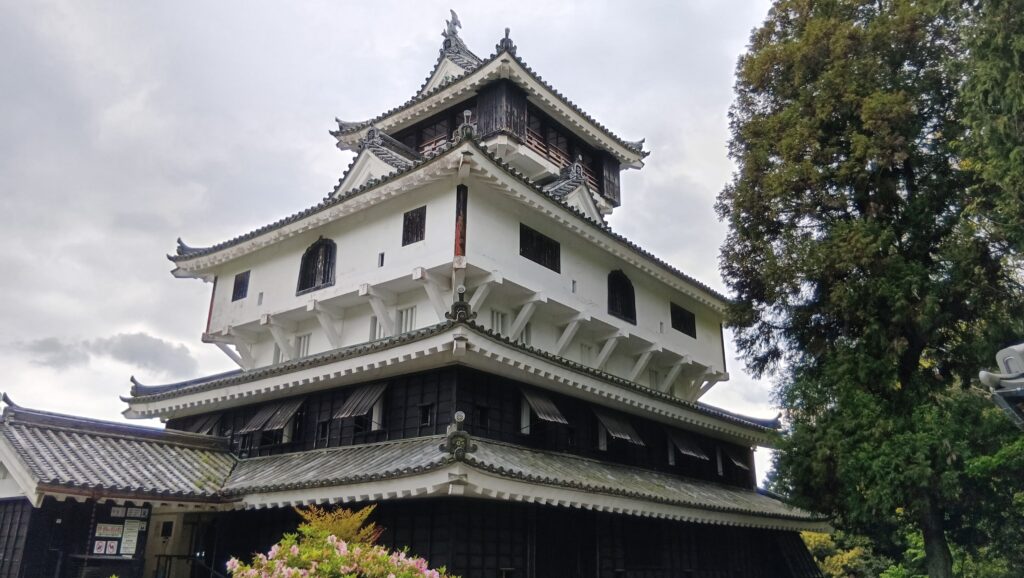
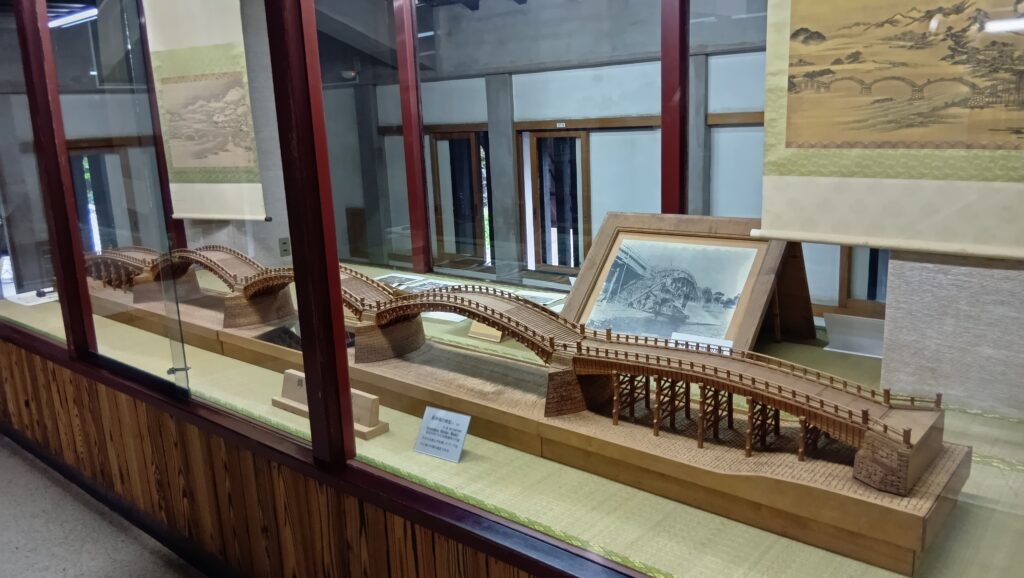
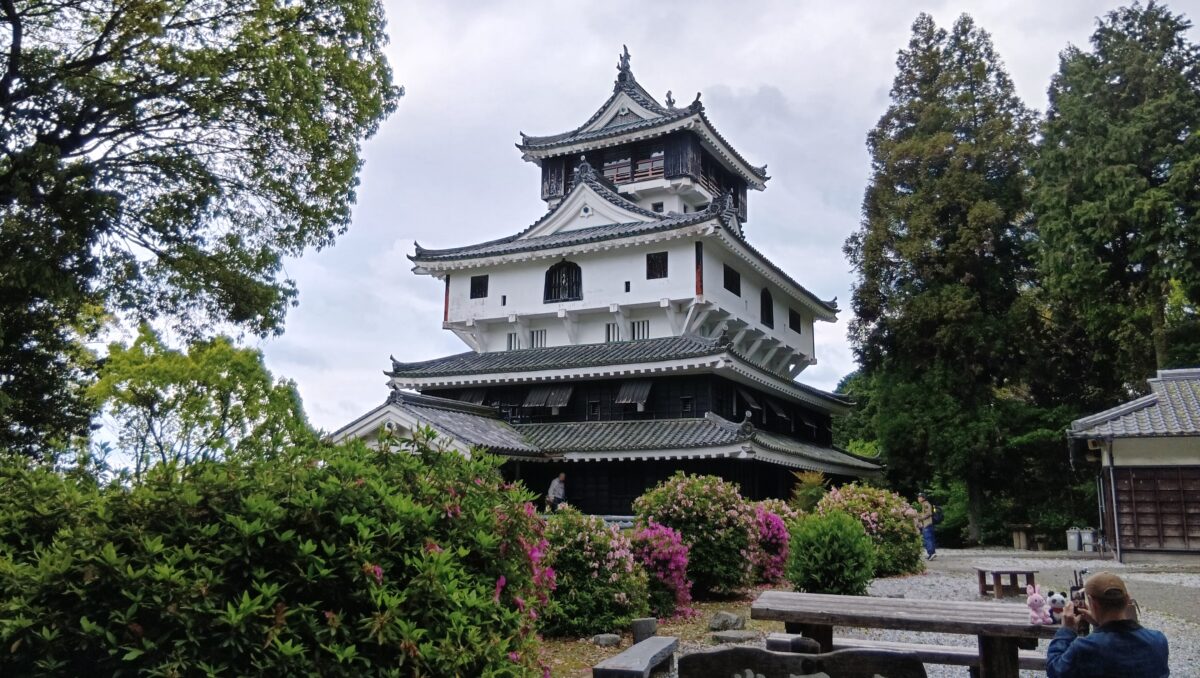
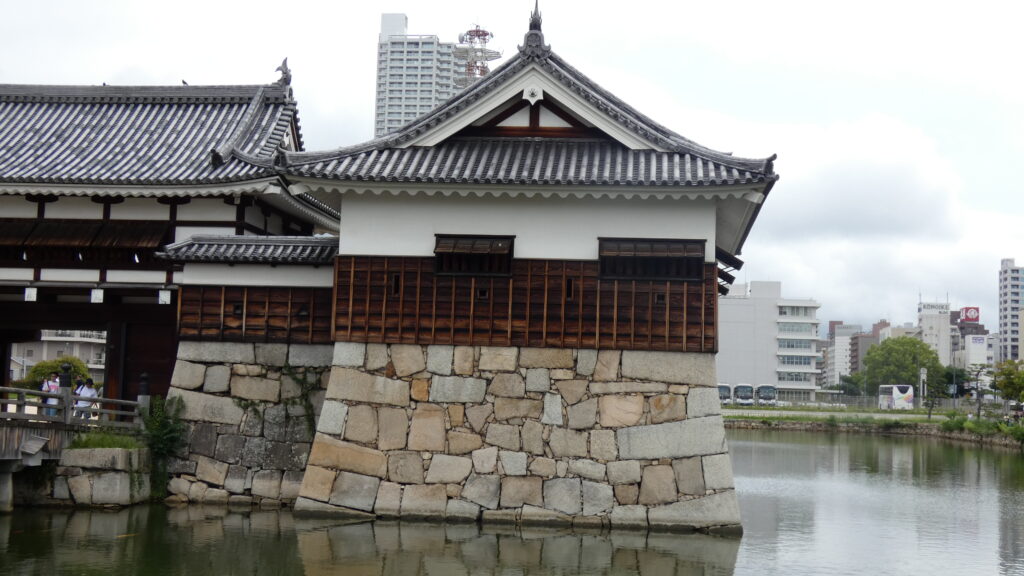
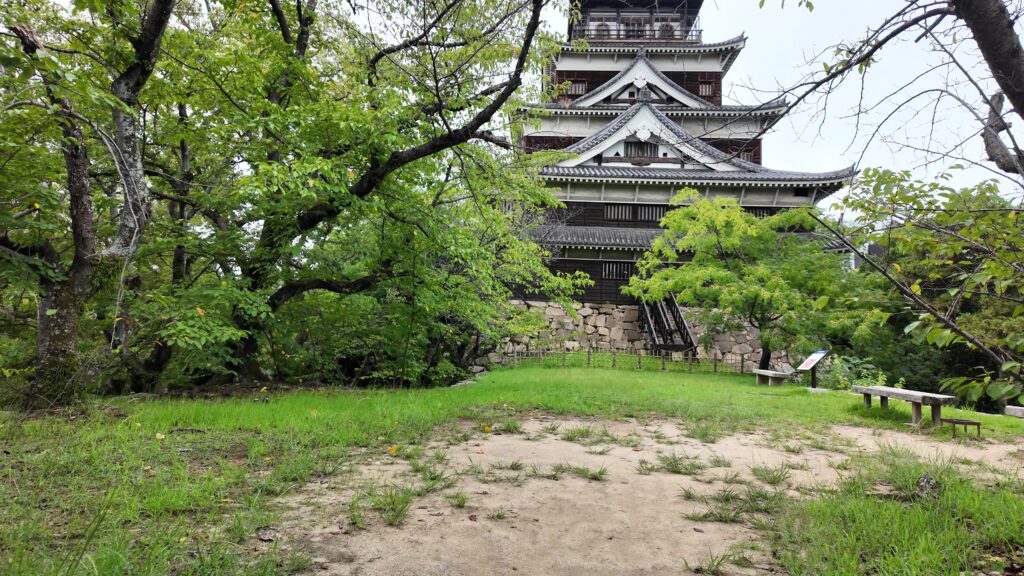
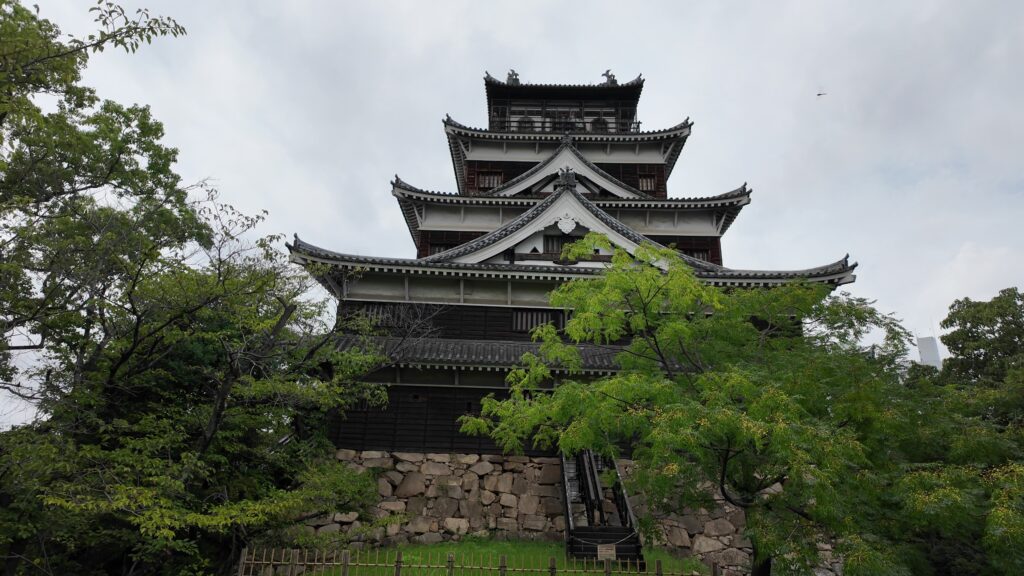
天守は4重6階で、3重目の上部分(4階)が下部分(3階)より張り出していました。4重目も同じようになっています。この形式は「南蛮造」「唐造」と呼ばれる珍しいものです。他には小倉城、高松城天守が同様の形式でした。(以上➉)現在再建されている天守は、観光のため、錦帯橋が望める位置に築かれましたが、もとは櫓があった場所でした。また再建天守は、天守の古図(「天守構造図」)を基に設計されています。また、オリジナルの天守台は元の場所に復元されています。(以上⑧)よって、オリジナルの天守がどんな風だったかイメージすることはできます。
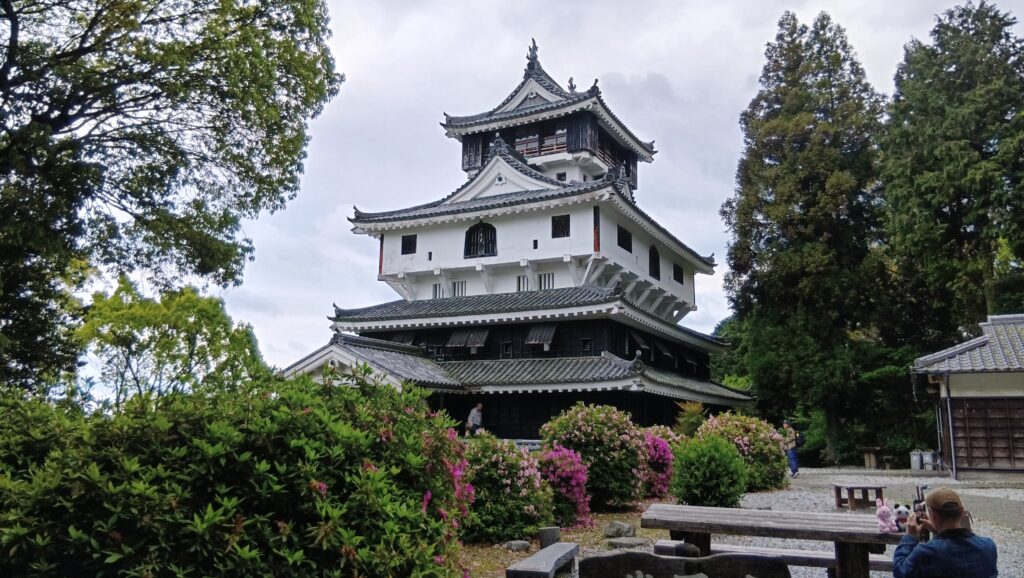 岩国城再建天守
 復元されたオリジナルの天守台
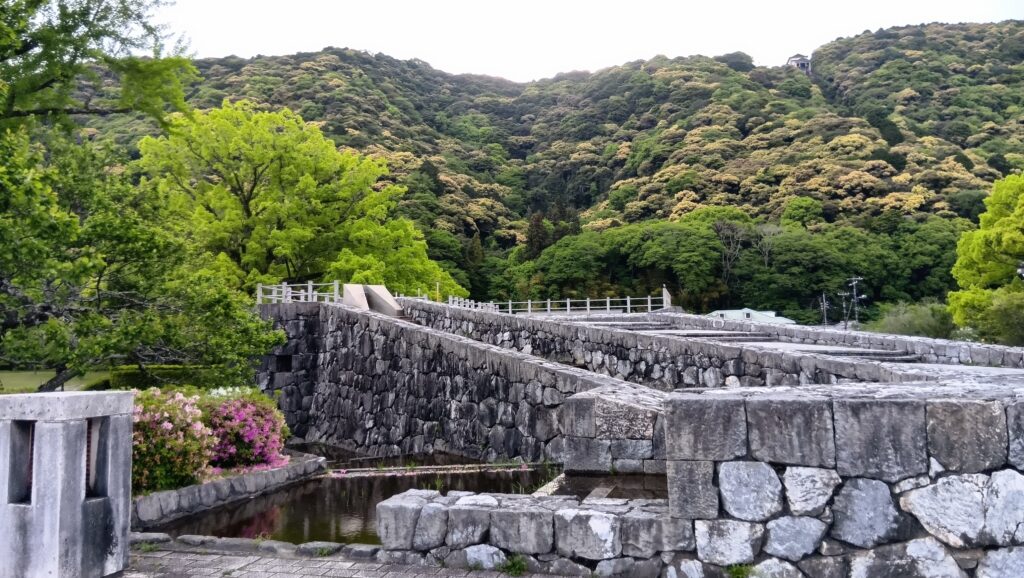
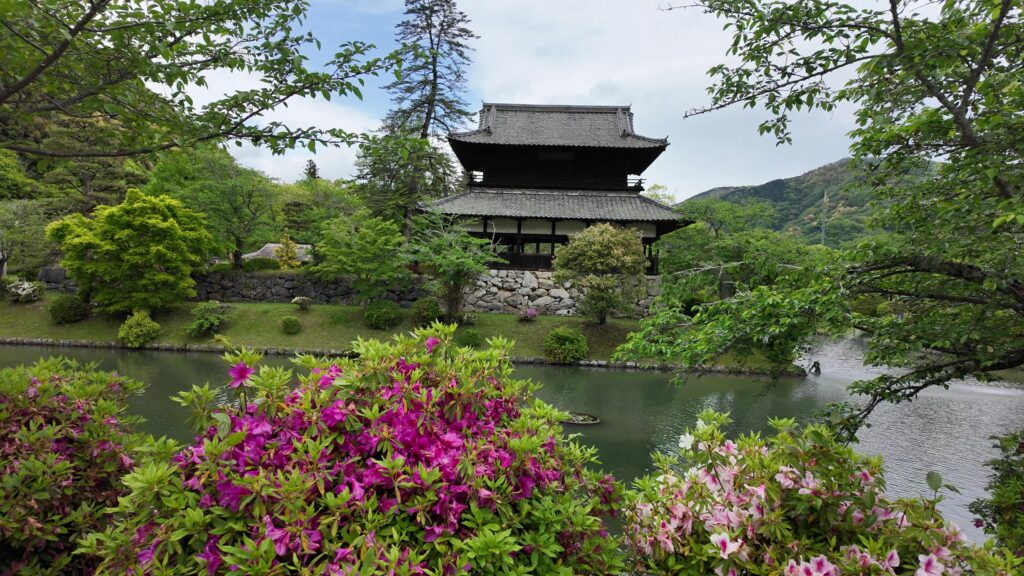
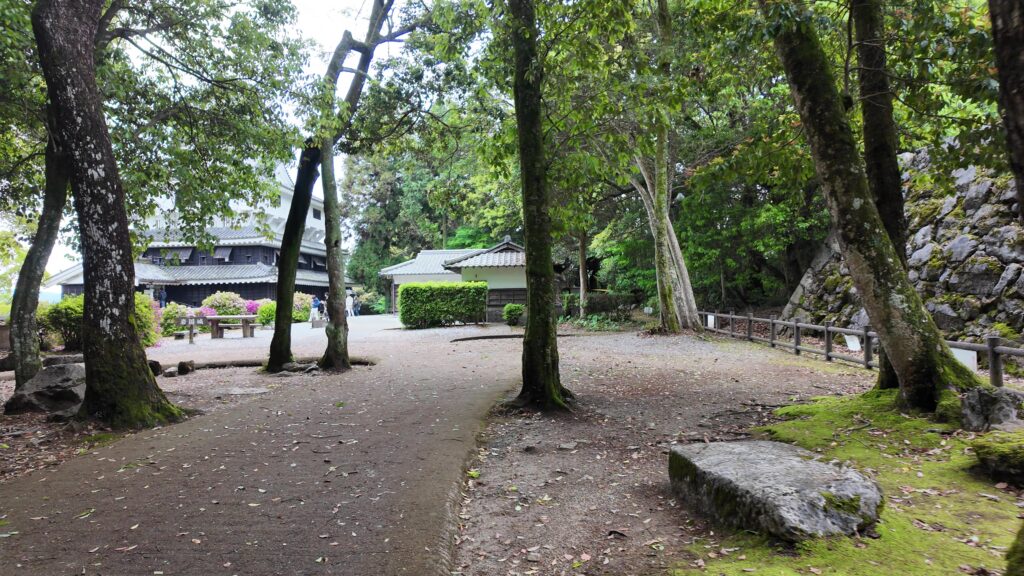
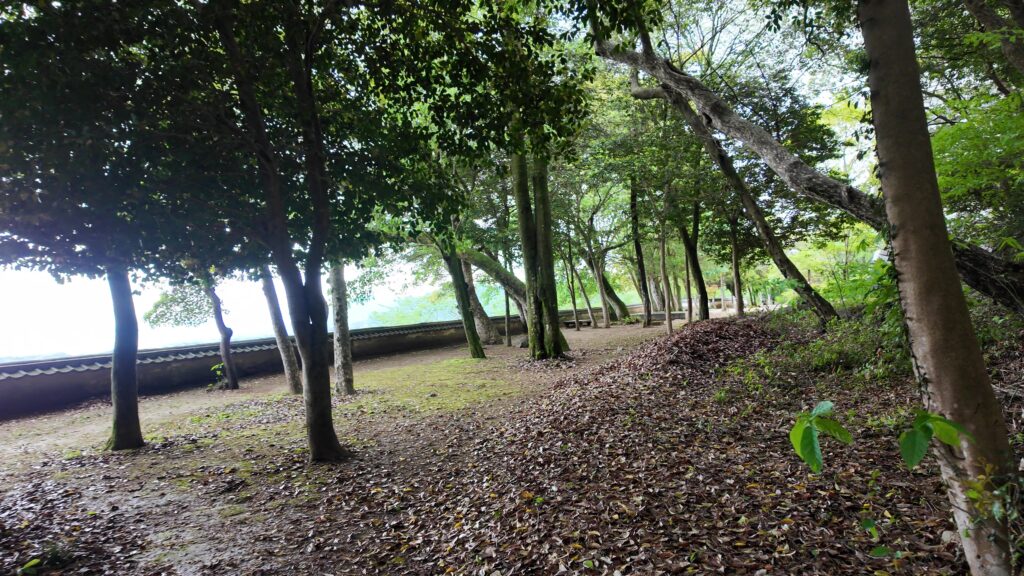
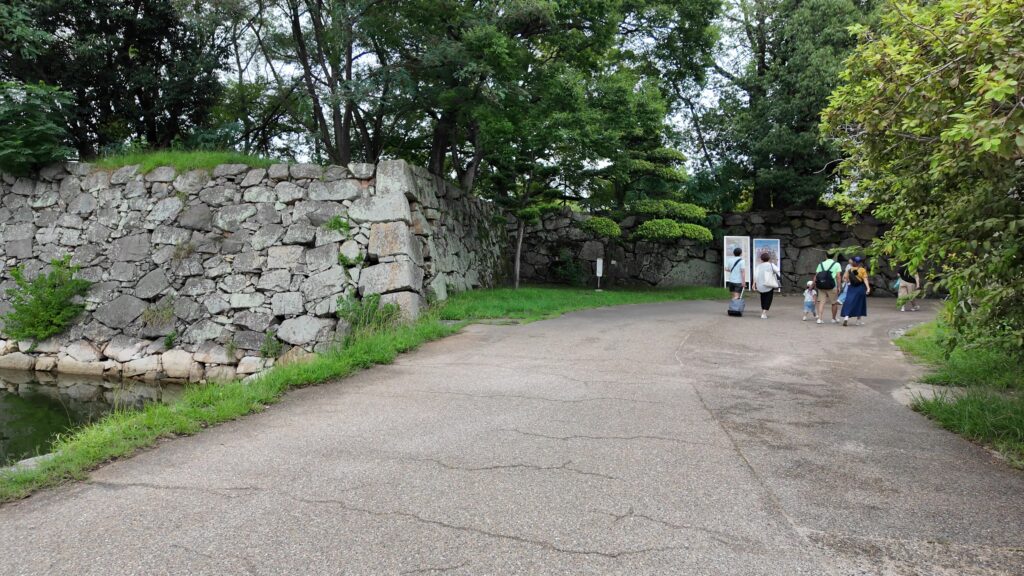
ところが、その城の命は、わずか7年で終わりました。豊臣氏が滅亡した1615年(慶長20年)、幕府は「一国一城令」を制定しました。大名が居住する城郭を除いて、すべて廃城にせよという厳しいものでした。文字通りとれば、周防国には他に城はないので取り壊す必要はないという理屈も成り立ちます。しかし、同じような立場の毛利秀元は居城(櫛崎城)を取り壊していて、毛利本家の意向もあり、吉川氏も従わざるをえなかったとされます。(段落全体①③)山上の城部分が破却され、山麓の居館部分が「陣屋」として継続しました。
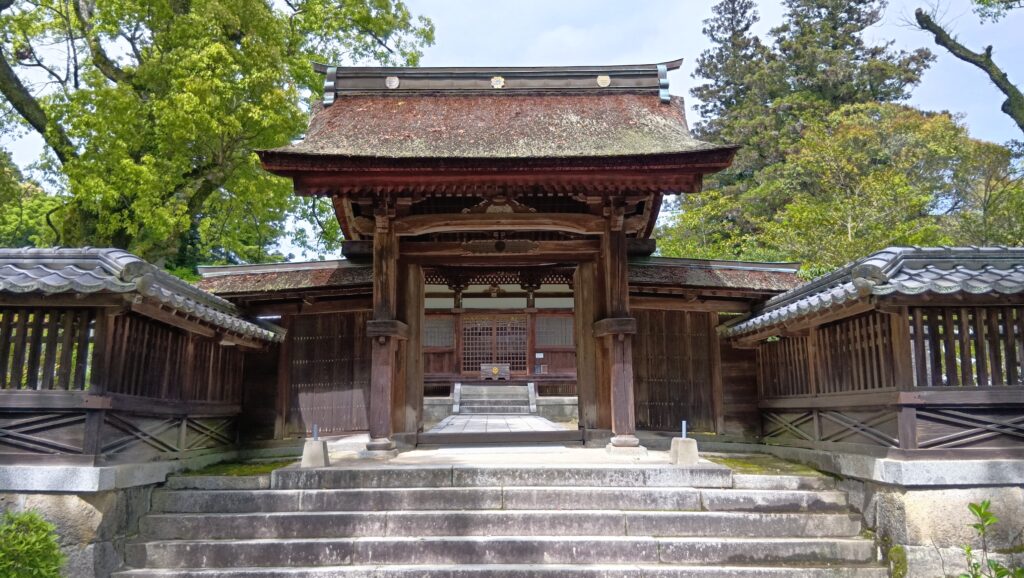
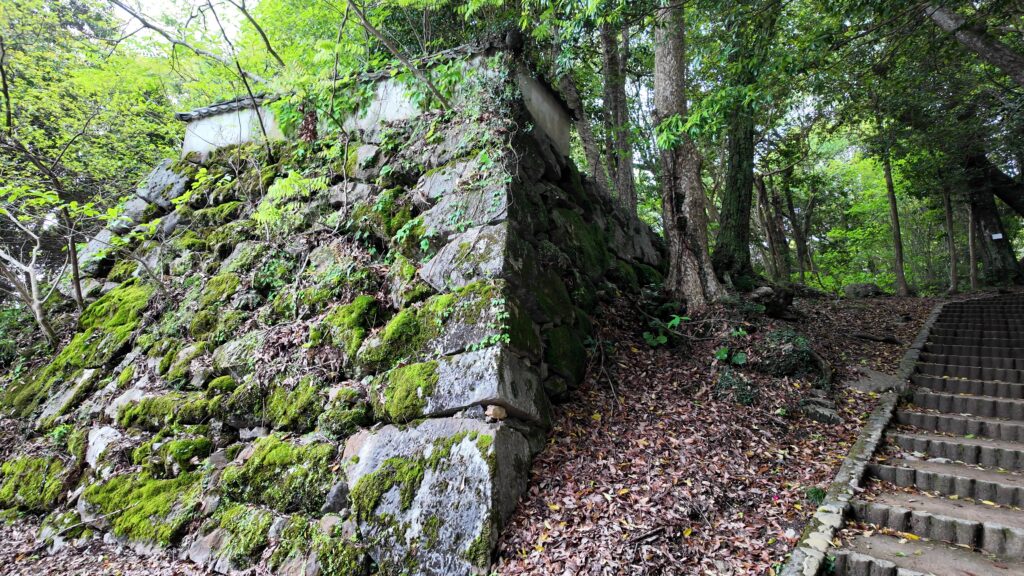
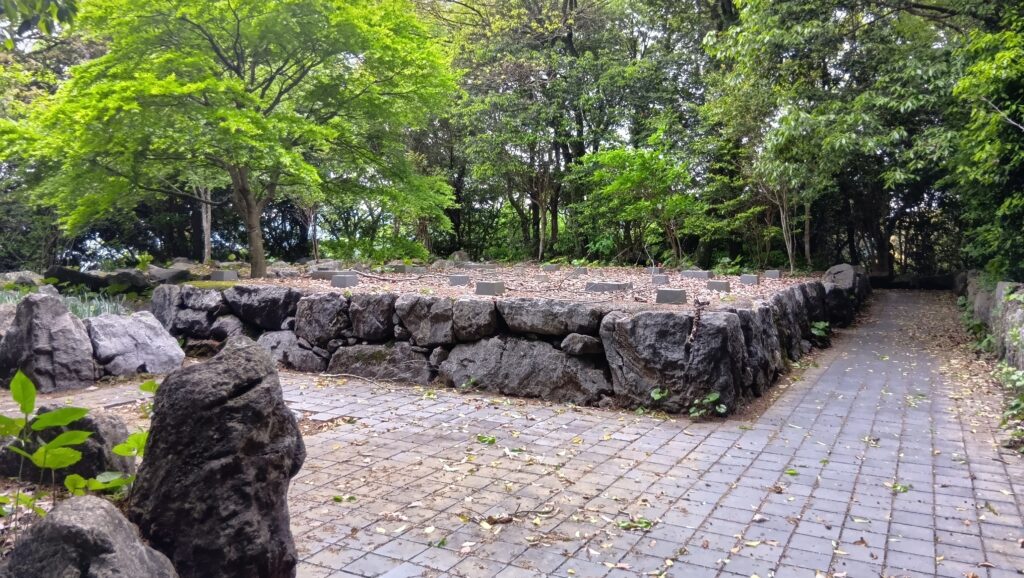
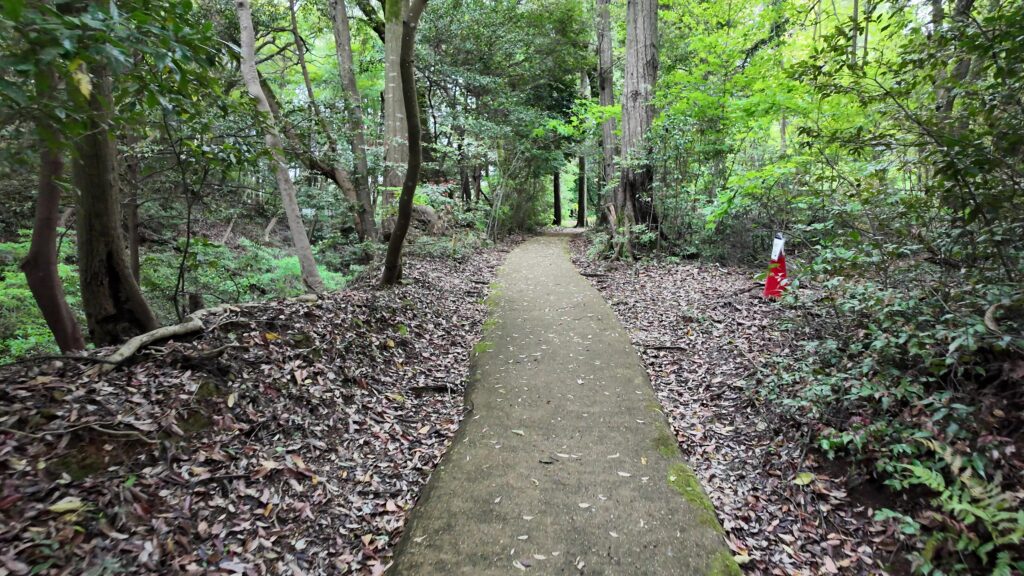
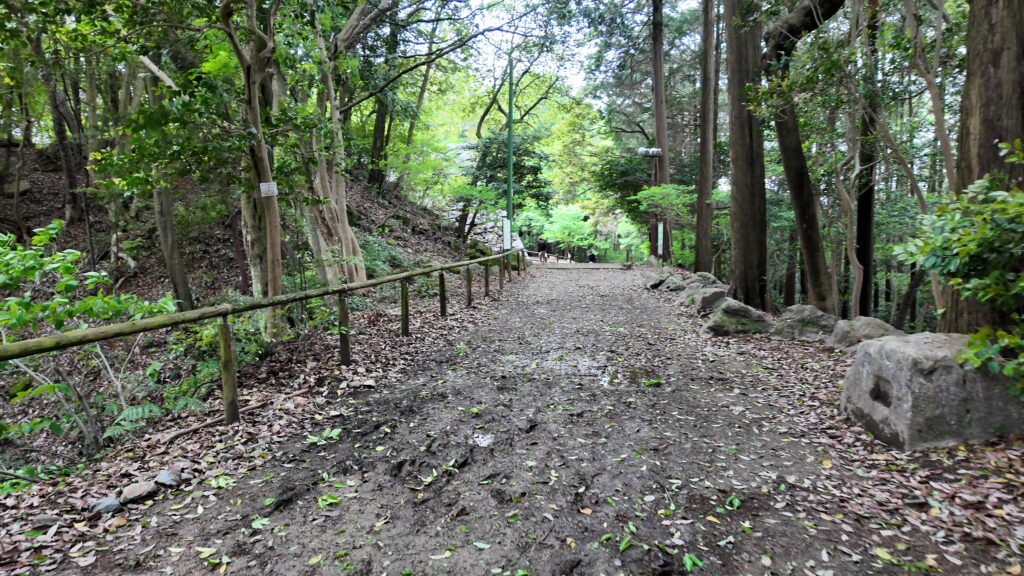
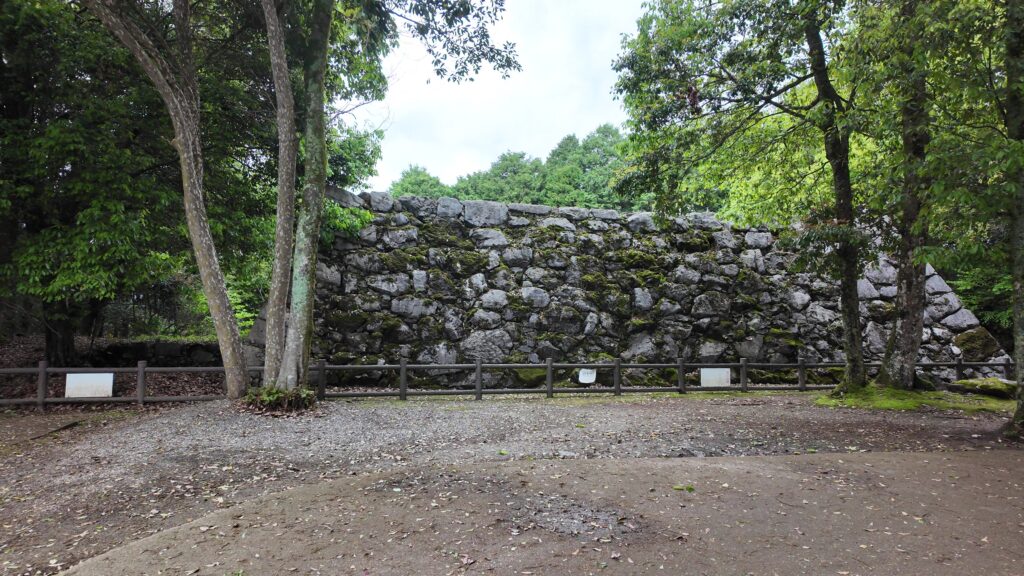
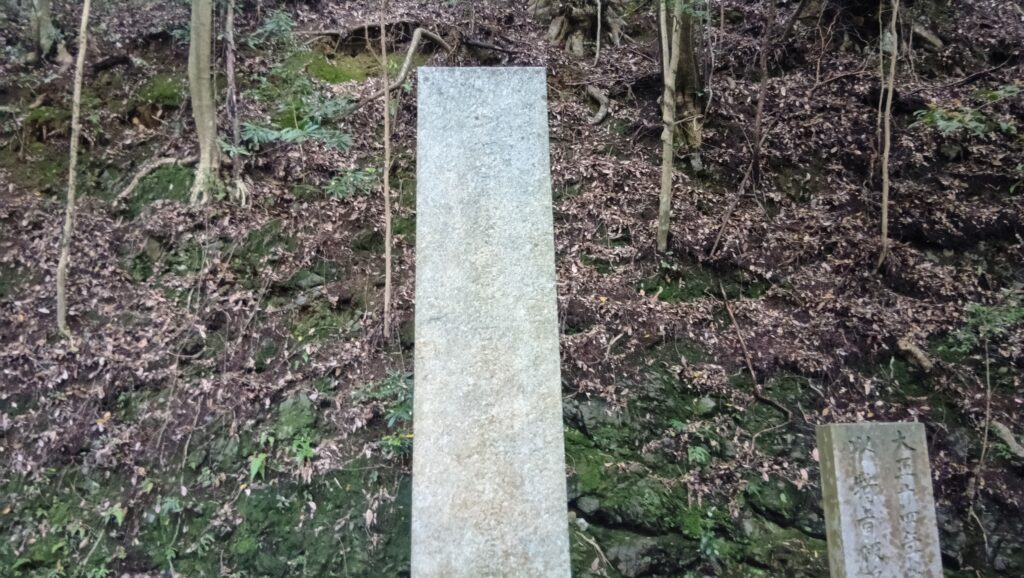
 山麓の居館「御土居」跡
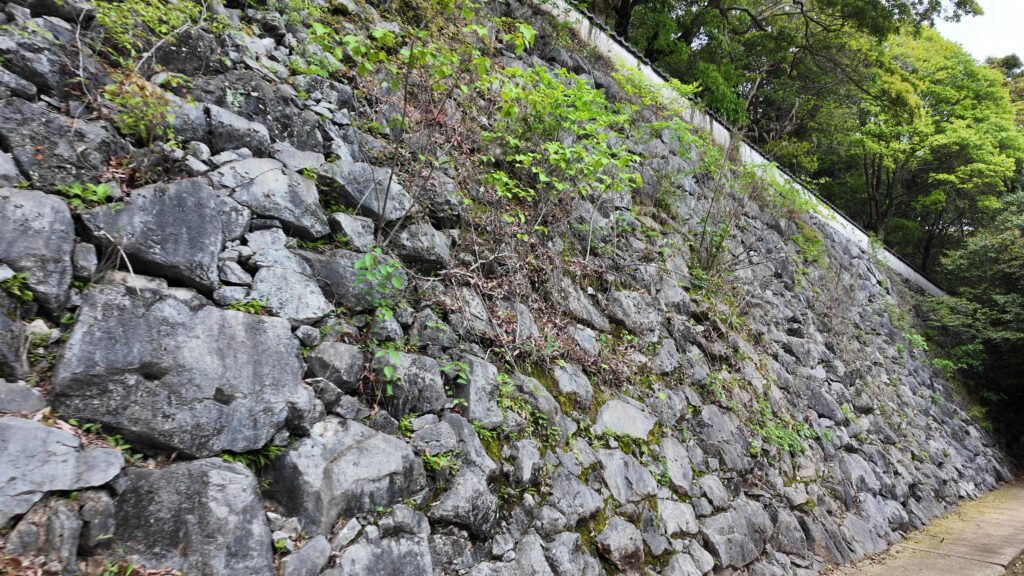
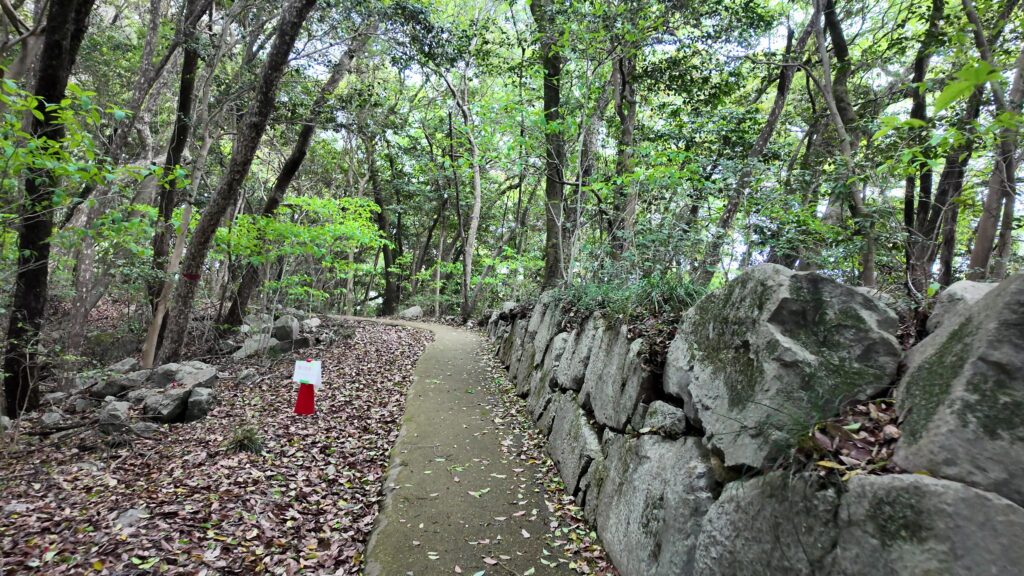
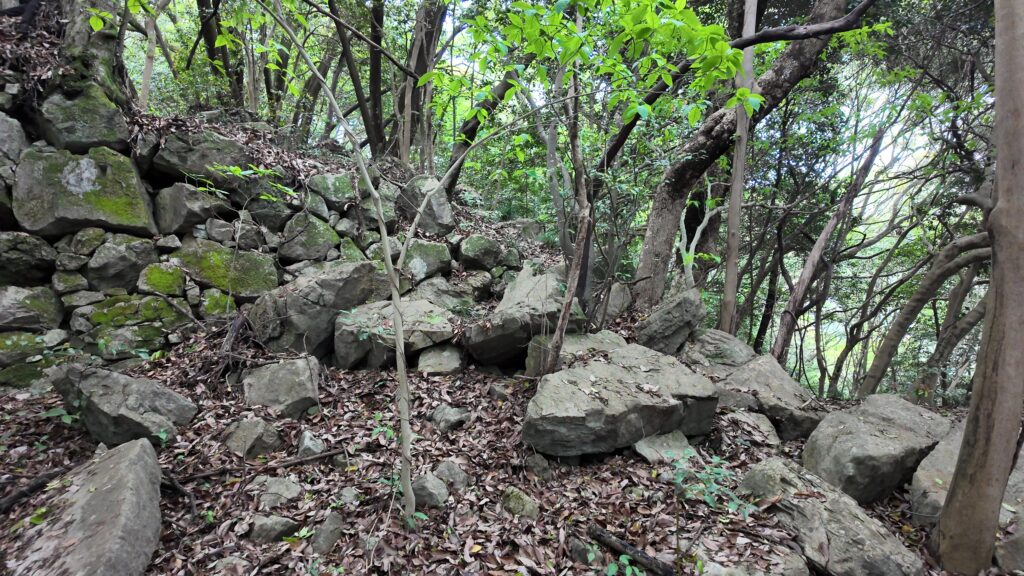
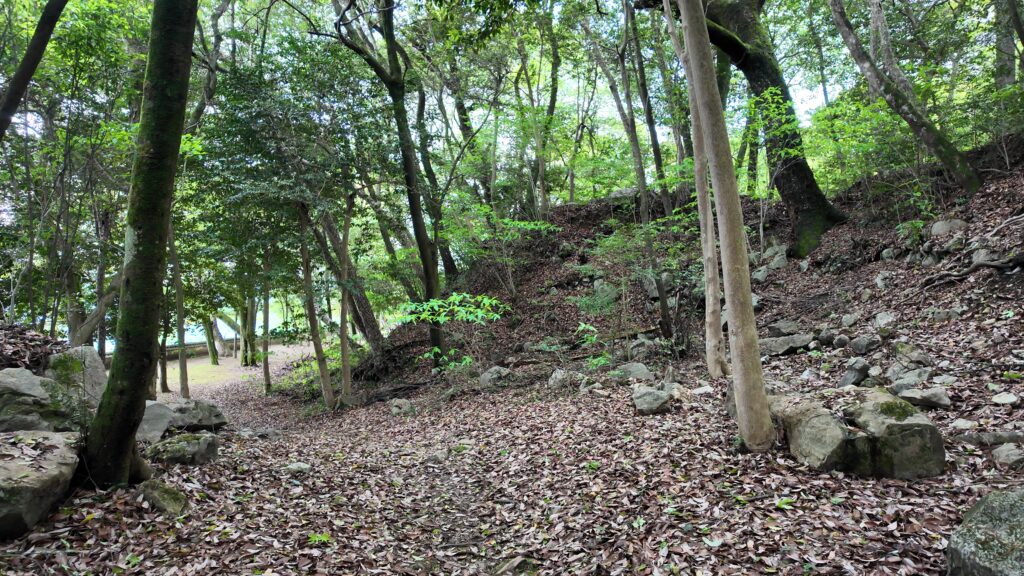
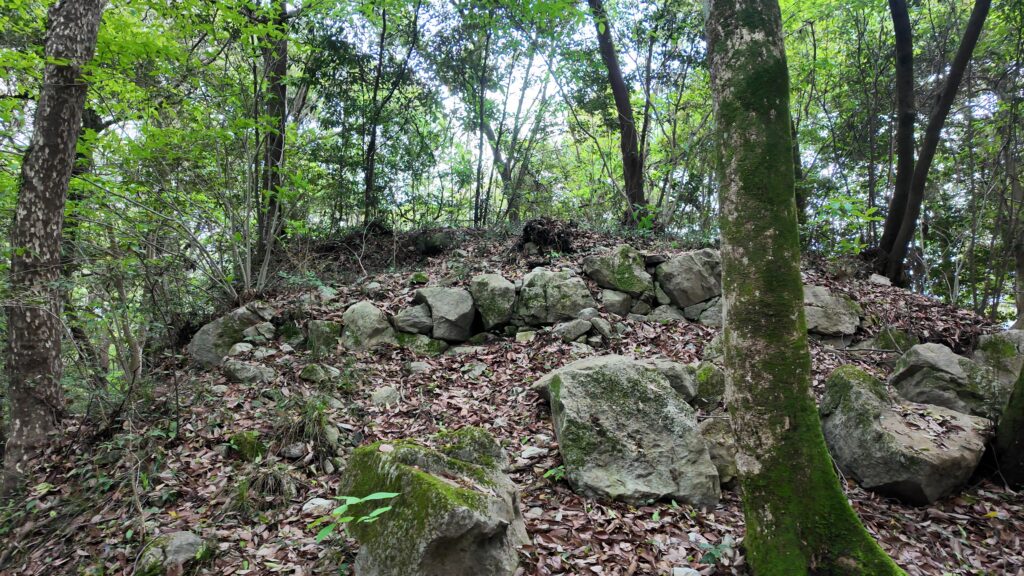
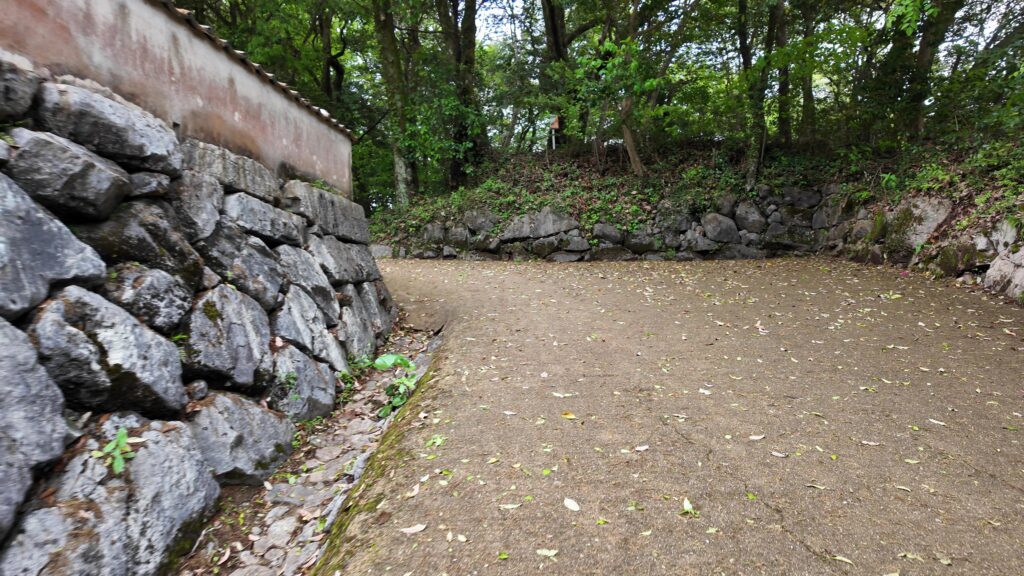
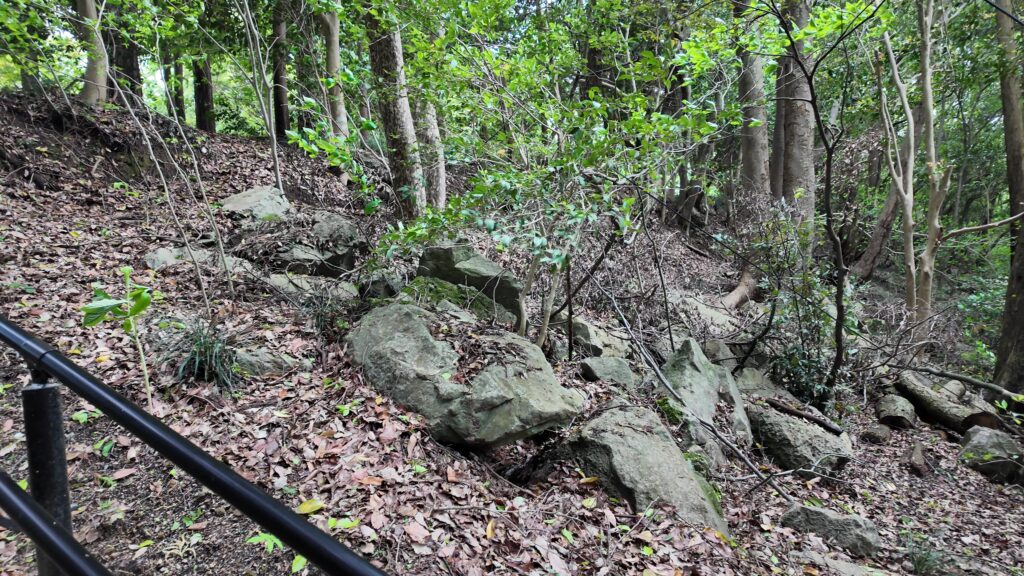
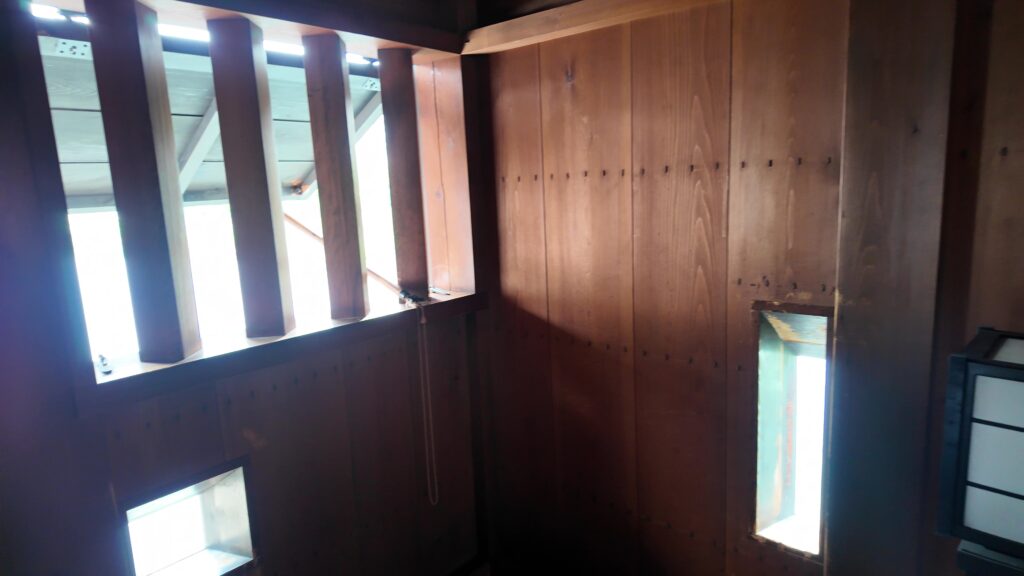
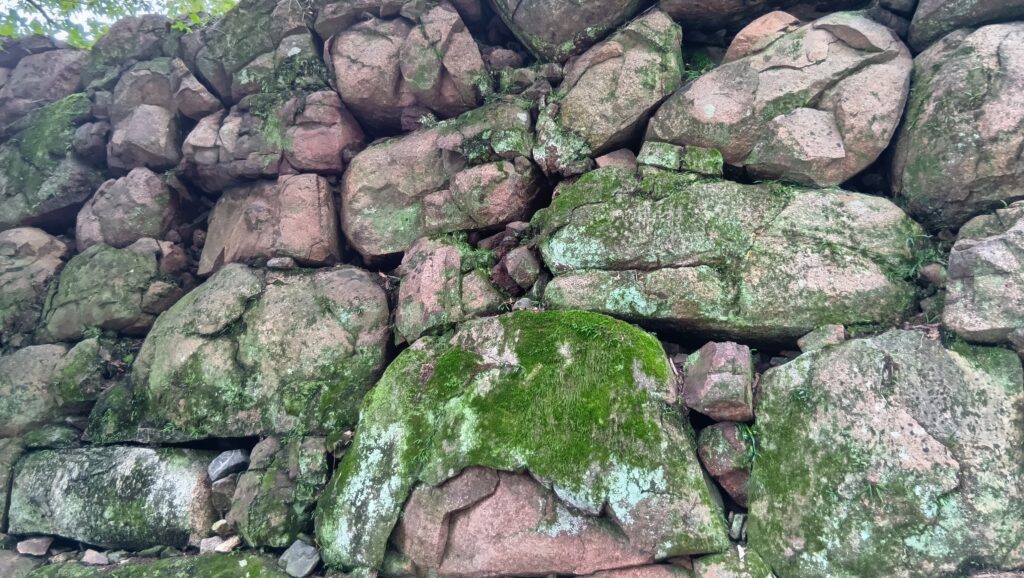
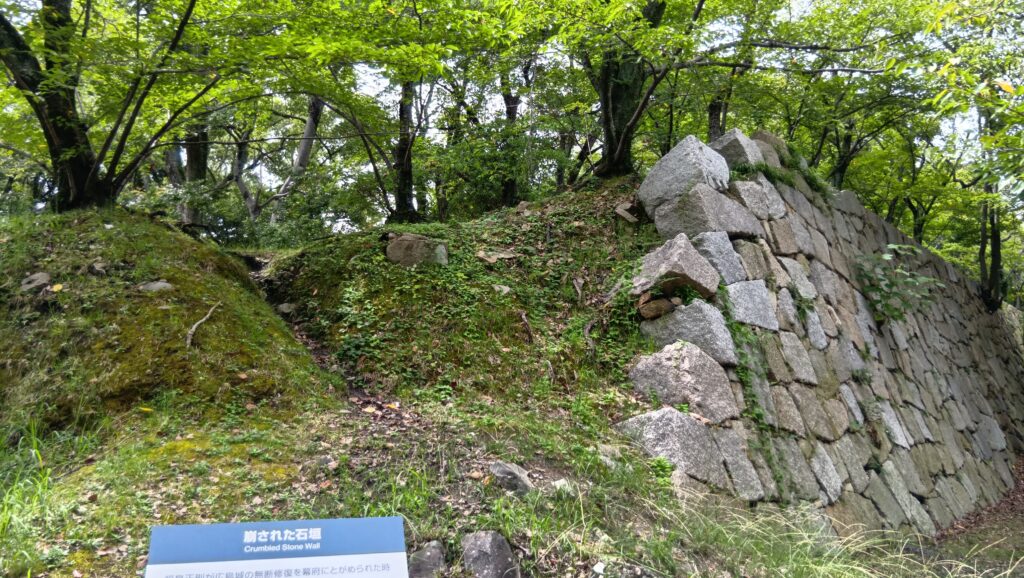
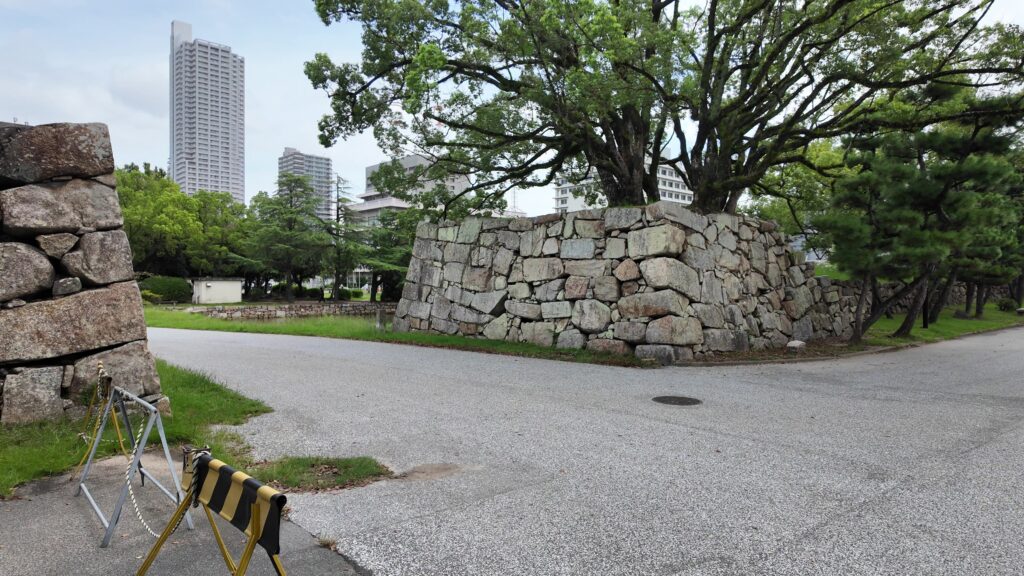
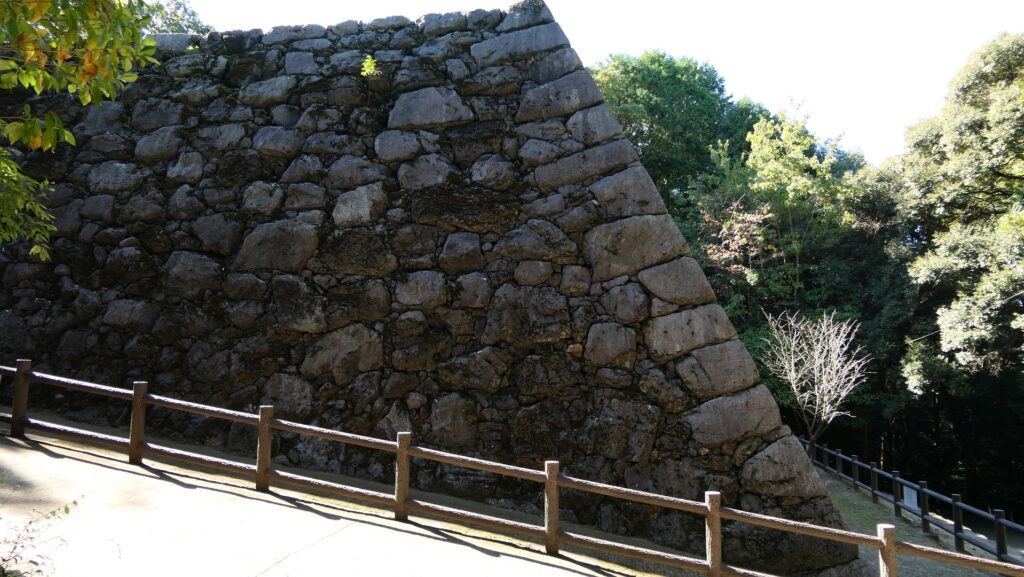
ただし、山上については、建物は除去されたものの、石垣の壊し方には特徴があります。現在、街道がある西側では徹底的に破却されたと見えるものの、居館・城下町がある東側ではかなり残っているのです。これは石垣がいつ壊されたかによりますが(島原の乱後という説もある)、広家の考えによるものかもしれません。実際、彼は表の目立つ箇所のみ石垣を崩すという形式的な破城で済まそうとしているのです(下記補足11)。(以上③⑧➉)広家は、唯々諾々と従っていたわけではないのです。心血を注いで築いた城を少しでも残そうとする意志と、難局を乗り切ってきた戦国大名としての意地を感じるのです。
(補足11)元和元年10月9日付家臣宛吉川広家書状(一部)
諸国の城を破却することについて、続いて情報を収集したところ、おそらく石垣まで破却するとのことです。そこで、岩国城の石垣についてももう少し崩すのがよいだろうと思います。(中略)また、城の表の方をとくに崩すのが適切なのではないでしょうか。人数が足りなければ、十~十五日間のことですので、皆々、雇傭しなさい。これは公儀のことですので、いずれにせよ、山麓からも城の方からもよく見比べて破却しなさい。(岩国徴古館蔵、現代語訳は③より)
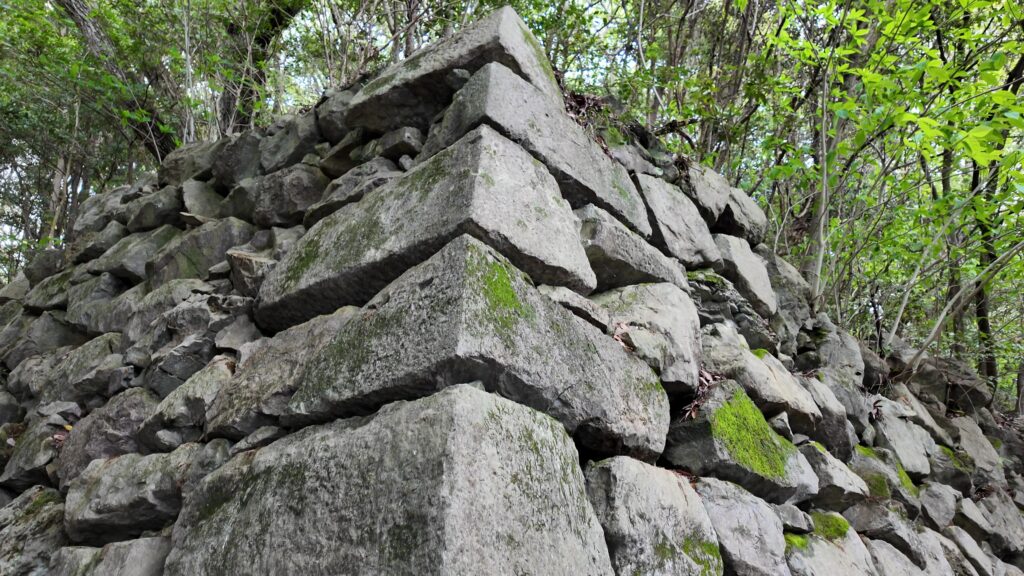
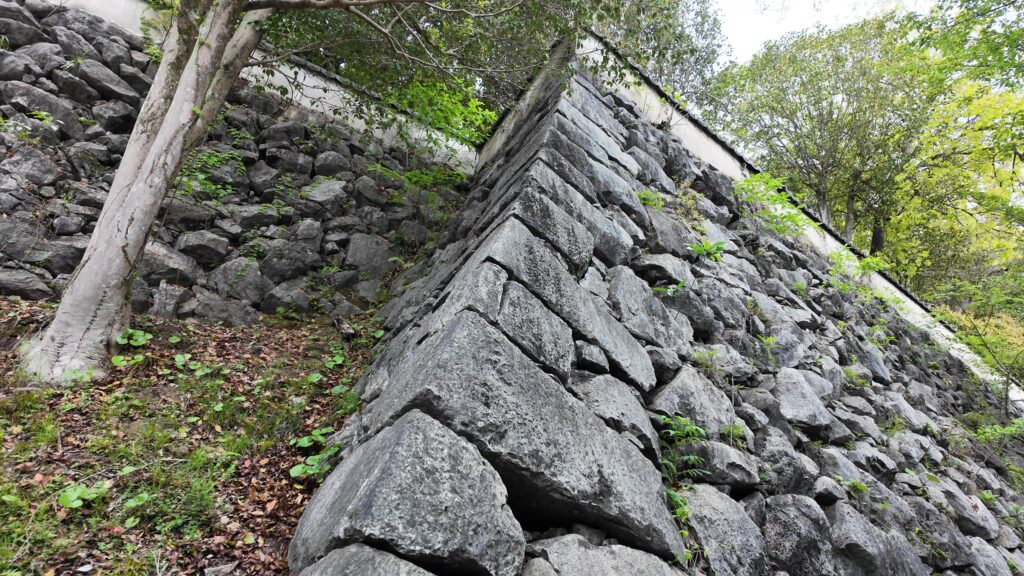
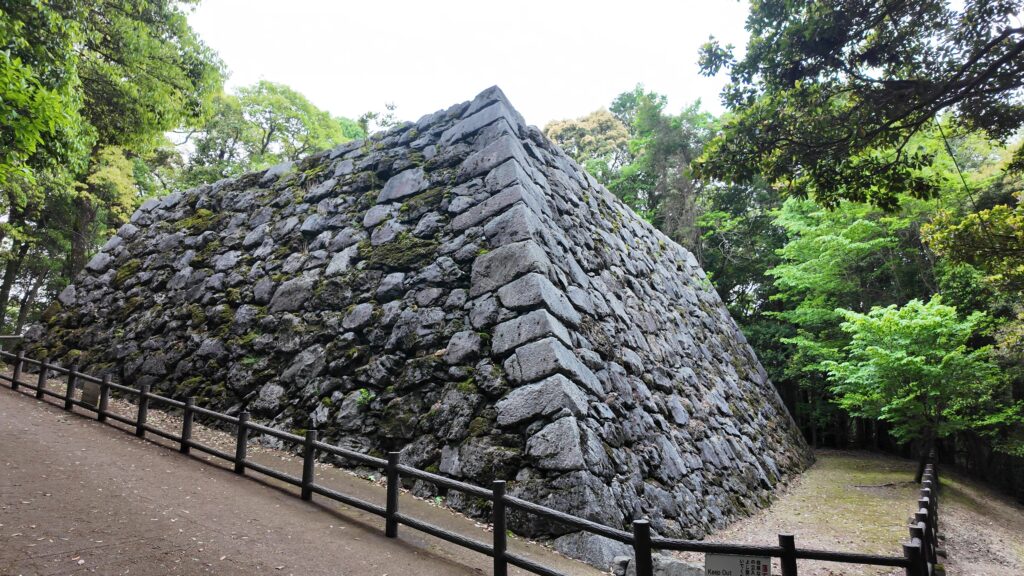
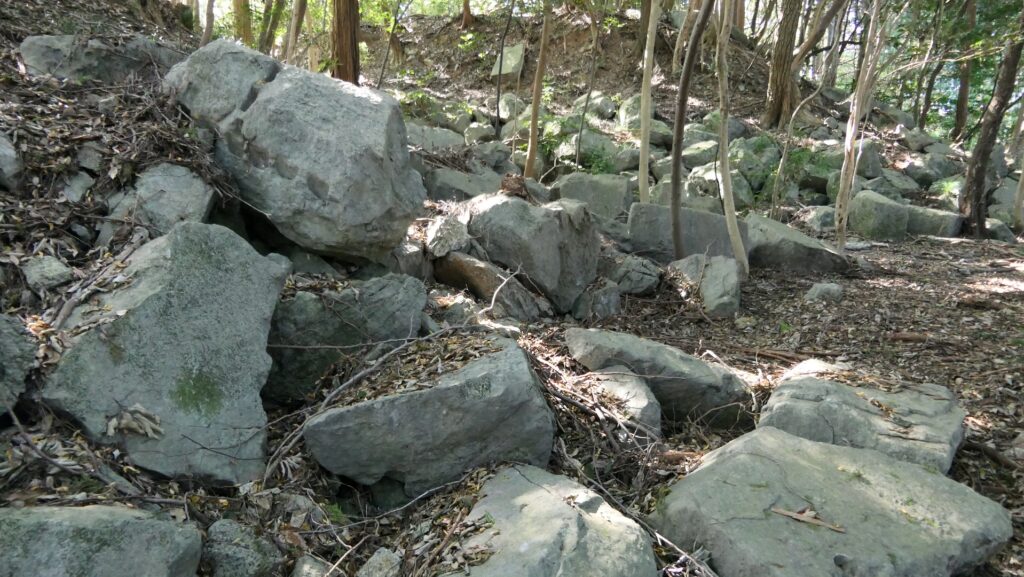 北の丸西側の石垣
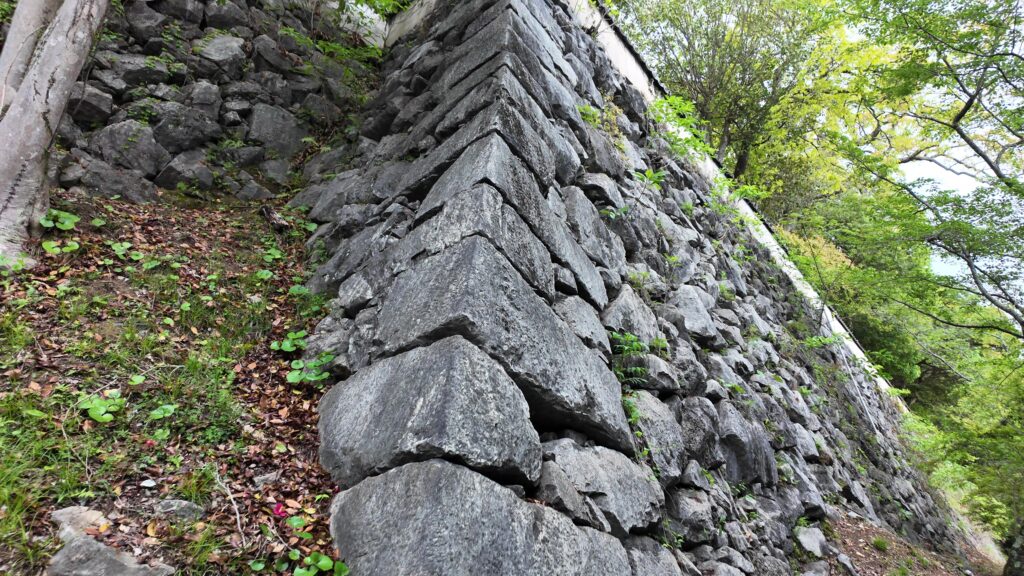 本丸東側の石垣
その後の「岩国藩」
吉川広家は、1625年(寛永2年)65歳で亡くなりました。広家の領地は、現代では、長州藩の支藩「岩国藩」として吉川氏に代々受け継がれていったと理解されています。しかし当時は、毛利氏一族の支藩(長府藩、清末藩、徳山藩)は大名格(従五位下以上)として公に認められた一方、岩国藩は家臣扱いのままでした。(以上①参考)長州藩設立以来の因縁かと思ってしまいますが、実際には将軍との距離感(お目見え・江戸在府期間・官位など)で決まっていったようです(⑪)。岩国藩は、その家格を上げるため運動を続けていくことになります。広家が自ら大名になることを拒絶してまで毛利本家の危機を救ったとする物語は、その一環でできたと考えられます(③)。それが岩国藩が関わってできた軍記物「陰徳太平記」など(他には「関ヶ原軍記大成」など)によって広まっていったのです(③⑪)。
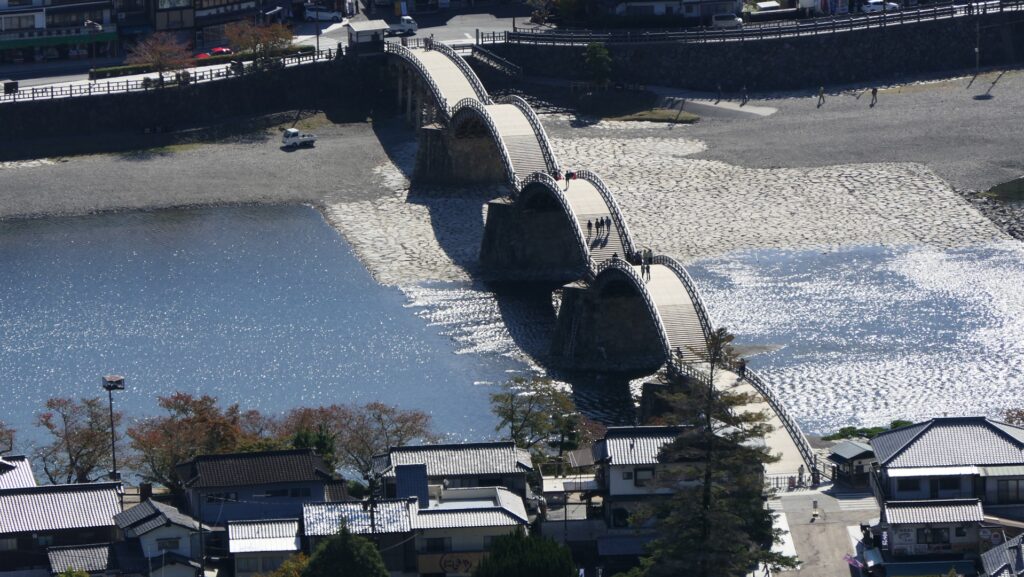
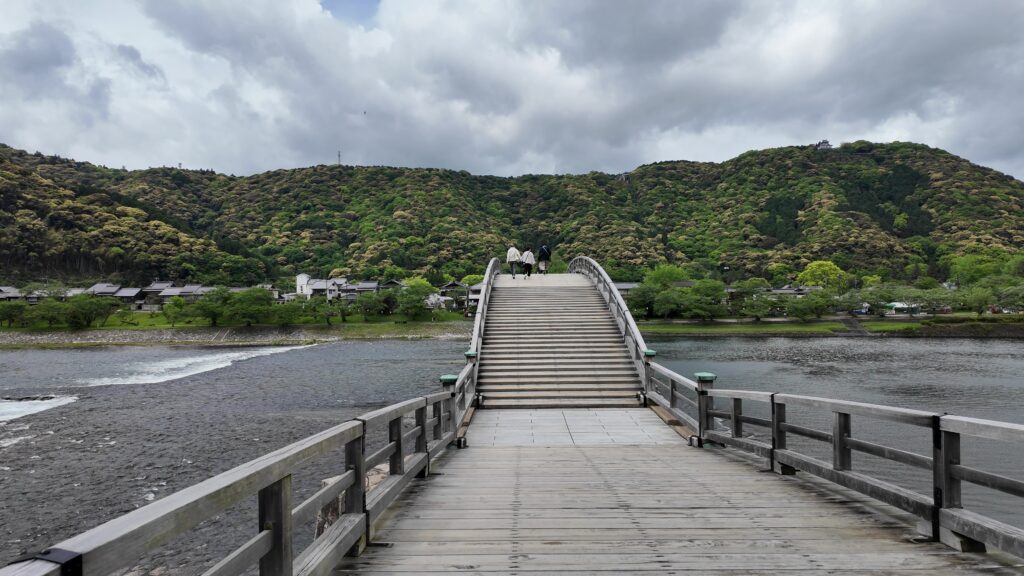
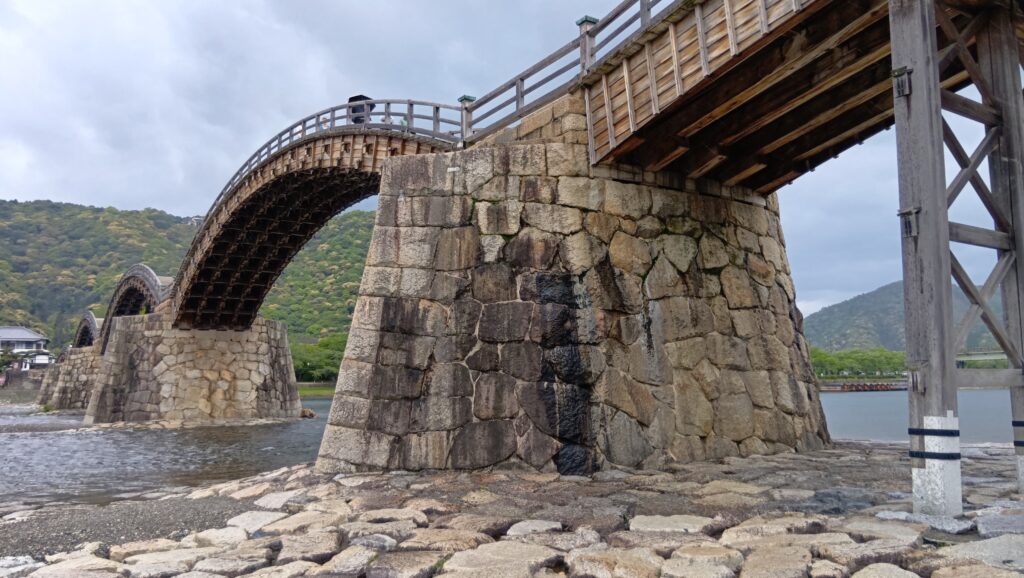
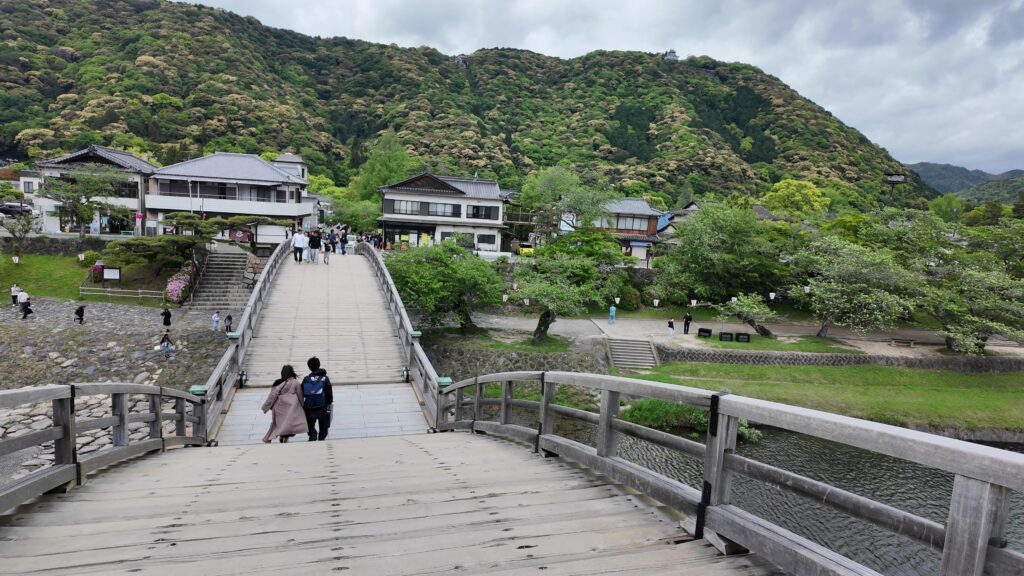
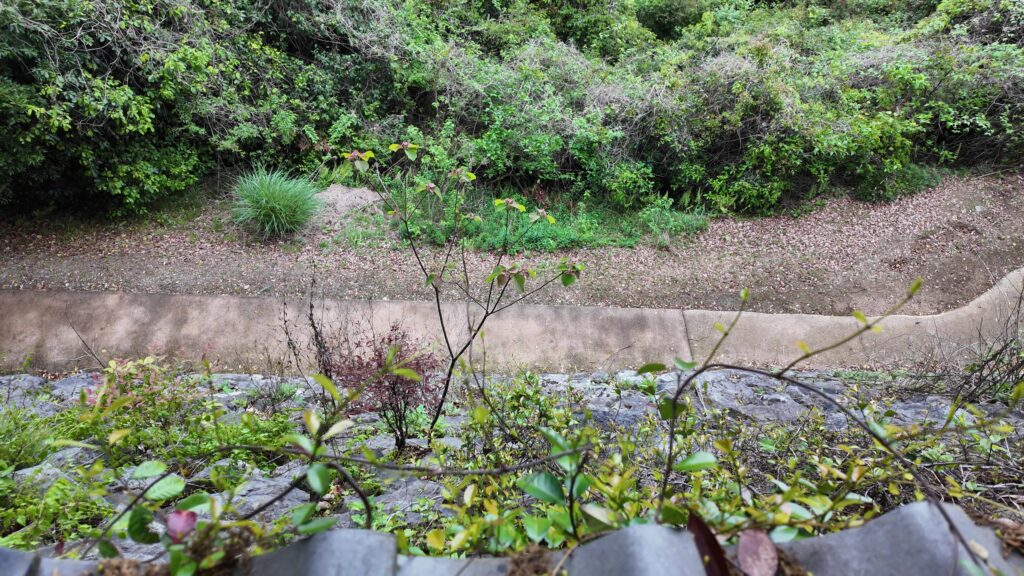
そんな中で、3代目藩主・吉川 広嘉(ひろよし)は、有名な錦帯橋を創建しました。城から錦川の対岸には城下町がありましたが、錦川は暴れ川で、2代・広正が架けた橋が、たった2年で洪水により流出していました。流れない橋は架けられないかと広嘉は考えたのです。各地の名橋を見聞し、人材を集めました。そして、1673年(延宝元年)に初代・錦帯橋が架けられたのです。流されないために橋台の数を押さえ、かつ石積みで強固にし、アーチ型の木製の橋梁部を渡し、全く独創的な橋になりました。実は初代は8ヶ月に流出してしまうのですが、改良・再建(1674年)したものが276年間保たれたのです(改良、補強、補修、定期的な架け替えが行われた)。残念ながら1950年の台風が原因で流出してしまいますが、また再建され、現在も変わらぬ姿を見せています。(段落全体①)
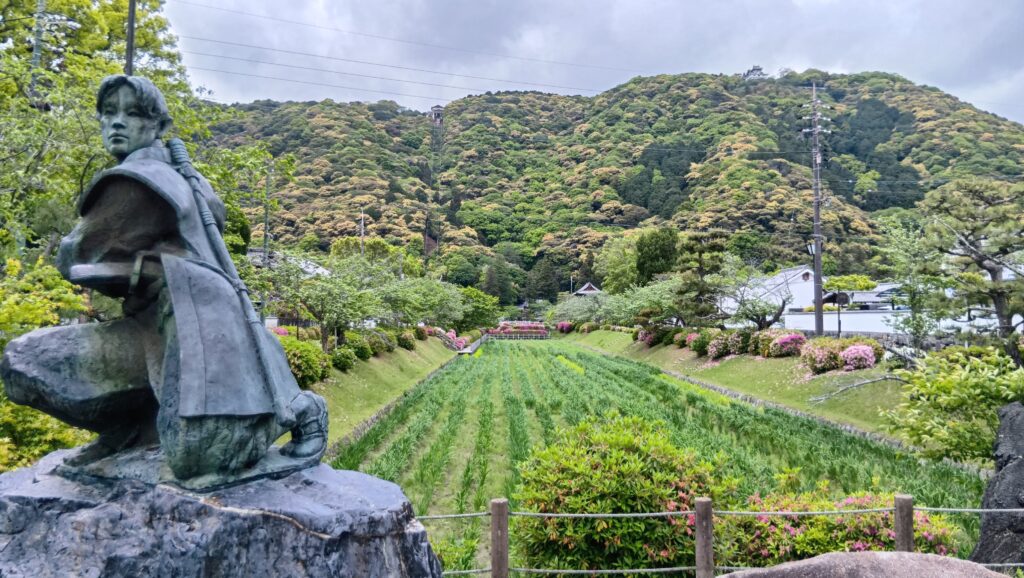
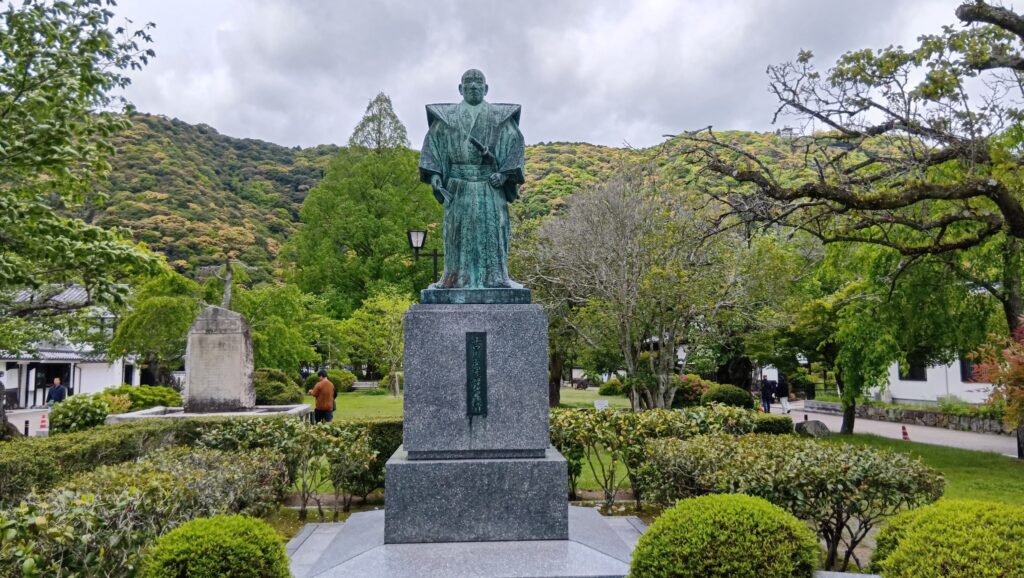 吉川 広嘉像
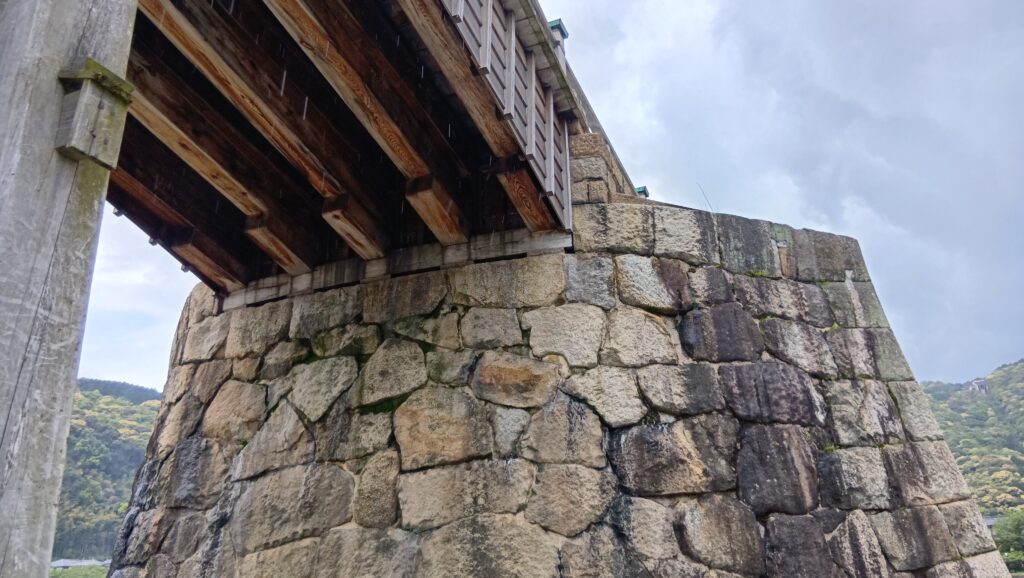 錦帯橋の橋台
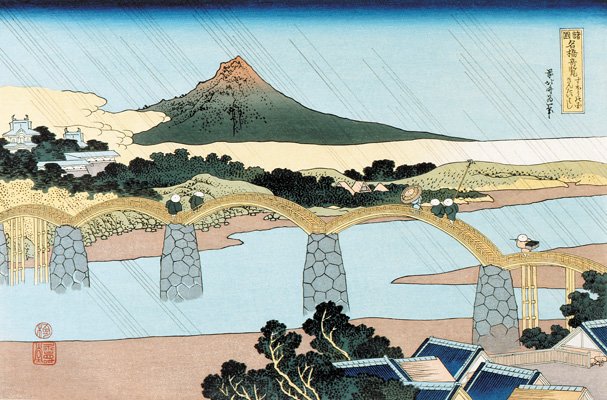 葛飾北斎「諸国名橋奇覧」より「すほうの国きんたいはし」、江戸時代 (licensed under Public Domain via Wikimedia Commons)
時代は幕末、12代藩主・吉川経幹(つねまさ)のときに飛びます。長州藩は幕府に反抗したので、東国境の岩国が、戦いの最前線になったのです。岩国藩と経幹はその立地や立場から重要な役割を果たしました。1864年(元治元年)の第一次長州征討では、幕府と長州藩との講和の折衝役を務めました。1866年(慶応2年)の第二次長州征討では「芸州口」として国境が戦場になりました。数の上では圧倒的に不利だったため、経幹は山上の城跡に籠城することまで考えたそうです。幕府軍の先鋒は井伊・榊原隊で関ヶ原のときのような兵装でした。その再現を狙っていたのかもしれません。しかし、長州・岩国隊は今回は結束し、武器の性能も上回っていました。幕府軍を撃退したのです。岩国隊はその後も活躍し、1868年(明治元年)経幹は、新政府から大名格(従五位下)に任じられました。ここに岩国藩の悲願が達成されたのですが、そのときすでに経幹は亡くなっていたのです(死が伏せられていた)。その地位は子(経健)が受け継ぎましたが、1871年(明治4年)には廃藩置県を迎えることになるのです(吉川家は子爵、男爵に)。(段落全体①)
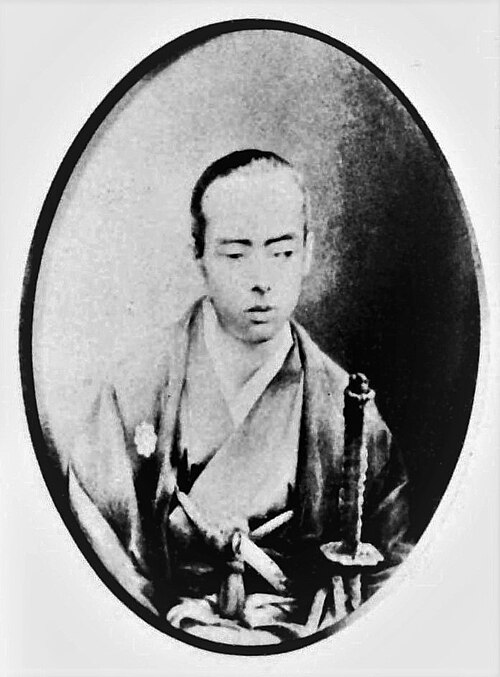 吉川経幹 (licensed under Public Domain via Wikimedia Commons)
リンク、参考情報
①「岩国を築いた英智の三藩主/藤井淳史著」吉川報效会
②「吉川広家公没後400年記念 開館30周年記念展 第三期 広家の関ケ原」吉川史料館
③「毛利氏の御家騒動 折れた三本の矢/光成準治著」平凡社
④「吉川広家自筆覚書案(慶長6年、毛利輝元宛書状下書き、現代語訳は「吉川史料館たより第91号」による)
⑤「吉川史料館たより第74号」
⑥「関ヶ原前夜 西国大名たちの戦い/光成準治著」日本放送出版協会
⑦「黒田官兵衛・長政の野望 もう一つの関ヶ原/渡邊大門著」角川選書
⑧「山陰・山陽の名城を歩く 広島・山口編」吉川弘文館
⑨「吉川史料館たより第84号」
➉「歴史群像シリーズ よみがえる日本の城7」学研
⑪「シリーズ・織豊大名の研究4 吉川広家/光成準治編著」戒光祥出版
「岩国城 その2」に続きます。