Location and History
Introduction
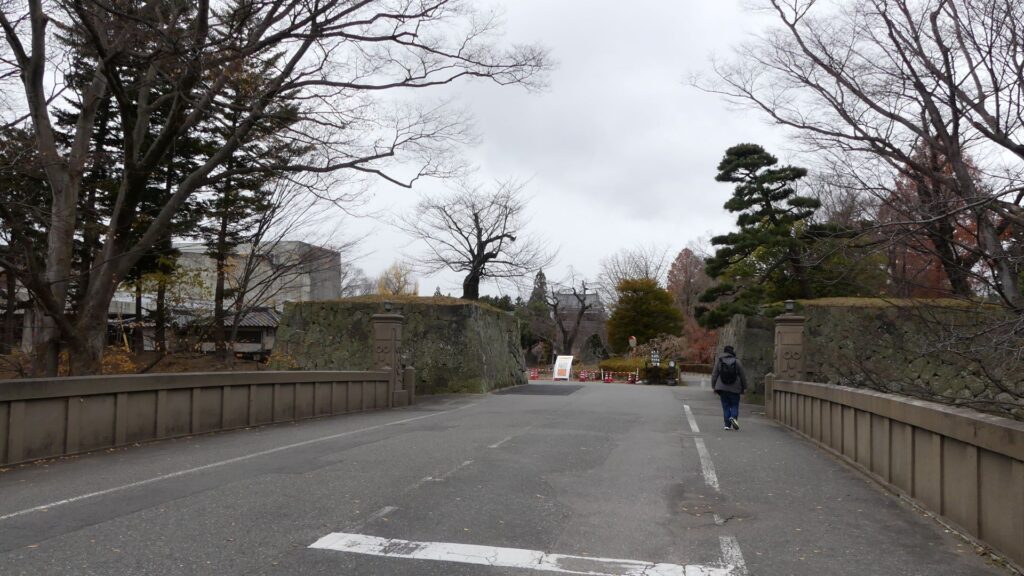
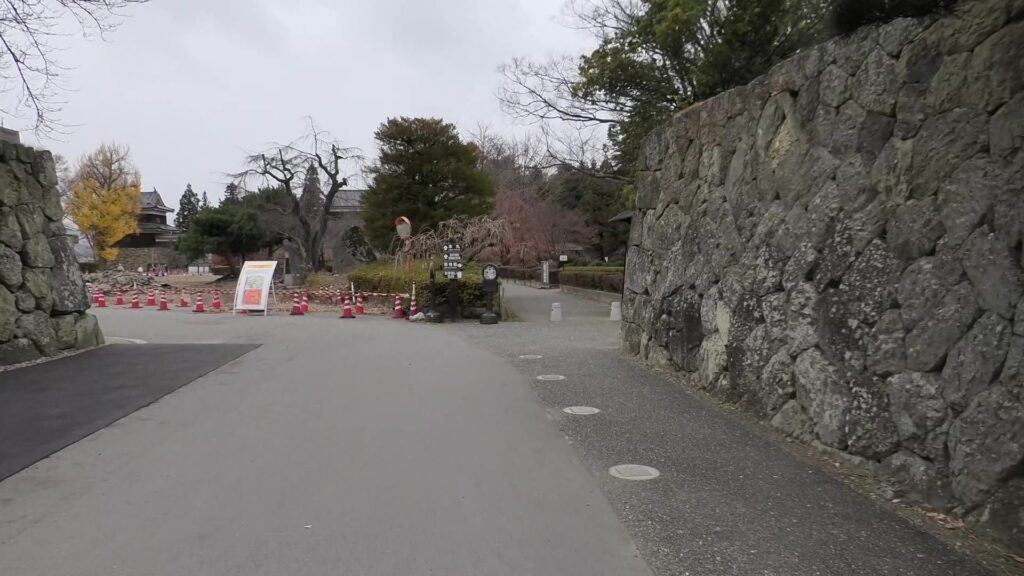
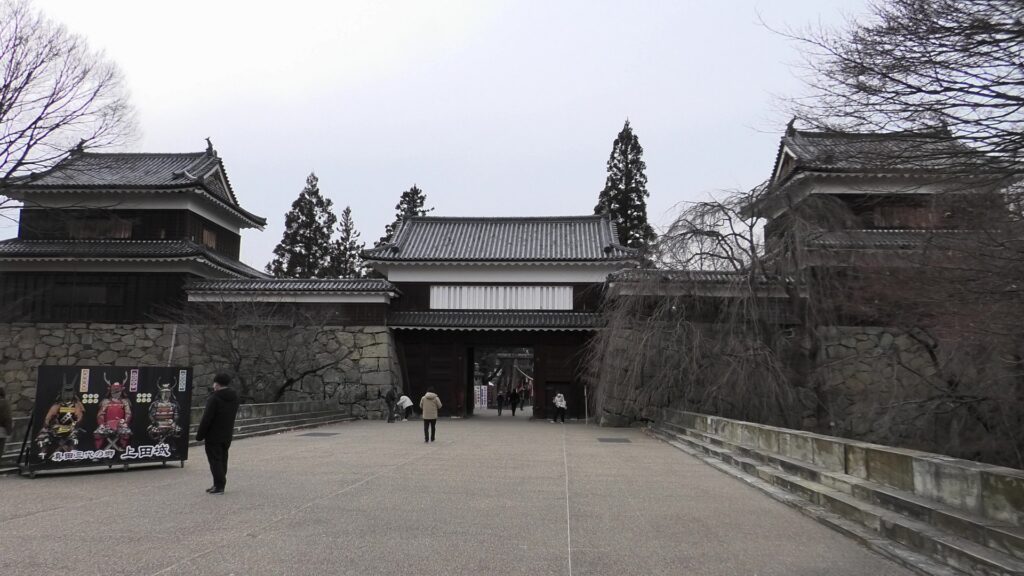
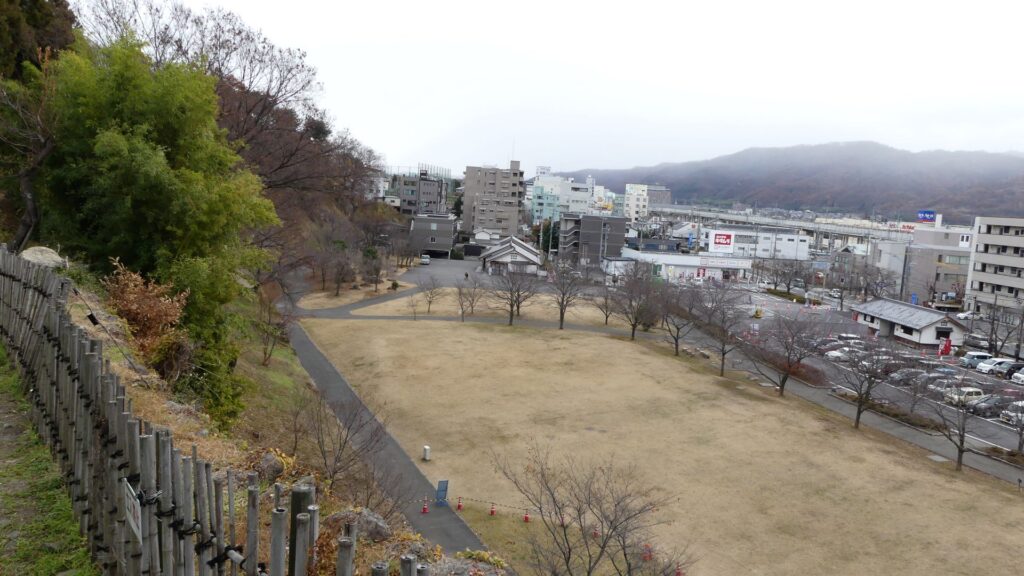
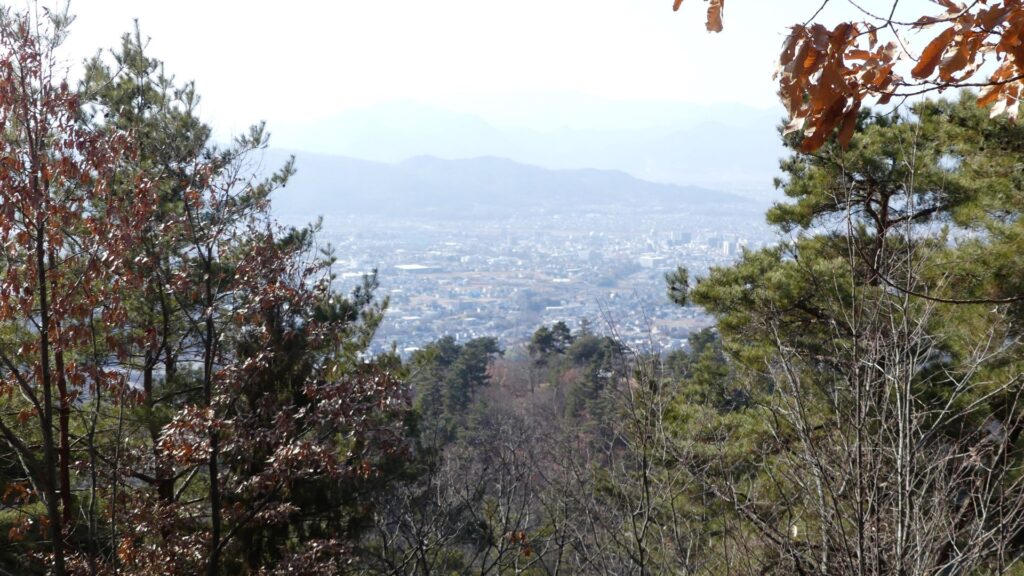
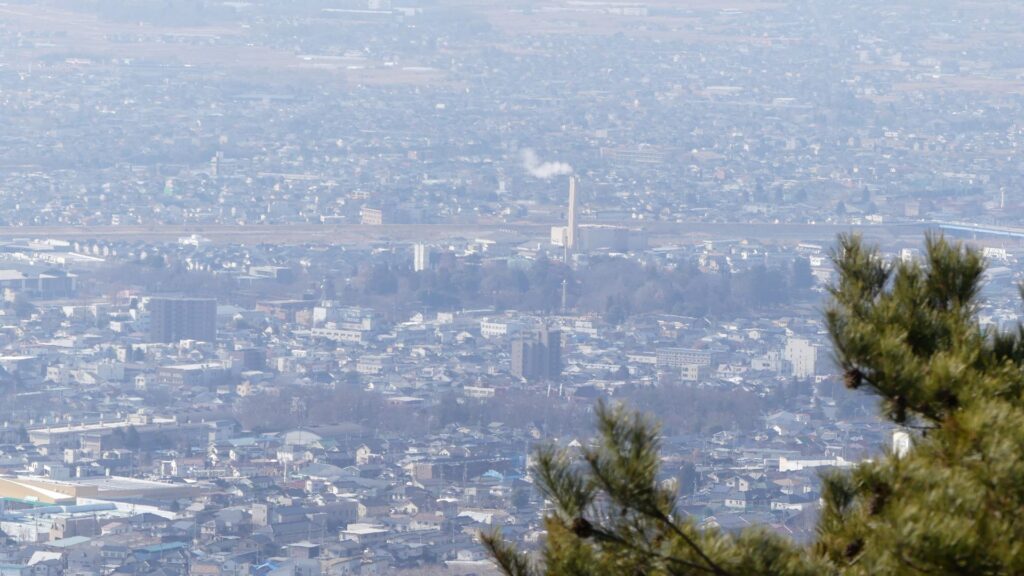
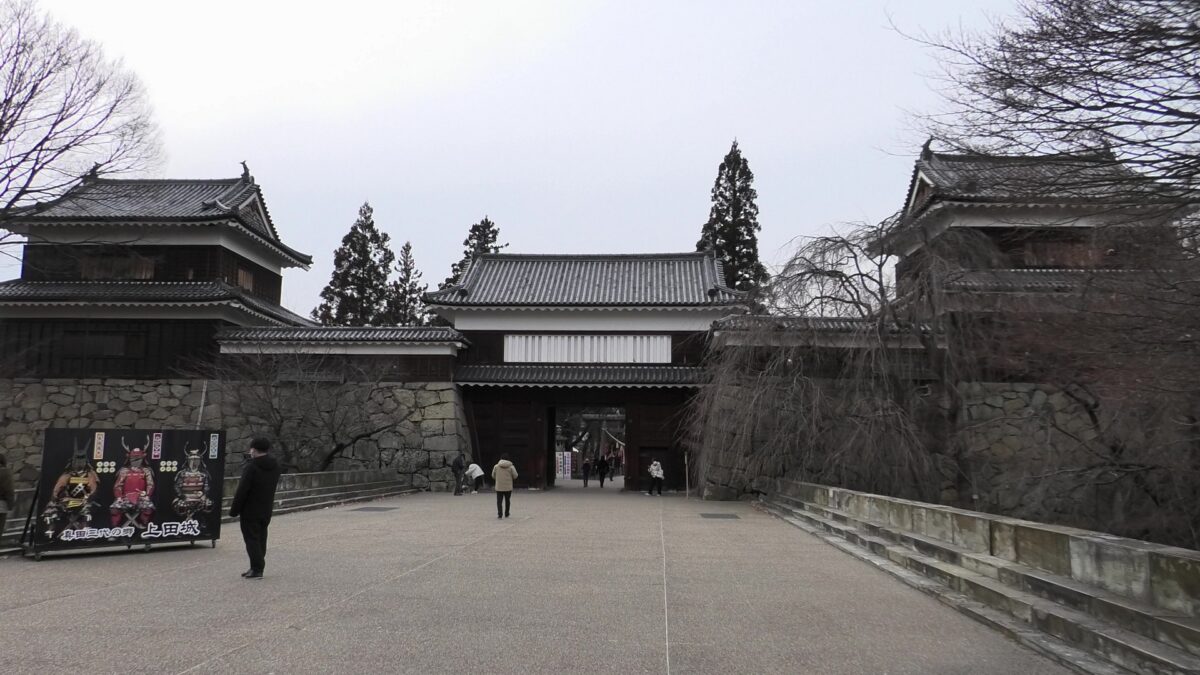
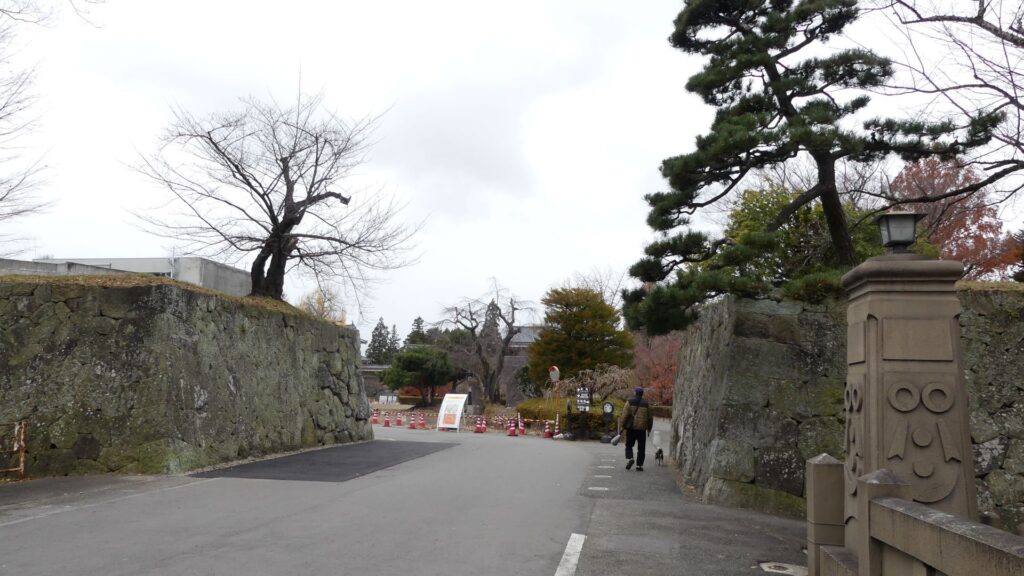
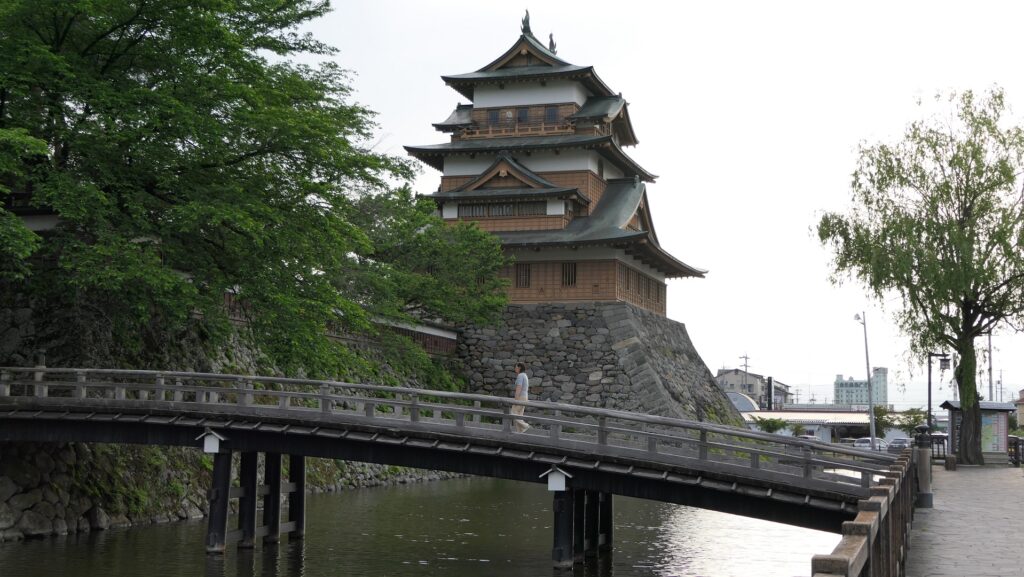
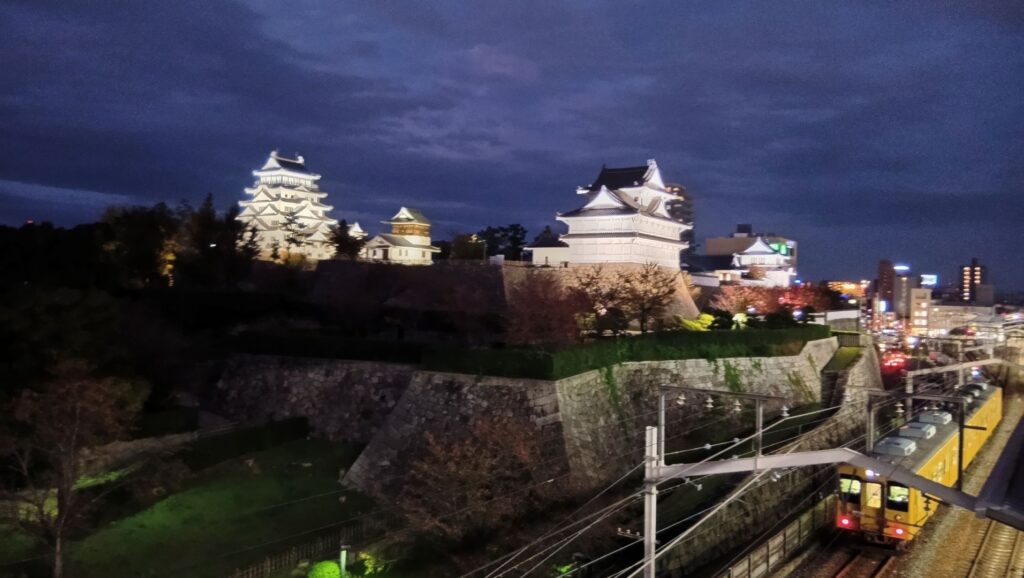
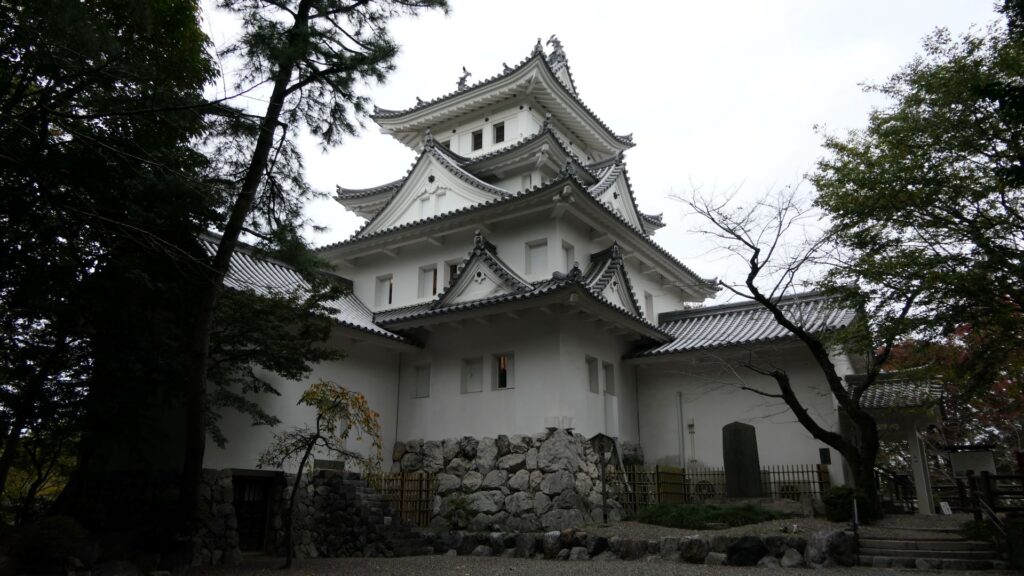
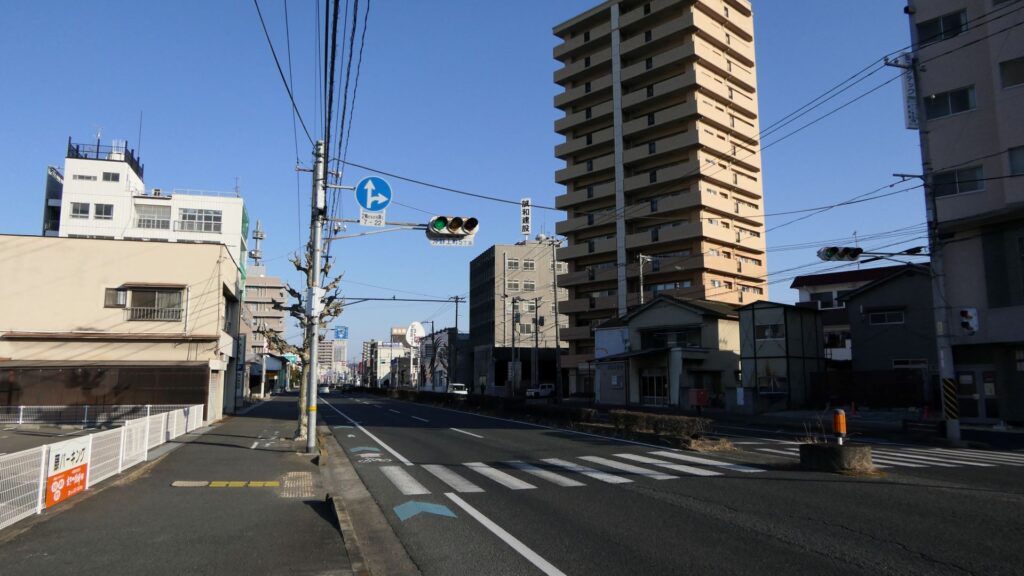
Fukuyama Castle is located in Fukuyama City of Hiroshima Prefecture. Even now, you can see the buildings of the castle, including its restored main tower, for example, from the platform of the Bullet Trains on Fukuyama Station. The castle was first built after the government of the Tokugawa Shogunate became stable. That meant it was newer than many other castles which were built when many battles happened. However, the area around the castle had had a long prehistory related to Fukuyama Castle.
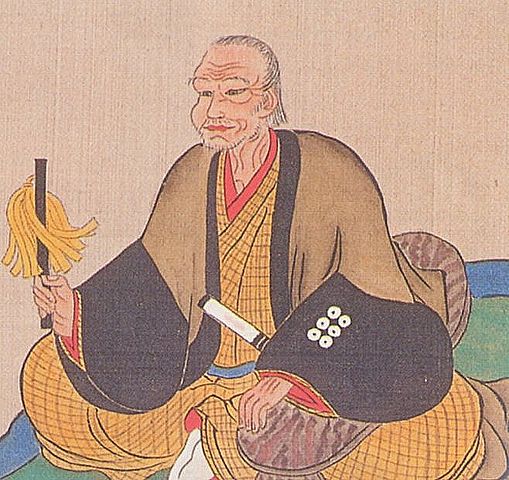
Katsunari Mizuno, who was a Wandering Warrior, builds the Castle
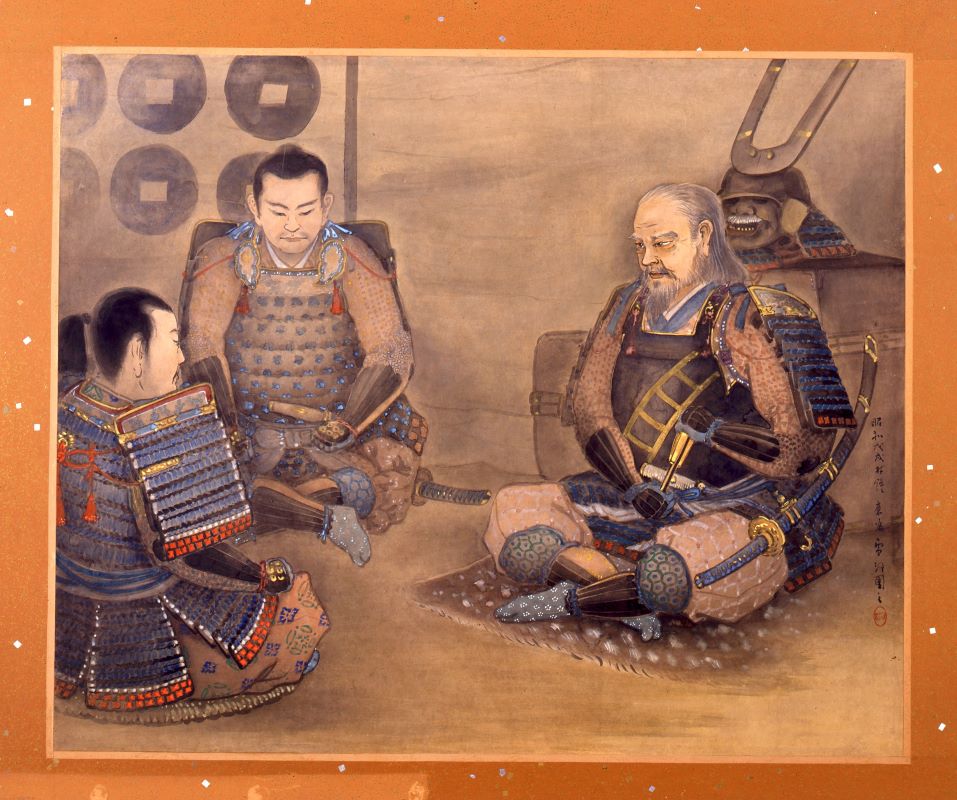
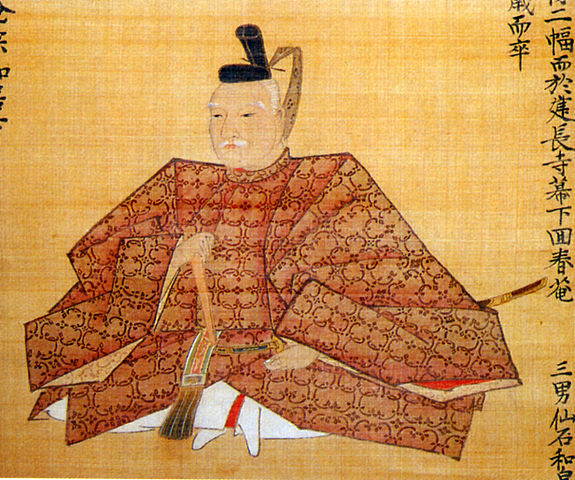
The builder, Katsunari Mizuno was born in Mikawa Province (the current eastern part of Aichi Prefecture). His aunt was Odai-no-kata who was the mother of Ieyasu Tokugawa. Therefore, Katsunari and Ieyasu were cousins. Why did the high-class warrior become a wandering warrior? There was an internal conflict within his clan where Katsunari killed a close vassal of his father and therefore, he had to run away in 1584 when he was only 21 years old. His father (Tadashige) also disowned him.
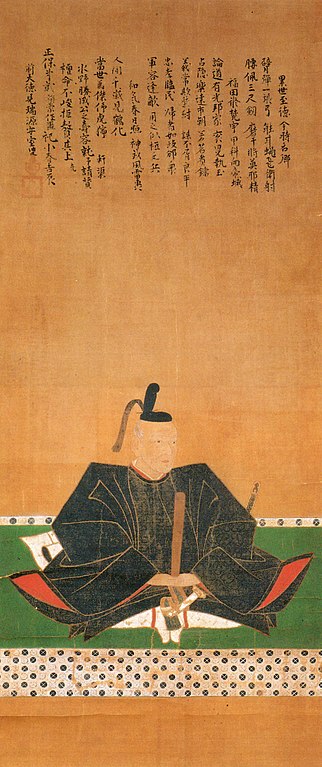
Katsunari wandered from eastern to western Japan and finally arrived at the Kyushu Region in 1587. Hideyoshi Toyotomi was invading the region at that time. Katsunari was still a foolhardy warrior and wanted to fight in order to make his mark. He worked under several lords who were subject to Hideyoshi but quit all of them in a short amount of time. He finally served Nagamasa Kuroda and were going to Osaka on a ship together in 1589. However, he ran away again when the ship stopped at Tomo-no-tsu Port in Seto Inland Sea. Although the reason for his running away is uncertain, the port would be part of his territory later on. Unfortunately, there are no records about him in the following 8 years, but he might have gotten a lot of information in the area around. Another record says he lived in Bicchu Province with his wife and son in 1597, next to the current Fukuyama City to the east.
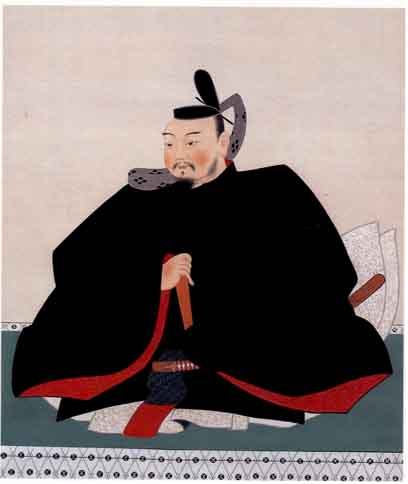
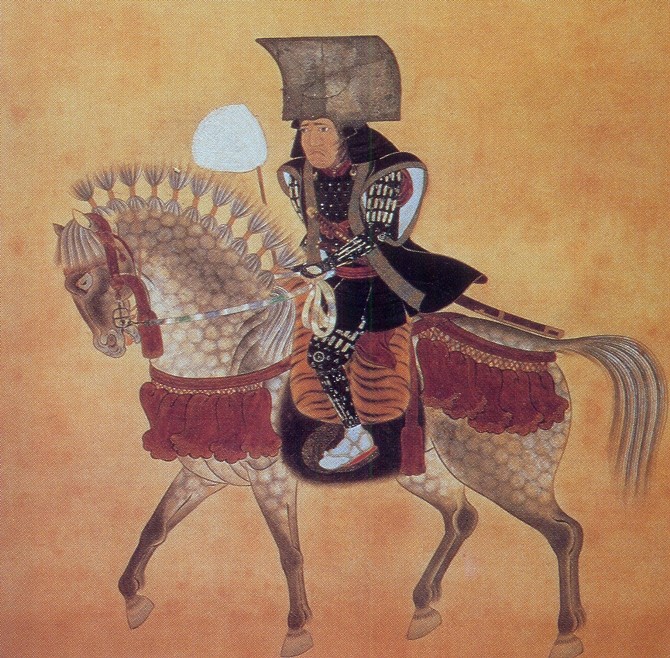
After Hideyoshi died, Katsunari returned to his hometown and met Ieyasu and his father in 1599 for the first time in 15 years since his running away. His father deciced to reverse his disownment. He became a lord following his father the next year. However, Katsunari was still like a foolhardy warrior by charging with his retainers at enemies’ castles during the battle of Sekigahara in 1600 and the sieges of Osaka Castle in 1615. Other lords called him “Oni-Hyuga” which means “devil-Hyuga”. (“Hyuga” came from his official position “the governor of Hyuga Province”.) The ruler, Ieyasu seemed not to like the behaviors of Katsunori. Therefore, the territories he gave Katsunari were not so large for his contributions.
After Ieyasu died, the next shogun, Hidetada Tokugawa gave Katsunari Bingo Province which was worth 100 thousand Koku of rice. That nearly doubled his previous territories. It was said that the reason for the assignment was to force Katsunari to monitor the non-hereditary feudal lords in western Japan, who might have been against the shogunate. Another reason would be that Katsunari knew about the area very much since he wandered around it.
The Fukuyama Area before Fukuyama Castle
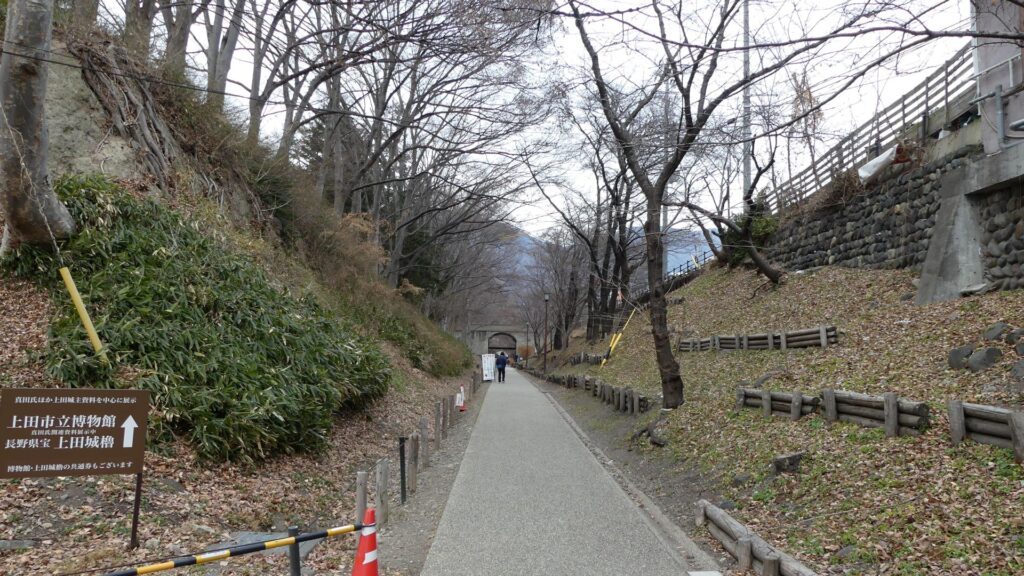
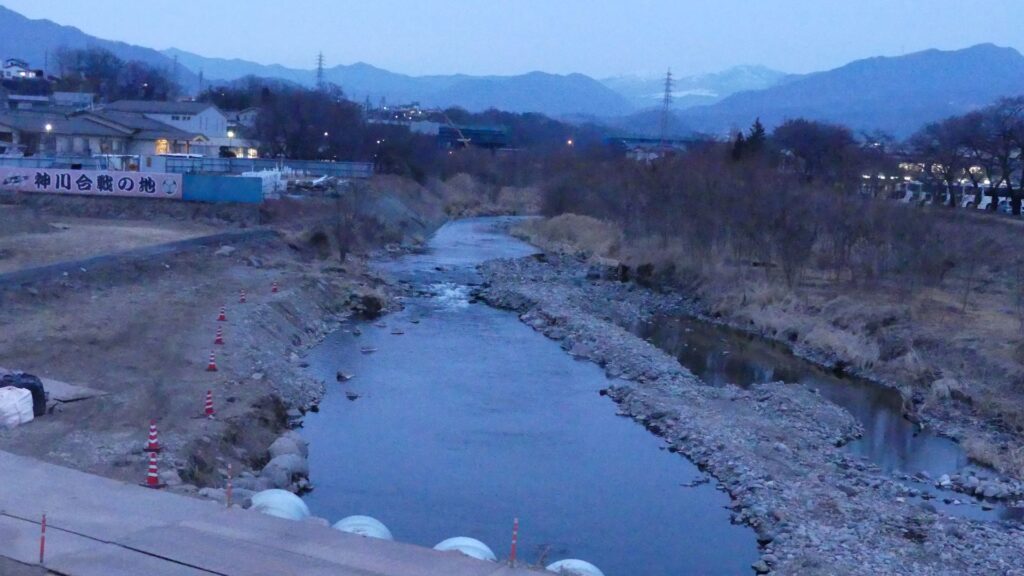
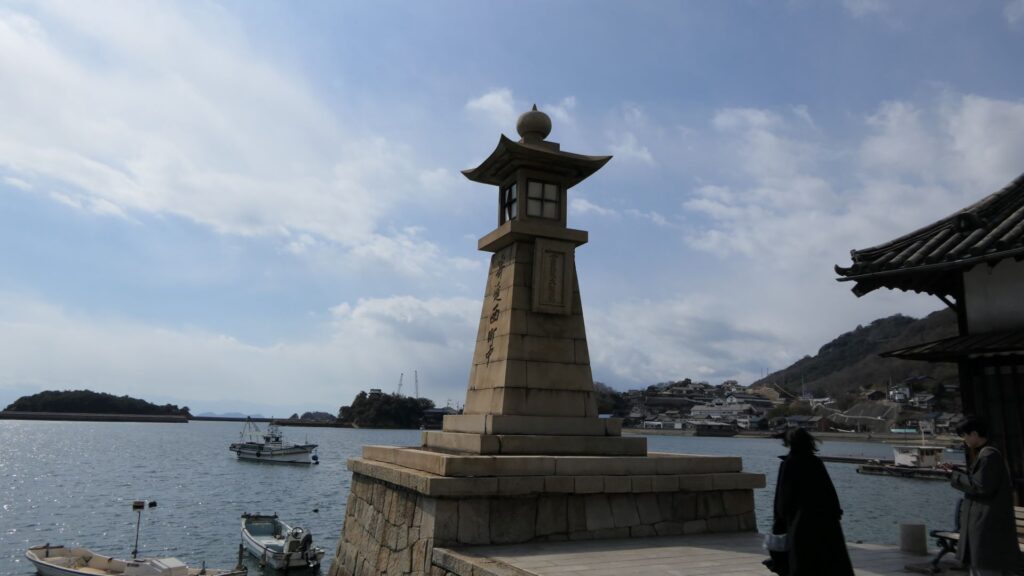
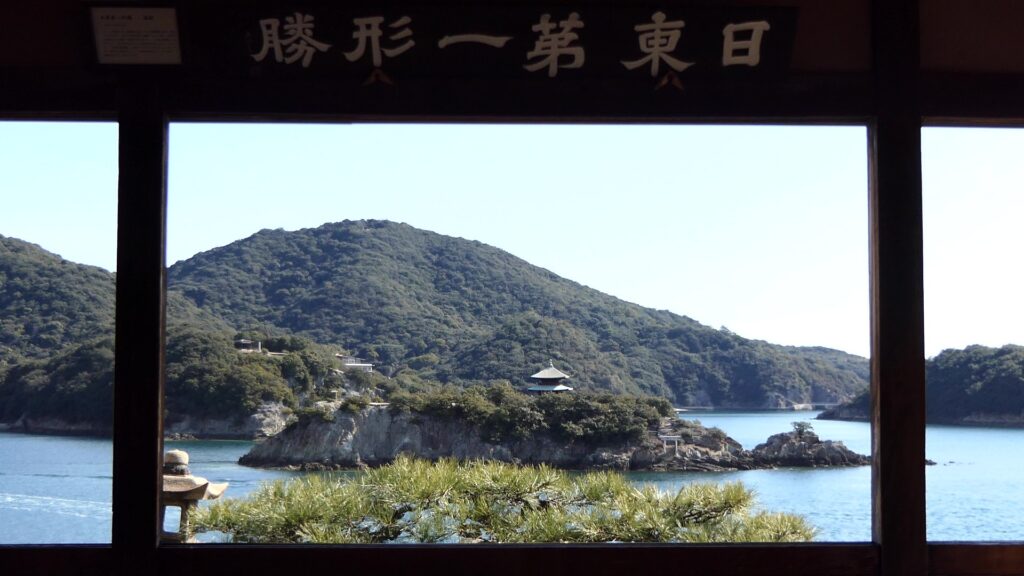
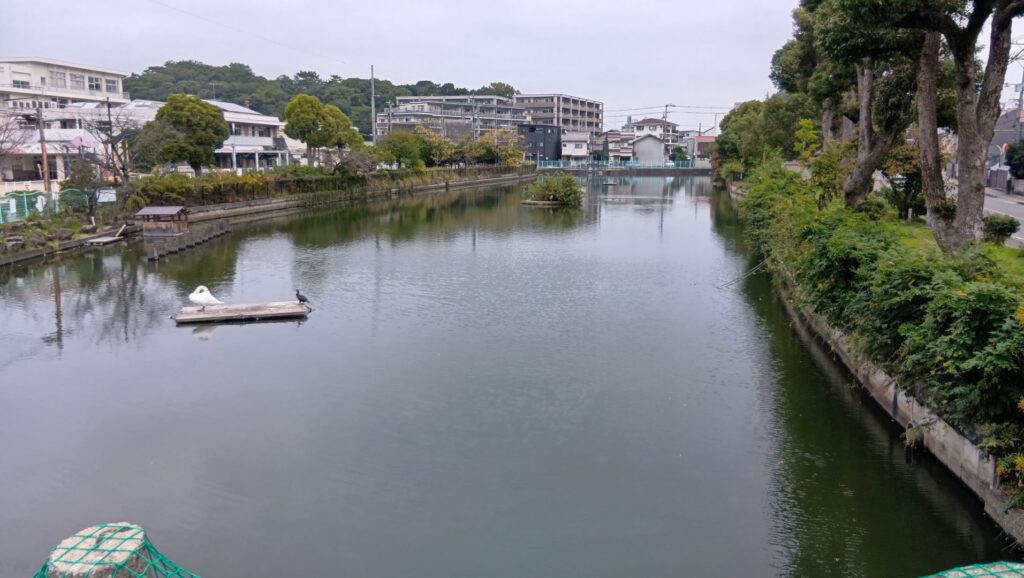
Tomo-no-tsu Port where Katsunari landed had been very popular since the ancient time for ships sailing in Seto Inland Sea in order to wait for the tide to turn favorably. The sea around the port is the dividing point of the tide. If you sail from the west using the rising tide, you can wait at the port until you will sail to the east using the ebbing tide. There was also Tomo Castle at the port during the Sengoku Period. The castle was turned into the magistrate’s office of the Fukuyama Domain after Katsunari became the lord. The Korean Envoys to Japan stayed there on the way to Edo and praised the views of the port.
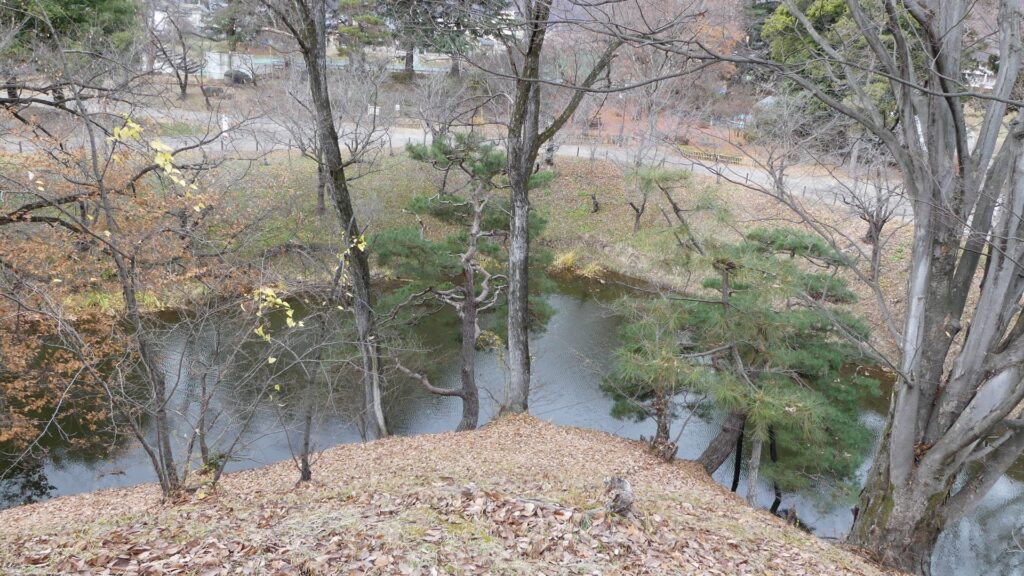
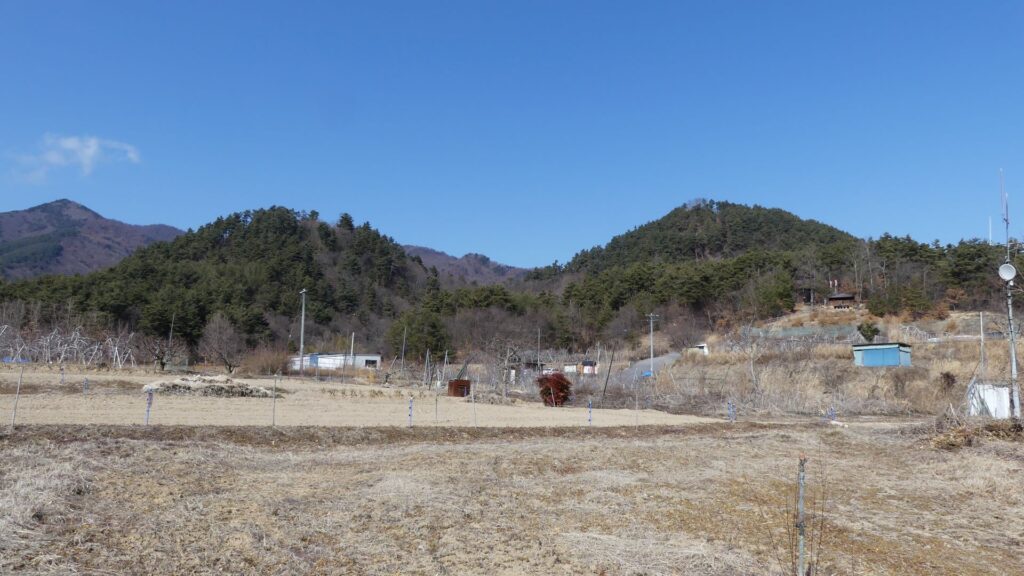
On the other hand, the area around Fukuyama Castle was still in the sea during the ancient time. Several ports, which were located further up than the castle, were used at that time. As time passed by, Ashida River near the castle swept away earth and sand, which made the sea like a tideland little by little. The river flowed on the land splitting it up into two.
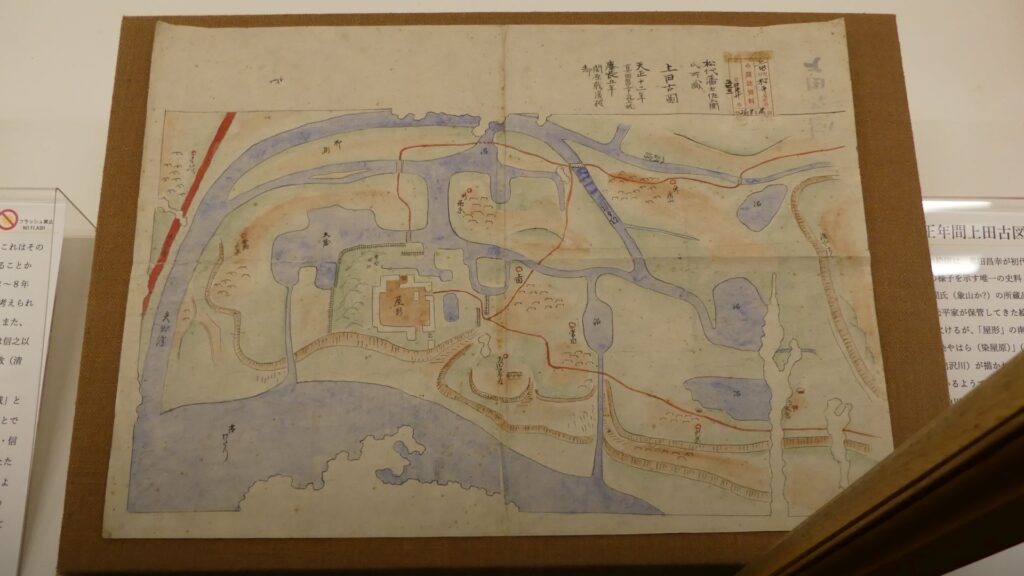
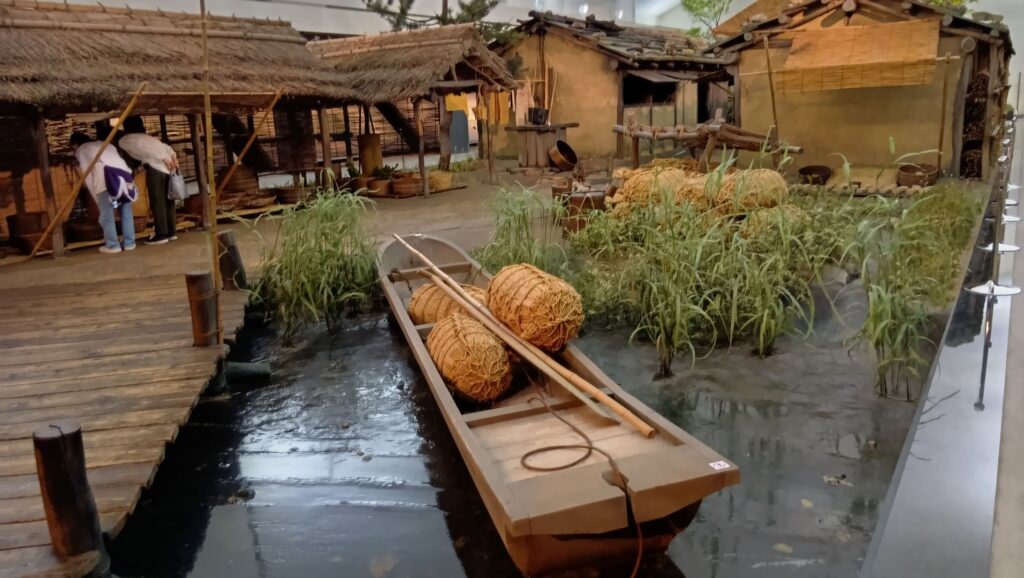
During the Middle Ages, a new port town, called Kusado-sengen, was built on a delta on the estuary of Ashida River. The town prospered not only as a port, but also as the temple town of Jofukuji Temple. (The former town was excavated, and its items and studies are exhibited in Hiroshima Prefectural Museum of History.) It was said that the town was the port for the area while Tomo-no-tsu port was the outer port to other areas. The town unfortunately declined until the 16th century for unknown reasons. Instead, Kashima Town was built nearby when Katsunari came to the area. He might have visited the town during his wandering period.
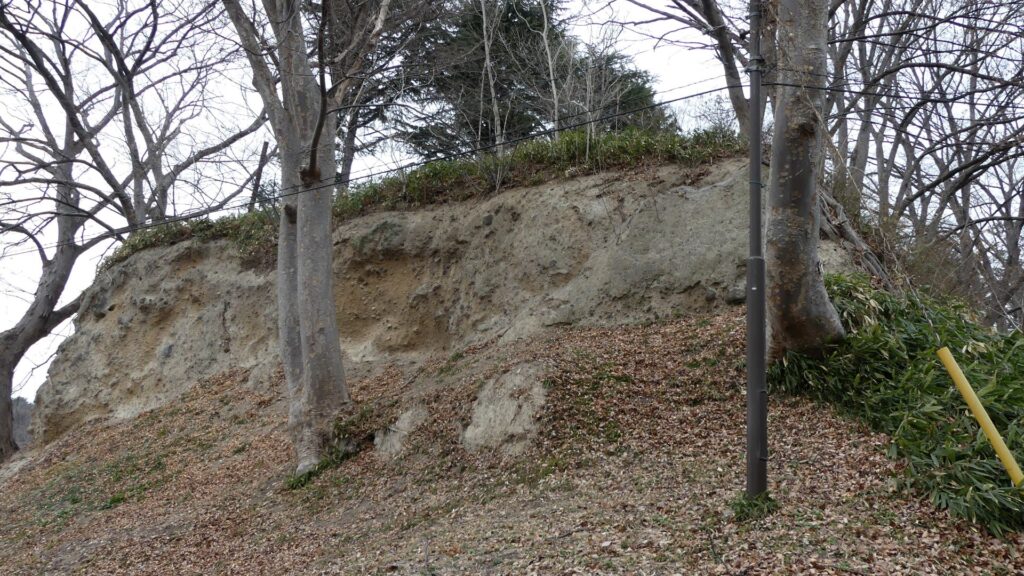
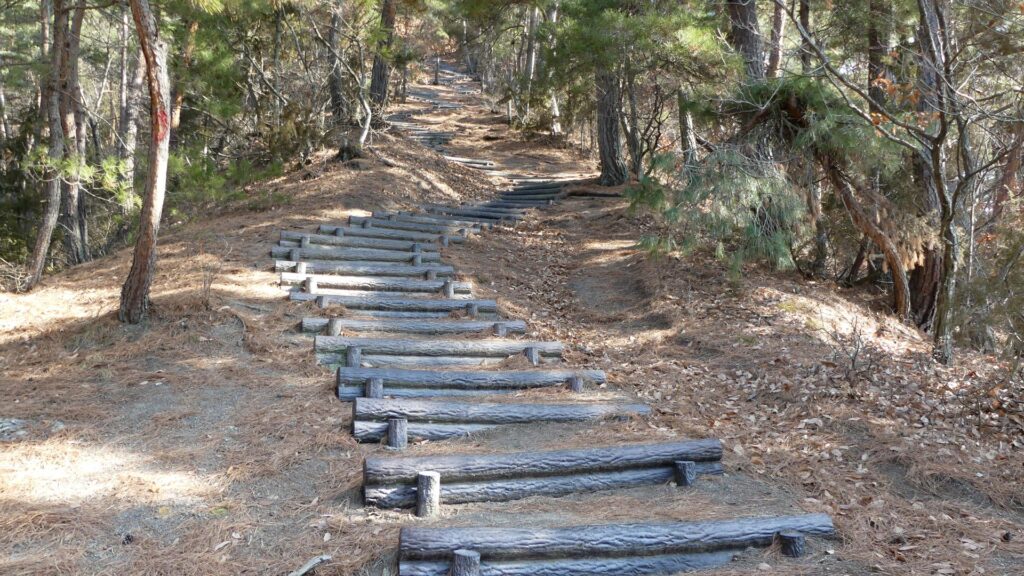
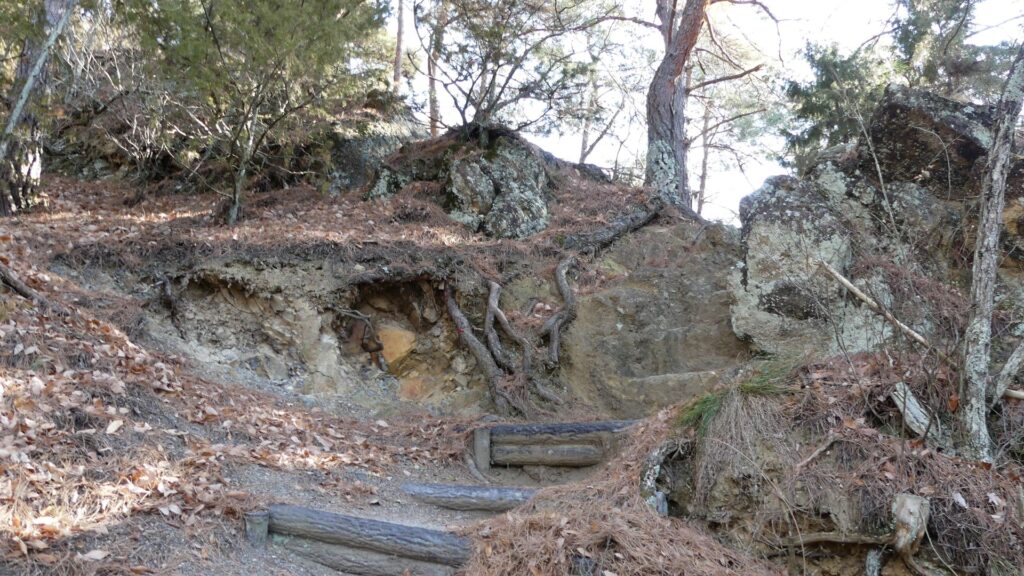
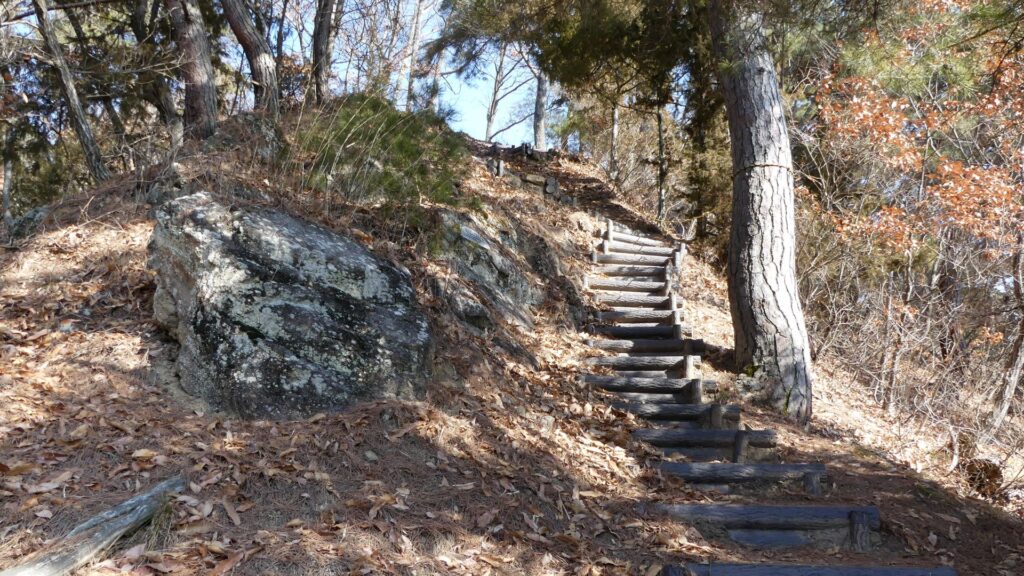
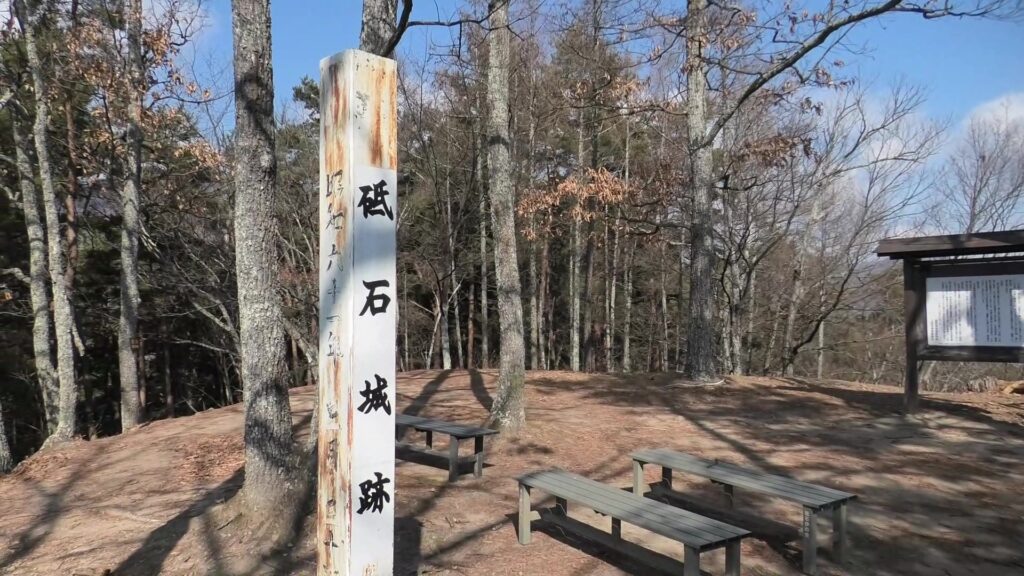
There was also Kannabe Castle as a representative castle in the area. The castle was built on Koyosan Mountain, several kilometers away from the current Fukuyama Castle to the north. It had several turrets on the stone walls surrounding the mountain just before Katsunari came. He once lived in this castle, but soon decided to construct his new home, which would be Fukuyama Castle. The land for the new castle was on a mountain which faced to the tideland. Some say the reason for his decision came from the fortune telling based on the Chinese geomancy, called “feng shui” or “fu-sui” in Japanese.
However, others say Katsunari chose the spot which would be developed the most in the future. The construction of a new castle was very rare because the shogunate basically didn’t allow it since its government had already become stable. Fukuyama Castle is often considered as the last large modern Japanese castle (excluding the end of the Edo Period). The shogunate must have expected Katsunari to certainly continue to do his duties.
The Constructions of the Castle and Castle Town
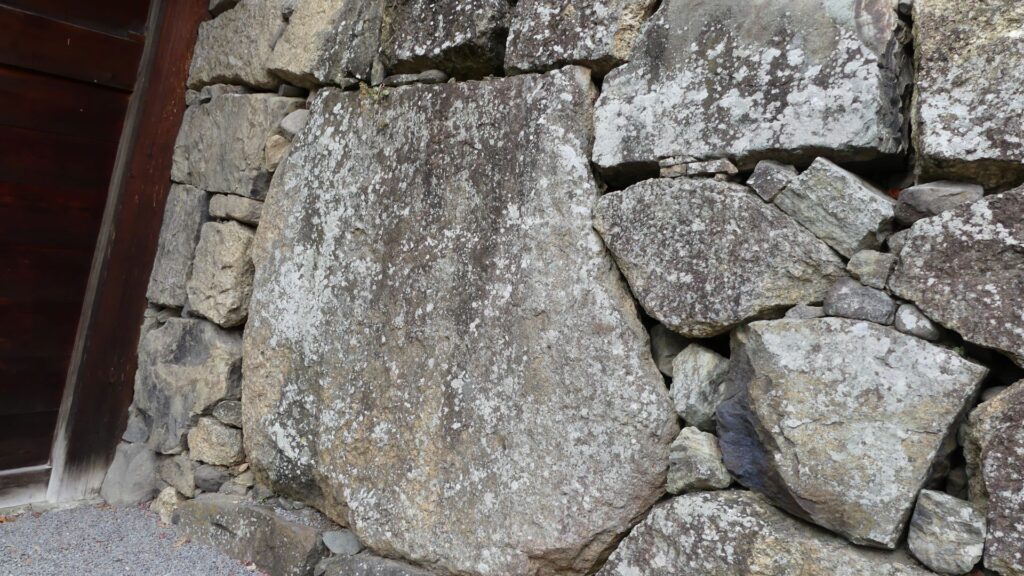
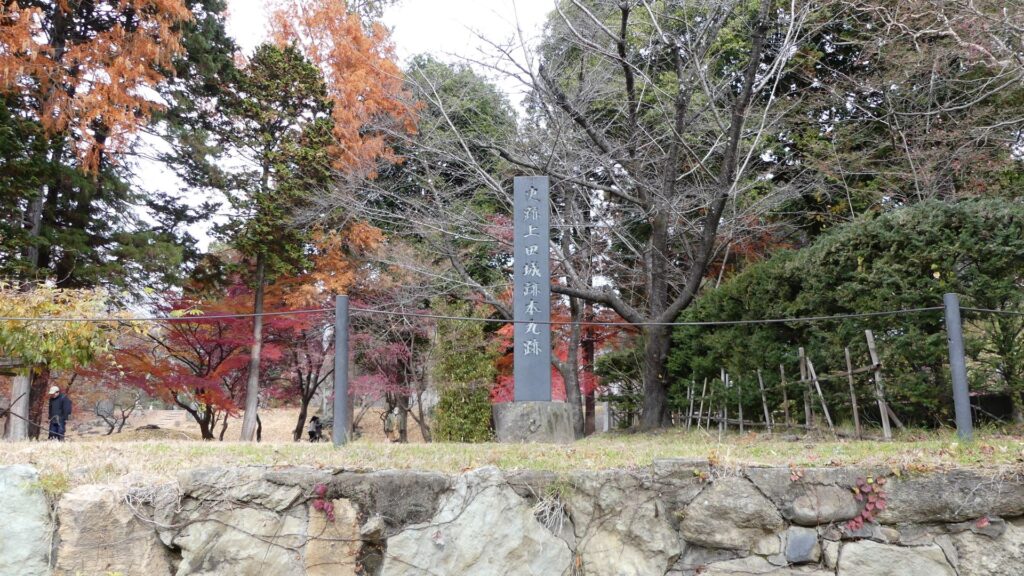
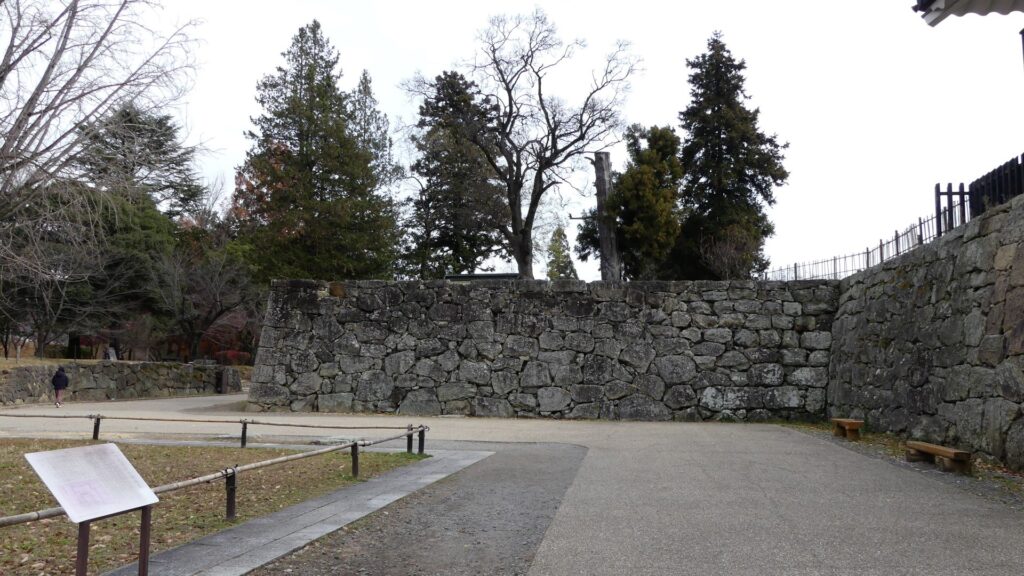
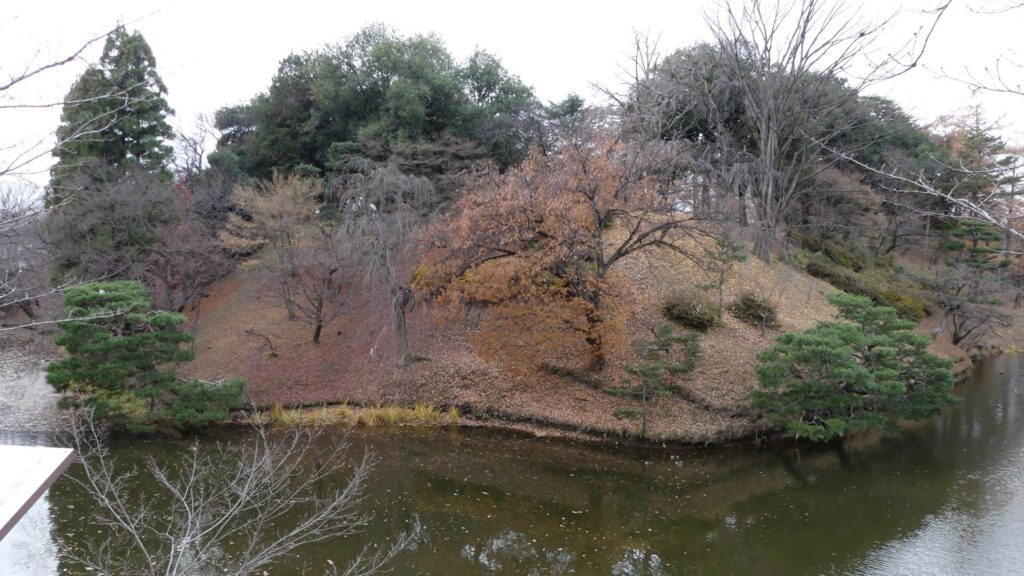
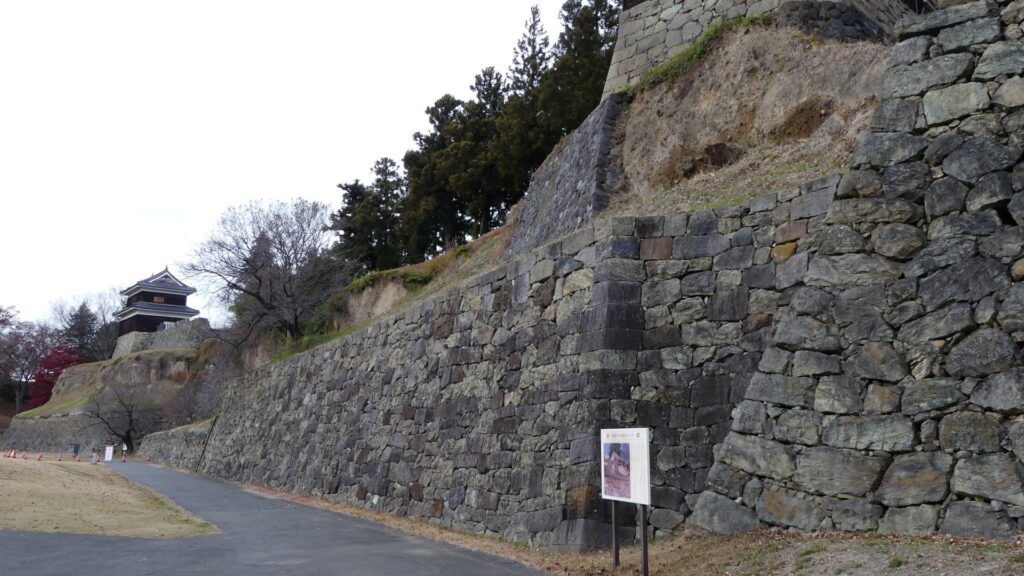
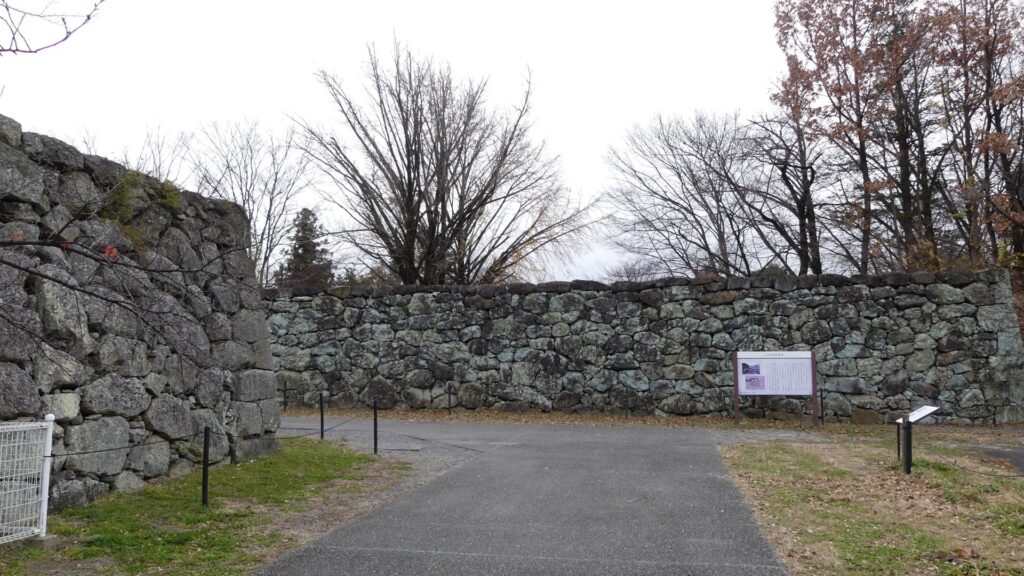
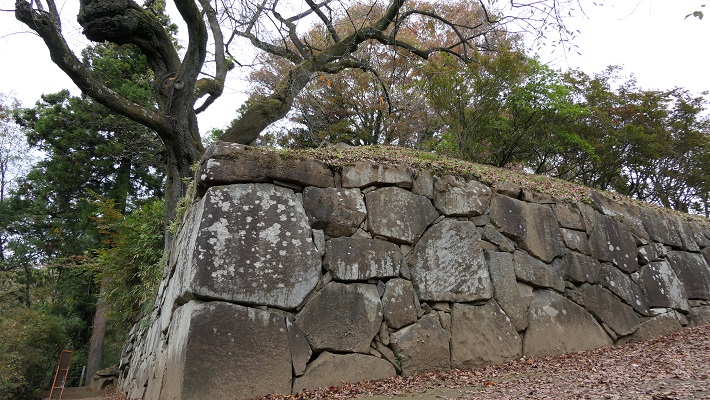
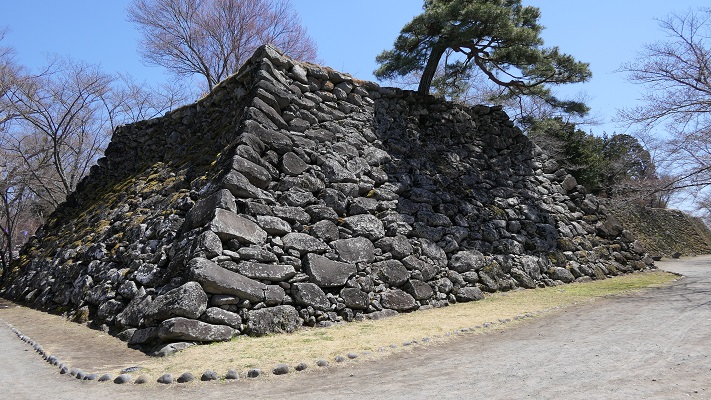
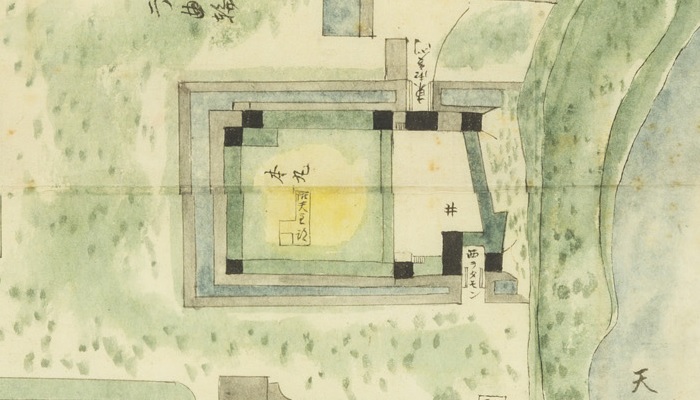
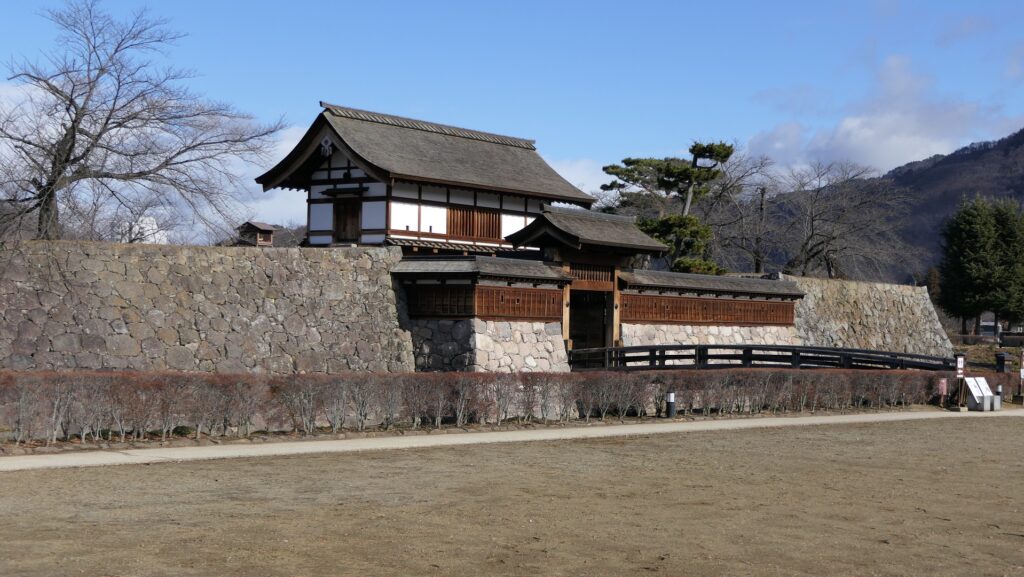
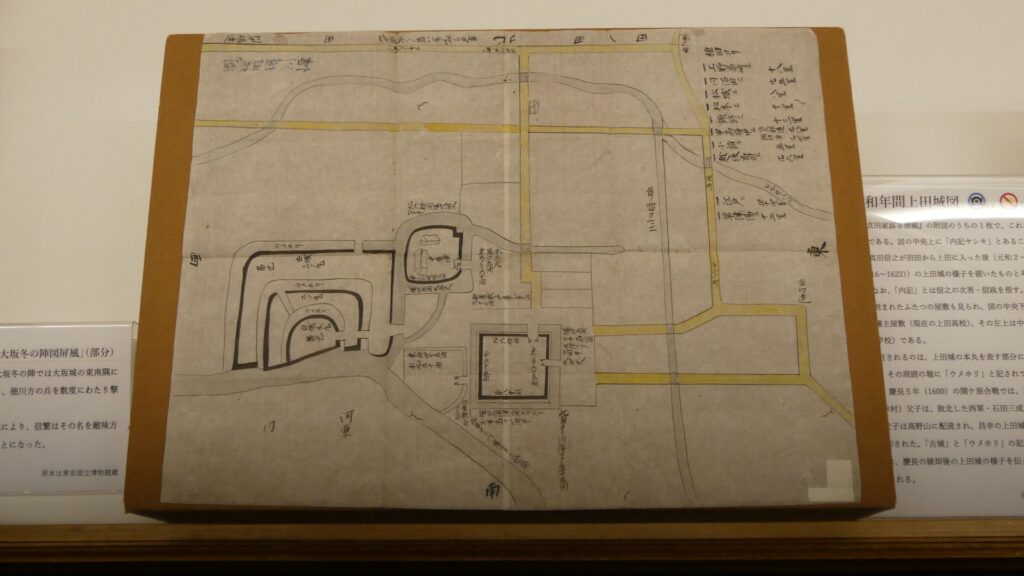
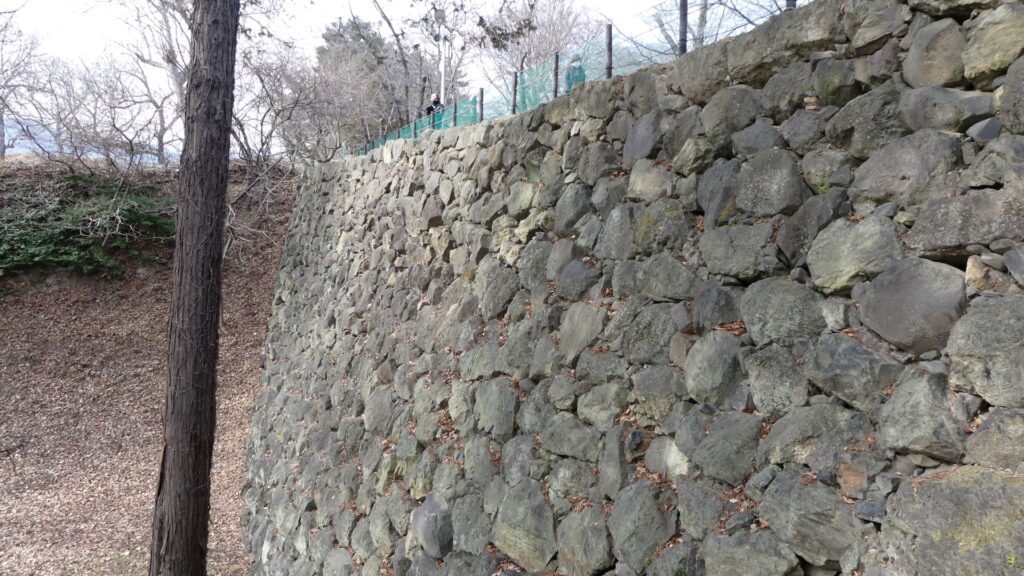
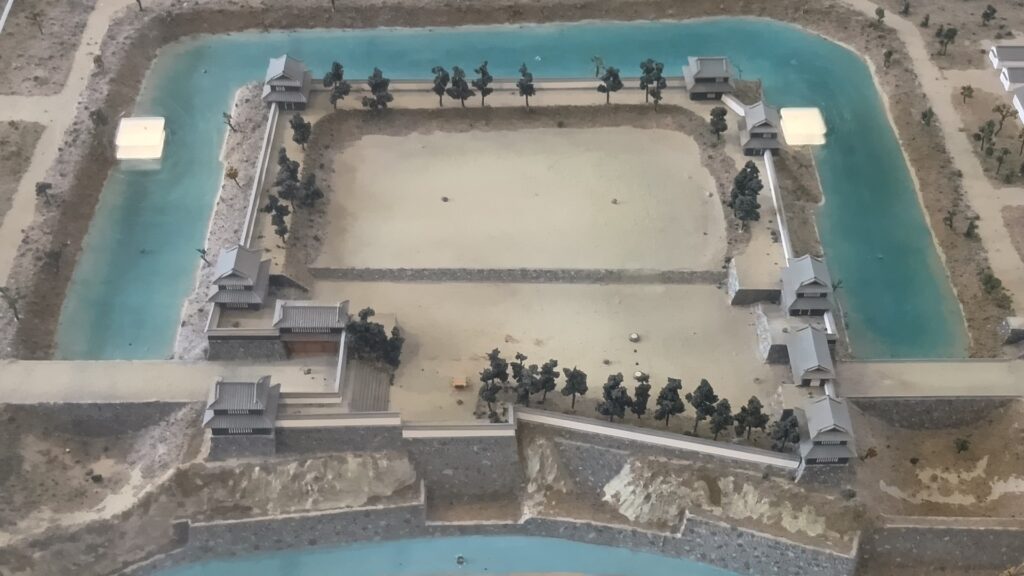
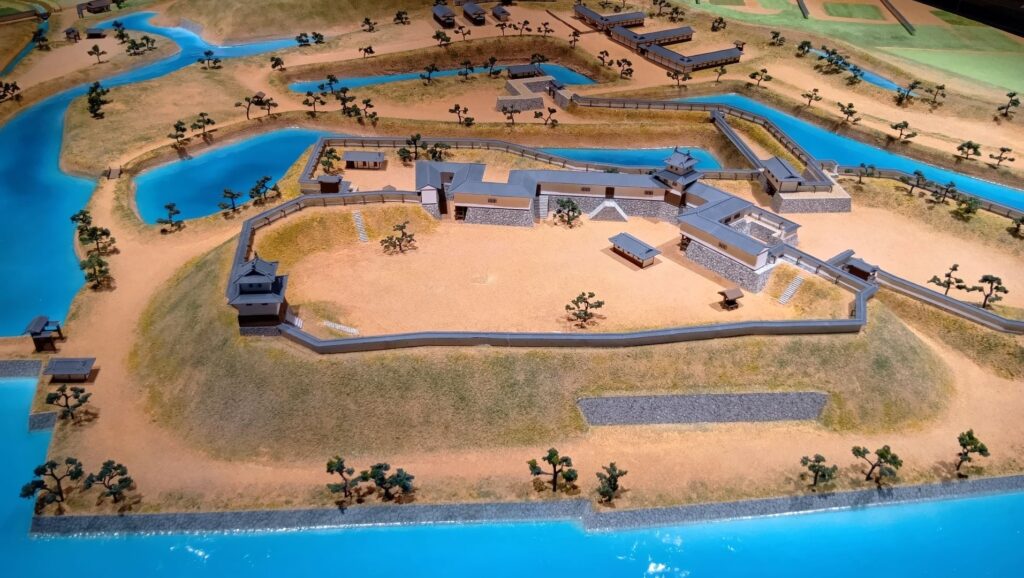
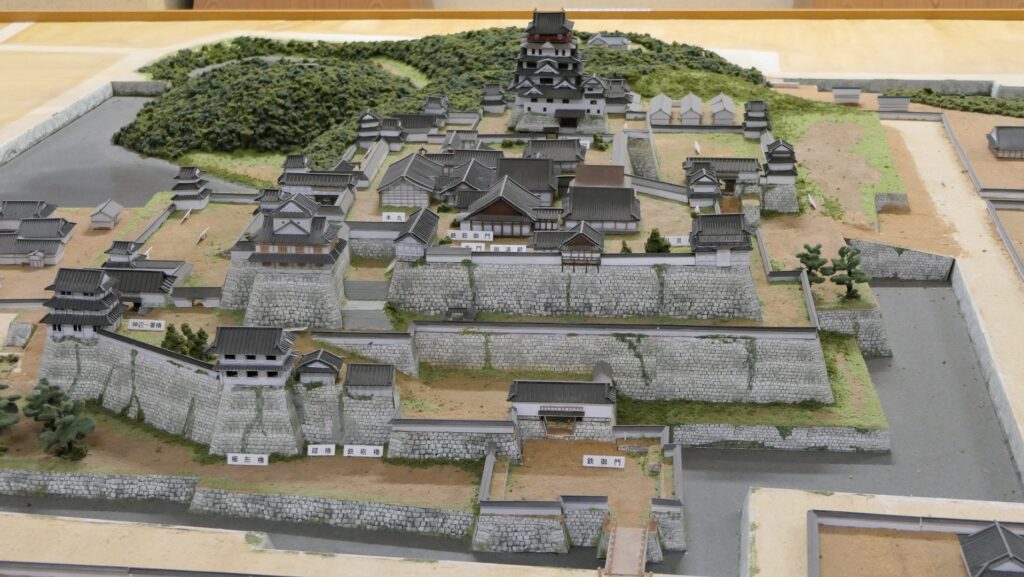
The construction of the castle lasted for 3 years since 1619. The main enclosure was built on the top of the mountain, which was surrounded by the second and third enclosures like circles. The third enclosure was on the plain land, which was sandwiched between the inner and outer moats. The shogunate helped Katsunari by funding it and sending magistrates there. They also used buildings and stone walls from other abandoned castles, such as Fushimi and Kannabe Castles in order to fortify it.
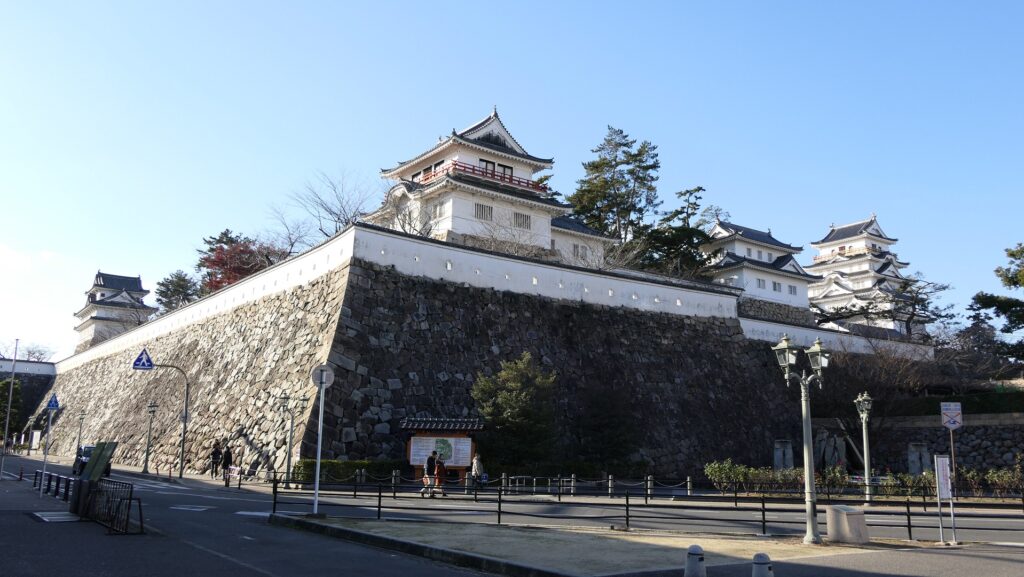
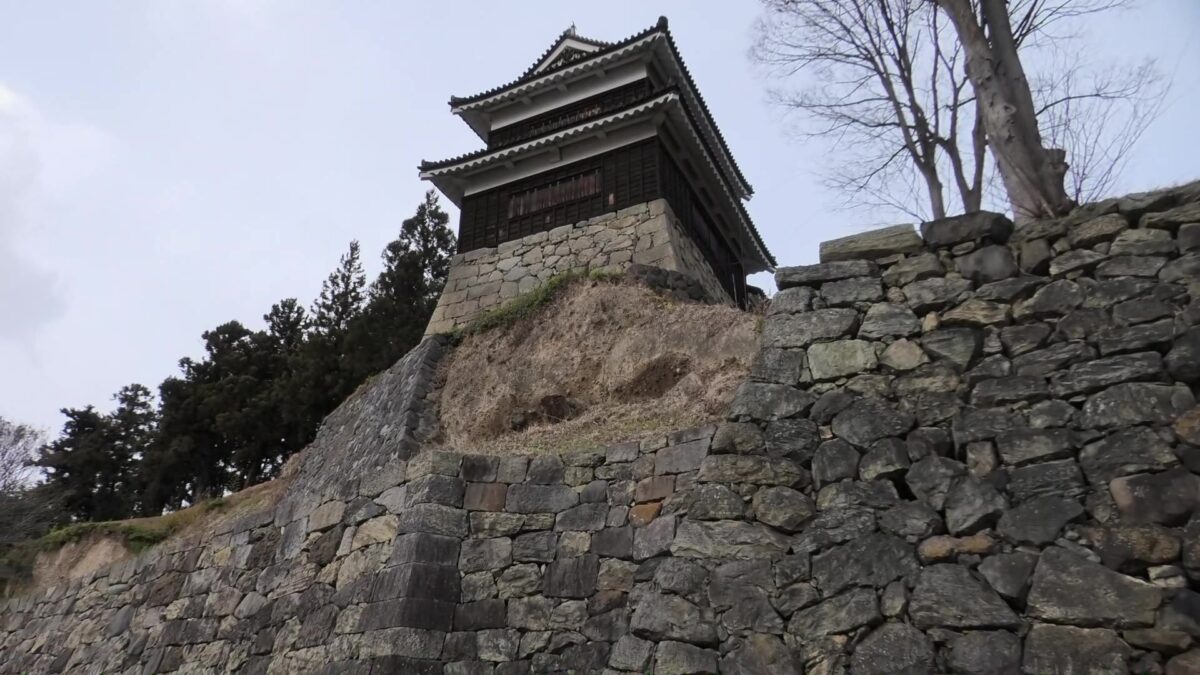
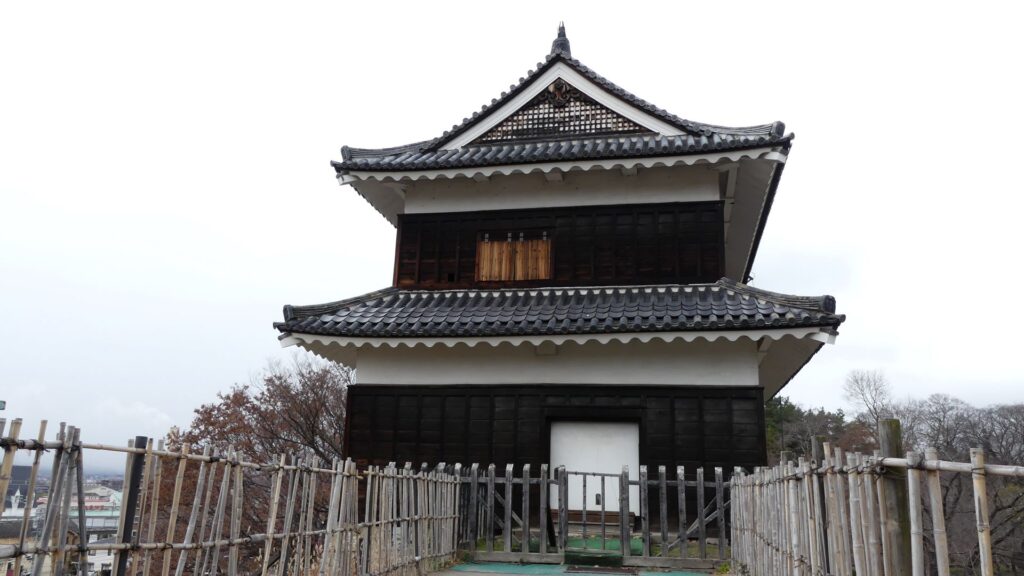
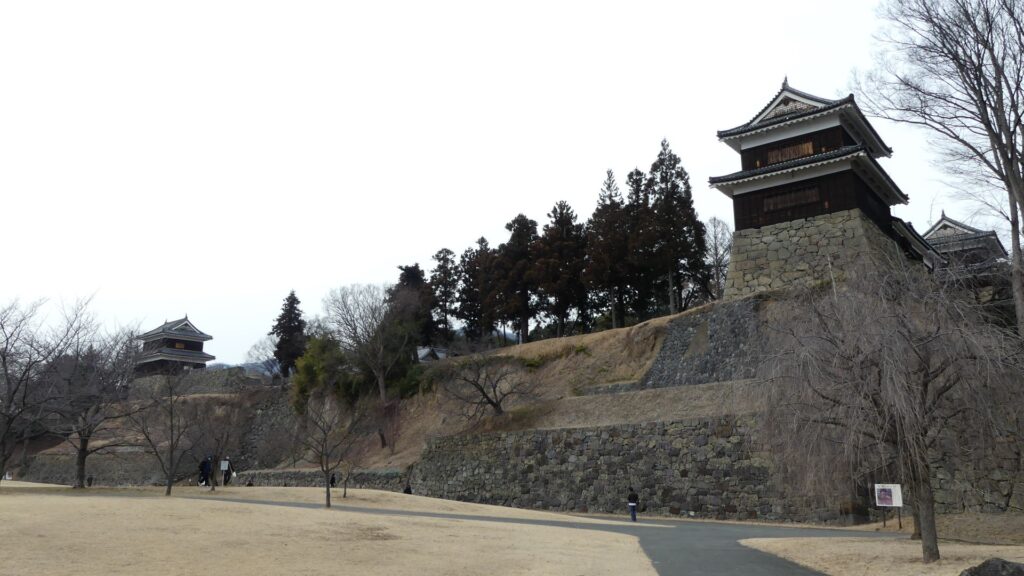
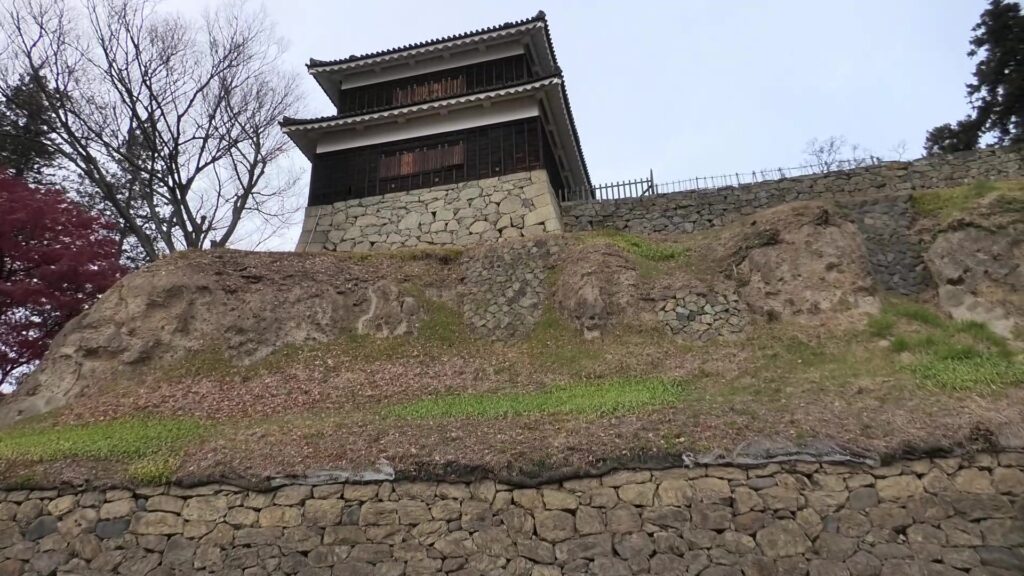
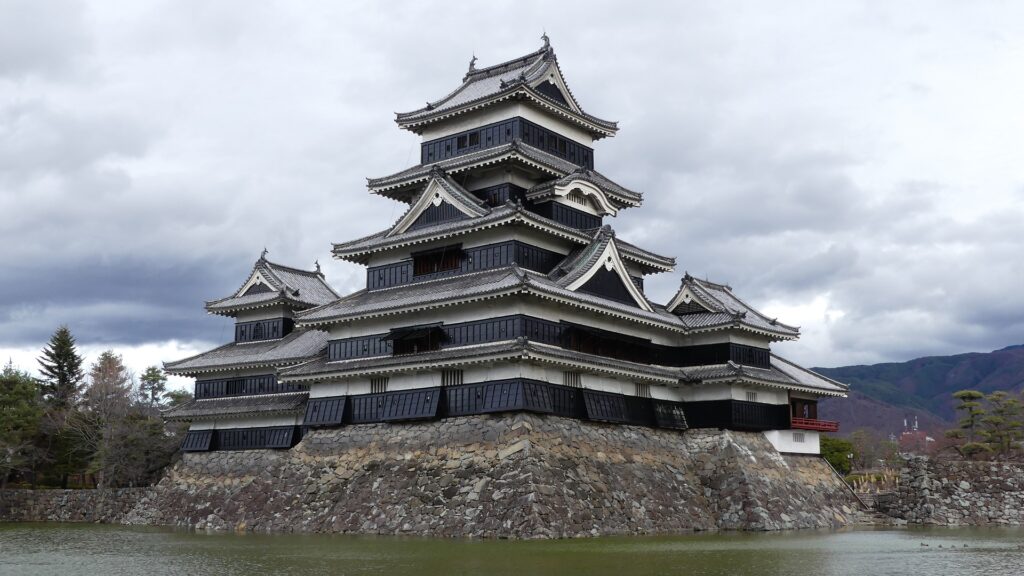
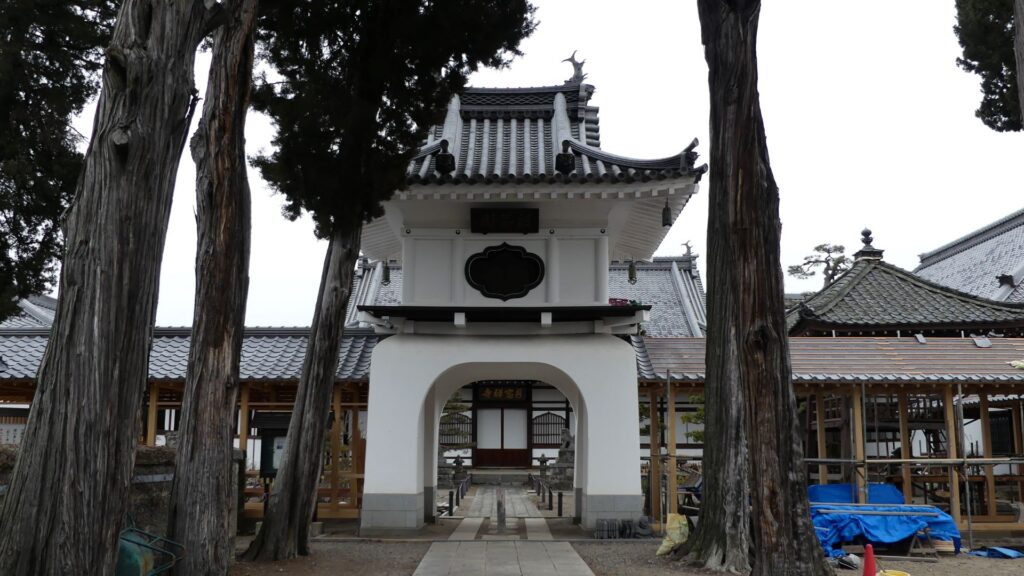
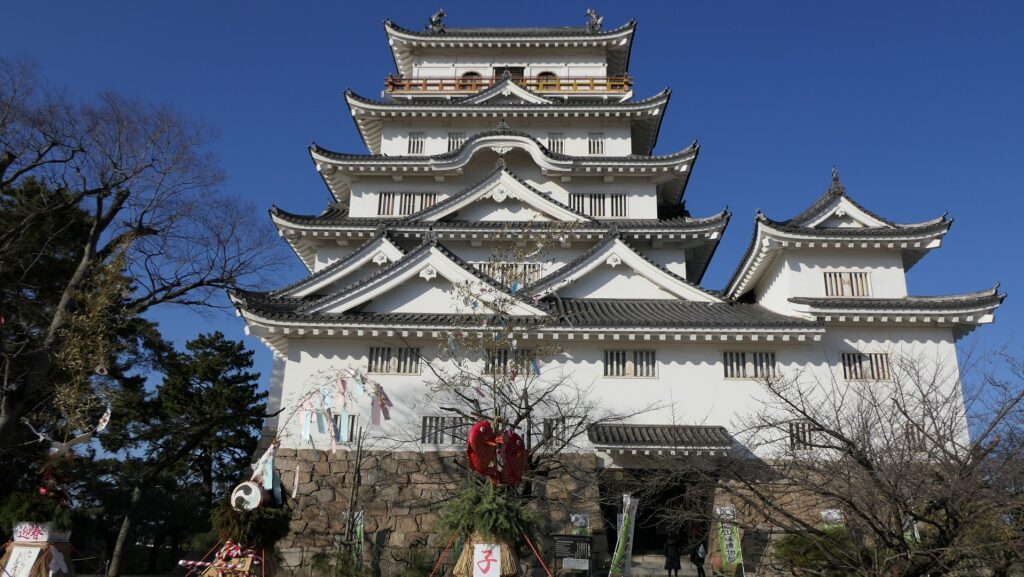
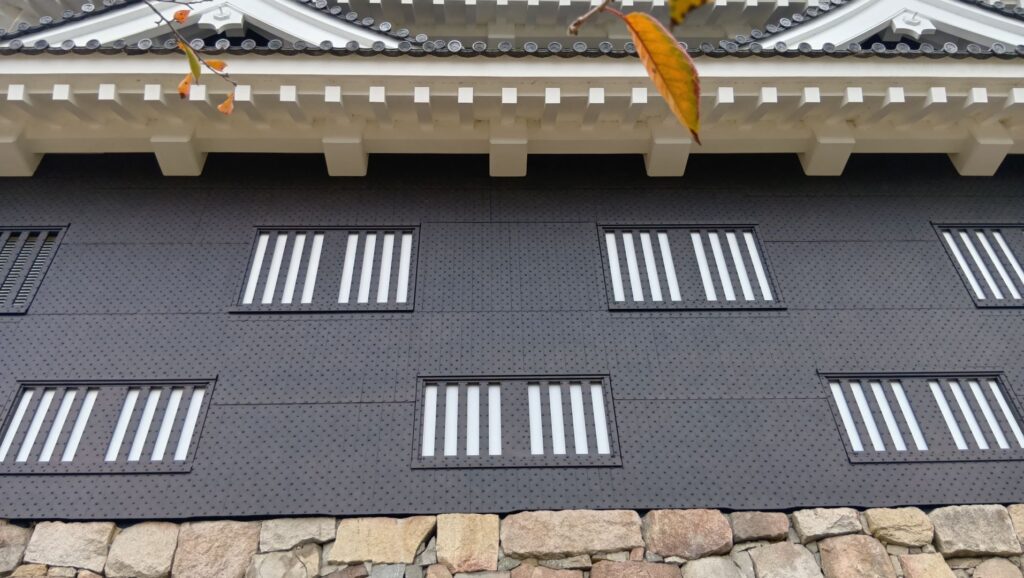
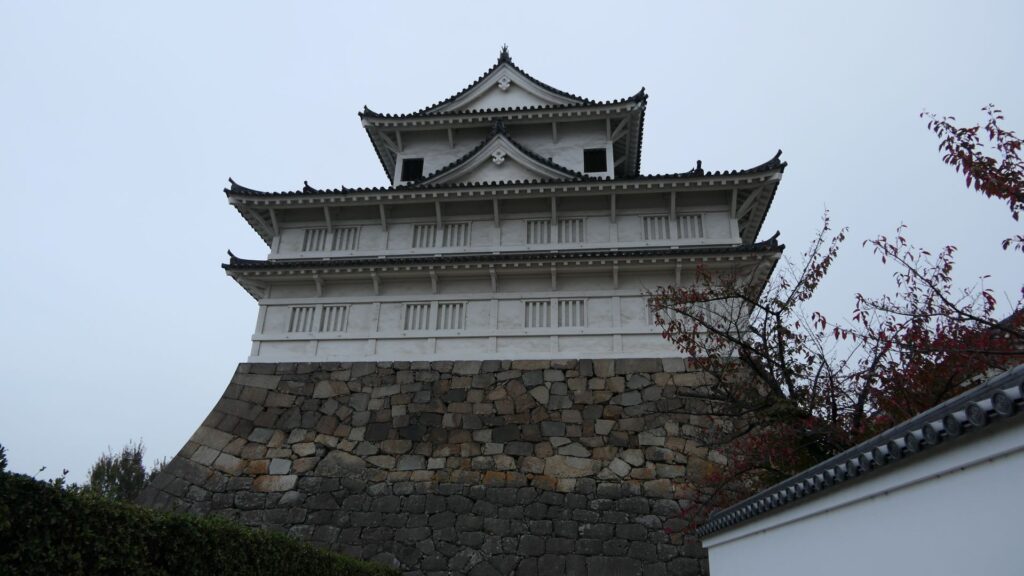
The main enclosure had its five-level main tower. It had the latest design at that time, whose top floor was less smaller than those of other old main towers. Therefore, it may look like modern buildings. Another unique feature of the tower was that the northern part of it was mostly covered with black iron plates.
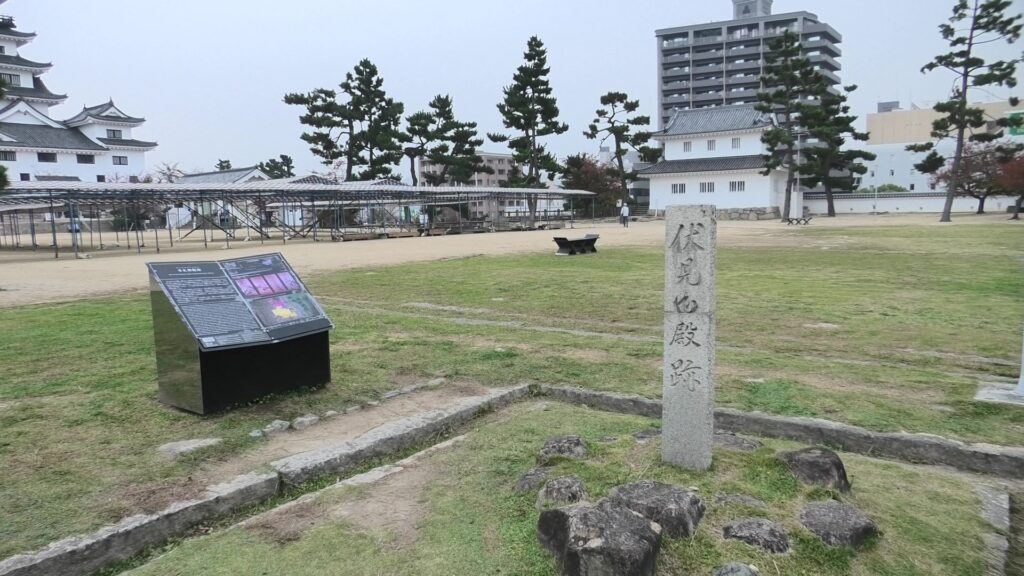
One of the reasons for the plates was said to protect the northern part from potential enemy attacks. It was also said that the northern area of the castle would be its weakest point. The enclosure also had Fushimi Turret and Fushimi Main Hall, which were moved from Fushimi Castle. The second enclosure had turrets from Kannabe Castle, which were called Kannabe No.1 to No.4 Turrets. Overall, the castle had 7 three-level turrets and 16 two-level turrets in total, other than the main tower. Katsunari named the new castle Fukuyama which means “fortune mountain”.
Katsunari did more efforts to develop the castle town. His team changed the flows of Ashida River. For example, they built a new river as a reservoir in order to supply water to the town. It is one of the earliest water supply systems in Japan. The team also made a new land for the town. Katsunari recruited people who would live there by providing them the residential areas for free and he exempted the duties. A lot of merchants naturally gathered there. Furthermore, the seashore outside the town was reclaimed to turn into new farms. Therefore, farmers would be able to work on the land without be in tax until their lives became more stable. Katsunari must have learned how to attract people and how to develop areas even during his wandering days.
In addition, Katsunari didn’t force his retainers to declare their royalties to him, and didn’t hire inspectors. Despite all this, everyone stayed. Then, in 1638, Katsunari went to the battle of the Shimabara Rebellion when he was 75 years old, one year before his retirement. He worked harder even after his retirement in order to develop his areas. He died when he was 88 years old, however, his spirit was followed by his descendants. As a result, the income of the domain increased by about 30%. Most of the lands of the current Fukuyama City had been developed during the Mizuno Period for about 80 years.
The Castle is retained by the Abe Clan and attacked by the Choshu Troops
Fukuyama Castle and the Fukuyama Domain were retained by the Abe Clan during the late Edo Period. However, the domain faced financial difficulties because of its declining income and increasing expenses. The income decreased due to frequent droughts and floods. The expenses went up because there were 4 members of the shogun’s council of elders, throughout the Abe Clan’s legacy. The cost of members was owed by the domain as well.
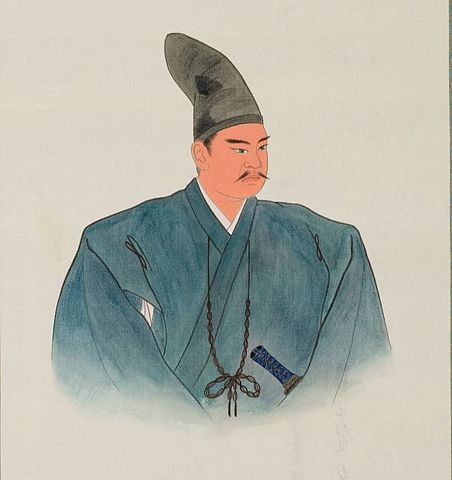
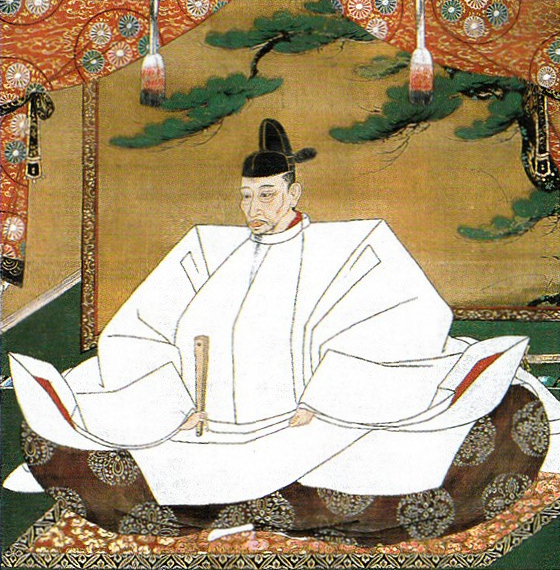
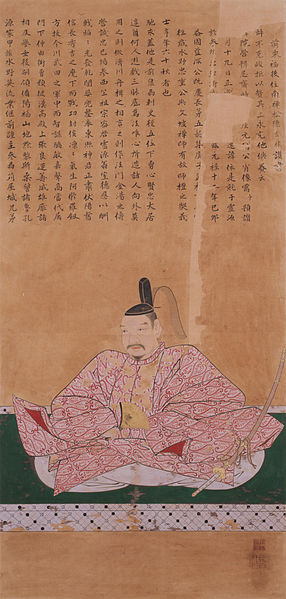
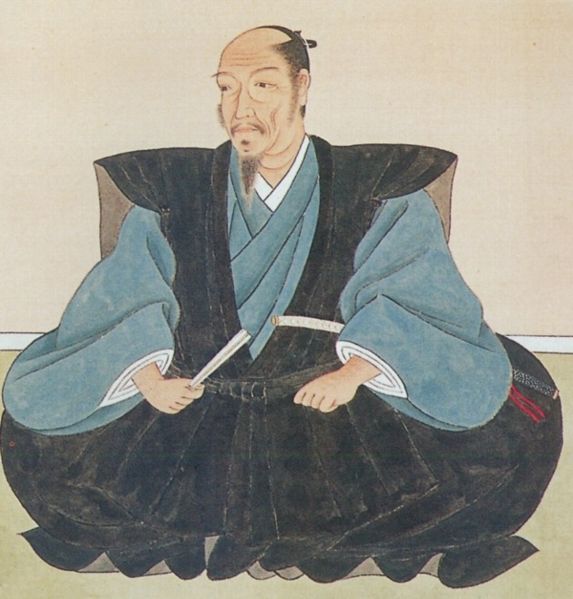
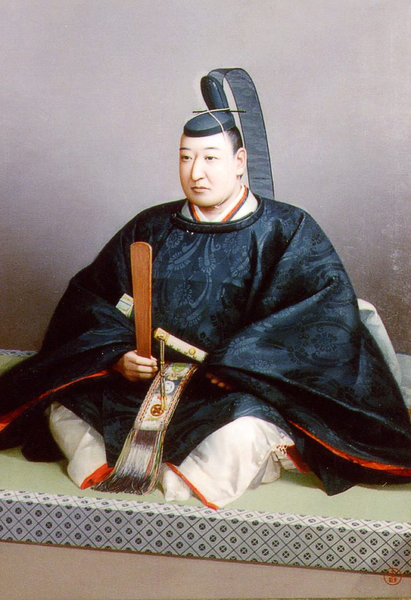
Let me introduce the most famous lord of the clan, Masahiro Abe who dealt with difficult situations of Japan at the end of the Edo Period. He became a member of the shogun’s council of elders when he was only 25 years old, which was the youngest council on record at that time. He was also the head of the members when the U.S. fleet led by Matthew Perry came to Japan in 1853. Masahiro was a good facilitator, not a dictator. He mediated the discussions of the members who had different opinions in order to discuss about whether they should open the country to Western countries. That resulted in Japan opening the country without suffering serious internal conflicts. He unfortunately died due to an illness when he was 39 years old while still in office. In fact, he lived in Fukuyama Castle only for 2 months before he moved and worked in the central government in Edo.
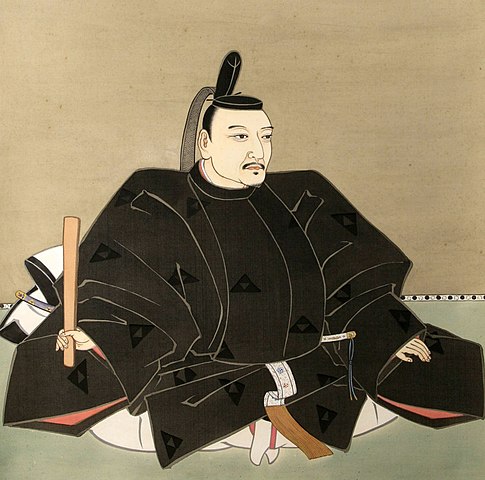
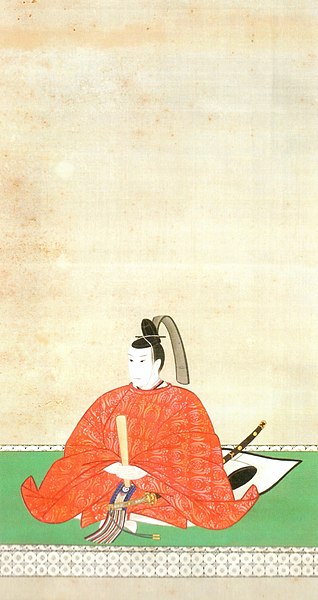
Masakata Abe became the 9th lord of the domain when he was only 14 years old in 1861. However, the situation became too difficult for the young lord. He was ordered by the shogunate to attack the Choshu Domain which was against it in 1865. He was going to the battle with his troops and allies, but on the way there, got sick and had to stay behind. To make matters worse, his troops were defeated by the Choshu troops. They had to withdraw. He was being treated in his castle for a while, however, unfortunately he died when he was only 20 years old in December 1867 (according to the lunar calendar). A big incident for the castle would happen just 2 months after his death.
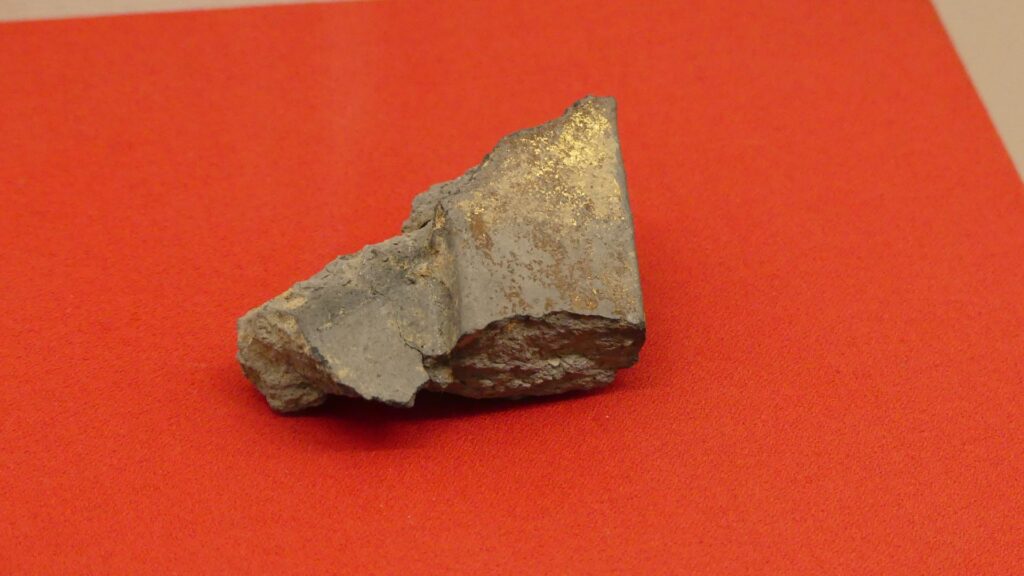
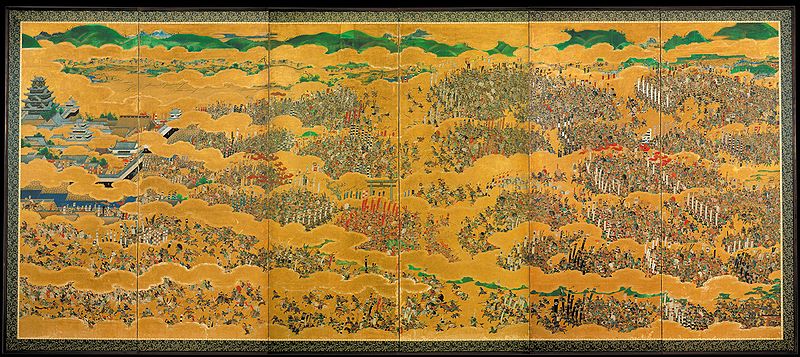
In January 1868, the Imperial Army including the Choshu Domain and the Tokugawa Shogunate started to battle each other. The Choshu Troops attacked the Fukuyama Domain without its lord, Masakata Abe. The senior vassals of the domain tried to surrender, but they failed. The troops then fired a cannon from a mountain in the north area of Fukuyama Caste. This was because the area was the weakest point of the castle. One of the shots hit the castle, but didn’t explode. It was said that it didn’t contain gun powder for unknown reasons. The troops charged the back gate of the castle but soon withdrew after being counterattacked by the defenders. The Choshu and Fukuyama Domains finally made peace with each other after this strange battle. That was the only battle which occurred at Fukuyama Castle.
To be continued in “Fukuyama Castle Part2”