Features
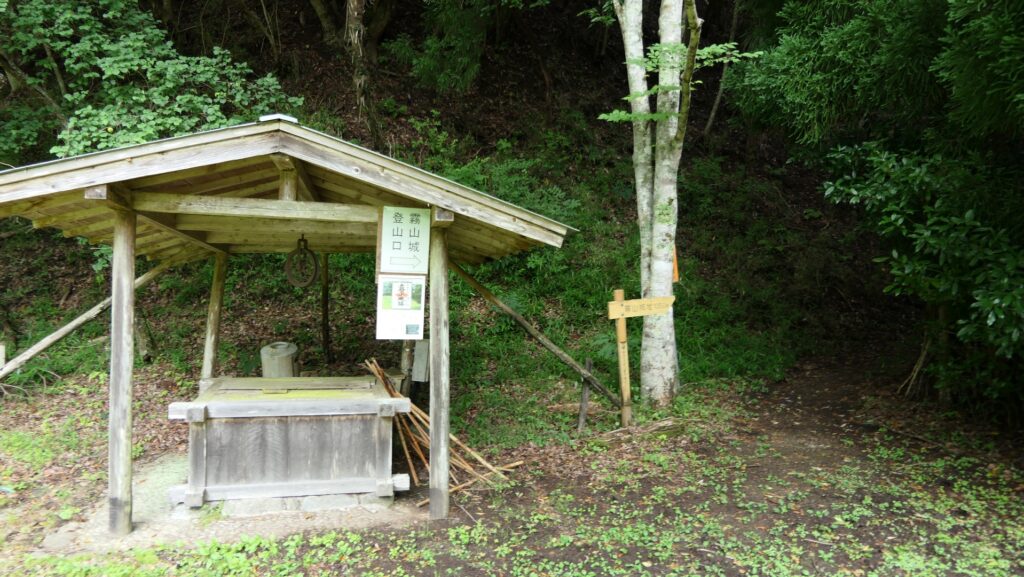
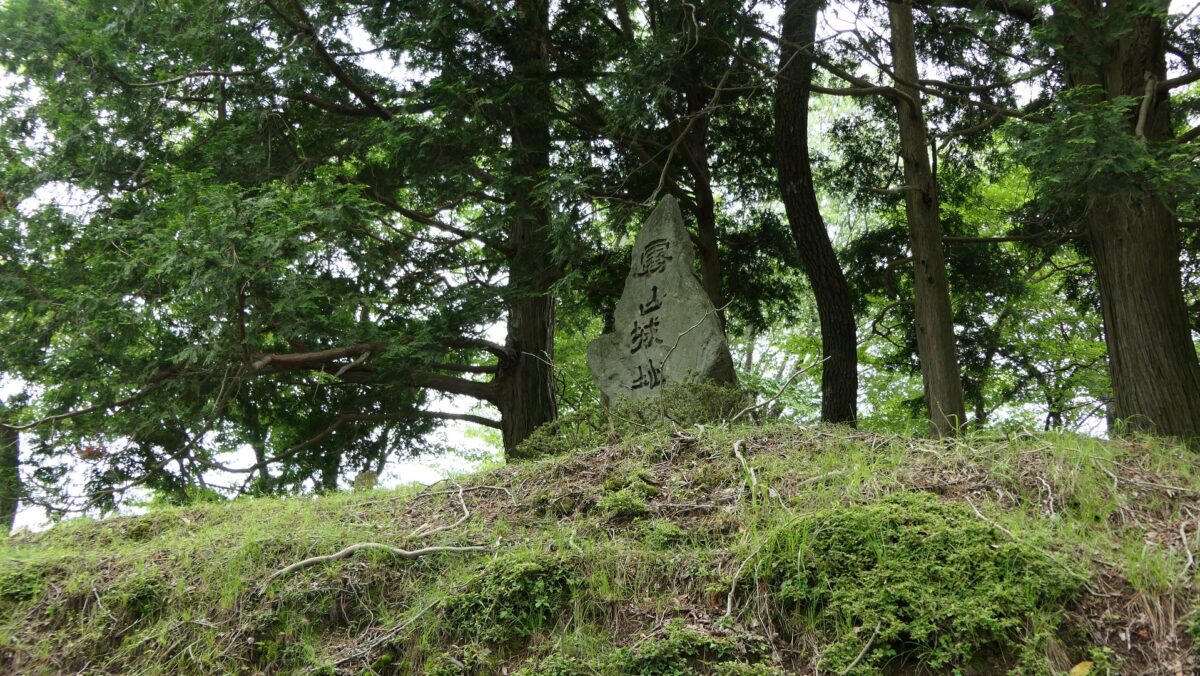
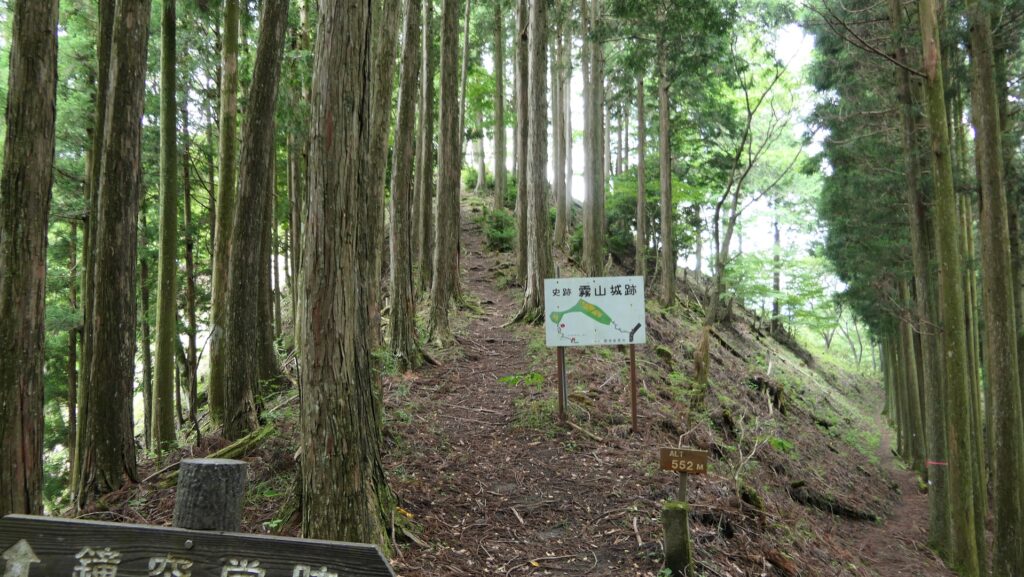
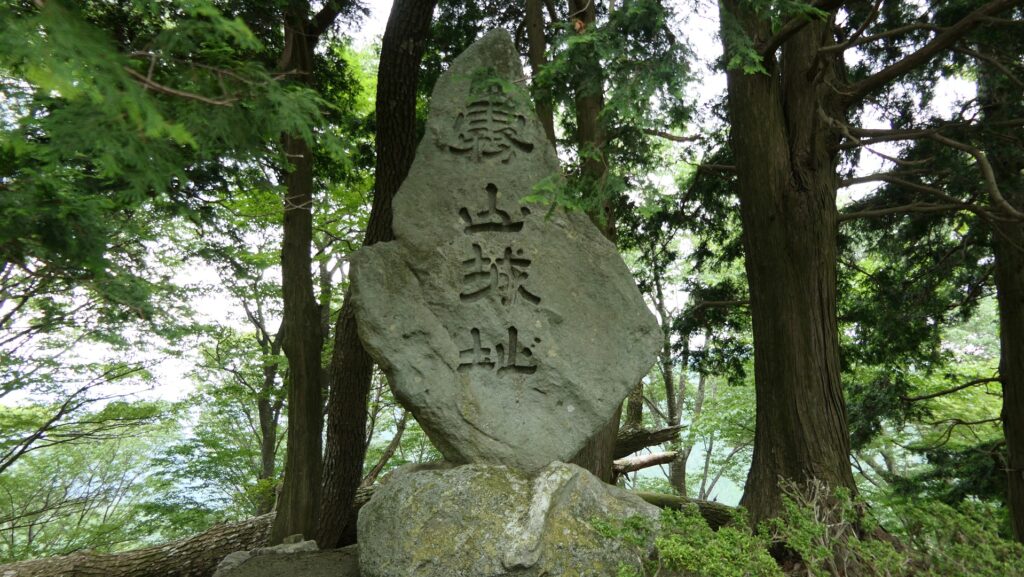
Route to Kiriyama Castle
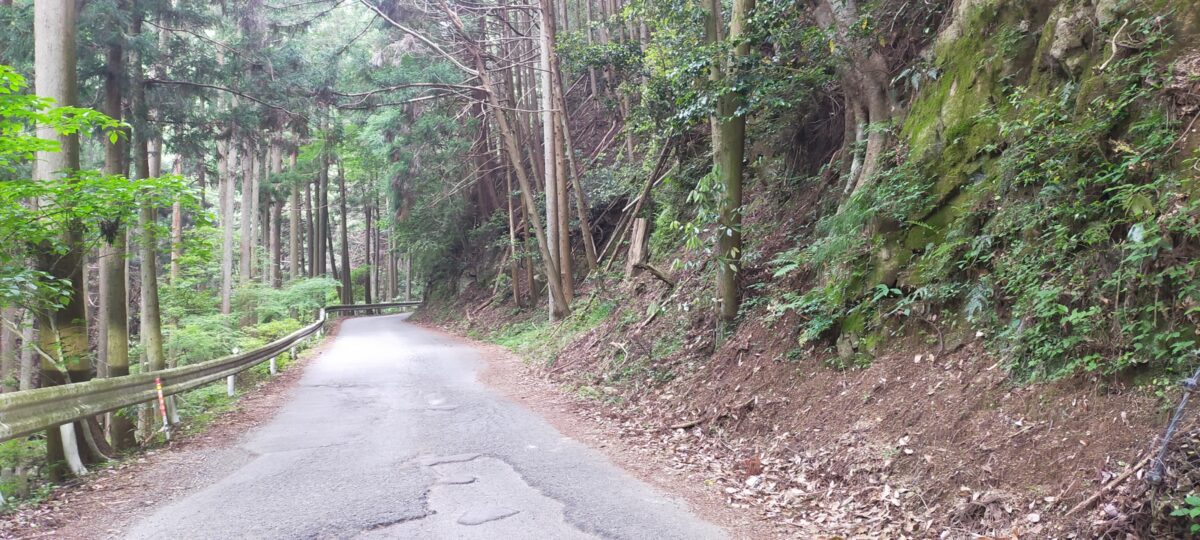
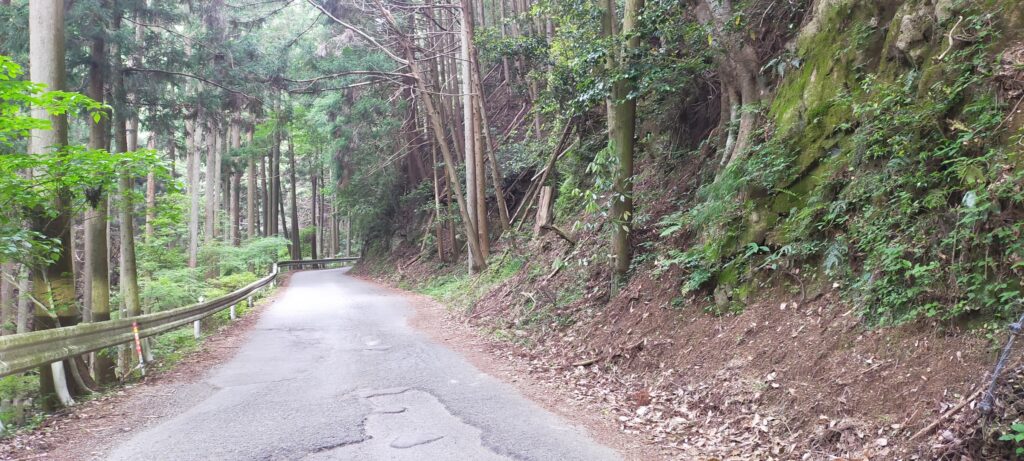
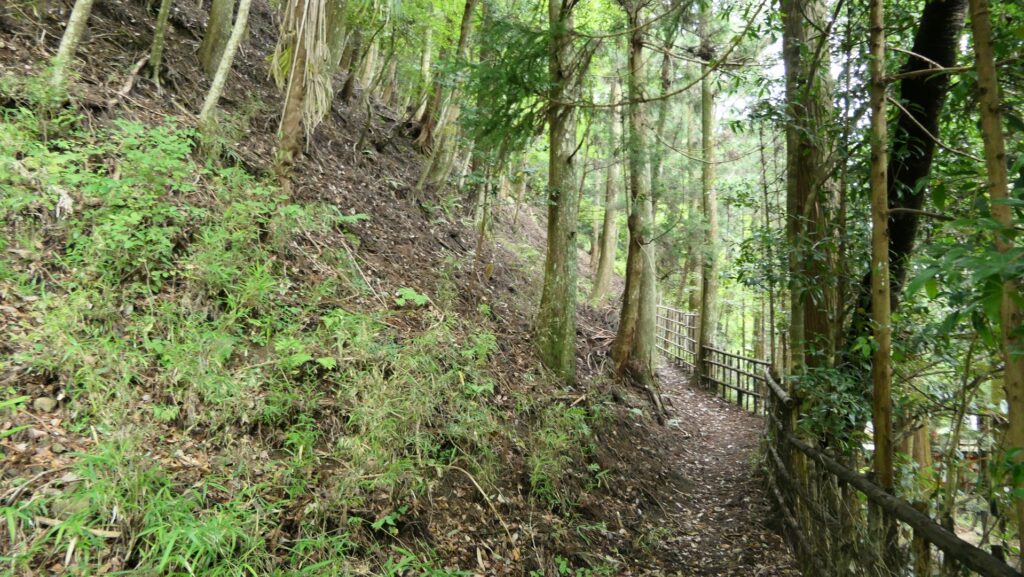
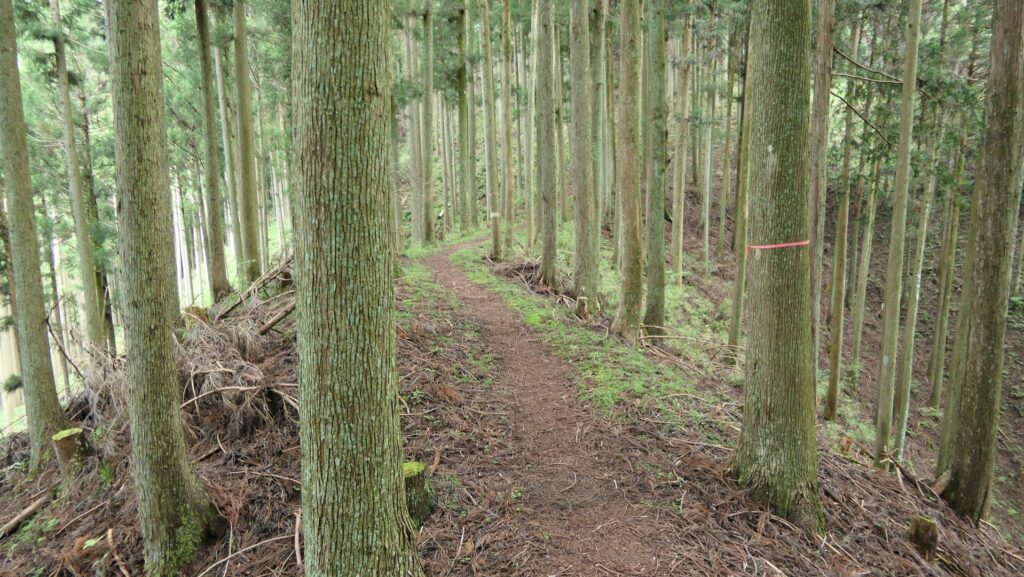
The route to Kiriyama Castle is much longer than that from the foot to the final castle. You have to climb ridges and valleys of the mountain for over 30 minutes. The castle was built on the northern and southern peaks of the mountain.
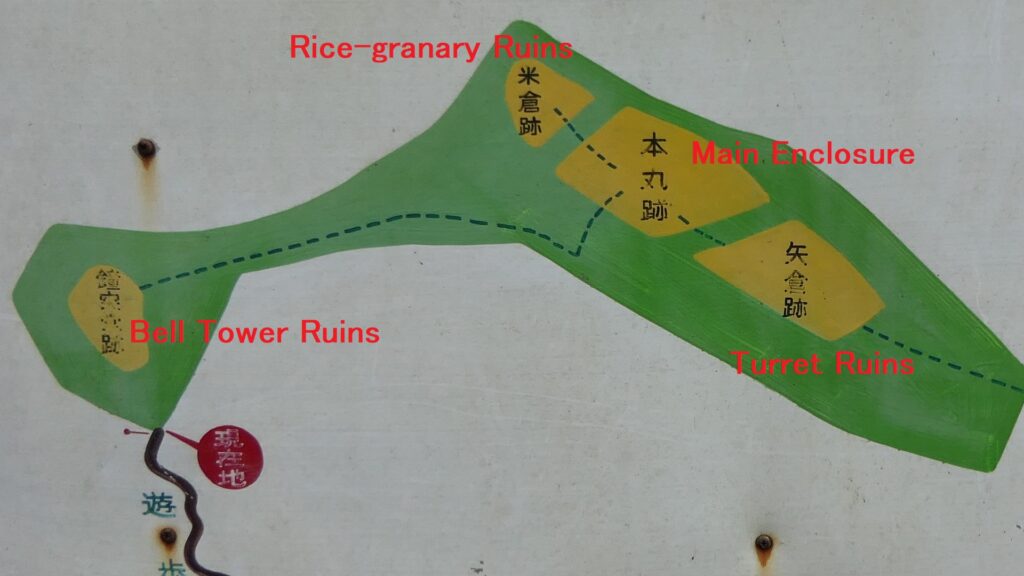
The map around the castle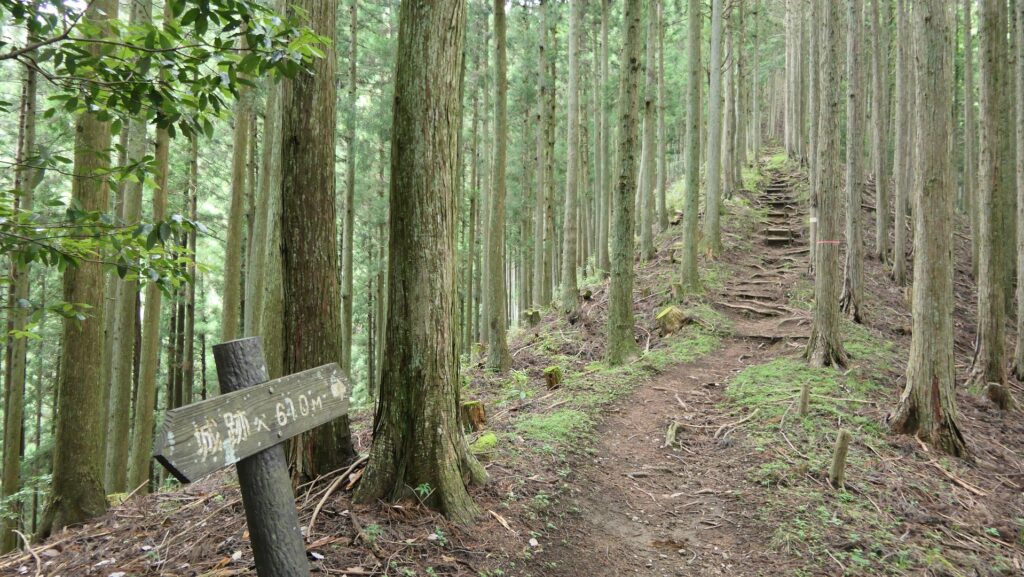

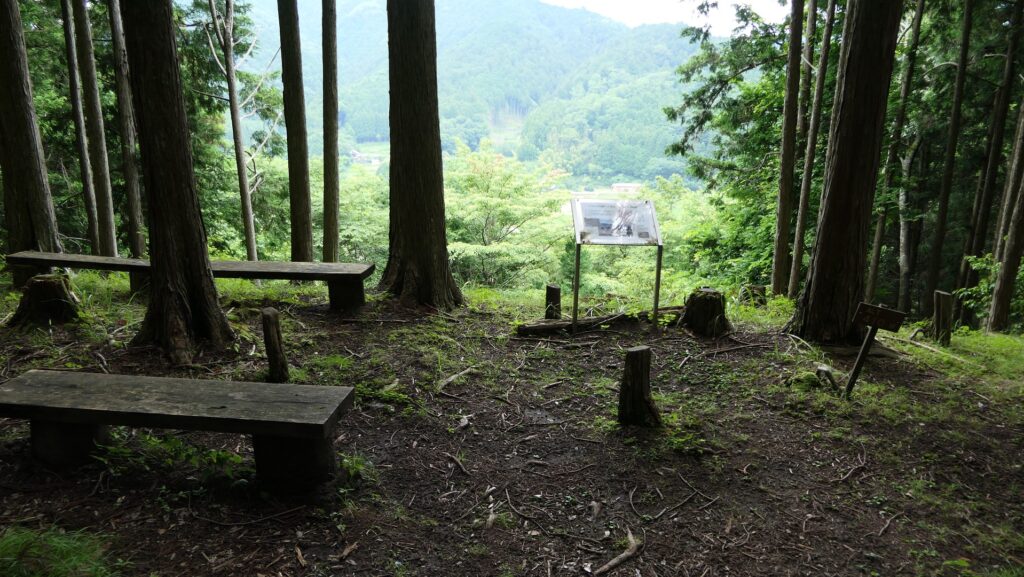
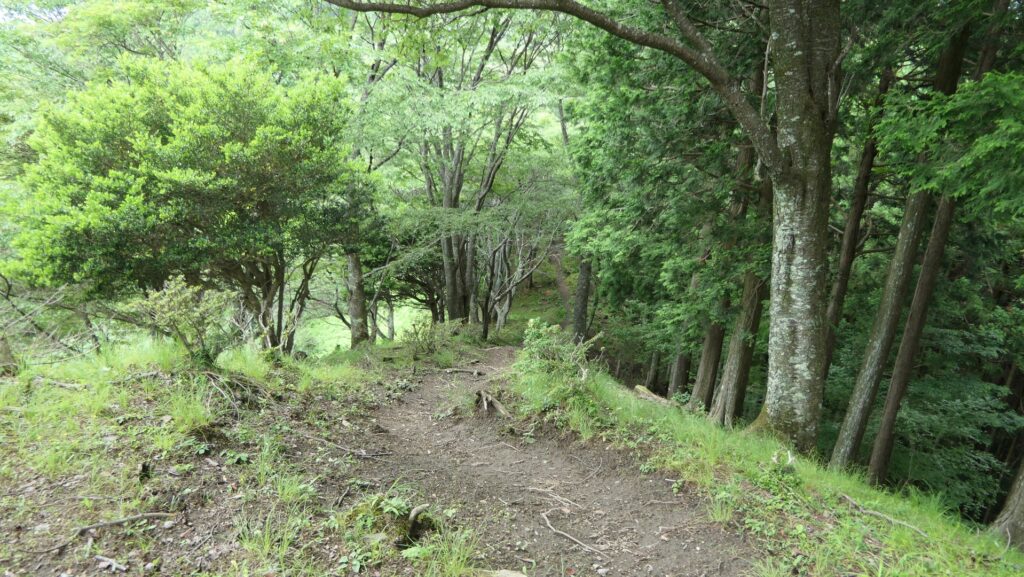
Bell Tower Ruins on Southern Ridge
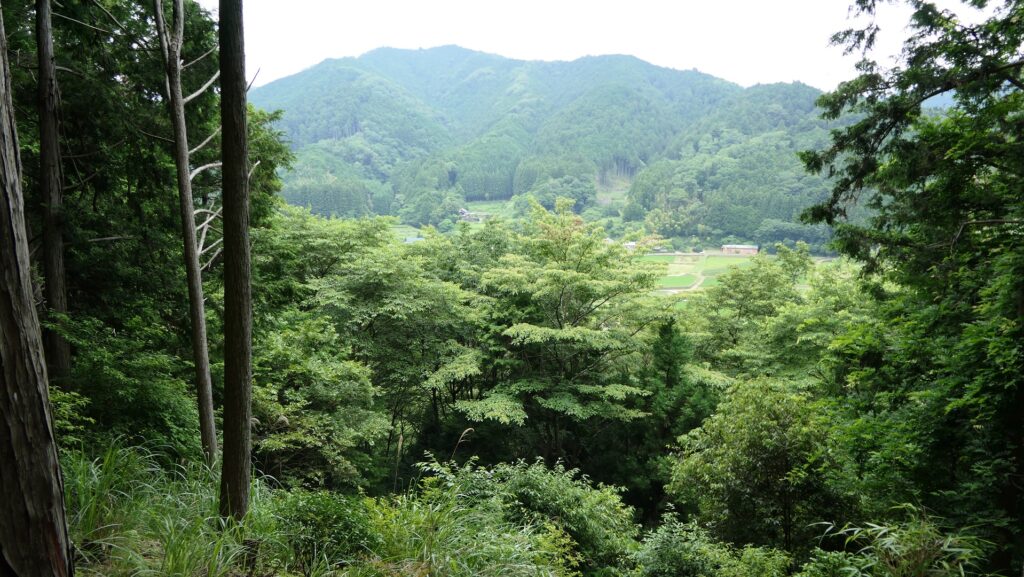
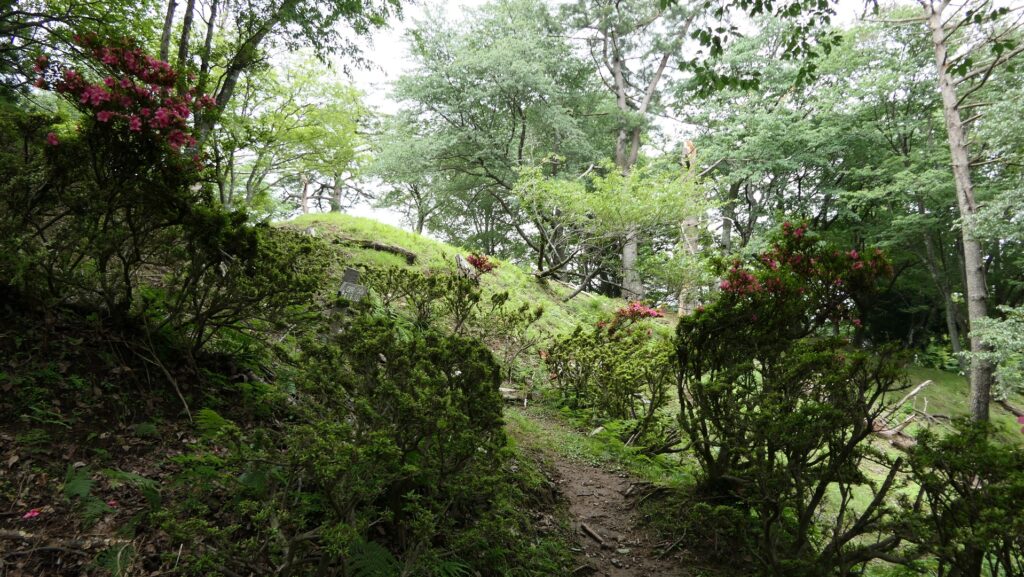
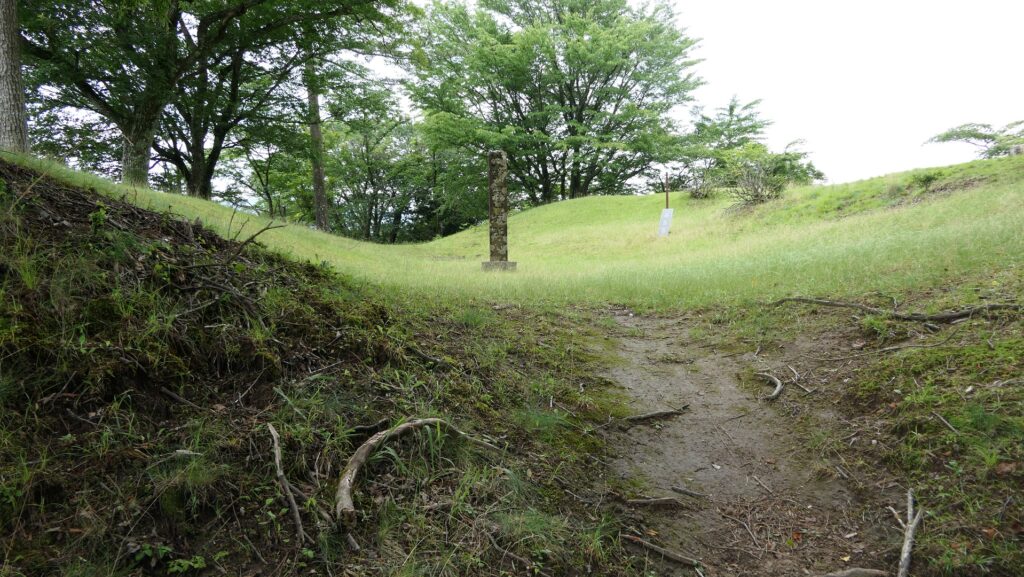
You will eventually arrive at the southern one which is called the Bell Tower Ruins. As its name suggests, there was a bell tower, but there are no buildings now. The view of the area around is very good, so it might have had a lookout tower as well.
The aerial photo around the castle

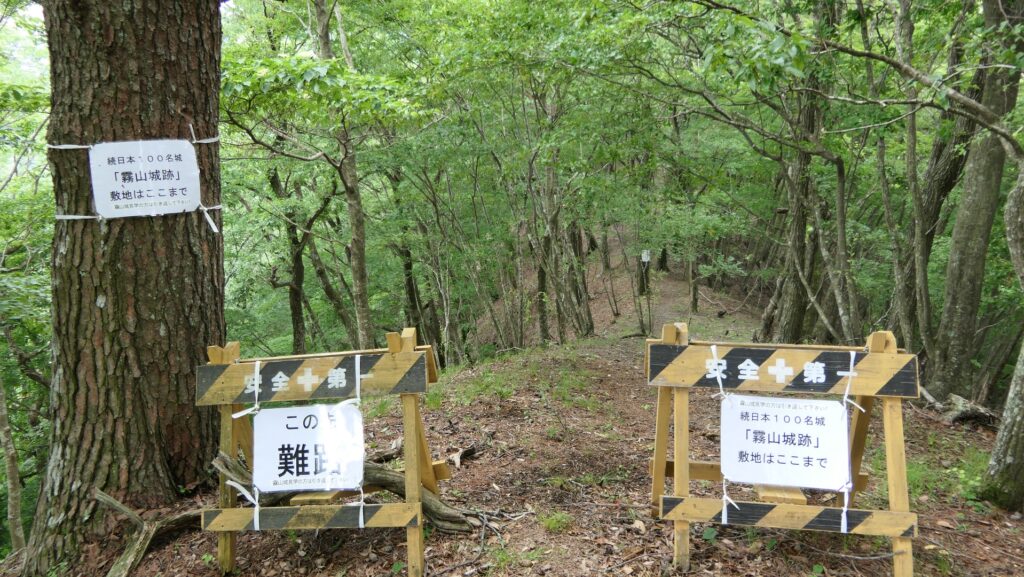
There are also two other ridges (in the north and southernwest, or right and left from the southern ridge from where you came). You should choose the northern or right one to reach the northern peak which were the Main Enclosures. Please don’t go to the southwestern or left one, or you will be stuck at much harder mountain areas. You can see some artificial ditches in the direction to prevent enemies from even attacking under the severe conditions.
Main Enclosures on Northern Ridge
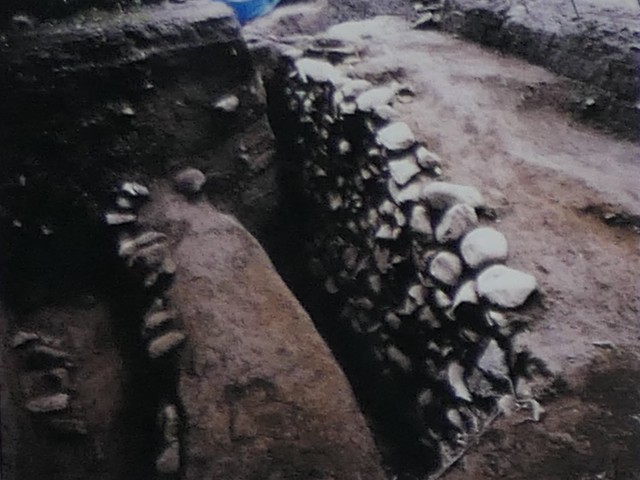
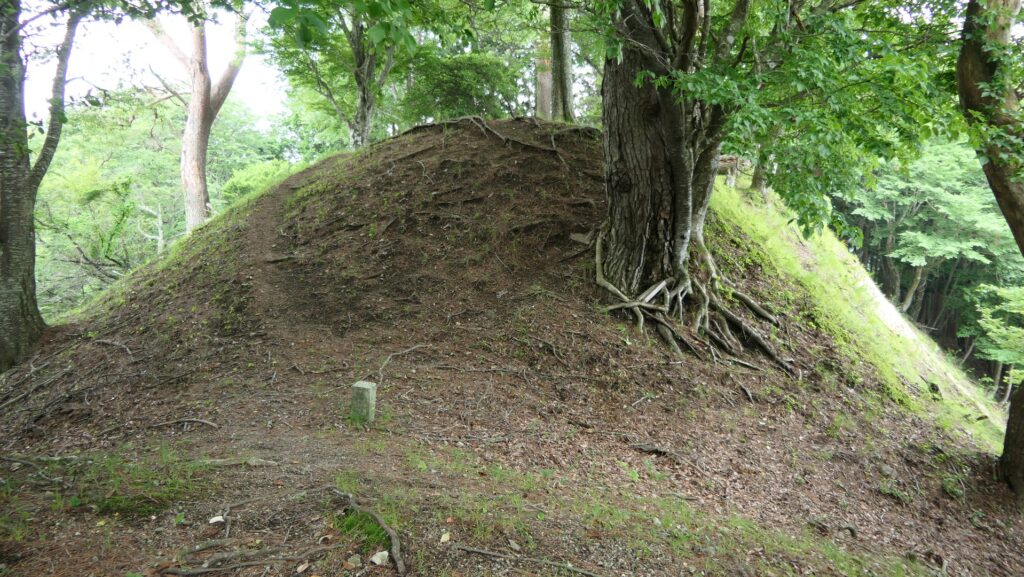
If you go on the northern ridge, which goes up and down steeply, you will finally arrive at the Main Enclosures on the top. The enclosures are divided by ditches into the Rice-granary ruins in the southwest, the Main Enclosure in the center on the top, and the Turret ruins in the northeast. They are all still surrounded by thick earthen walls.

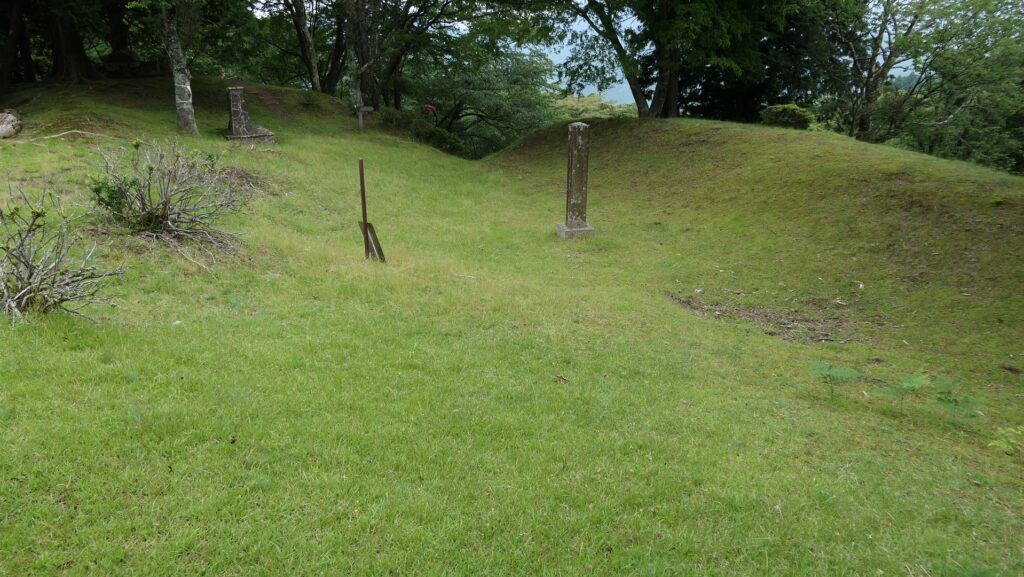

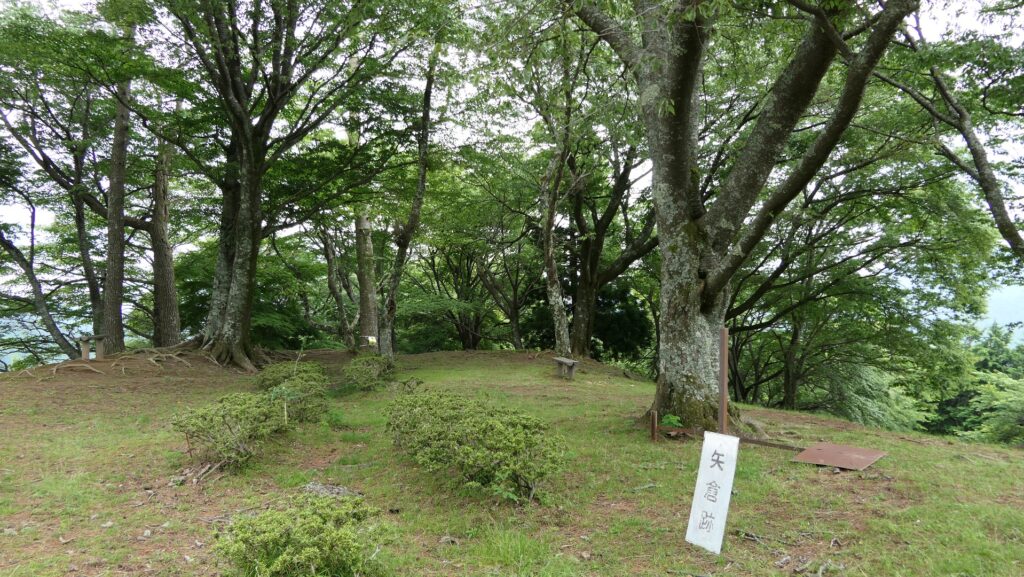
The Main Enclosure, in particular, looks like a bowl probably because the walls collapsed and the ground inside was filled with soil, which made their shape becomes round. These enclosures on the northern ridge look isolated from the other mountains around, so it must have been the real final stronghold.

Later History
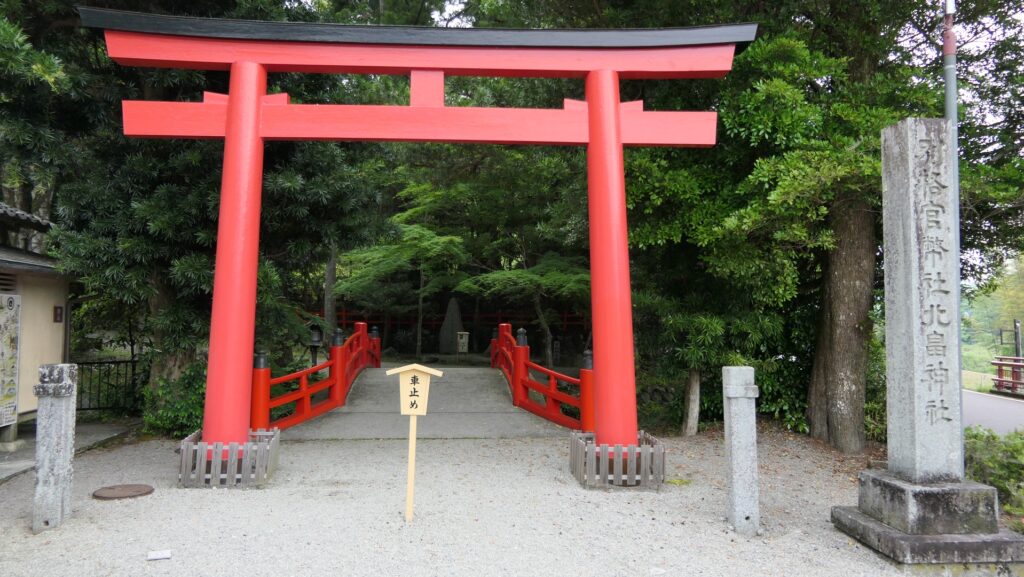
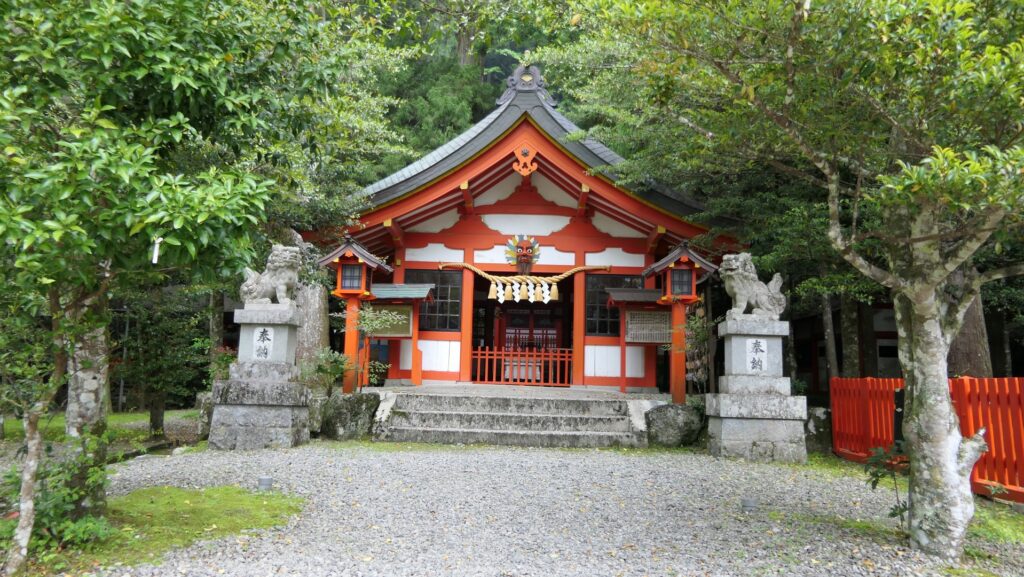
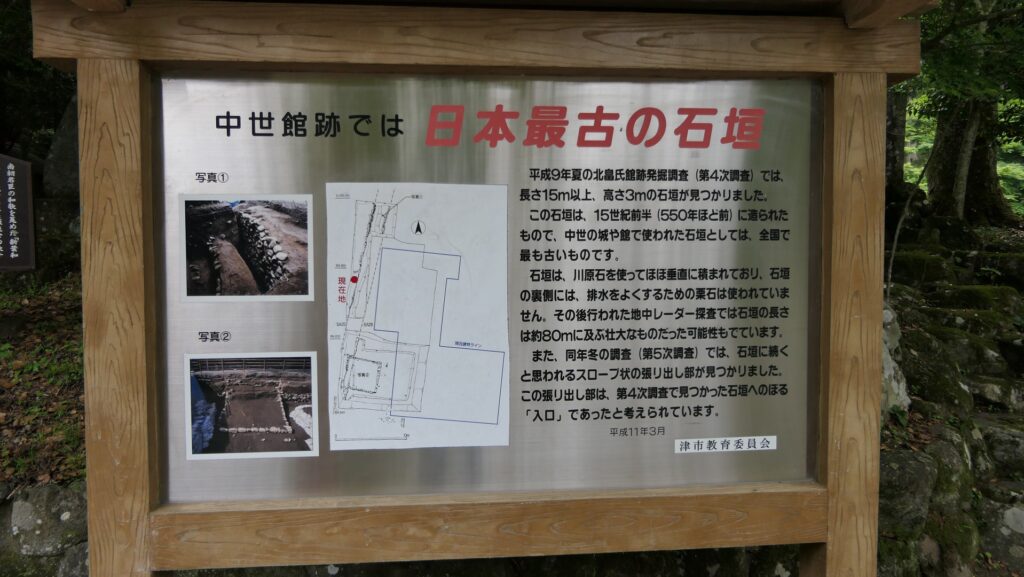
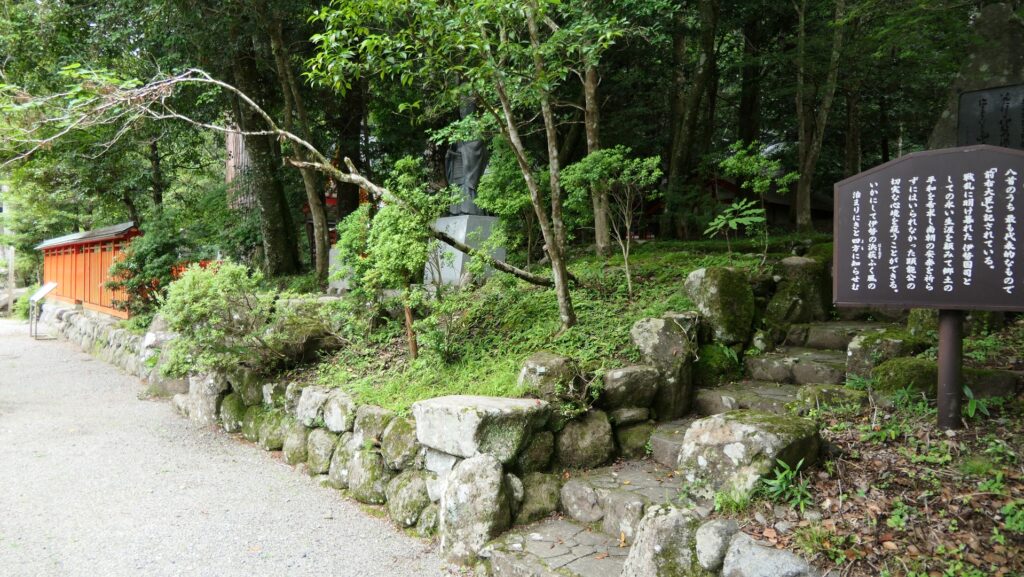
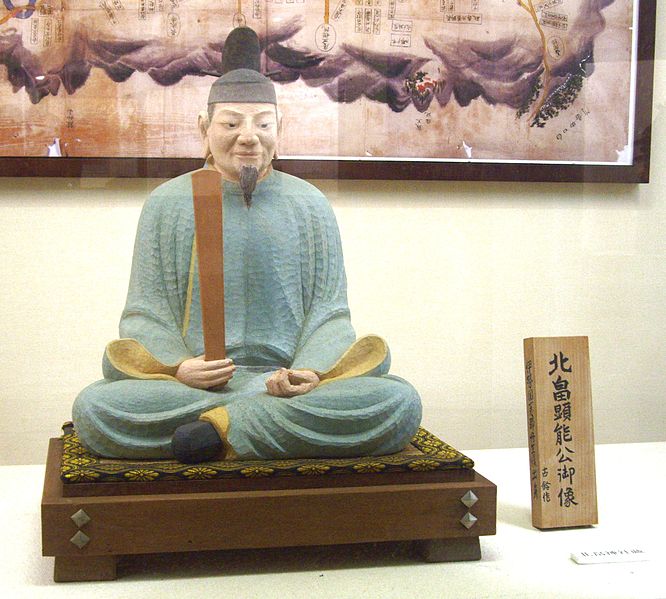
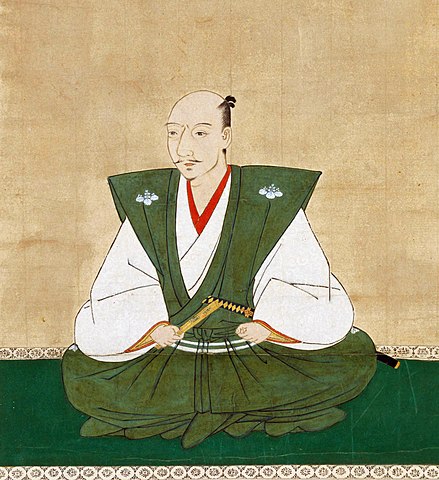
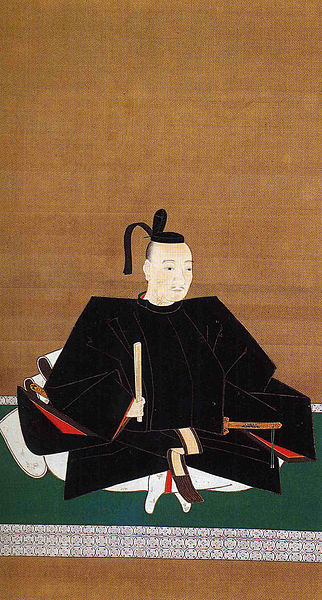
After the invasion by the Oda Clan, Kitabatake Clan Hall, plus the final castle and Kiriyama Castle, were abandoned. A descendant of the Kitabatake Clan built a small shrine in the hall ruins, which worshiped his ancestors during the Edo Period, which is the origin of the current shrine. After the Meiji Restoration, the situation changed as the government decided that the Southern Court has been orthodox. Since then, the warriors and lords who had supported the Southern Court were focused on, one of which was the Kitabatake Clan. The shrine was developed being named The Kitabatake Shrine, and finally designated as an Imperial Shrine of Special Status in 1928, which worships loyal vassals. Similarly, the Kitabatake Clan Hall Ruins Garden and Kiriyama Castle Ruins were designated as a National Historic Site in 1936. This was probably reflected by the contributions of the clan. After the discovery of the old stone walls of the original hall, the hall ruins were added to the National Historic Site in 2006.

My Impression
When I first visited the Kitabatake Clan Hall Ruins as the current Kitabatake Shrine, I was honestly disappointed with them. This was because there were few castle-like items. I also found the introduction of Kiriyama Castle at that time, but I decided not to go there as I thought I didn’t have enough time to complete it. That’s why I tried to go to the castle ruins on another day and was satisfied. However, I can now say that if you don’t have enough time to see both ruins of Kitabatake Clan Hall and Kiriyama Castle, you can at least go to the final castle of the hall on the way to Kiriyama Castle in a short time.


That’s all. Thank you.
Back to “Kitabatake Clan Hall Part1”
Back to “Kitabatake Clan Hall Part2”