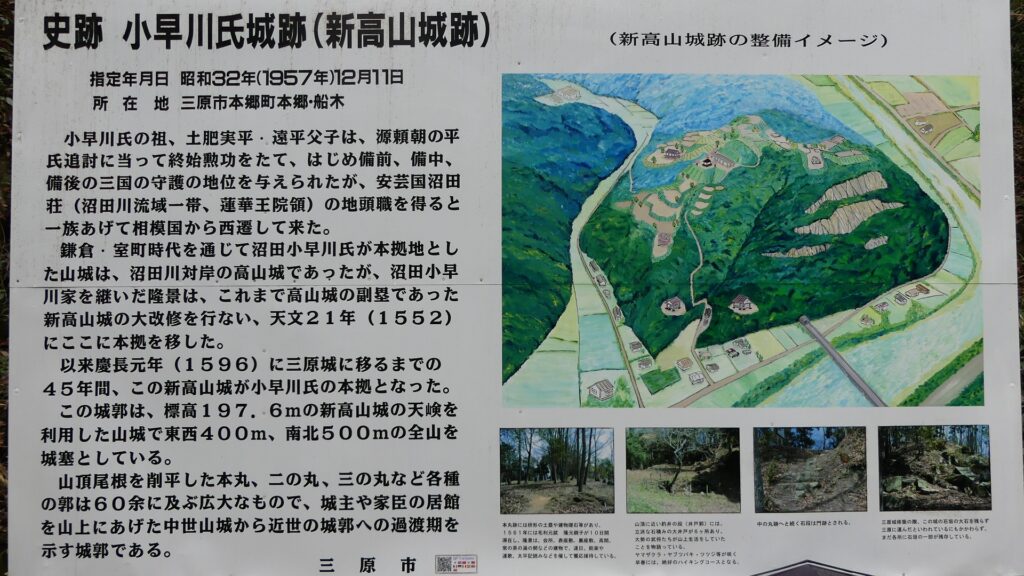
Features
Defensive system using Natural Terrain
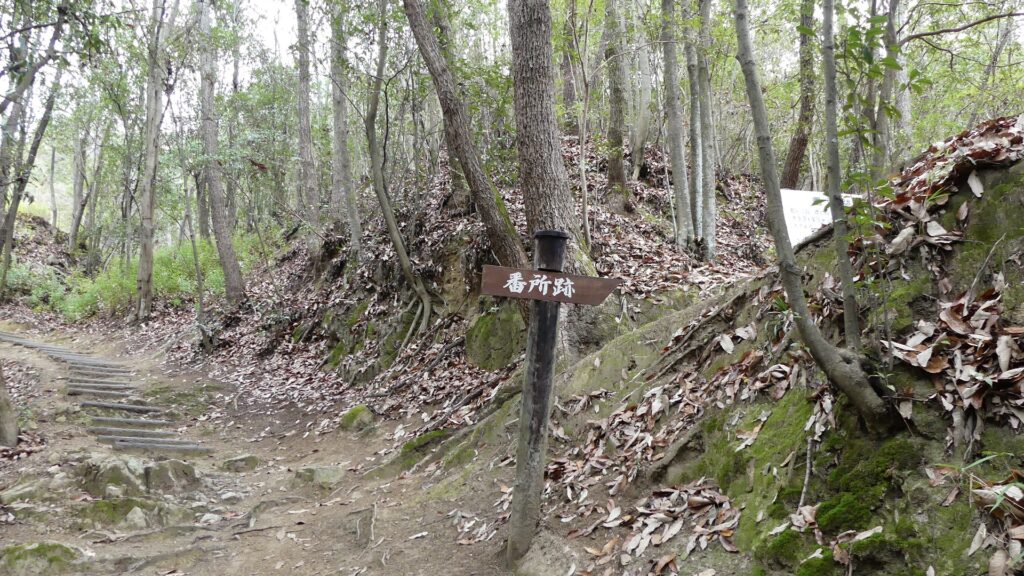
Today, the ruins of Nitakayama Castle have been well developed for visitors as a hiking course. The course is the same or similar to the original main route of the castle. If you go on a path from the entrance of the route, you will find the path going beside a ridge on the right. There is a shrine called Kojinsha on the ridge, but it was said to be a barbican enclosure to protect the route from enemies.
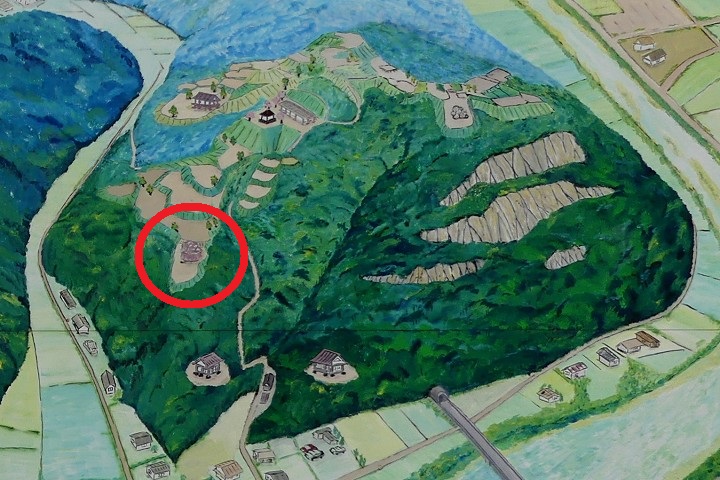
The map around the castle


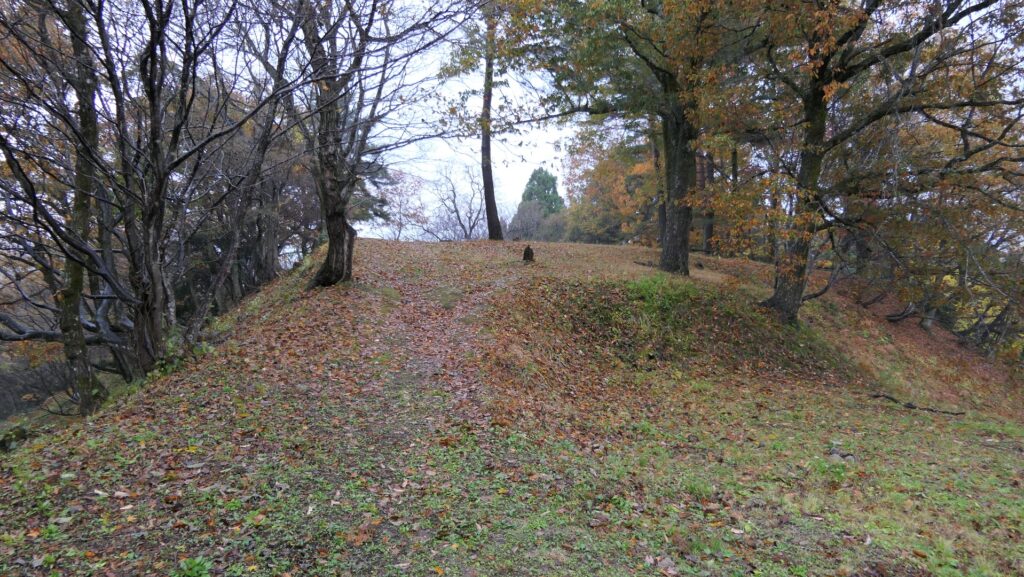
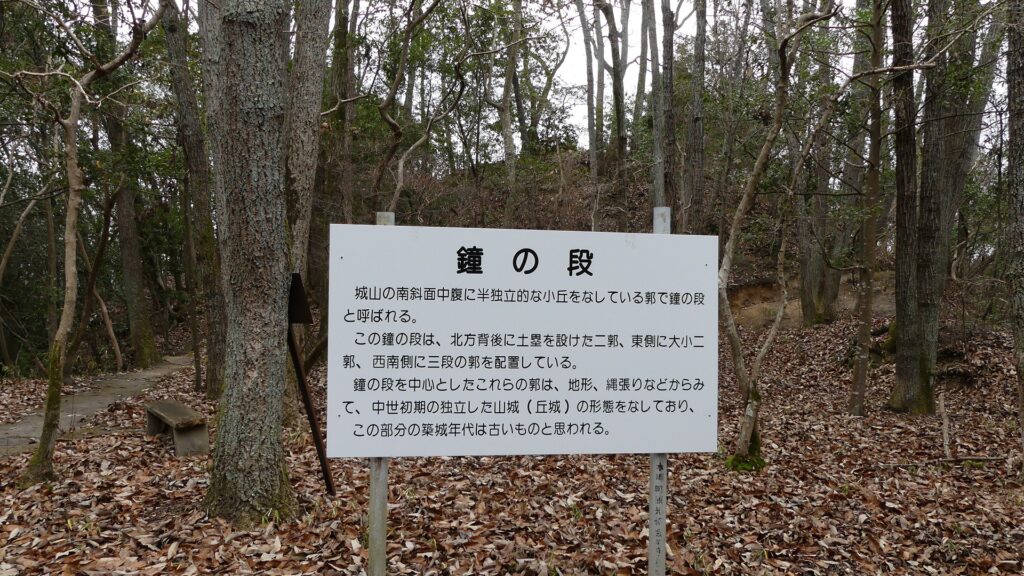
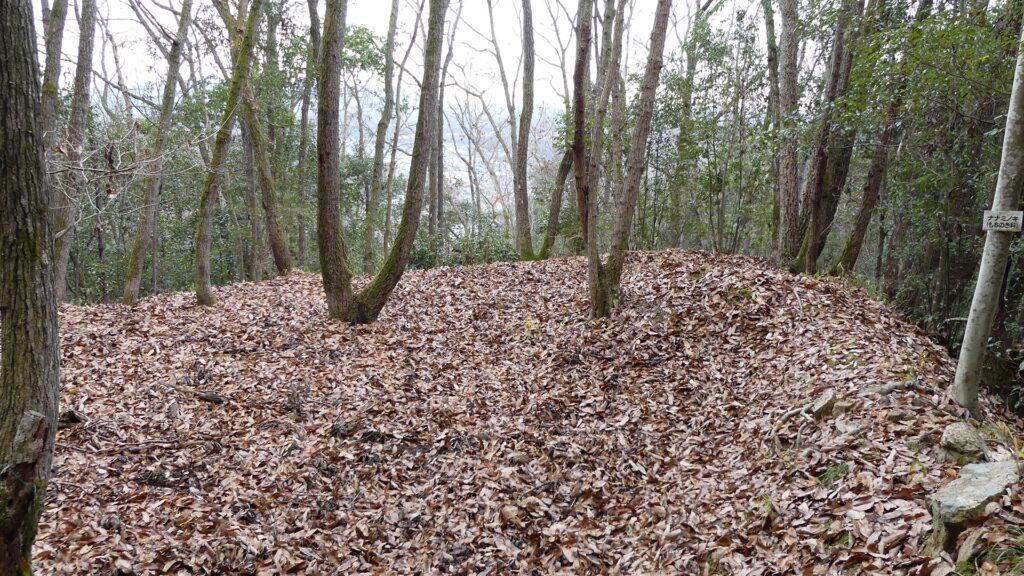
After you see a large direction board, you will continue to walk the route beside another ridge on the left. The ridge was used as Kane-no-dan (meaning the bell enclosure) to control the route. This enclosure was said to be one of the oldest parts in the castle, which might have been used as a branch of Takayama Castle, the former home of the Kobayakawa Clan.
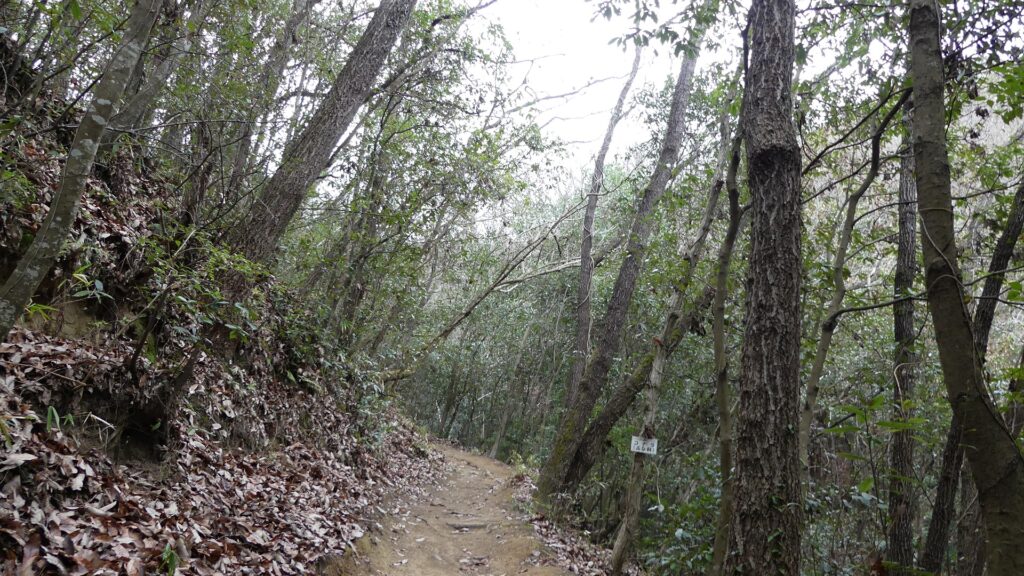
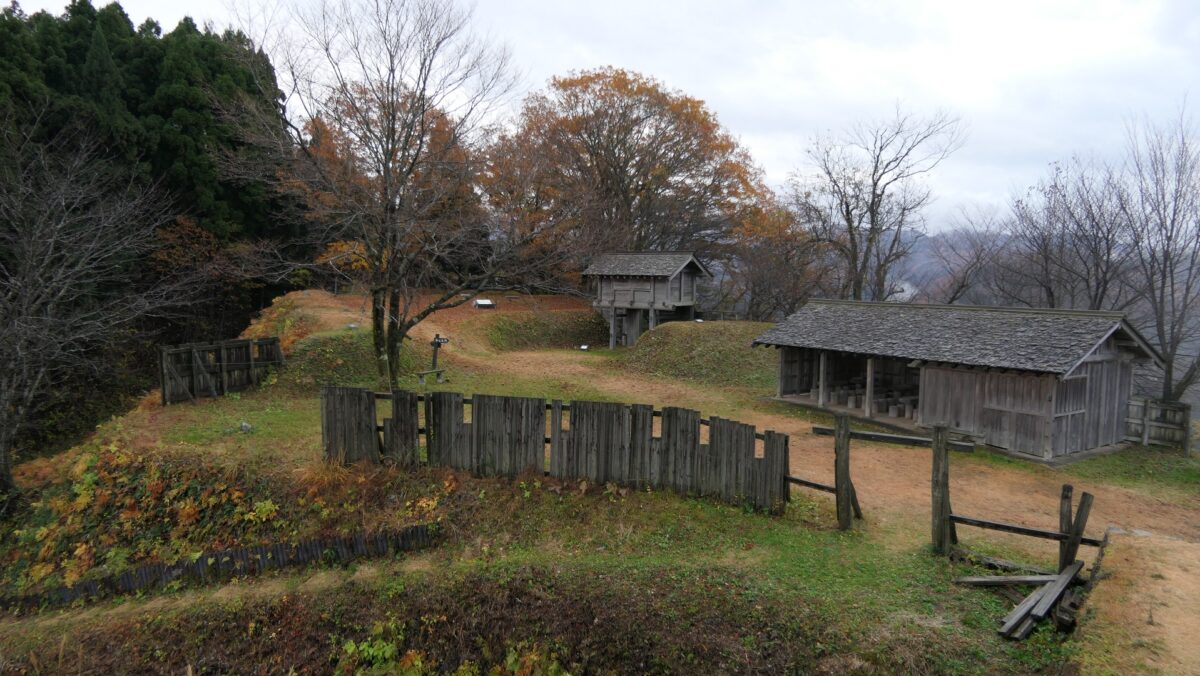
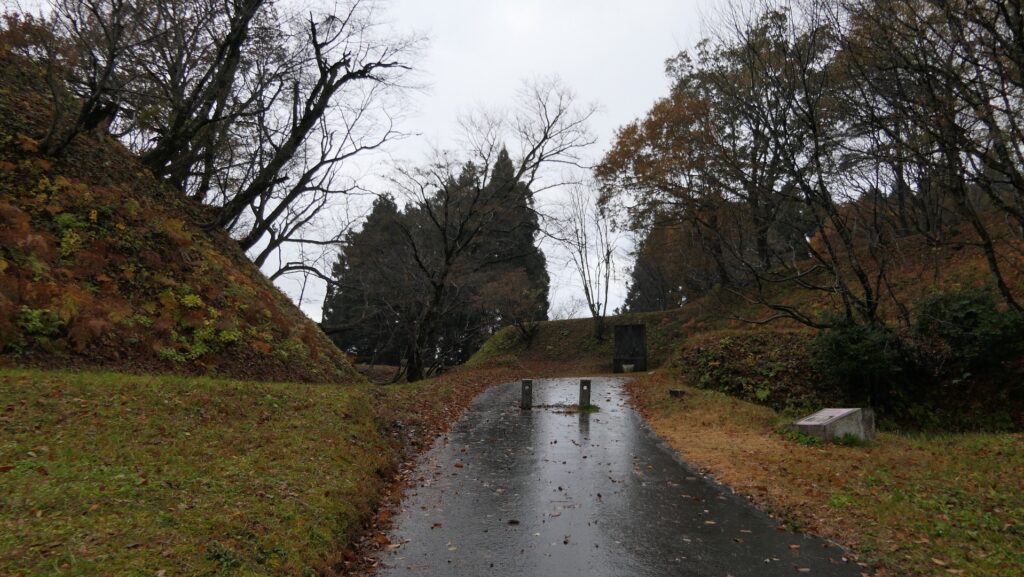
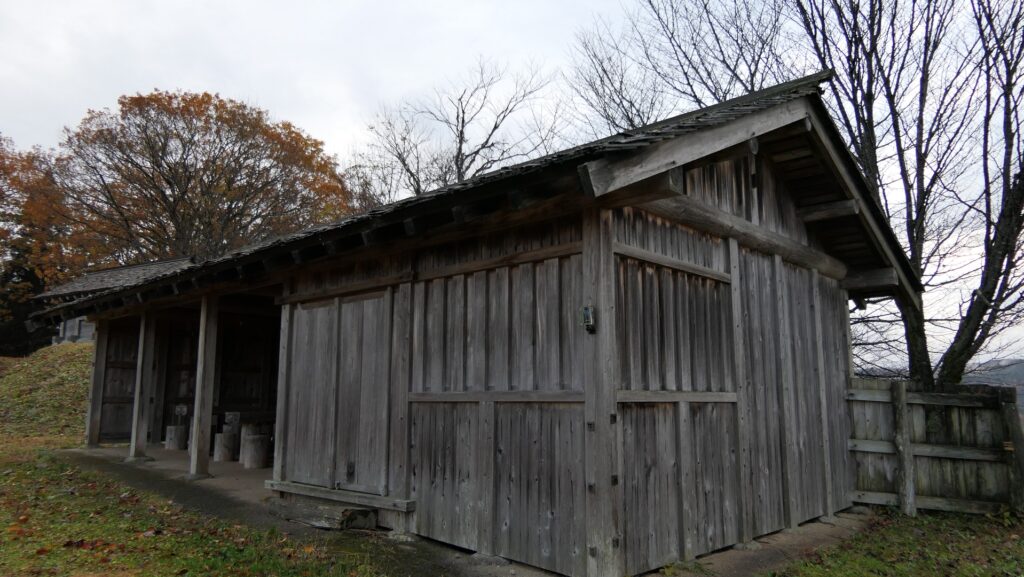
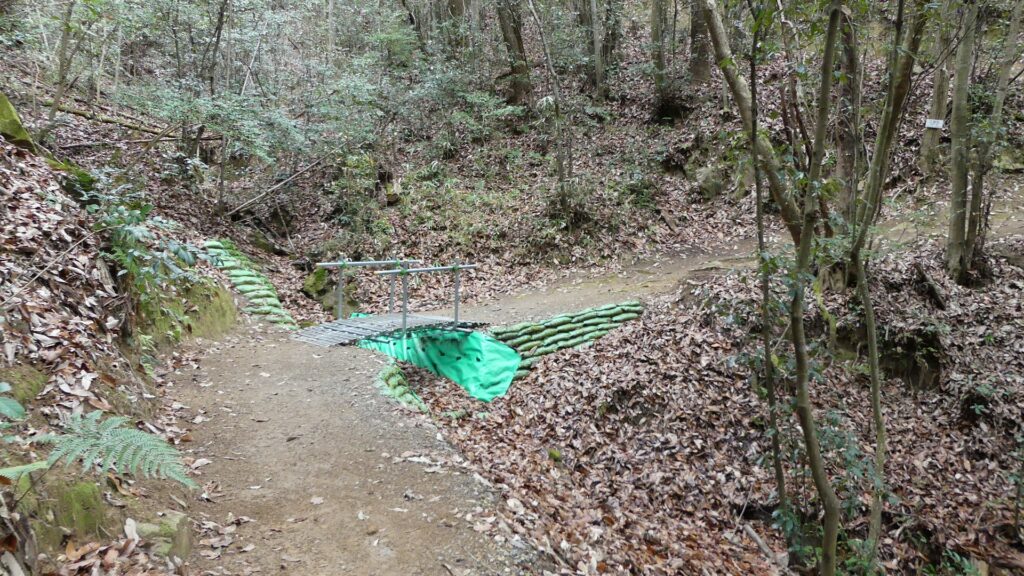
The route next goes on a bridge over a river on the valley, to another ridge. The bridge might have been destroyed when a battle happened. The route goes beside the three-tiered ridge on the right, which were protected by guard houses similar to barracks. As you saw so far, the route was built strongly by using only natural terrain.

Takakage Kobayakawa hosted his father there
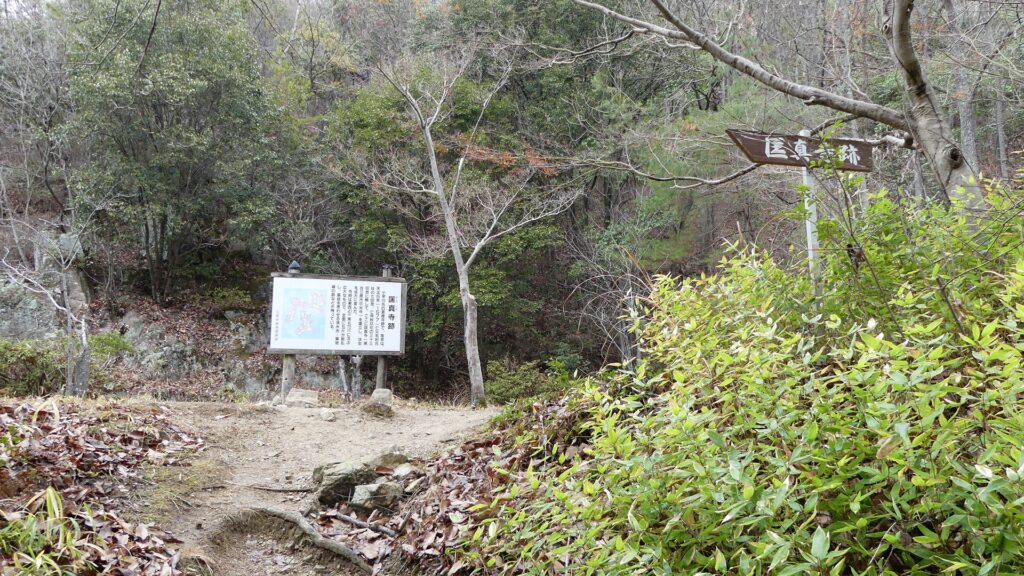
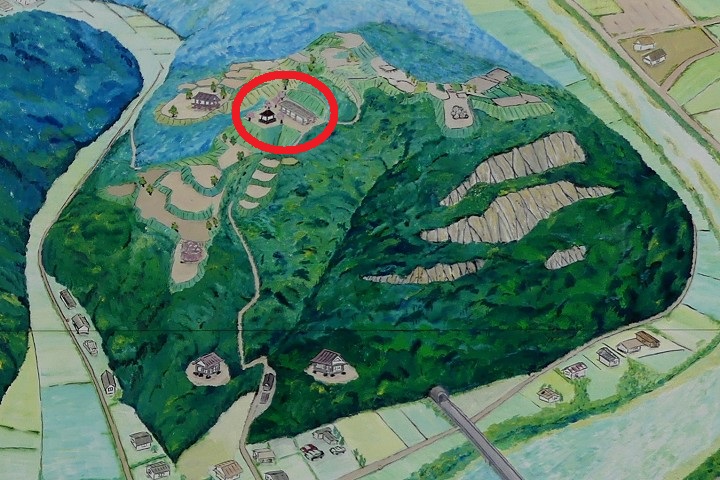
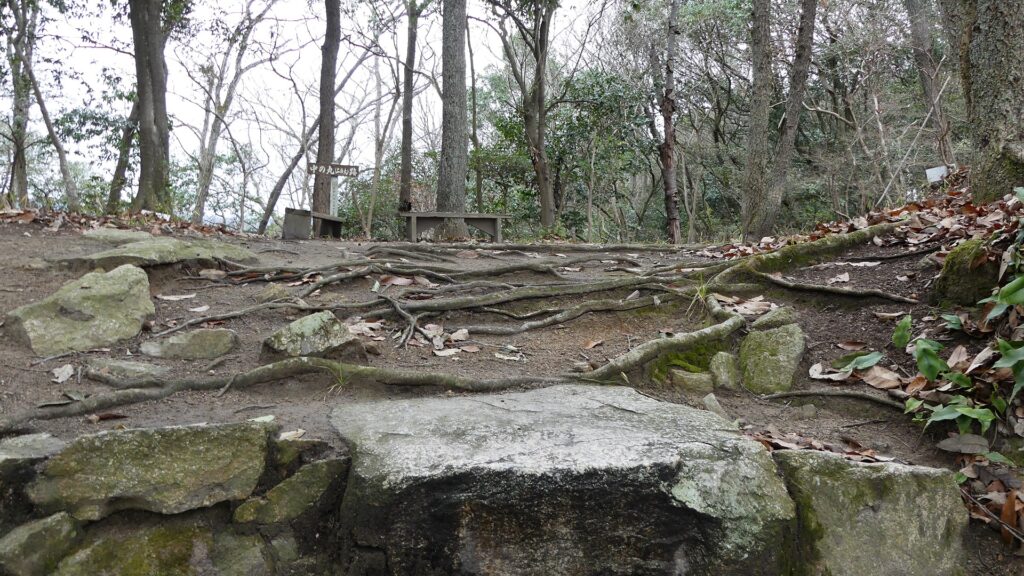
You will soon reach a spacious area on the middle of the mountain, called “Kyoshinji-Temple Ruins”. This temple was built in 1577 by Takakage Kobayakawa, the lord of the castle, to pray for the repose of his father, Motonari’s soul after his death. The temple was moved to another place near Mihara Castle after Nitakayama Castle was abandoned. You can still see lots of fragments of roof tiles and some remaining stones or rocks on the ground, which the temple left. In addition, the record of Motonari’s stay in this castle in 1561 says that there was a temple in the castle, where Takakage’s brother, Takamoto stayed in, and which had the same or similar name as the one mentioned above. Therefore, Historians speculate that there was also the Kaisho building, where their ceremonies were held, in this site at that time.

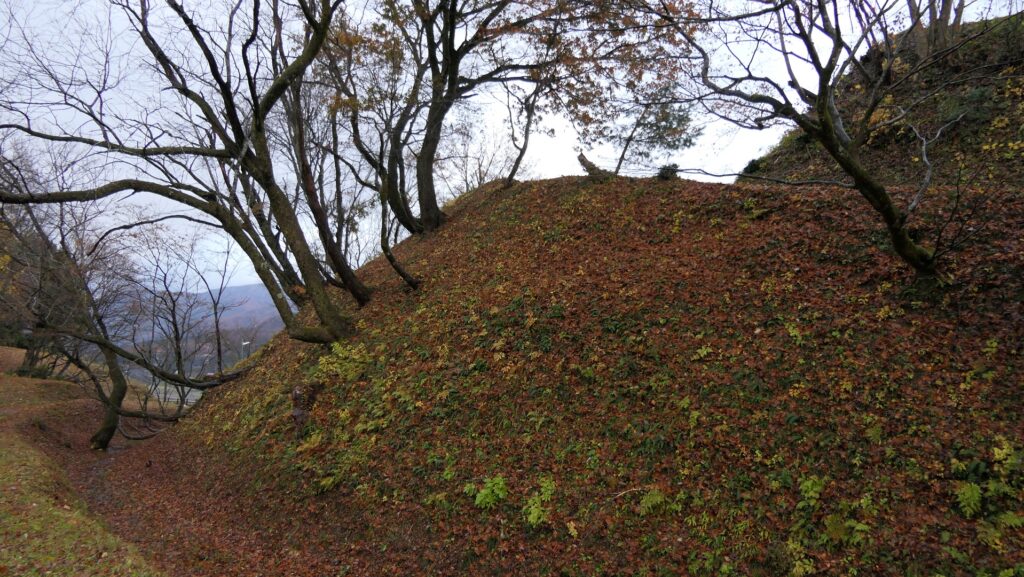
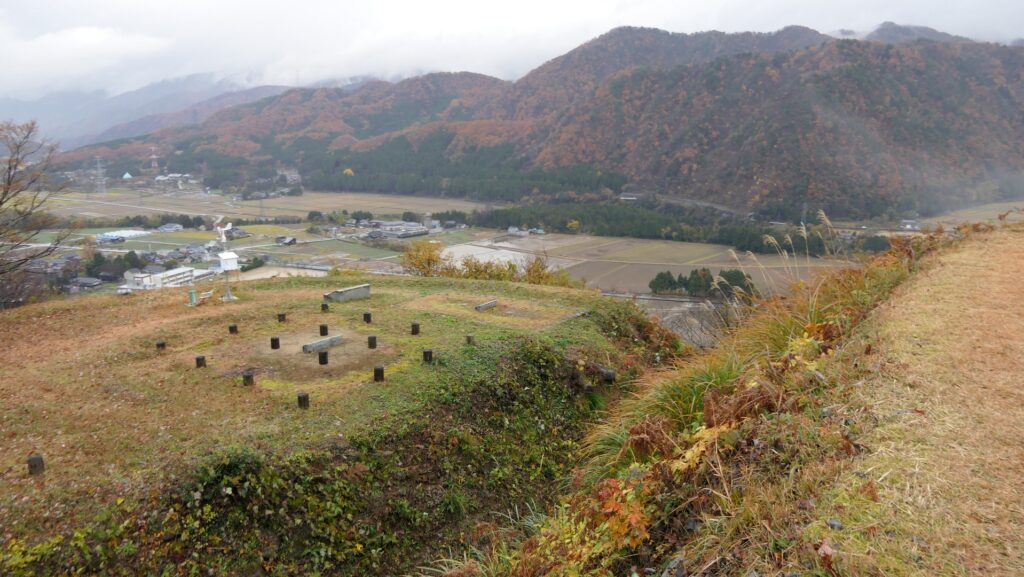
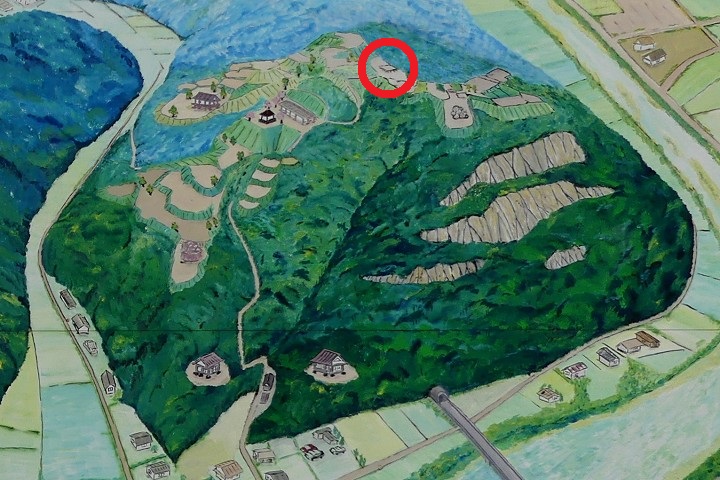
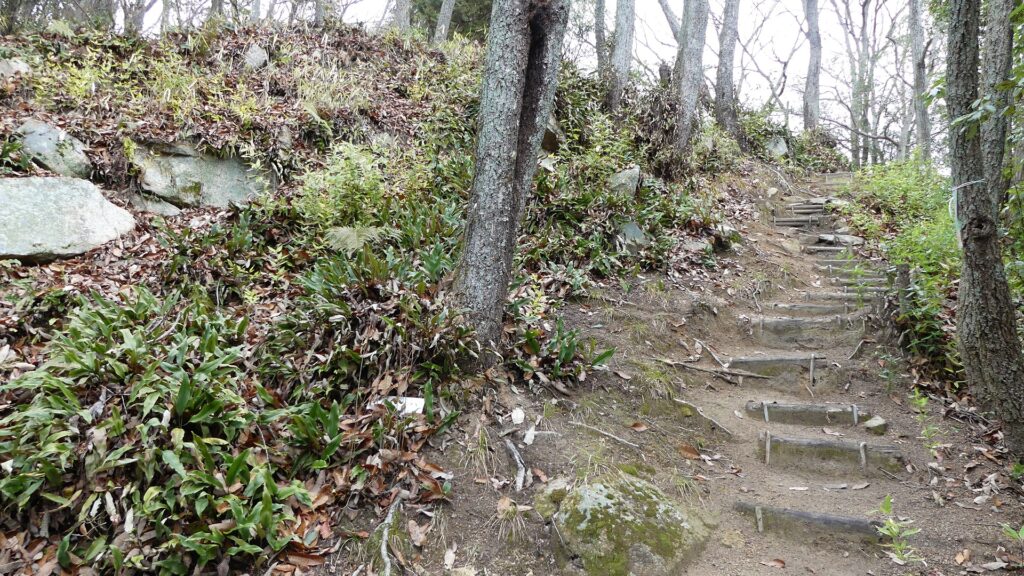
You can go further to the top area of the castle via a zigzagged path. You will eventually be at Naka-no-maru (meaning the central enclosure) which is placed between the main enclosure on the right (or the east) and the western enclosure on the left (or the west). This enclosure seemed to have been a pivot point of the castle. The western enclosure was built to monitor and control another route to the castle from this direction. This route is gentler than the main route you used, so many artificial vertical moats were built on the slope to prevent enemies from invading the castle easily. However, you still need to hire a guide to see them clearly because the western area has still not been developed for general visitors.

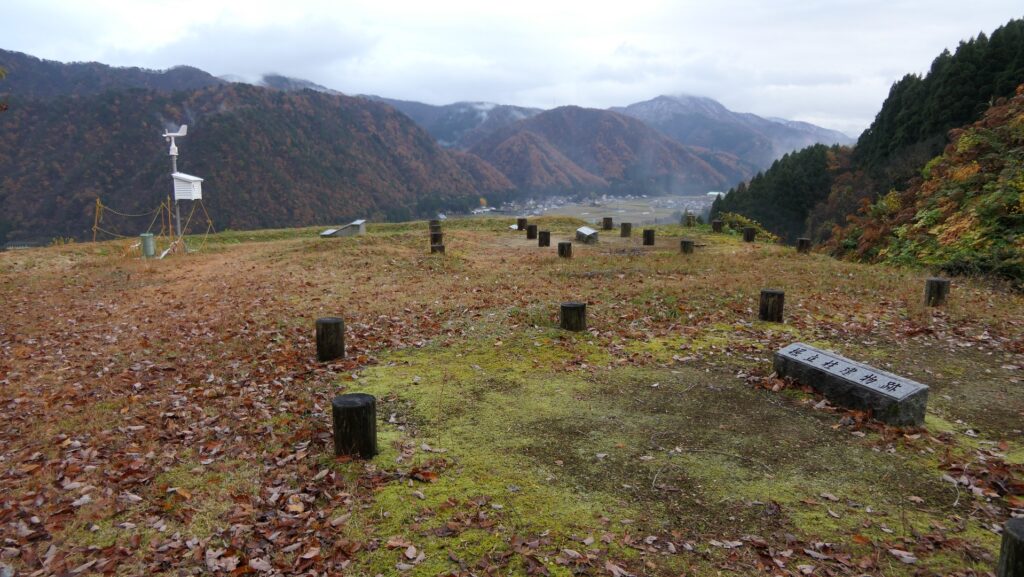
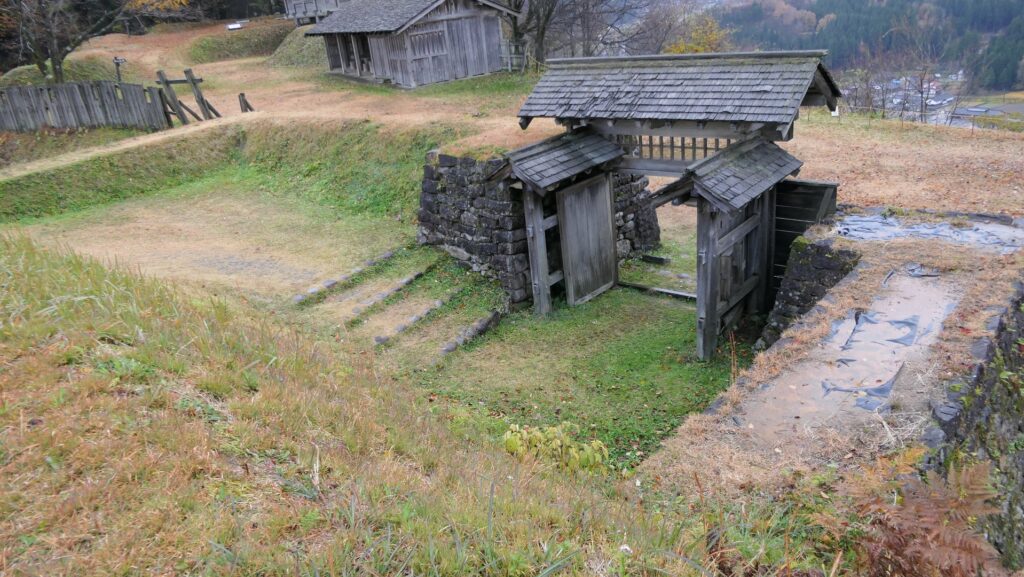
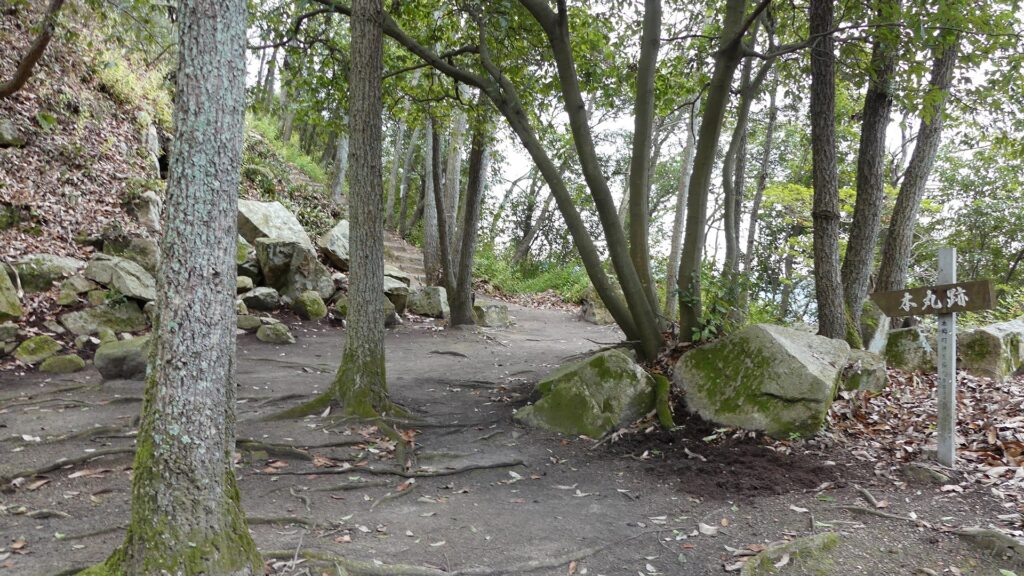
Main Enclosure with few remaining Stone Walls
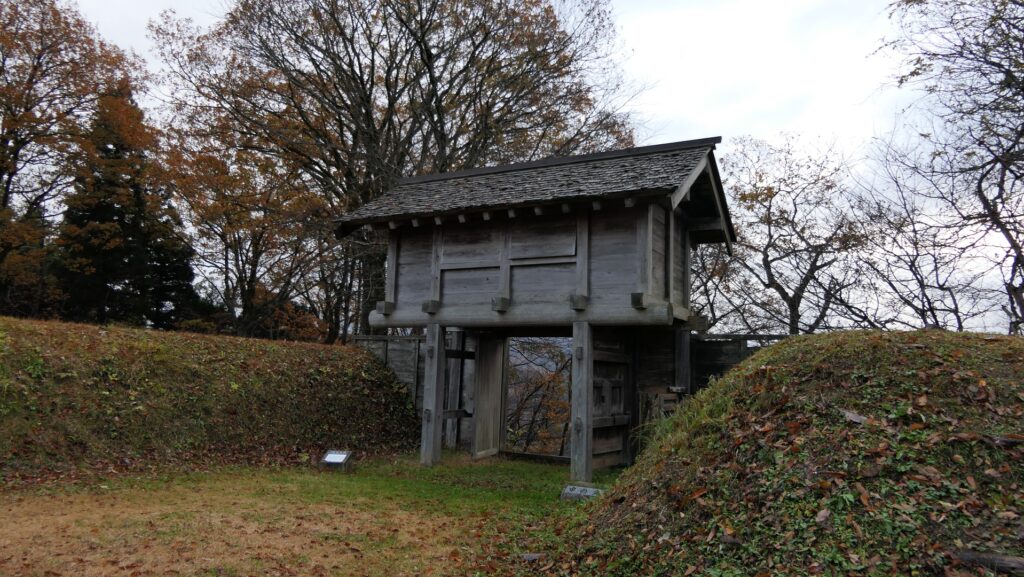
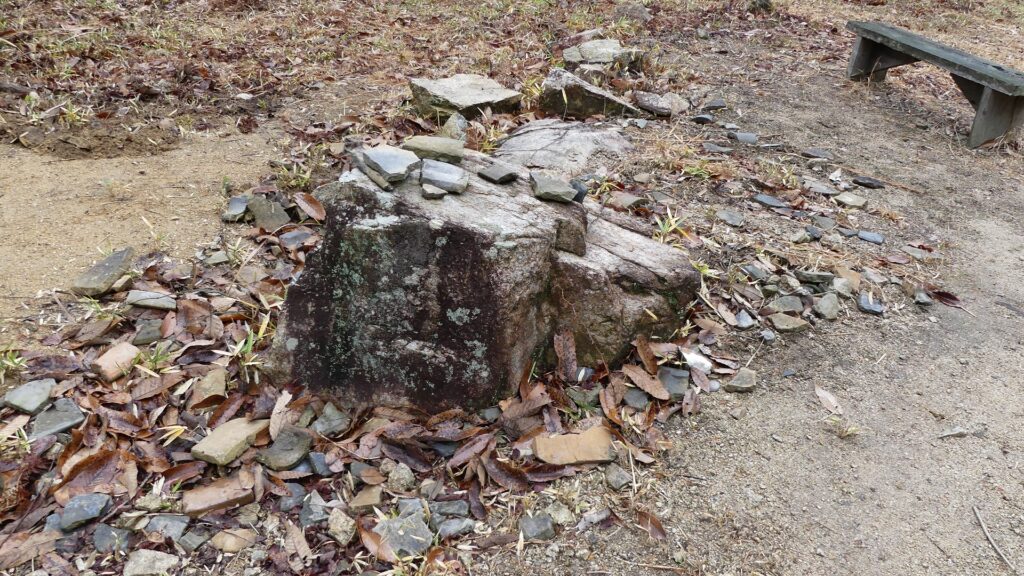
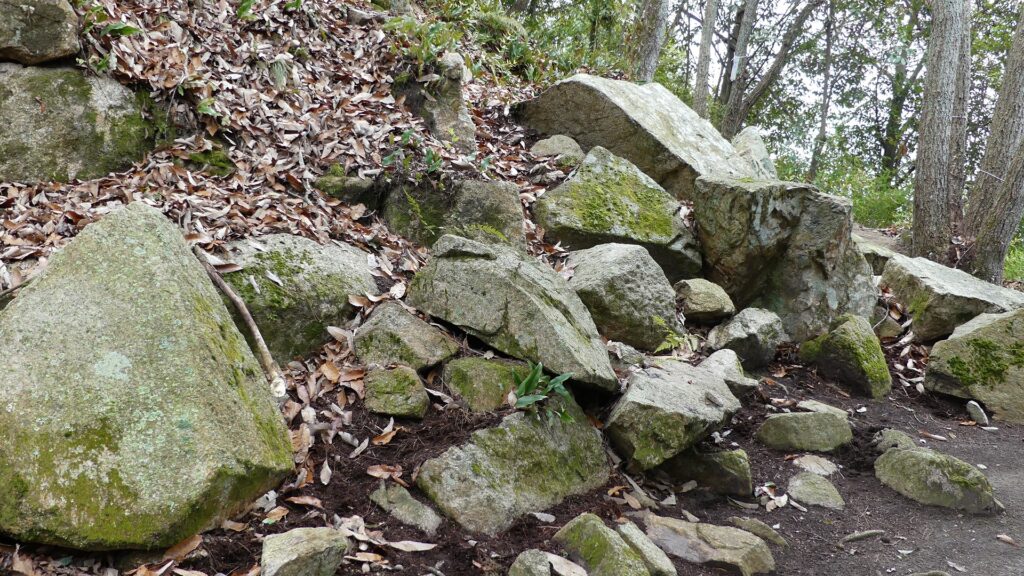
You will finally walk up to the main enclosure which was surrounded by stone walls using huge stones or rocks. Most of them were removed and brought to Mihara Castle when Nitakayama Castle was abandoned. However, you can still see a few remaining stone walls on its base, so you may imagine what the original stone walls looked like. The entrance of the enclosure has been built as a defensive square space, called Masugata, where the main gate building was also constructed. It was said that the building was moved to the current Koshinji Temple (now called Sokoji) as its gate. The inside of the main enclosure is an empty space, where only stone foundations remain at its corner. These foundations were probably used for the main hall or the pavilion where Takakage hosted his father.


To be continued in “Nitakayama Castle Part3”
Back to “Nitakayama Castle Part1”