178.Noshima Castle Part2

Noshima has become a deserted island. You can’t go there by yourself because of the state of the island. If you want to go there, you need to book a boat tour from Miyakubo fishing port on the weekends.

Features

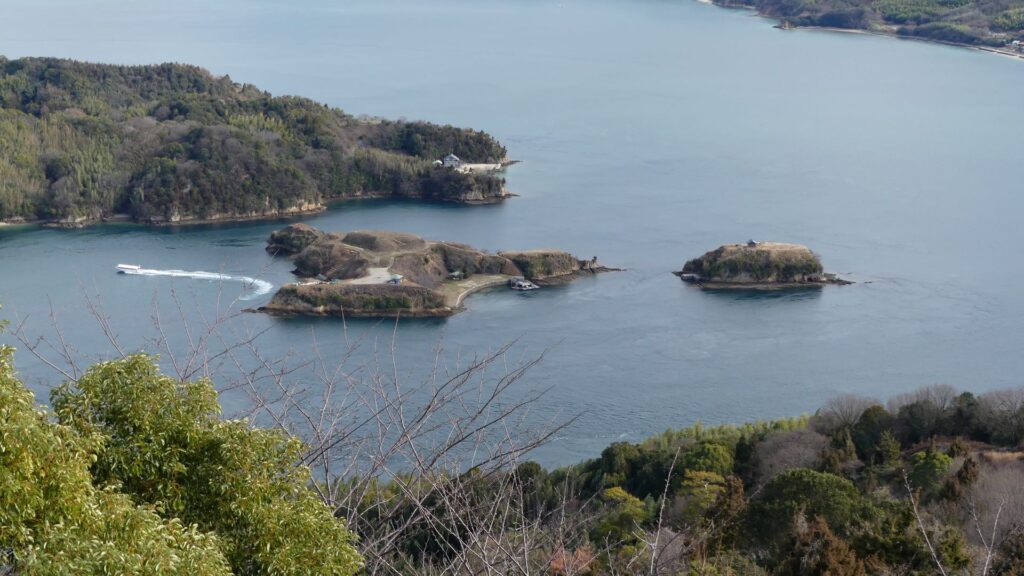
Island looking like Unsinkable Warship

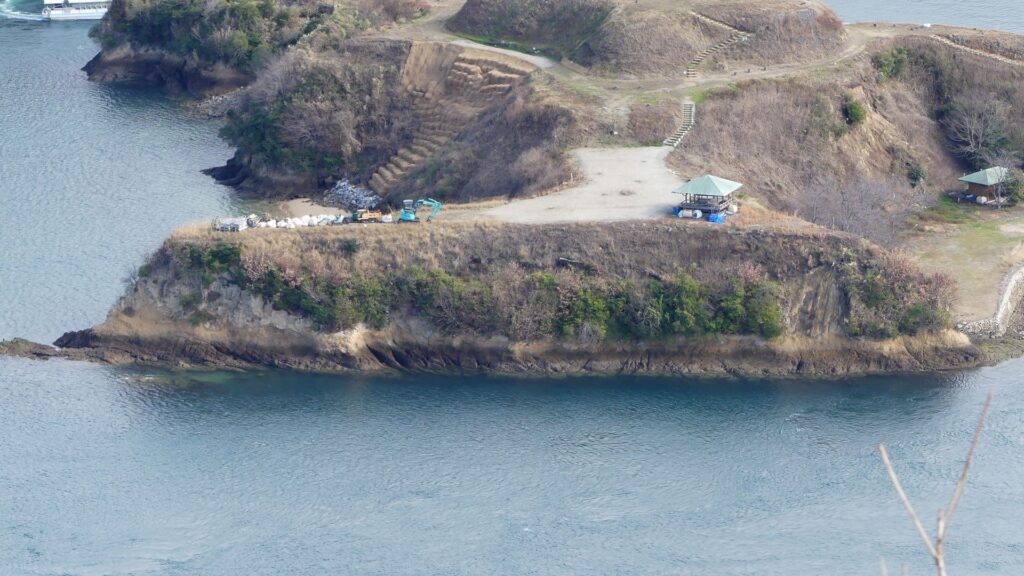
Today, Noshima unfortunately has become a deserted island. If you see Noshima from other places such as the seaside of Oshima Island and Mt. Kareiyama observation park on the island, Noshima looks like an unsinkable warship. This is partially because Noshima Island has been developed by the officials to maintain its original conditions of its castle ruins as they are a National Historic Site. That’s why the ruins don’t have trees and bushes, so that you can see the shapes of its enclosures vividly.

The observation platform of Kareiyama Mountain
Noshima Island, seen from the platform

Going to Castle Ruins by attending Boat Tour

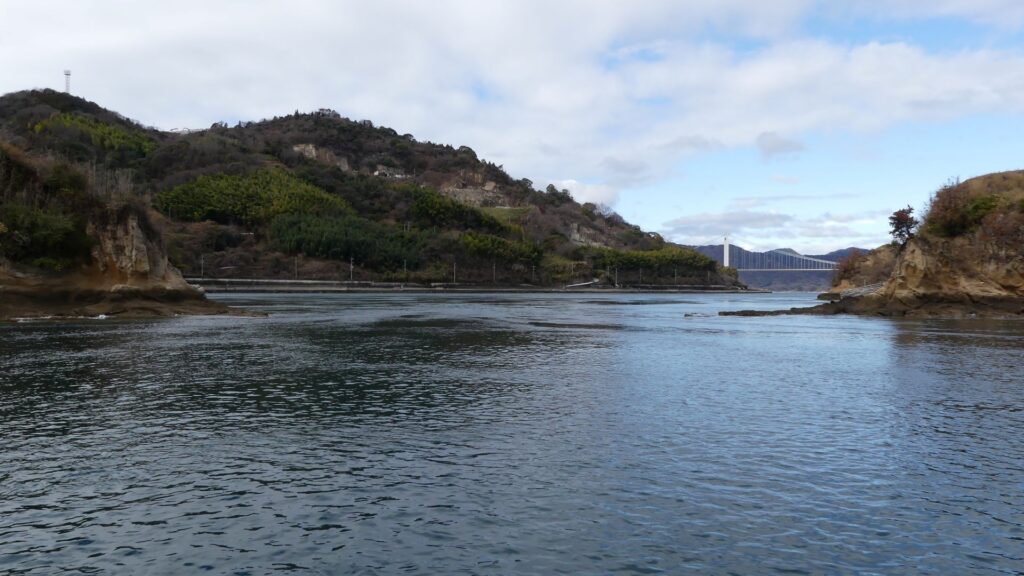
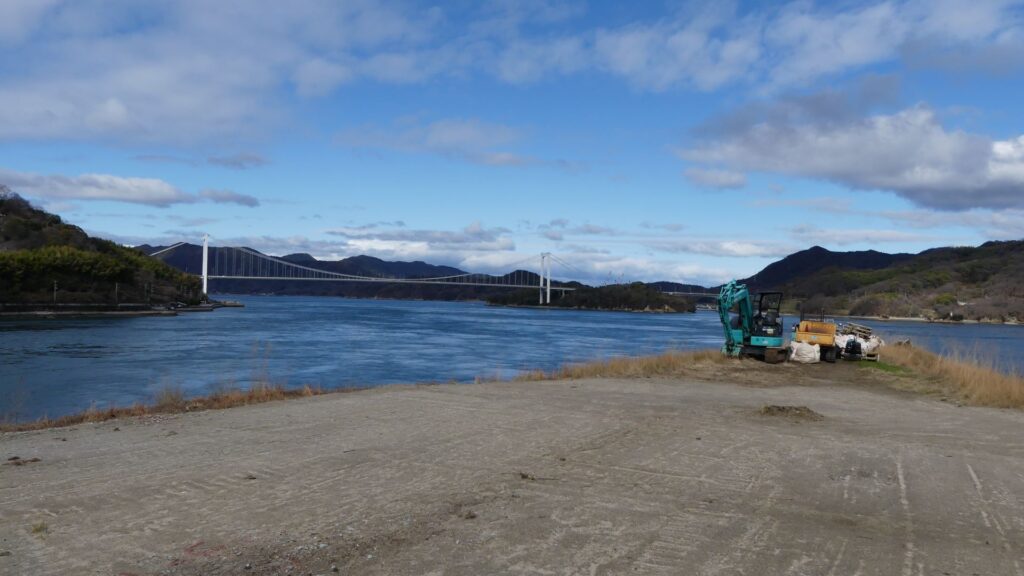
Despite the development, you can’t go there by yourself because of the state of the island. If you want to go there, you need to book a boat tour from Miyakubo fishing port on the weekends. (However, the tour could be canceled due to the lack of participants, if it’s less than 10.) If you board on the boat, the captain will operate it smoothly like a sailor of the Murakami Navies.

The Miyakubo fishing port
Boarding the boat
Going to the castle ruins

The boat will approach around the island in a few minutes. There is another smaller island called Taizaki-jima, like a satellite island of Noshima. It was said that both islands were once connected by a suspension bridge. Taizaki Island still has a small shrine on it, but visitors usually can’t go there because there is no bridge today. In addition, the sea between them is very dangerous because it is too shallow for any ships to pass during low tide.

The castle ruins are coming into view
Taizaki Island
The shallows between the two islands

The aerial photo around the castle

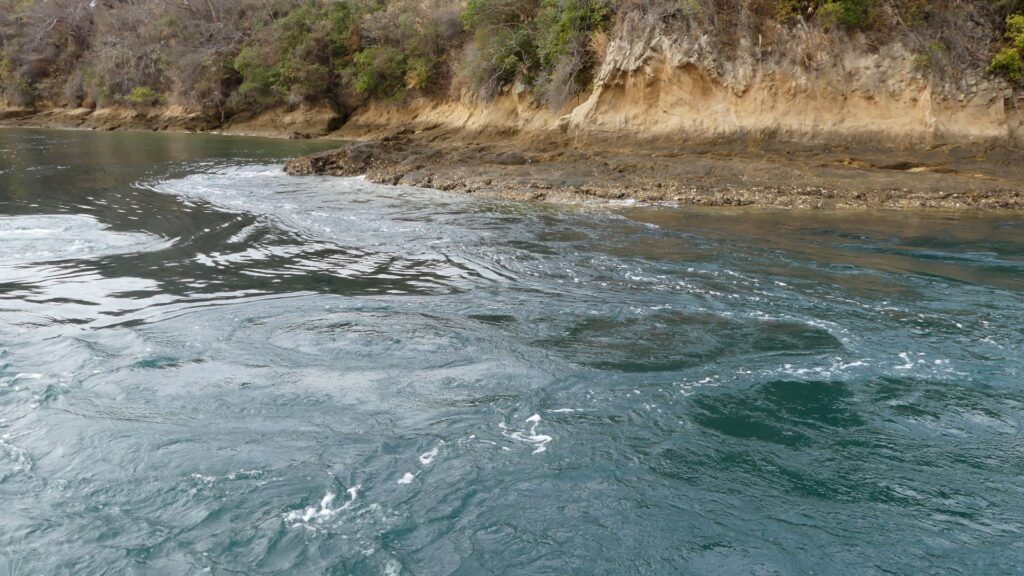
Wild Tides around Island

Your boat will not reach Noshima Island so easily because the tides around it are usually wild. For example, the tide around its northeastern cape usually swirls, which causes ships to turn without professional operations.

The eastern side of Noshima Island
The northeastern cape of the island
The tide is swirling

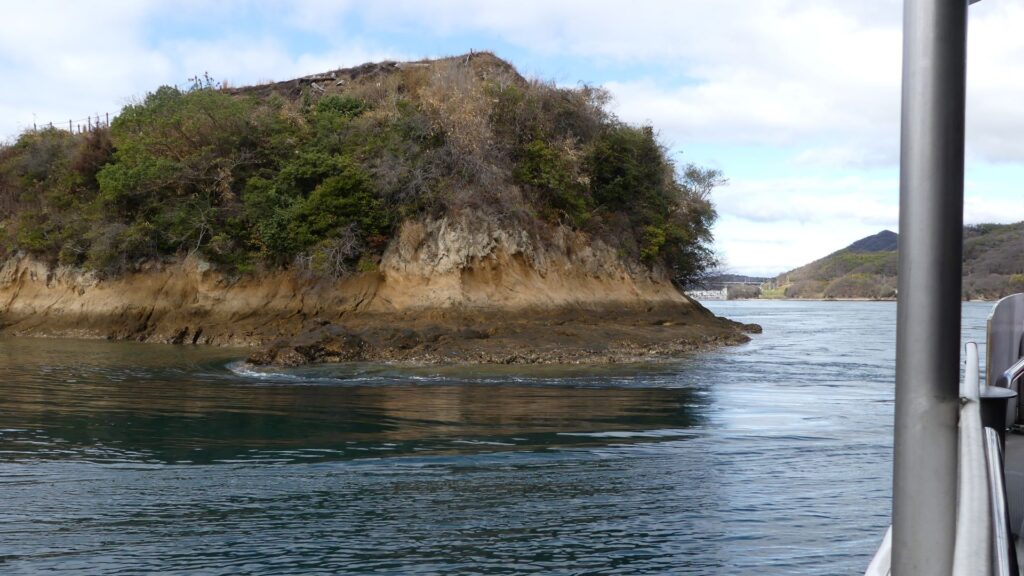
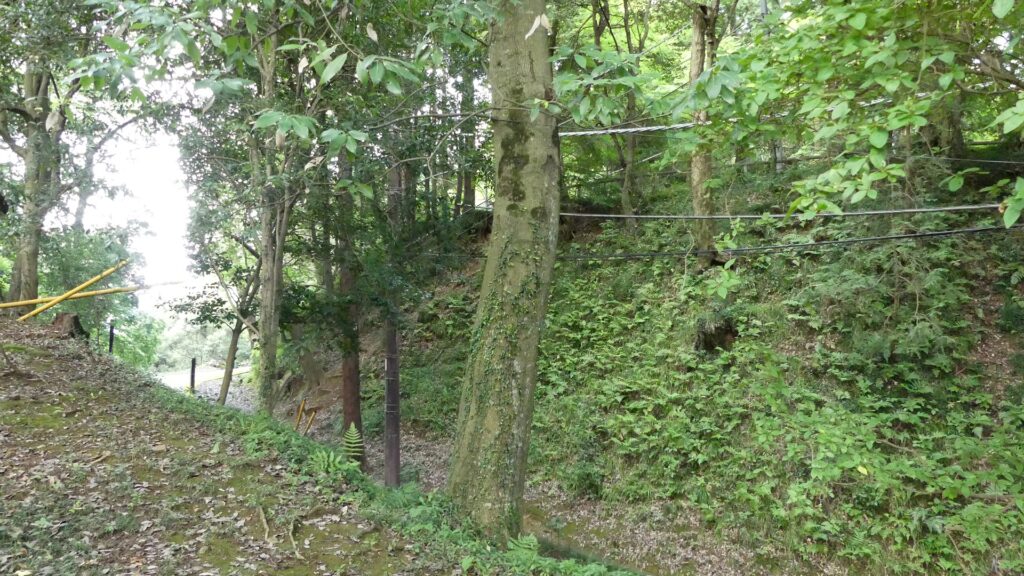
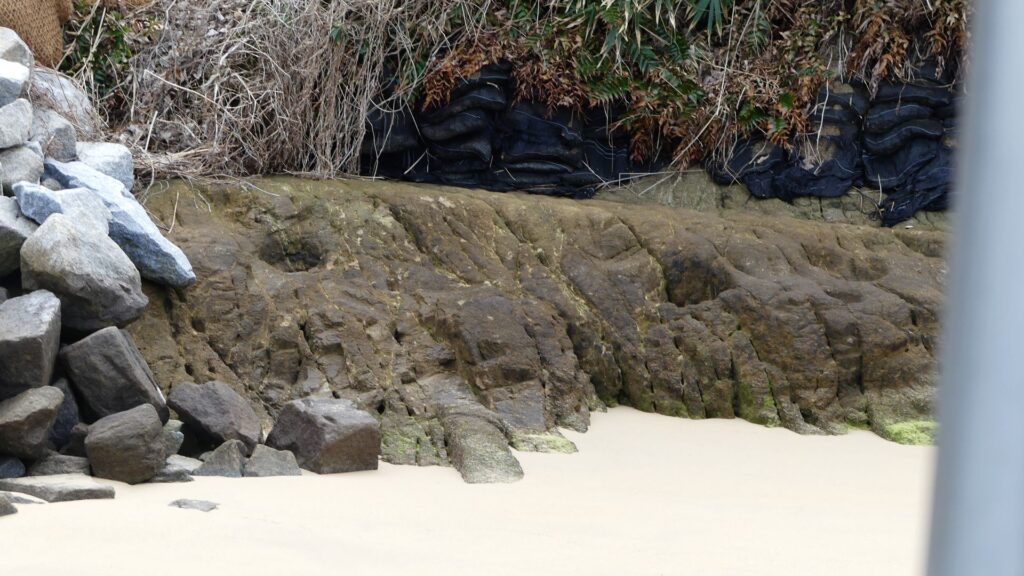
Your boat will go around north of the island seeing its northern beach called Funadamari (meaning the boat pool). The beach has terraced design with a passage, so It was thought that the Navy members unloaded cargo there. There are also lots of postholes around the shore, called “Gansho(reef) Pit”, which were said to be used for mooring. However, it is still uncertain how the Navies used them because there are over 400 holes around the island including dangerous spots. You may see only a few of the holes as they were buried again for preservation or are covered from the tide.

The Funadamari boat pool
You can see some of the postholes

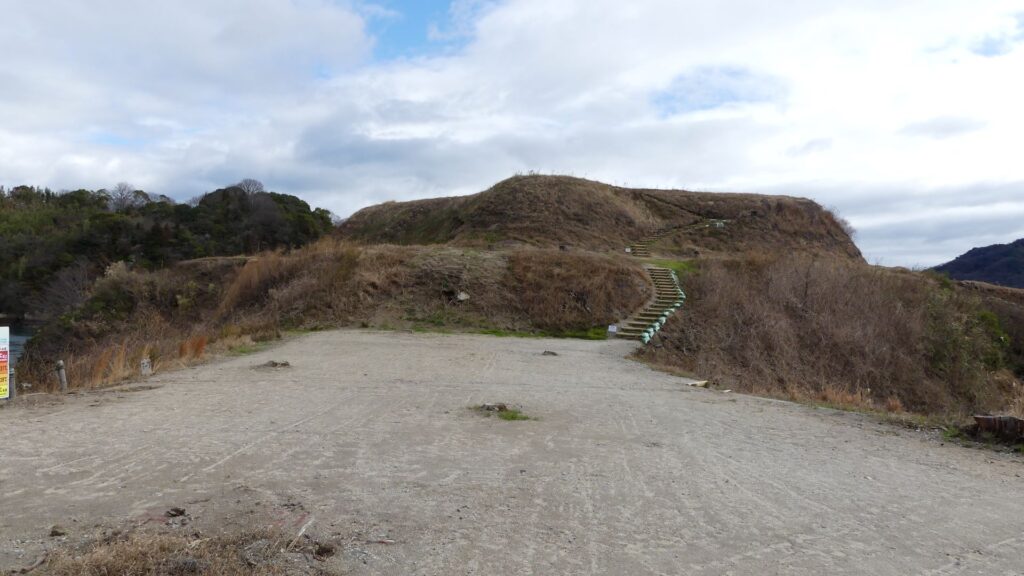
Going to Third Enclosure after landing

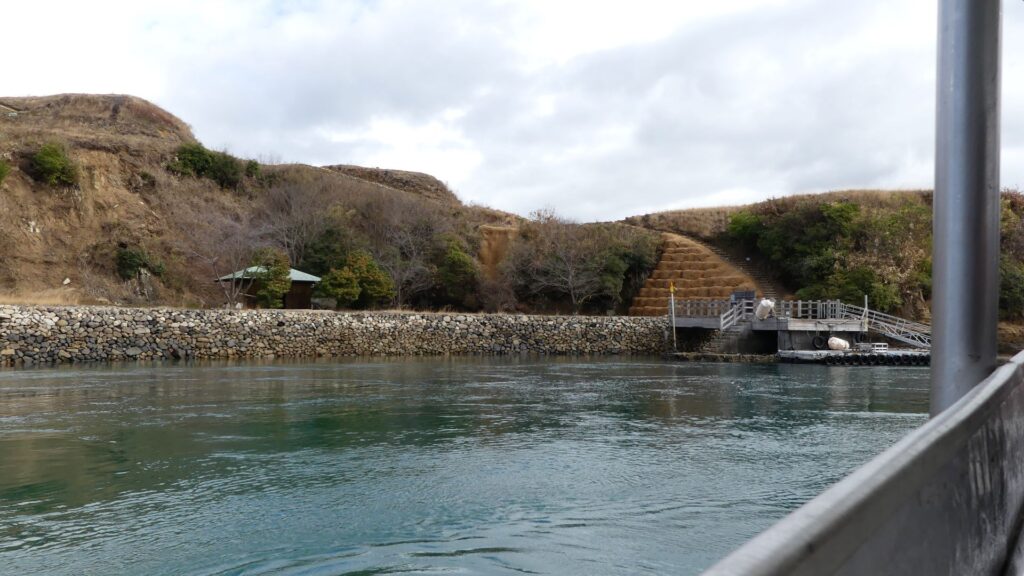
Your boat will eventually come alongside the pier at the southwestern beach, one of the few safe spots of the island. There are shore protections with restored stone mounds and the ruins of a repair shop nearby. That’s why this place was thought to be used as a maintenance yard.

Getting close to the pier
The beach is guarded by the shore protections

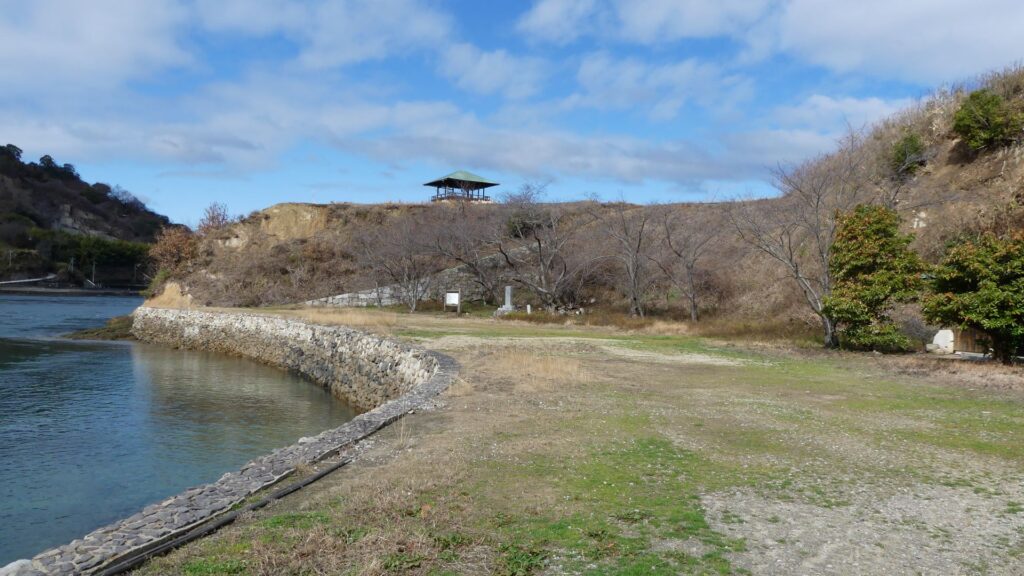
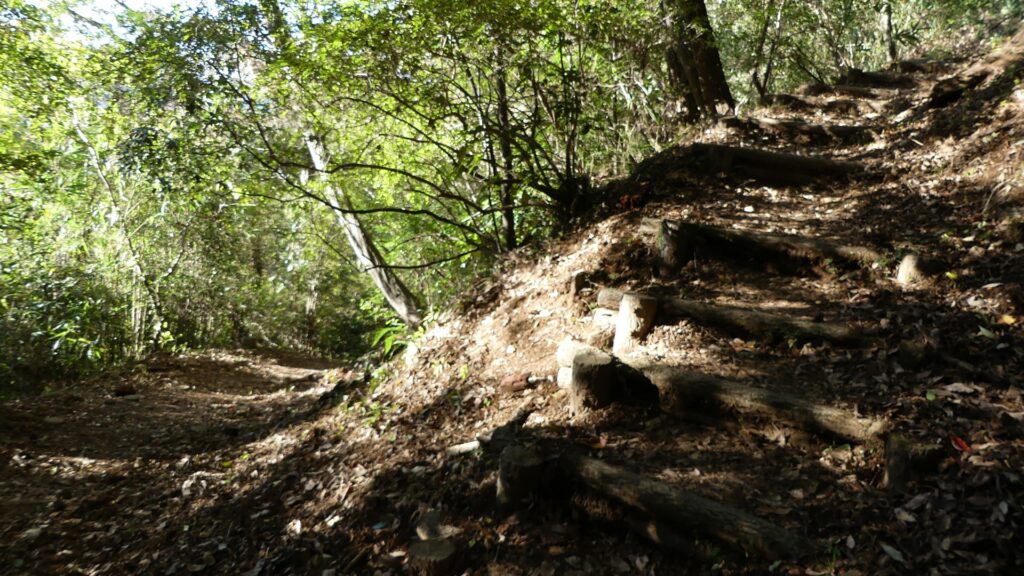
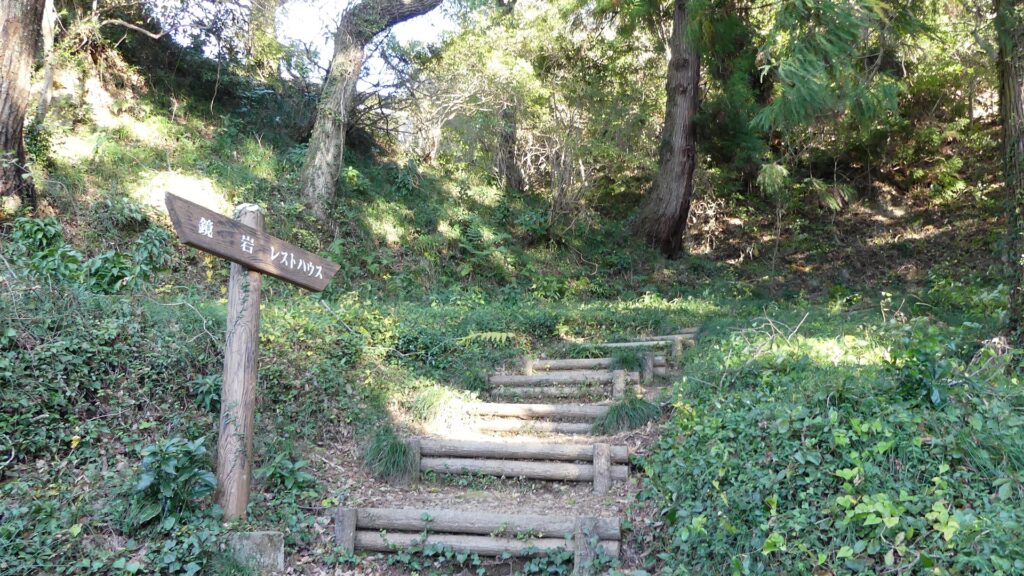
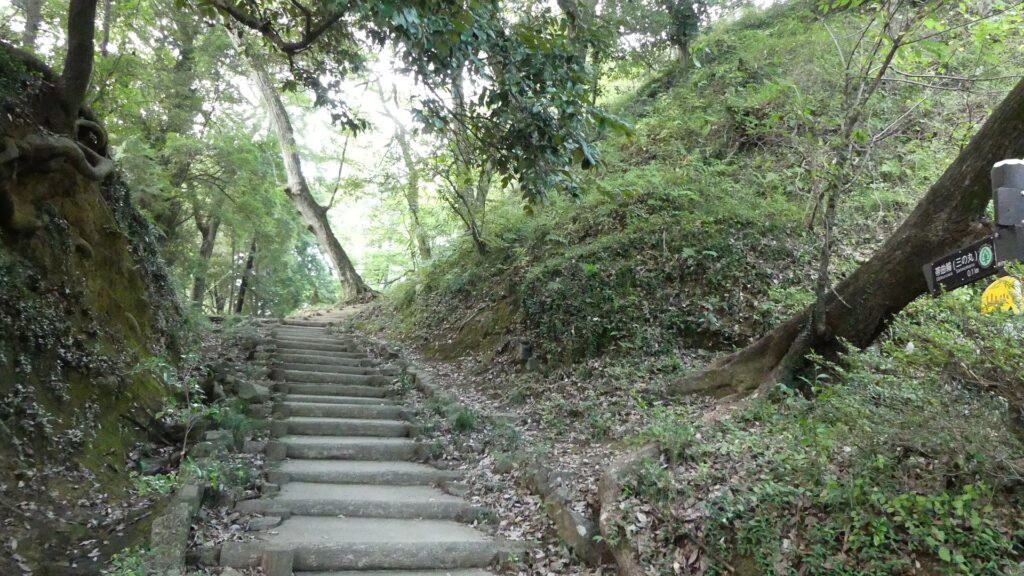
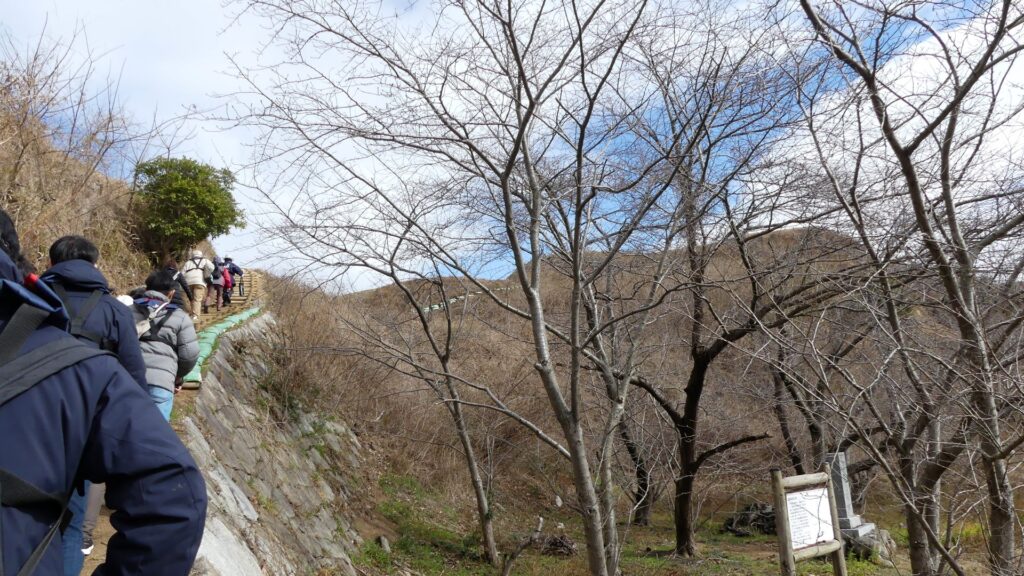
The tour guide will introduce you to the attractions of the castle ruins on the island after landing. The tour course is safe and well developed with paths and wooden steps for visitors though there are no castle buildings.

Following the guide

The castle ruins have several enclosures; the main enclosure on the top, surrounded by the second enclosure, the lower third enclosure, and the others on the island’s capes. The tour group will first go to the third enclosure from the beach. Stone foundations were found by the excavation team, which were thought to be used as houses or warehouses. Earthenware jars and valuable chinaware were excavated there, so they might have been stored as a type of fee from travelers’ ships or by the navies’ tradings.

The third enclosure
Looking towards the main enclosure from the main enclosure
The third enclosure, seen from the Kareiyama Mountain

To be continued in “Noshima Castle Part3”
Back to “Noshima Castle Part1”

181.Kokura Castle Part3

In the morning of the 9th August of 1945, a US B-29 bomber, called Bockscar, was carrying the second atomic bomb to Japan. In fact, its first target was the arms factory of Kokura (in the third enclosure of Kokura Castle).

Features

Other Enclosures of Castle

The park still has other enclosures. Kita-no-maru (meaning the northern enclosure) was used as the lord’s family residence or retreat and is used as Kokura-Gion-Yasaka Shrine. It is connected to the main enclosure via Tamon-guchi-mon Gate where you can see the oldest stone walls in the castle around. The walls had been built by Katsunari Mori before Tadaoki Hosokawa came. There are also well-maintained stone walls and water moats around the Kita-no-maru Enclosure, so this is a good walking spot.

The aerial photo around the castle

The Kita-no-maru enclosure (the current Kokura-Gion-Yasaka Shrine)
The Tamonguchi-mon Gate, quoted from Kokura Castle Website
The stone walls and water moats surrounding the Kita-no-maru Enclosure

Matsu-no-maru (meaning the pine enclosure) is in the south of the main enclosure. It was used as Tadaoki’s father’s residence or warehouses when the castle was active; it is currently an event square. It was once used as the headquarters of the 12th Brigade like the main enclosure.

The Matsu-no-maru Enclosure

Third Enclosure including Monument for Atomic Bomb Victims

If you go further to the south, there is a modern park area which was the third enclosure used as the senior vassals’ residences. During World War II, there was a large arms factory, but now there is a monument for atomic bomb victims. The reason for it will be written in the next section.

The third enclosure

Later History

After the Meiji Restoration, the main portion of Kokura Castle was turned into military facilities and the other area became the city area of Kokura. It changed from a Samurai city to a military city. In the morning of the 9th August of 1945, a US B-29 bomber, called Bockscar, was carrying the second atomic bomb to Japan. In fact, its first target was the arms factory of Kokura. However, it could not focus on the target because of thick cloud and finally dropped the bomb into Nagasaki. As a result, people in Kokura were lucky, but they should not be pleased about it. That’s why the former factory site has the monument. After the the war, the occupation army used the castle site until 1957. The current Main Tower was rebuilt in 1959.

Bockscar, exhibited by National Museum of the United States Air Force  (licensed under Public Domain via Wikimedia Commons)
The monument for the atomic bomb victims in the third enclosure

My Impression

I think that if the current Main Tower of Kokura Castle had kept the original design of the Western style, it would be more popular than now. This is because the design is very unique which would attract more current visitors. However, the people who wanted to rebuild the tower chose another direction. That was probably because they wanted a tower which was competitive with other castles. I don’t think the tower ever needs to be replaced with a new one with an original design because it would cost a lot and the current tower is also a historical item.

The current Main Tower of Kokura Castle

How to get There

If you want to visit there by car, it is about a 5-minute drive away from Katsuyama Exit on the Kitakyushu Expressway.
There is a parking lot in the park.
By public transportation, it takes about 15 minutes on foot from JR Kokura Station.
From Tokyo or Osaka to the station: take the Sanyo Shinkansen super express.

Kokura Station

Links and References

Kokura Castle Official Website

That’s all. Thank you.
Back to “Kokura Castle Part1”
Back to “Kokura Castle Part2”

114.Karasawayama Castle Part2

Today, the ruins of Karasawayama Castle have been well developed as Karasawayama Shrine. Many people visit the shrine to pray for something, hike the mountain, see a great view, and recently see lots of friendly cats living in the shrine. Of course, some of the visitors enjoy historical items at the site as well.

Features

Castle Ruins are developed as Karasawayama Shrine

Today, the ruins of Karasawayama Castle have been well developed as Karasawayama Shrine. Many people visit the shrine to pray for something, hike the mountain, see a great view, and recently see lots of friendly cats living in the shrine. These cats seem to have been strayed or abandoned, but are now fed by volunteers and visitors.

Some of the cats living in the shrine

Of course, some of the visitors enjoy historical items at the site as well. There are main routes from the foot of the mountain to the top in the south and west, similar to the castle’s period. In addition, the current routes have been developed for both cars and hikers, which means there are at least four routes.

The map around Karasawayama Shrine

The southern route
The western route
The western hiking course (part of the original path)

Past and Current Routes

They are not the same as the original routes to the castle. For example, the two paved roads for cars from the two directions gather at the parking lot on the top. However, part of the road from the south was blocked by huge rocks near a remaining rock called Kagami-iwa (meaning the Mirror Rock). The two original paths to the castle gathered in front of the rocks and went to the Main Gate via zigzagging route.

The current meeting point
The past meeting point
the Kagami-iwa Rock
The original path to the Main Gate

Attractions along Main Route

If you enter the Main Gate Ruins from the parking lot, you will see the ruins have a typical alternating entrance with stone walls (but mainly built or renovated during the Meiji Era). The main route goes to the center inside the gate, but there are also some attractions from side to side. There is another huge rock called Tengu-iwa (meaning the long-nosed goblin rock) on the right (the southern side), which was a lookout and defensive point, and is a great viewing spot. There is also a hill on the left (the northern side), called Hiraishi-yama (meaning the mountain for avoiding enemies’ arrows). It was named after the armor the Sano Clan passed down from Hidesato Fujiwara, their founder. Therefore, it must have been used as another defensive spot.

The map around the castle

The ruins of the Main Gate
The main route
The Tengu-iwa Rock
A view from the rock
The Hiraishi-yama Hill

If you go ahead to the center on the main route, you will see a large well called Oi-no-ido on the left. It is 9m in diameter and over 8m deep and it still has spring water inside. The castle ruins have other wells, too. They were essential for the castle to be besieged for a long time. You will next see large and long dry moats, called Yotsumebori (meaning the fourth moat), which divided the main portion and the others. Only the fixed concrete arch bridge, called Shinkyo, goes over the moats. It was said to be originally a draw bridge which would have been fallen when a battle happened. People often say Uesugi Kenshin attacked this point but failed.

The Oi-no-ido Well
Kuruma-ido Well below the main enclosure
The Yotsumebori dry moats
The Shinkyo Bridge

Four tiered Major Enclosures

The main route as the shrine’s approach goes on right side of the main portion. The portion consists of four tired enclosures, the belt, third, second and main enclosures from the bottom to the top. In particular, the third enclosure is the largest, which was said to be used as a reception room. You can visit it via a side path. There will be a division point of the approach and the original main route. If you go straight on the approach, you will reach below the stone steps of the shrine on the main enclosure. Otherwise, you can turn left and get to the second enclosure. It is recommended for castle visitors to take the latter because you can see the great stone walls of the main enclosure close by on your right.

The approach to the shrine
The side path to the third enclosure via the belt enclosure
The belt enclosure
The third enclosure
The spot below the main enclosure
If you turn left, you will see the great stone walls on the right

To be continued in “Karasawayama Castle Part3”
Back to “Karasawayama Castle Part1”