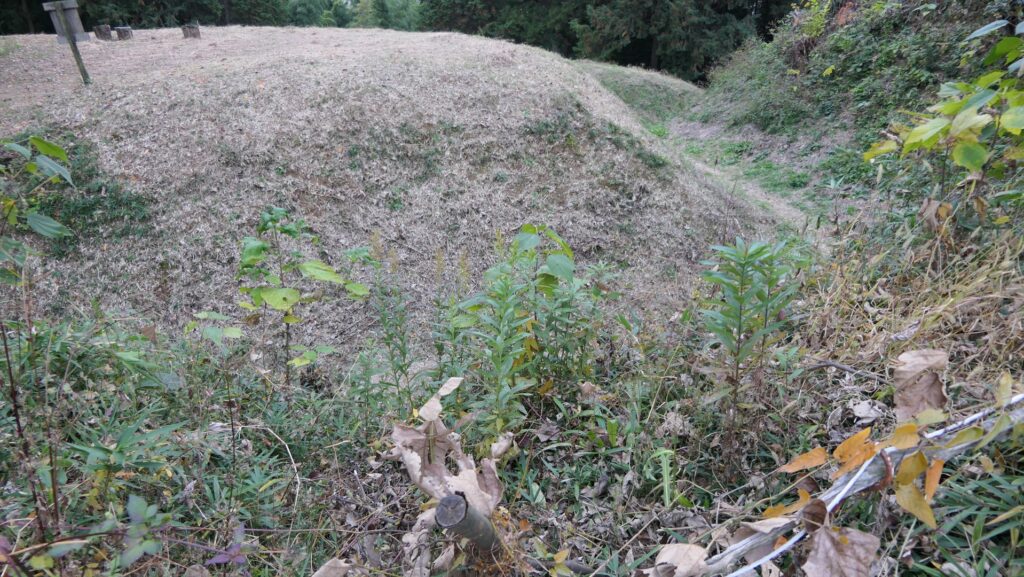
173.Nitakayama Castle Part3

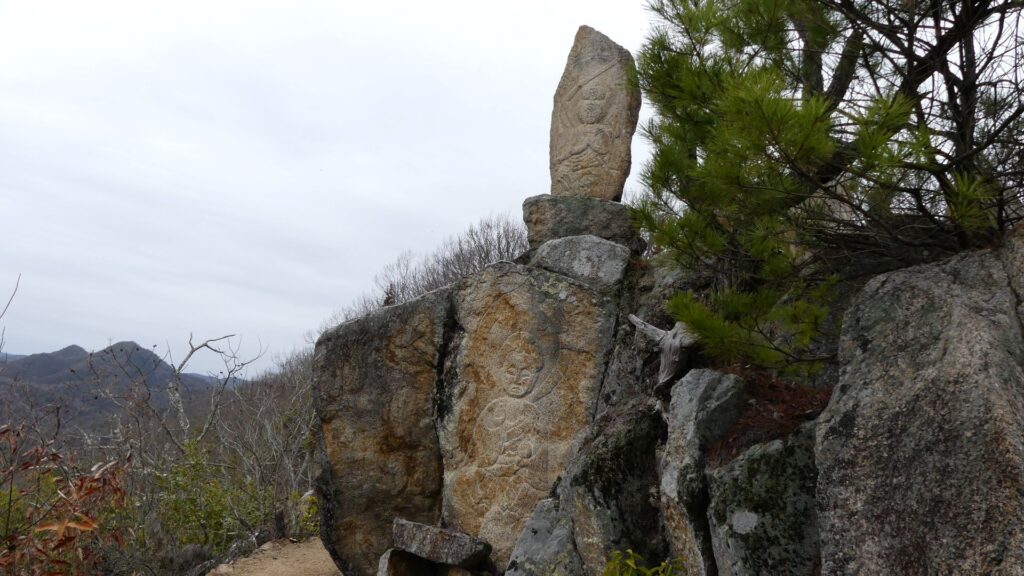
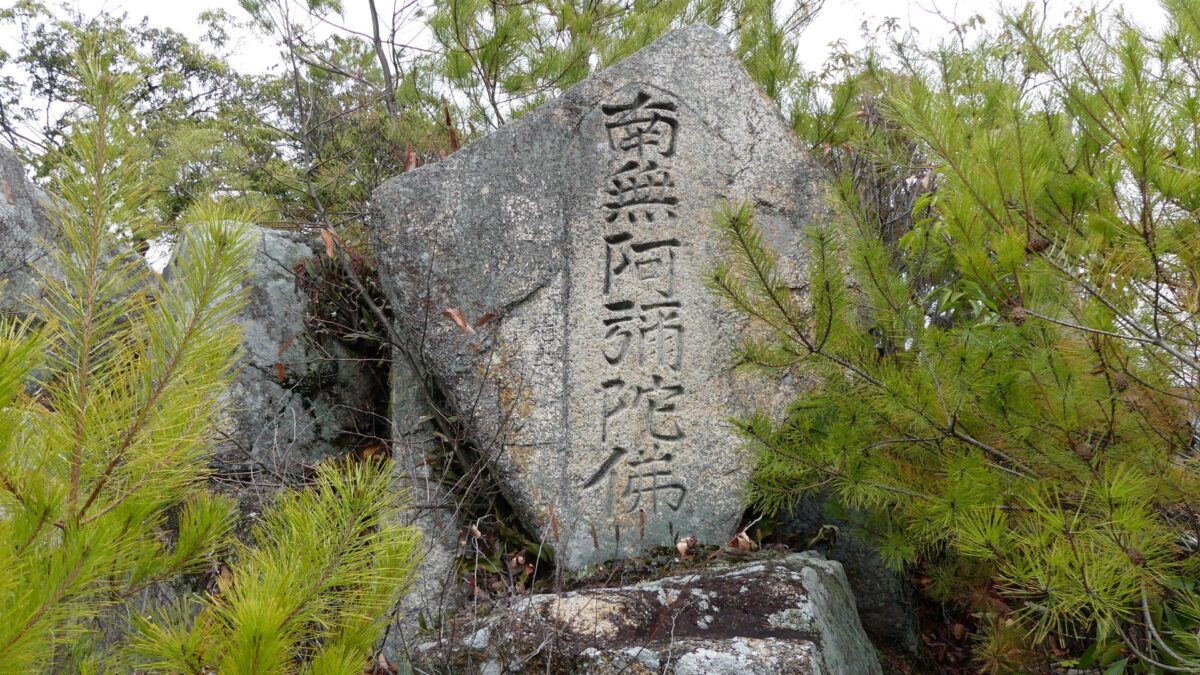
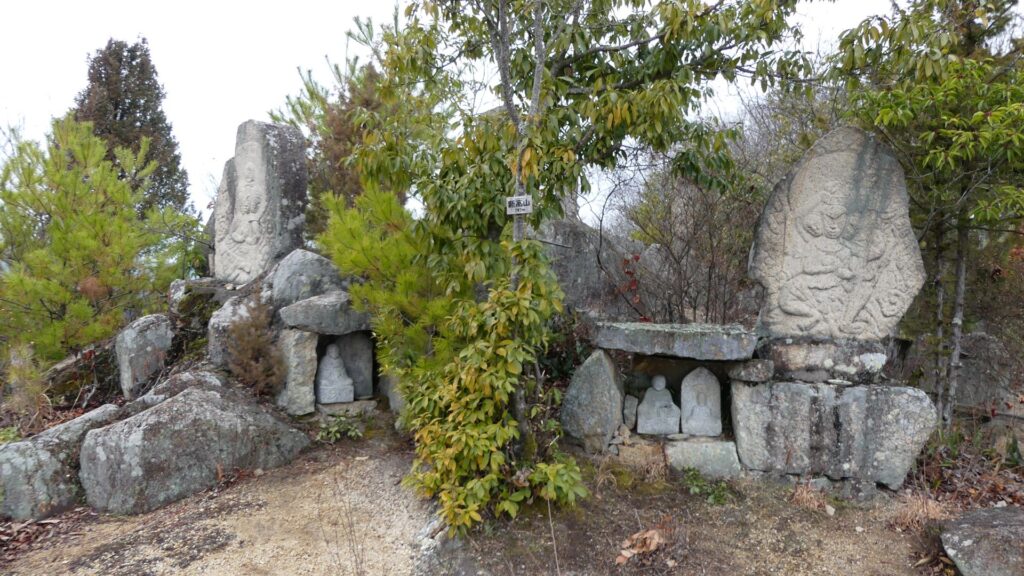
After Nitakayama Castle was abandoned, its ruins were used as a place for the practices of the mountain priests. That’s why there are stone buddha statues and monuments they built on the top of the mountain.

Features

Unique Final Enclosure

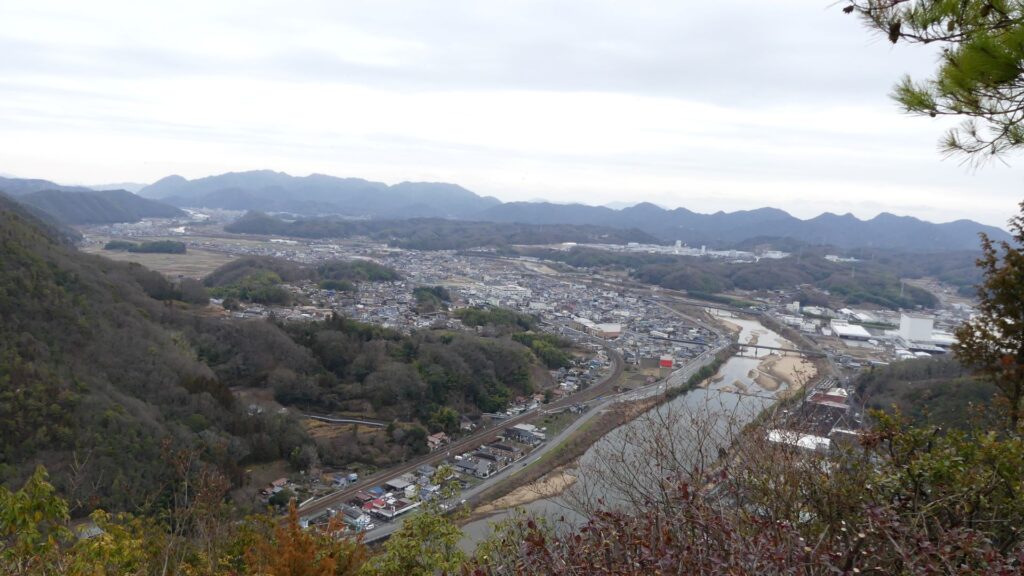
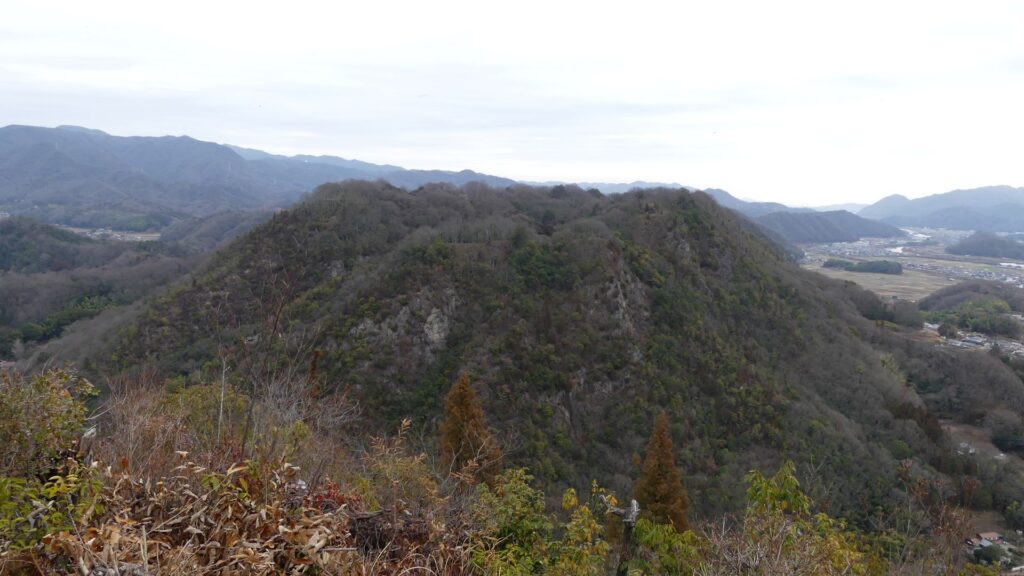
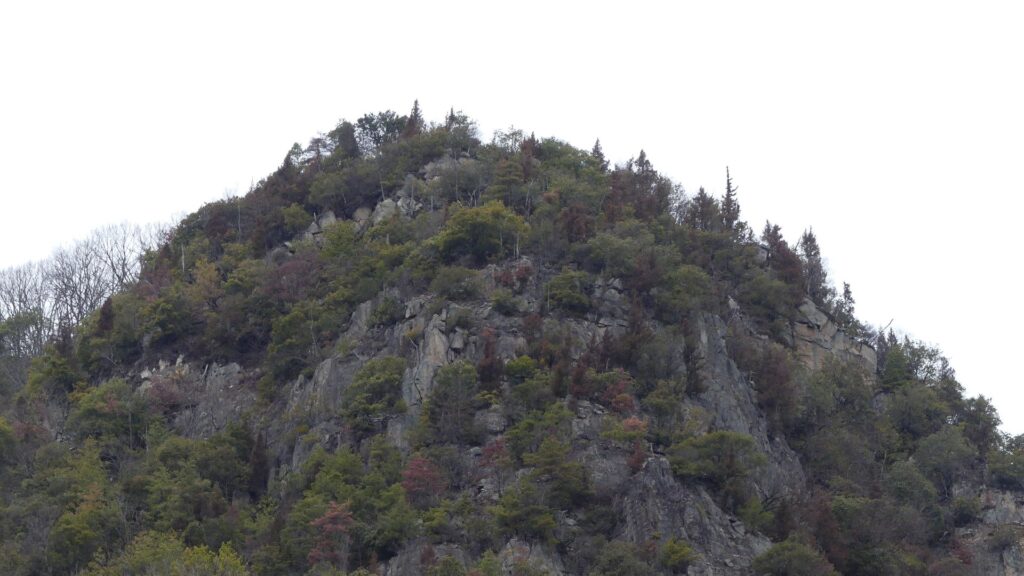
Tsume-no-maru (meaning the final enclosure) is next to the main enclosure to the southeast. It is also the top of the mountain, where you can enjoy great views of the surrounding area, such as Takayama Castle Ruins, Nuta River, and even Seto Inland Sea. It is also a more interesting place than only the top area. It is the rockiest and steepest area of this mountain. Furthermore, it has lots of stone buddha statues and monuments which mountain priests built. That’s why this site has become unique.

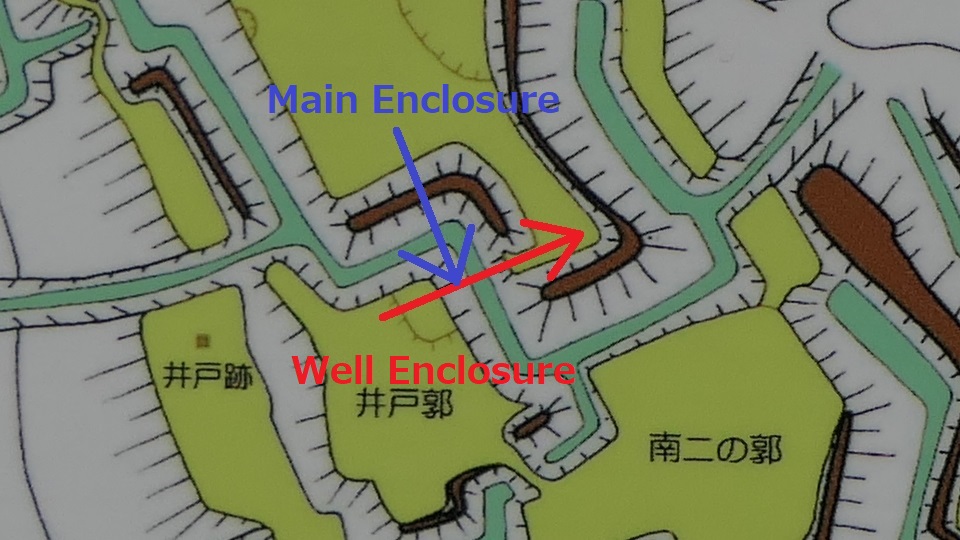
The map around the castle
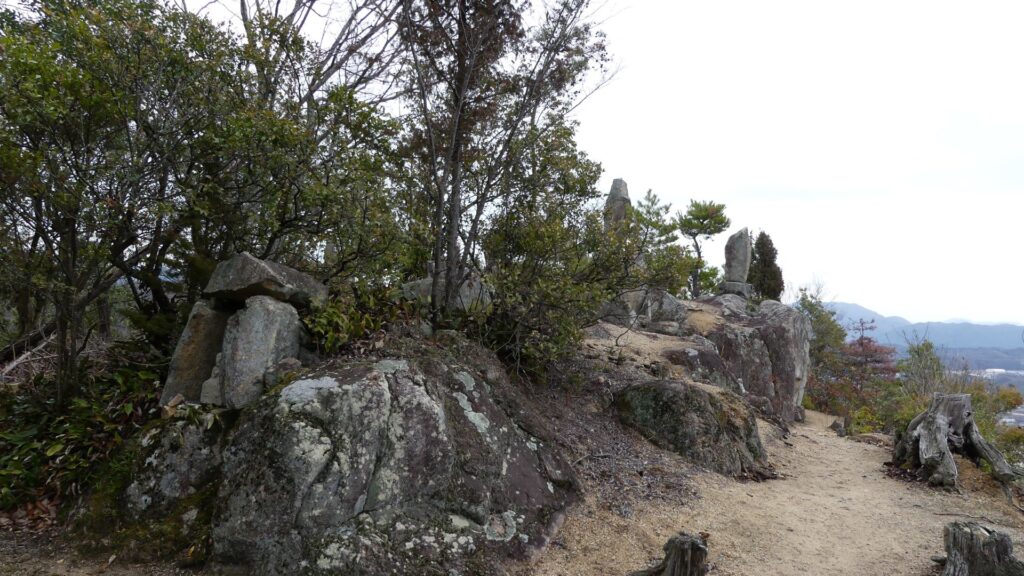
The Tsume-no-maru (final) Enclosure
The top of NItakayama Mountain
A view of the Nuta River towards the Seto Inland Sea from the top
The ruins of Takayama Castle
The stone buddha statues around the top

Well Enclosure, Lifeline of Castle

Tsurii-no-dan (meaning the well enclosure) is next to the main enclosure to the north. You can go there from the back gate of the main enclosure by walking down another Masugata system. This Masugata is different. It is called the inter type which is highly improved than that of the main gate (the outer type). It also still has clearly remaining earthen walls which form its square shape.
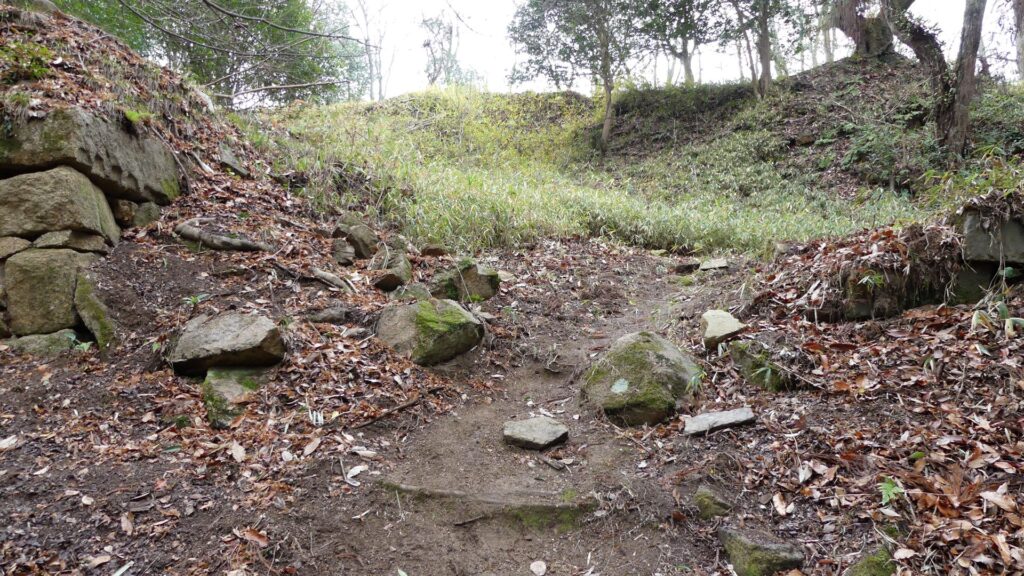
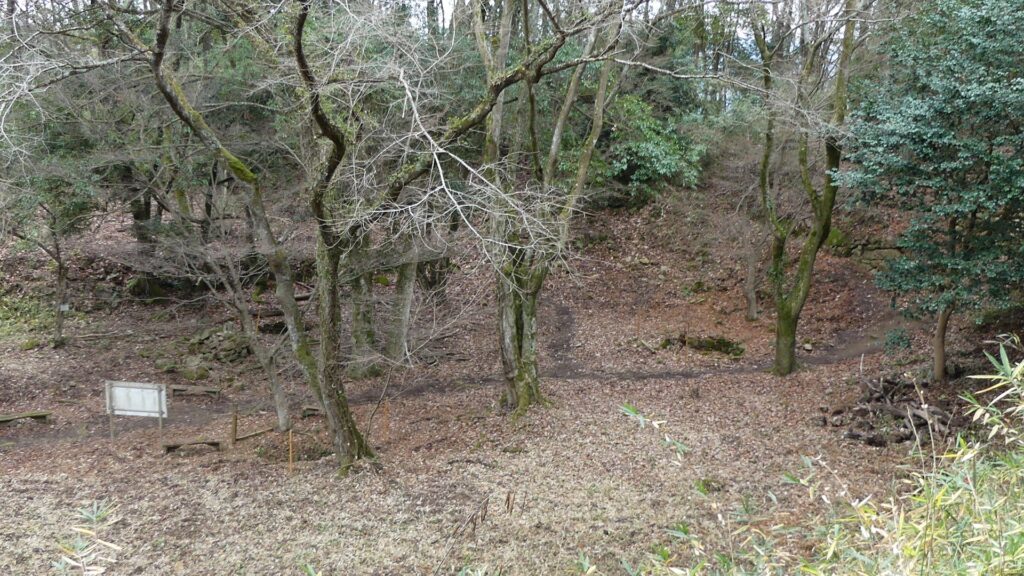
The ruins of the back gate of the main enclosure
The Masugata system of the back gate, seen from its side

Tsurii-no-dan Enclosure is lower than others, like a valley, which still has six large well ruins. It was very important for the castle not only to be besieged for a long time, but also to be able to live in.
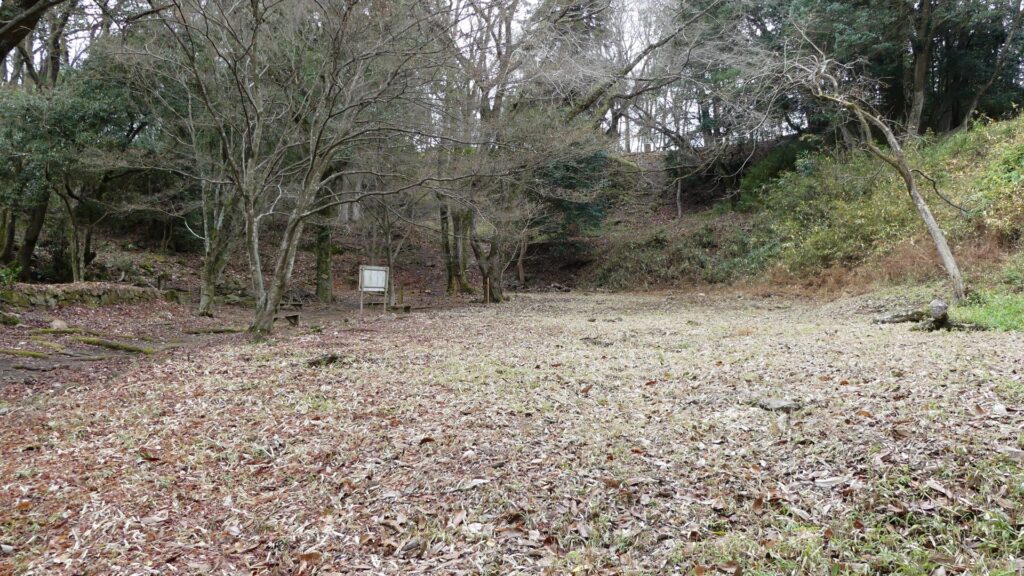
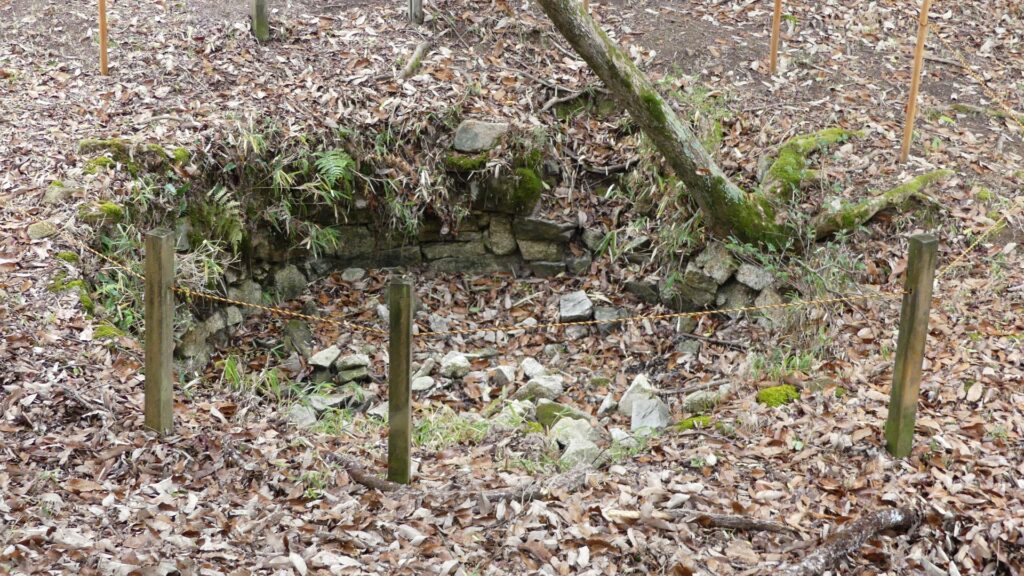
The Tsurii-no-dan (well) Enclosure
One of the six well ruins in the enclosure

Later History

After Nitakayama Castle was abandoned, its ruins were used as a place for the practices of the mountain priests. That’s why you saw the stone buddha statues and monuments on the top they built. They also built chain fields on the steepest route to the top which experienced climbers still use today. However, general visitors shouldn’t use it. As for the castle ruins, they were designated as National Historic Sites with Mihara and Takayama Castles in 1957.
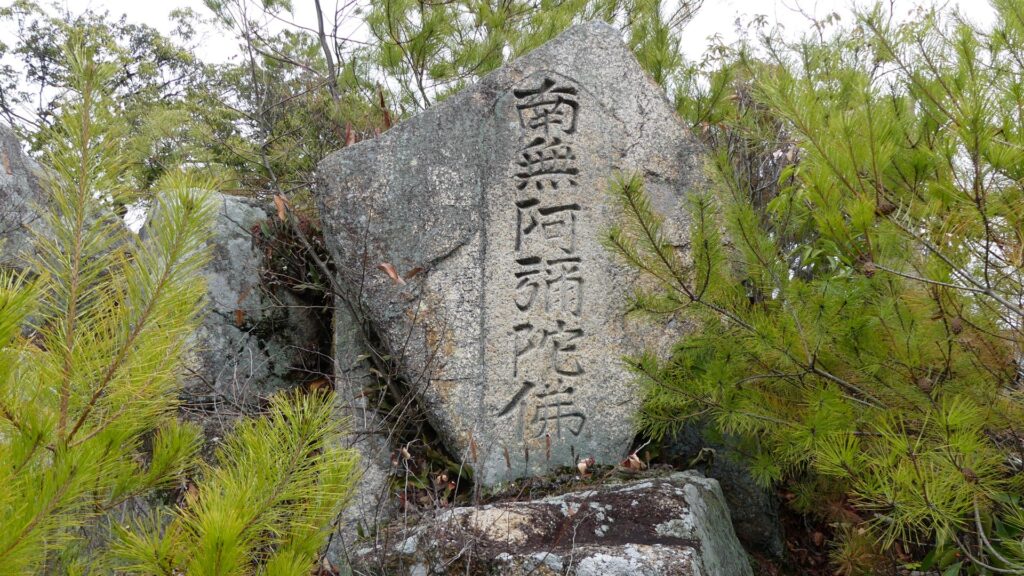
A monument on the top
The top area of Nitakayama Mountain, looking very steep

My Impression

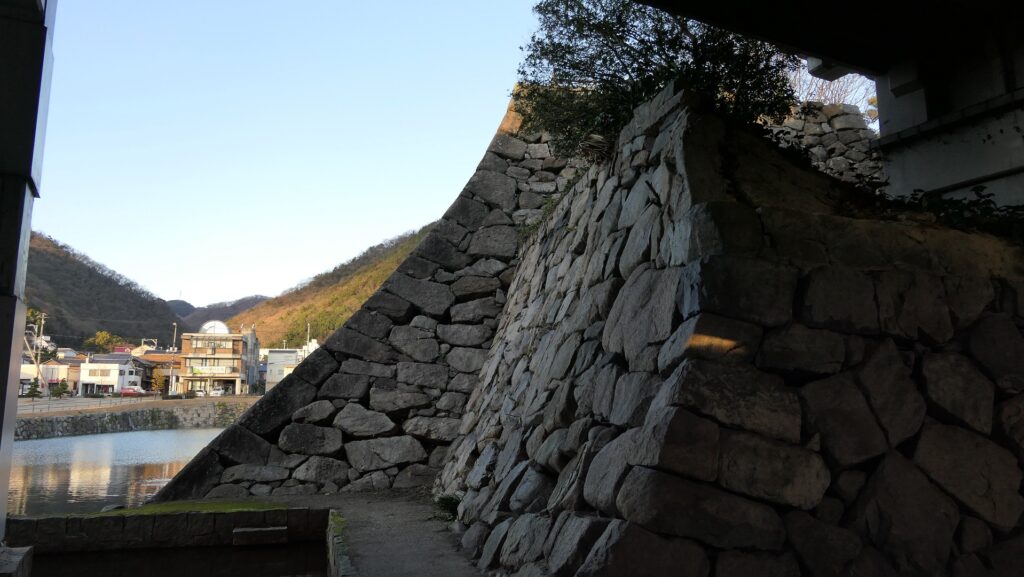
Mihara Castle was the final castle of Takakage Kobayakawa. However, I’m not quite sure what the castle looked like when he lived there because it was greatly improved by Fukushima and Asano Clans after Takakage died. Therefore, we can’t find how and where the huge stones from Nitakayama Castle were used in Mihara Castle. That means the ruins of Nitakayama Castle are valuable to see the legacies of Takakage’s period. As for myself, I would like to visit the ruins of Takayama Castle next to Nitakayama Castle someday.
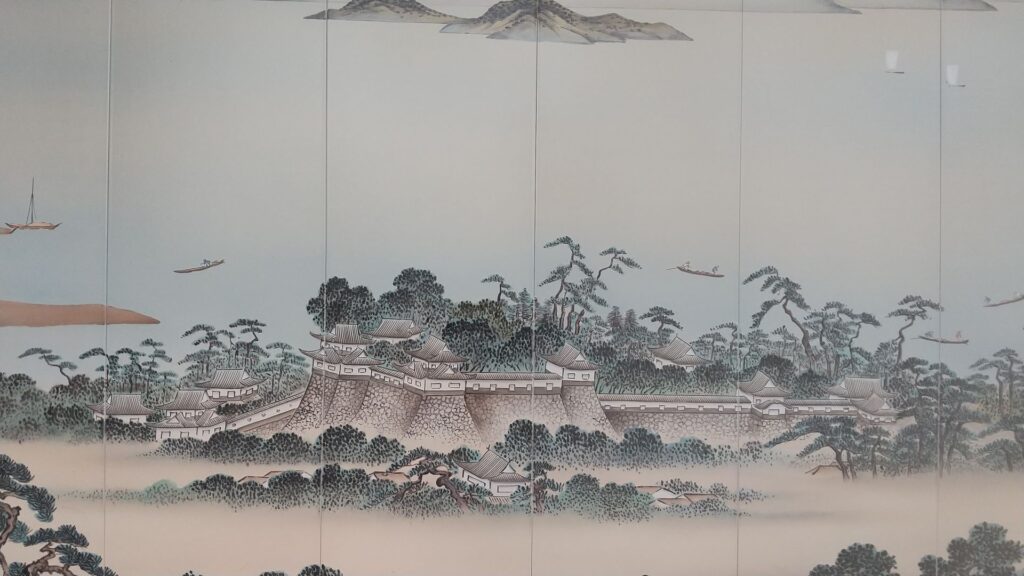
A picture of Mihara Castle, drawn on the wall of Mihara Station
The part of the Main Tower base of Mihara Castle, which was built by Takakage Kobayakawa

How to get There

If you want to visit there by car, it is about a 4km drive away from Hongo IC on the Sanyo Expressway. There is a parking lot for visitors near the entrance of the hiking course.
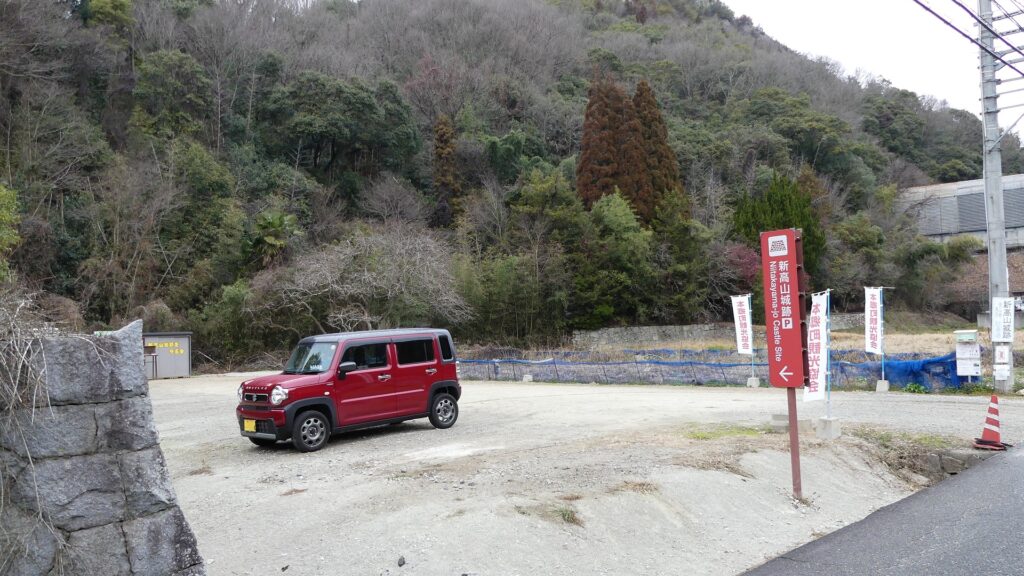
The parking lot for visitors

By public transportation, it takes about 25 minutes on foot from JR Hongo Station.
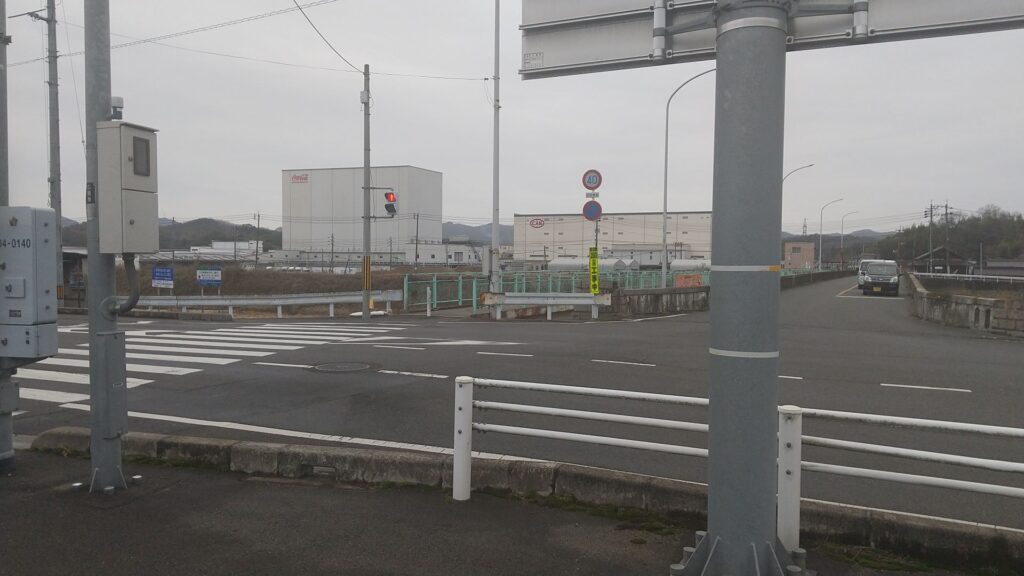
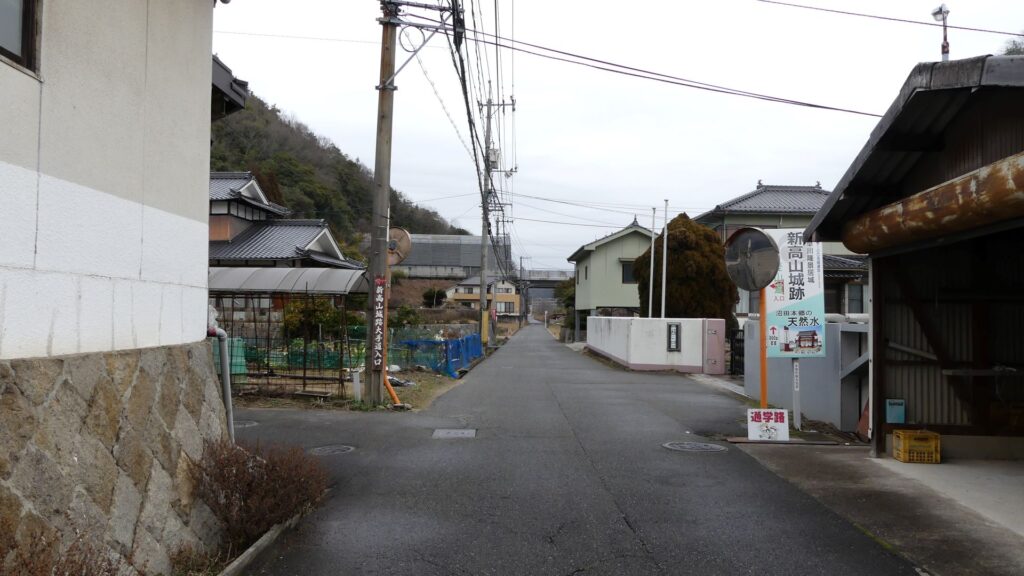
After you get out of the station, turn right and go along the street in front of the station. Then, turn left at the first intersection, and the street leads to a bridge over the Nuta River while it follows a winding road. It may be better for you to walk the sidewalk on the left because the next intersection has a crosswalk only on this side.
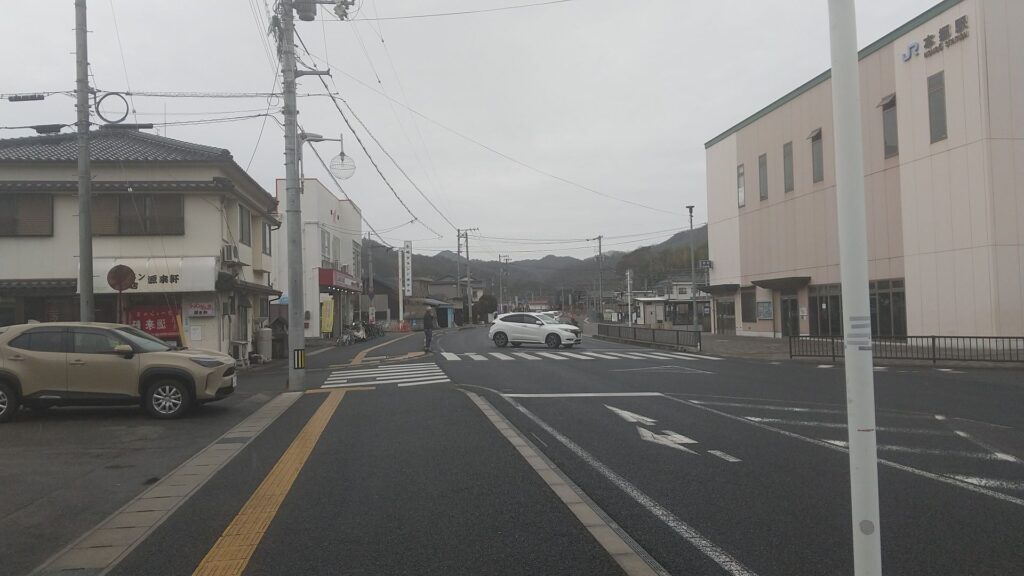
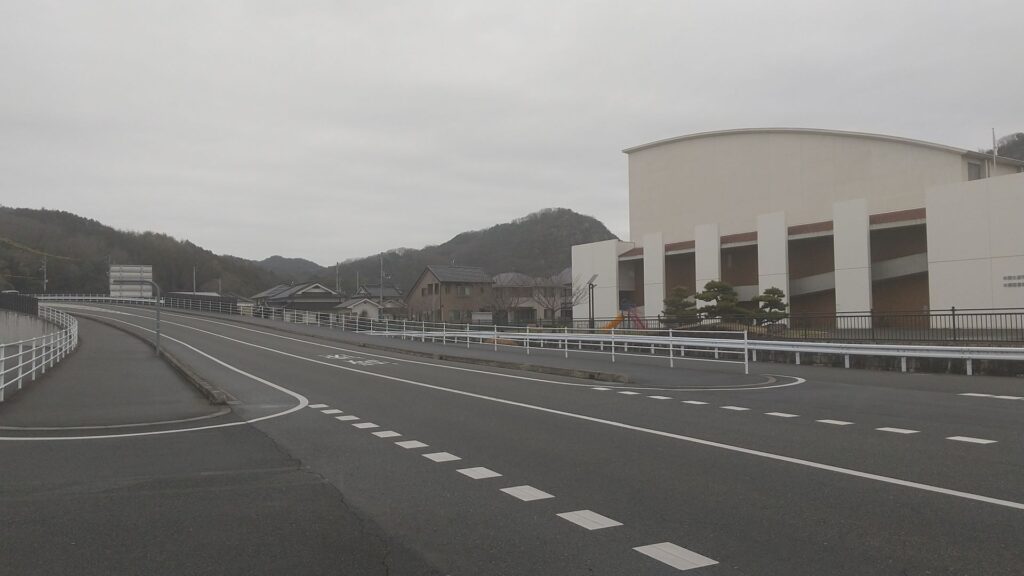
Go along the street in front of the station
Walk the sidewalk on the left after turning left
The crosswalk in fron t of the bridge

If you walk across it, you will go on the bridge seeing a good view of Nitakayama and Takayama Mountains on the right. After that, turn right, go across another crosswalk and go on a path on the bank beside the river towards the mountains. This path will split into two, but eventually they will meet in front of a shrine. You will eventually arrive at the entrance of the hiking course.
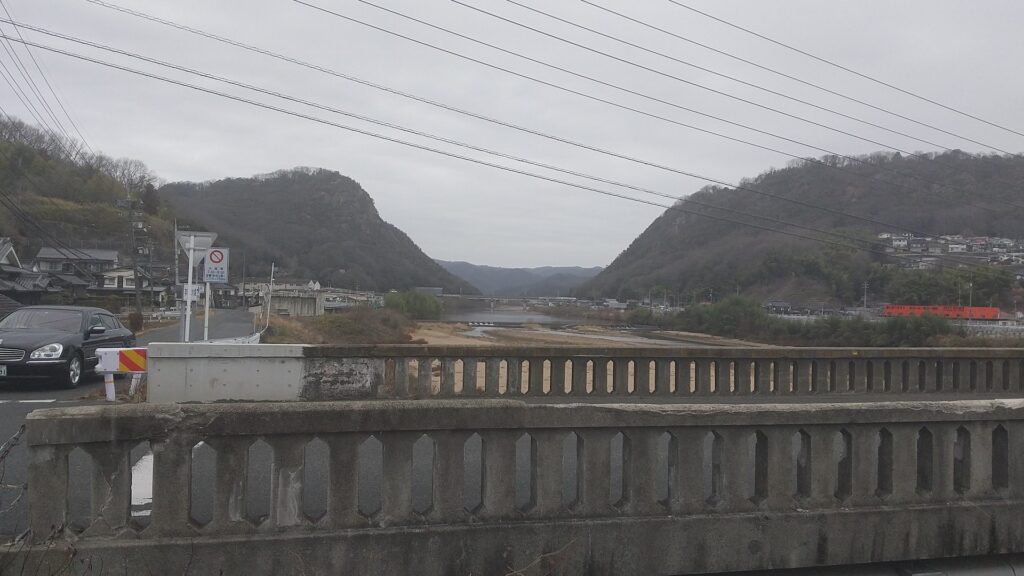
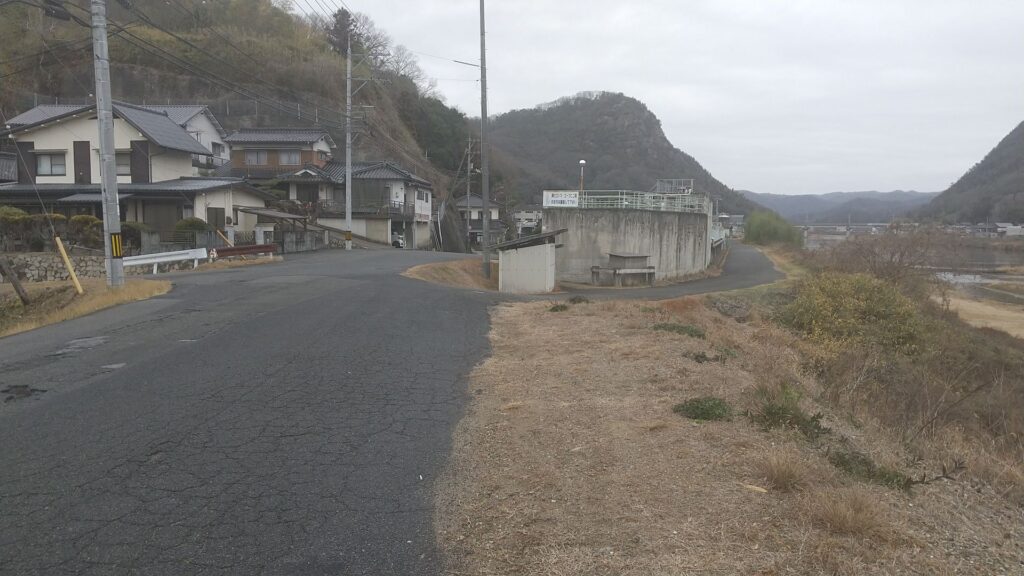
Nitakayama Mountain on the left and Takayama Mountain on the right, seen from the bridge
You can choose either path on the bank
Arriving at the starting point to the castle ruins

From Tokyo or Osaka to the station: get Sanyo Shinkansen bullet train and transfer to the Sanyo Line at Mihara Station.

That’s all. Thank you.
Back to “Nitakayama Castle Part1”
Back to “Nitakayama Castle Part2”
83.Uwajima Castle Part2

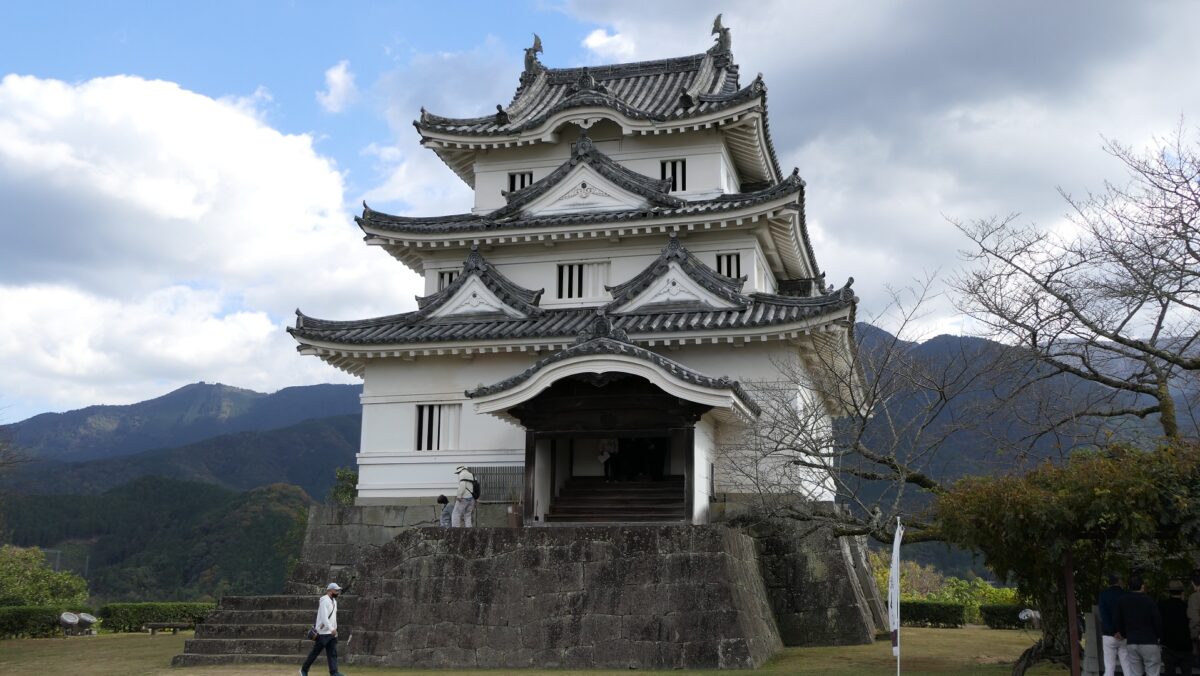
The Main Tower of peace time remains

Features

Entrance to Castle

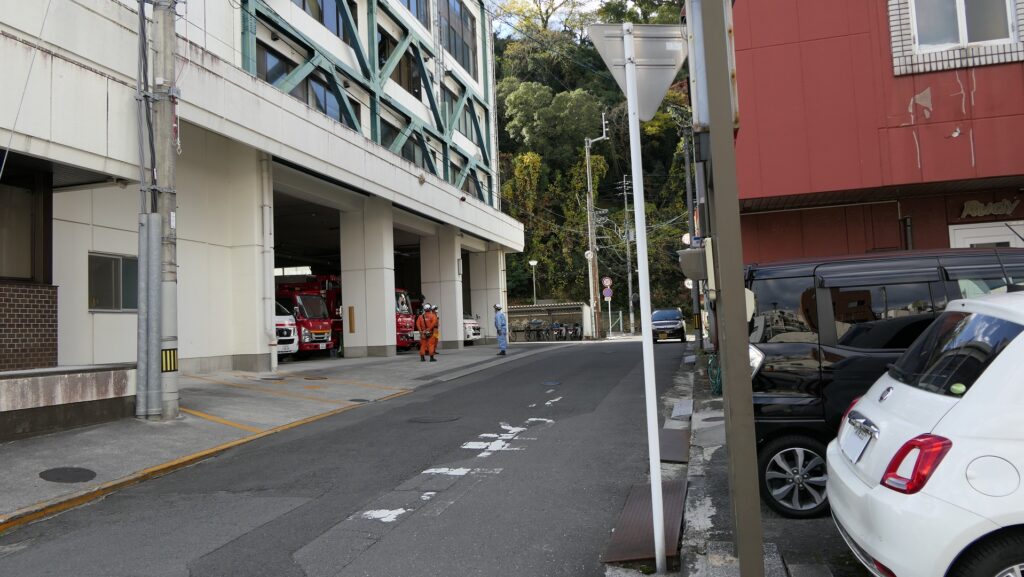
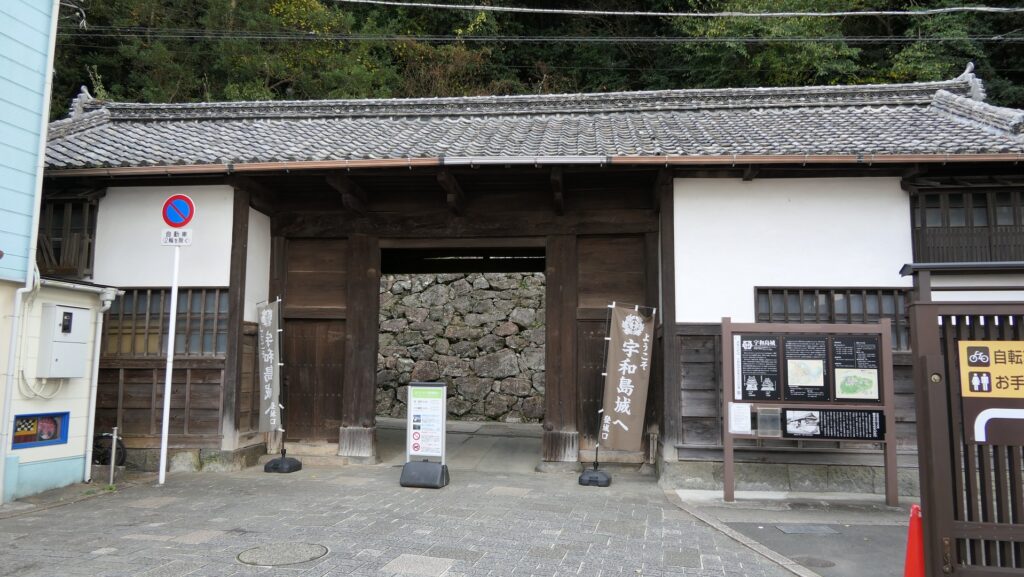
Today, Uwajima Castle has few buildings, but including one of the twelve remaining Main Towers in Japan. The sea and water moats around the castle were removed and only the mountain parts remained. If you want to visit the castle from Uwajima Station, you can walk through the city area and enter the eastern side of the mountain beside the fire station. There was the Third Enclosure in the past. You will see a traditional building like the Main Gate at the entrance. It is actually the Nagaya-mon Gate of the house of the Kori Clan, a senior vassal of the Uwajima Domain, which was moved from another place in 1963.

The map around the castle

The entrance to the castle from Uwajima Station
The Nagaya-mon Gate of the house of the Kori Clan

Climbing up with Seeing Stone Walls

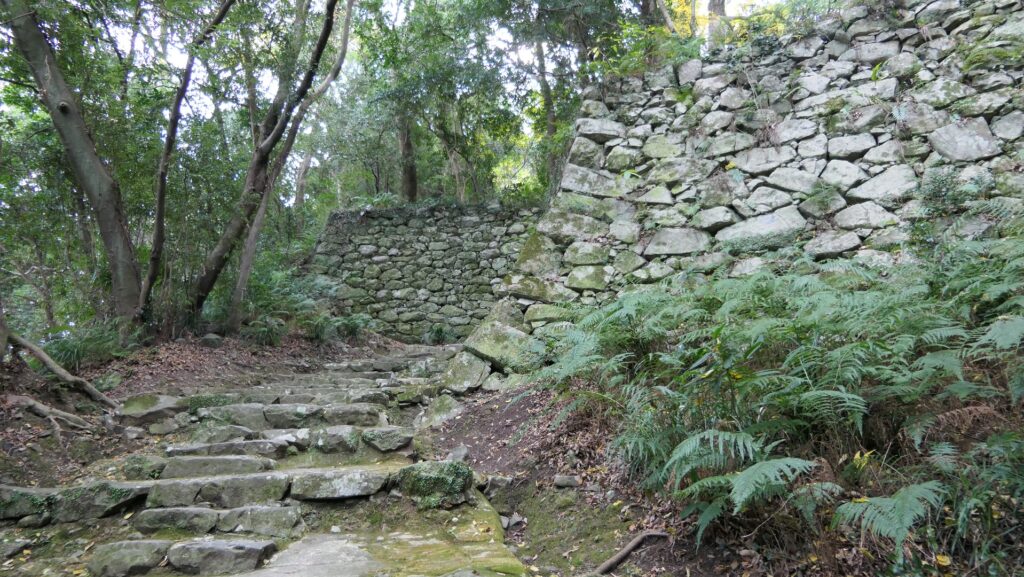
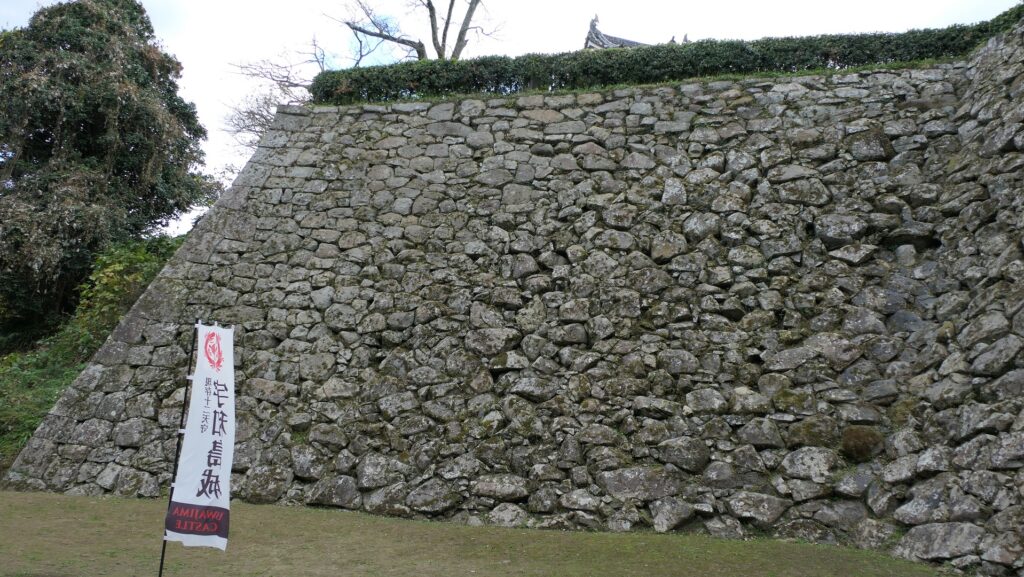
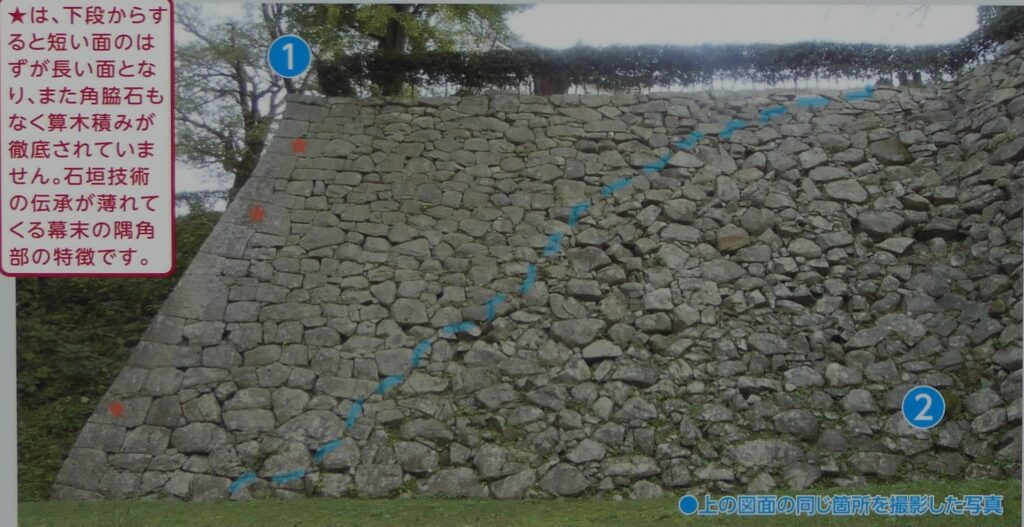
You can climb up to the top of the mountain through the zigzagged trail, seeing old stone walls which might have been built in Takatora’s period. You will first be the Well Enclosure on the way. This is one of the many small enclosures of the castle, which had not only a well but also a set of defense; a gate, turret and stone walls. If you go farther, you will be under the high stone walls of the Main Enclosure. You can see half of the stone was built using some old stones and you can also see the trace of some parts that were repaired. After that, you will reach the Main Enclosure, passing the Second Enclosure.

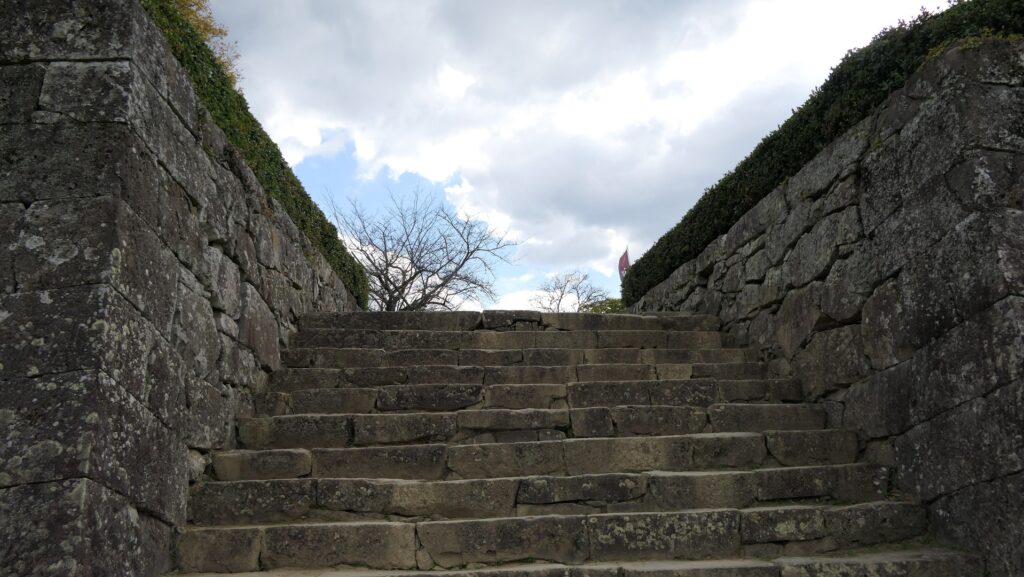
The stone walls along the trail
The Well Enclosure
The high stone walls of the Main Enclosure
The right side of the blue line was built using old stones, while the left side was repaired, from the signboard

Views from Main Enclosure

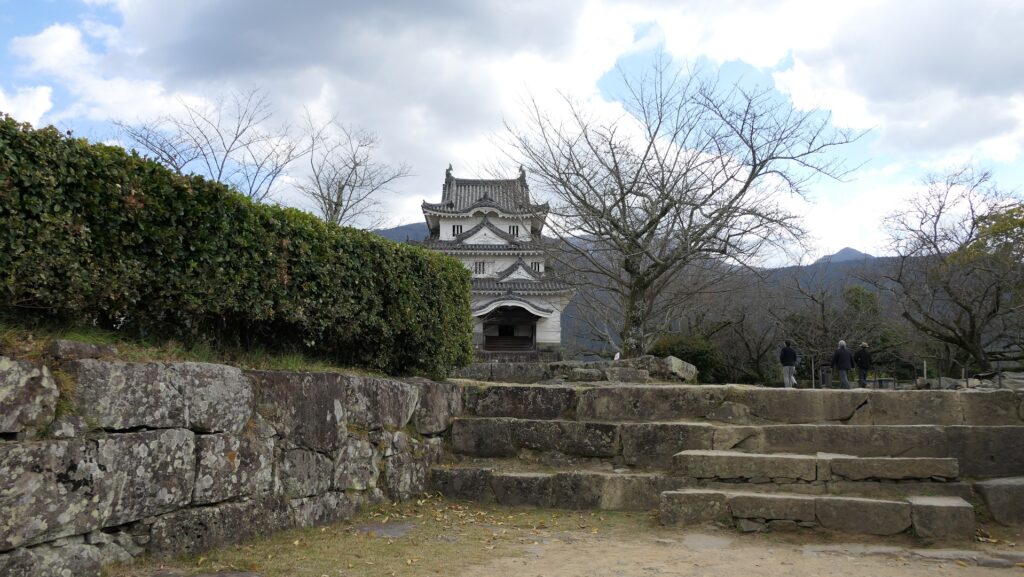
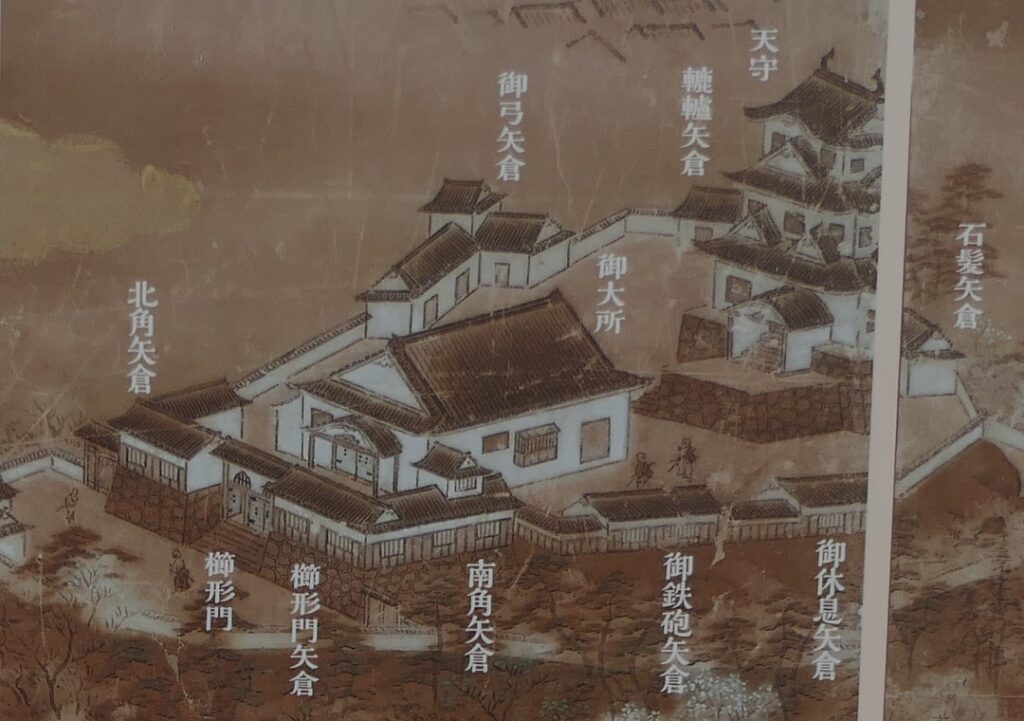
The Main Enclosure originally had many buildings around the Main Tower which was the only thing that remained. You can enter the enclosure through the stone walls of the Kushigata-mon Gate. You can also enjoy views of the city area in the northeast and the Uwajima Bay in the northwest. In fact, the bay was beside the mountain, but the reclamation of the bay started in the Edo Period, probably it was reclaimed earlier than other castles.

The ruins of the Kushigata-mon Gate
The Main Enclosure
The past Main Enclosure drawn in the “Folding Screen of Illustration of Uwajima Castle and Town”, from the signboard
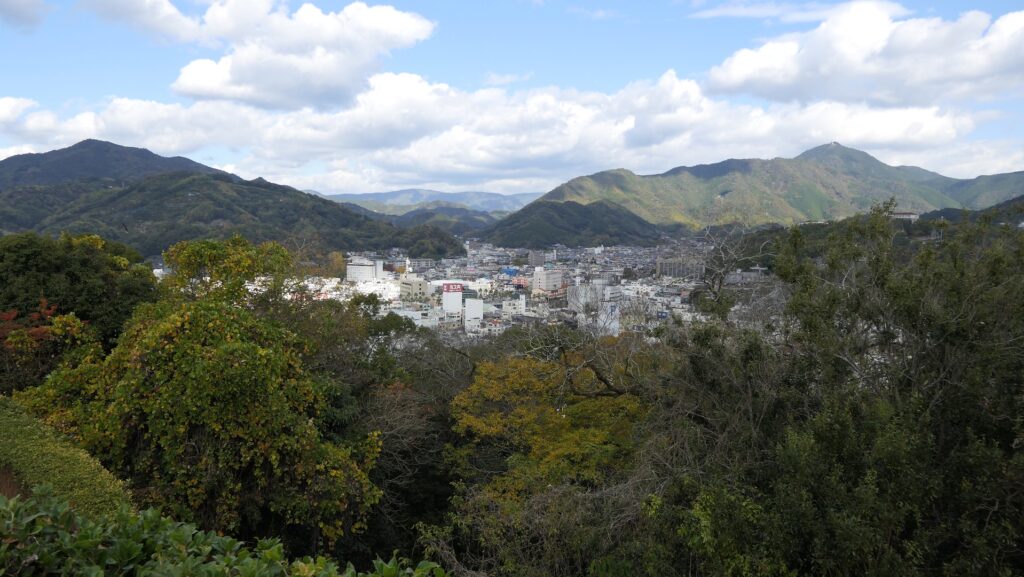
A view of Uwajima city area from the Main Enclosure
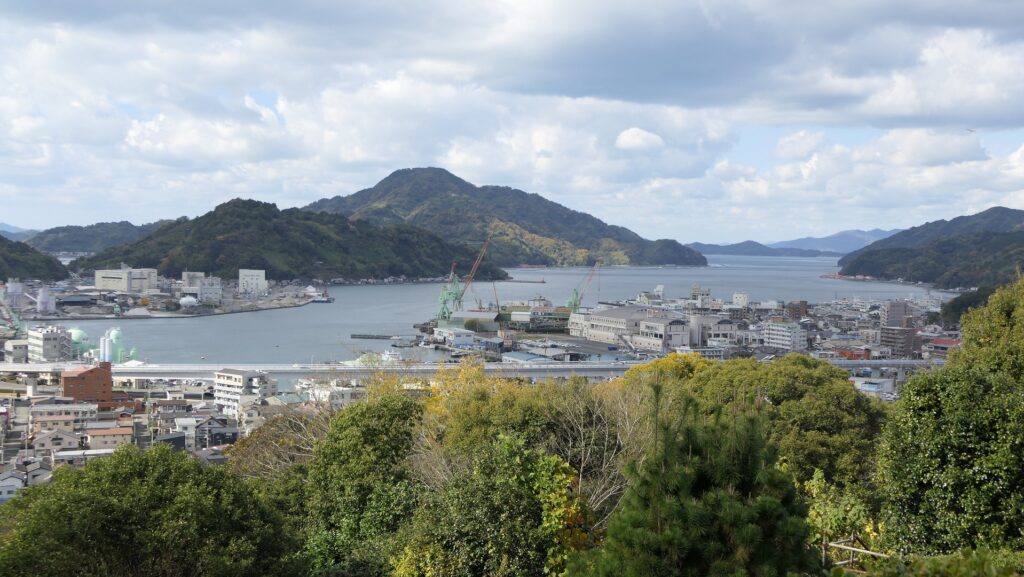
A view of Uwajima Bay from the Main Enclosure

Elegant Appearance of Main Tower

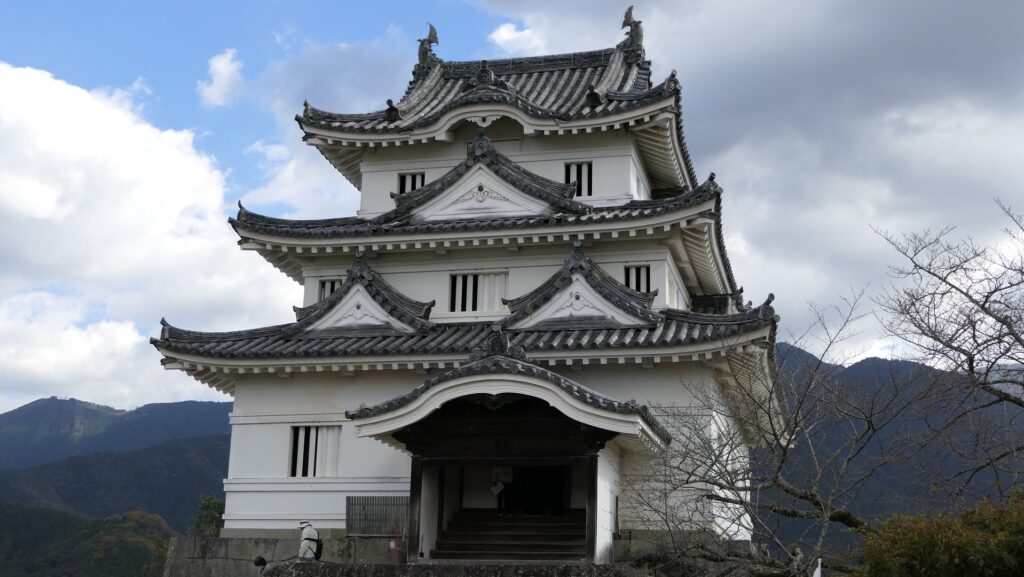
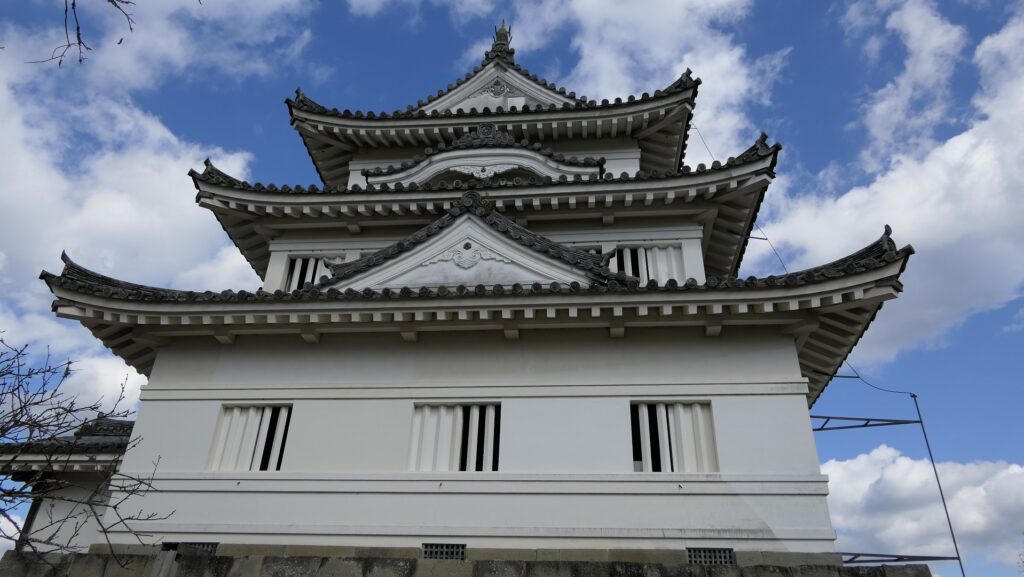
The highlight of the Main Enclosure is, of course, the Main Tower. The tower is not so large (15.7m high) compared with other remaining Main Towers in Japan. However, it looks very elegant with white plaster walls and lots of decorations. It has three levels with three roofs which all have a good design. The top roof has a Chinese styled gable. The second roof has a large triangular shaped gable, and the first roof has two smaller gables. In addition, the entrance of the first floor has another Chinese styled gable on its roof.

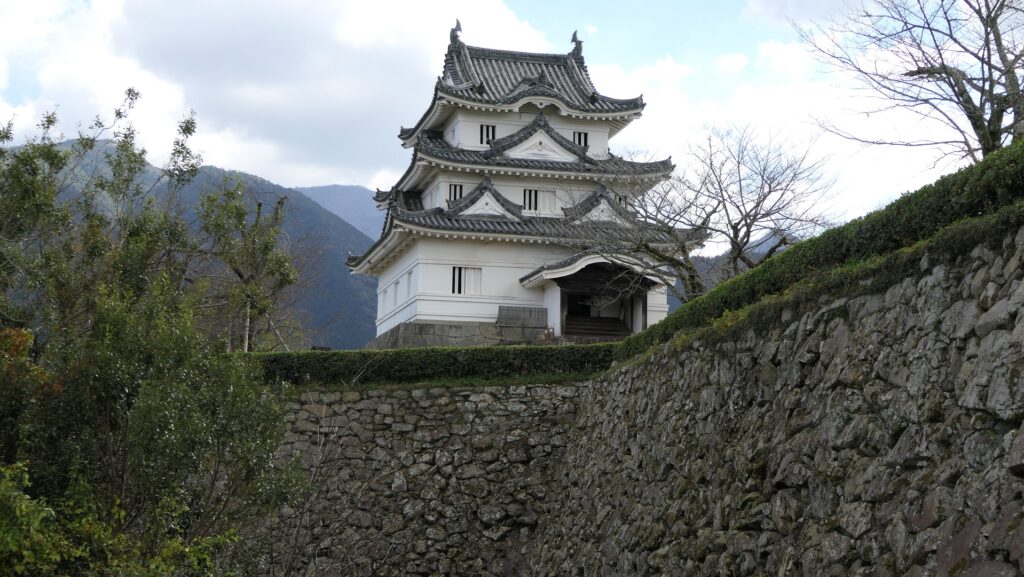
The Main Tower seen from below the high stone walls
The front side of the Main Tower
The right side of the Main Tower

To be continued in “Uwajima Castle Part3”
Back to “Uwajima Castle Part1”

119.Sugiyama Castle Part2

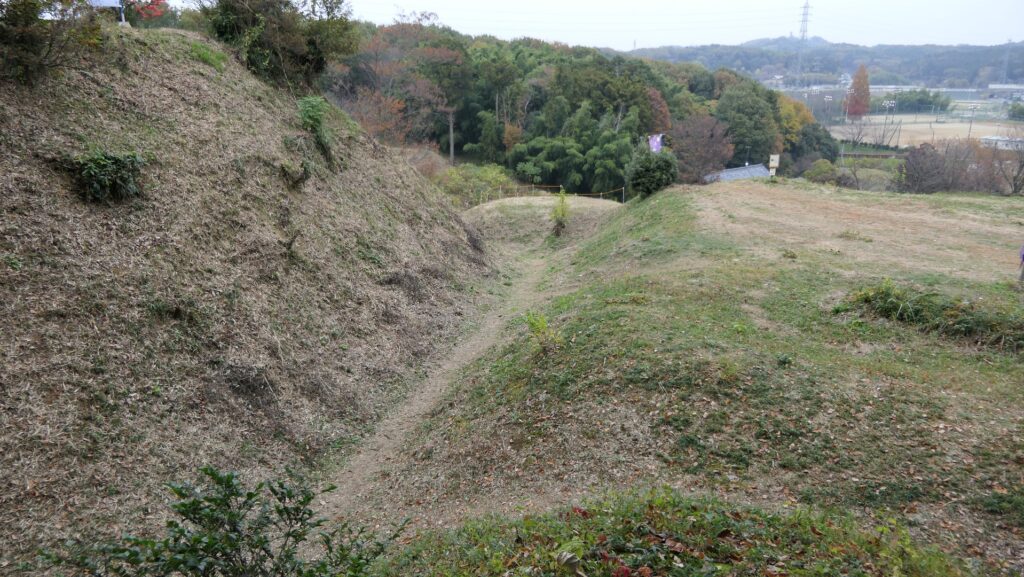
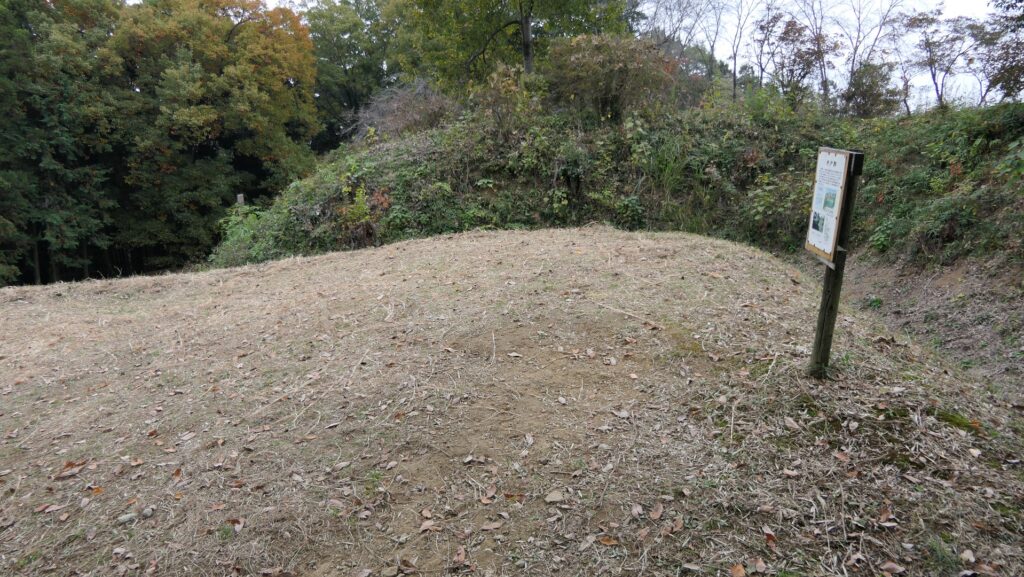
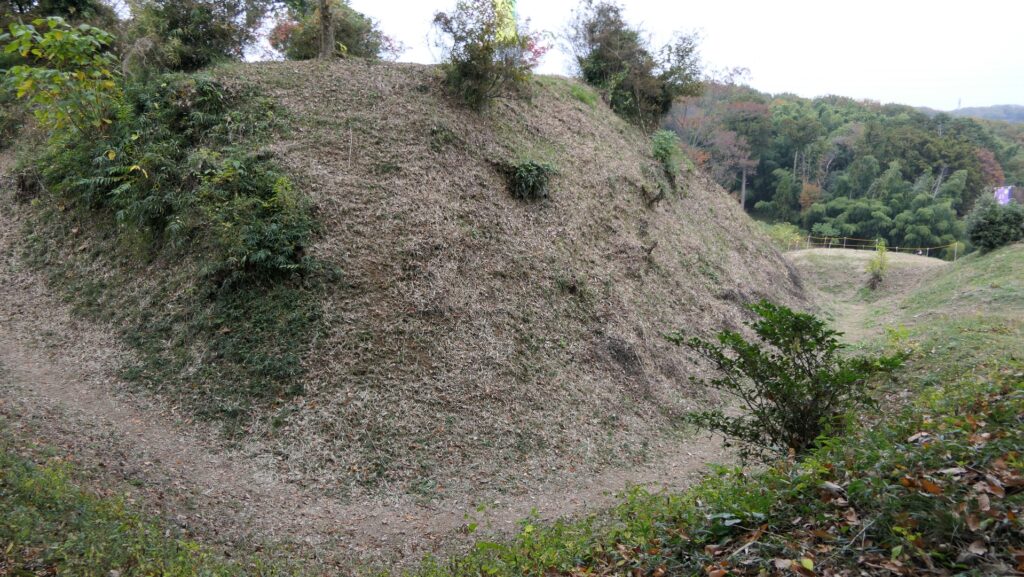
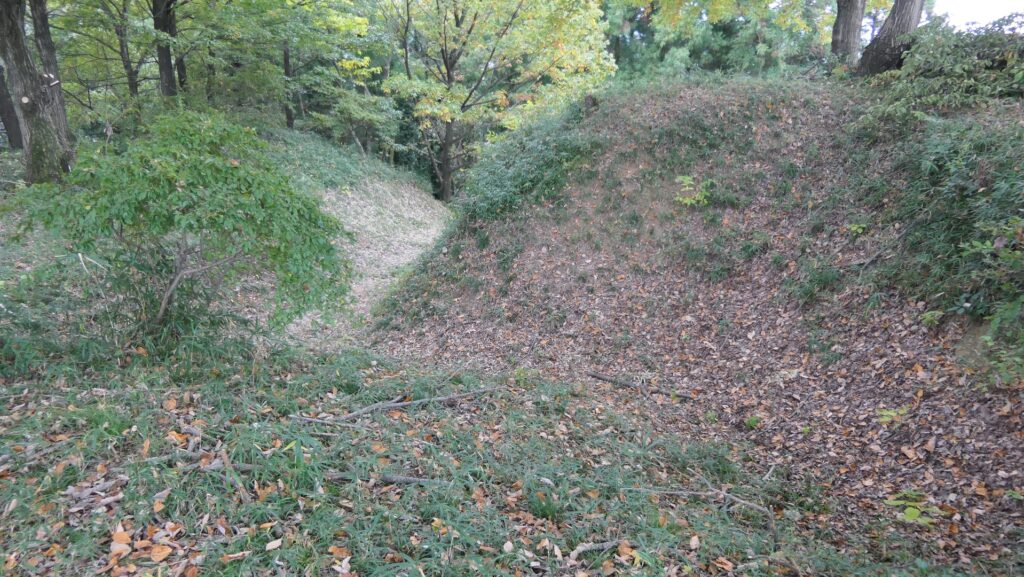
Let us simulate attacking the castle.

Features

Simulation of Attack from Main Entrance to Main Enclosure

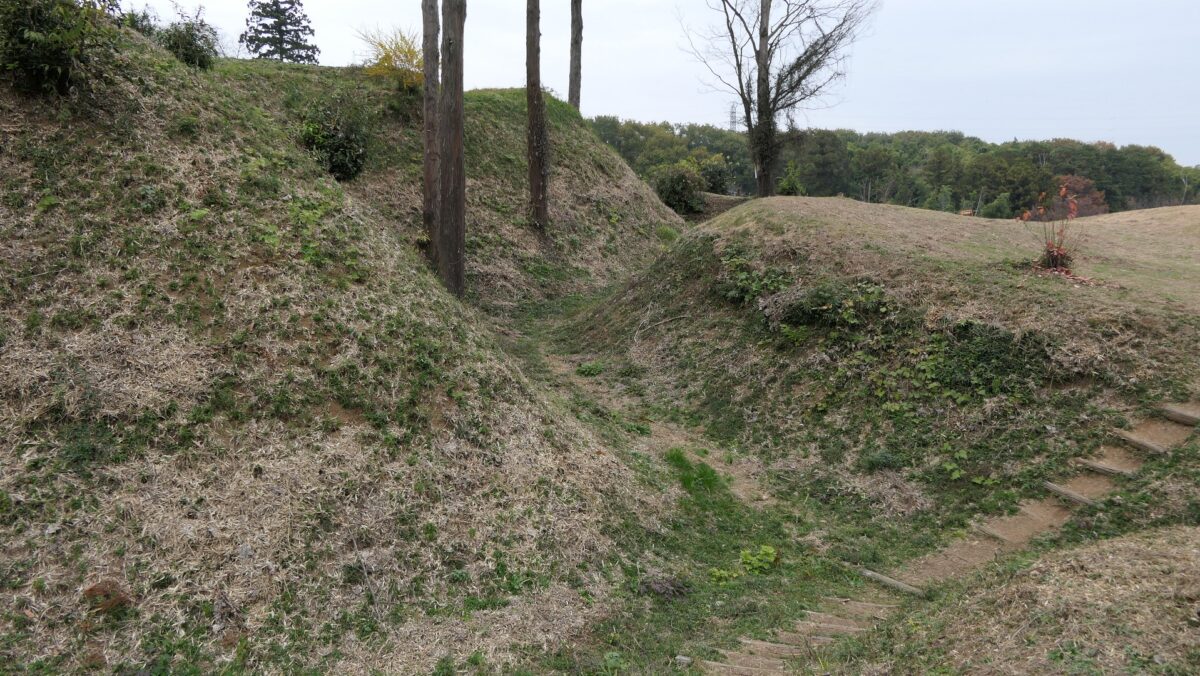
Today, the ruins of Sugiyama Castle are well-developed and maintained for visitors as a historic site. The ruins were once covered with a lot of trees and bushes, but most of them were removed. That means you can see the soil-made layout of the castle clearly. Let us simulate attacking the castle as an enemy.

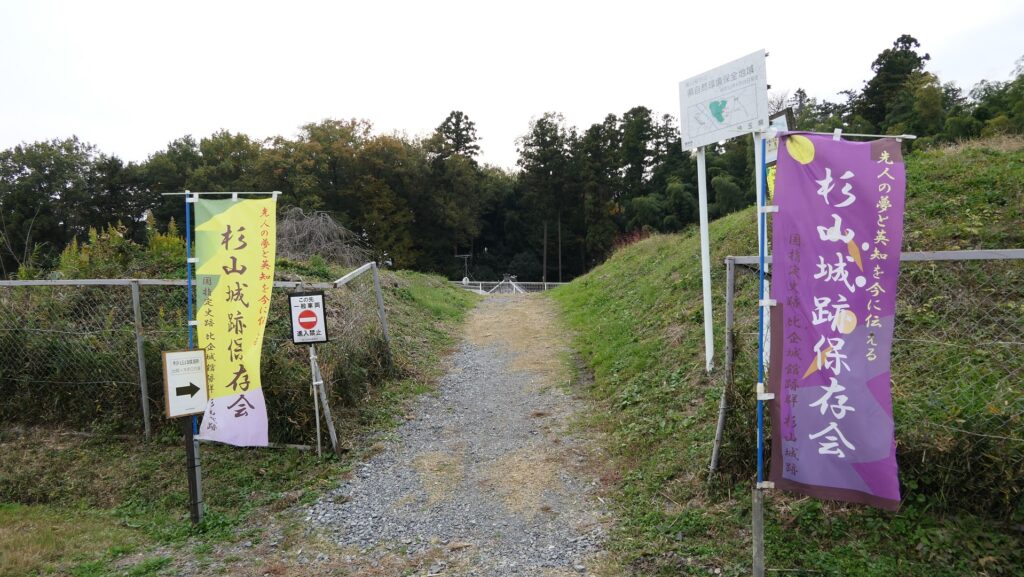
The entrance of the castle ruins
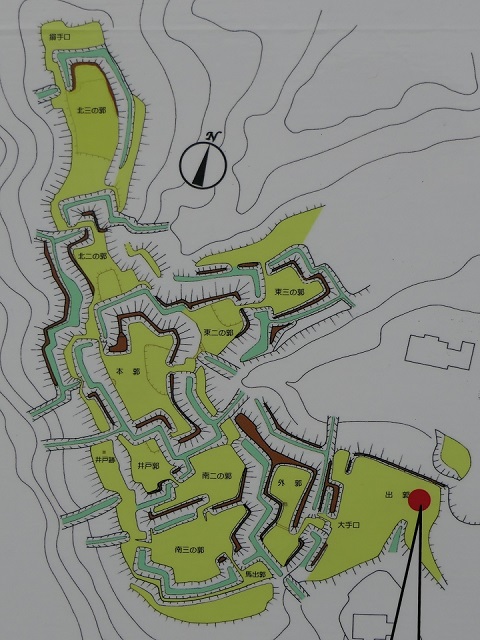
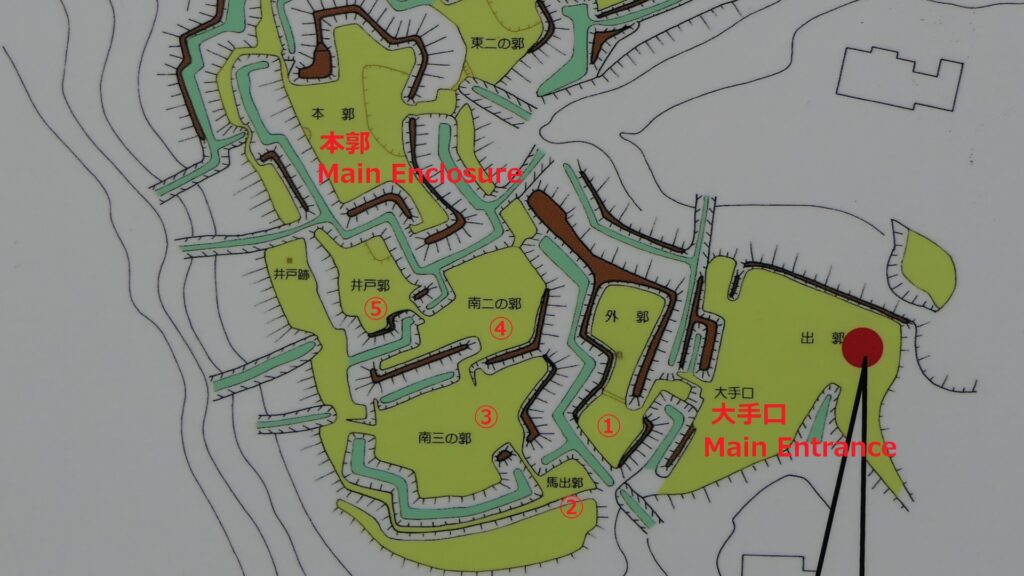
The location map at the site

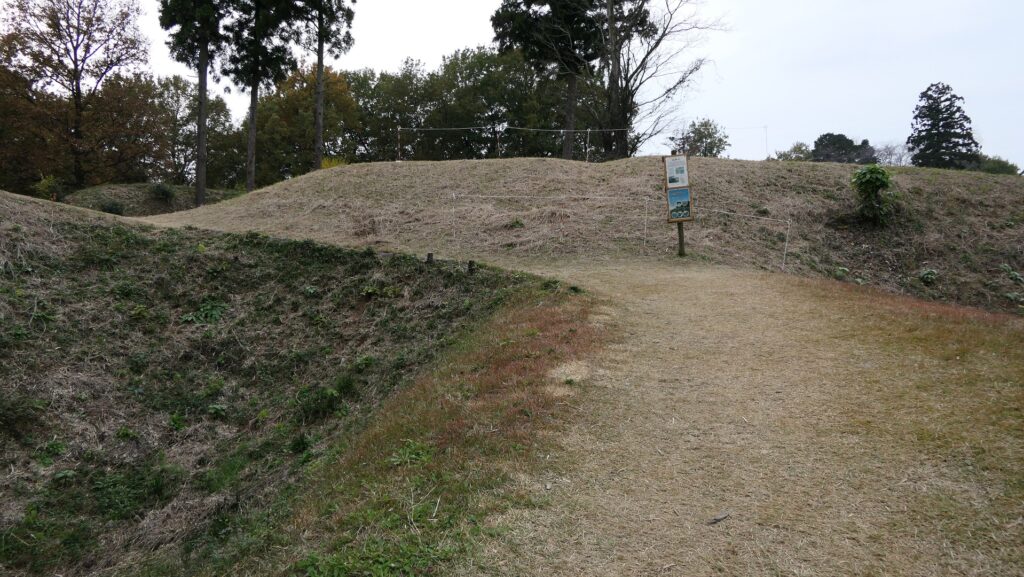
For example, if you approach the castle ruins from the south, you will first stand at the Main Entrance or Oteguchi as the starting point. In fact, you will need to pass through five enclosures to reach the Main Enclosure.

The Main Entrance
The enclosures between the Main Entrance and the Main Enclosure with numbering, from the location map adding the red colored letters

From Outer Entrance to Umadashi and Southern Third Enclosures

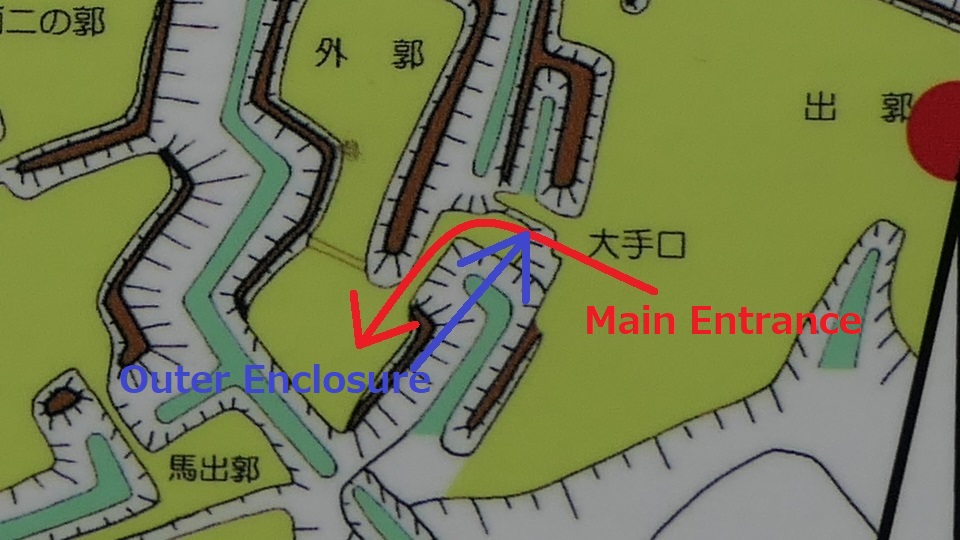
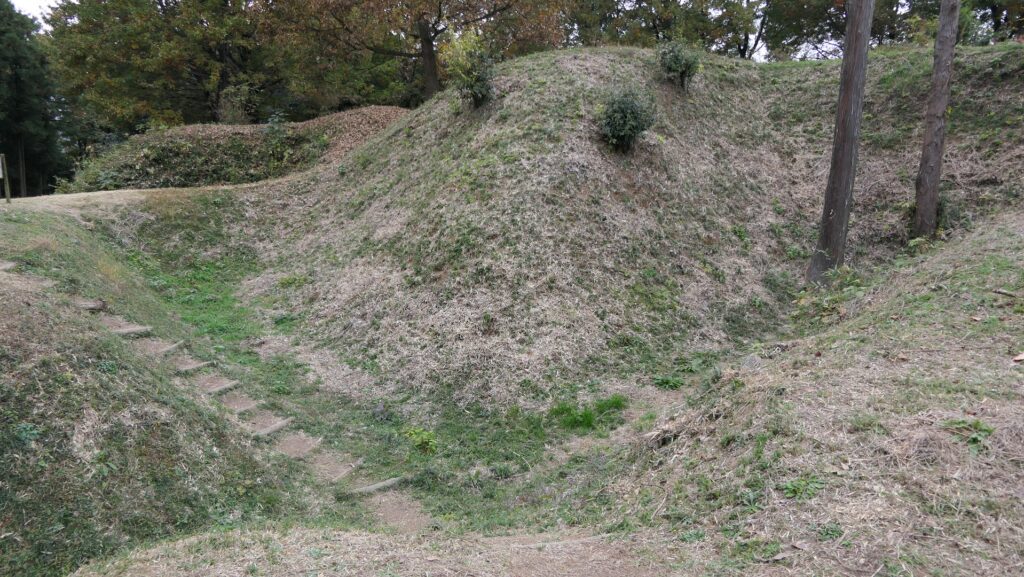
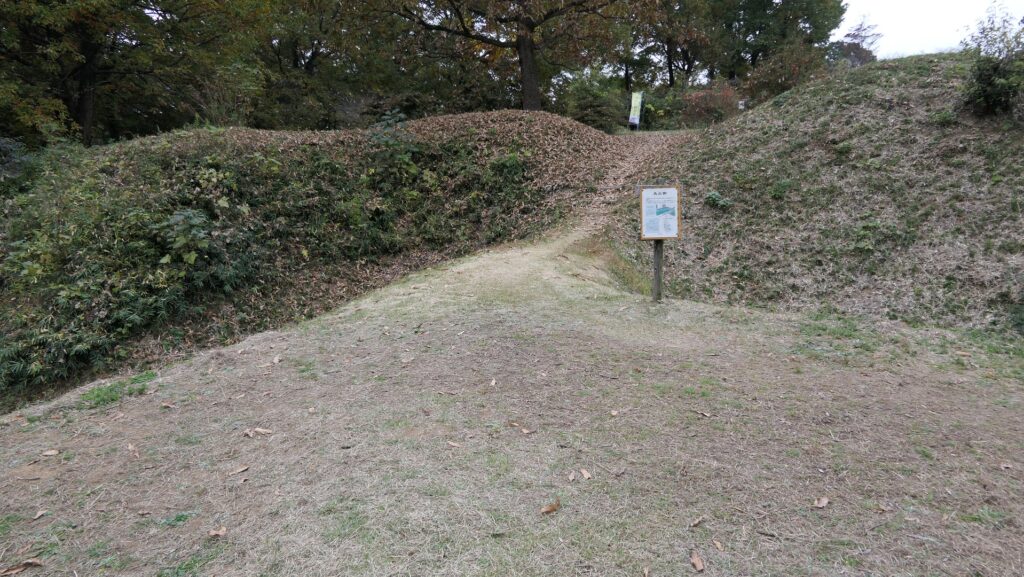
To enter the first enclosure called the Outer Enclosure, you will have to turn left in front of its entrance. Defenders could make a flanking attack on your left side before you turn.

Turn left to enter the Outer Enclosure
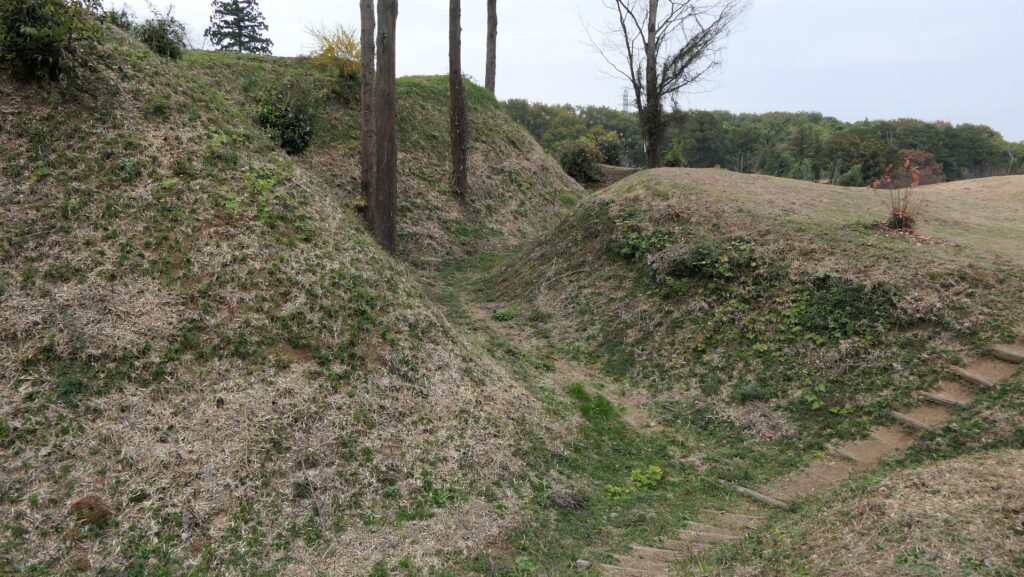
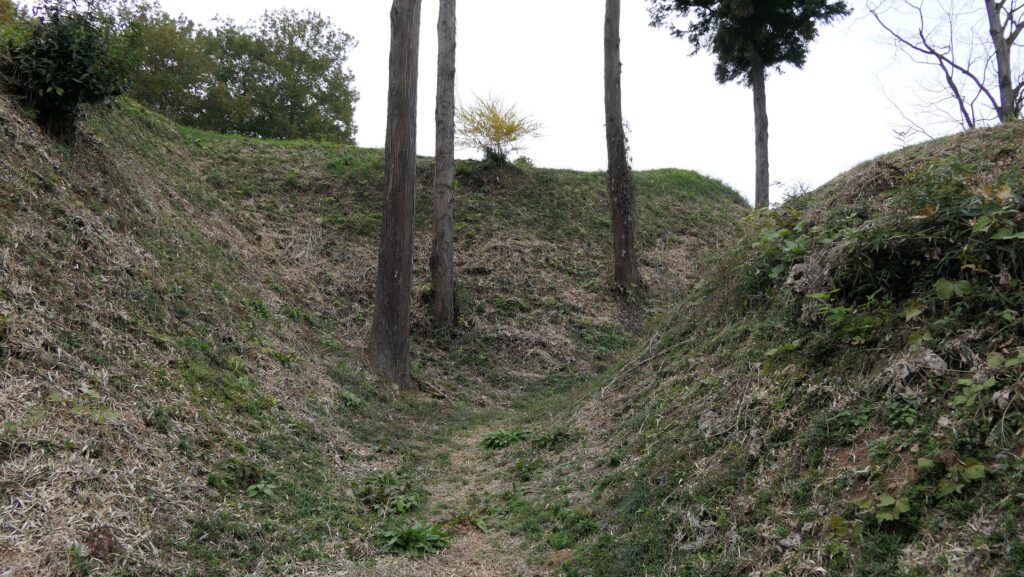
The route to entrance seen from the Outer Enclosure
The route to the Outer Enclosure (the red arrow) and the counterattack from the enclosure (the blue arrow)

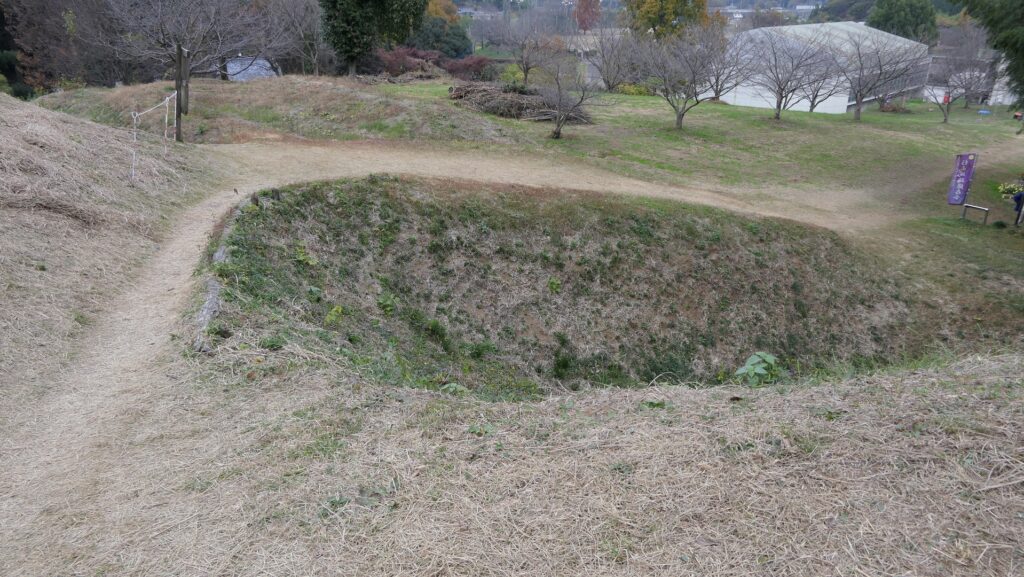
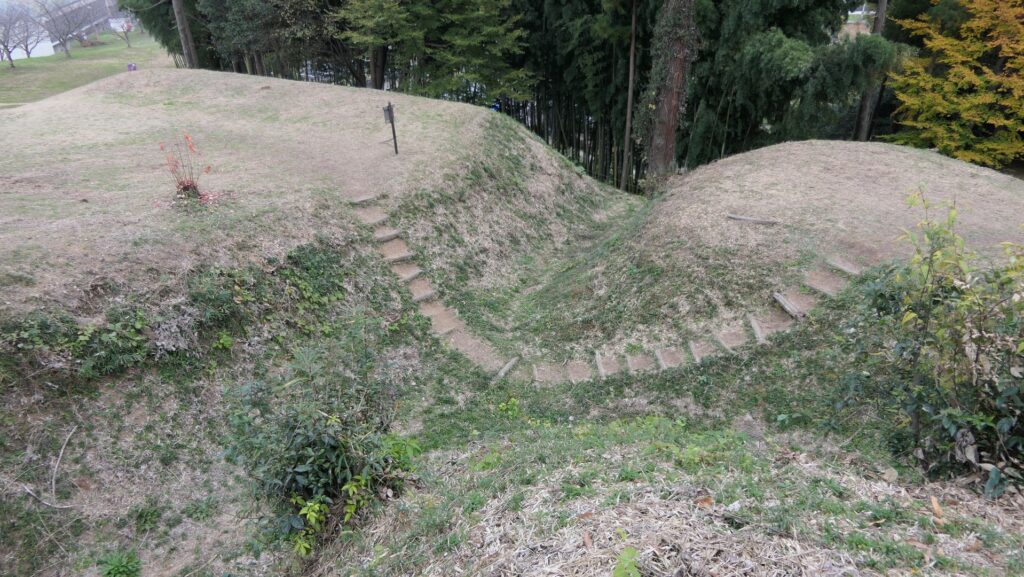
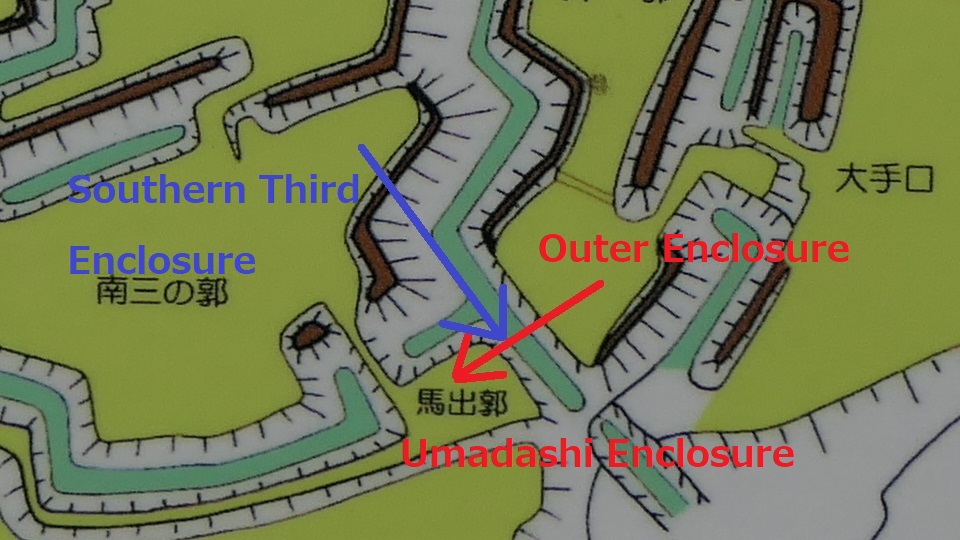
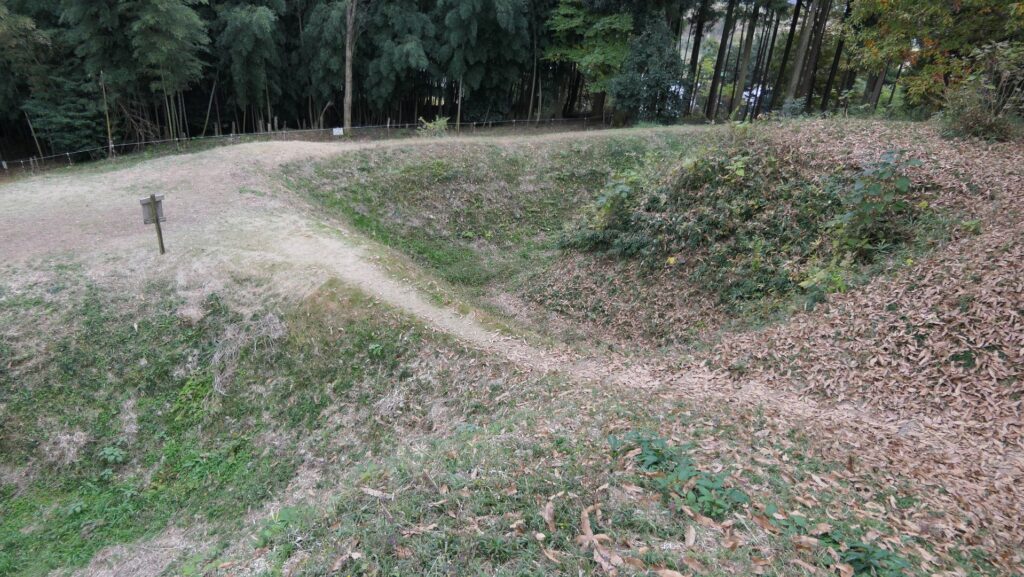
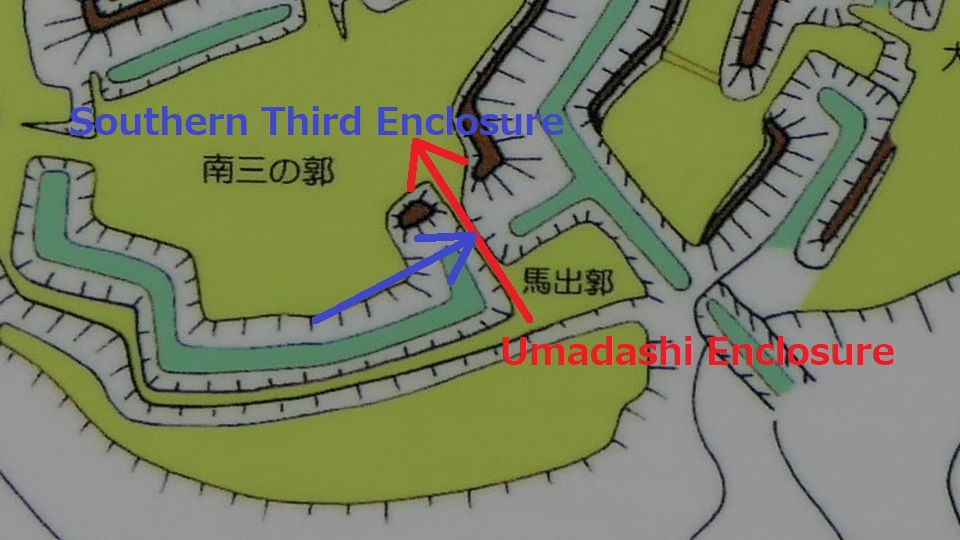
After entering the Outer Enclosure, the second one is the Umadashi Enclosure. You will need to go over the dry moat to get to the Umadashi Enclosure. A wooden bridge might have been built on it, but it would have been fallen if a battle occurred. When you cross the dry moat, you would be attacked on your right side from the L-shaped earthen walls of the Southern Third Enclosure.

The dry moat in front of the Umadashi Enclosure
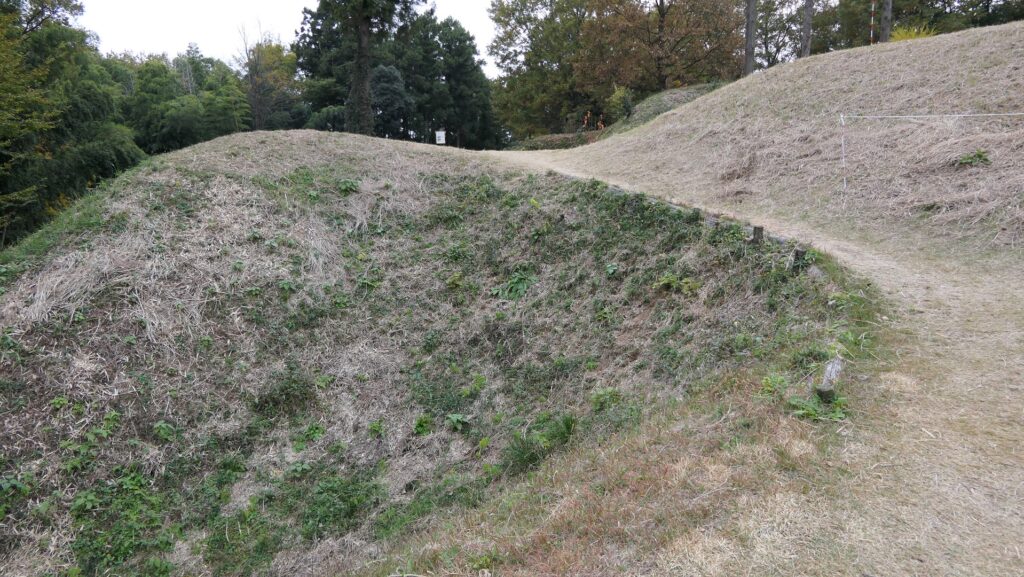
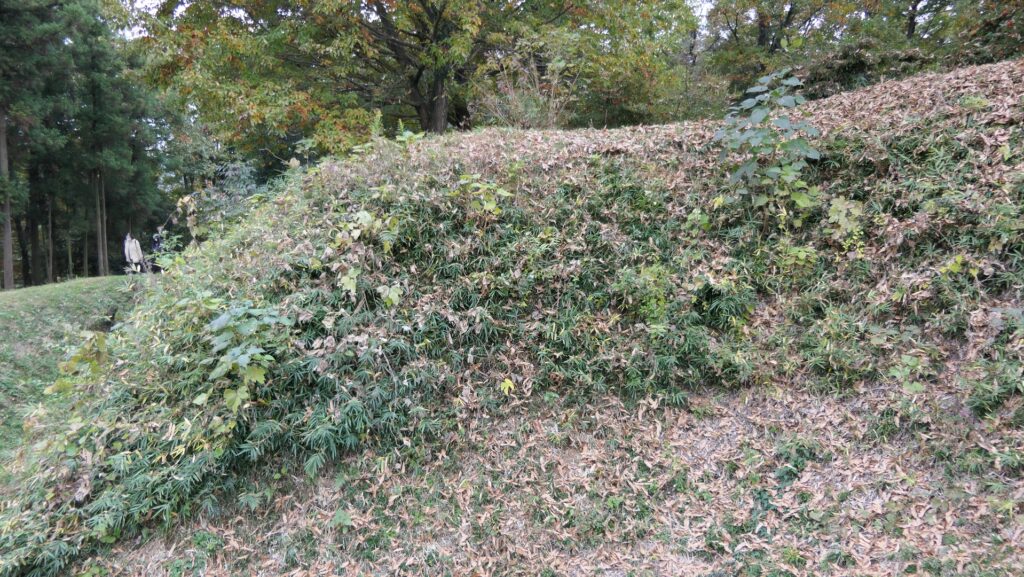
The L-shaped earthen walls of the Southern Third Enclosure
The Southern Third Enclosure seen from the dry moat
The dry moat seen from the Southern Third Enclosure
The route to the Umadashi Enclosure (the red arrow) and the counterattack from the Southern Third Enclosure (the blue arrow)

The Umadashi Enclosure is a small sticking out space from the entrance of the Southern Third Enclosure. The other L-shaped earthen walls of the Southern Third Enclosure also make it possible to defeat the enemy in this area of the castle.

The Umadashi Enclosure
The Umadashi Enclosure and the L-shaped earthen walls seen from the Southern Third Enclosure
The L-shaped earthen walls are nearby on the left if you stand at the entrance of the Southern Third Enclosure
The route to the Southern Third Enclosure (the red arrow) and the counterattack from the Enclosure (the blue arrow)

Strong Defense of Main Enclosure

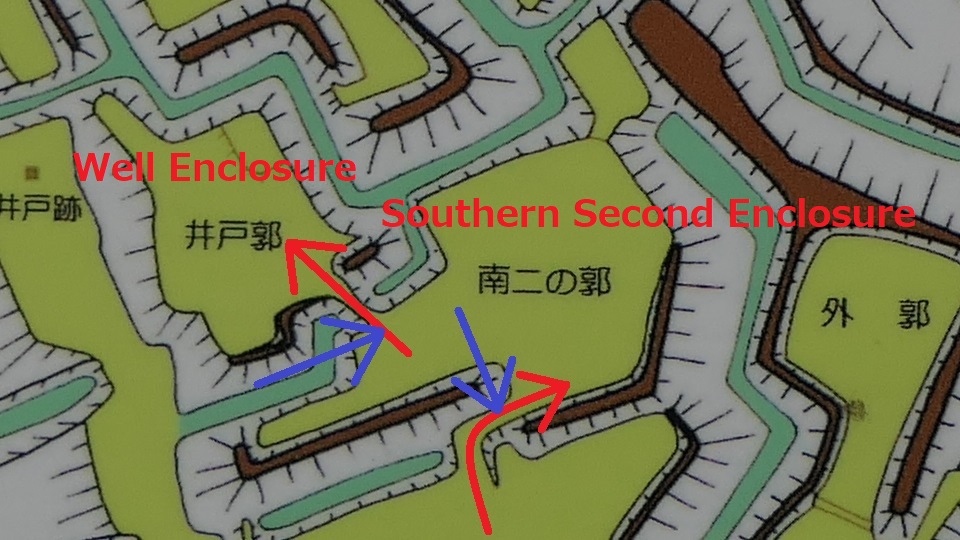
After that, if you somehow reach the Southern Second Enclosure after the Southern Third Enclosure, you will see the high earthen walls of the Main Enclosure. However, there is no direct route to the Main Enclosure, so you will have to move to the Well Enclosure on the left. (Its enclosure is guarded in a similar way to other enclosures.)

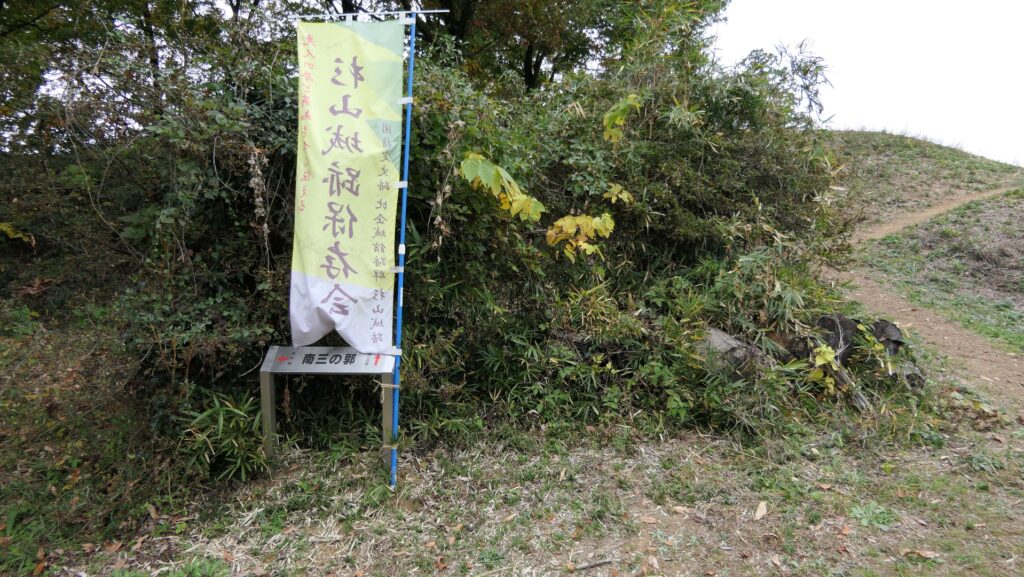
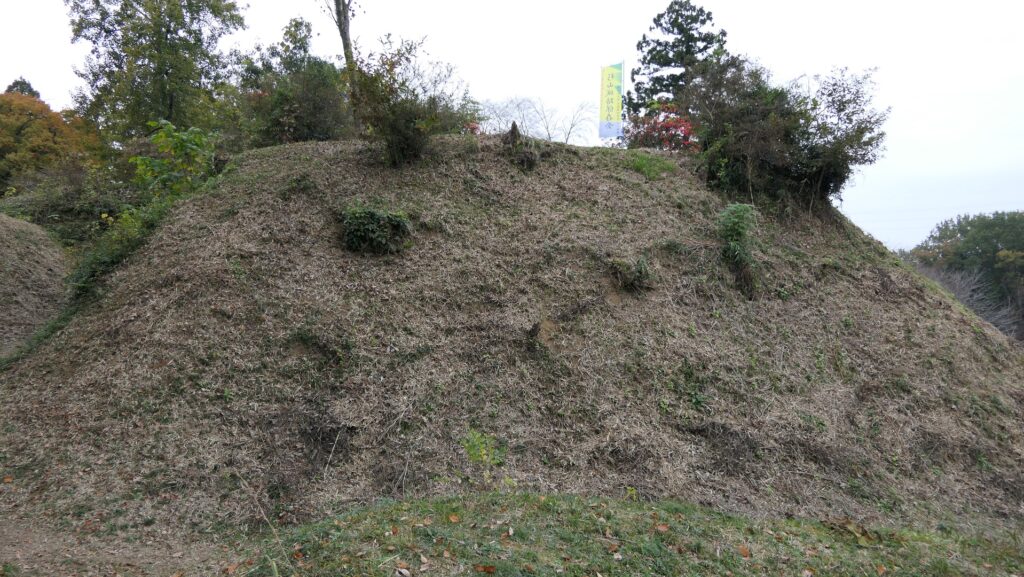
The Southern Third Enclosure
The high earthen walls of the Mani Enclosure seen from the Southern Second Enclosure
The dry moat between the Main Enclosure and the Southern Second Enclosure seen from the Well Enclosure
The Well Enclosure
The routes to the Southern Second and Well Enclosures (the red arrow) and the counterattack from the Enclosures (the blue arrow)

The Well Enclosure leads to the Main Enclosure, which was connected by the wooden bridge over the dry moat. However, you could be counterattacked from the front and from your left side from the Main Enclosure above. The earthen walls of the Main Enclosure are shaped to surround the attacker. Overall, you could suffer damages from the frank attacks as many as the number of the enclosures.

The wooden bridge was built over the dry moat
he L-shaped earthen walls of the Main Enclosure to make a flanking attack enemies in the Well Enclosure
The Well Enclosure seen from the Main Enclosure
The route to the Main Enclosure (the red arrow) and the counterattack from the Enclosure (the blue arrow)

To be continued in “Sugiyama Castle Part3”
Back to “Sugiyama Castle Part1”