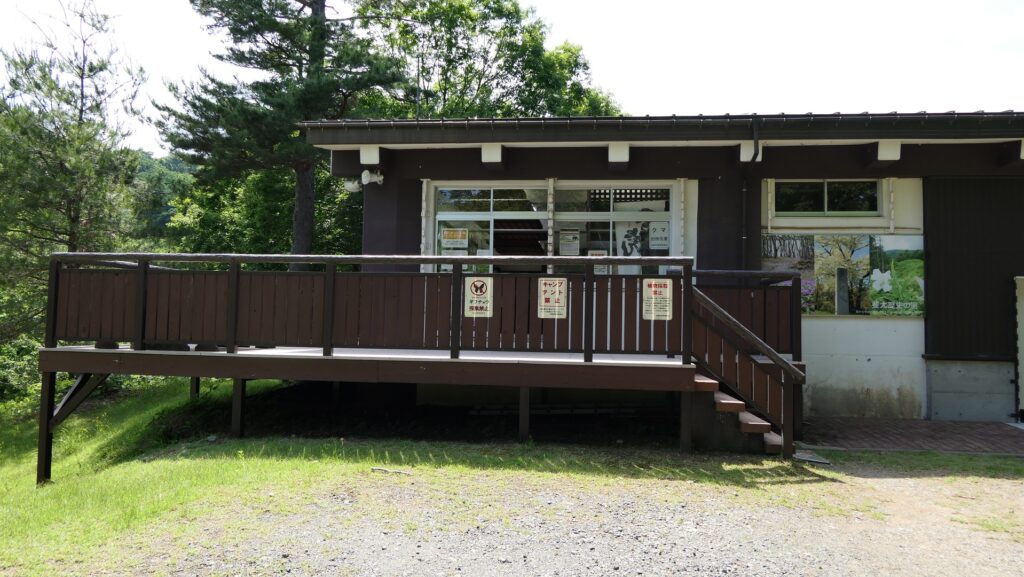
Today, the ruins of Samegao Castle have been developed as part of a historical park called the Hida Historical Village, which also includes ancient house ruins and groups of burial mounds. If you drive to the ruins, you can use the parking lot beside Hida Shrine which also has a long history. You can also stop by the information center of the park from the parking lot, where you can get a guide for the ruins.
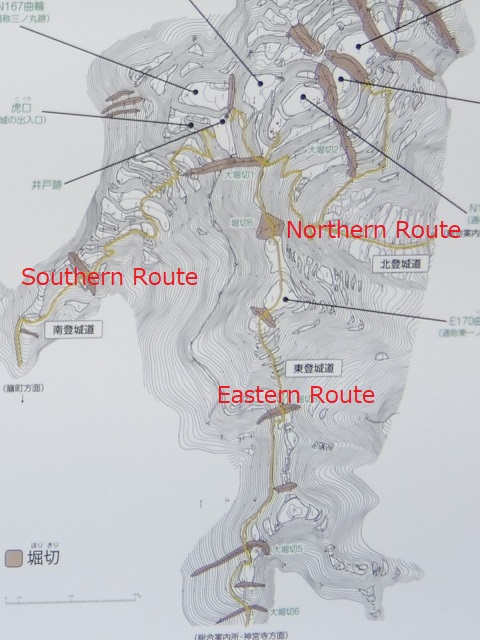
The map around the castle
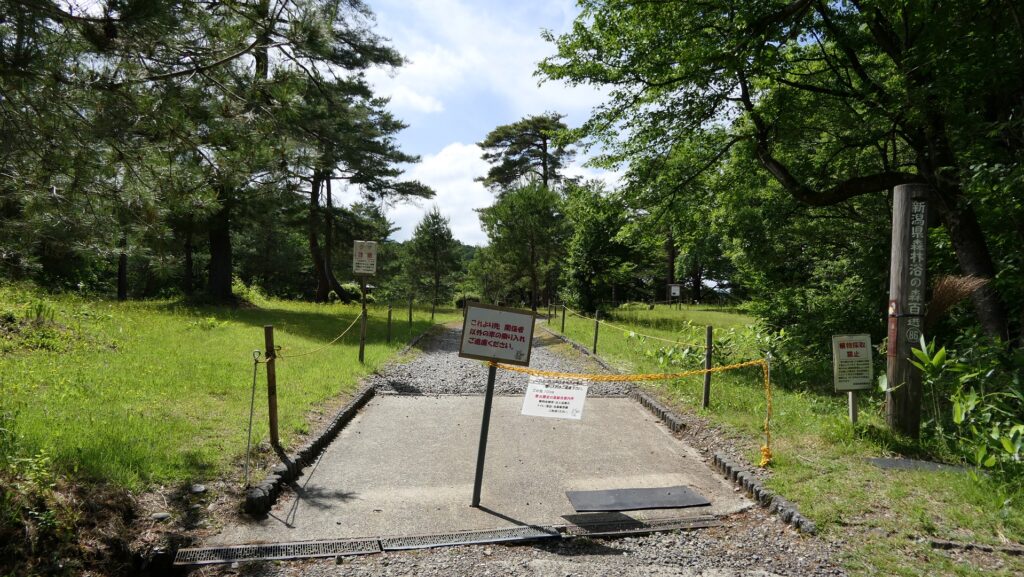
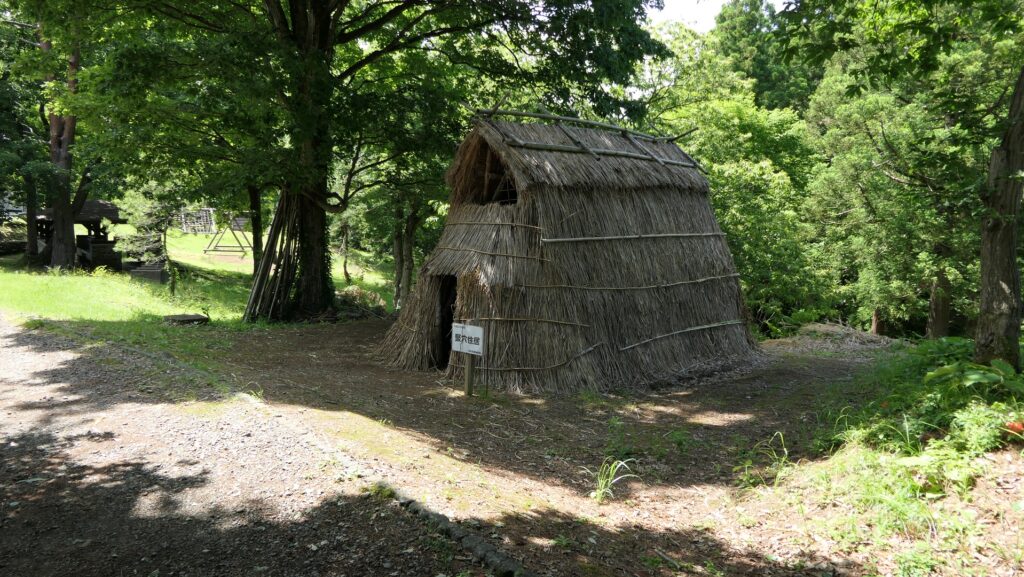
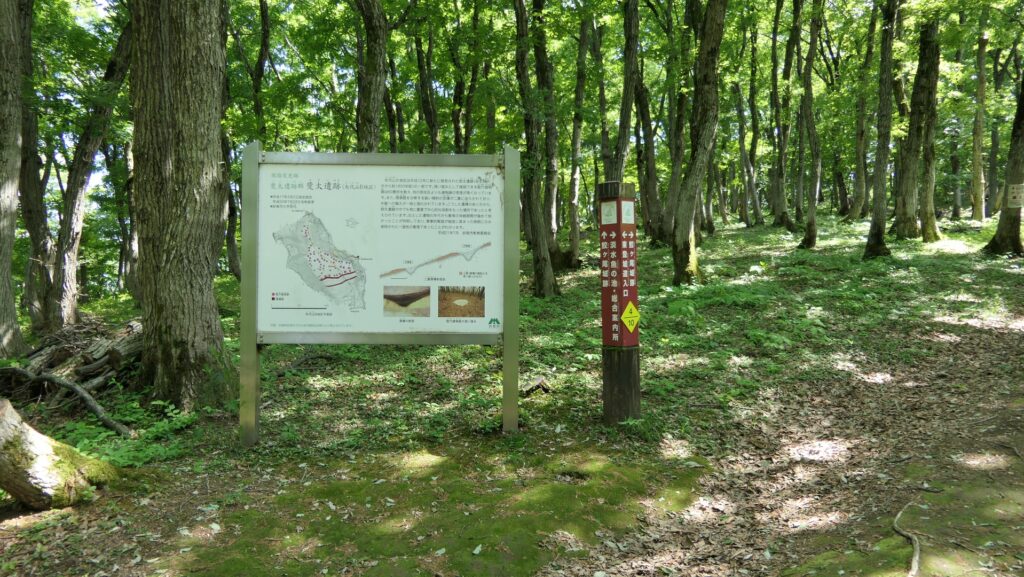
The park entrancea restored ancient houseThe information center
There are three routes to the castle ruins, which are the Eastern, the Northern and the Southern Routes. The former two routes start from the information center. In addition, the northern one has few historical items, so if it is the first time for you to visit the ruins, the eastern one would be better. The northern one can be used when you return.
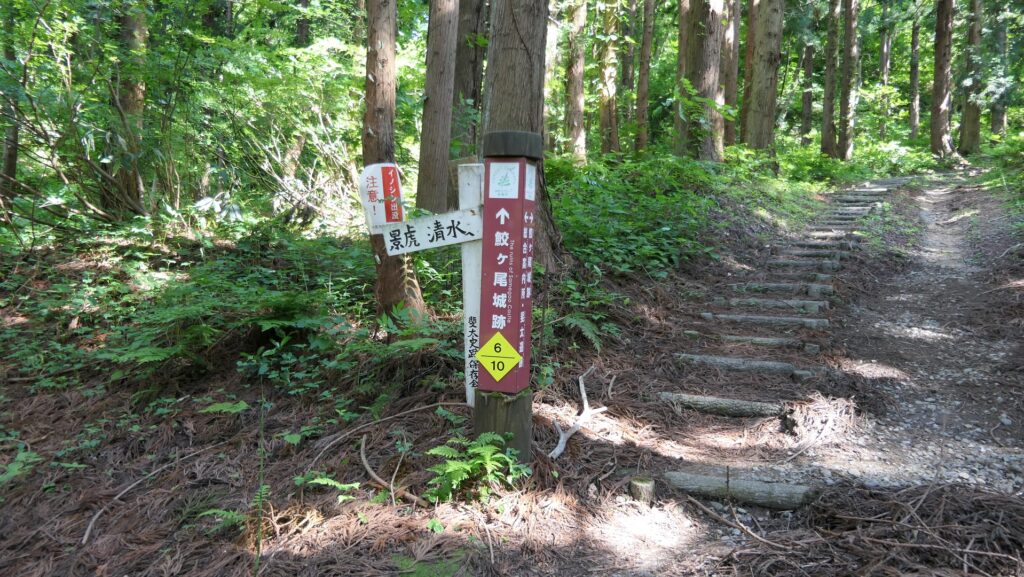
The three routes, from the signboard at the site, upwards is west on the map, adding the red lettersThe Northern RouteThe well ruins along the Northern Route, called “Kagetora Spring”
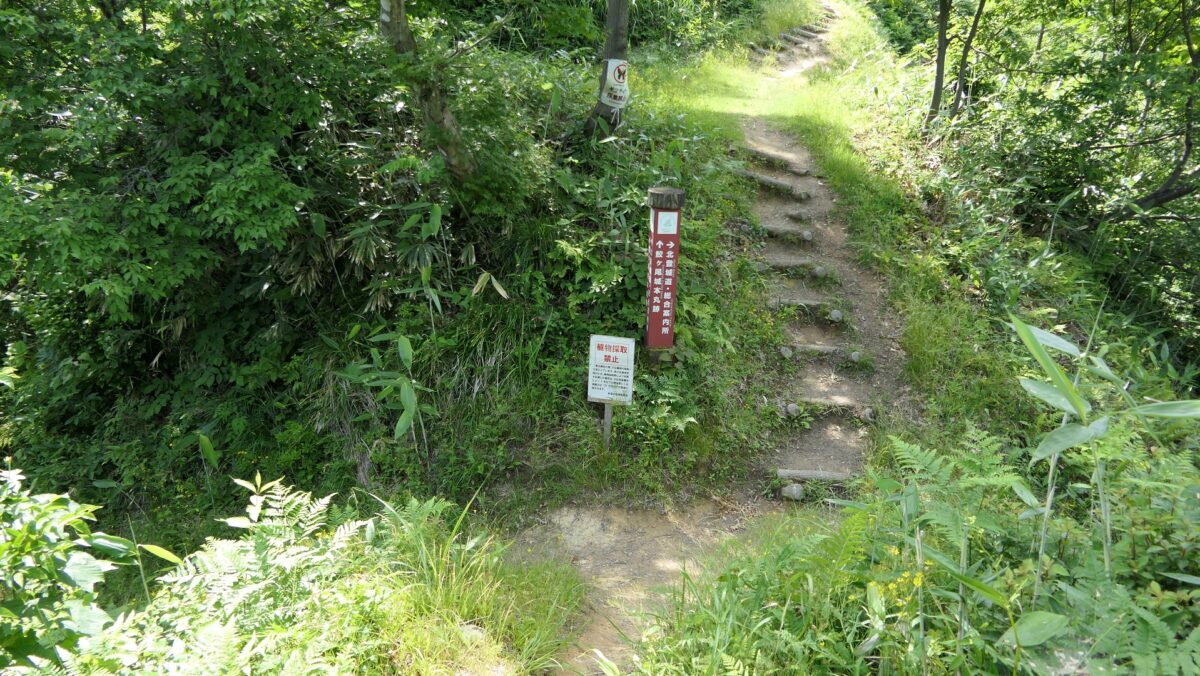
Going on Eastern Route
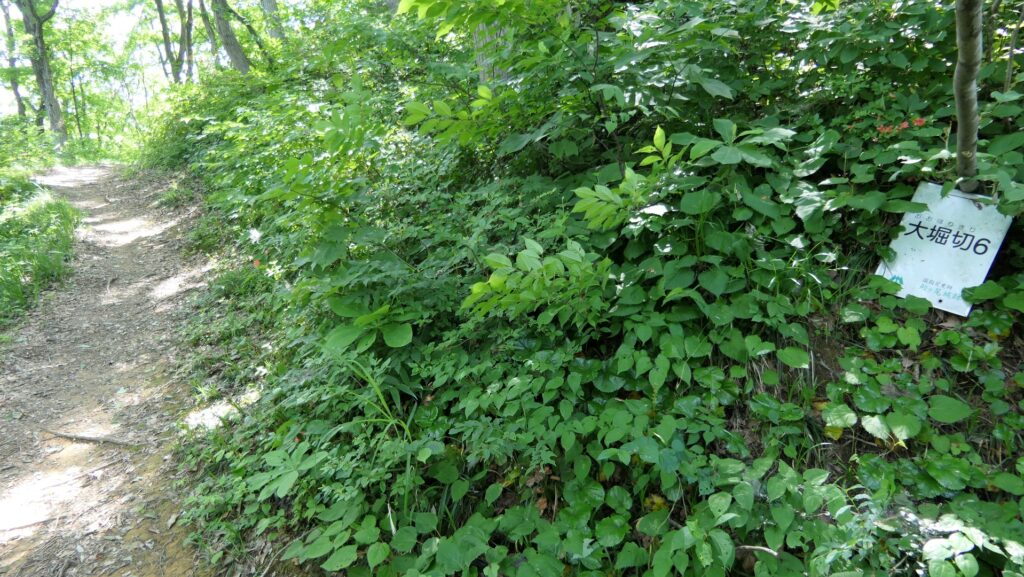
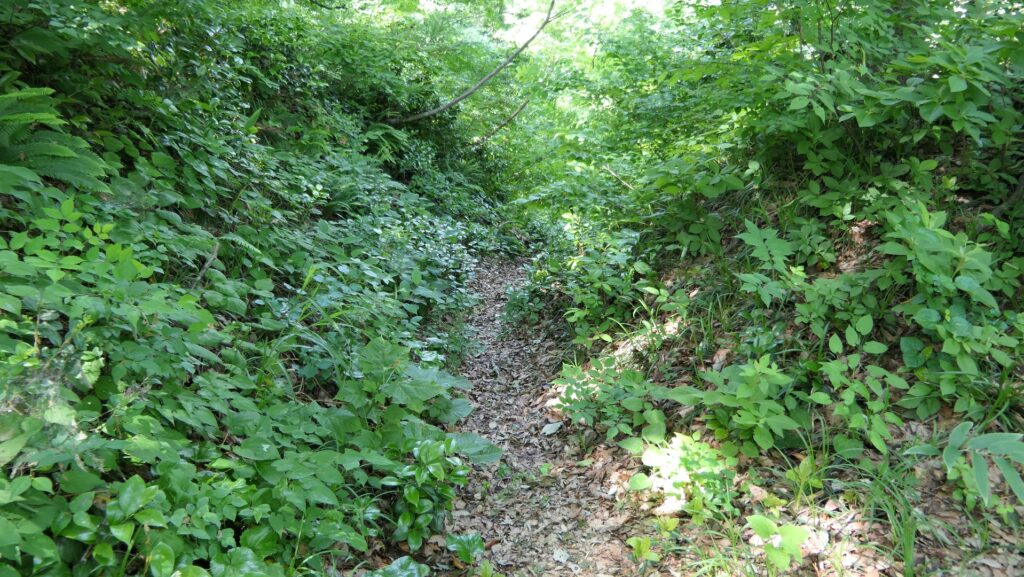
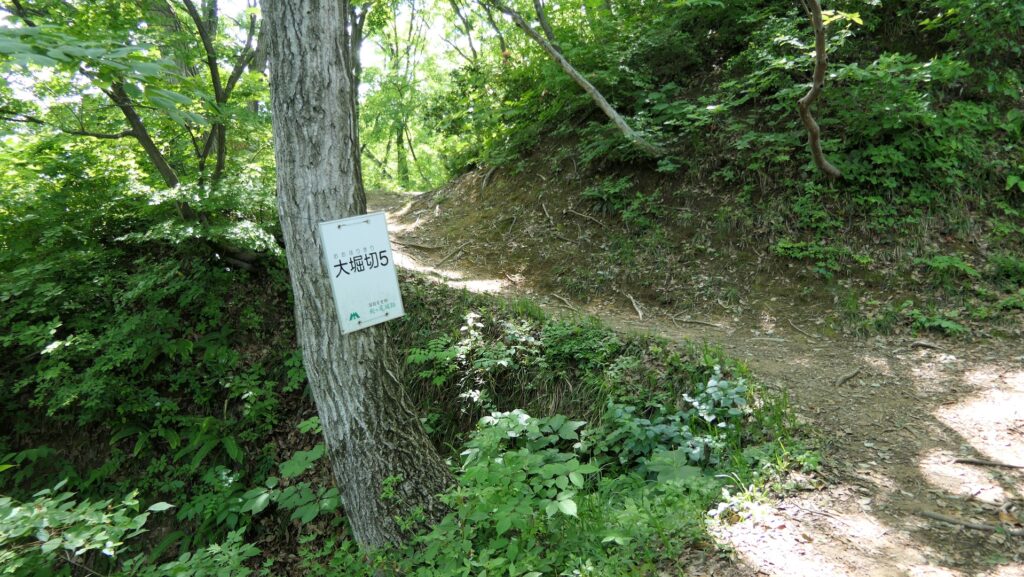
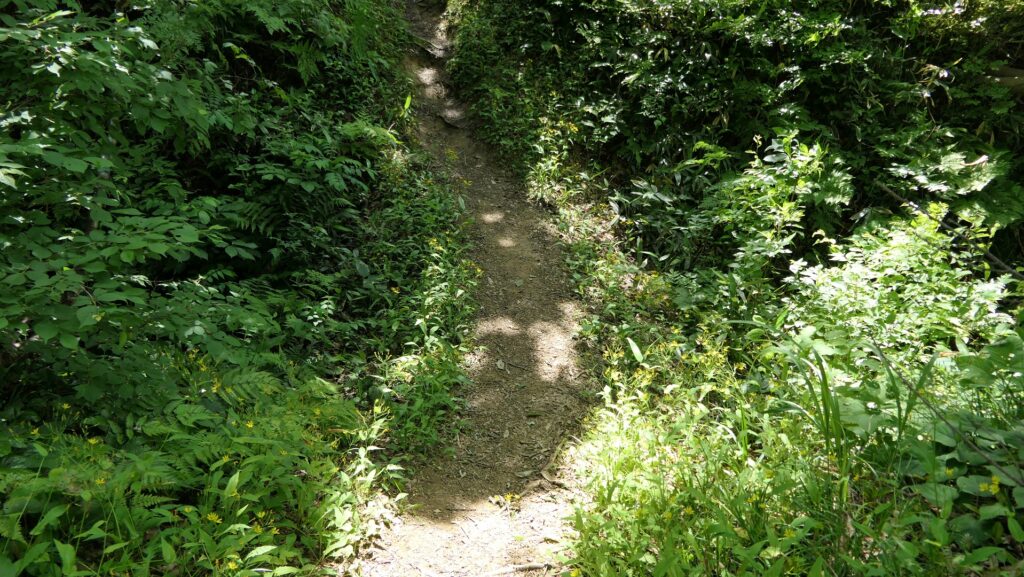
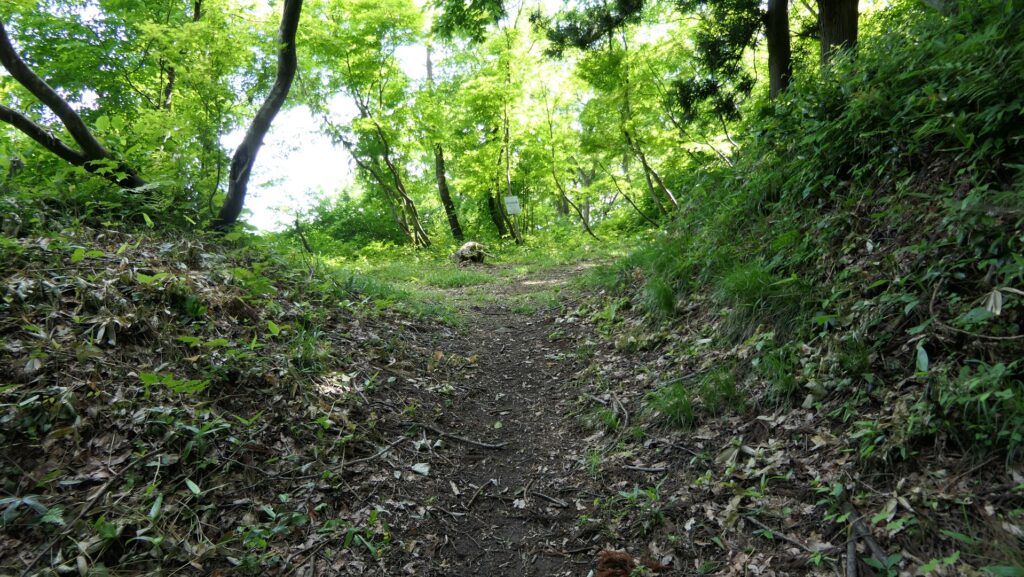
If you choose the Eastern Route as the original back route of the castle, you will walk on the route which goes on or beside the ridge of the mountain. You will eventually see the sign for “O-horikiri” or “Large Ditch 6” in Japanese. This is around the entrance of the ruins. You will come to Large Ditch 5, followed by several other ditches. The route is cut narrow over these ditches.
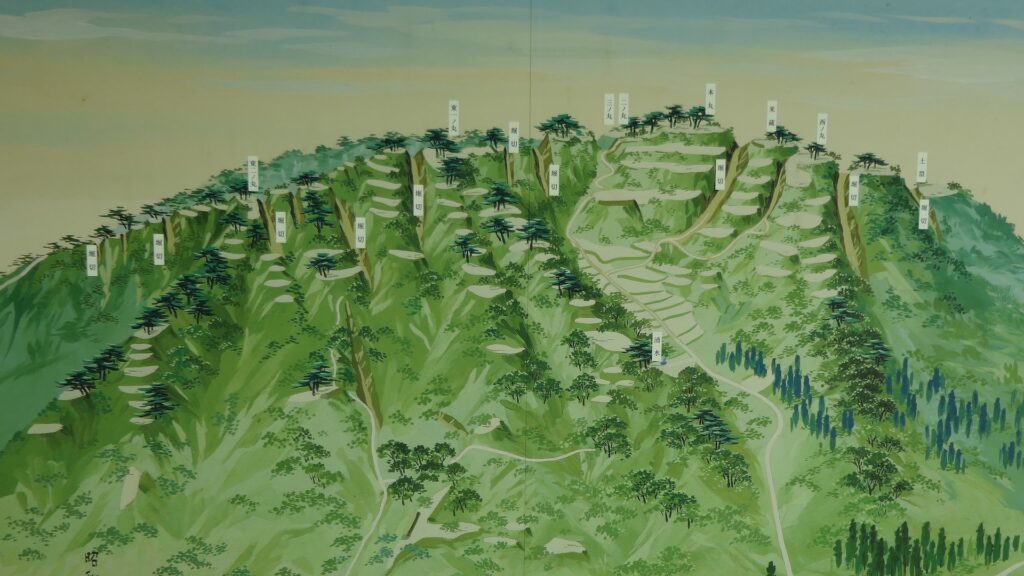
The relief map around the castle
The Eastern RouteThe sign for “Large Ditch 6” on the rightLarge Ditch 6The sign for “Large Ditch 5”Large Ditch 5The earthen bridge on the route is cut narrow over these ditches
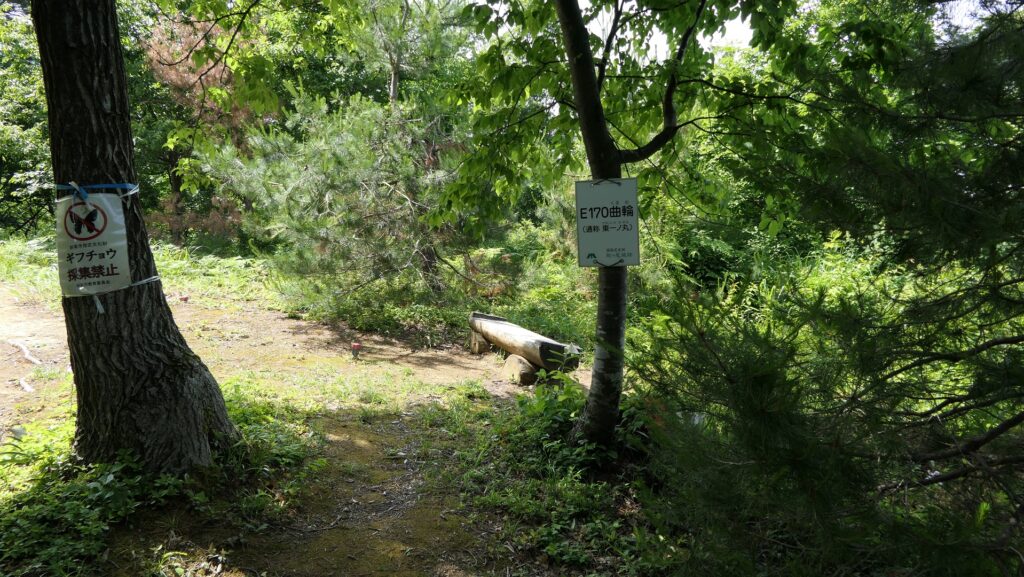
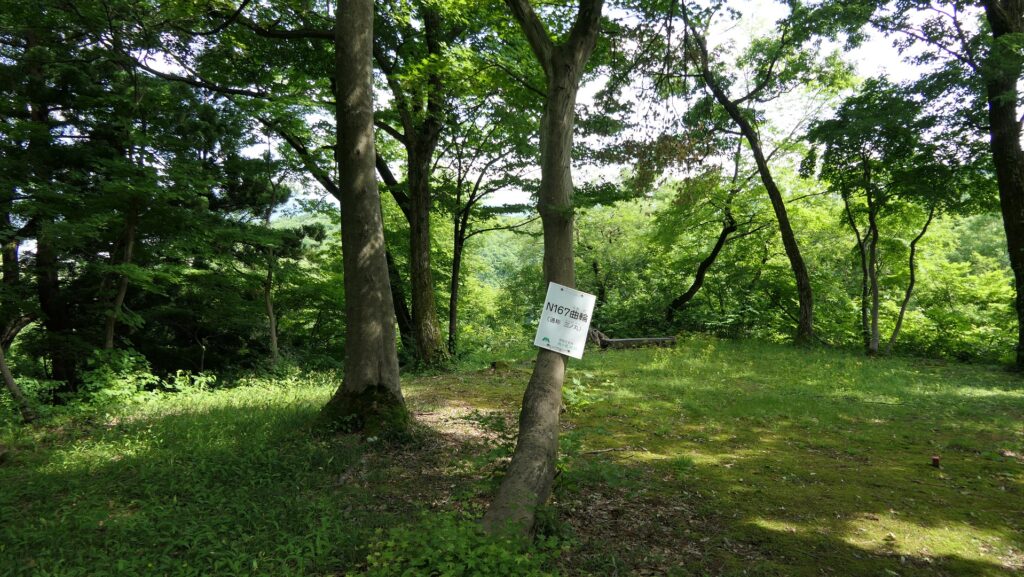
Then, you will be in the Eastern First Enclosure which seems to have been a lookout.
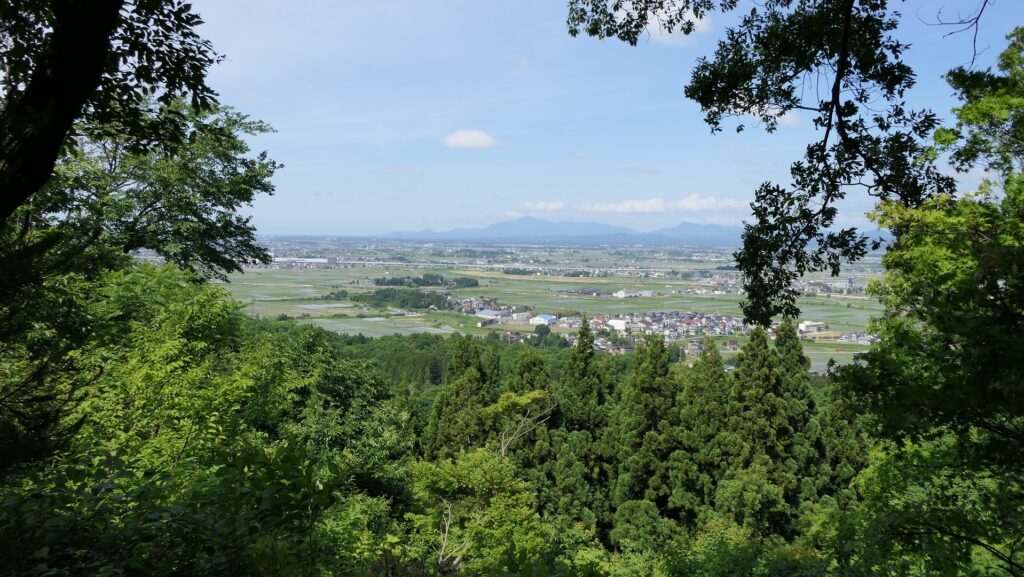
Getting close to the Eastern First Enclosure over another ditchThe Eastern First EnclosureA view from the Eastern First Enclosure
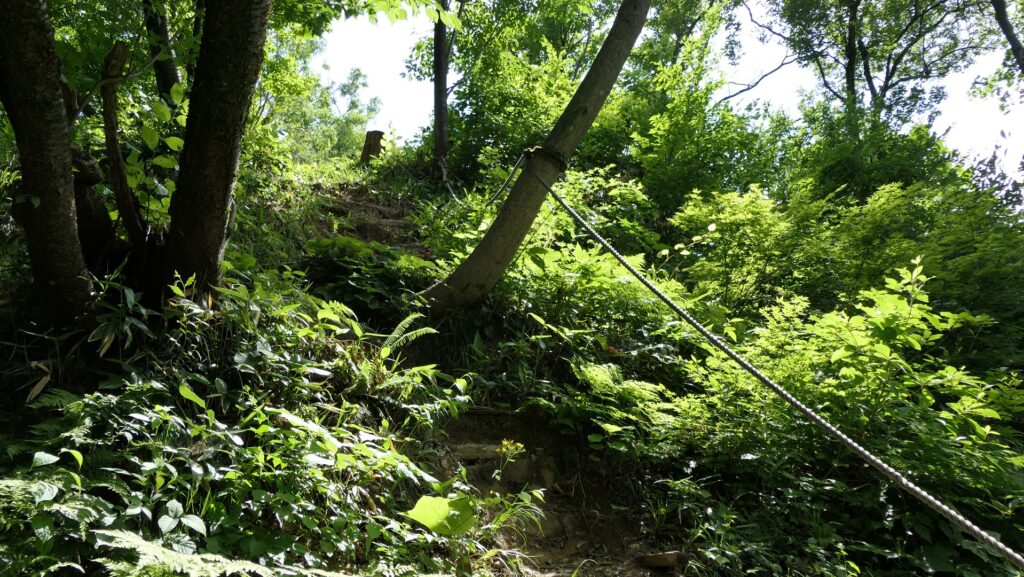
After passing Ditch 6, you need to climb a very steep slope with a rope to the next enclosure. This must have been an important point for defense in the past.
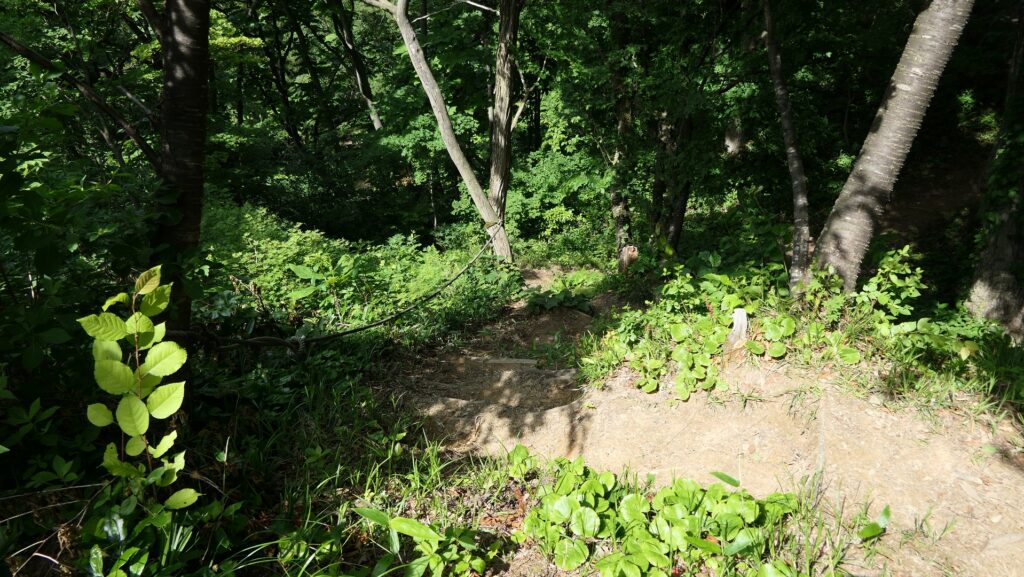
The very steep slope after Ditch 6You need to climb this slope with a ropeLooking down the steep slope from above
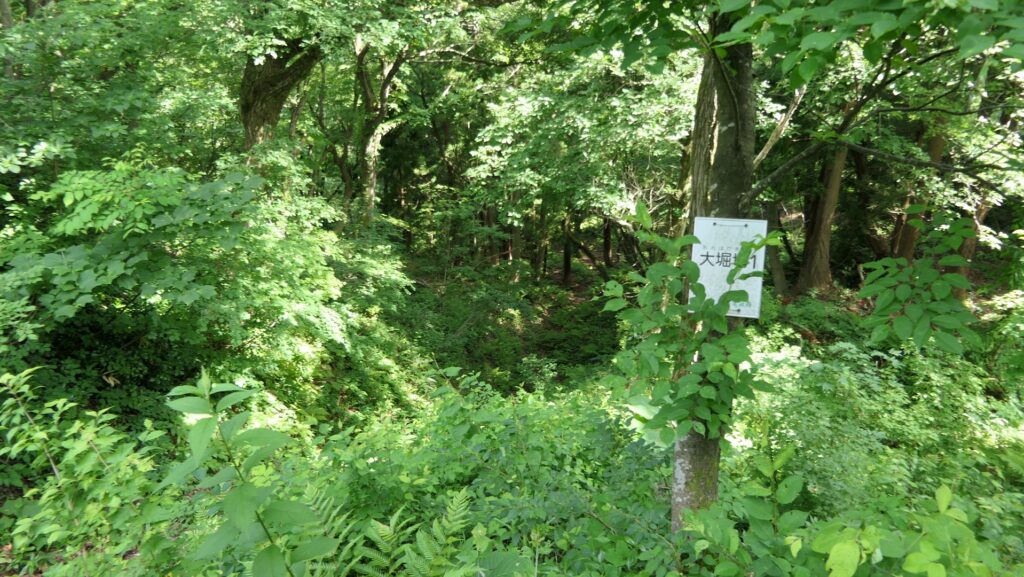
You will soon reach Large Ditch 1, which is also the meeting point of the Eastern and the Southern Routes.
Large Ditch 1The meeting point of the Eastern and the Southern Routes
Second and Third Enclosures on Southern Route
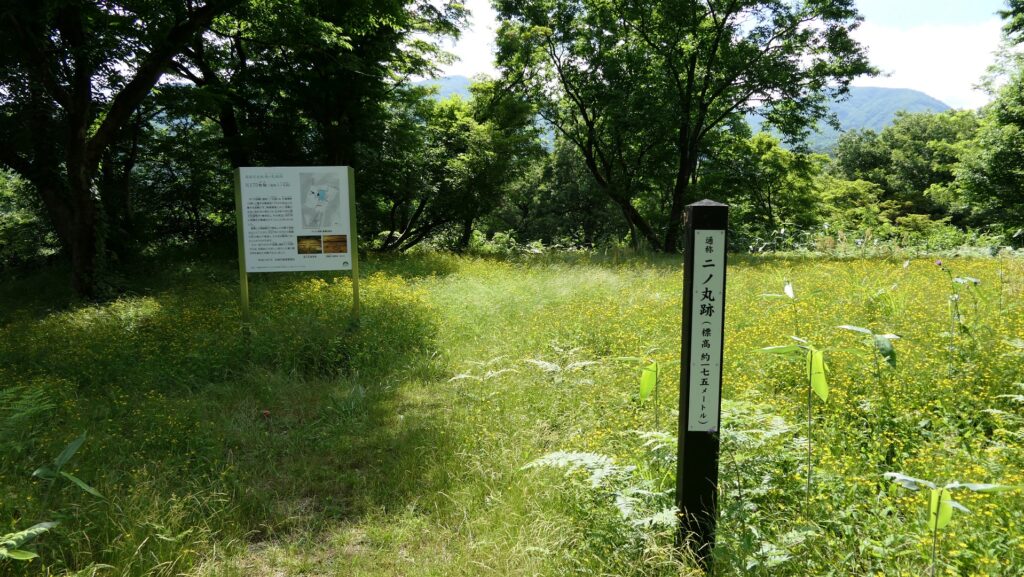
In fact, the Southern Route was the original main route of the castle. The route zigzags through a valley and on another ridge to make enemies attack slowly. The Third and Second Enclosures are the last parts of the route after the ruins of the gateway for defense, called Koguchi. The excavation team found traces of a fire from both enclosures, probably because of the Otate Rebellion. In particular, a burned rice ball was found in the Third Enclosure, which may have been the portable ration for a soldier.
The Southern RouteThe gateway ruinsThe Third EnclosureThe Second Enclosure
The final place of the Otate Rebellion and Kagetora Uesugi
Location and History
Branch of Kasugayama Castle
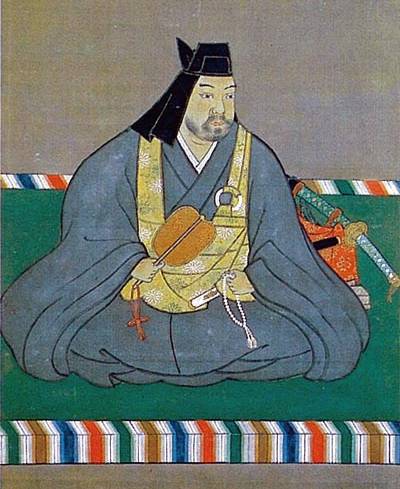
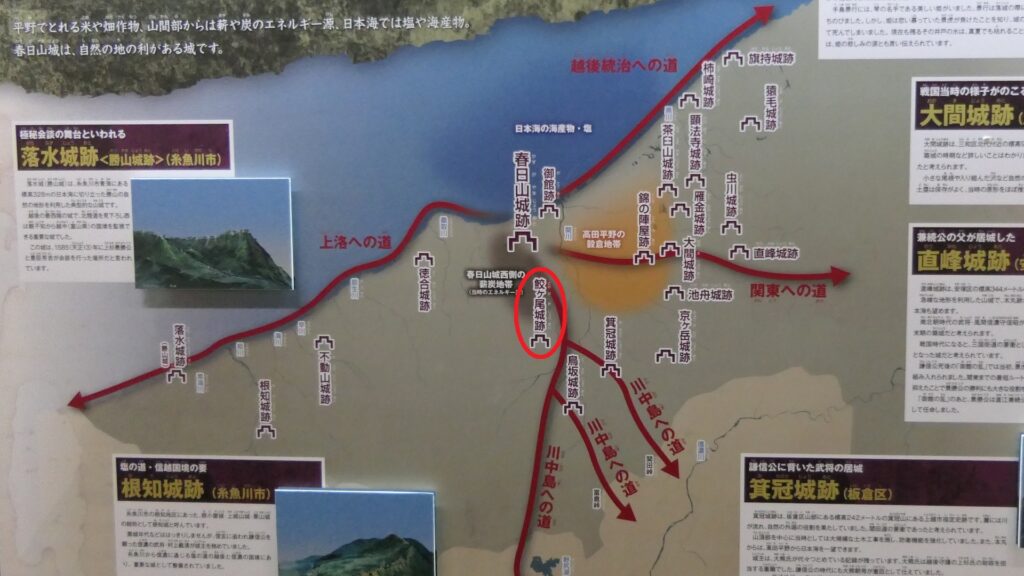
Samegao Castle was located on a mountain in the western part of Echigo Province which is now Nigata Prefecture. It is uncertain when the castle was first built, but in the late 16th Century, it was one of the satellite castles of Kasugayama Castle, the home base of Kenshin Uesugi. Kenshin was one of the greatest warlords at that time in Japan, who built the network of castles to protect his home base. Samegao Castle is, in fact, rather well-known as the final battlefield of the Otate Rebellion and the place of Kagetora Uesugi’s death, who was defeated in the rebellion.
The location of the castle
The portrait of Kenshin Uesugi, owned by the Uesugi Shrine (licensed under Public Domain via Wikimedia Commons)The network of the branch castles around Kasugayama Castle exhibited by Joetsu City Buried Cultural Property Center, Samegao Castle is marked by the red circle
Kagetora is adopted from Hojo to Uesugi
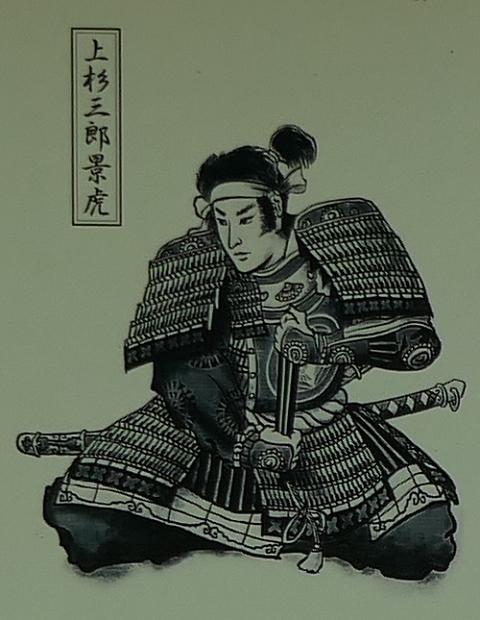
Kagetora Uesugi was an adopted child of Kenshin, but had been born as a family member of the Hojo Clan, which fought with Kenshin over the Kanto Region. The reason why Kagetora came to Uesugi was that Uesugi and the Hojo made peace temporarily in 1569 against the Takeda Clan. The Takeda clan broke the alliance of the three clans (Takeda, Imagawa and Hojo) by invading Imagawa territory. The Hojo clan was very angry about it. However, the new alliance between Uesugi and the Hojo lasted for only two years because the Hojo quit and reforged the alliance with the Takeda in 1571. Ordinarily, Kagetora could have been returned to the Hojo, but Kenshin let Kagetora stay as a part of the Uesugi clan for some reason. It is said that Kenshin personally liked Kagetora. Even though no portraits of Kagetora remain, records say he was attractive and looked beautiful.
The imaginary portrait of Kagetora Uesugi, from the signboard at the site
Two adopted sons are against each other after Kenshin’s death
With the cessation of the alliance with the Hojo, Kenshin adopted another son from his relatives, called Kagekatsu Uesugi. Kenshin seemed to hope that Kagetora would support Kagekatsu and they would cooperate with each other. Many historians also say Kenshin had not clearly decided his successor before his sudden death in March 1578. In fact, these two adopted sons lived in the same Kasugayama Castle as if Kagekatsu was the master for a while after their father’s death. However, the situation didn’t allow them to make peace. The trusted vassals of Kagekatsu, who were the core members of the government, supported him. Other local lords in Echigo Province and some warlords outside the province supported Kagetora because he had come from the outside. Kagetora’s parents’ home, the Hojo and its ally, the Takeda especially wanted him to be the successor. That made the two successor candidates battle each other starting in May 1578, which was called the Otate Rebellion.
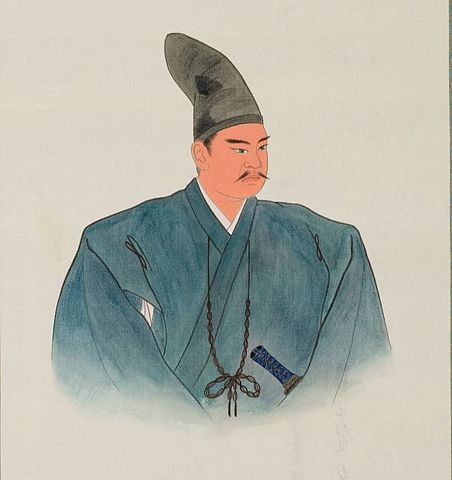
The portrait of Kagekatsu Uesugi, owned by Uesugi Shrine (licensed under Public Domain via Wikimedia Commons)
Otate or the Palace, was originally the residence for Norimasa Uesugi, who was a former shogunate deputy for the Kanto Region and Kenshin’s foster father. Kagetora escaped from Kasugayama Castle to the residence, about 5km from the castle. It became his home base during the battle for nearly one year. At the beginning of the battle, Kagetora was superior in terms of support to Kagekatsu until the lord of the Takeda, Katsuyori Takeda came to Echigo Province with his troops to support Kagetora in June. However, Kagekatsu let Katsuyori return to his home by giving a lot of money and promising to cede some territories. After that, the situation reversed as Kagekatsu had many native loyal retainers while Kagetora had few because of his career. Kagekatsu finally made a full-scale attack on the Otate Residence before it fell in March 1579. Kagetora escaped and tried to get to Odawara, his parental familial home base, Odawara Castle. He stopped by a castle of his supporter, Munechika Horie, which would be the place of his death. This place was called Samegao Castle.
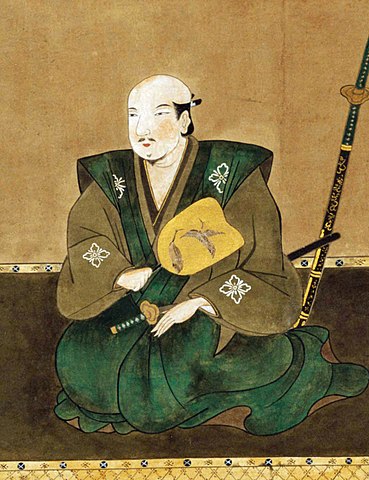
The Portrait of Katsuyori Takeda, owned by Koyasan Jimyoin (licensed under Public Domain via Wikimedia Commons)The imaginary scene of the Otate Residence’s fall, exhibited by the Hida Historical Village Information Center
Kagetora dies in Samegao Castle
Samegao Castle was a satellite castle, but had a large scale because it was on the way to Shinao Province (now Nagano Pref.), south of Echigo, where Kenshin and Shingen Takeda, who was Katsuyori’s father, often battled each other. It was a typical mountain castle at that time, using natural terrain to make it defensive. Many enclosures made of soil were built on the ridges. They were divided by artificial ditches and connected by narrow paths cut vertically on both sides. The routes through the valleys were zigzagged so that enemies could not attack the castle easily.
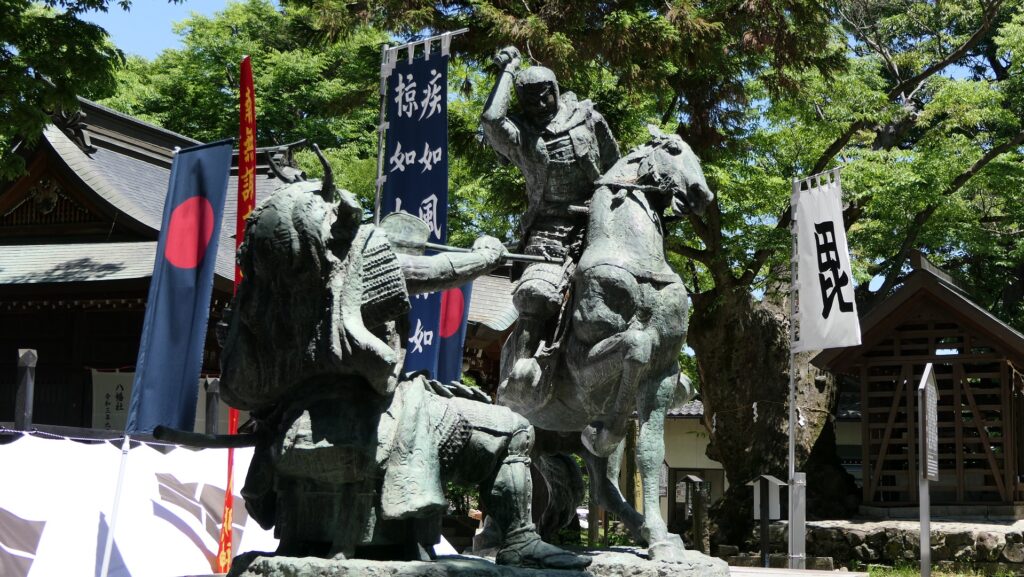
The statues of Shingen Takeda (on the left) and Kenshin Uesugi (on the right) at the Kawanakajima Battlefield in Nagano PrefectureThe illustration of Samegao Castle Ruins, from the signboard at the site
Even staying in the strong castle, Kagetora was not able to survive without reinforcement from the outside. He was attacked by Kagekatsu’s pursuing troops right away. Some records say Munechika Horie, the lord of the castle also betrayed Kagetora. Kagetora finally committed Harakiri (ritual suicide) at the age of 26 after the castle buildings were burned by the troops.