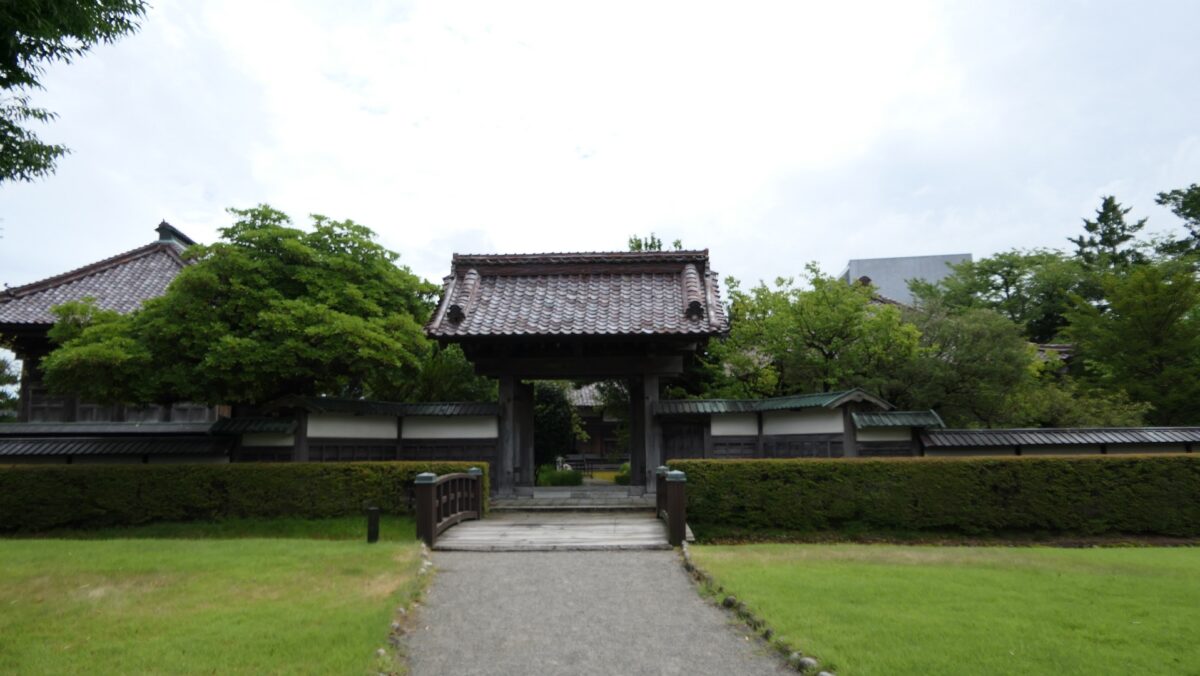
You should also check out the partially remaining Chidokan domain school buildings in the third enclosure. They are the only remaining domain school buildings in the Tohoku Region, including two gates, the Confucian temple, a lecture hall and Oiri-no-ma Rooms which were used as the waiting rooms for the lord.
Features
Chidokan Domain School
You should also check out the partially remaining Chidokan domain school buildings in the third enclosure, on the opposite side of the Chidokan Museum. They are the only remaining domain school buildings in the Tohoku Region, including two gates, the Confucian temple, a lecture hall and Oiri-no-ma Rooms which were used as the waiting rooms for the lord.
The aerial photo around the castle
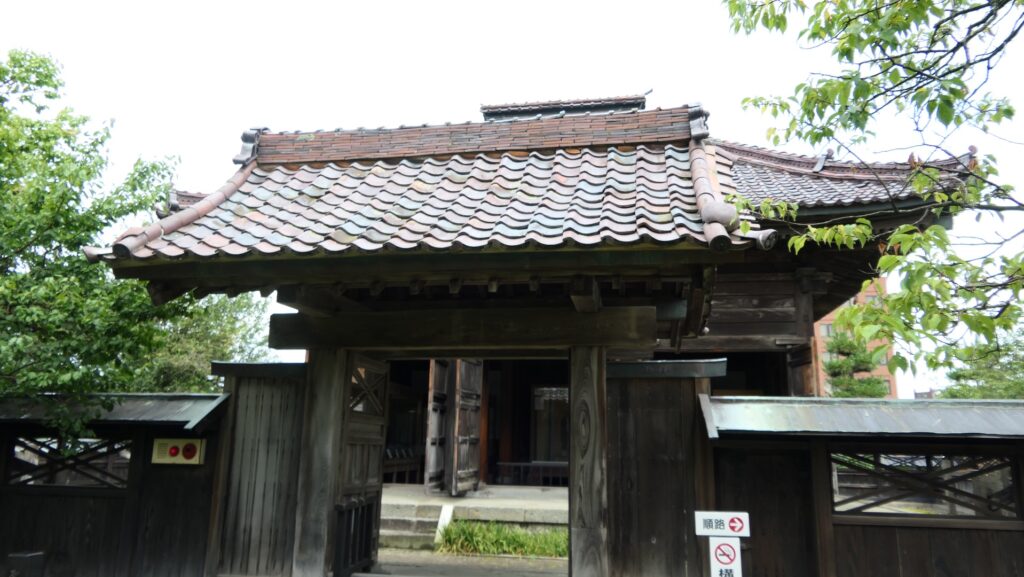
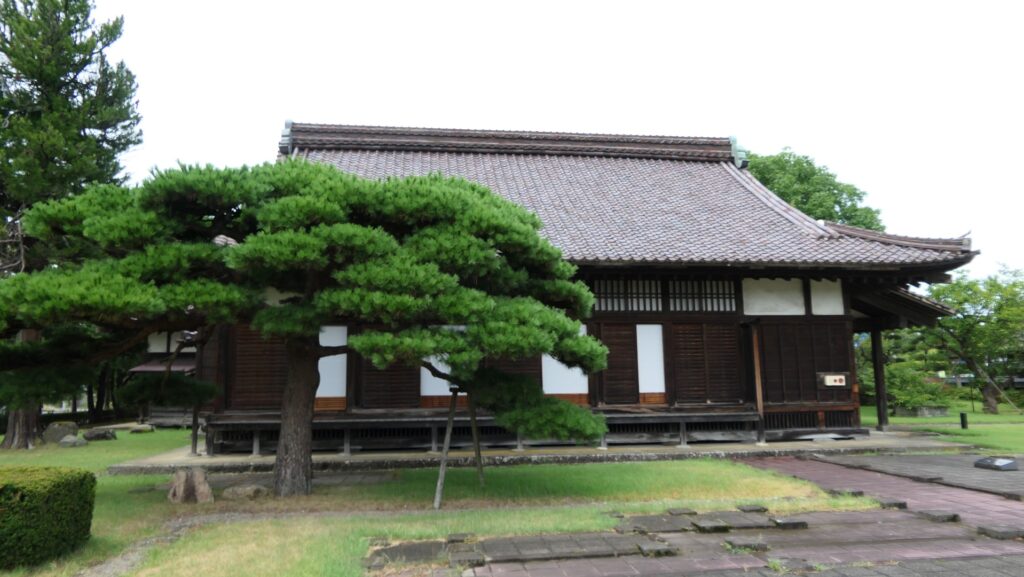
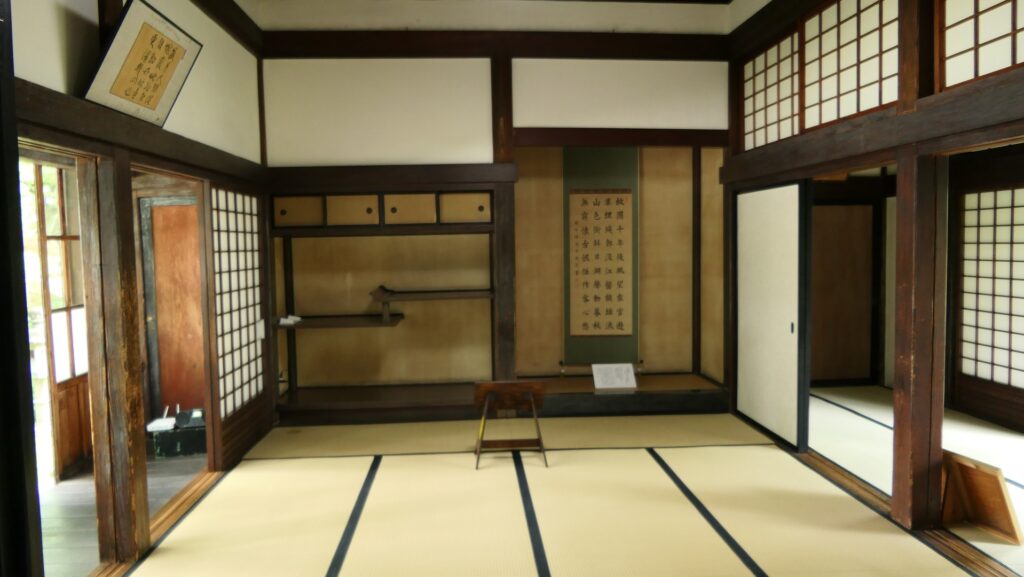
The front gate of the domain schoolThe Confucian templeThe lecture hallThe waiting rooms for the lord
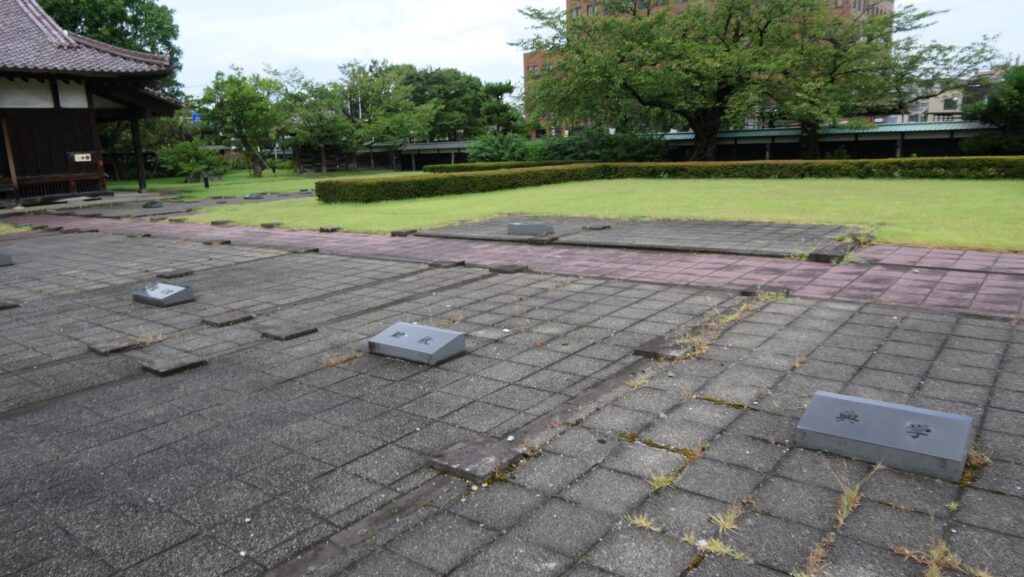
The interior of the buildings are also used to exhibit the history of the school and the domain. The other missing buildings’ bases can be seen outside. The surrender ceremony of the Shonai Domain to the New Government Army was held at this site during the Meiji Restoration. In addition, the site of the domain school has been designated as a National Historic Site since 1951.
The exhibitions in the lecture hallThe living room for the loadThe other missing buildings’ bases
Later History
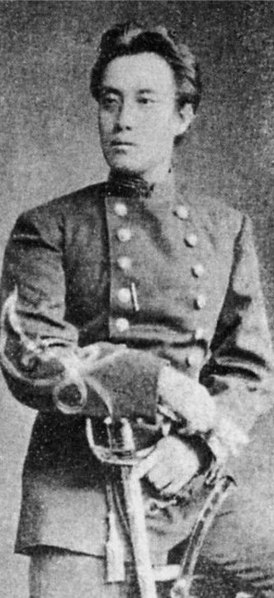
Despite the defeat of the domain, it was allowed to maintain its territory while its ally, the Aizu Domain,was transferred to a much smaller and poorer land. It’s believed this was possible because of the tolerance of the government’s leader, Takamori Saigo. On the other hand, the domain had to pay large sums of money, which was mainly funded by the Honma Clan, to the government in return for it. However, since then, the people in Shonai have greatly respected Saigo and the head of the domain, including the former lord, Tadazumi Sakai, visited and communicated with him. When Saigo rebelled against the government in 1878, known as the Seinan War, two warriors of Shonai supported and died with him. Even after Saigo was defeated, Shonai people still loved his works and published his last instructions in 1890, called Nanshu-ou-ikun, (meaning “the last instructions of the old Nanshu” (Saigo’s pen name)).
The portrait of Takamori Saigo by Edoardo Chiossone (licensed under Public Domain via Wikimedia Commons)Tadazumi Sakai (licensed under Public Domain via Wikimedia Commons)
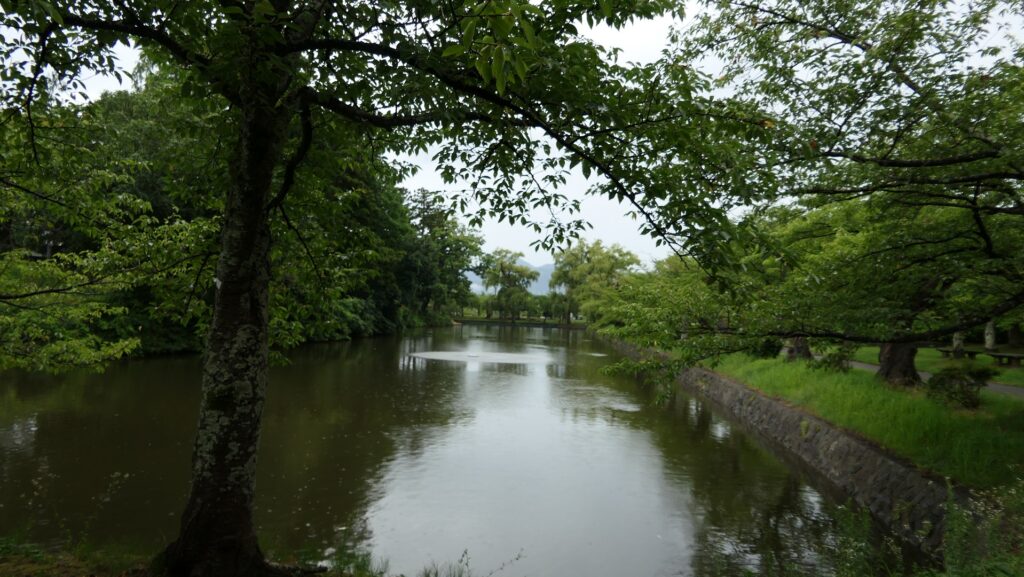
As for Tarugaoka Castle, it was abandoned in 1871 and turned into the Tsuruoka Park with all the castle buildings being removed in 1876. However, local people have been doing their best to maintain the castle ruins in a way of each period, as we can now see.
The Tsuruoka Park
My Impression
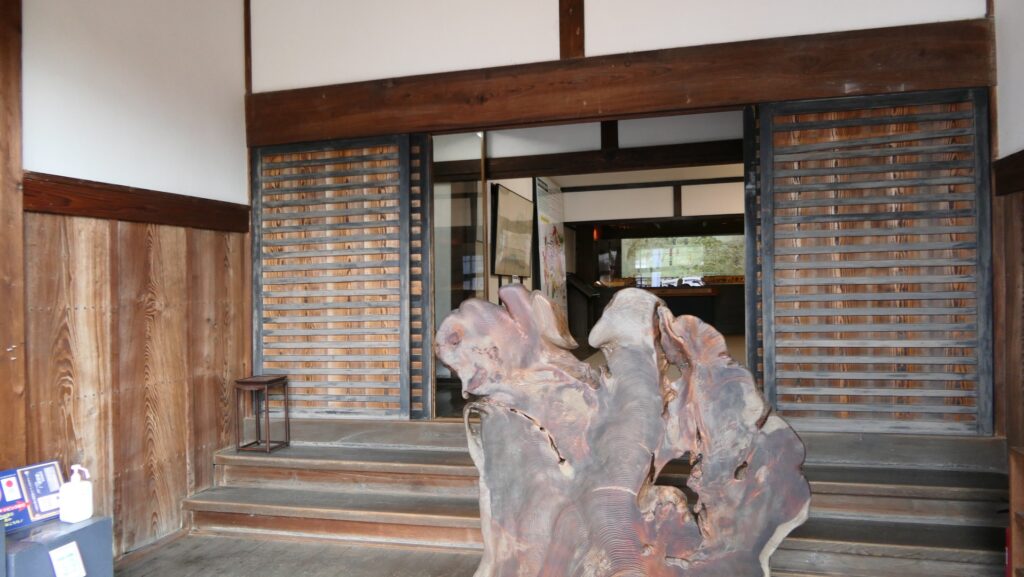
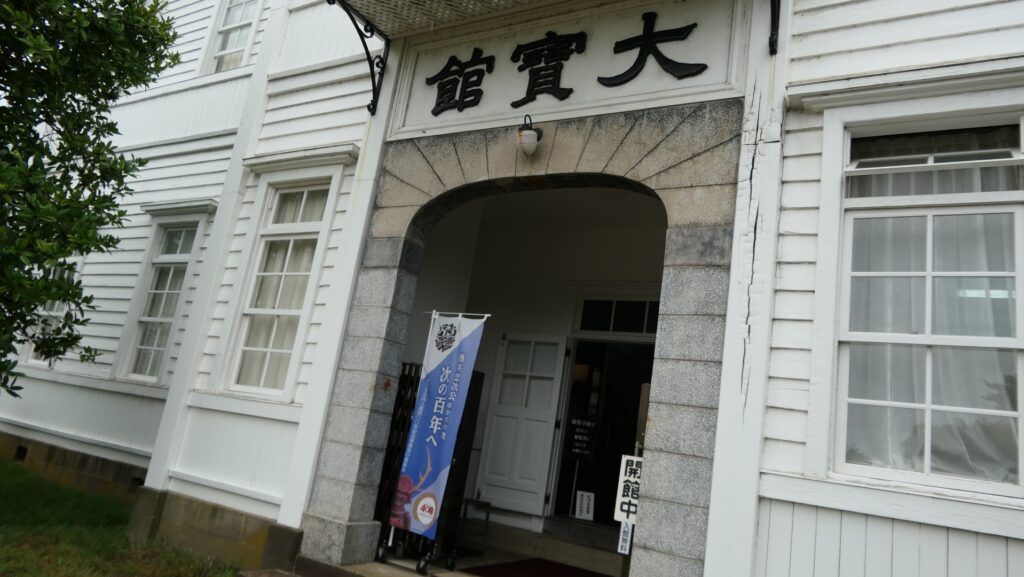
When I visited the ruins of Tsurugaoka Castle, I learned about its history in the three museums at the site, each which seems to focus on distinct perspectives. It felt like the Chidokan Museum focuses on the castle in the lord’s retreat, and the Taihokan Museum focuses on the famous historical local figures, and the Chidokan domain school focuses on the domain’s history. I was able to learn a lot about them in a short time and could feel the passion the locals have for passing on their culture and history to the next generations. I also want to visit Sakata City someday and its ruins of Kamegaoka Castle, which are the partner city and castle to Tsuruoka City and Tsurugaoka Castle.
The entrance of the retreat in the Chidokan MuseumThe entrance of the Taihokan MuseumThe entrance of the lecture hall in the Chidokan domain school
How to get There
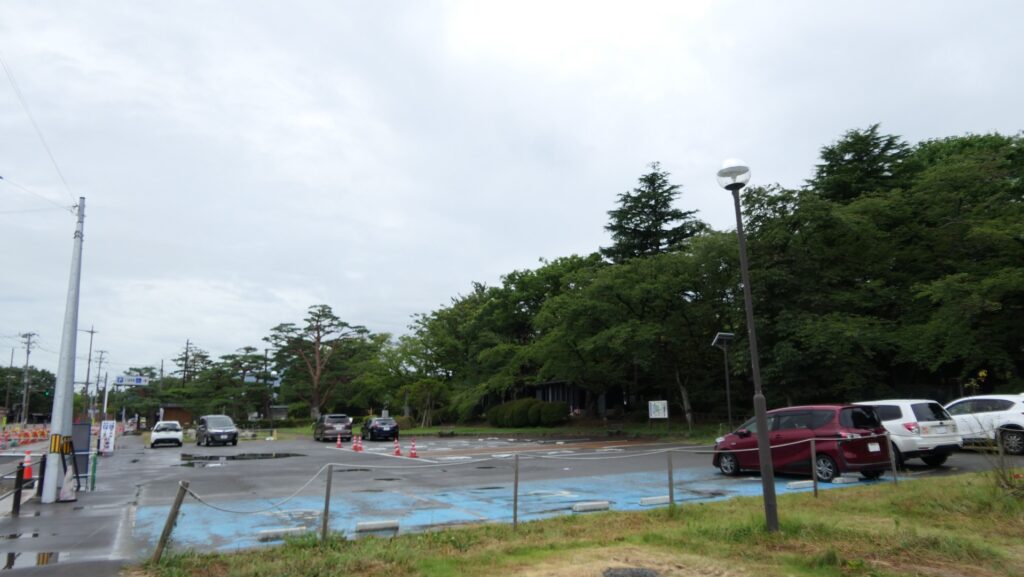
If you want to visit there by car, it is about a 10 minutes drive away from Tsuruoka IC on the Yamagata Expressway. There are several parking lots around the park. By public transportation, take the Shonai Kotsu Bus bound for Yunohama-onsen from Tsuruoka Satation and get off at the Shiyakusho-mae bus stop. From Tokyo to the station: Take the Joetsu Shinkansen super express and transfer to the Inaho limited express at Nigata Station.