In the morning of the 9th August of 1945, a US B-29 bomber, called Bockscar, was carrying the second atomic bomb to Japan. In fact, its first target was the arms factory of Kokura (in the third enclosure of Kokura Castle).
Features
Other Enclosures of Castle
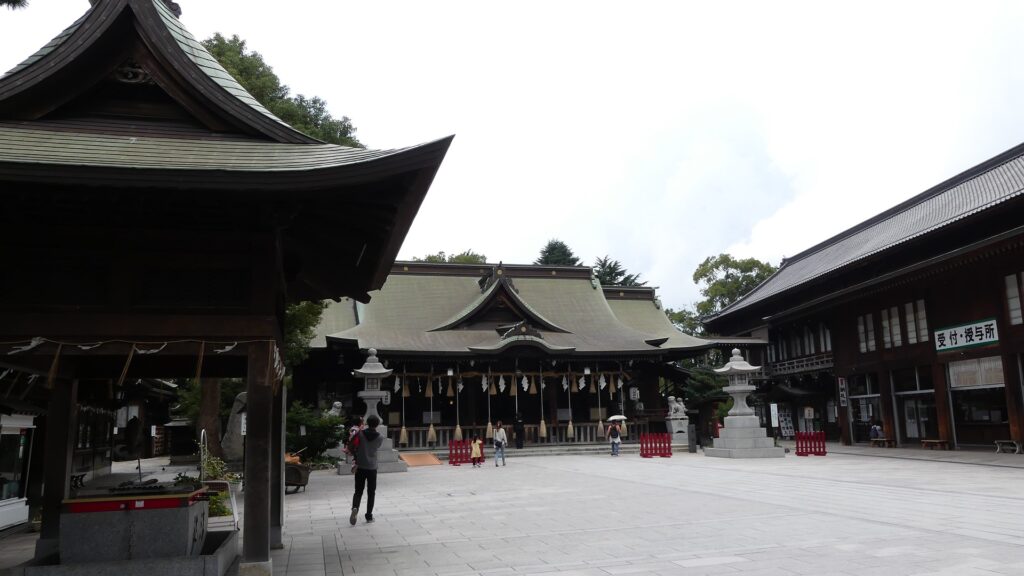
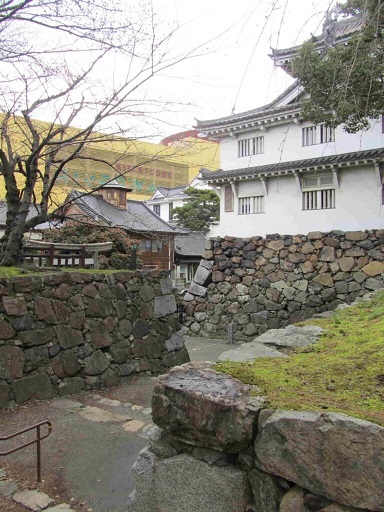
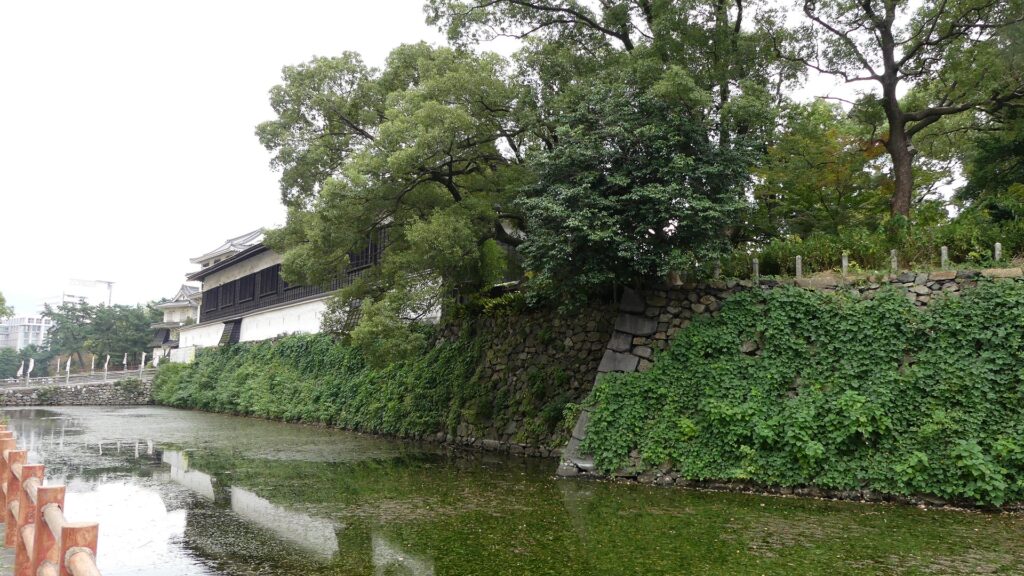
The park still has other enclosures. Kita-no-maru (meaning the northern enclosure) was used as the lord’s family residence or retreat and is used as Kokura-Gion-Yasaka Shrine. It is connected to the main enclosure via Tamon-guchi-mon Gate where you can see the oldest stone walls in the castle around. The walls had been built by Katsunari Mori before Tadaoki Hosokawa came. There are also well-maintained stone walls and water moats around the Kita-no-maru Enclosure, so this is a good walking spot.
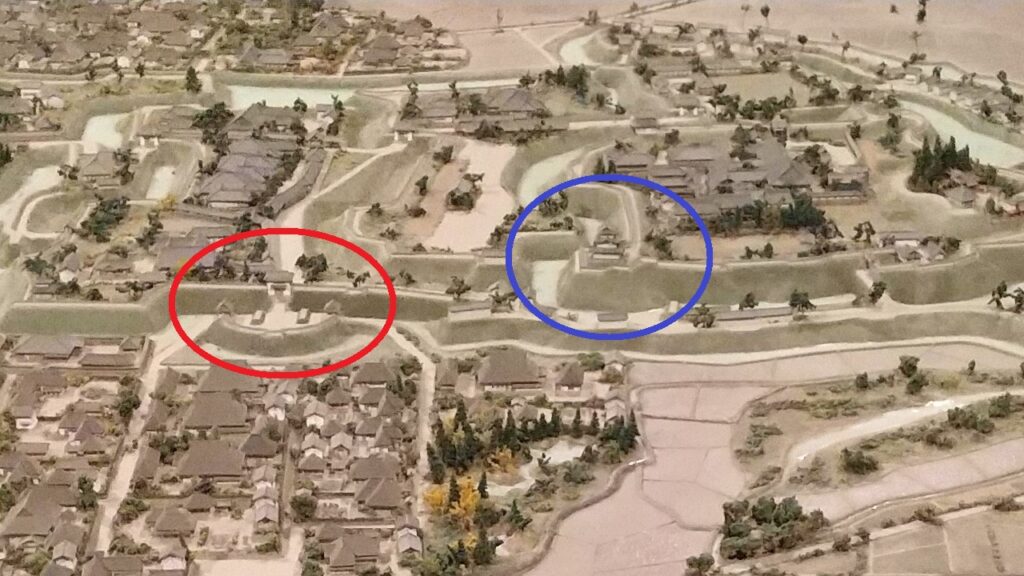
The aerial photo around the castle
The Kita-no-maru enclosure (the current Kokura-Gion-Yasaka Shrine)The Tamonguchi-mon Gate, quoted from Kokura Castle WebsiteThe stone walls and water moats surrounding the Kita-no-maru Enclosure
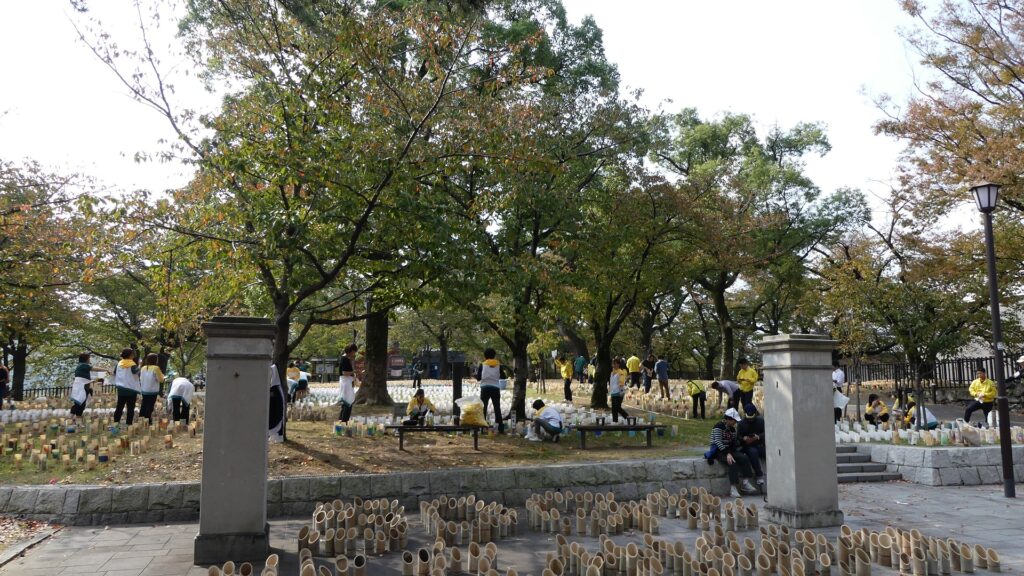
Matsu-no-maru (meaning the pine enclosure) is in the south of the main enclosure. It was used as Tadaoki’s father’s residence or warehouses when the castle was active; it is currently an event square. It was once used as the headquarters of the 12th Brigade like the main enclosure.
The Matsu-no-maru Enclosure
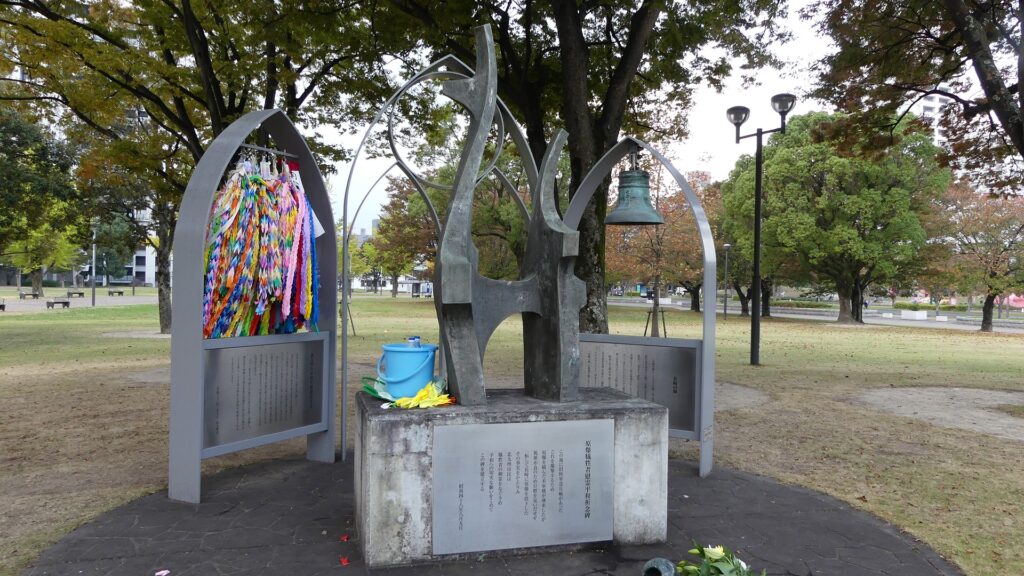
Third Enclosure including Monument for Atomic Bomb Victims
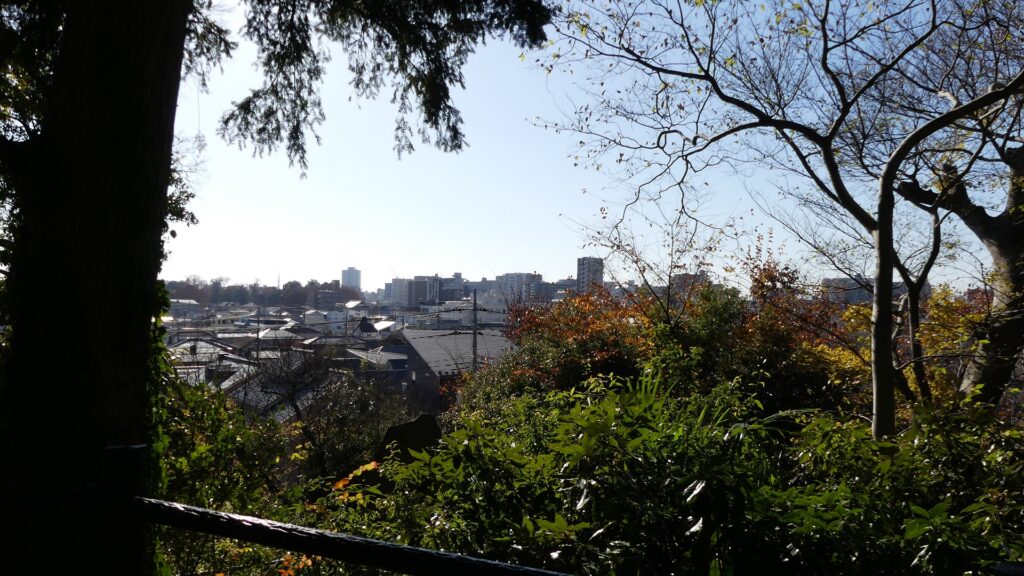
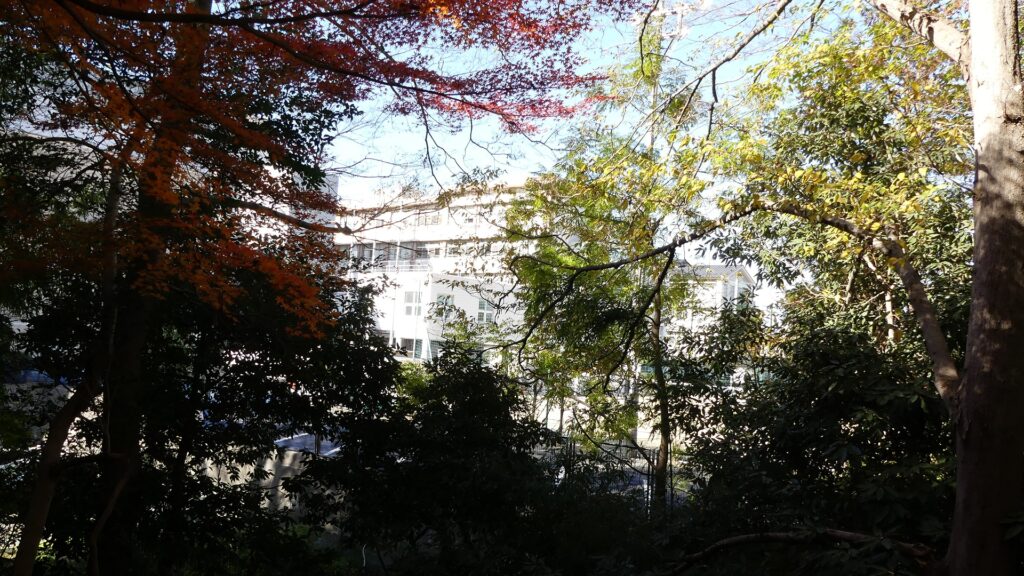
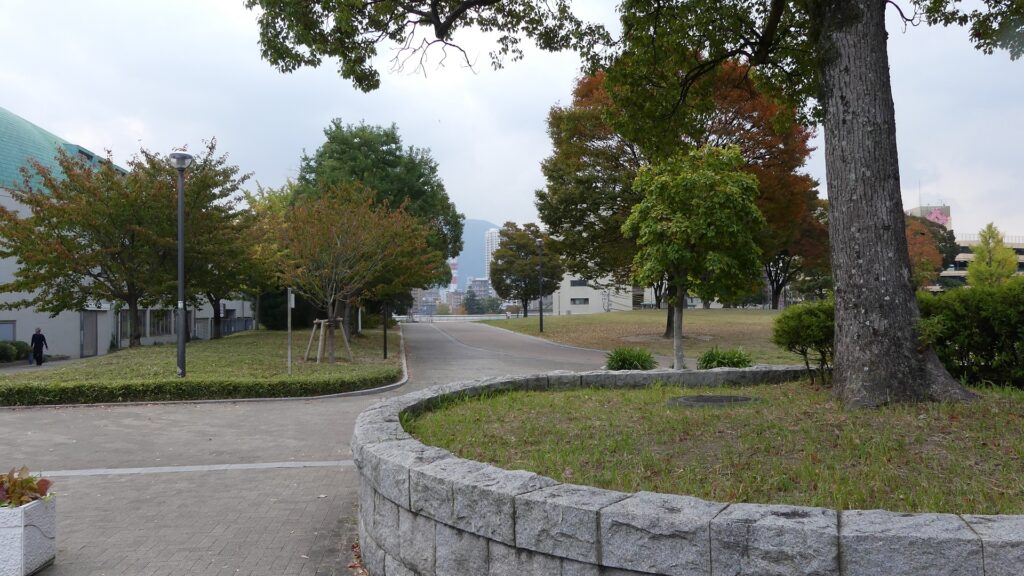
If you go further to the south, there is a modern park area which was the third enclosure used as the senior vassals’ residences. During World War II, there was a large arms factory, but now there is a monument for atomic bomb victims. The reason for it will be written in the next section.
The third enclosure
Later History
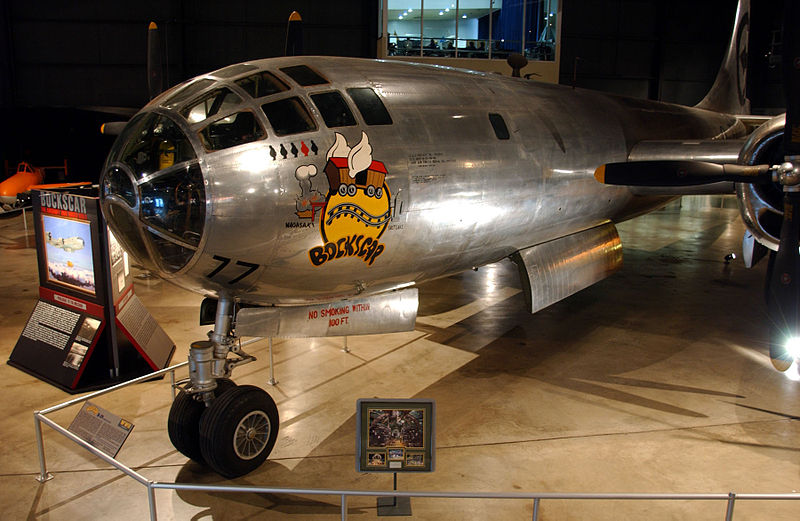
After the Meiji Restoration, the main portion of Kokura Castle was turned into military facilities and the other area became the city area of Kokura. It changed from a Samurai city to a military city. In the morning of the 9th August of 1945, a US B-29 bomber, called Bockscar, was carrying the second atomic bomb to Japan. In fact, its first target was the arms factory of Kokura. However, it could not focus on the target because of thick cloud and finally dropped the bomb into Nagasaki. As a result, people in Kokura were lucky, but they should not be pleased about it. That’s why the former factory site has the monument. After the the war, the occupation army used the castle site until 1957. The current Main Tower was rebuilt in 1959.
Bockscar, exhibited by National Museum of the United States Air Force (licensed under Public Domain via Wikimedia Commons)The monument for the atomic bomb victims in the third enclosure
My Impression
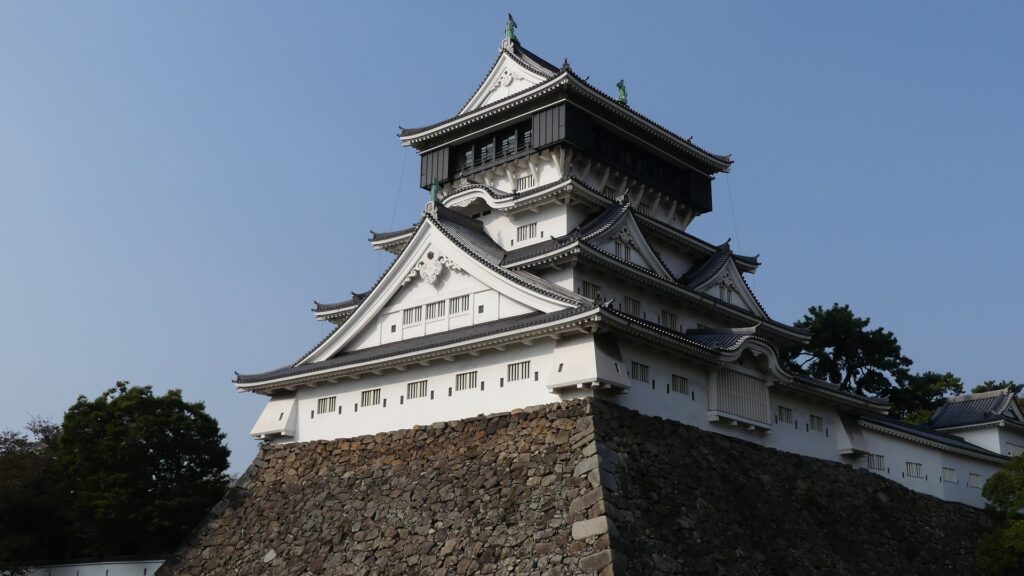
I think that if the current Main Tower of Kokura Castle had kept the original design of the Western style, it would be more popular than now. This is because the design is very unique which would attract more current visitors. However, the people who wanted to rebuild the tower chose another direction. That was probably because they wanted a tower which was competitive with other castles. I don’t think the tower ever needs to be replaced with a new one with an original design because it would cost a lot and the current tower is also a historical item.
The current Main Tower of Kokura Castle
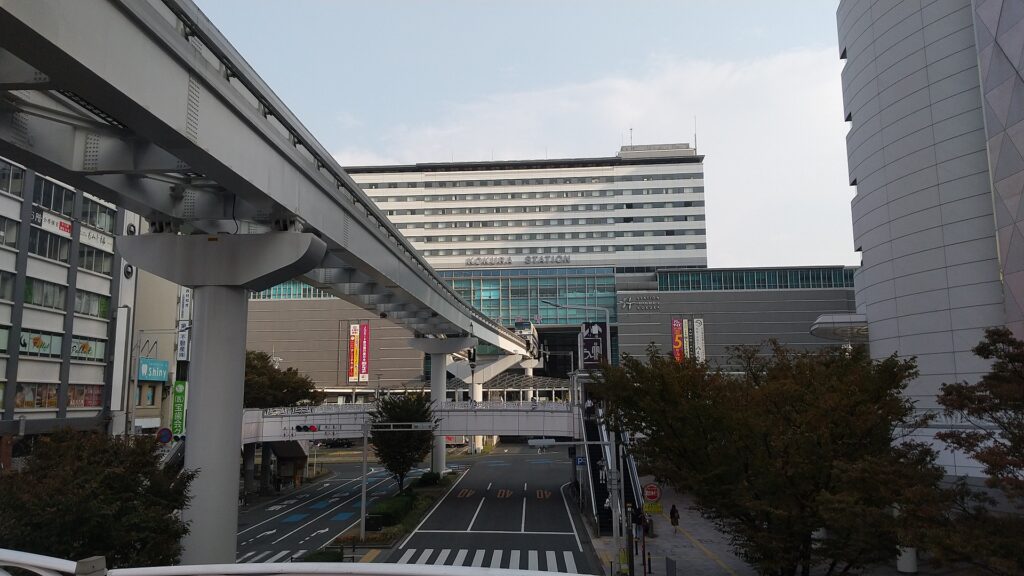
How to get There
If you want to visit there by car, it is about a 5-minute drive away from Katsuyama Exit on the Kitakyushu Expressway. There is a parking lot in the park. By public transportation, it takes about 15 minutes on foot from JR Kokura Station. From Tokyo or Osaka to the station: take the Sanyo Shinkansen super express.