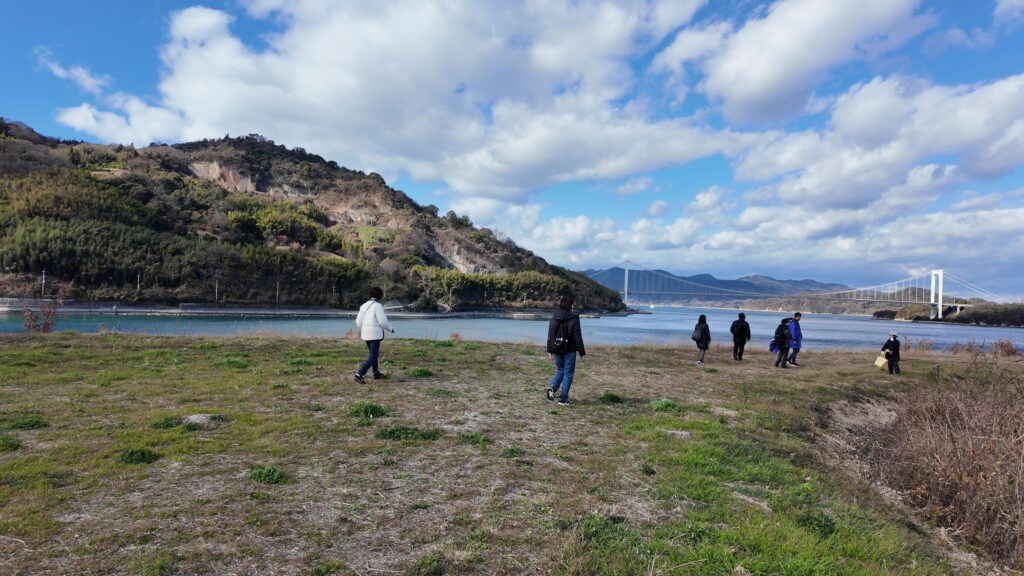
イントロダクション
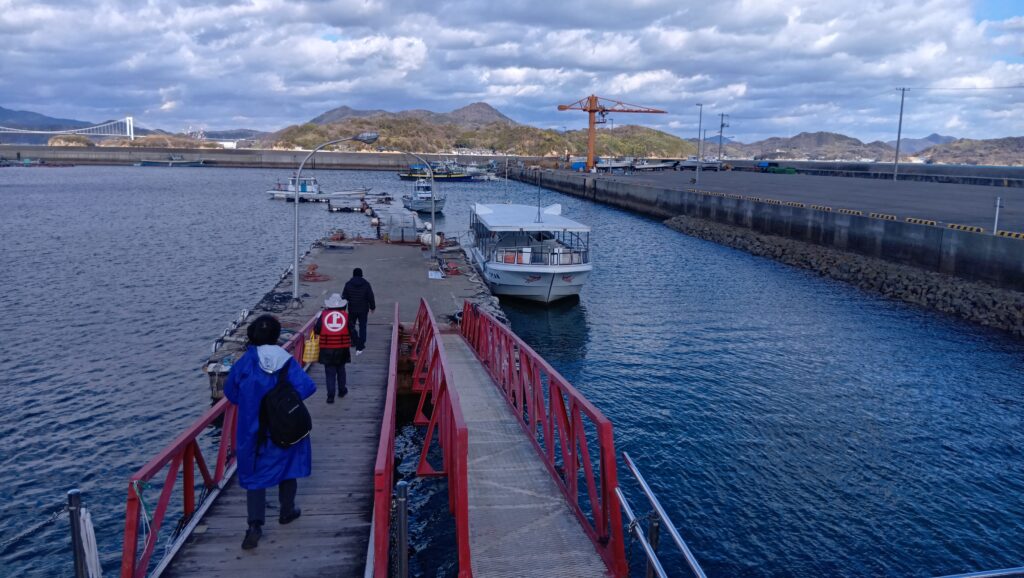
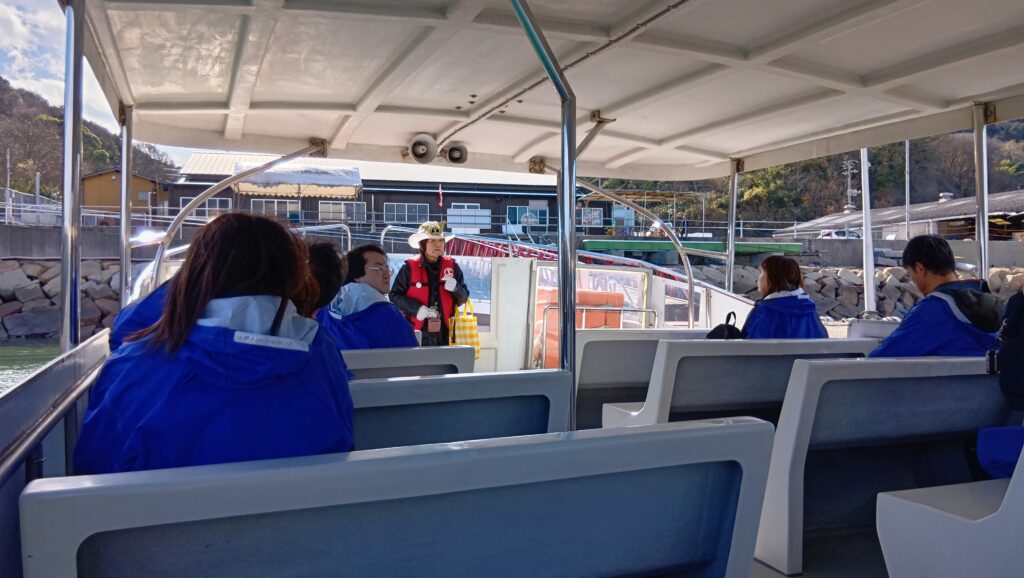
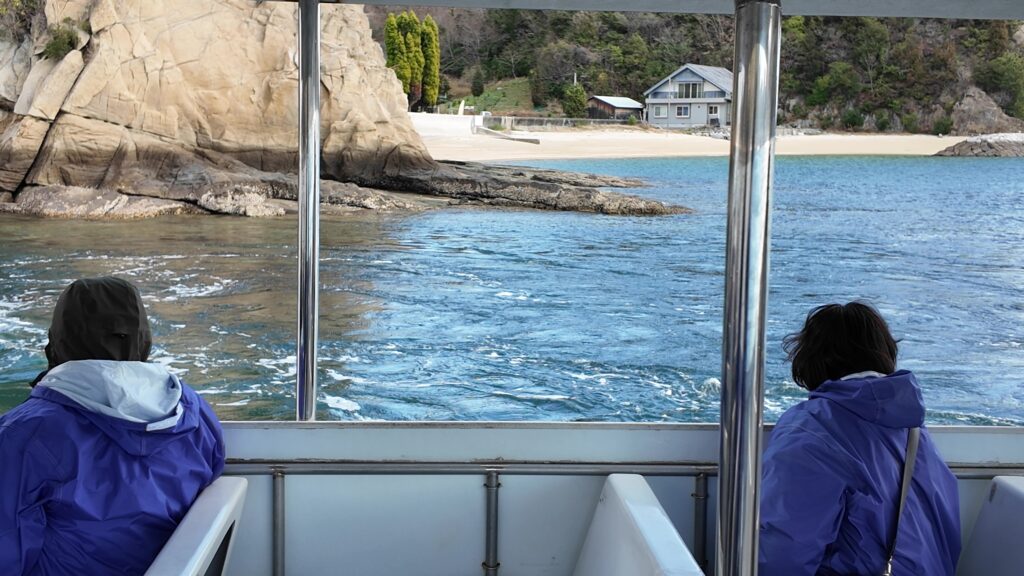
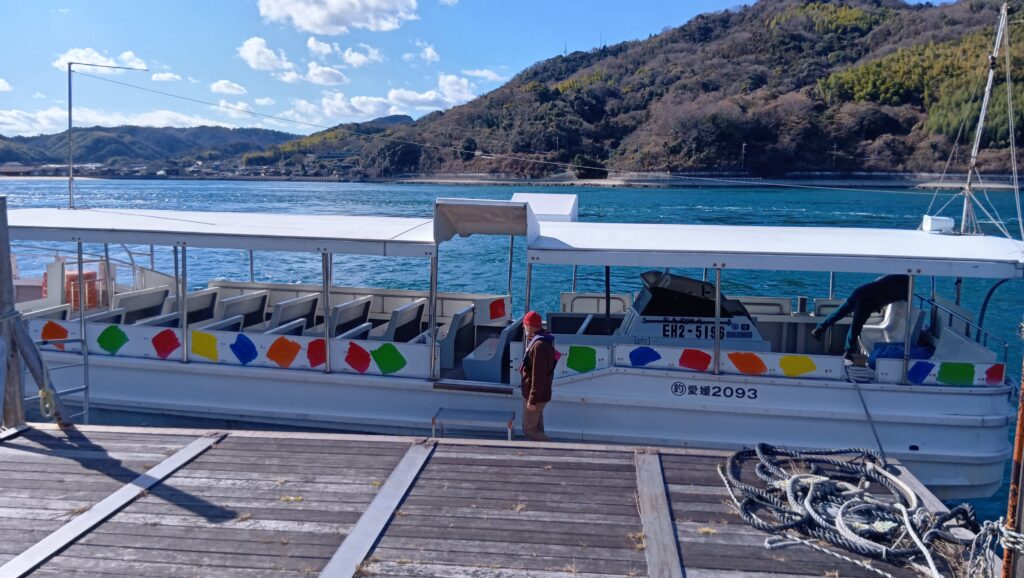
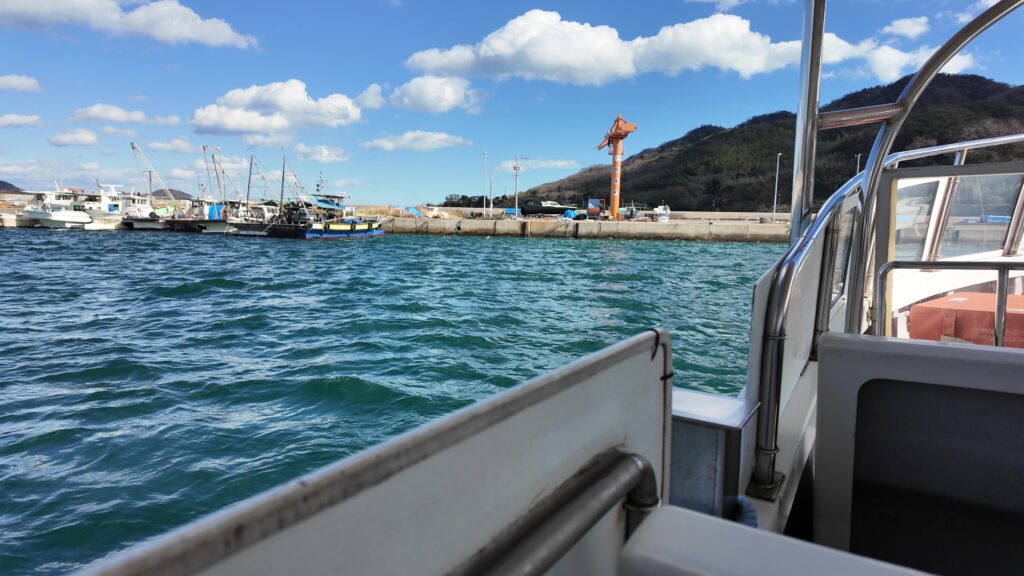
宮窪町漁協・能島水軍の前に来ています。ここでは、地元の魚を使った料理を味わえますし、なんといっても、ここから能島上陸ツアーが出発するのです。今回は、能島城現地レポートが中心になるのですが、その前後では、最大10ノットの海峡の潮流も体験できるのです。最後の方で、向かい側にある、村上海賊ミュージアムにも立ち寄ってみたいと思います。それでは、いよいよ上陸船に乗り込みます。席についたので出発です。
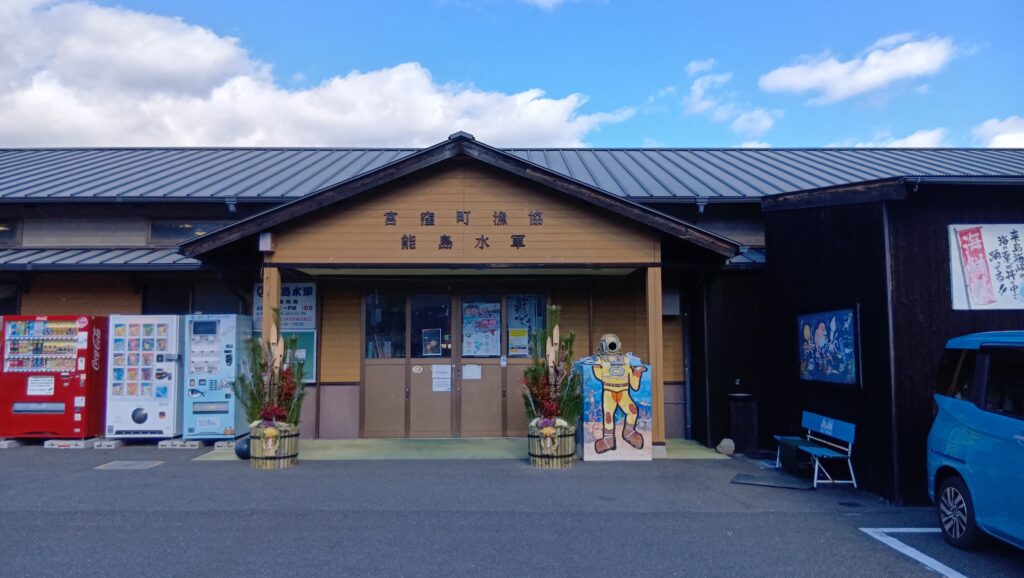

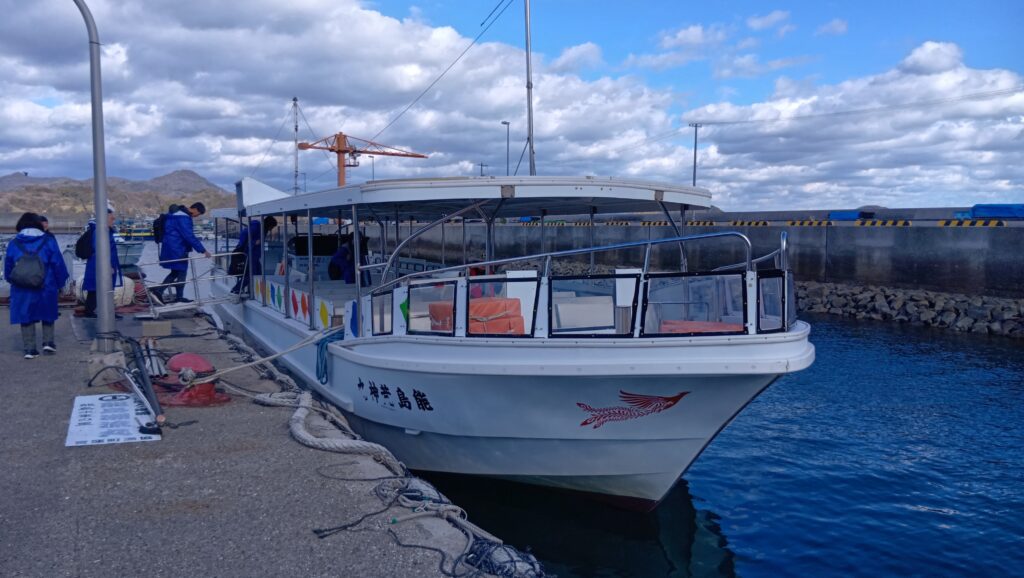
それでは、いよいよ上陸船に乗り込みます。席についたので、いよいよ出発です。
今回の内容を趣向を変えて、Youtube にも投稿しています。よろしかったらご覧ください。
特徴、見どころ
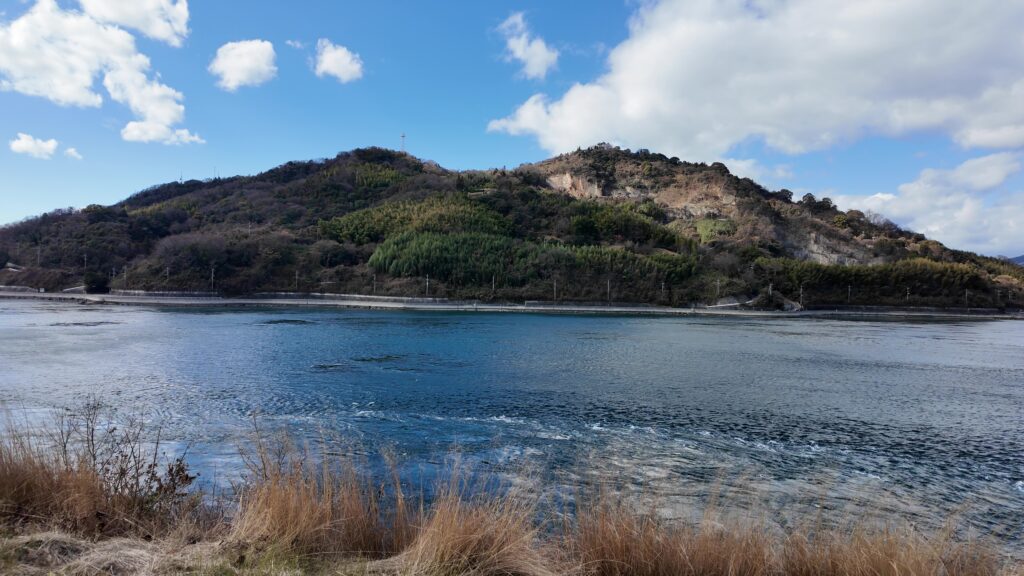
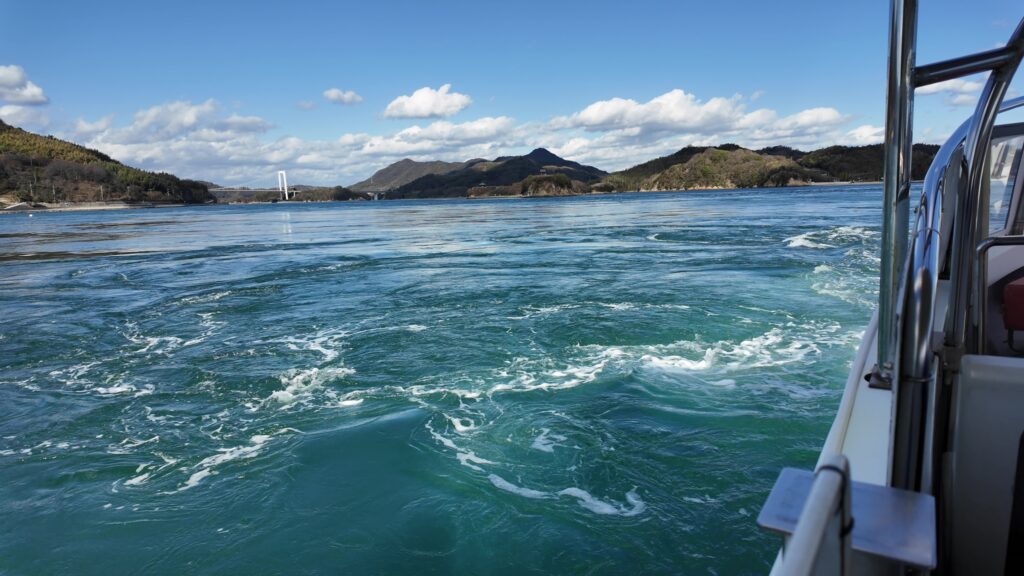
城の堀?すごい潮流
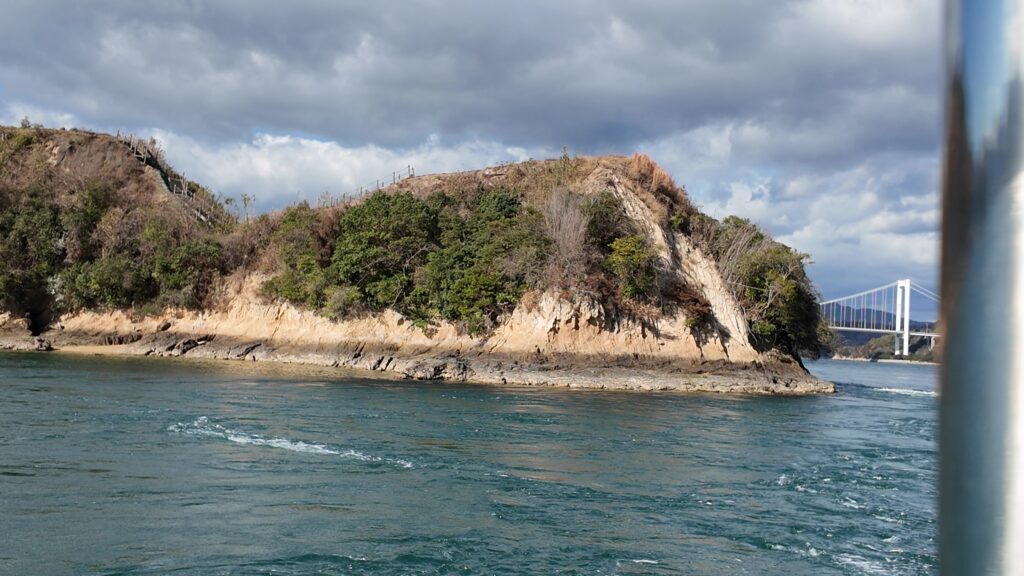
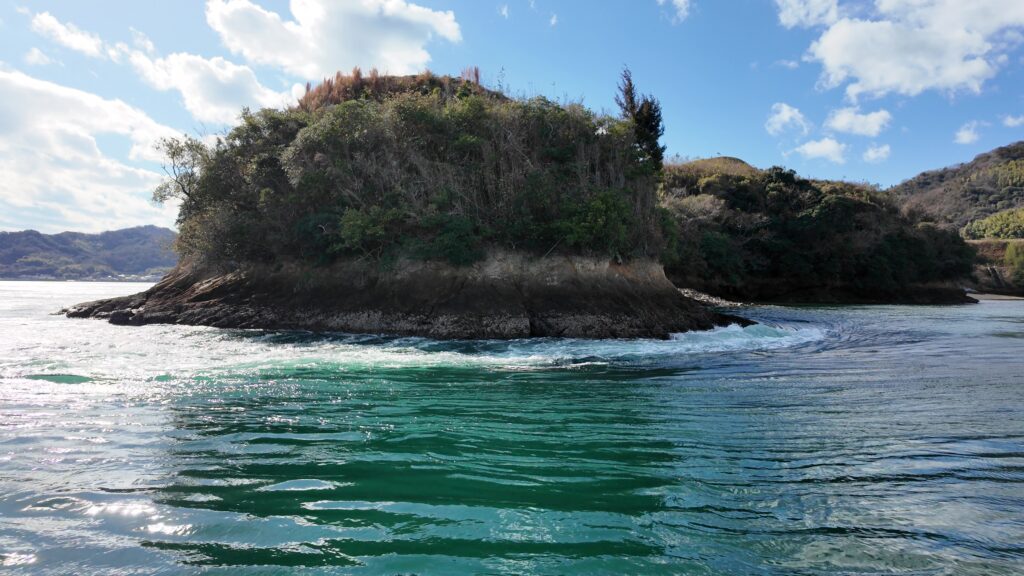
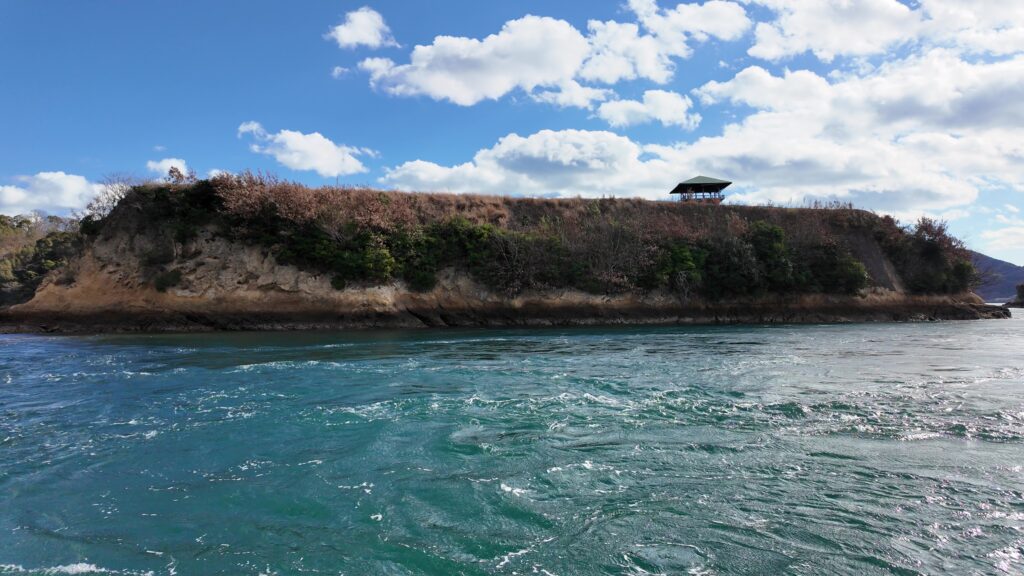
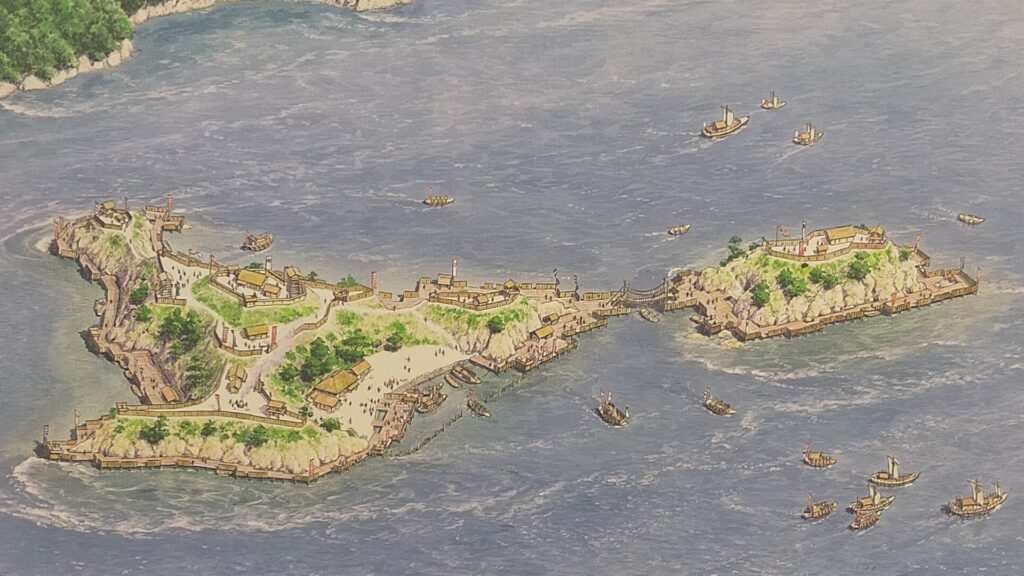
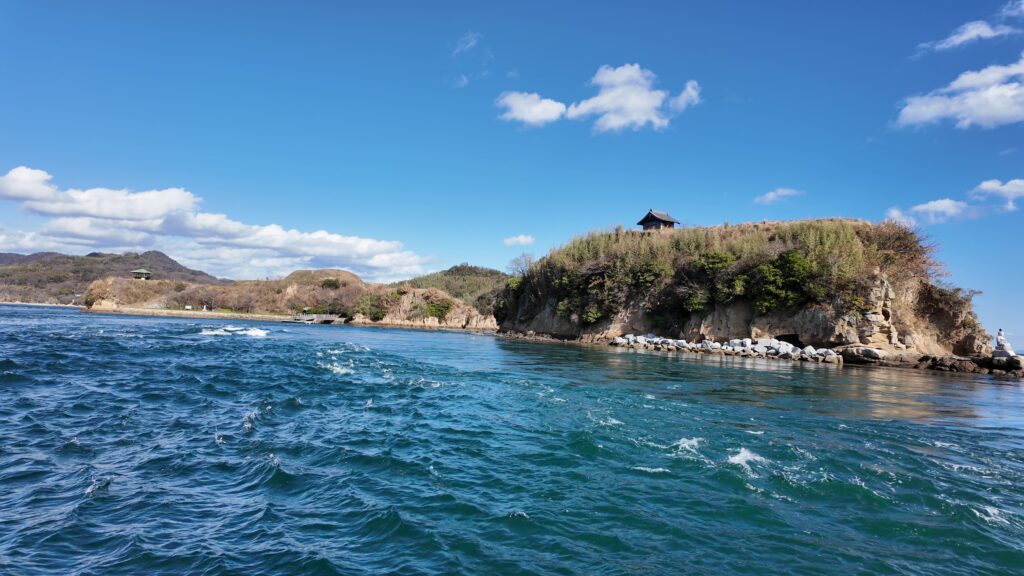
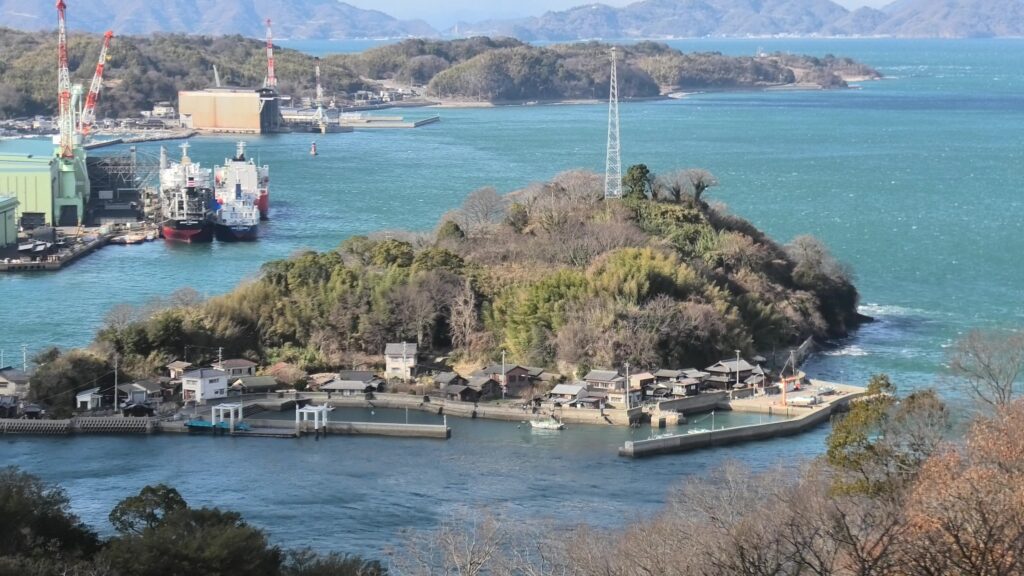
沖に出ると、見る見る島が迫ってきます。まるで軍艦島のようです。曲輪の形がはっきりわかります。
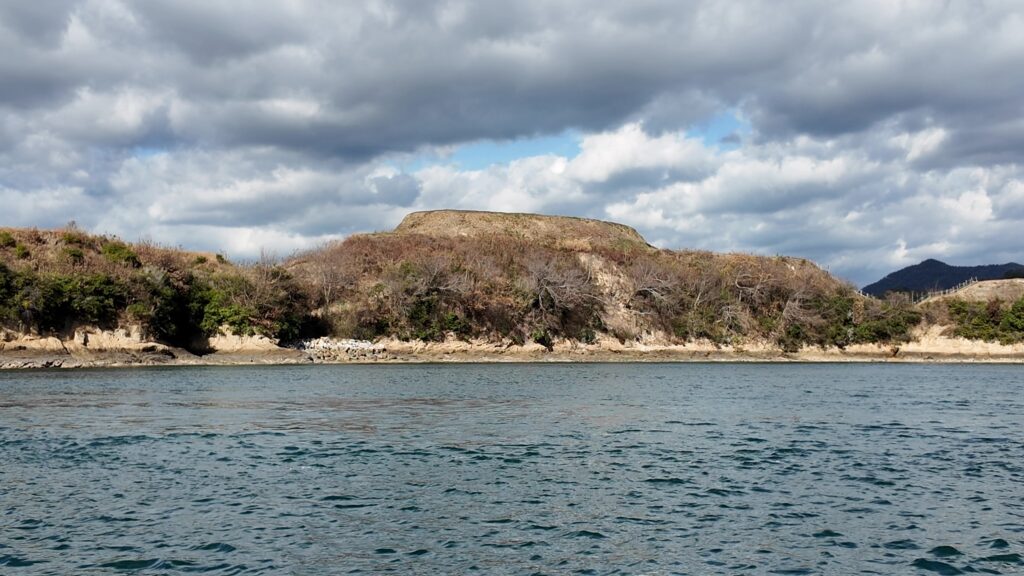
そのとなりにある島が「鵜島」です。島の間は、すごい潮の流れです。この島には、村上海賊の軍船の造船所や、メンテナンス場(焚で場)があったそうです。
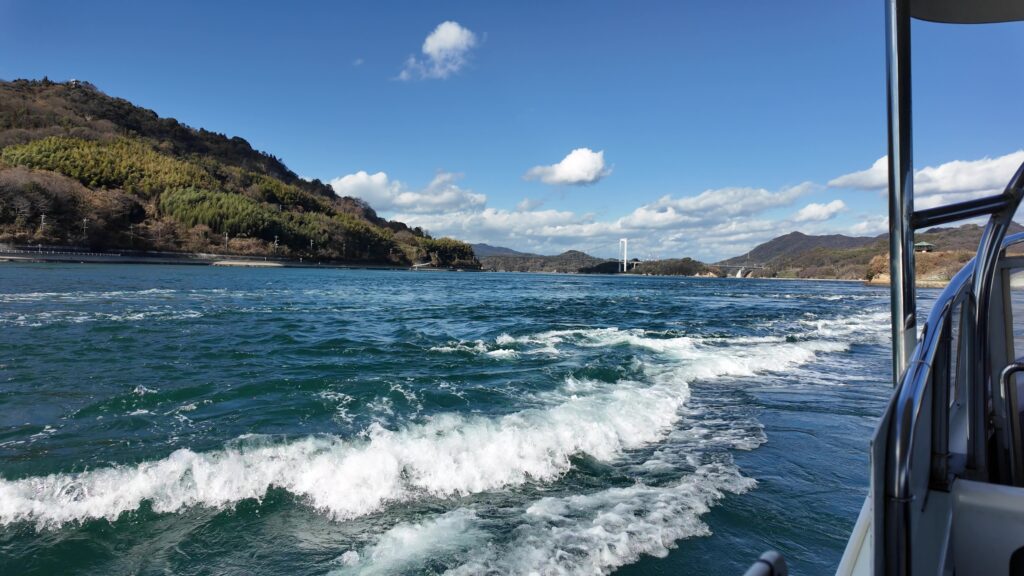
船は能島に急接近していきます。スリル満点です。
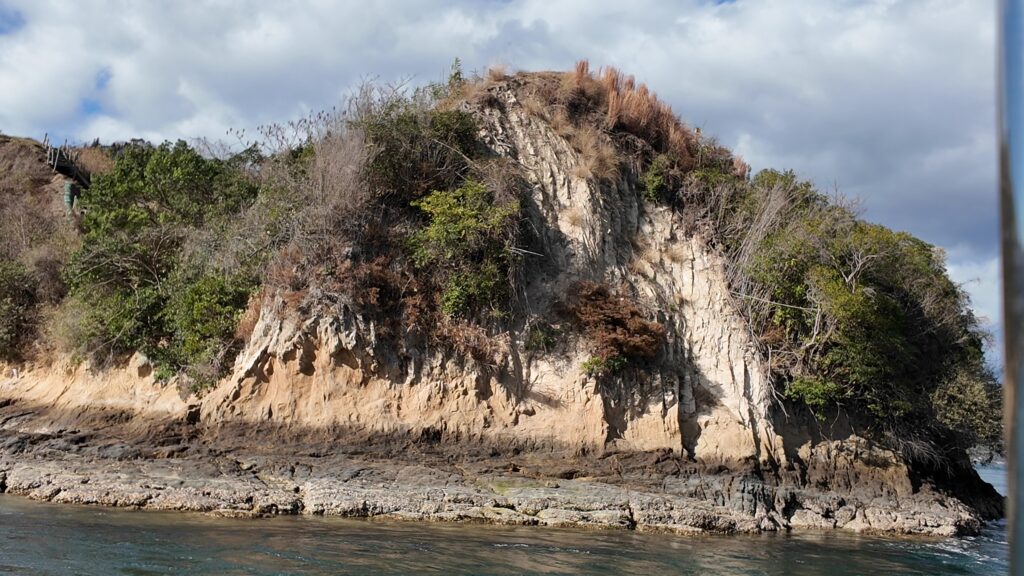
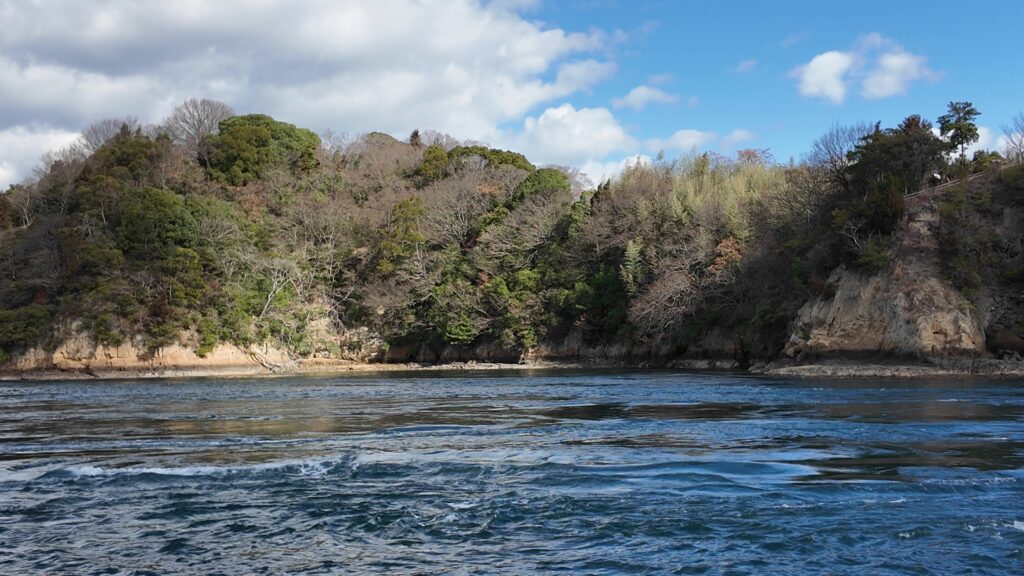
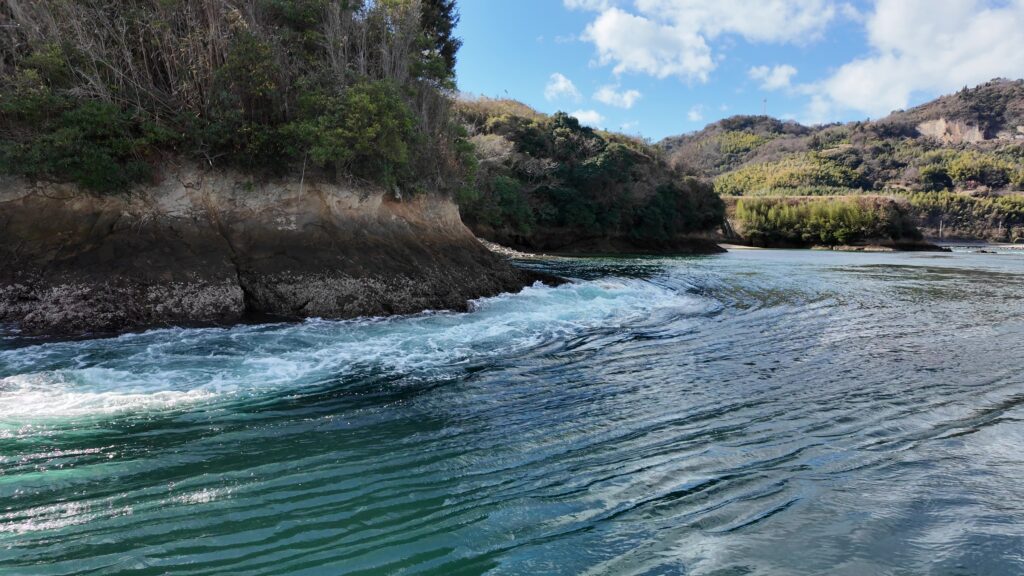
矢びつ出丸の周辺が、もっとも激しい潮流ポイントです。まるで、川の激流です。これが、堀と同じような役割で、お城を守っていたのでしょう。しかし、この船もこの中でよく留まっていられると思います。現代の村上海賊、といったところでしょうか。
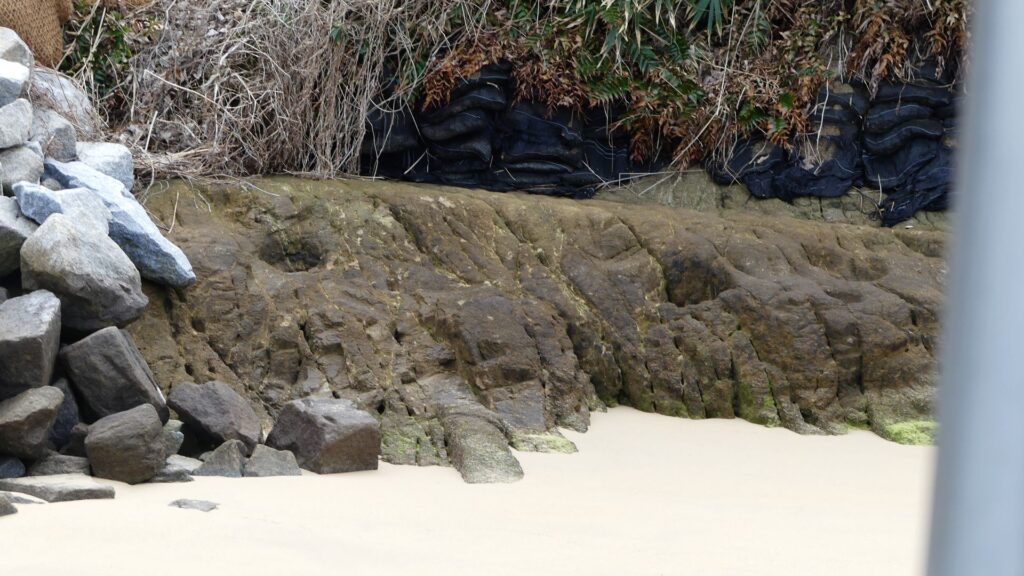
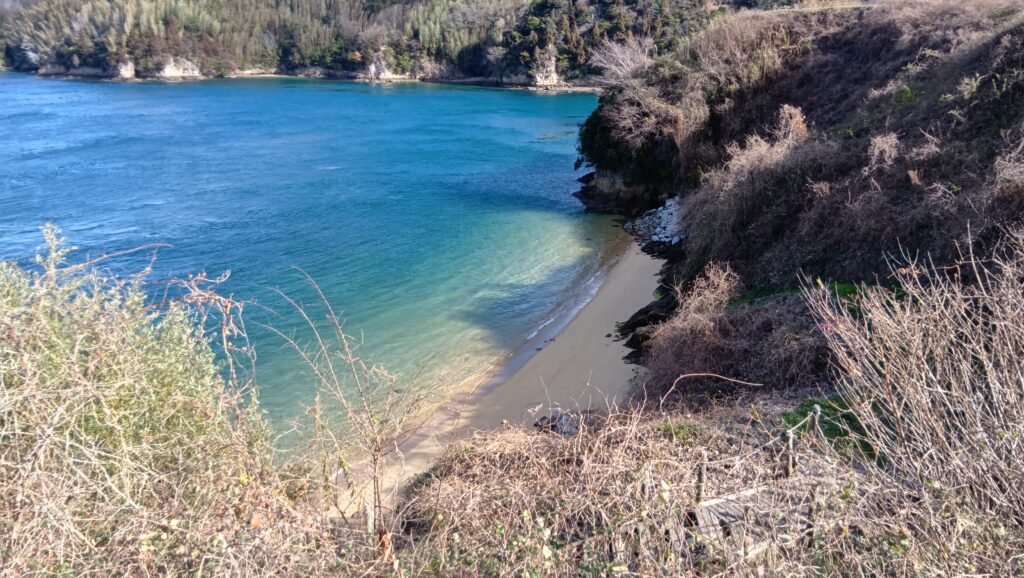
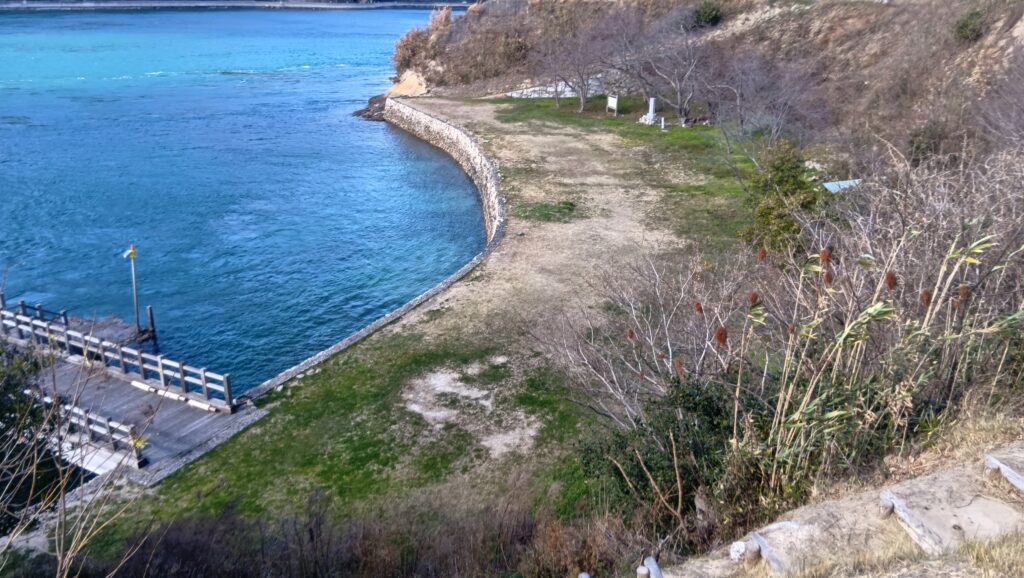
次は「船だまり」です。島の中では潮流が穏やかな部分なので、荷揚げや船の係留に使われたとのことです。そういう場所なので、城の岩礁ピットや武者走りがよく保存されていて、船上から見学することができます。
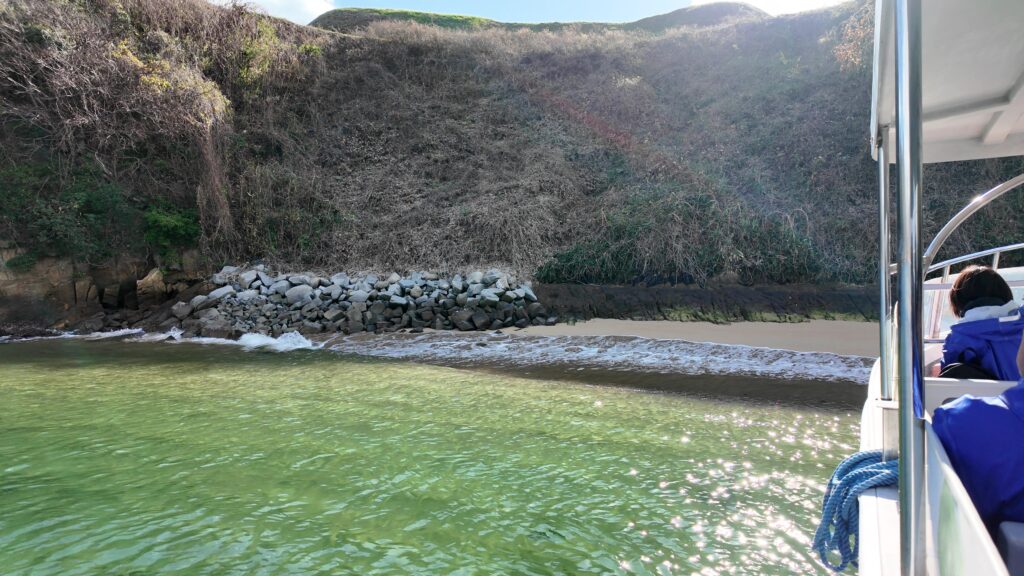
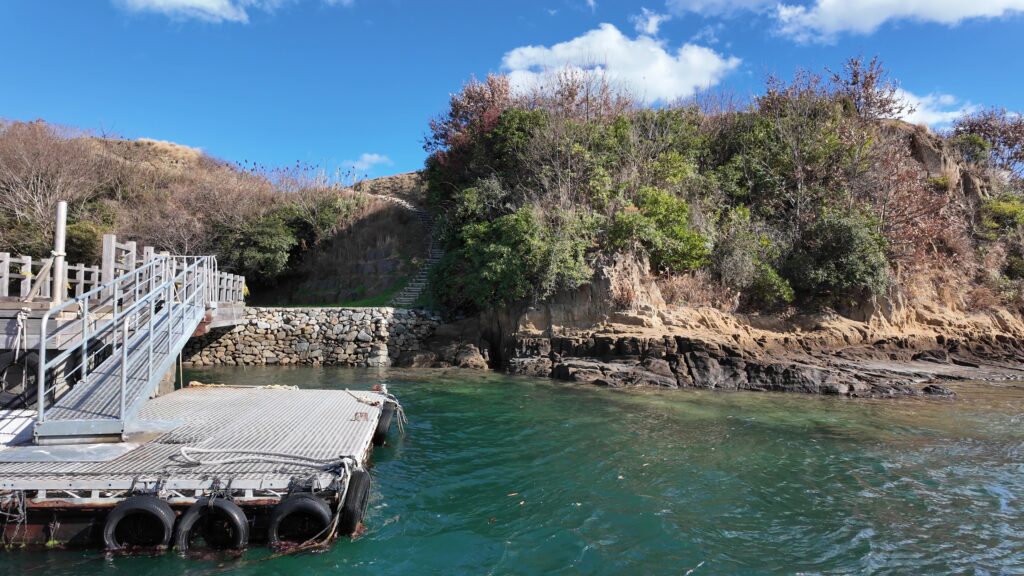
船だまりから、海中の岩礁を避けて、一旦沖に出ます。そして再び能島に接近です。岩礁のせいか、波が浮き立つようです。現代風のポートが見えてきました。ついに上陸です。

城の島に上陸!
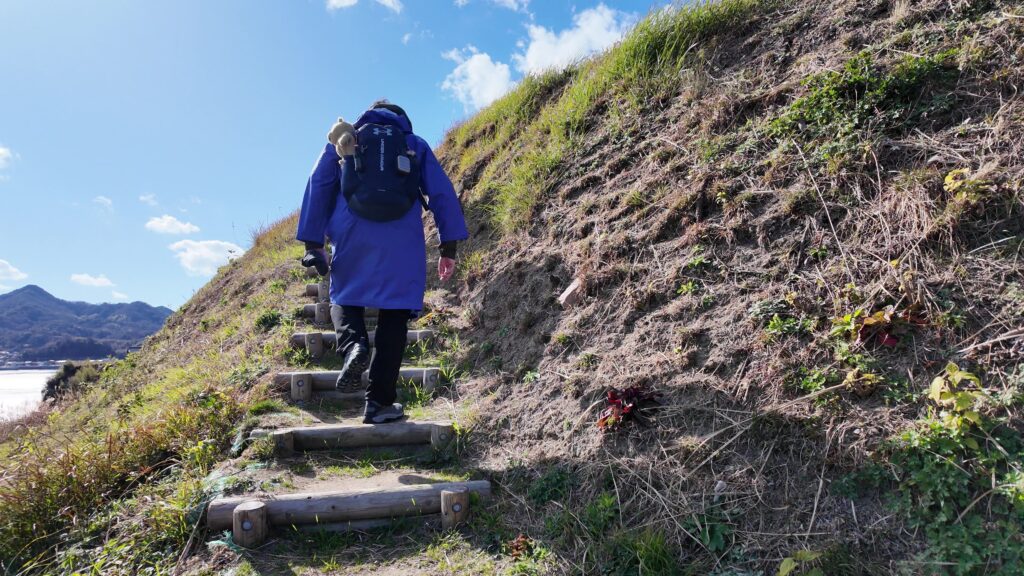
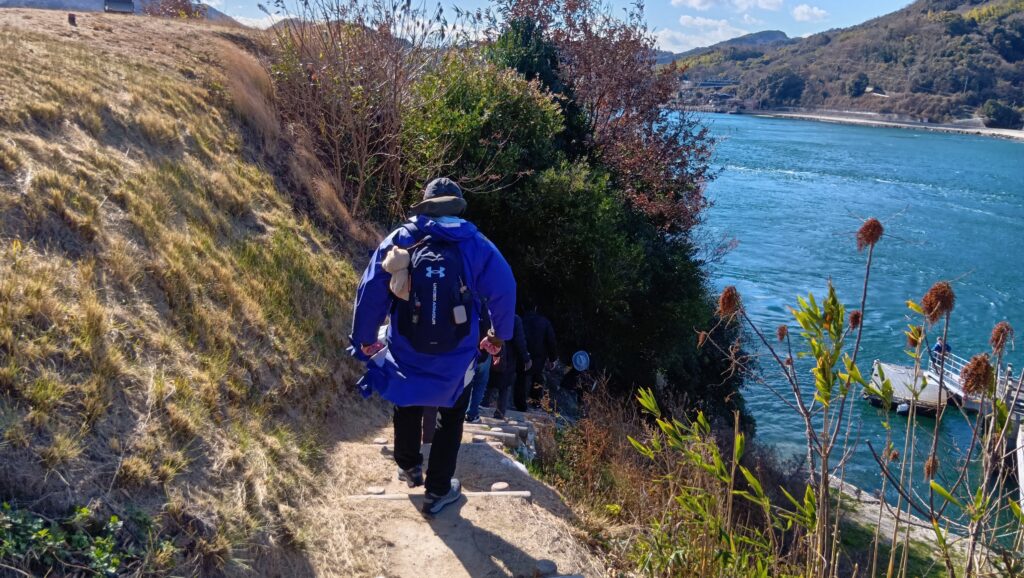
それでは、上陸しましょう!島の上ではガイドさんに付いていきます。
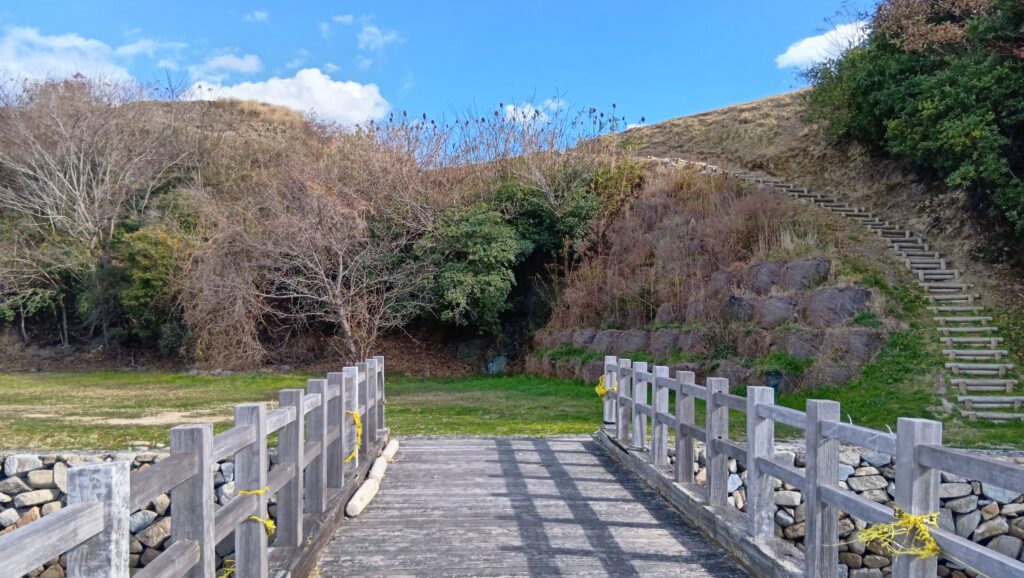
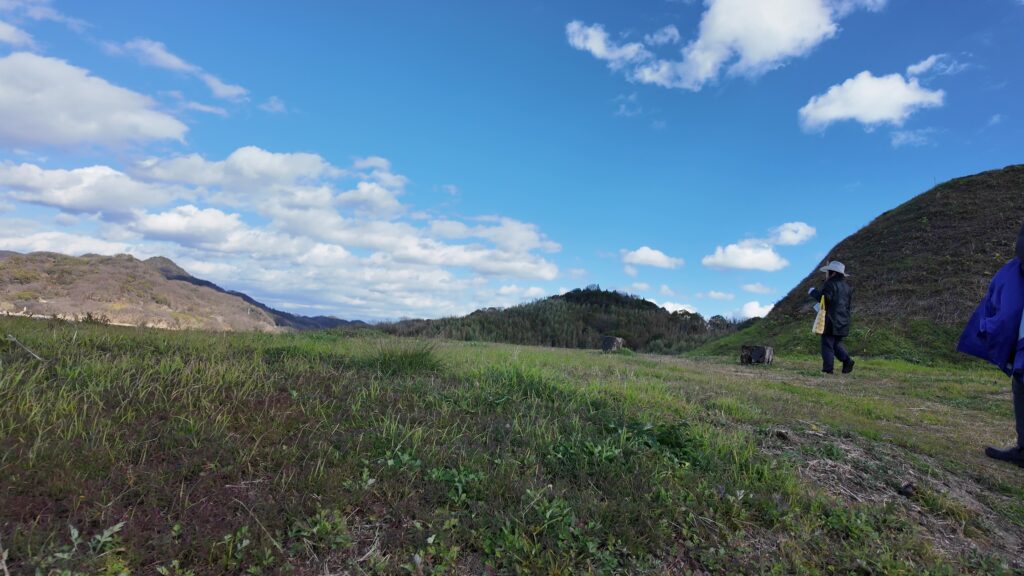
上陸した場所は、島で一番低い「南部平坦地」で、城があった時から埋め立てが進められていました。荷揚げや漁具の手入れなど、作業ヤードとして使われたと考えられます。
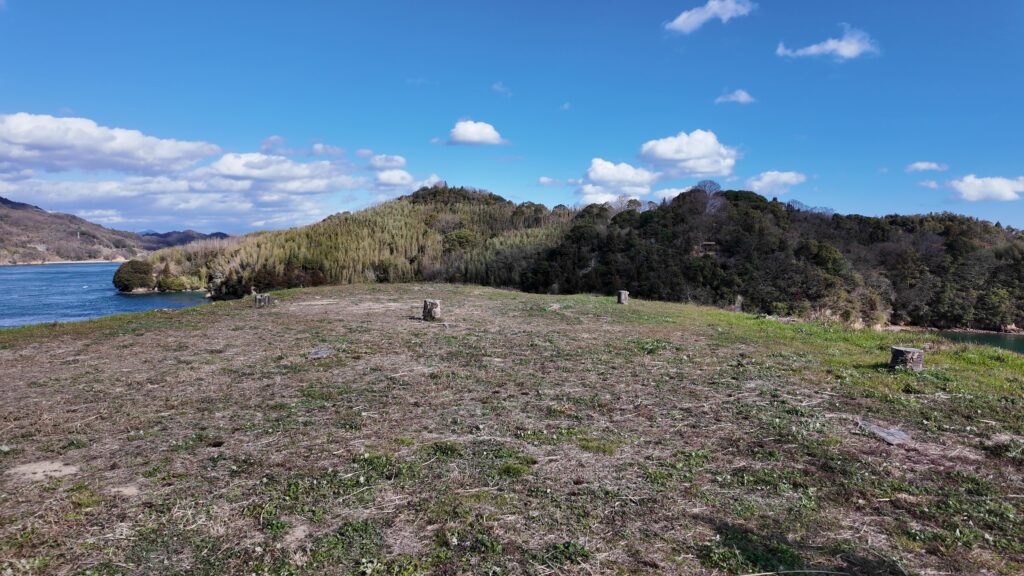
城周辺の地図園路に沿って進んでいきます。登ったところが三の丸で、入口辺りに礎石建物跡があって、倉庫だったと考えられています。三の丸は思ったより広々としています。他にも住居か倉庫の跡が発見されています。物見やぐら(井楼)かもしれない跡もあるそうです。
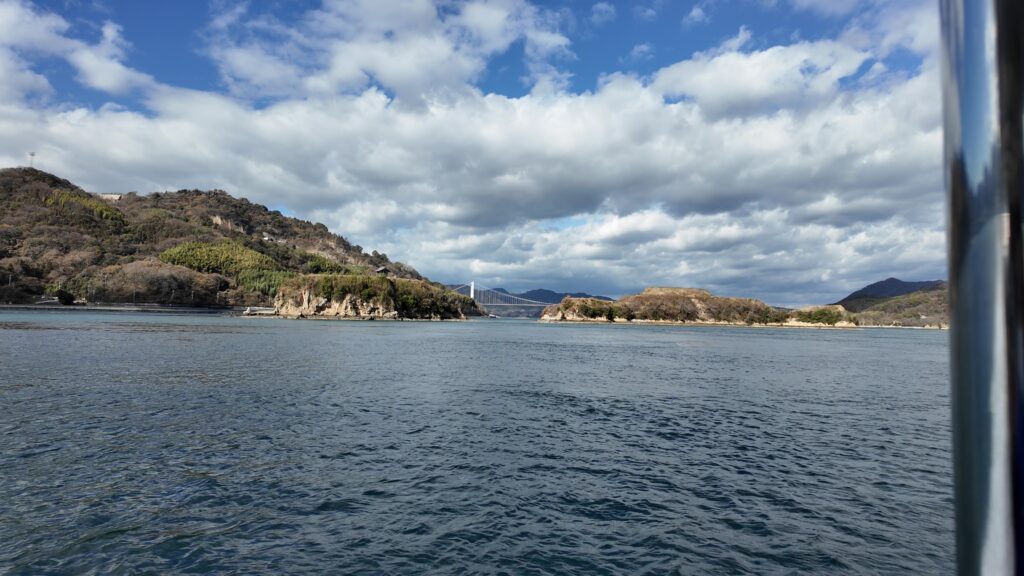
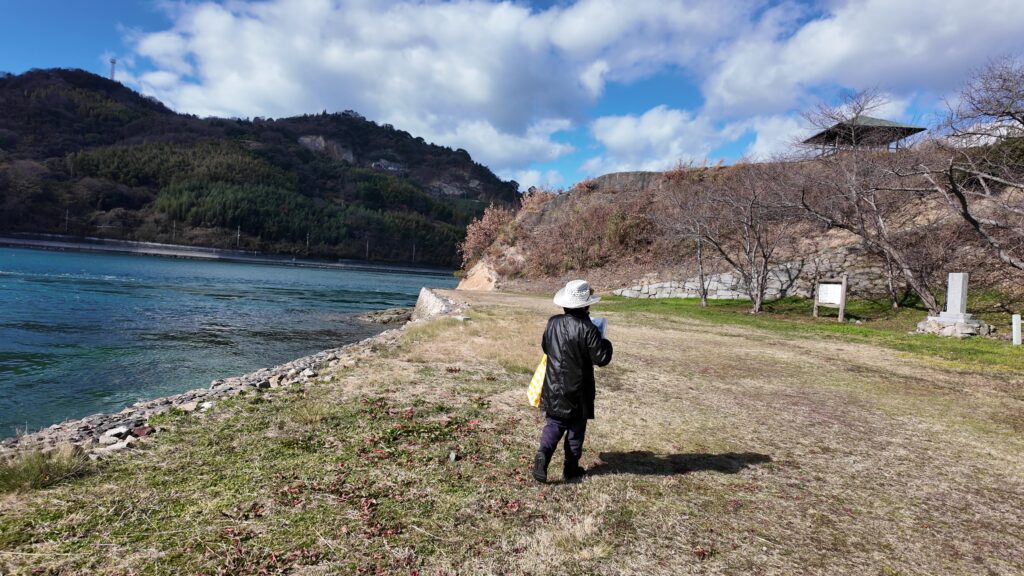
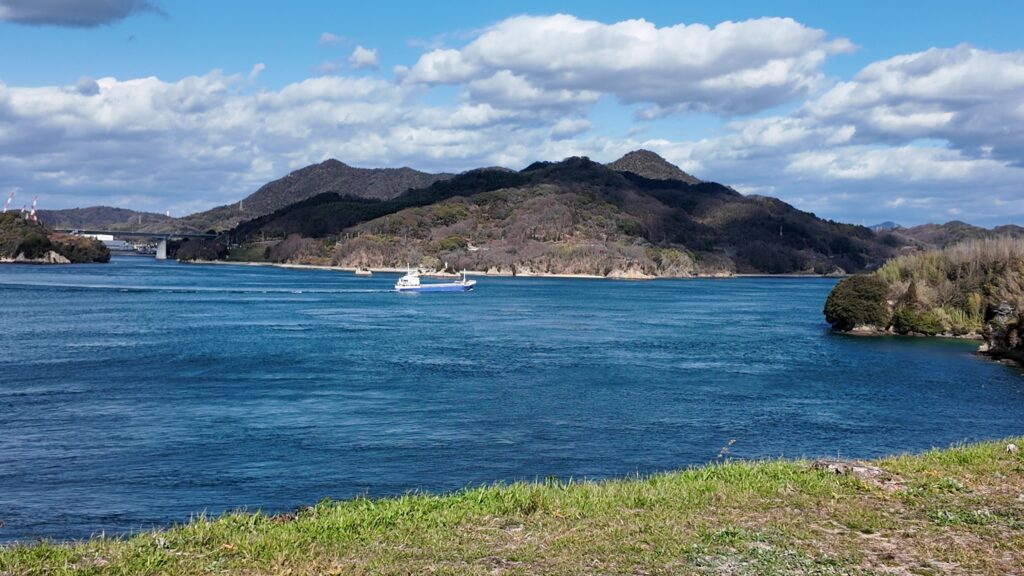
伯方・大島大橋の下に見えるのが、見近島です。交易の拠点だったかもしれない島です。
三の丸から見まわしてみると、対岸が伊予大島です。それから四阿の先には、目一つの鼻、という突端があって、鍛冶場だったという伝承があります。船だまりも見えます。
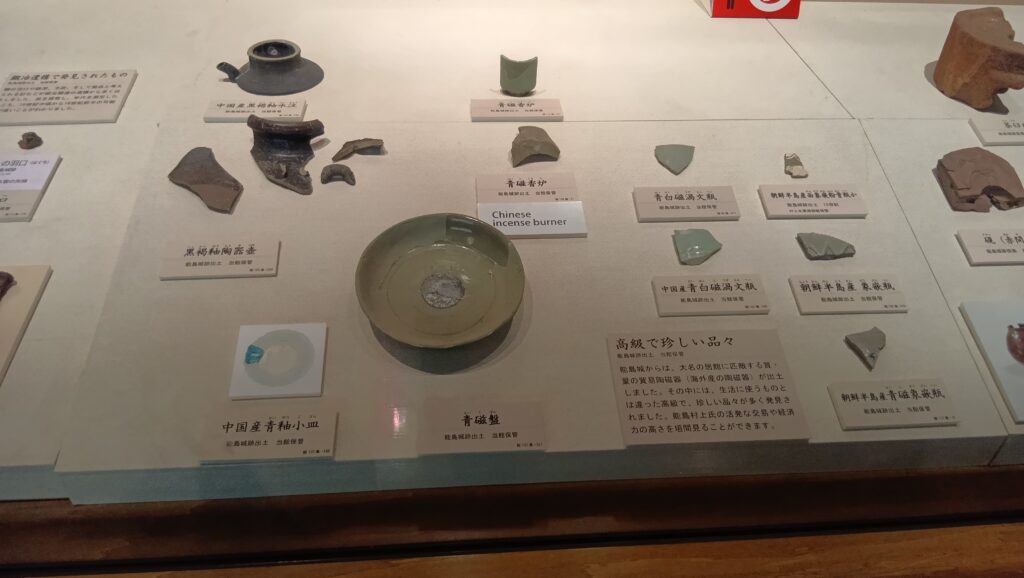
次は、二の丸です。一段高いところにあります。こちらも建物跡がたくさん発見されていて、やはり住居か倉に使われたのではないかとのことです。特に三の丸と接続するところで、高級な海外製陶磁器が見つかるそうです。お宝をしまう蔵だったのでしょうか。
二の丸は、本丸をぐるりと取り囲んでいます。本丸の脇を歩いていることになります。
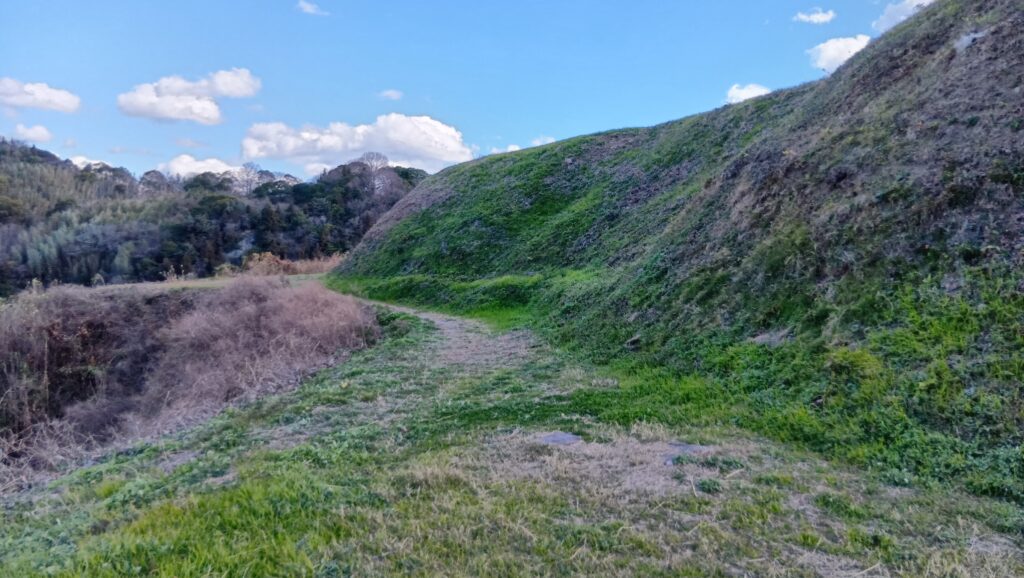
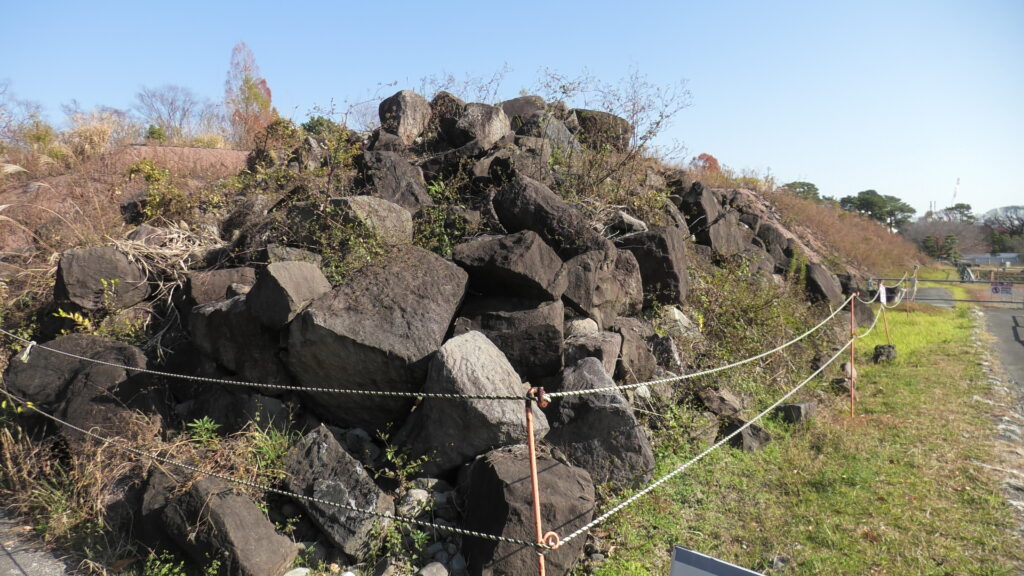
北東隅の「矢びつ」出丸が見えるところまで来ました。矢びつ(櫃)とは、矢を入れる道具の意味なので、武器庫があったと言われていますが、建物の跡ではなく、一列に並んだ杭の跡があったそうなので、弓矢の練習場ではないかとも言われます。それに、矢びつの周りは、来るときに見た、激しい潮が流れています。上から見ても、そのすさまじさがわかります。
本丸で当時を感じよう!
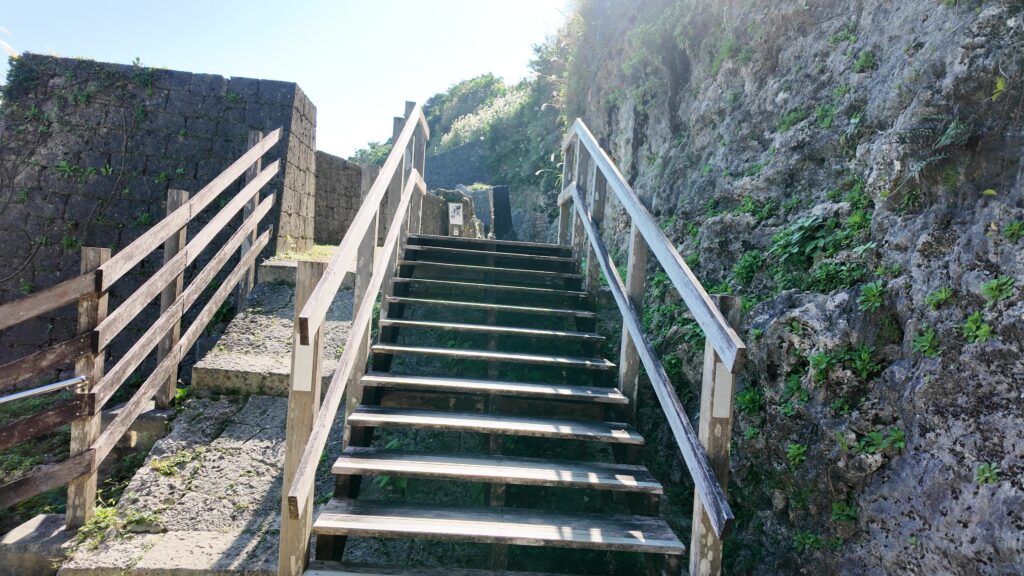
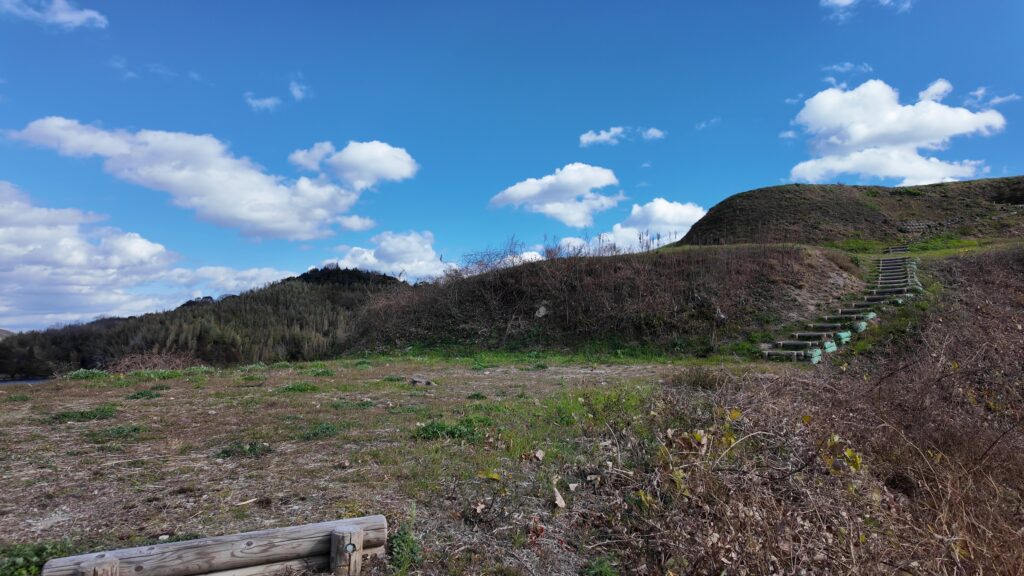
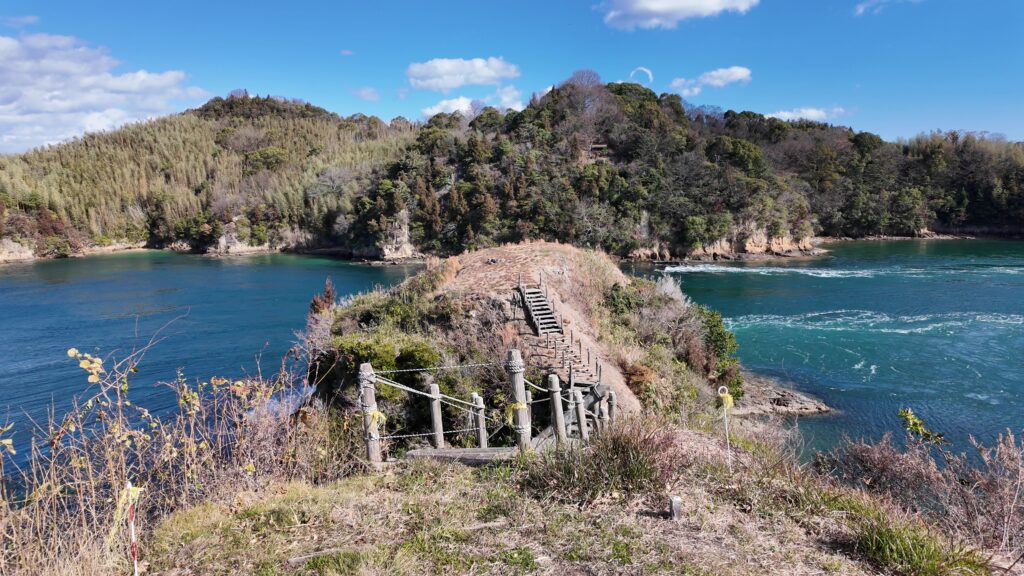
次はいよいよ本丸です。本丸への階段を登ります。本丸についてみると、鵜島の向こうの海峡(船折瀬戸)を行く船までよく見えます。
本丸は、城で標高が一番高いところで、約25メートルあるのですが、自然の島の頂上を10メートルほど削って整地したそうです。建物跡が発見されていて、物見やぐらだったかもしれません。
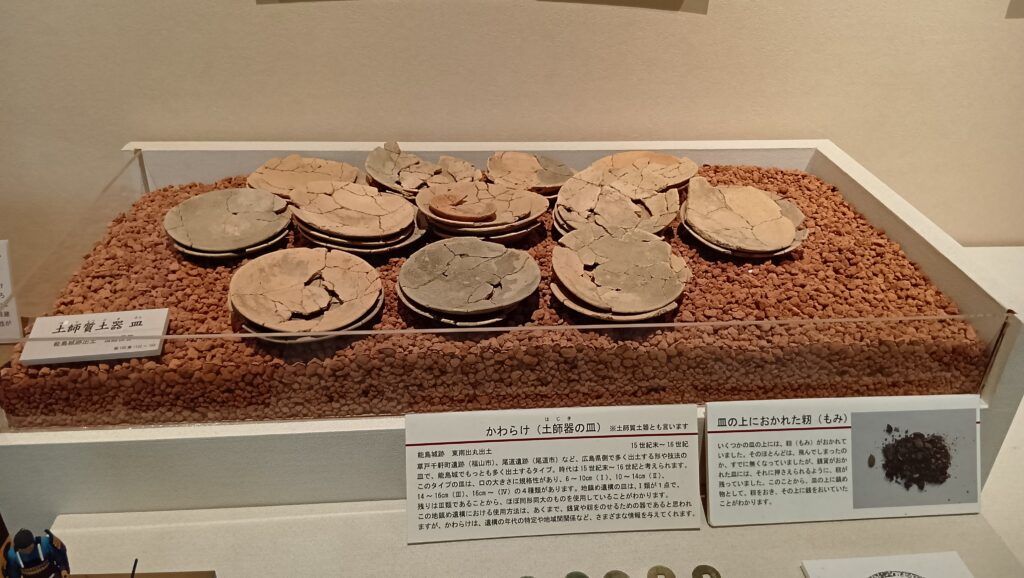
しかし、今のままでも、周りの海峡や島々が一望できます。360度パノラマビューです。本丸からは面白いものが発見されています。大量の「かわらけ」です。かわらけとは、儀式や宴会で使われた、使い捨ての素焼きのお皿です。満天の星の下、海賊たちがここで宴会を楽しんでいたかもしれません。
次は、東南出丸です。その先に鯛崎島があって、かつては橋でつながっていたという伝承があります。ここでも、かわらけが出土しているのですが、ここで地鎮祭が行われたと考えられています。
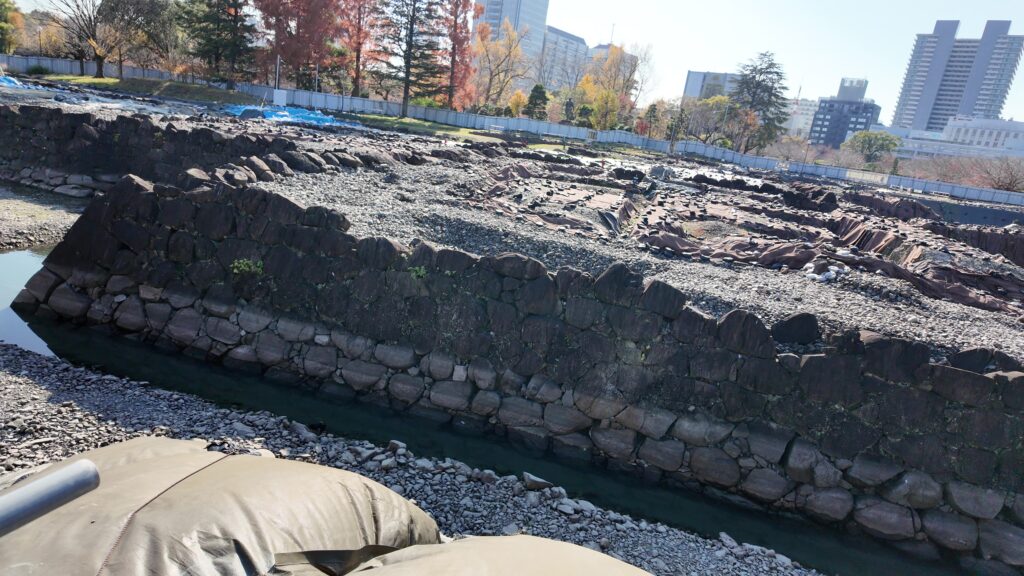
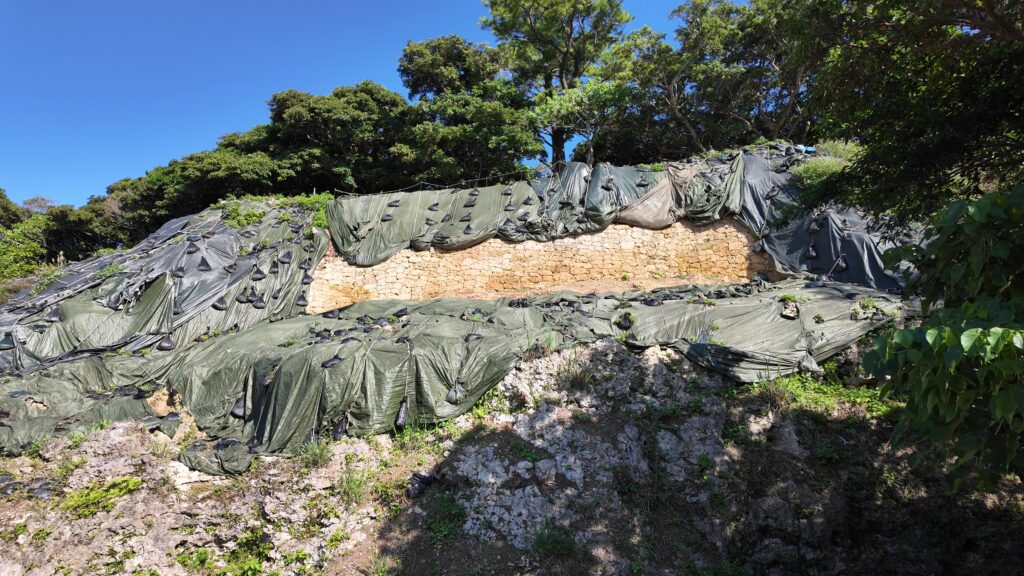
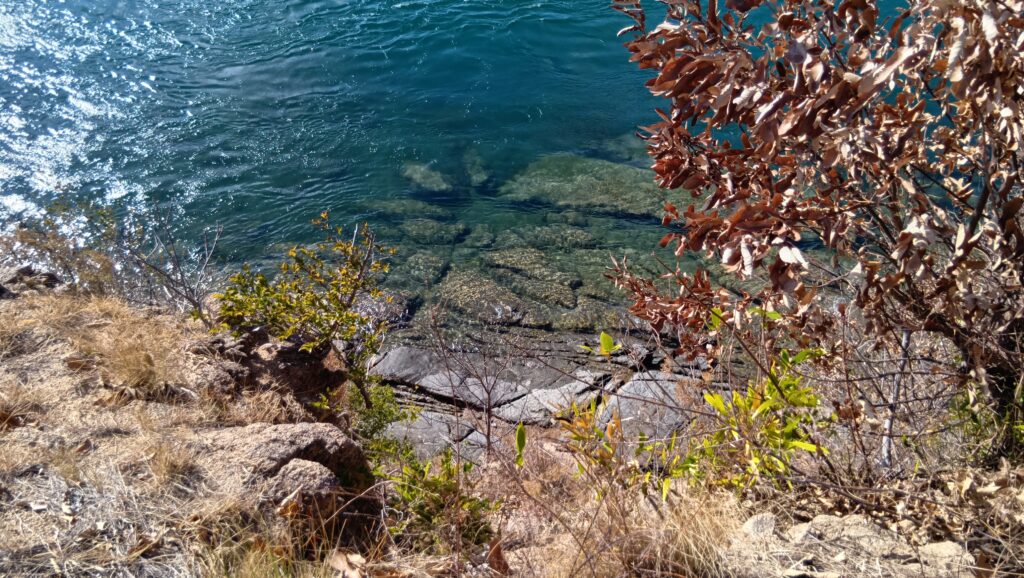
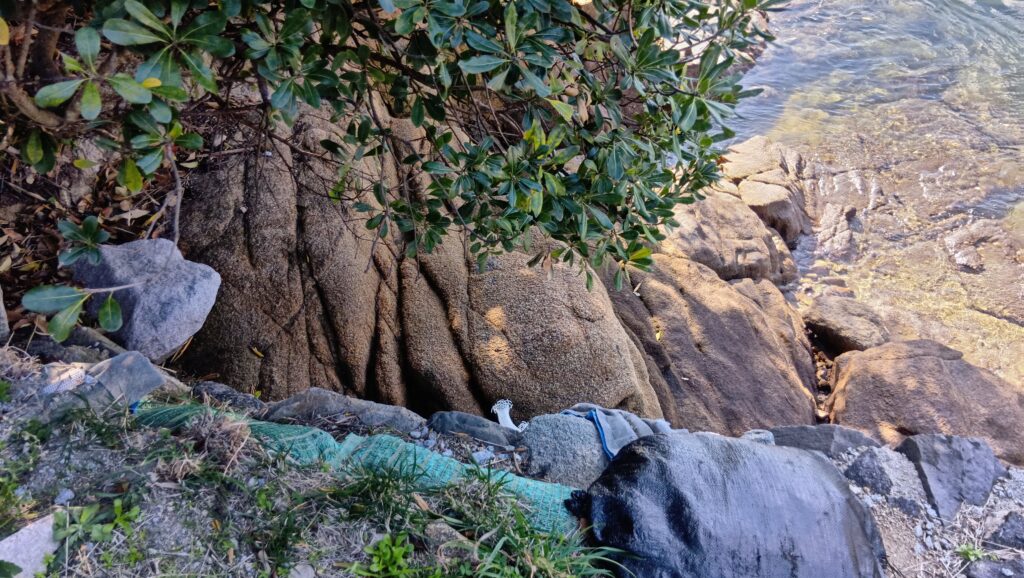
下の方を見ると、岸が人工的に加工されています。武者走りでしょうか、岩礁ピット含め、島を囲んでいるようです。まさに島中が城だったのです。
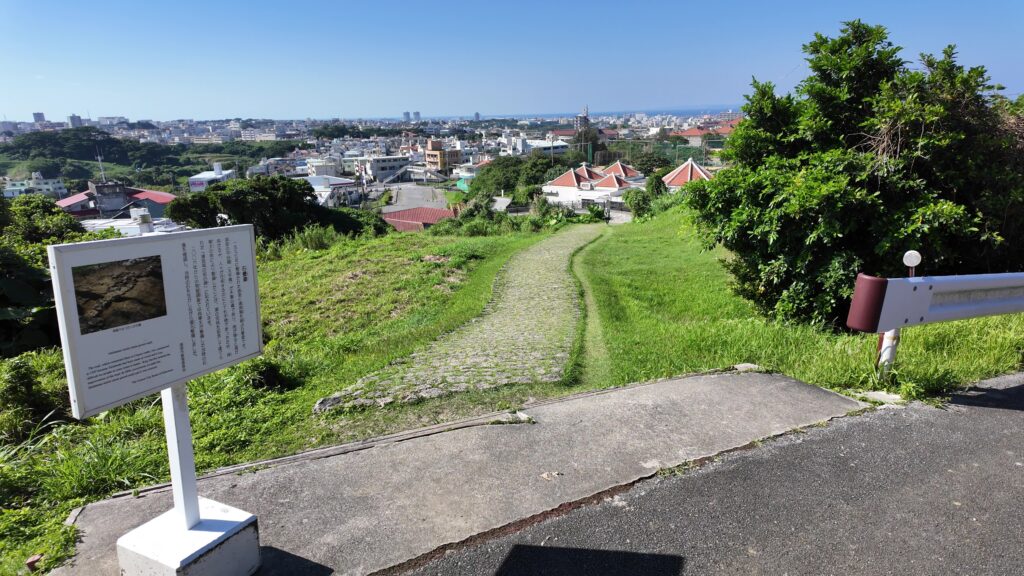
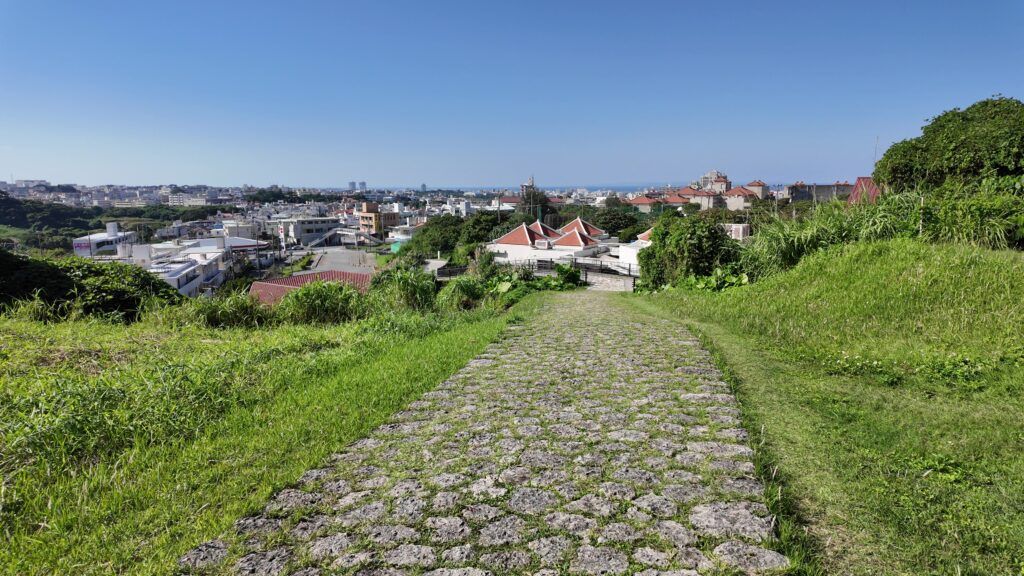
わたしたちの上陸地点(南部平坦地)も見えてきました。そちらに向かって戻ります。その途中で、当時の城内通路の遺構を見ることができます。船が迎えにきました。
また潮流を感じて帰還
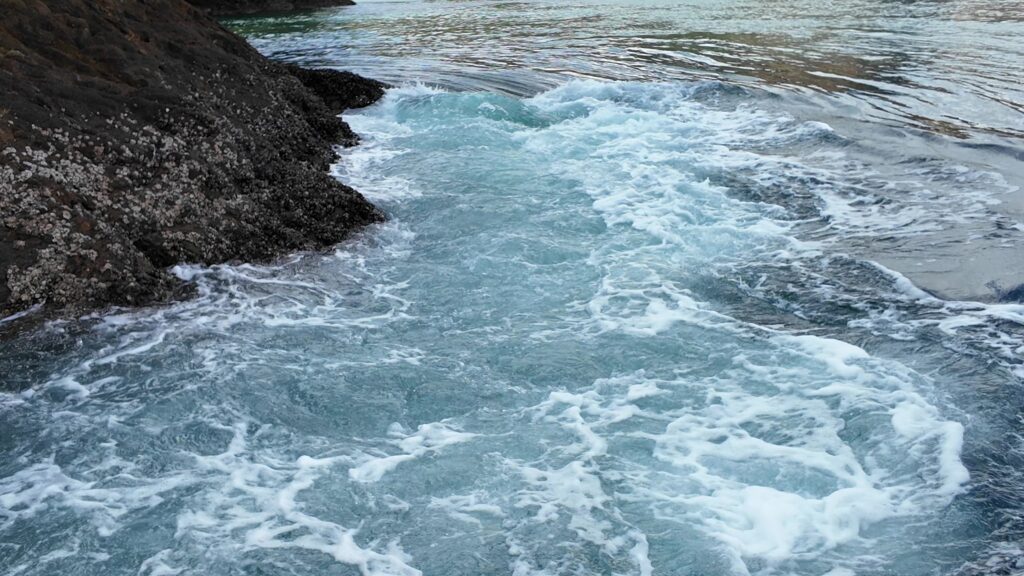
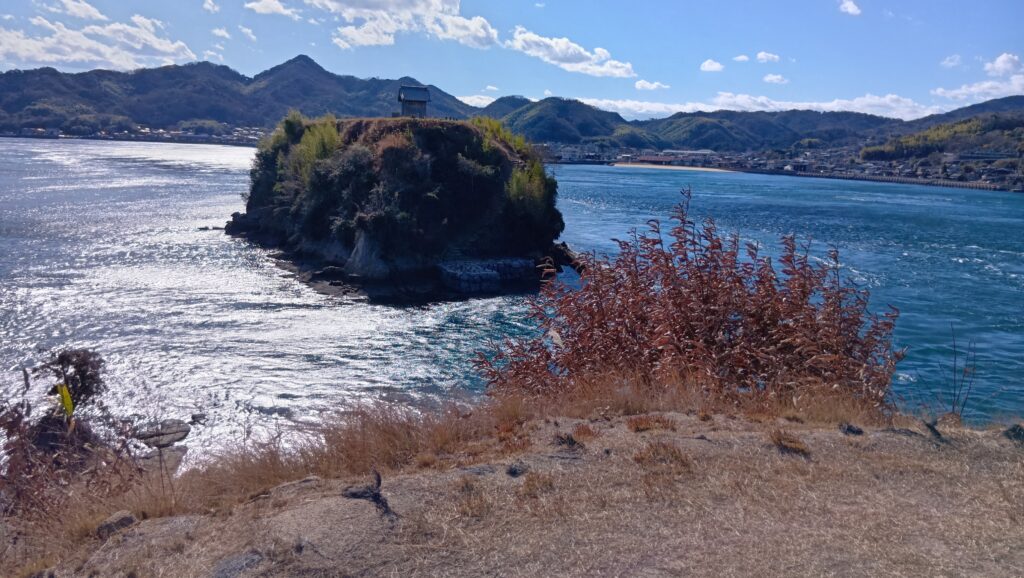
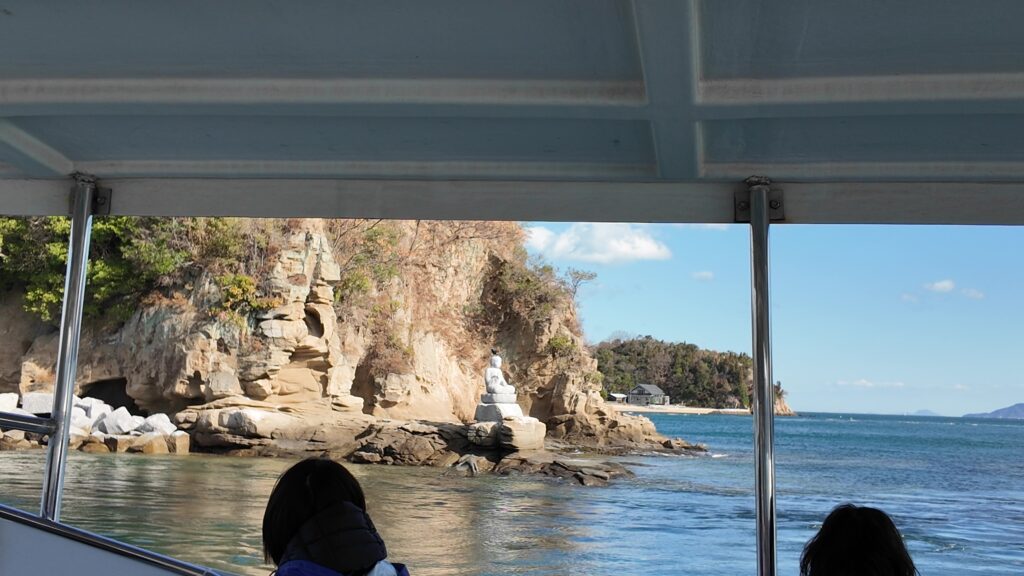
能島を離れます。すごい快速で、すぐに鯛崎島まで来てしまいました。この周辺も潮流が複雑で、その流れが海の芸術のようです。
鯛崎島にはお地蔵様がいて、そのお地蔵様が魚たちと、干潮で動けなくなったクジラを救った「クジラのお礼まいり」という民話があります。島の上には弁天様もいます。
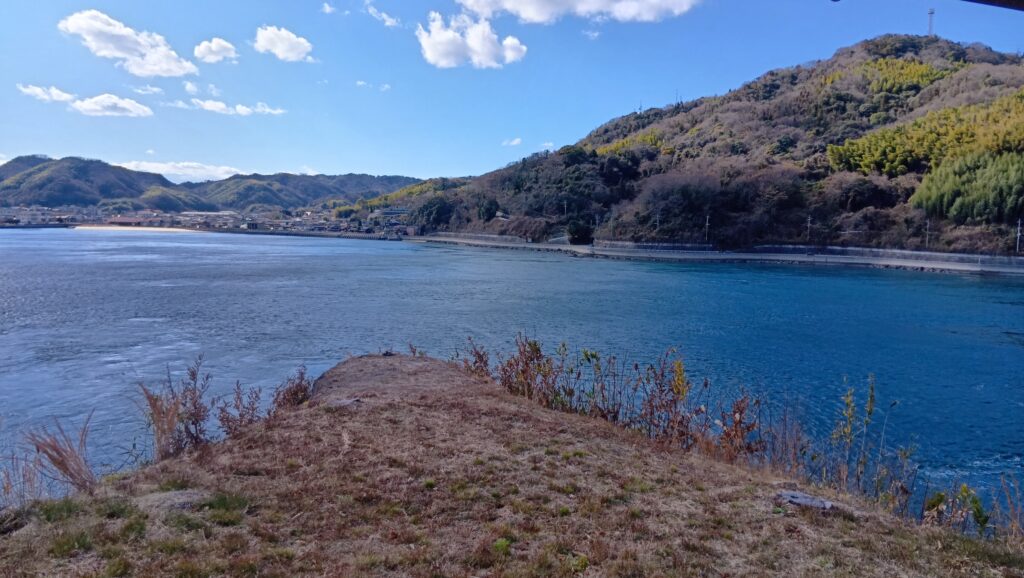
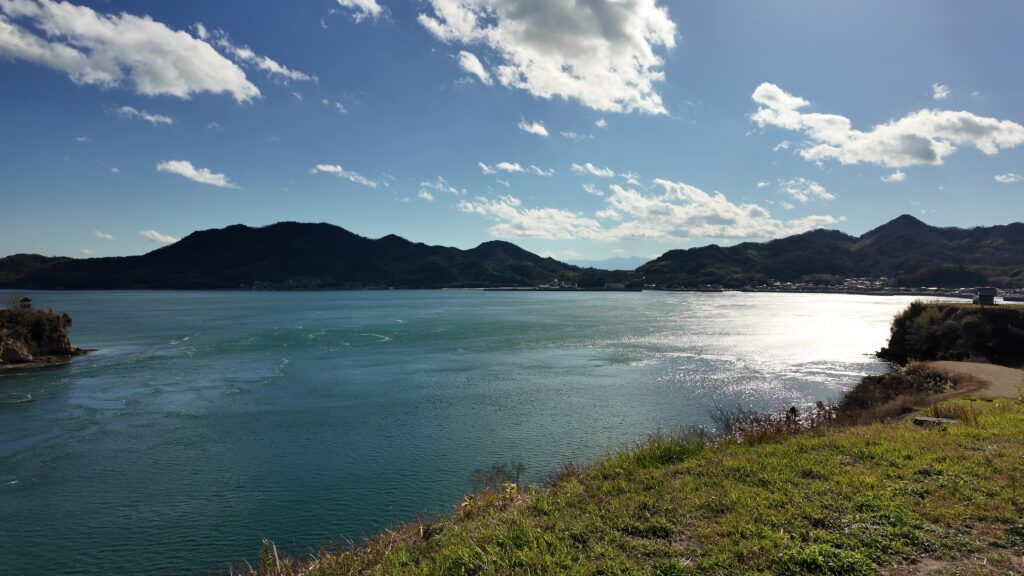
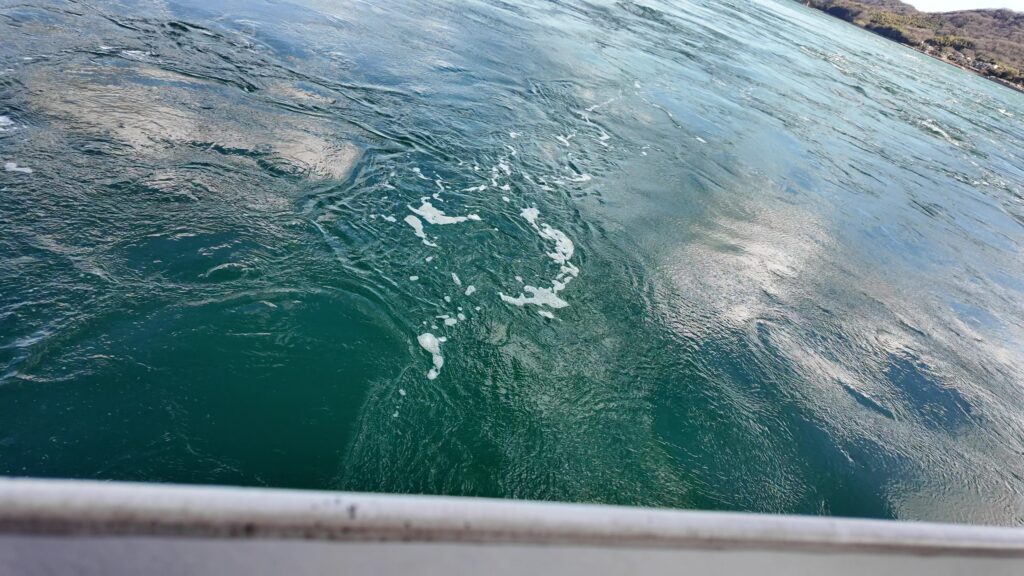
最後の潮流ポイントに向かいます。そこは、愛媛県有数の漁場なのだそうです。能島水軍レストランで出る魚もここでとれるのでしょうか。渦のような潮流が沸き上がる海面に、空の雲が映って、なんとも言えない絵柄です。そうこうするうちに、港に帰って来ました。
関連史跡
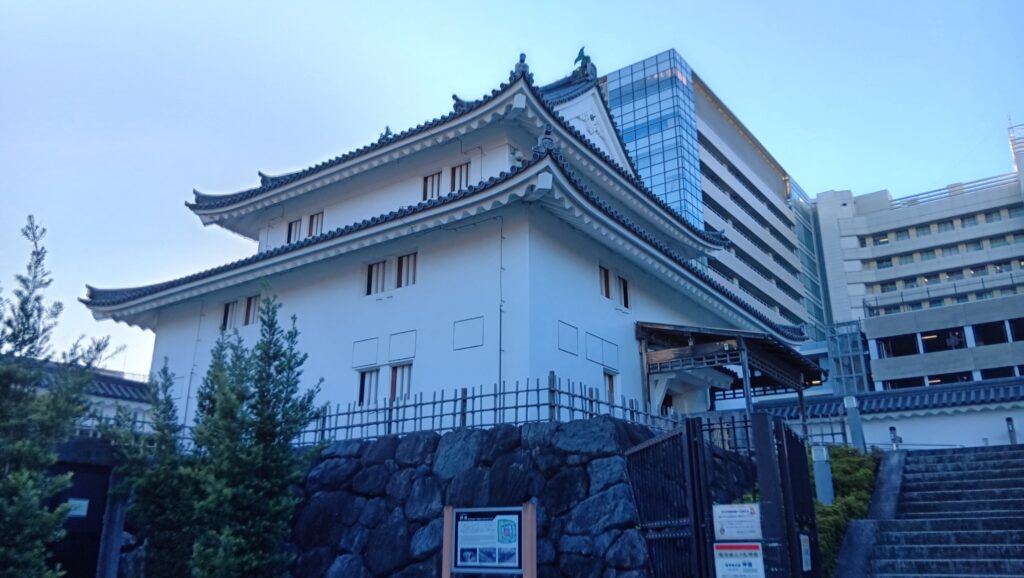
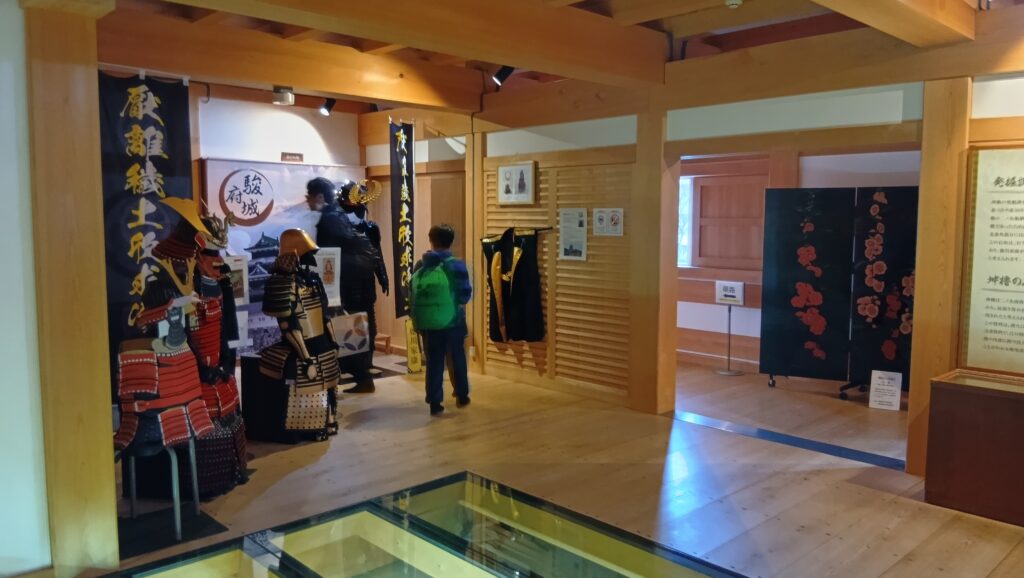
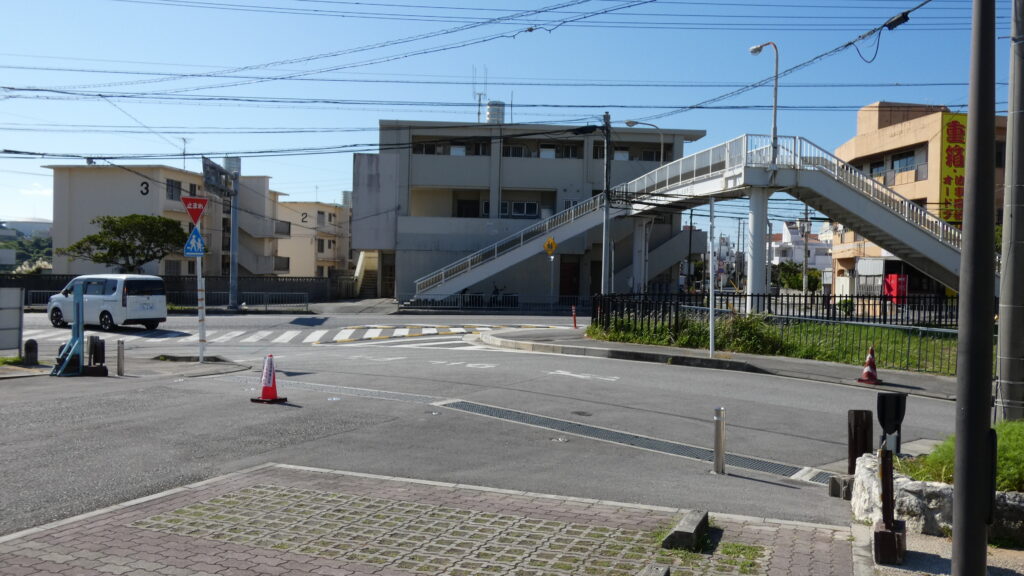
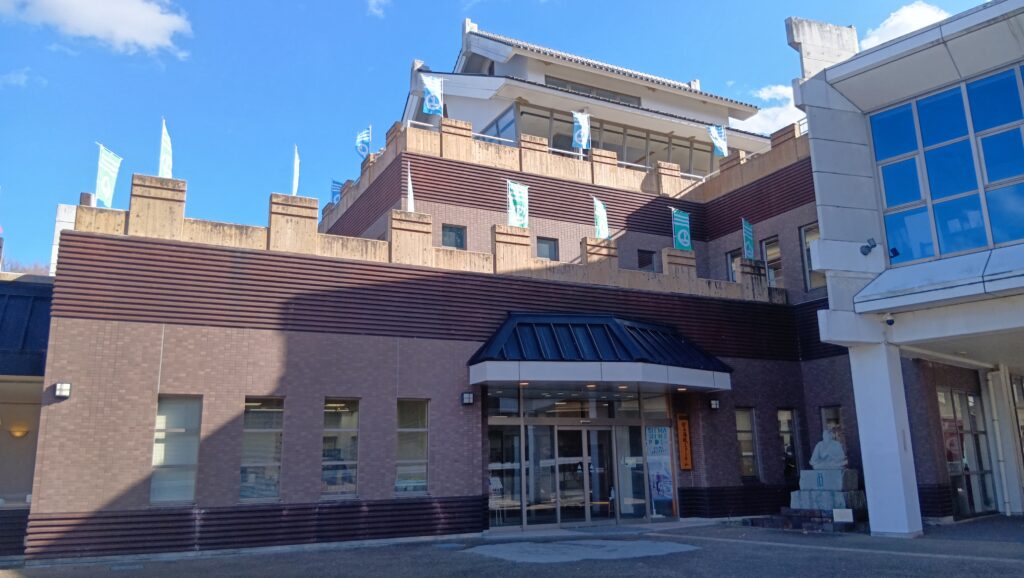
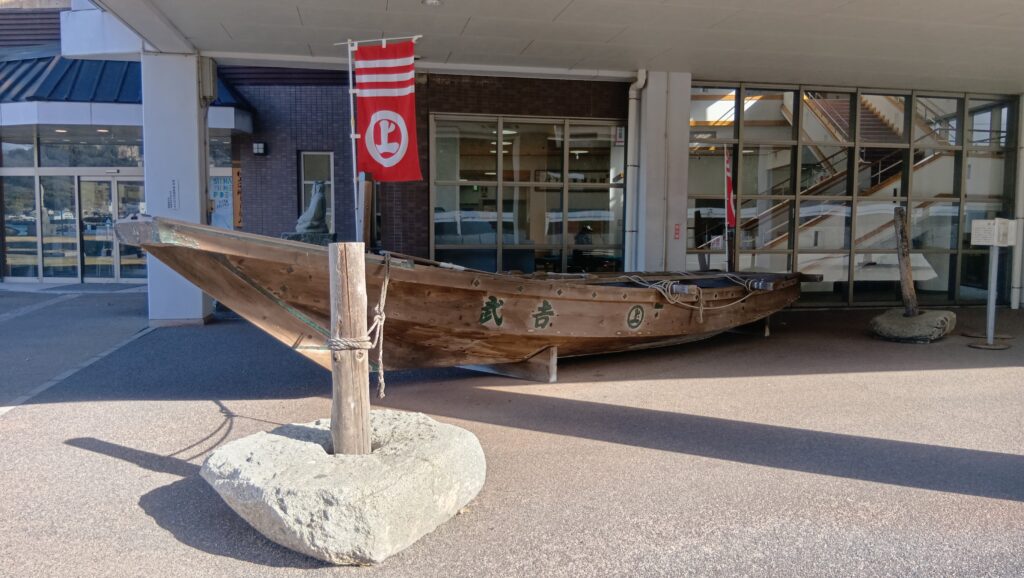
近くにある村上海賊ミュージアムにもきてみました。外に、復元された小早船があります。海賊が使った小型船のことで、なかなかかっこいいです。中の展示も充実しています。例えば、岩礁ピットと武者走りについての展示があって、上陸ツアーと一緒に見ると、とても勉強になります。
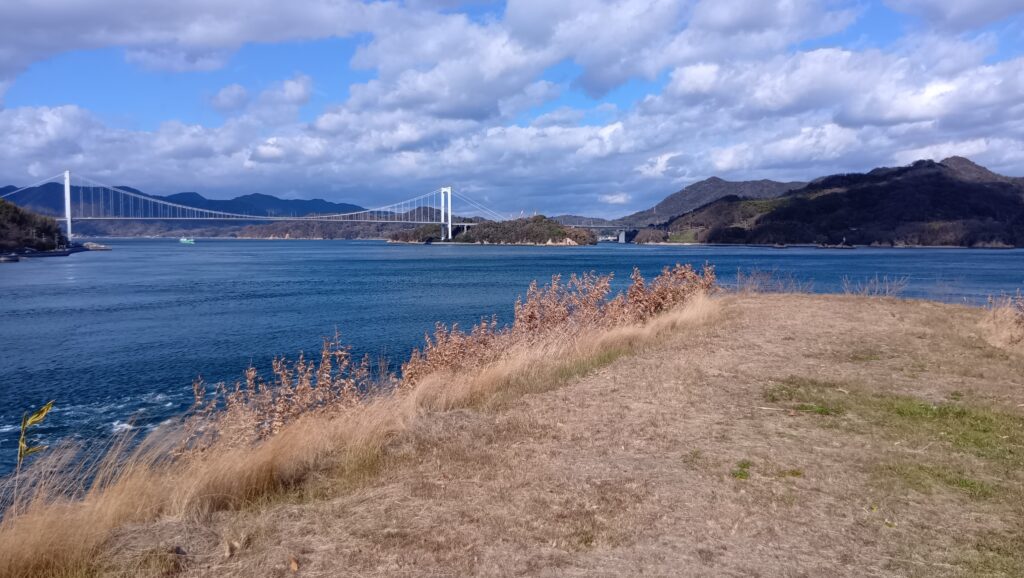
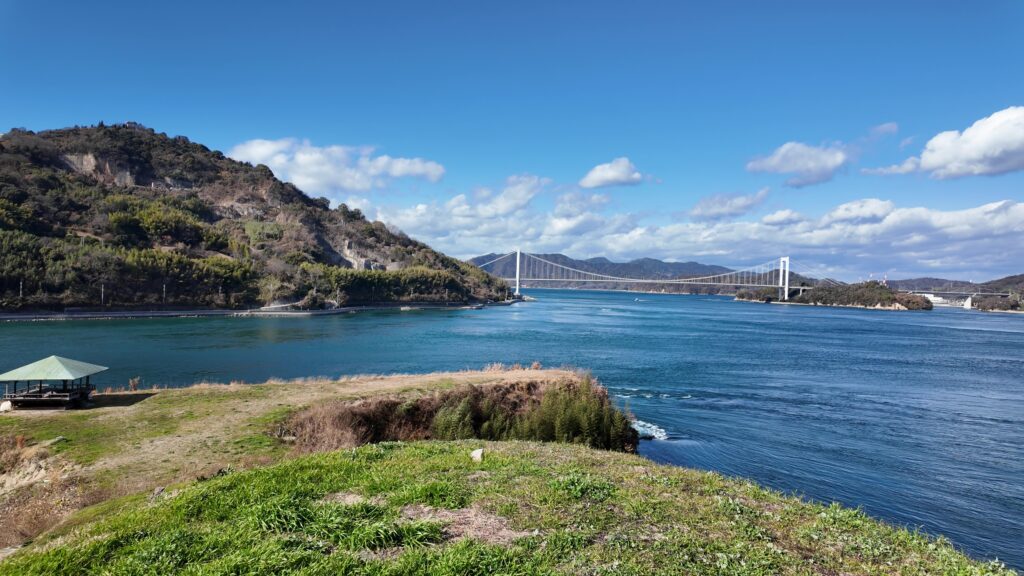
更に、芸予諸島の要所の一つ、来島海峡に行ってみました。ここも素晴らしい景色です。ここにも村上海賊がいて、来島村上氏の本拠地がありました。それが来島城で、城があった島も一緒に眺めることができます。今でも人家があって、その代わり、史跡らしくはないようです。すぐに出動できるところに城があったことだけはわかります。

リンク、参考情報(追加分)
・「村上水軍全史/森本繁著」新人物往来社
・「村上水軍全紀行/森本繁著」新人物往来社
・「史跡能島城跡 保存活用計画/令和2年3月」今治市教育委員会
これで終わります、ありがとうございました。