We will finally visit the remaining Main Hall in the main enclosure. It is one of the four remaining halls for exiting castles in Japan, which is very rare and valuable. In the case of Kawagoe Castle, two parts of its hall remain, its entrance and the office for the senior vassals.
Features
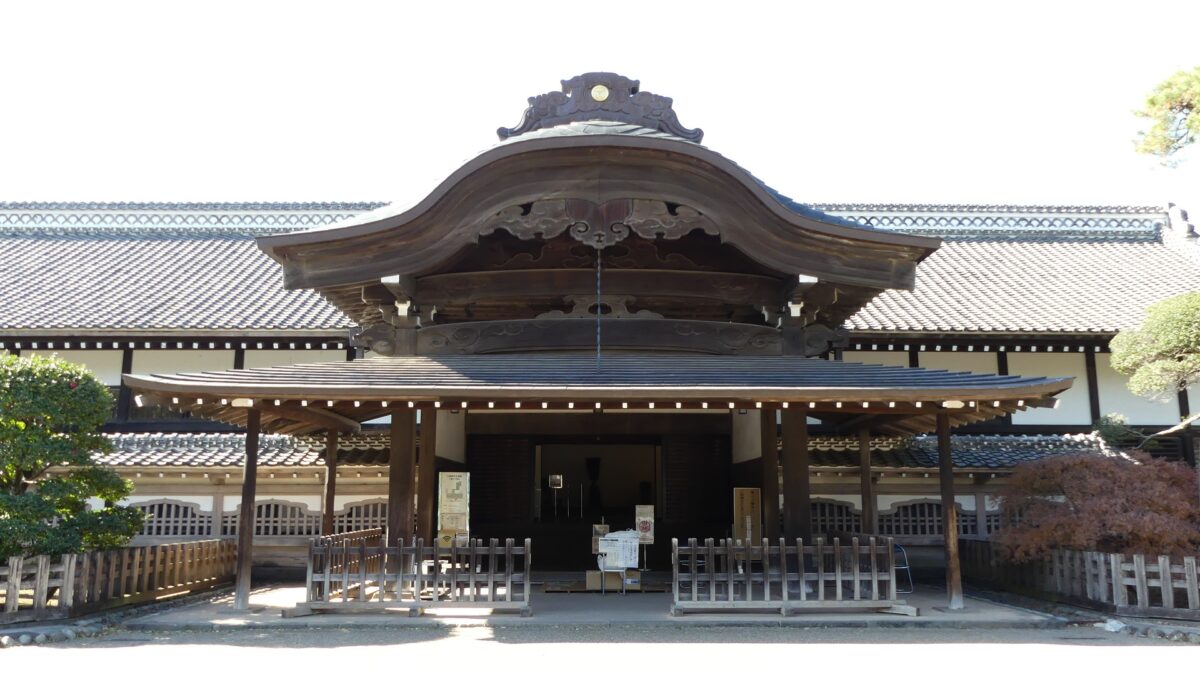
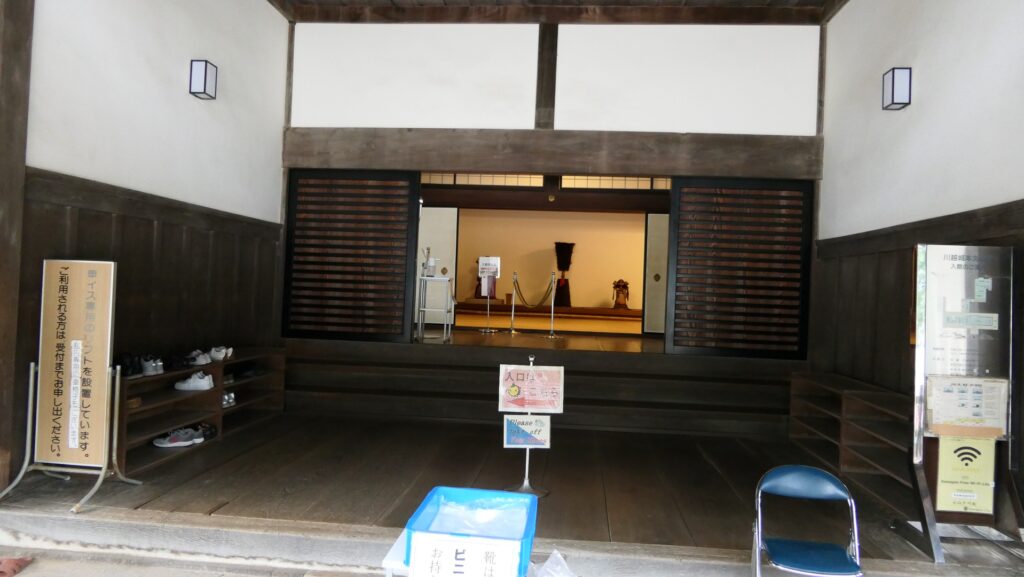
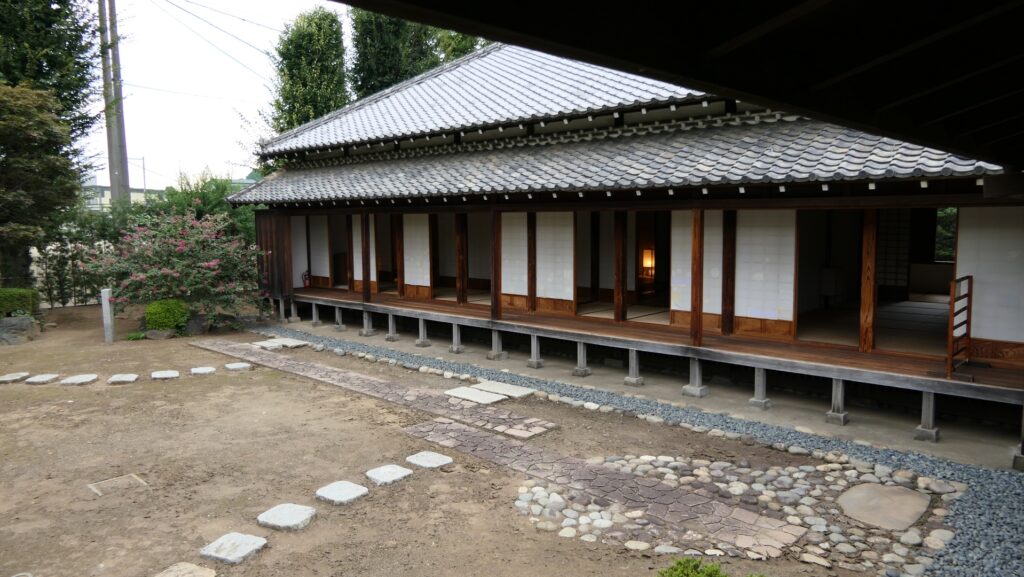
We will finally visit the remaining Main Hall in the main enclosure. It is one of the four remaining halls for exiting castles in Japan, which is very rare and valuable. In the case of Kawagoe Castle, two parts of its hall remain, its entrance and the office for the senior vassals. The entrance part has the main and side entrances.
The Main Hall in the main enclosure (the main entrance)The side entrance called Naka-no-kuchi
From Main Entrance to Hiroma Room
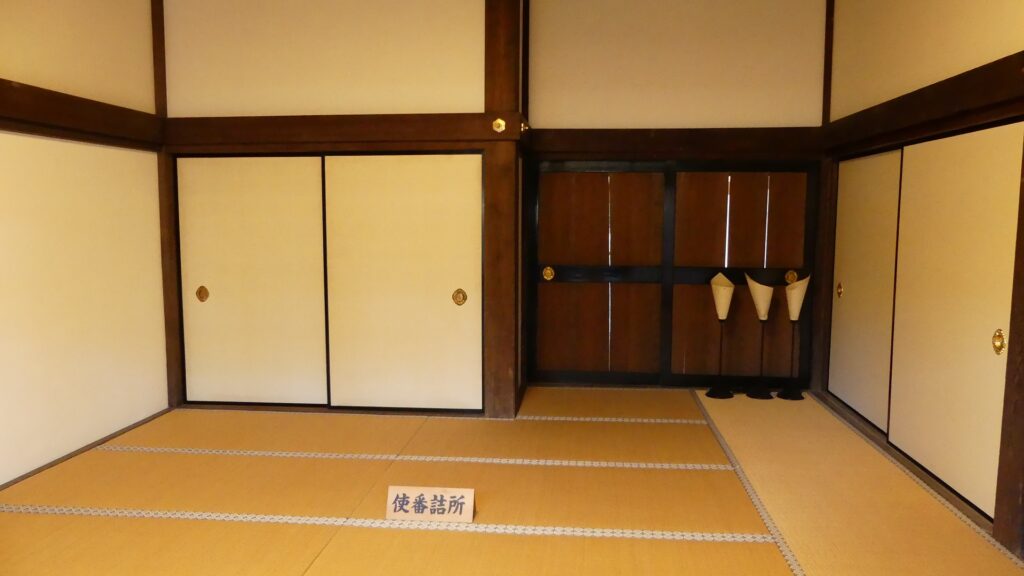
Visitors usually enter the main one which has a luxurious decoration. It also has Hiroma (meaning large room),several waiting rooms for messengers, and officers’ rooms.
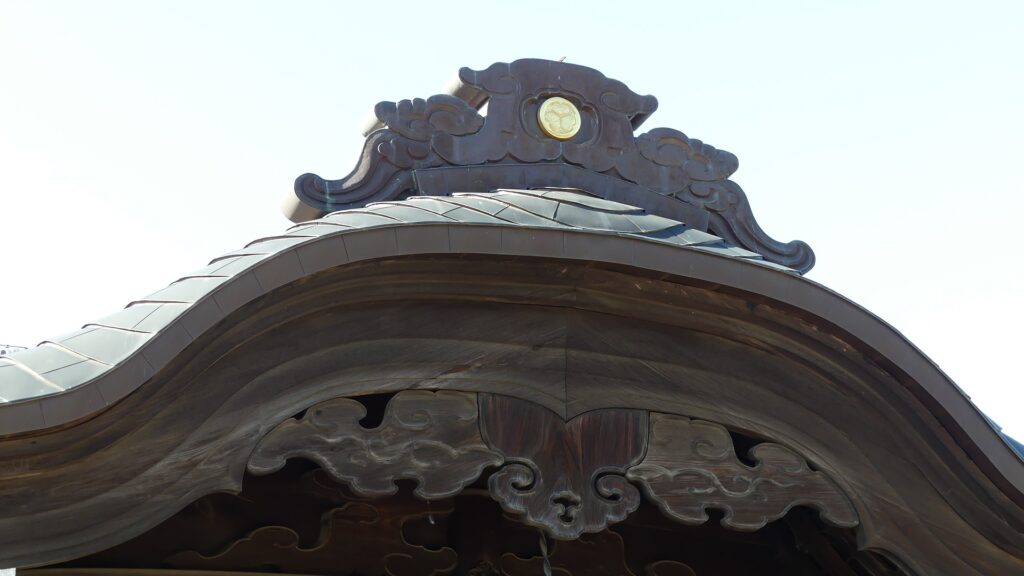
The main entranceThe decorations of its roofThe interior of the entranceThe layout of the current Main Hall, the entrance part is below and the senior vassals’ office is above, from the signboard at the site
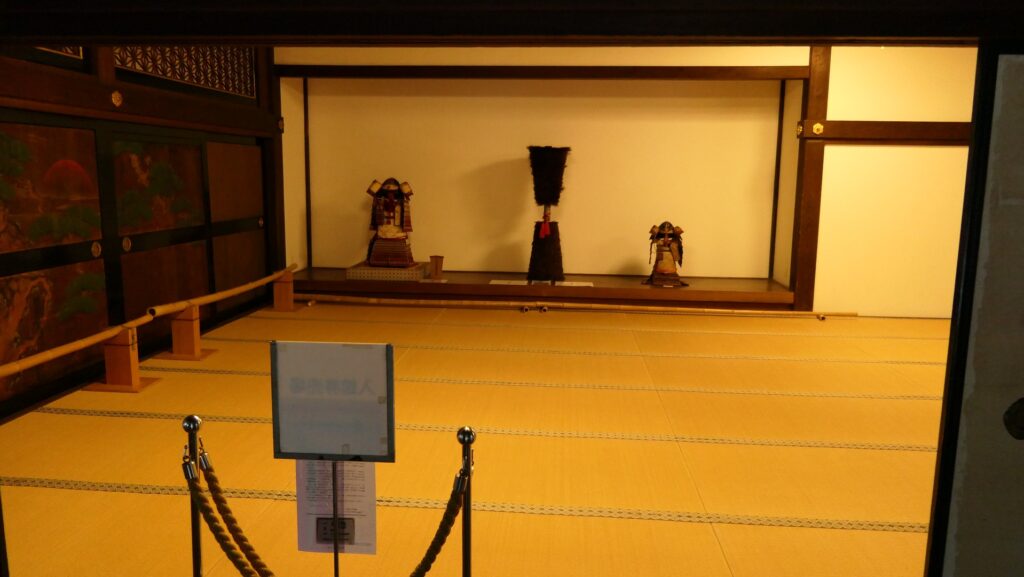
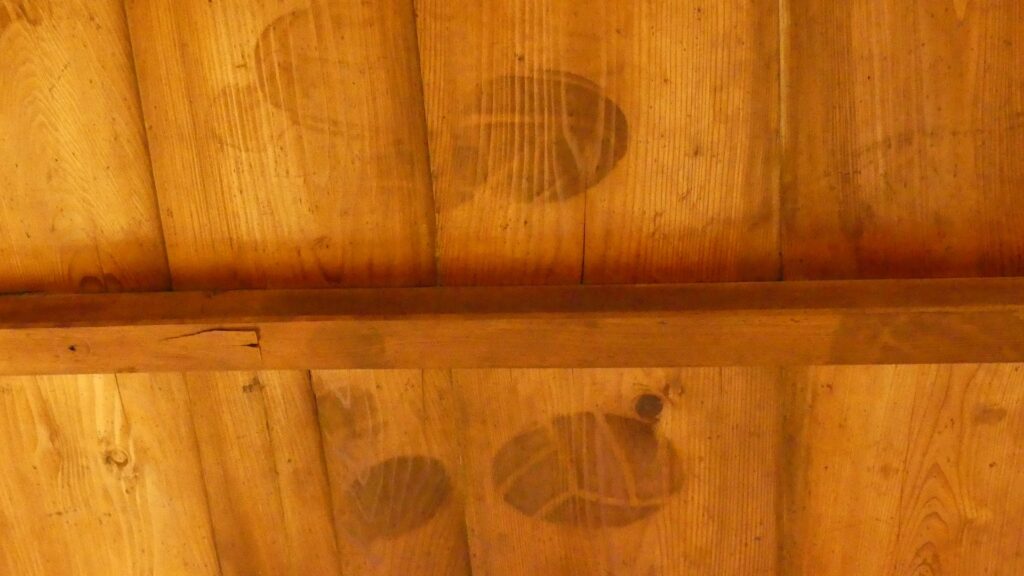
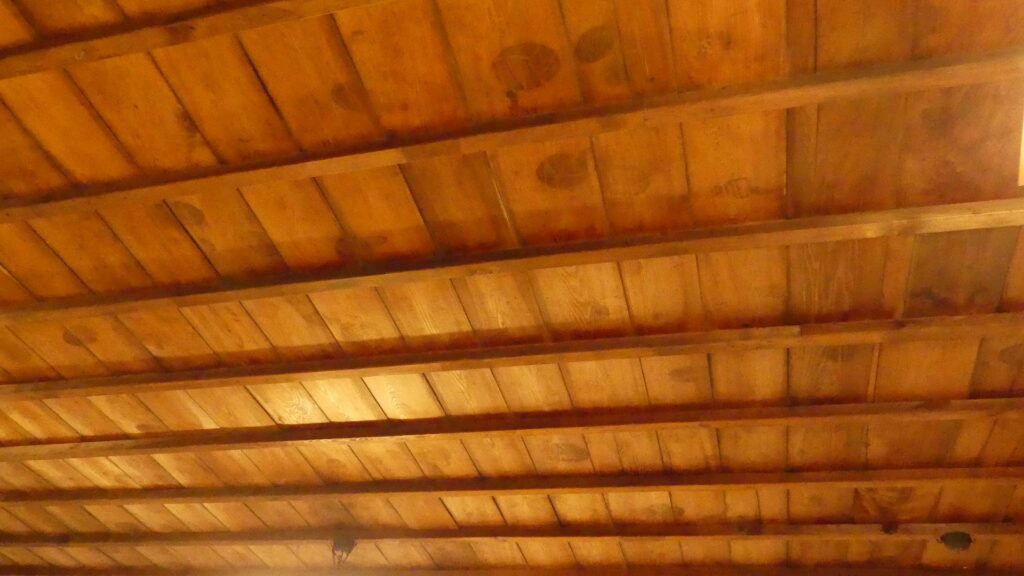
The Hiroma is the first room after entering, which is the largest with an alcove and paintings on ceder-board doors as the hall’s face. An interest thing about the room is that you can see lots of traces of volleyballs on its ceiling. This is because the room was once used as the gym of a school.
The interior of the Hiroma roomThe paintings on ceder-board doorsThe traces of volleyballs on the ceilingThe corridor in front of the roomsA waiting room for the messengers
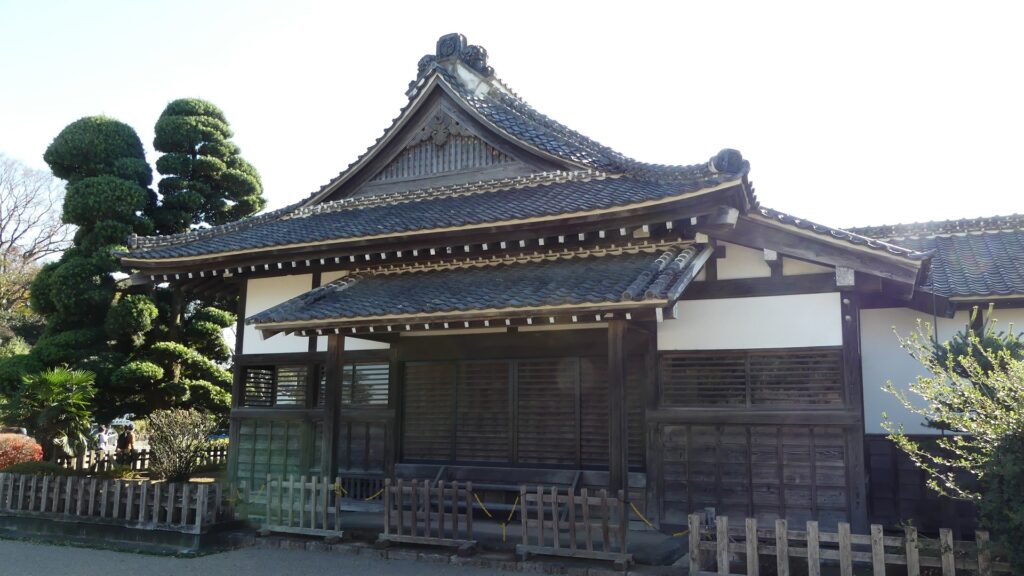
Office for Senior Vassals
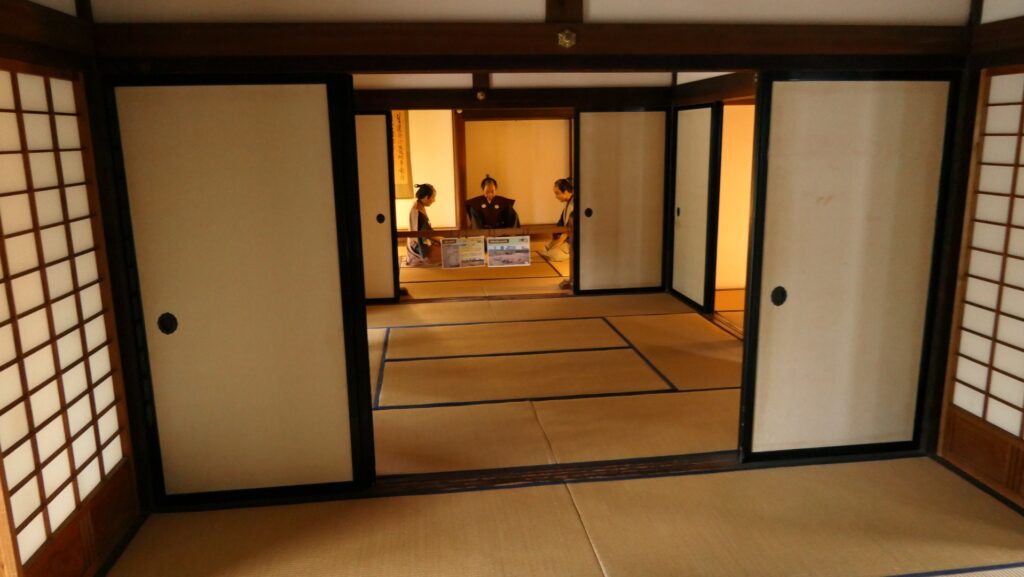
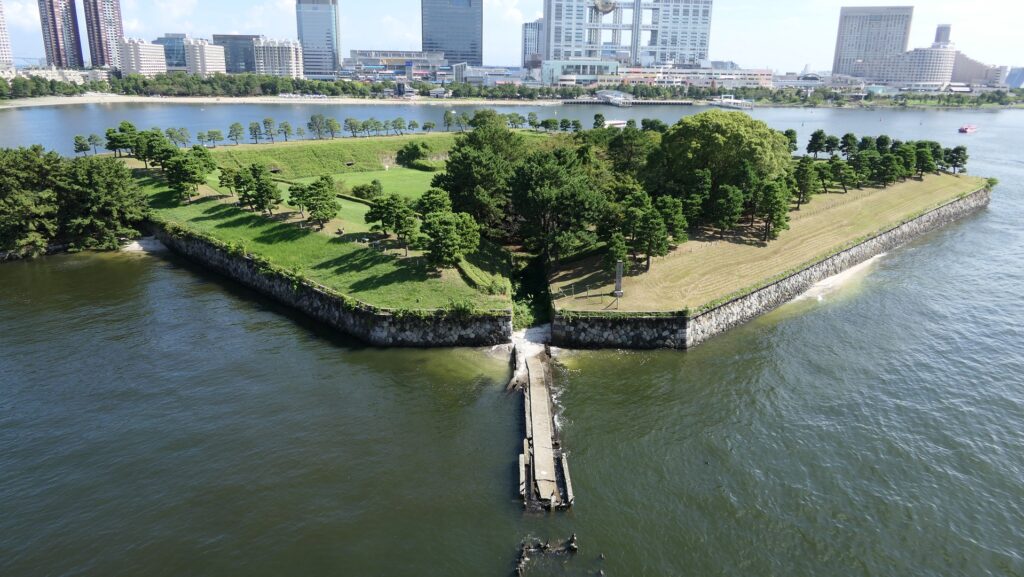
The senior vassals’ office was originally built at a different position, moved to another site and finally returned to the current position. In the back room, three vassals’ figures show they are discussing the matter of Shinagawa Batteries which the Kawagoe Domain was in charge of to guard Edo Bay.
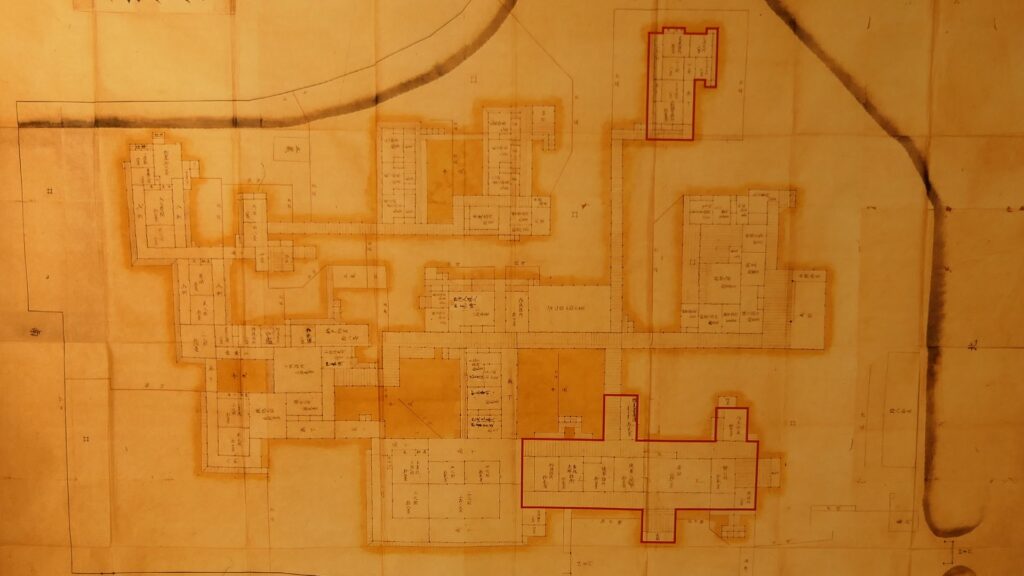
The layout of the original Main Hall, the senior vassals’ office (marked by the red lines above) was little far from the entrance part (marked by the red lines below), from the signboard at the siteA view of the officeThe interior of the officeThe figures are discussing in the back roomThe drawing they are looking at seems to be about Shinagawa BatteriesThe remaining No.3 Shinagawa Battery
Later History
After the Meiji Restoration, Kawagoe Castle was abandoned and all the castle buildings excluding the Main Hall were demolished. Most of the castle area was turned into the city area by destroying the earthen walls and filling the water moats. The remaining Main Hall was first turned into the prefectural office. After that, it changed to a public hall, a factory building, a martial arts hall, and finally a school building or gym. Its remaining part might have been reduced during the diversions. However, Saitama Prefecture designated the hall as a prefectural cultural property in 1967. Kawagoe City planed the development of the park around the castle and is carrying out it one by one.
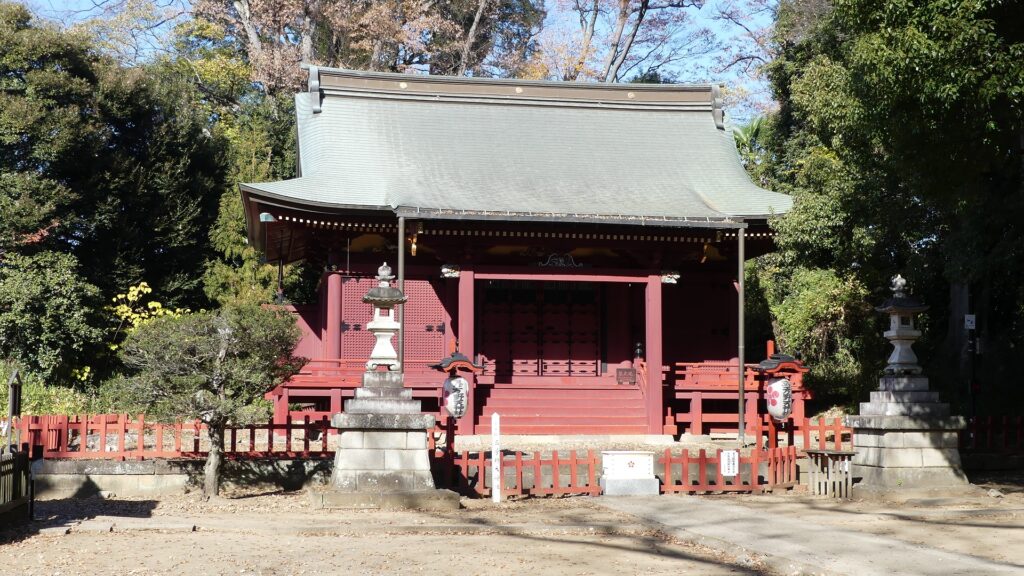
The area around the Main Hall has recently been developed in a good conditionMiyoshino Shrine, which is located next to the main enclosure, has remained since the Edo Period
My Impression
I think there was no other way than using the castle area to develop the modern city area. That’s why Kawagoe City still prospers with commerce, agriculture, industries, and tourism. On the other hand, I am also pleased to see the volleyball traces on the remaining Main Hall. I imagine if there was a similar case to use an old hall as a gym, it could be replaced with a new building. I also guess locals in Kawagoe wanted to somehow maintain the hall no matter how it was used.
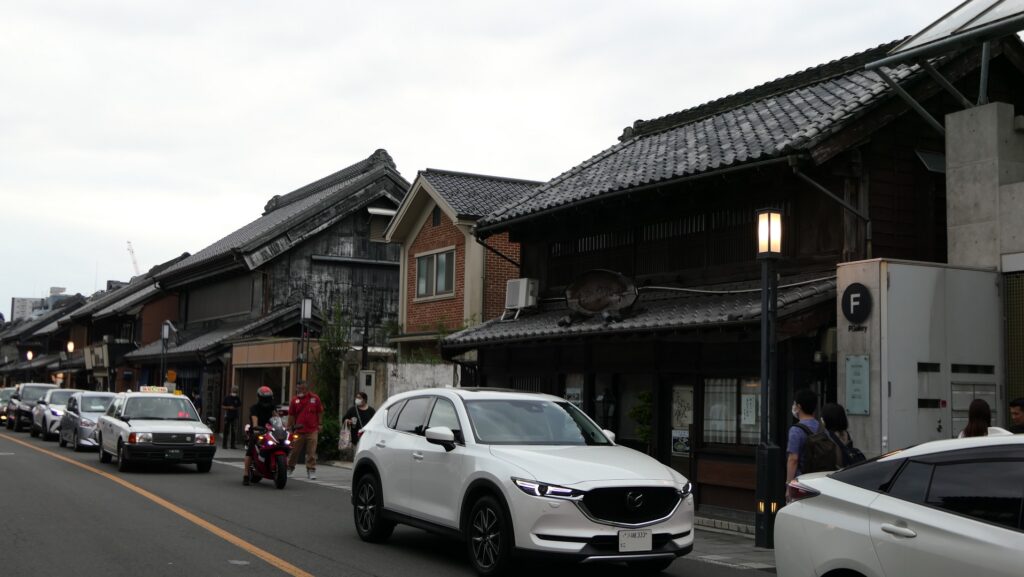
the street with Kura storehouses of KawagoeThe ceiling of the Hiroma room of the Main Hall
How to get There
If you want to visit there by car, it is about a 15-minute drive away from Kawagoe IC on the Kanetsu Expressway. There are several parking lots around the main enclosure. By public transportation, take the Co-Edo Loop Bus from JR Kawagoe Station or Tobu Hon-Kawagoe Station and get off at the Honmaru-Goten bus stop.