ここに行くには
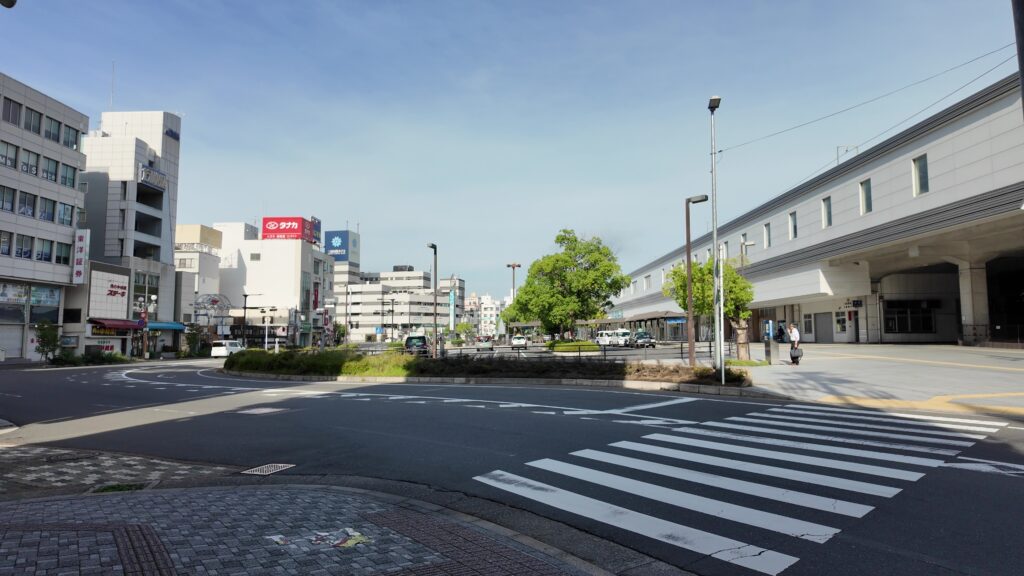
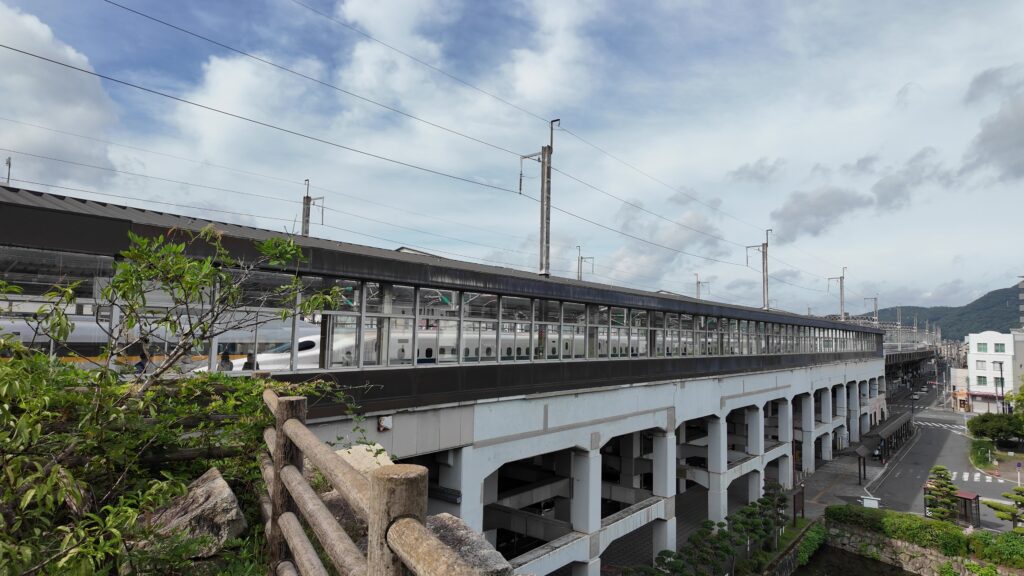
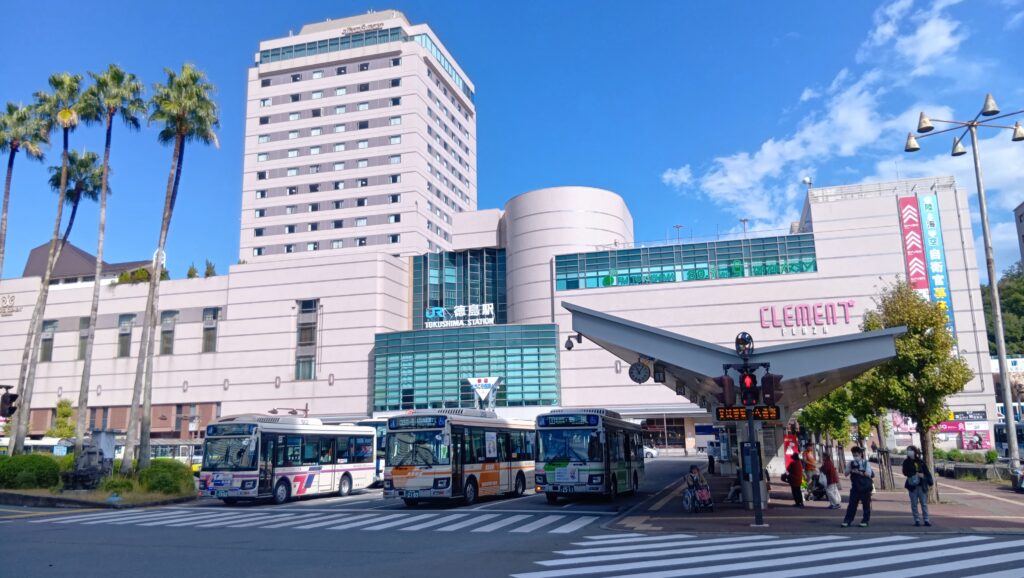
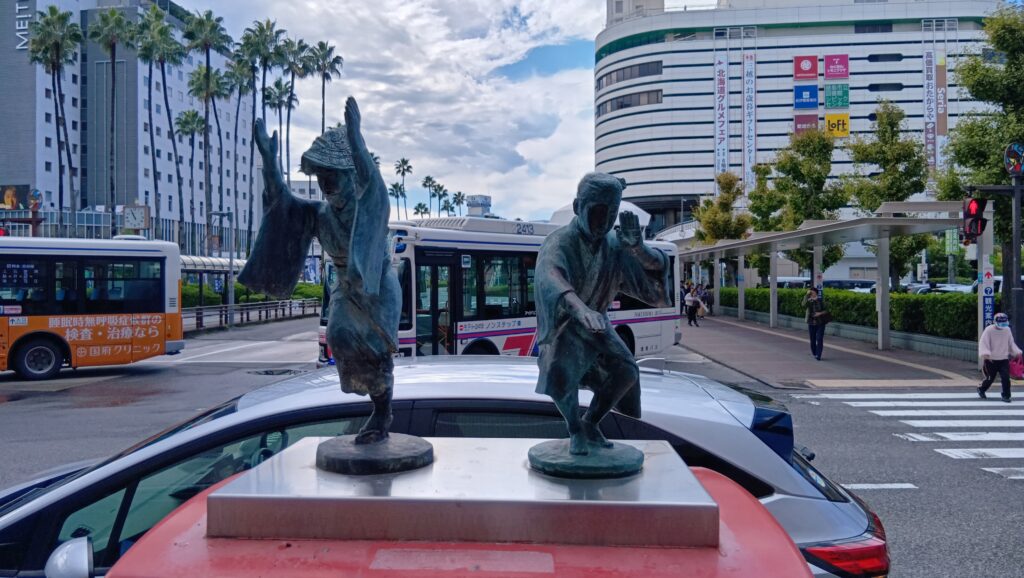
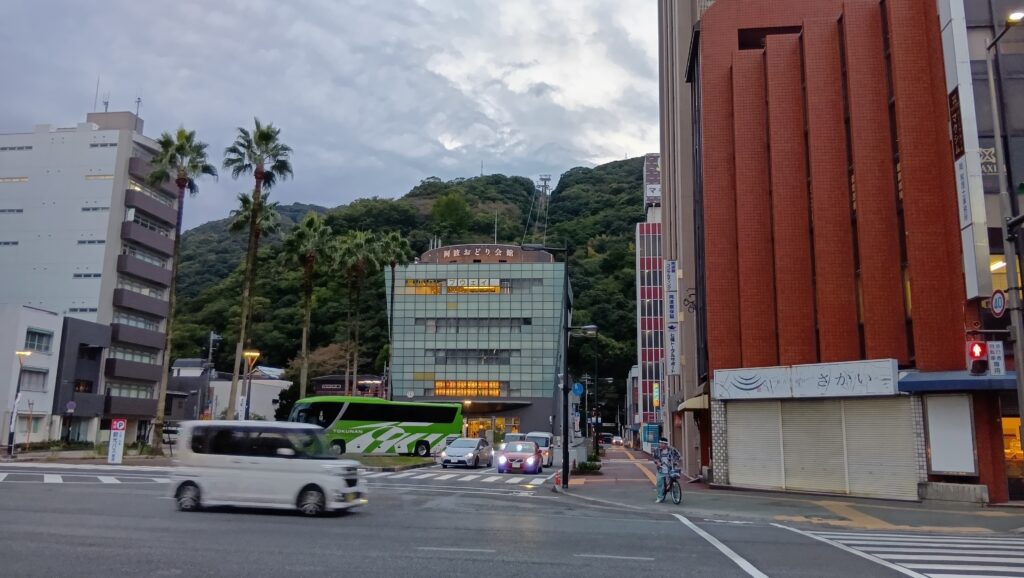
今日は、徳島駅前に来ています。さすが阿波踊りの本場だけあって、街なかではフィギアがお出迎えです。ところで、徳島城はどこにあるのでしょうか。ここ、徳島駅は城があった「ひょうたん島」のど真ん中にあるのです。徳島城へもここから出発します。
徳島という名前も、島状の地形から来ているのかと思ってしまいます。かつてこの辺りは「渭津(いのつ}」と呼ばれていましたが、藩祖の蜂須賀家政が「徳島」に改めました。恐らく縁起を担いだのだろうと言われますが、はっきりしないそうです。しかも、定着するのに100年くらいかかりました。地名にも謎と歴史があるのです。
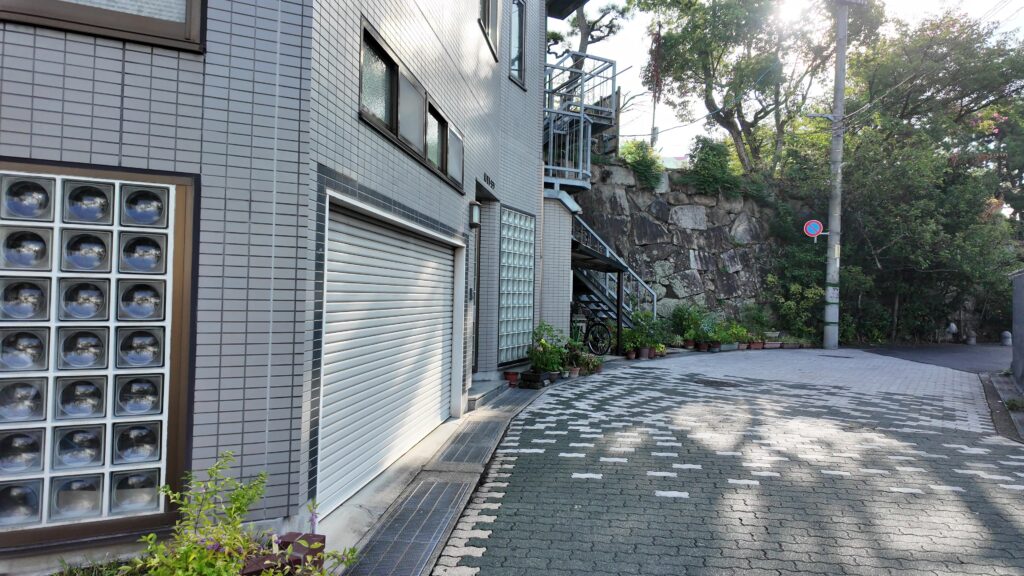
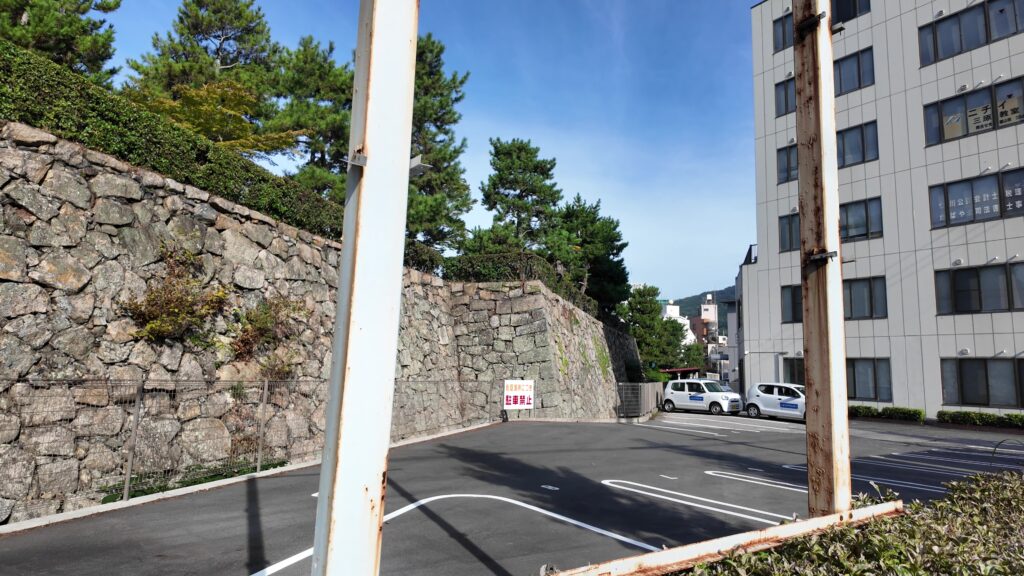
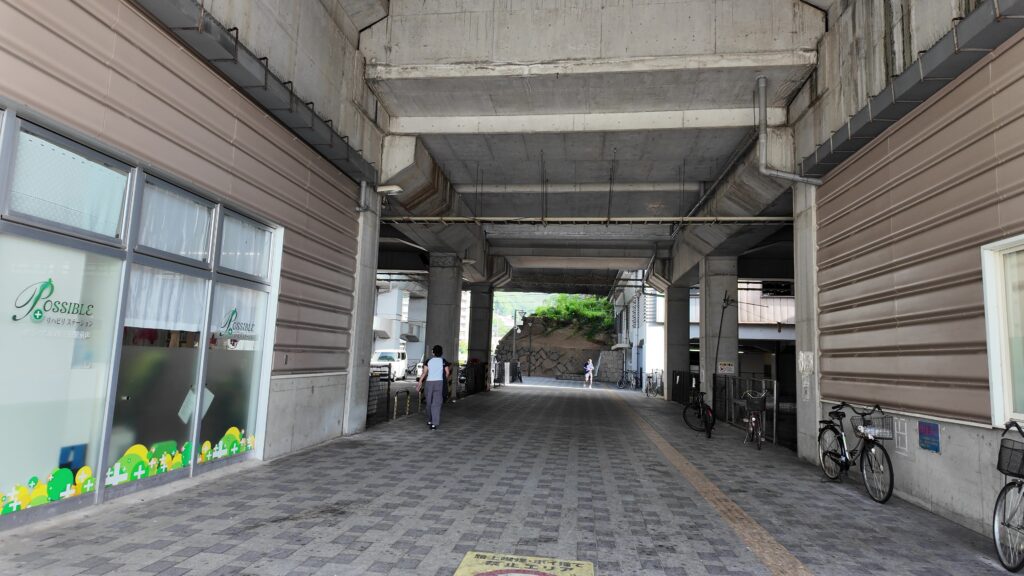
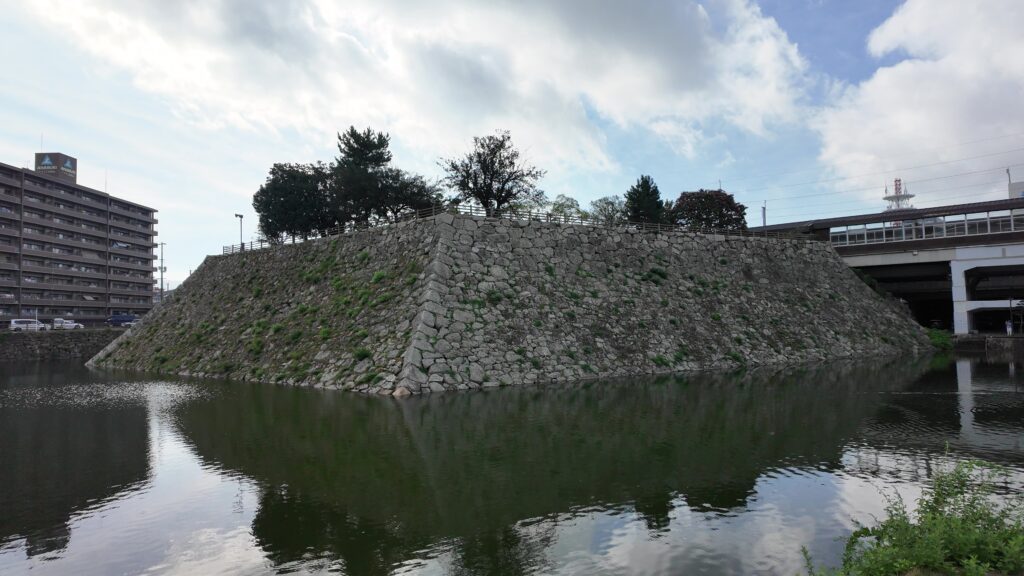
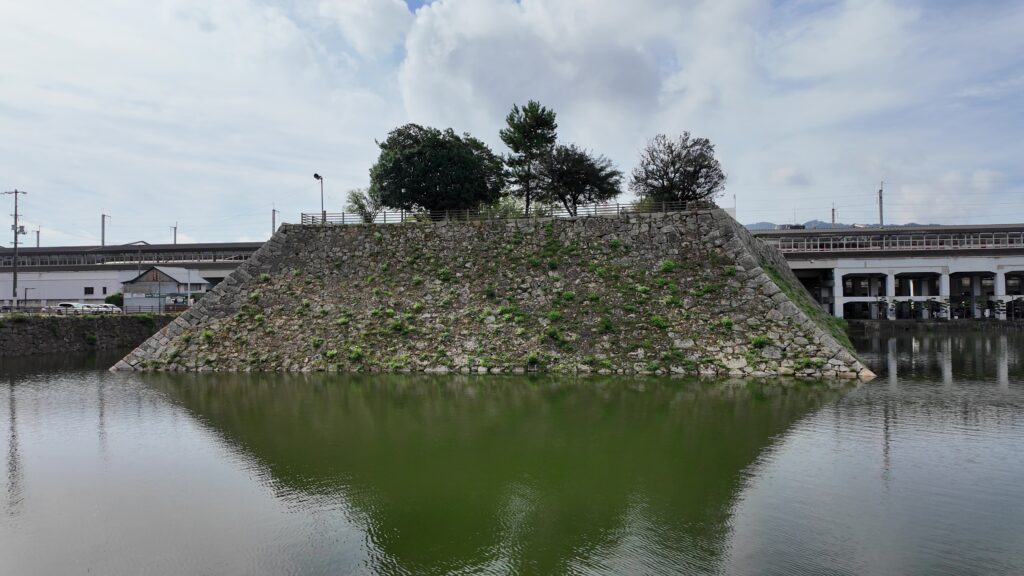
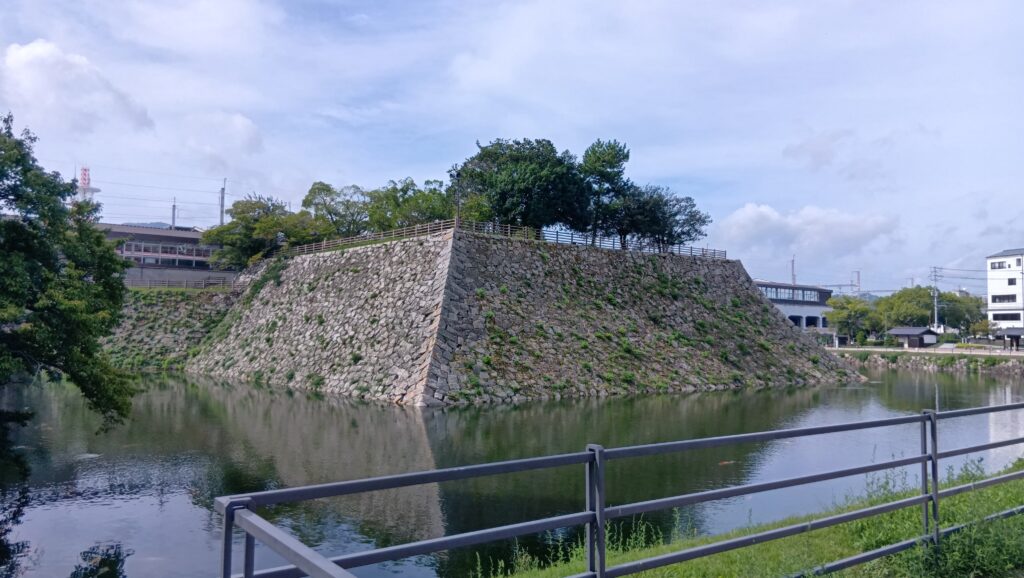
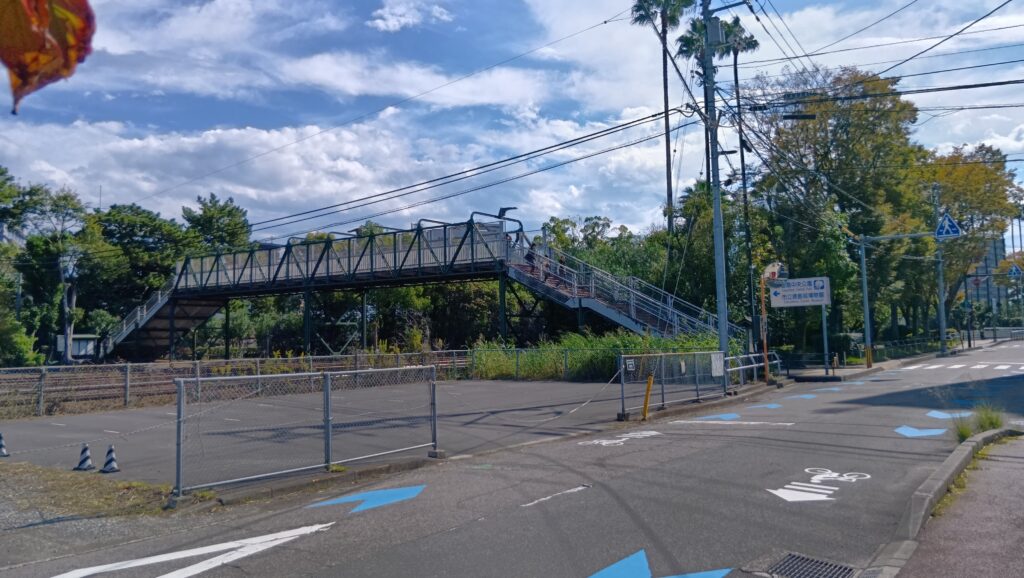
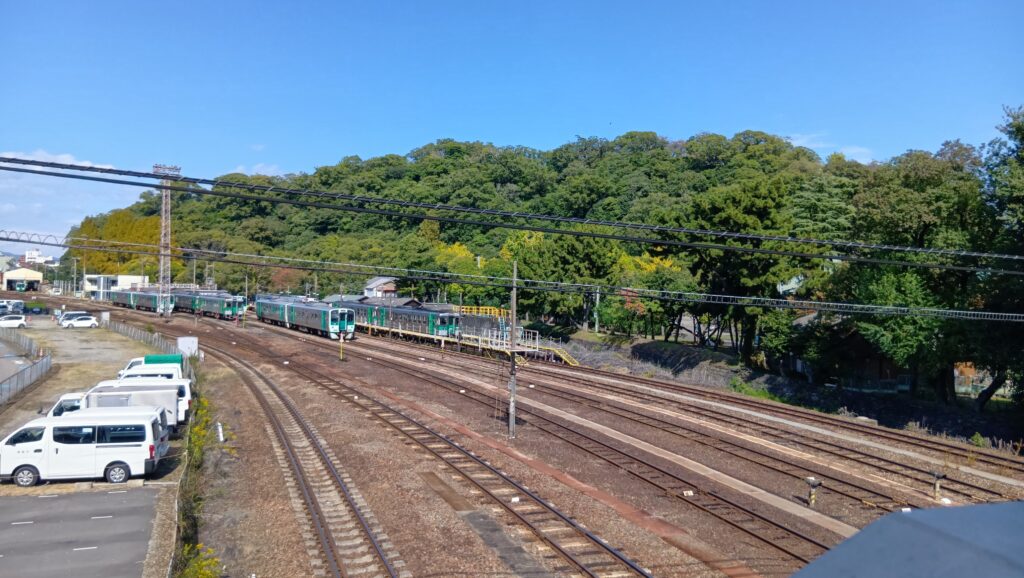
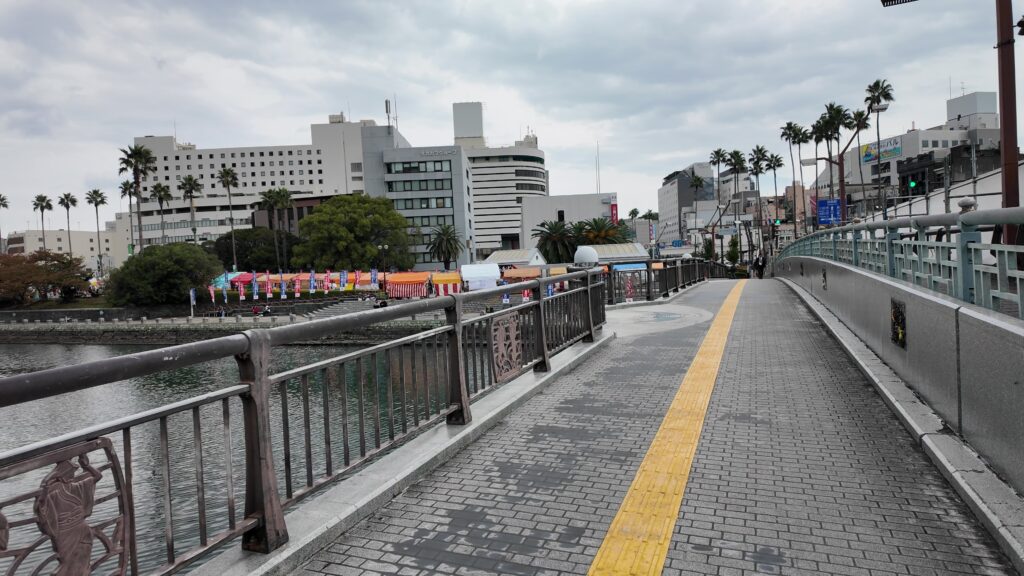
今、線路際を歩いていますが、ここはかつて島を貫く寺島川でした。線路の向こうに山が見えますが、最初に城が築かれた城山(当初は「猪山」)です。城はすぐ近くです。城跡がある徳島中央公園へは、歩道橋を渡ります。
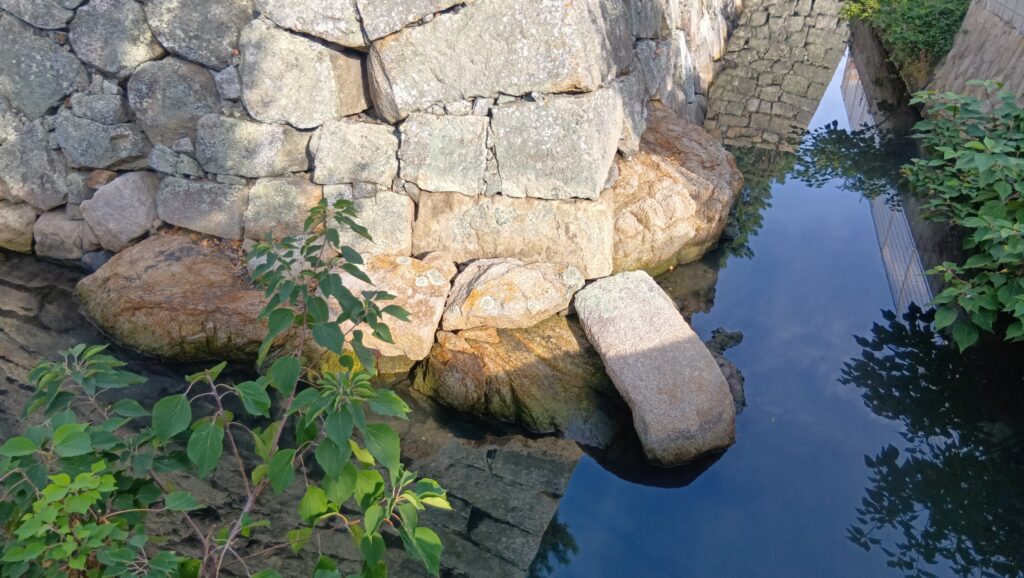
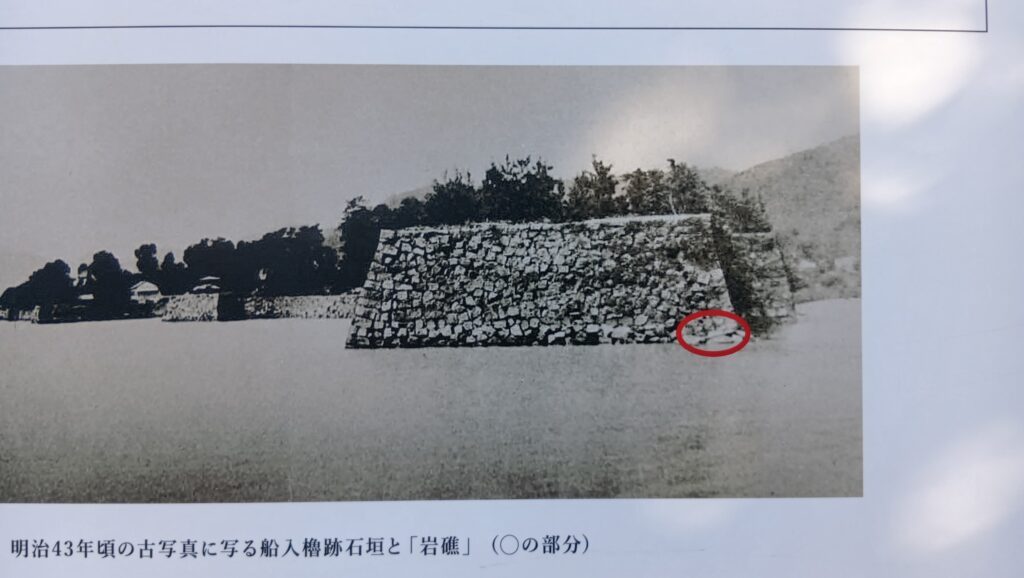
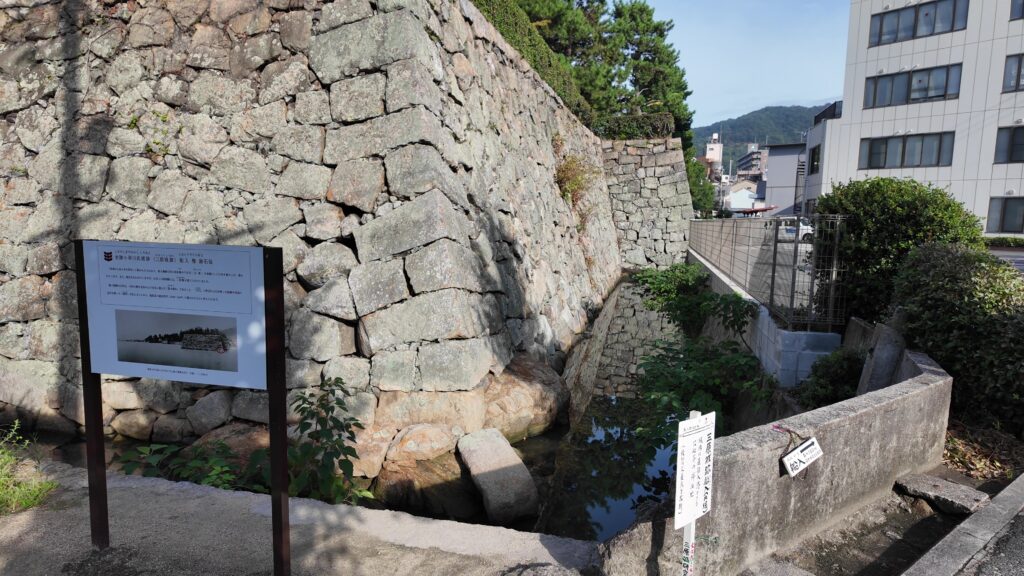
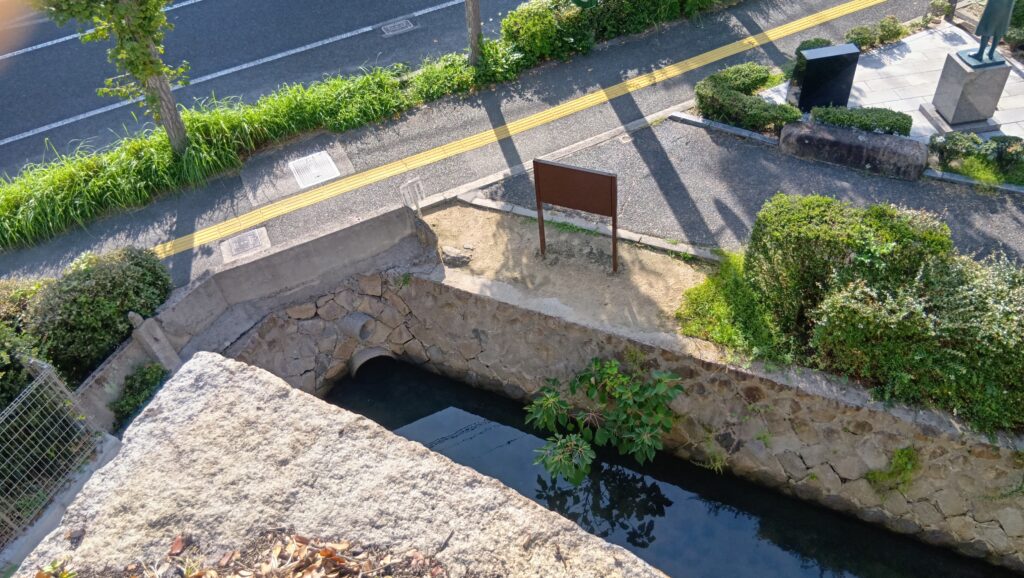
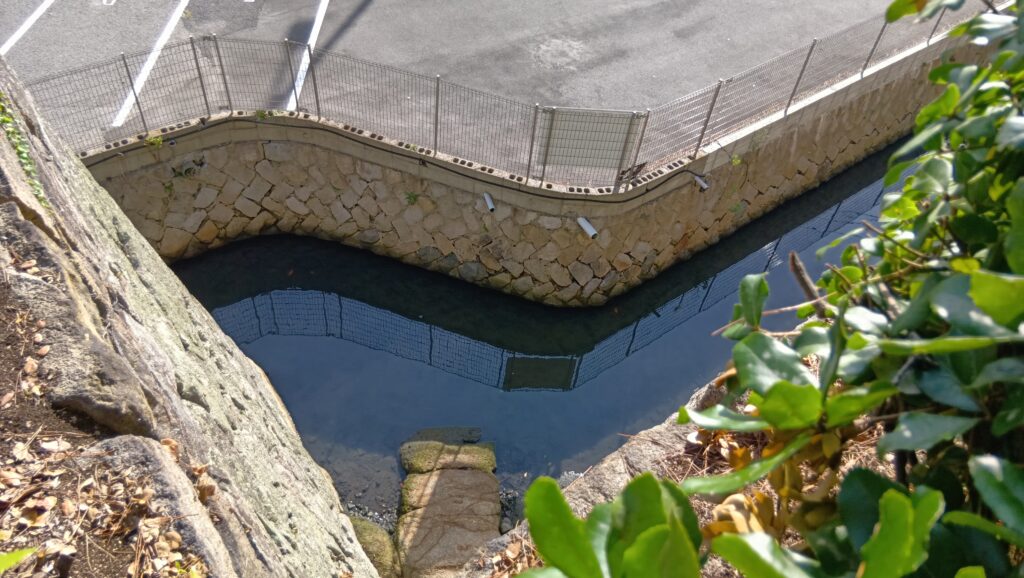
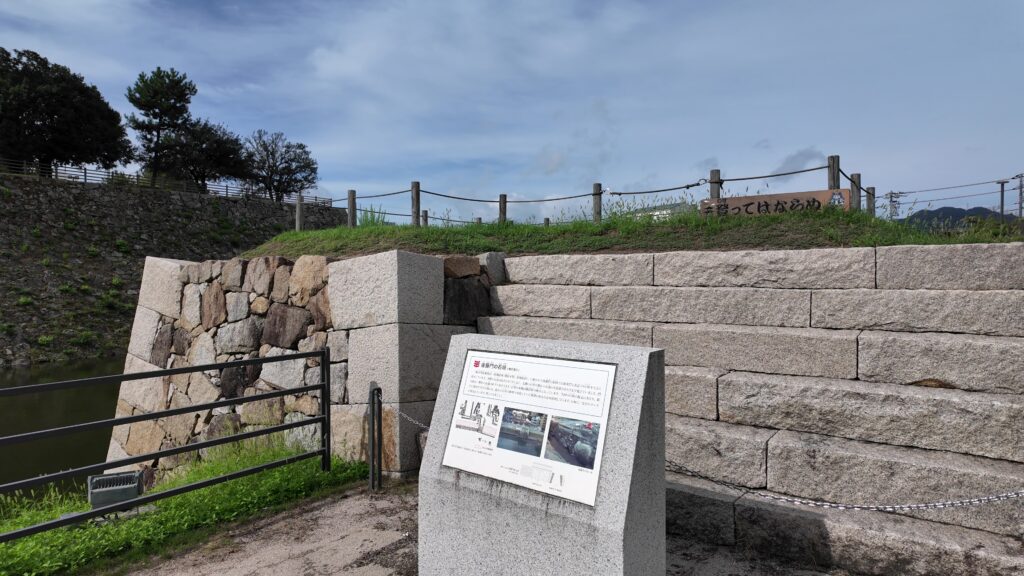
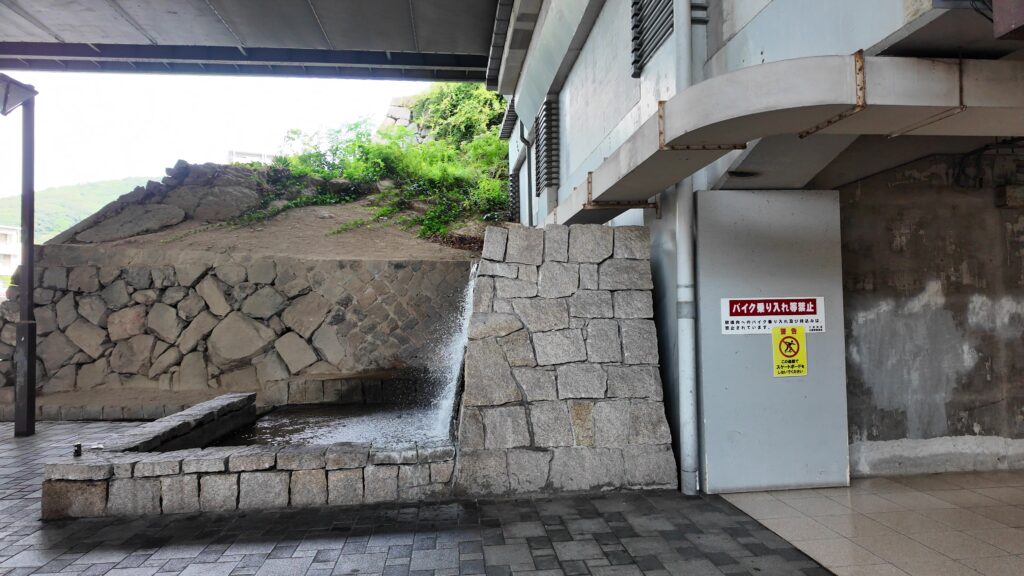
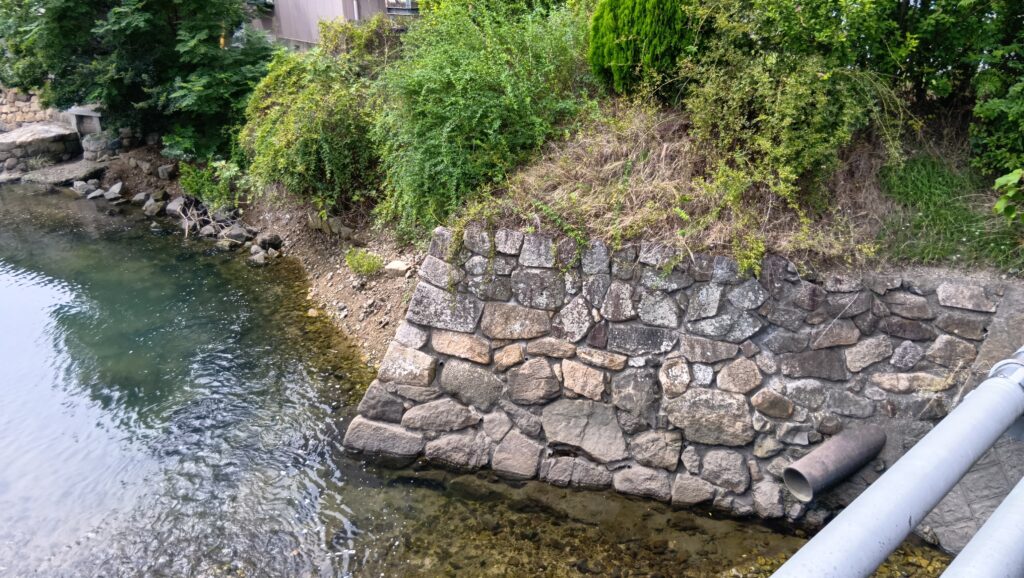
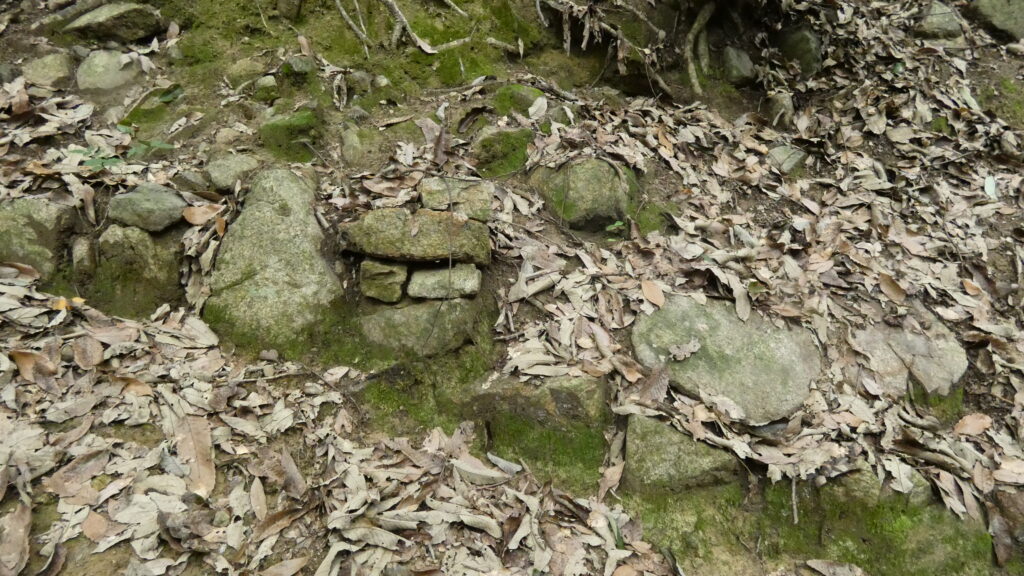
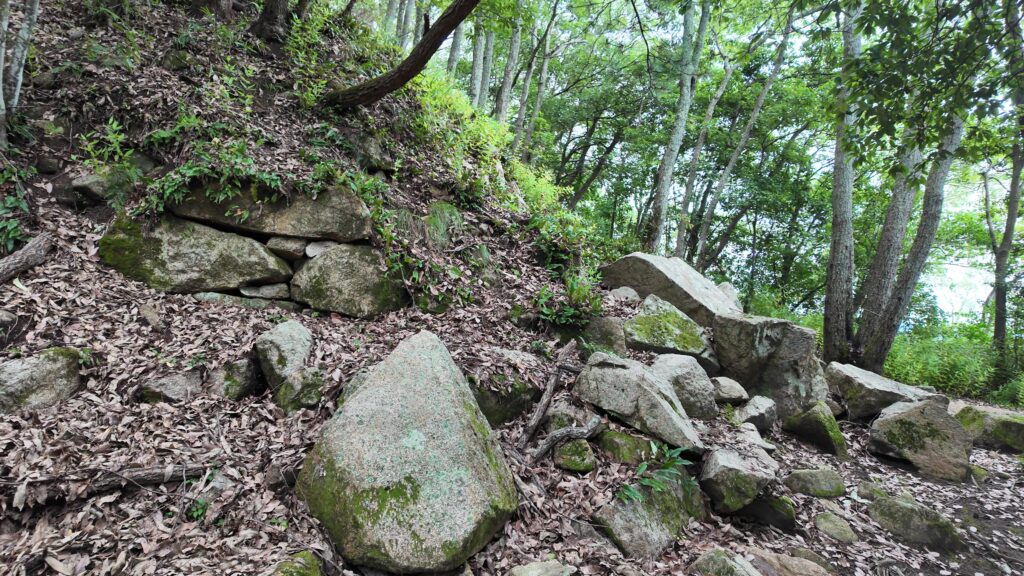
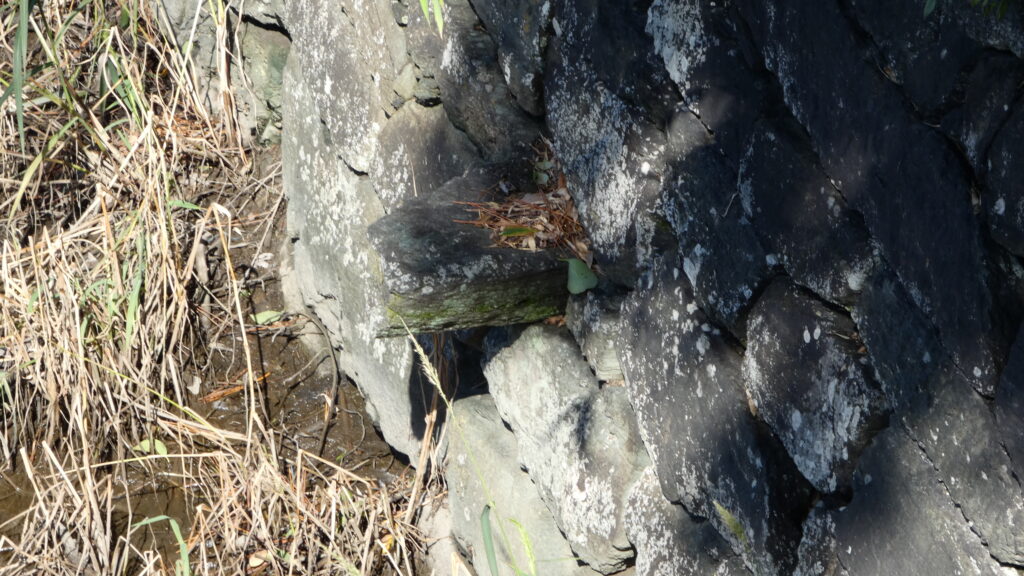
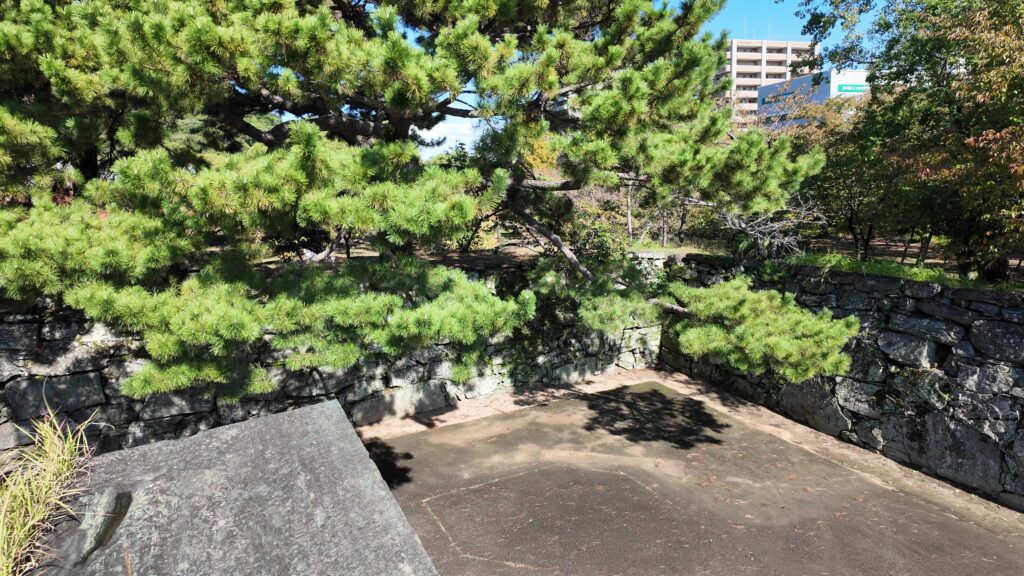
歩道橋を下るところに最初の見どころがあります。川を攻めてくる敵を迎え撃つために屏風折れ塀がありましたが、それを支える「舌石(したいし)」が残っているのです。

今回の内容を趣向を変えて、Youtube にも投稿しています。よろしかったらご覧ください。
特徴、見どころ
山麓の御殿跡を巡る
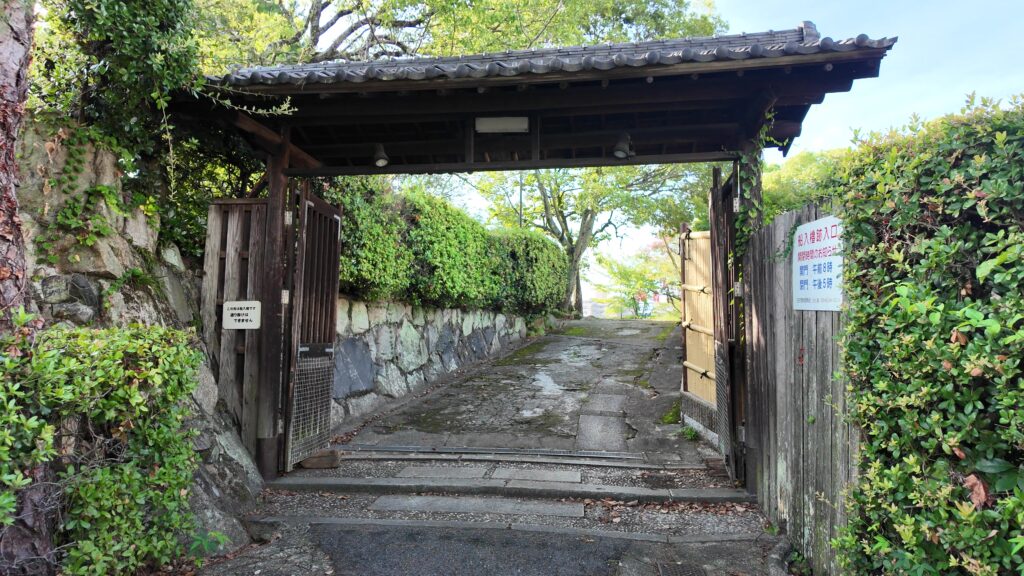
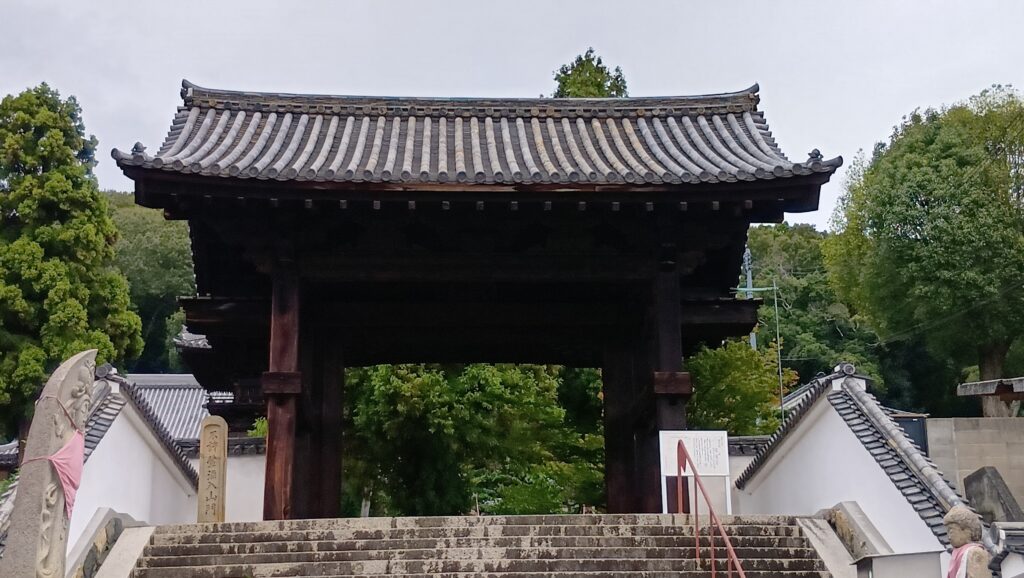
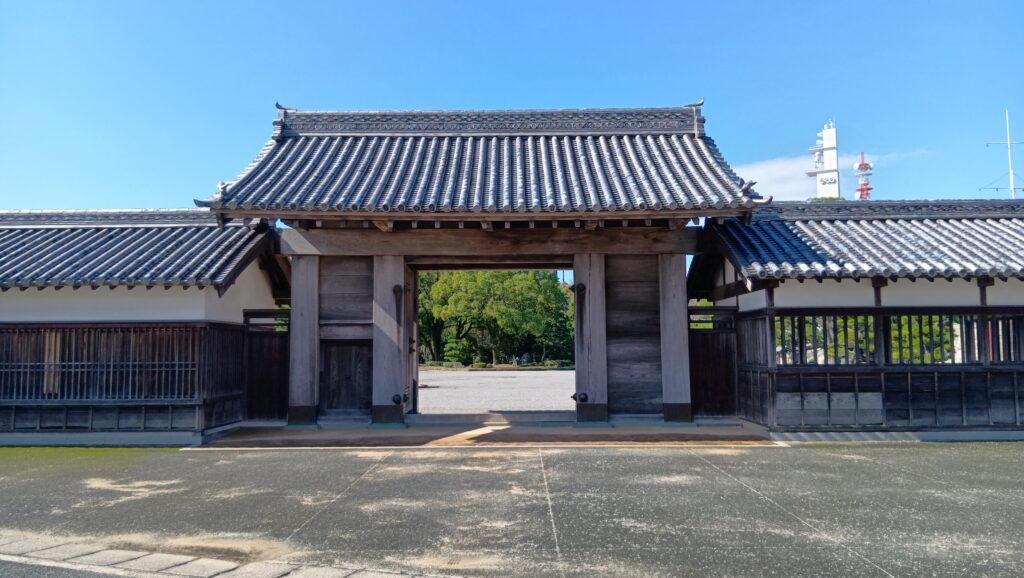
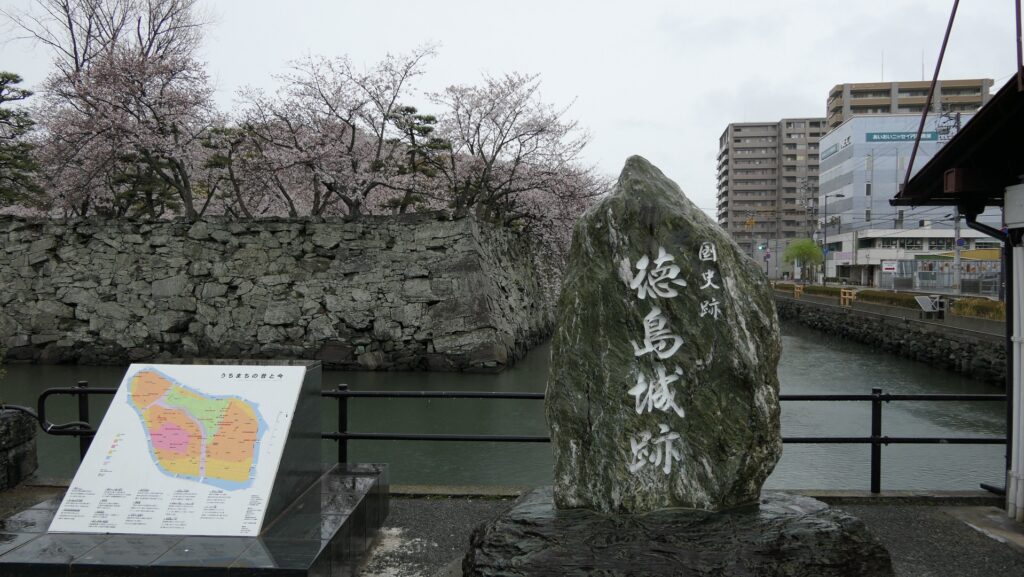
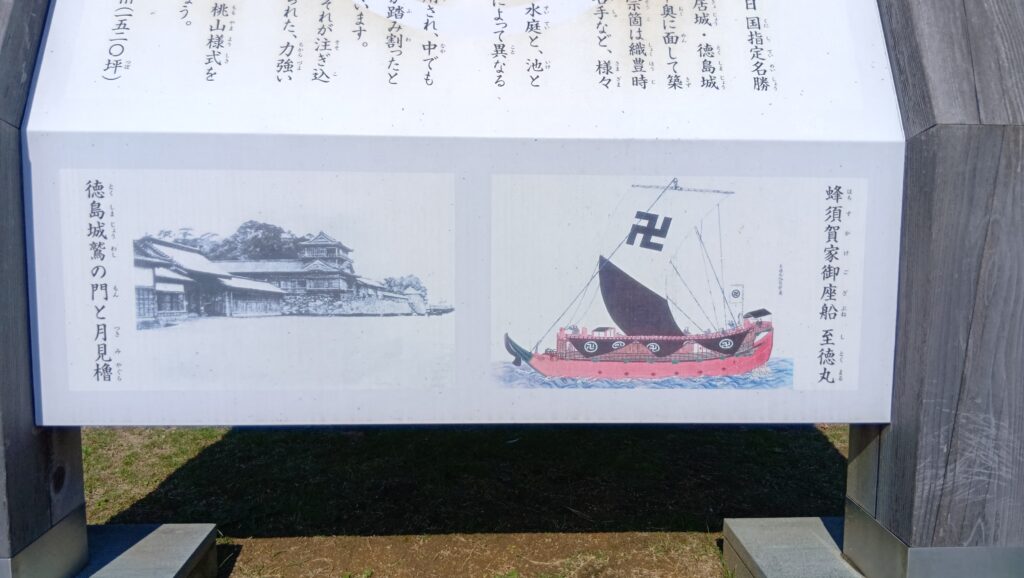
復元された城の正門、鷲の門の前にやってきました。すぐそばには、城跡の石碑もあります。鷲の門に入っていきましょう。
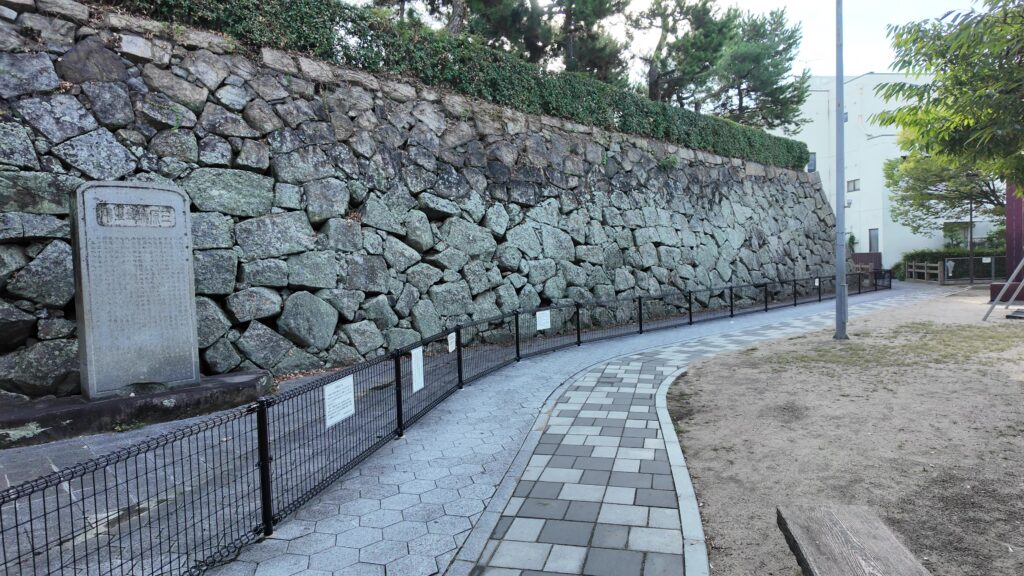
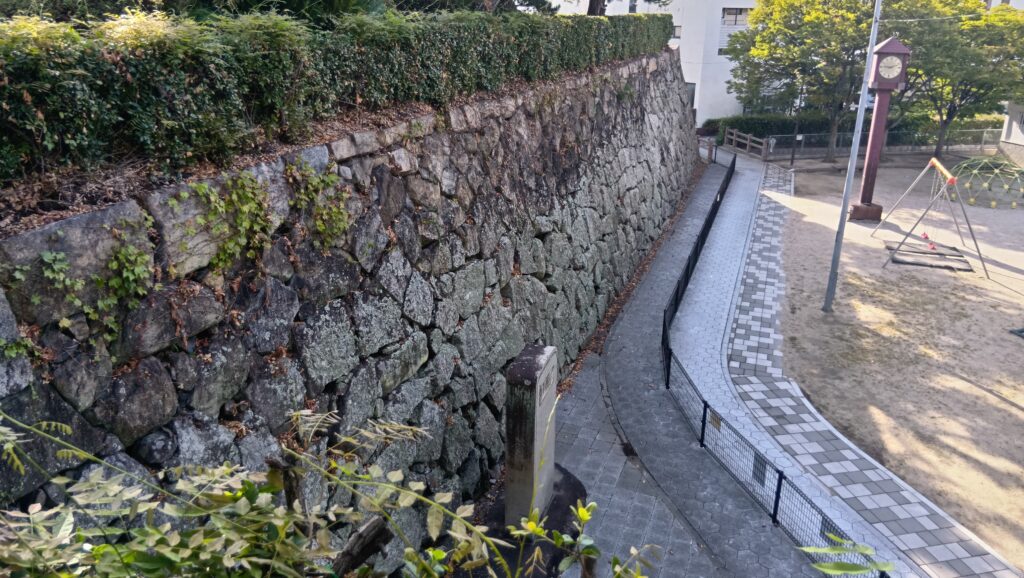
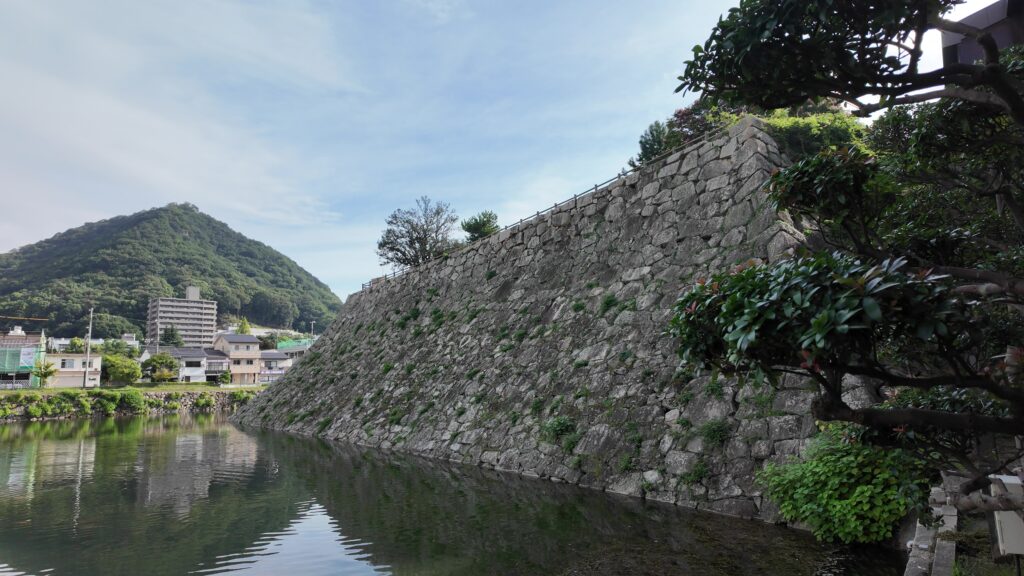
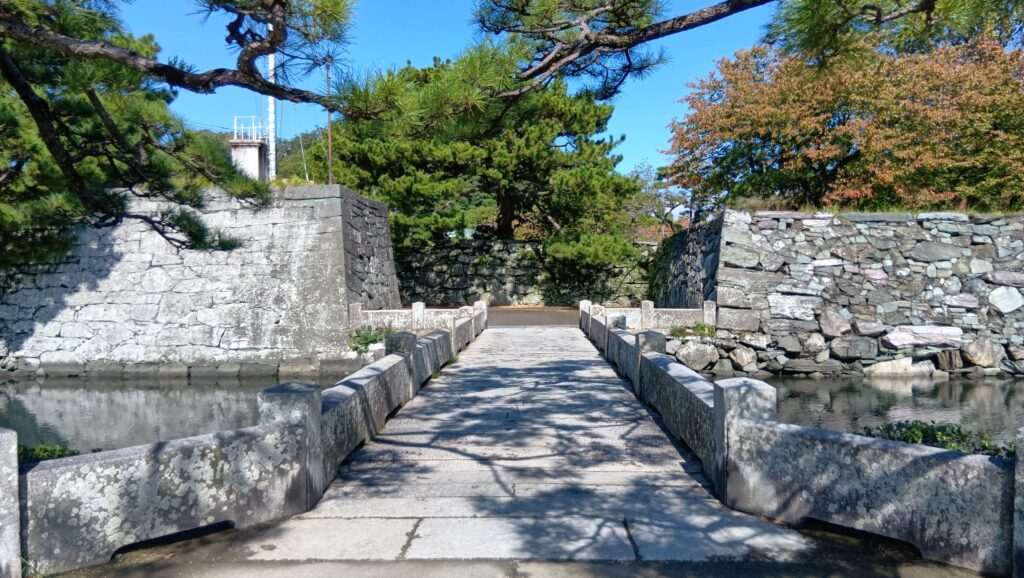
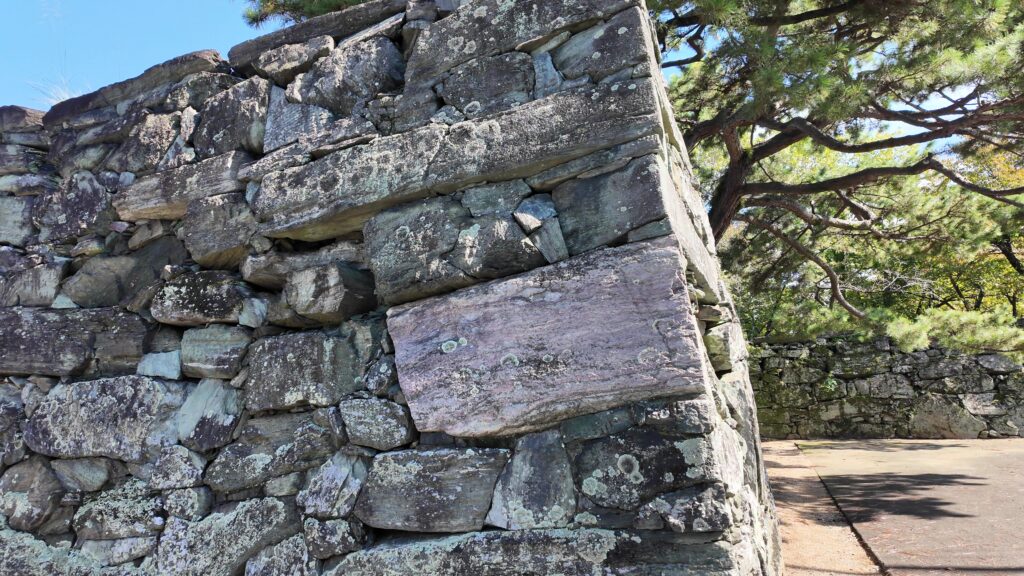
次は、御殿の入口にあたる「下乗橋」です。ここからは、駕籠などの乗り物から降りて渡ったことに由来しています。橋を渡った先は、大手門にあたる黒門がありました。建物はありませんが、すごい石垣の枡形が残っています。「阿波の青石」を使った素晴らしい石垣です。
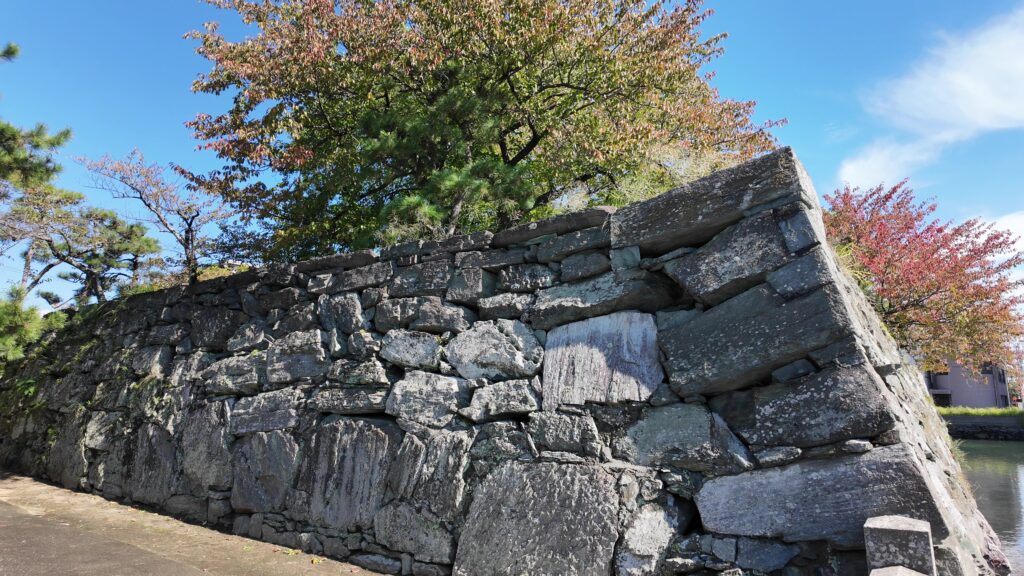
枡形を出るところの石垣も注目です。真ん中にある大きな石の色がちがいます。紅簾片岩(こうれんへんがん)と呼ばれる赤い石が、ところどころに使われています。青い石と、赤い石の組み合わせ、これは見ものです。
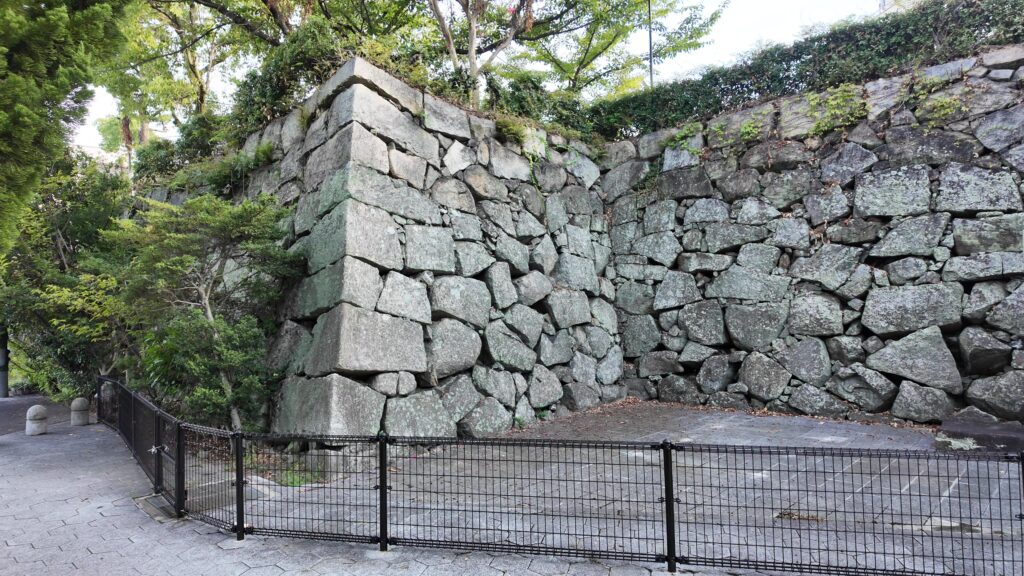
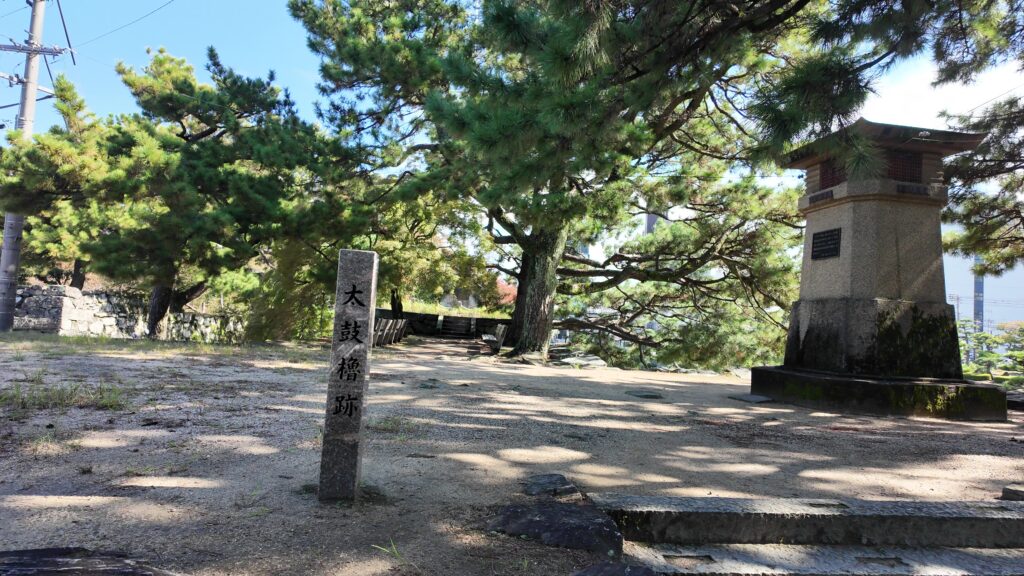
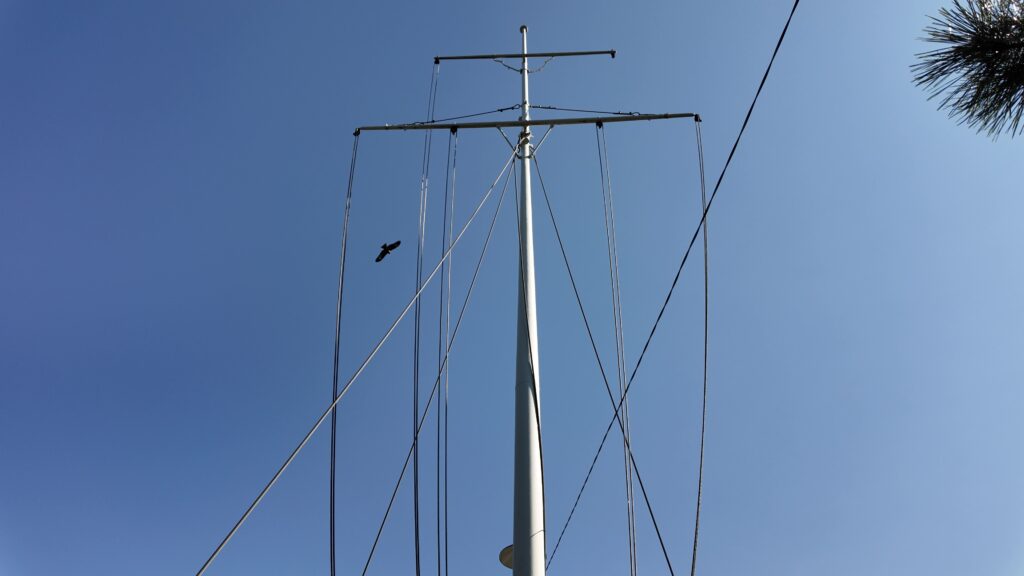
隅のところにあった太鼓櫓跡に登ってみましょう。黒門跡を上から見てみます。旧海軍の駆逐艦(「追風」)のマストが展示されています。さっき渡った下乗橋、黒門の枡形もお見通しです。
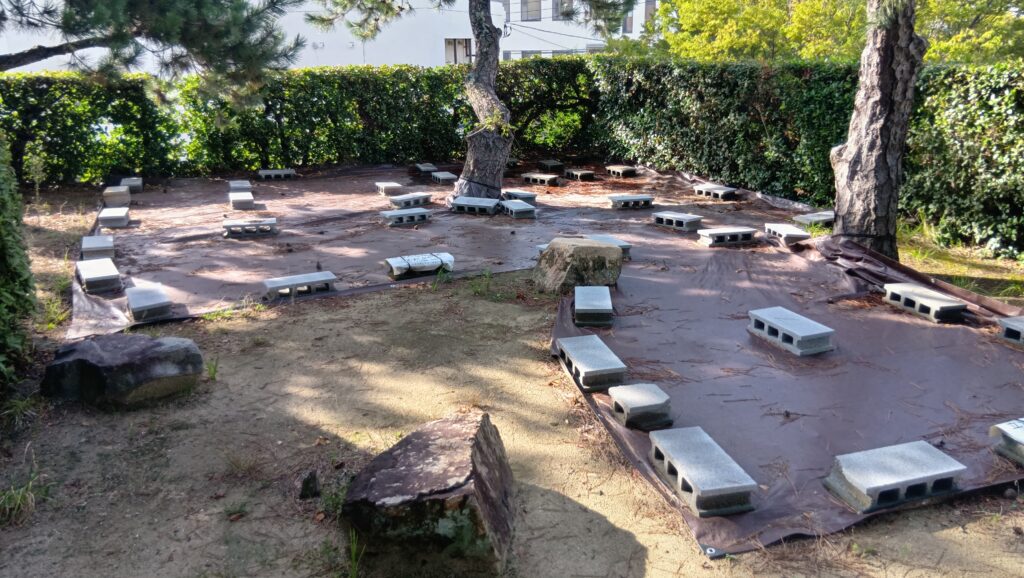
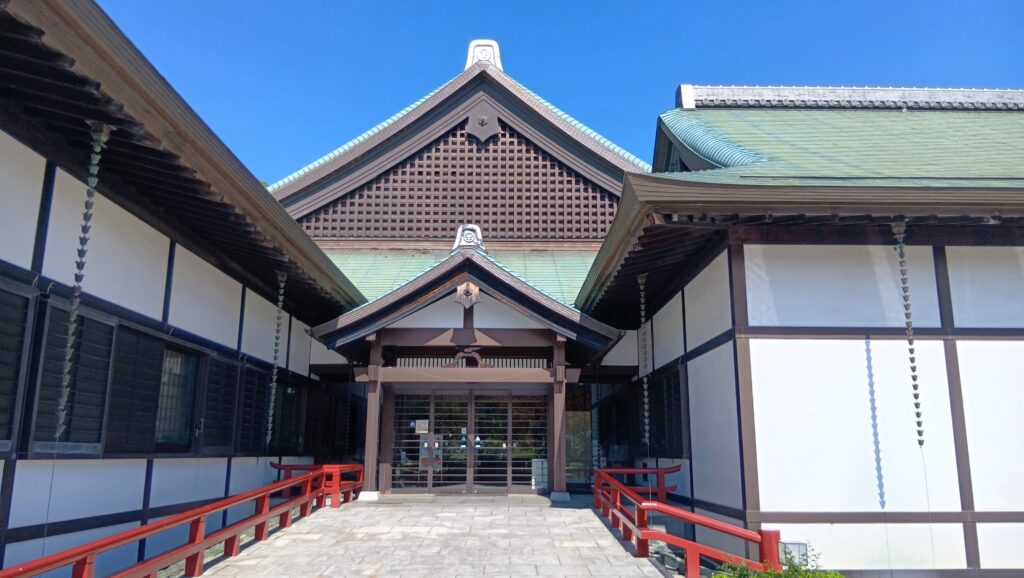
枡形に戻って、ここから御殿跡に進みます。大体、右側が表御殿、左側が奥御殿だったとのことです。御殿跡の奥の方には、徳島城博物館があります。
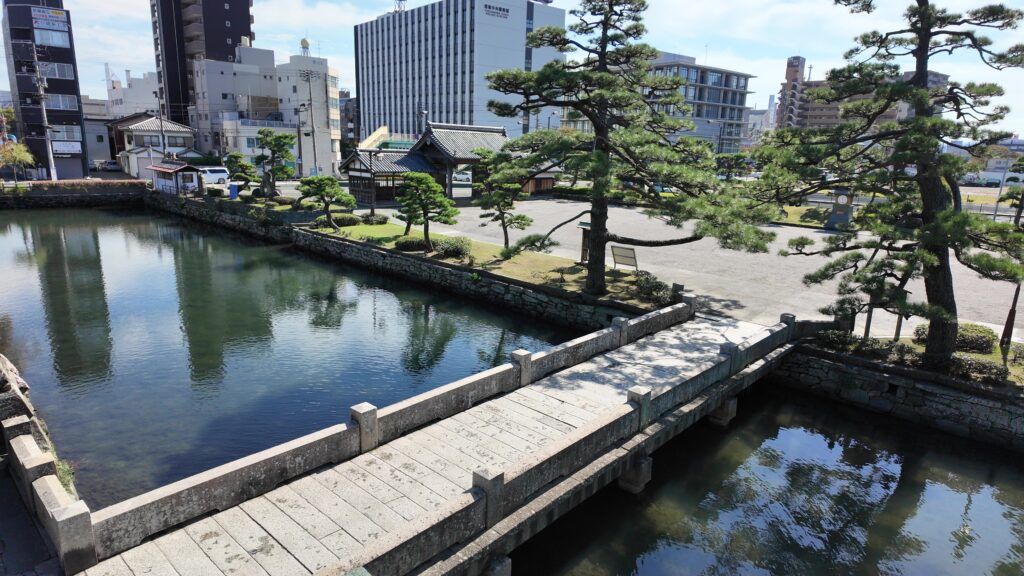
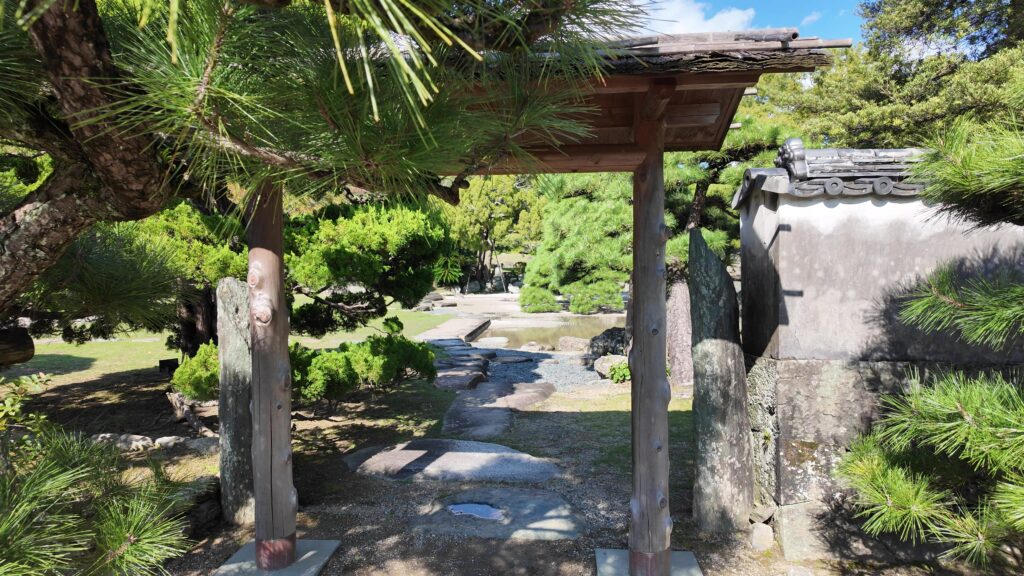
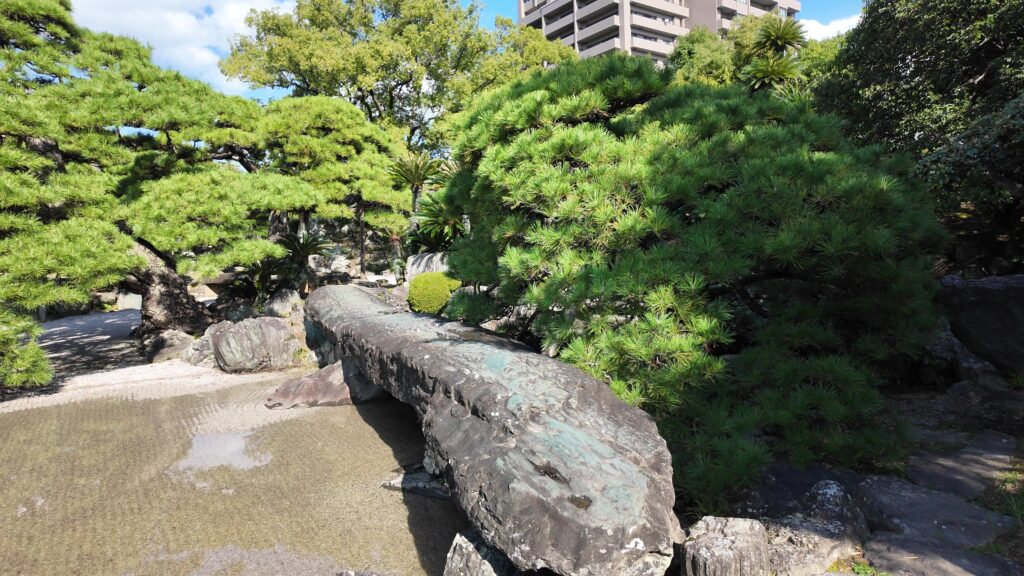
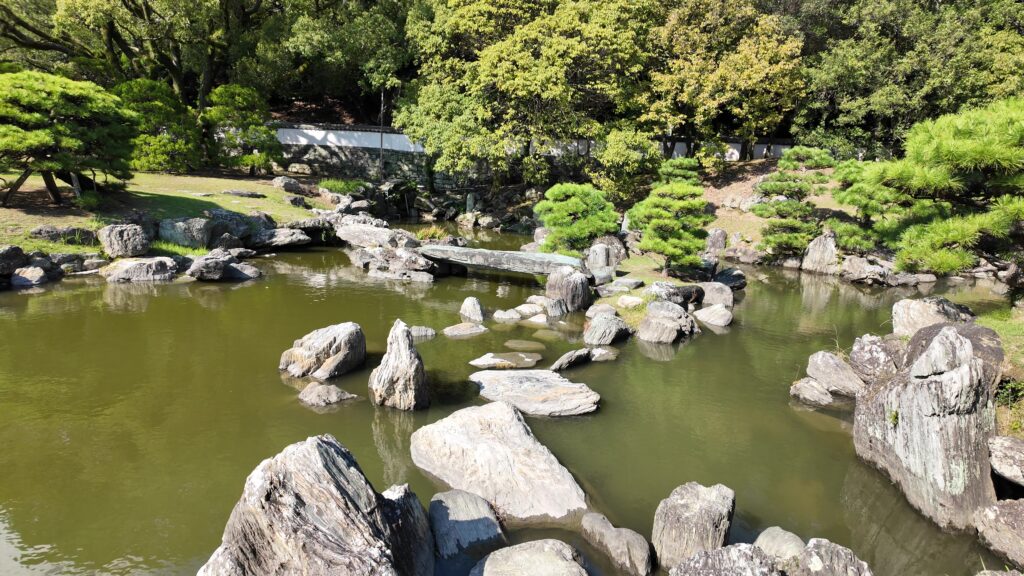
御殿の建物はなくても、その庭園が残っています(旧徳島城表御殿庭園)。国の名勝に指定されていて、手前側が枯山水の庭園になっています。すごく長い石橋があります。10メートル以上あるそうです。奥側は築山泉水という水を取り入れた庭園になっていて、2つの異なる様式が組み合わされています。桃山時代の武将茶人、上田宗箇が作庭したとされています。
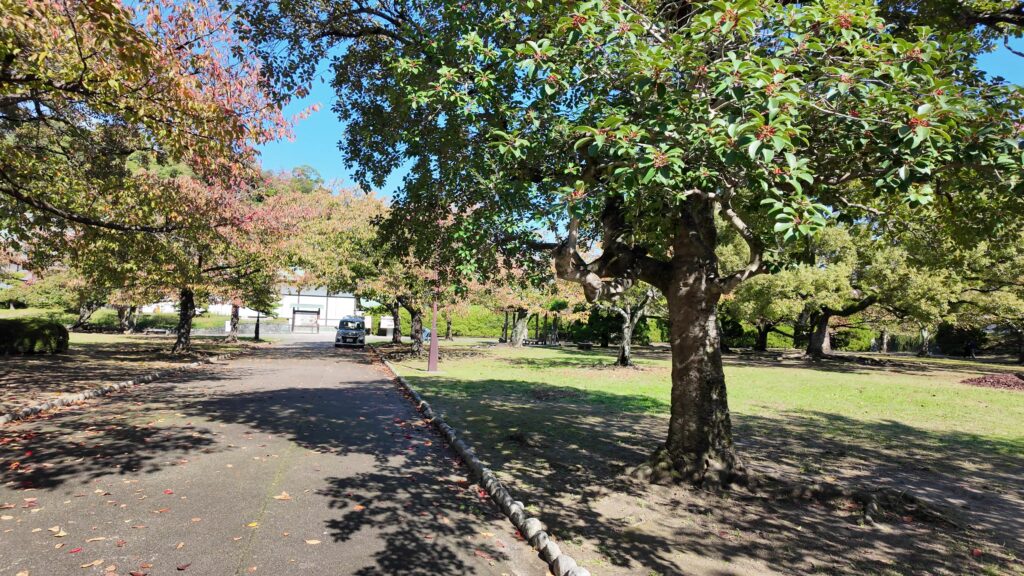
それでは、御殿跡から、石垣の合間を歩いて、城山に向かいましょう。
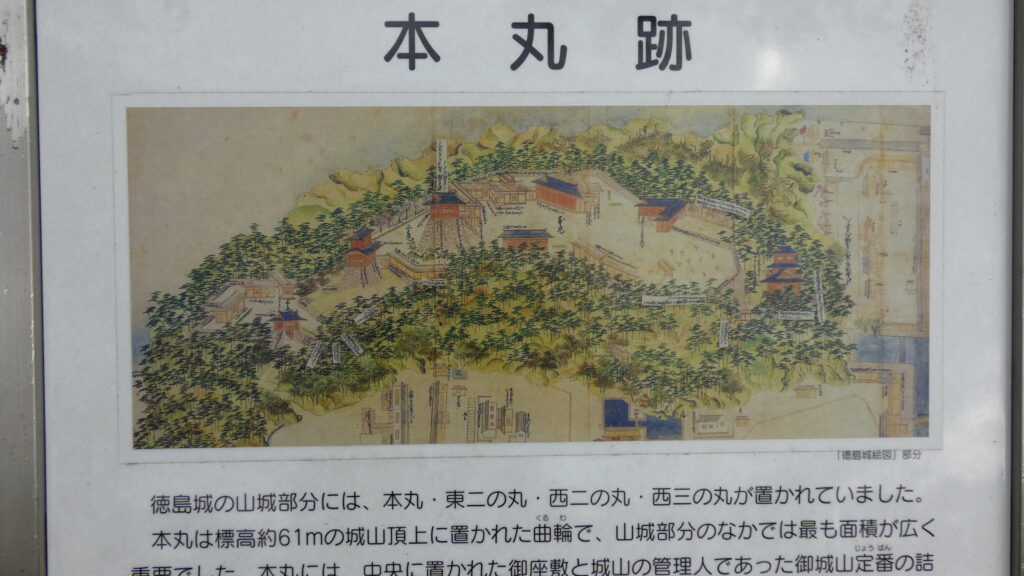
本丸のある城山を登る
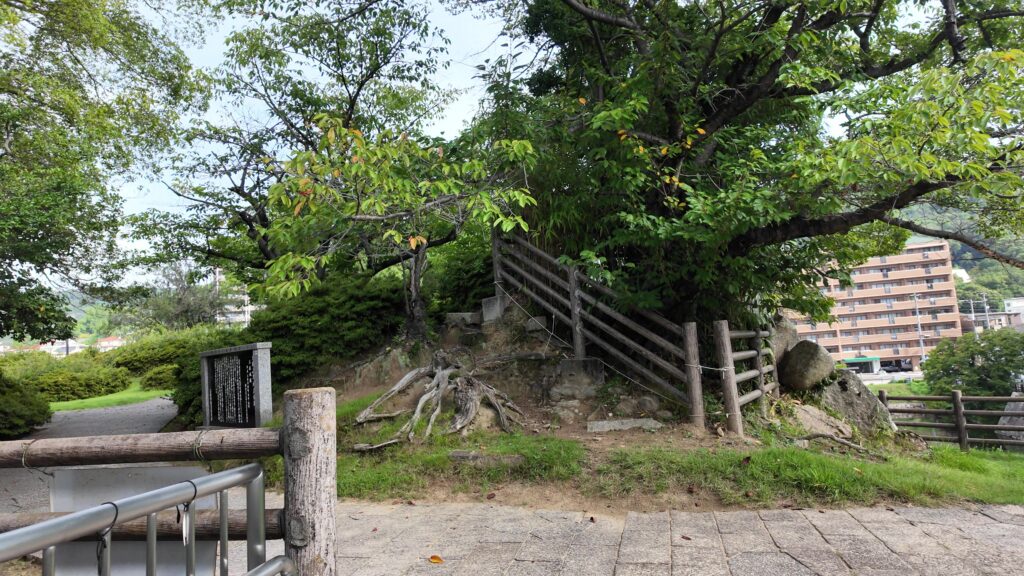
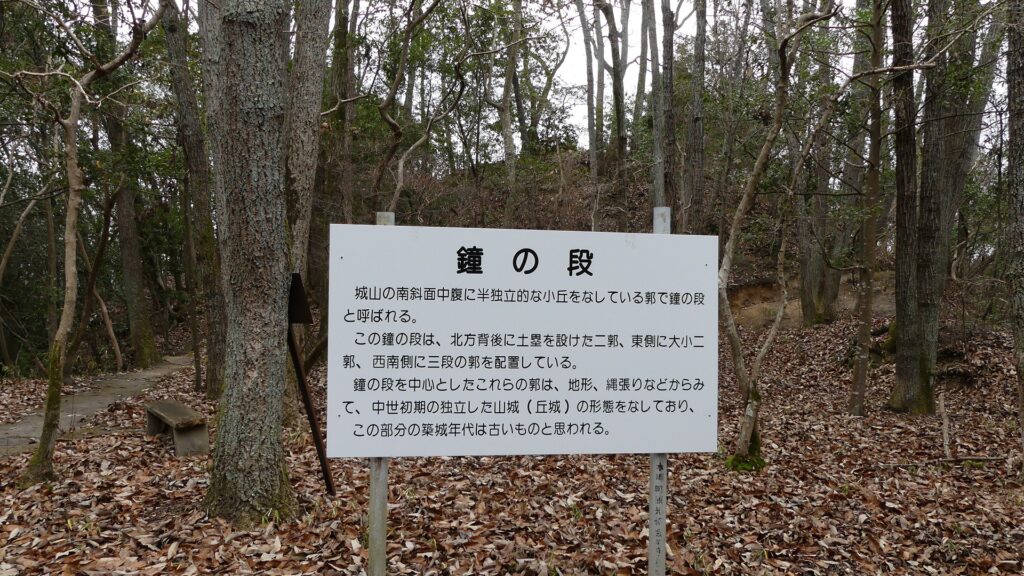
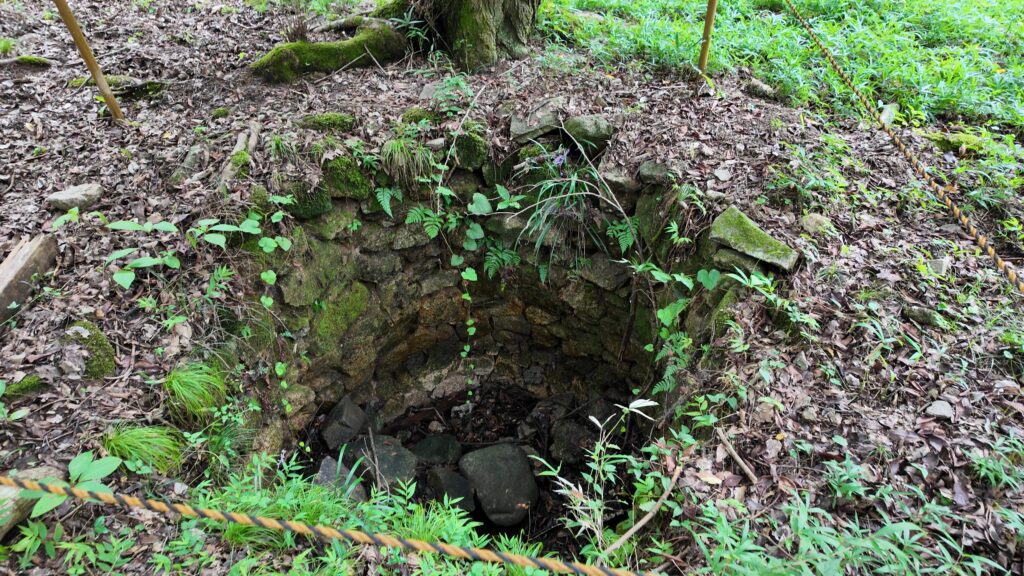
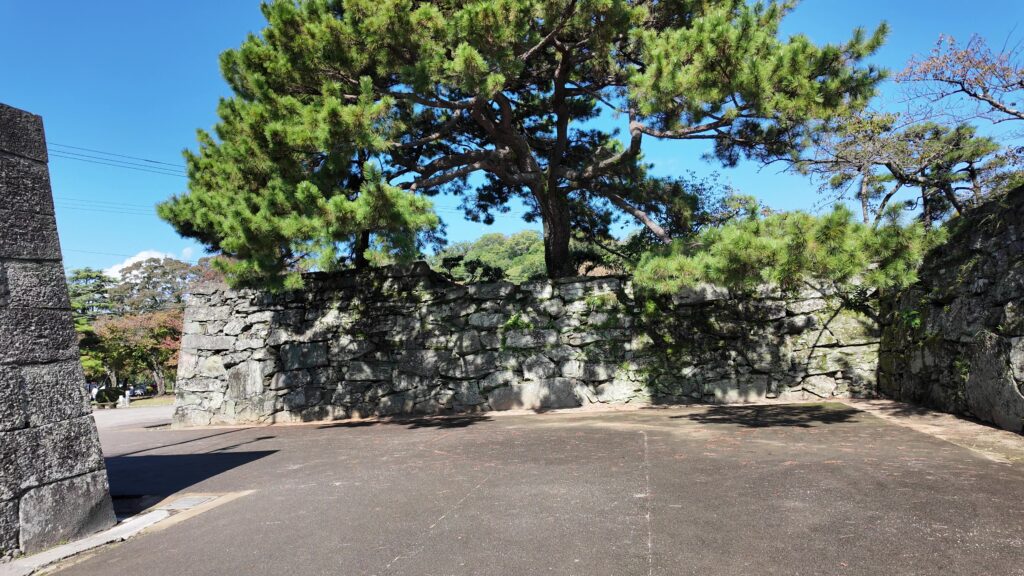
城山の端にやってきました。なんとここには縄文時代の貝塚の遺跡があるのです。そんなに前から人がここで活動していたのです。
ここが、山上への入口です。なにか別のお城に行くみたいです。
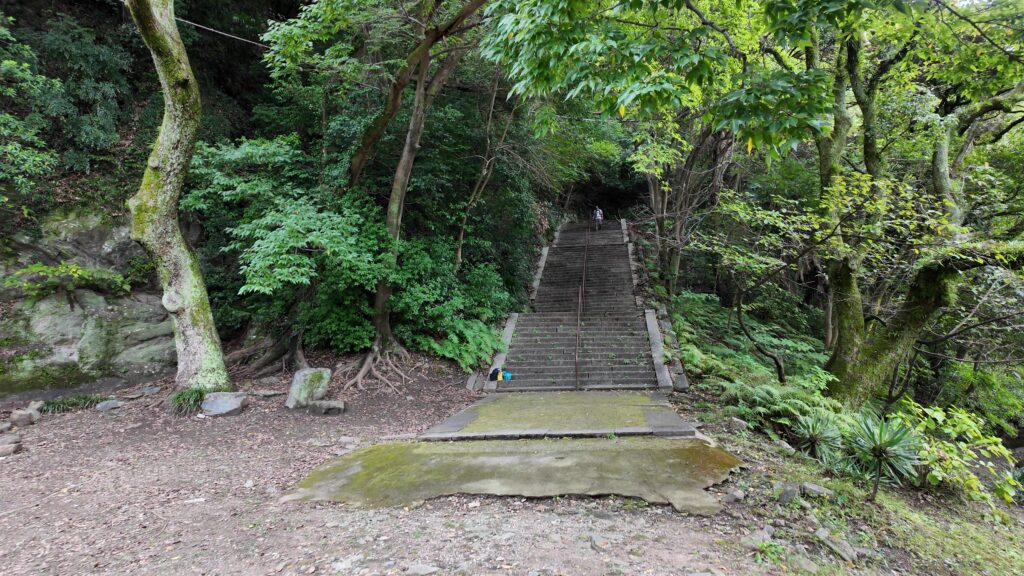
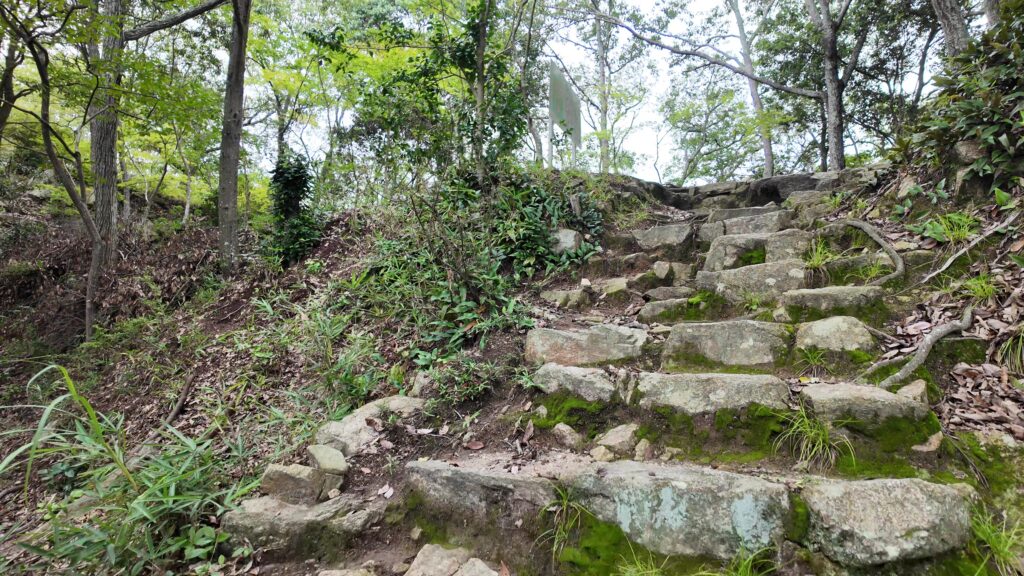
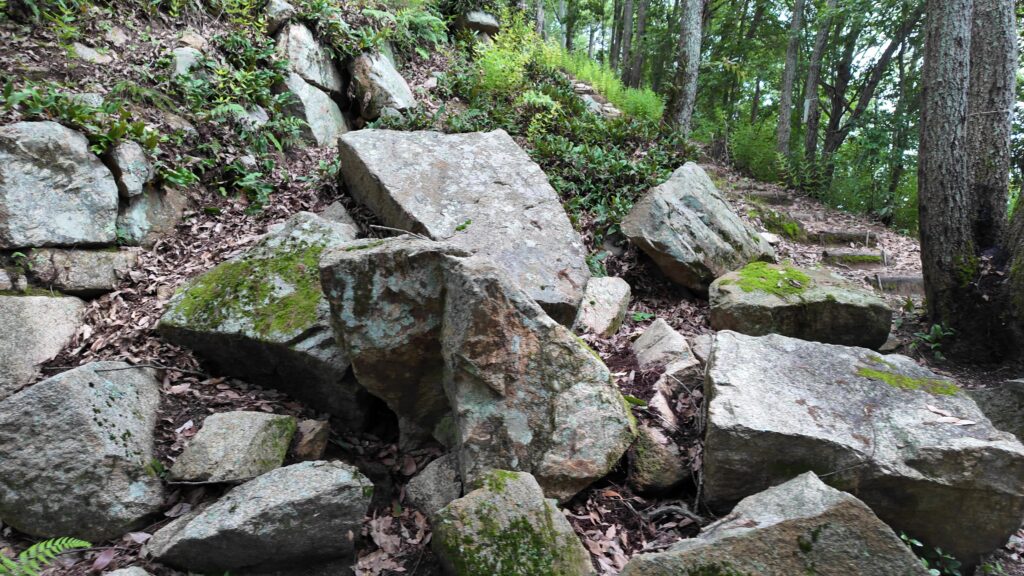
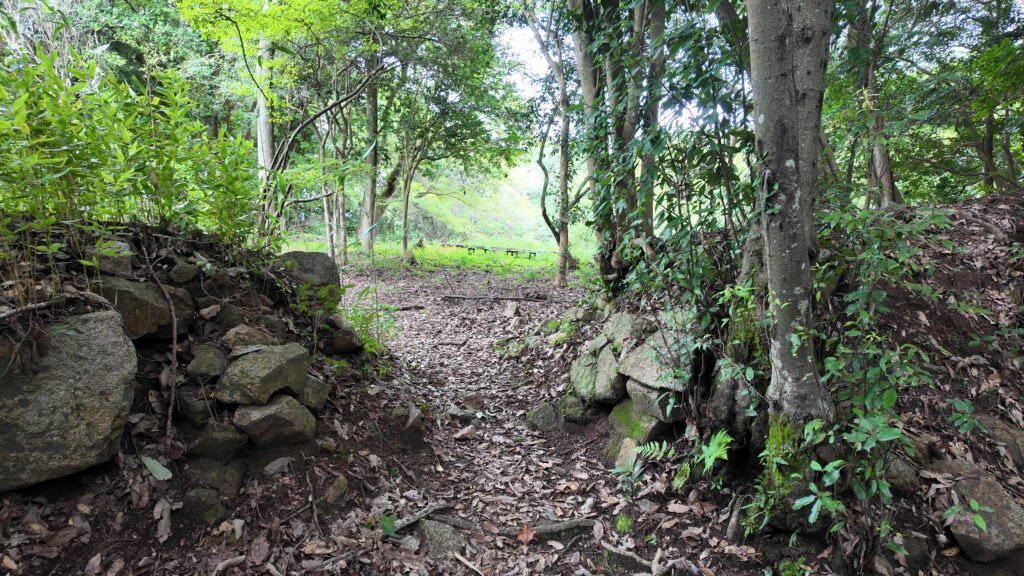
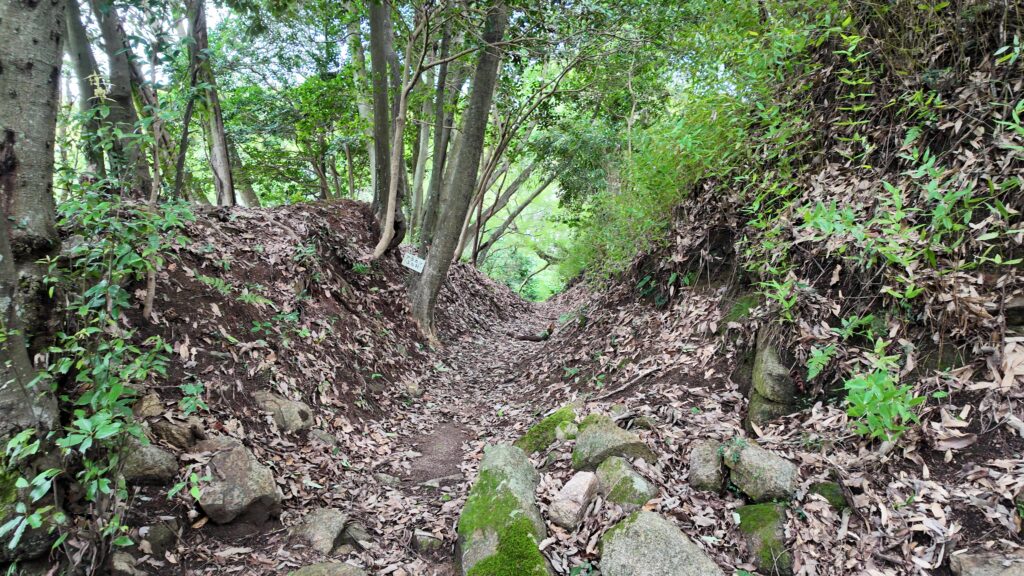
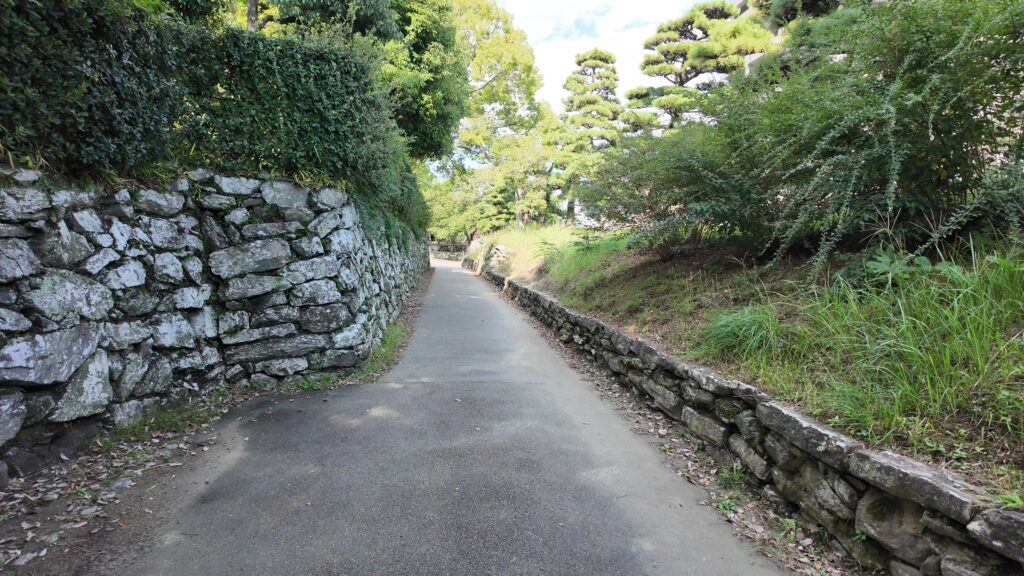
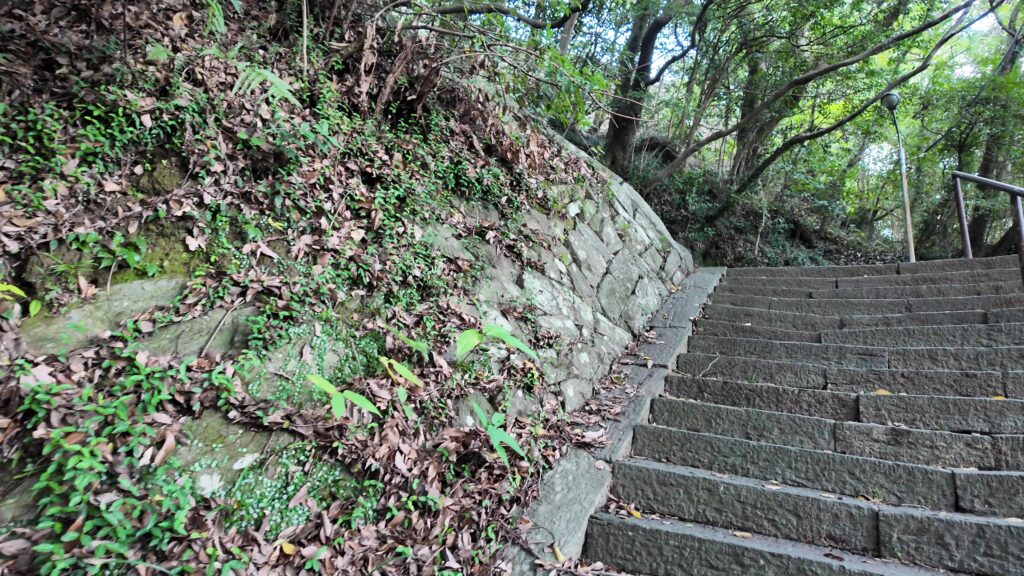
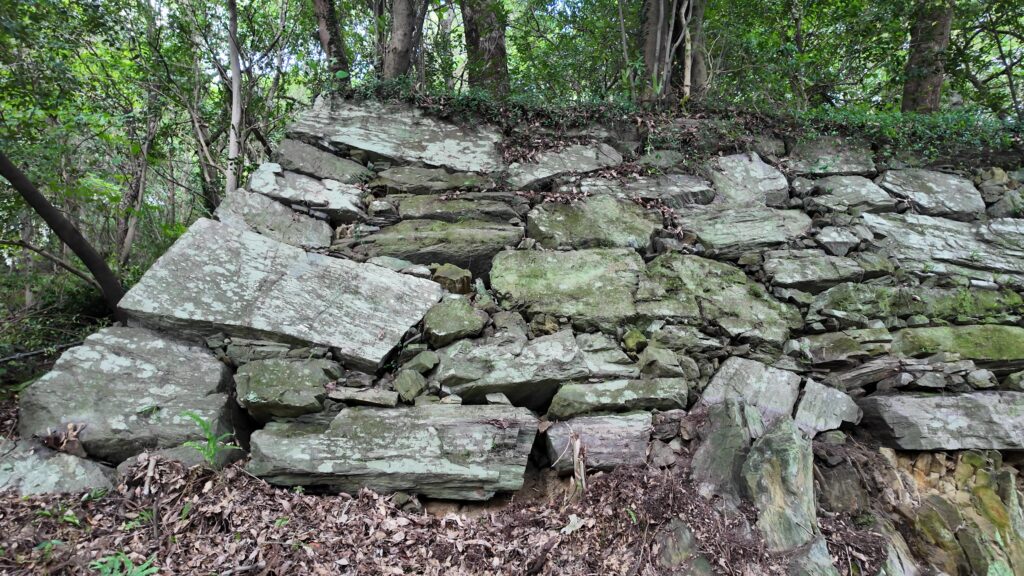
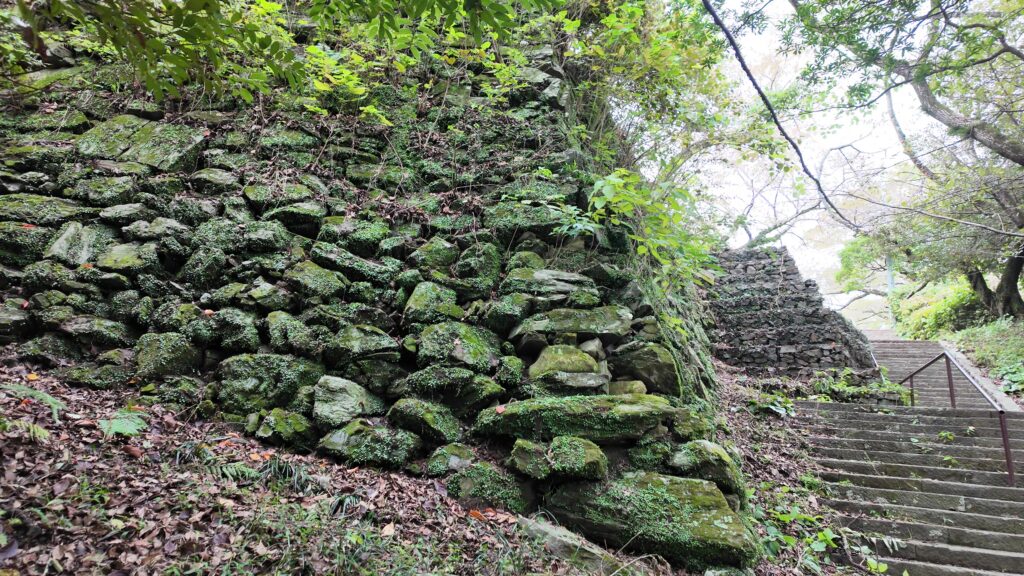
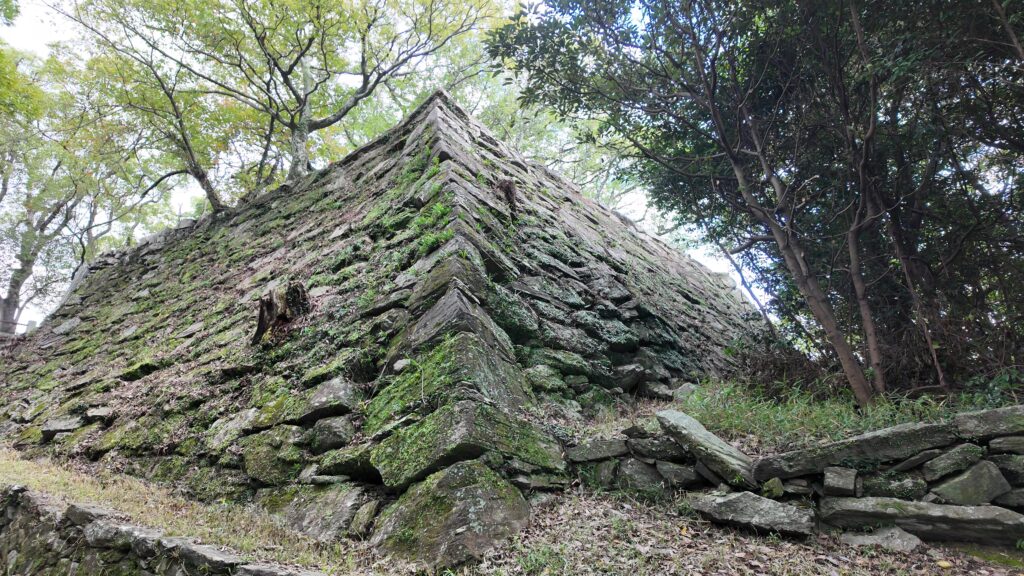
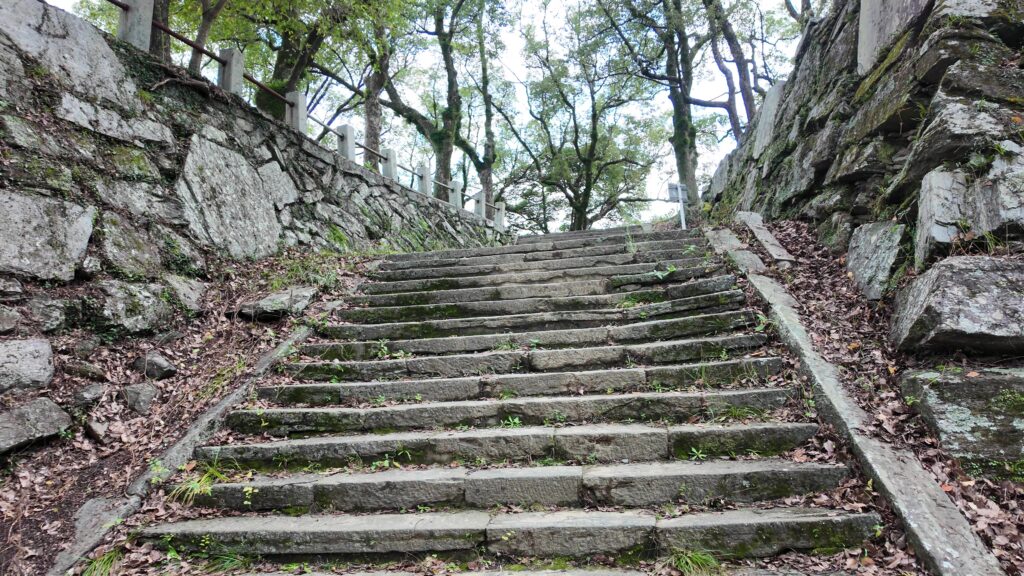
では、登っていきましょう。階段はよく整備されています。途中には、山の岩と石垣が混ざっている感じの場所があります。本格的な石垣もあります。
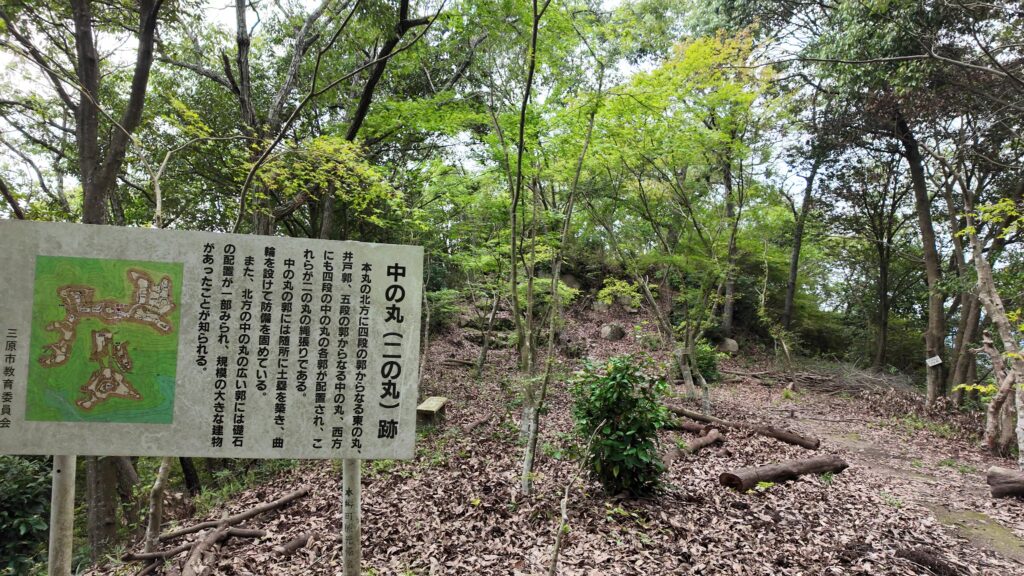
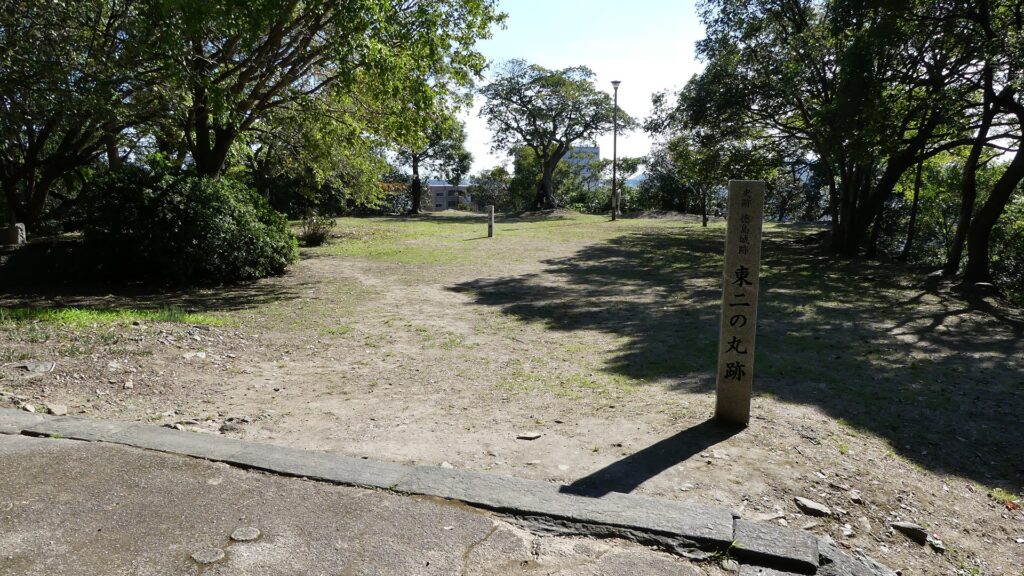
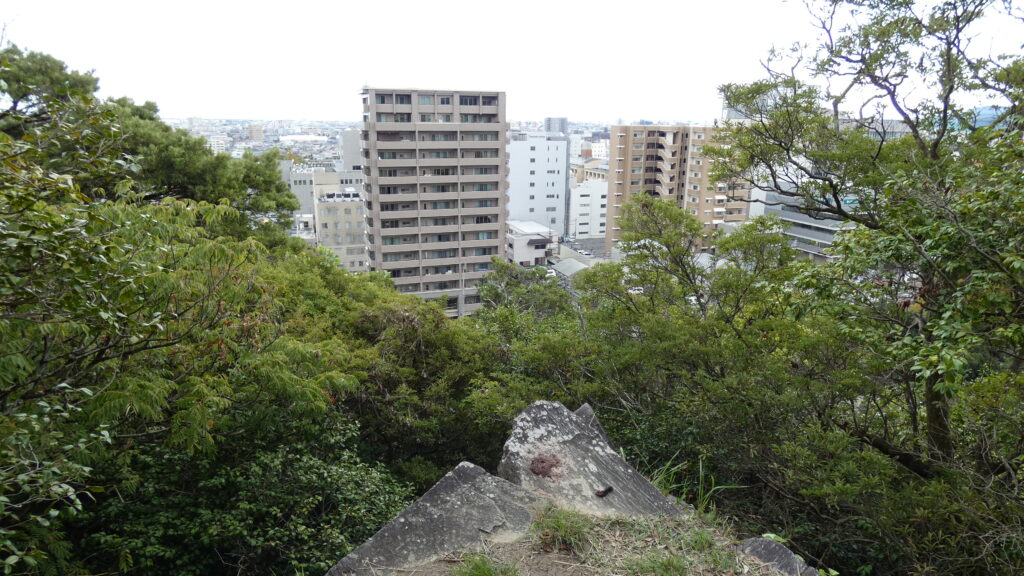
ここが東二の丸です。天守があった場所です。向こうに天守跡があります。当初本丸にあった天守が、中腹に移されたという珍しいケースです。その理由として、老朽化とも、幕府への遠慮とも言われましたが、拡大した城下を見下ろす位置に移動したという意見もあります。そこからは、街並みと海も見えます。
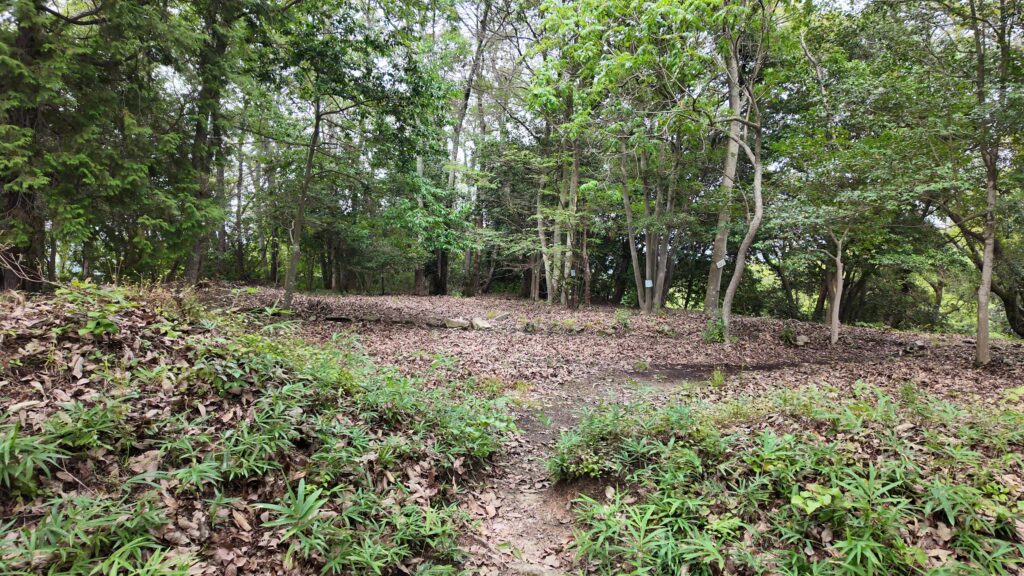
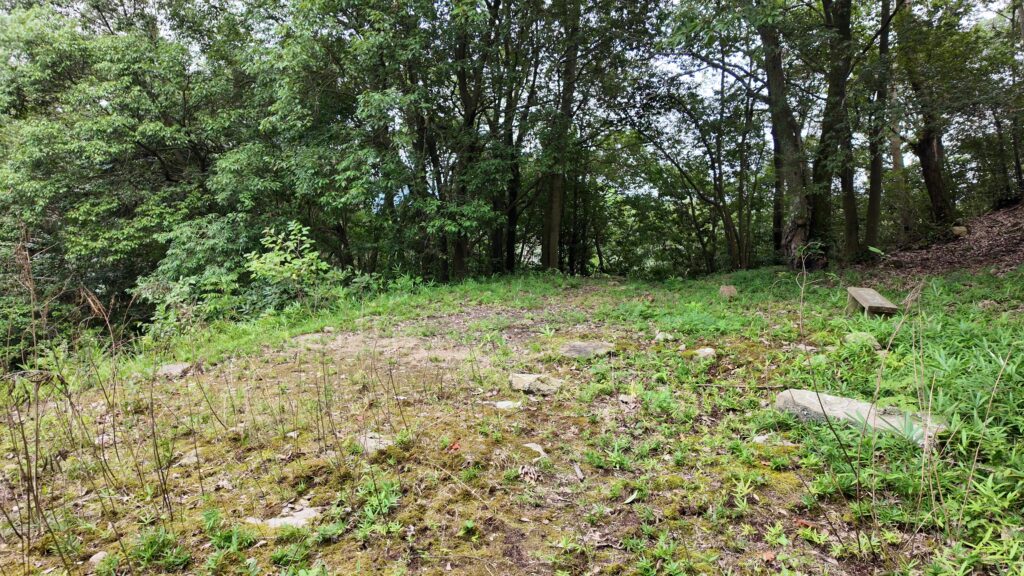
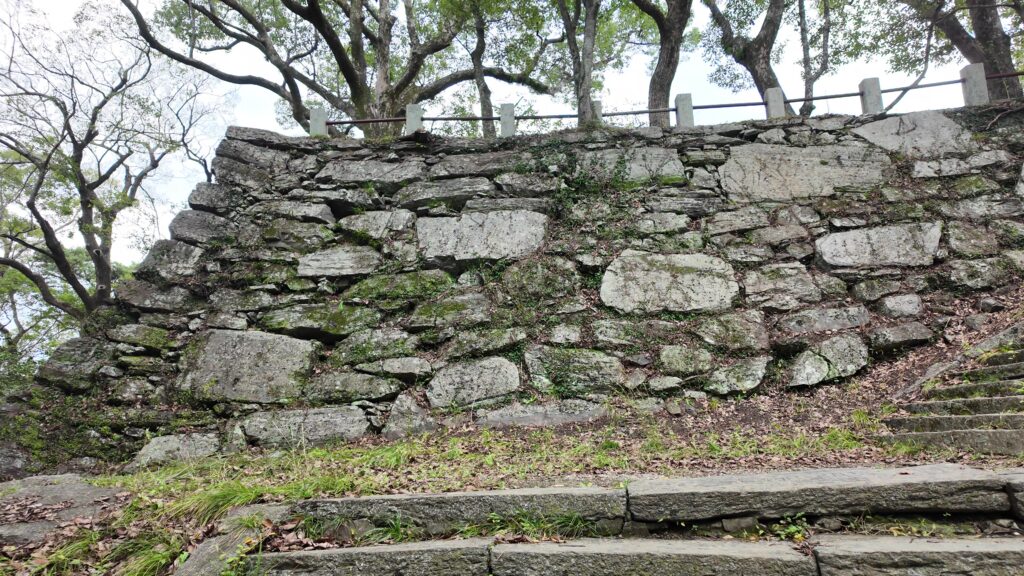
もう次は本丸です。古そうな石垣が続きます。
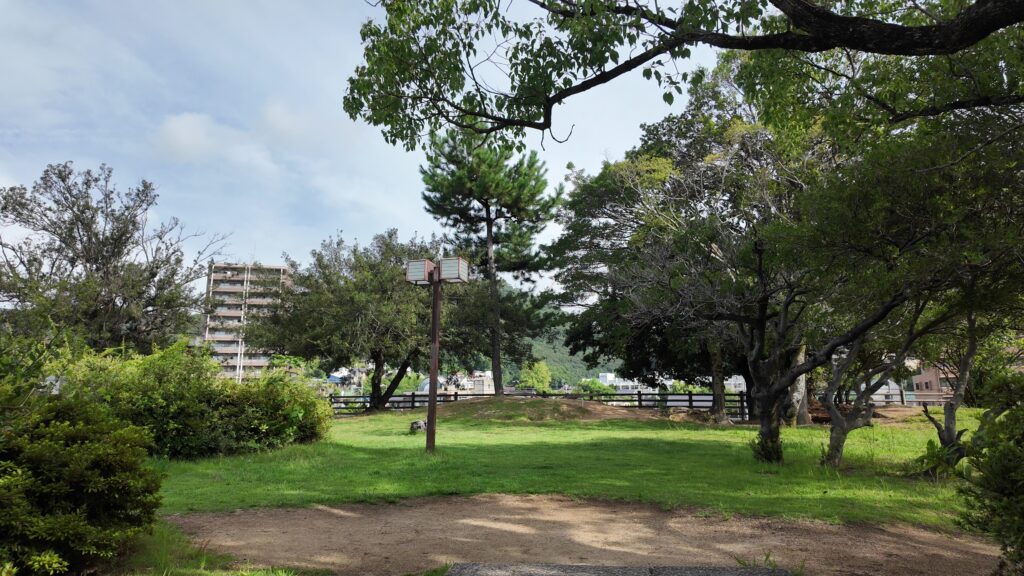
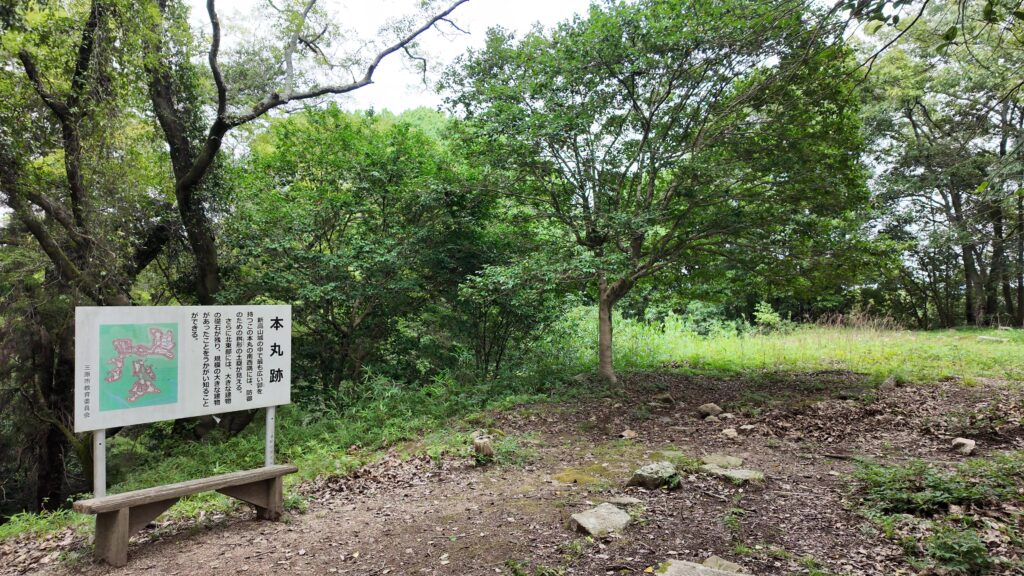
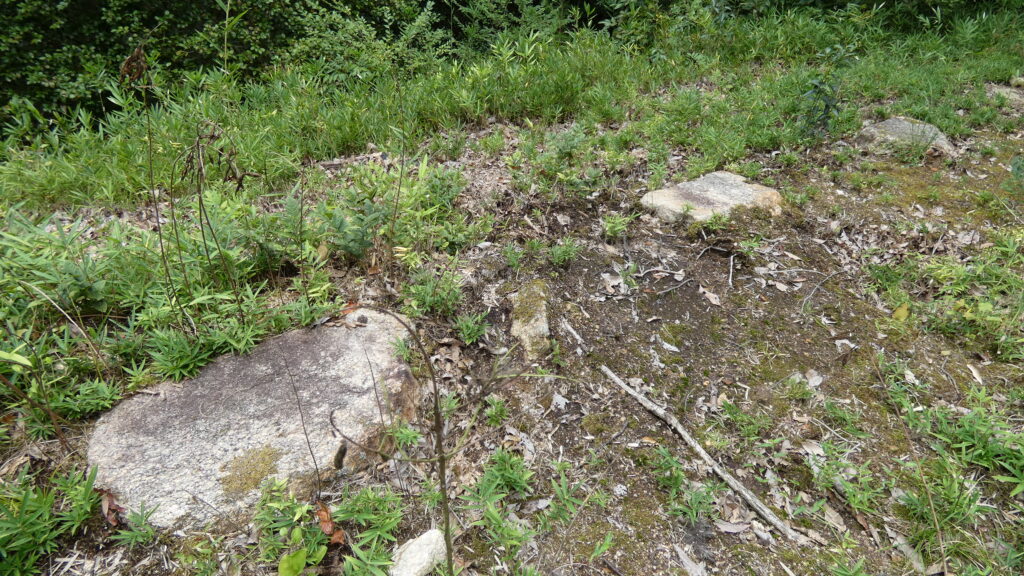
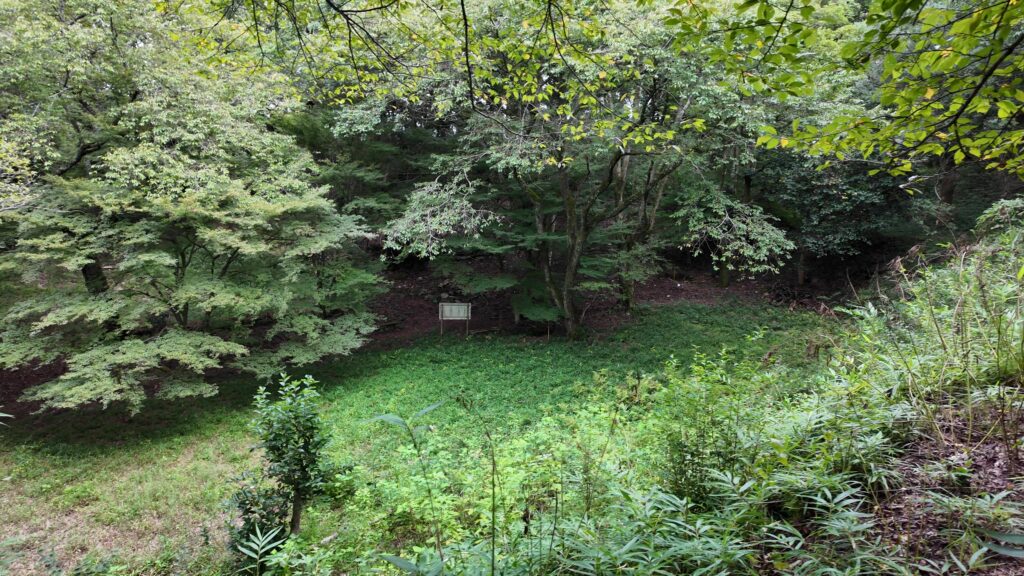
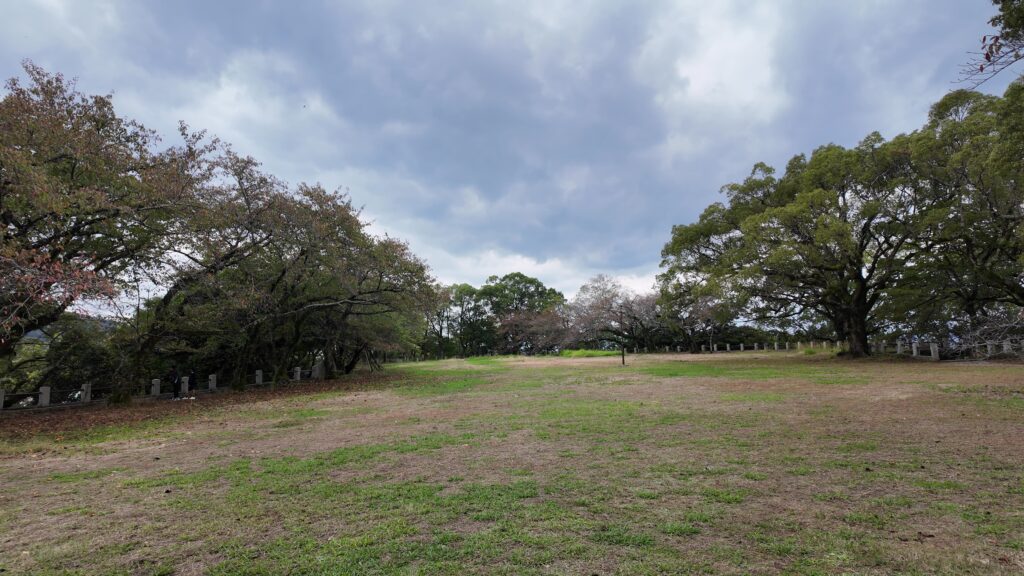
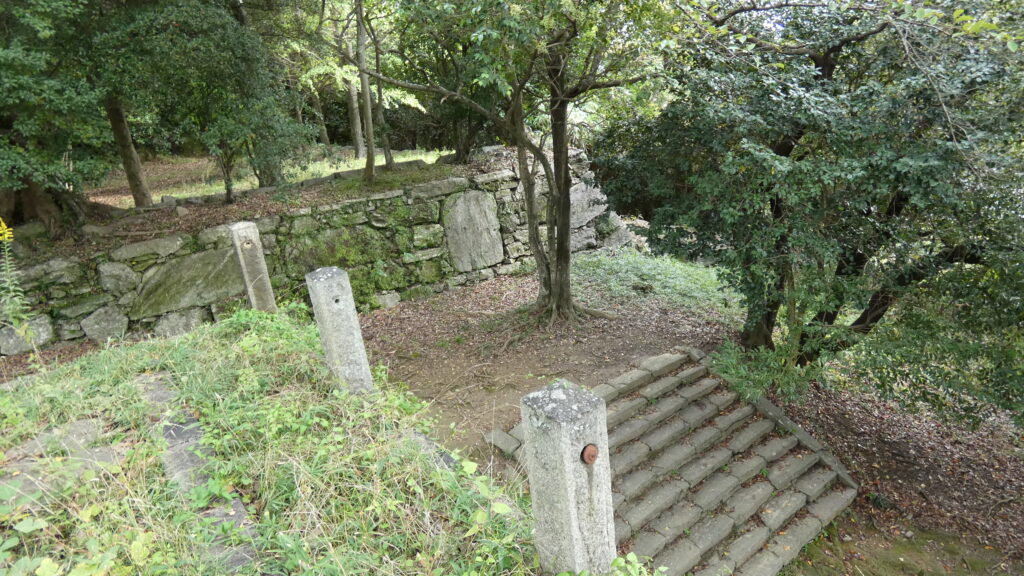
本丸に着きました。天守や御殿が移動した後の本丸は、番所・櫓などが残りました。今は広場になっています、
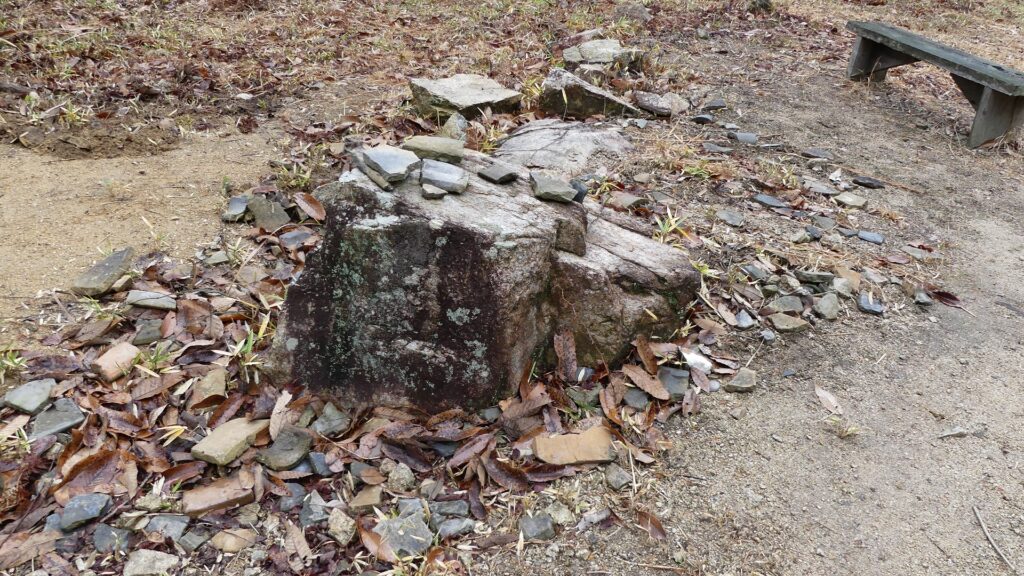
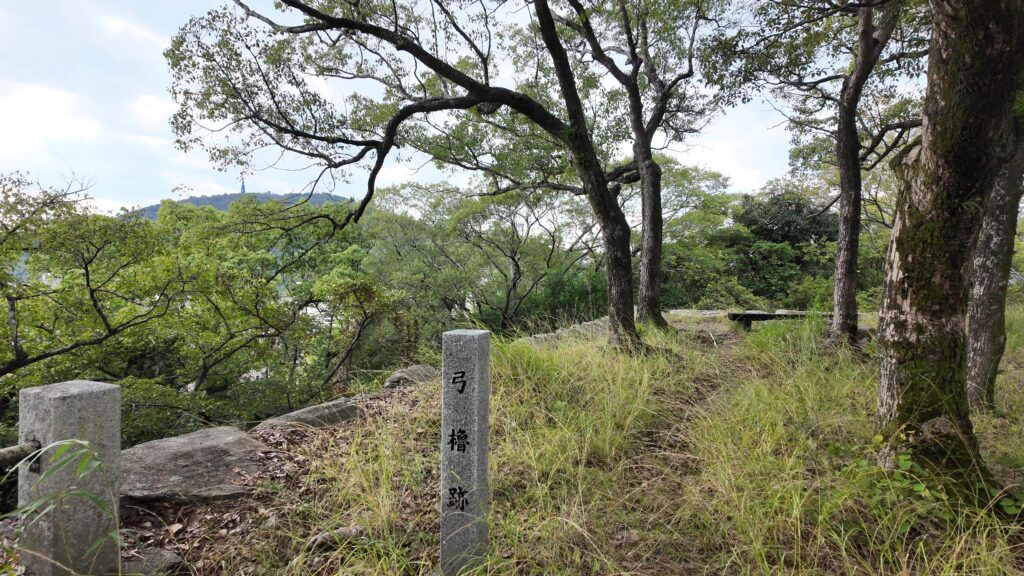
最初の天守はどこにあったかというと、弓櫓跡にあったと考えられています。でも、ここにいるだけだと、ピンときません。では、逆側から本丸に登ってみましょう。
西三の丸に入るところから再スタートします。枡形になっています。続いて、西二の丸に入ります。石垣が立派になって、しかもここも枡形です。更に脇には、帳(とばり)櫓が控えていました。
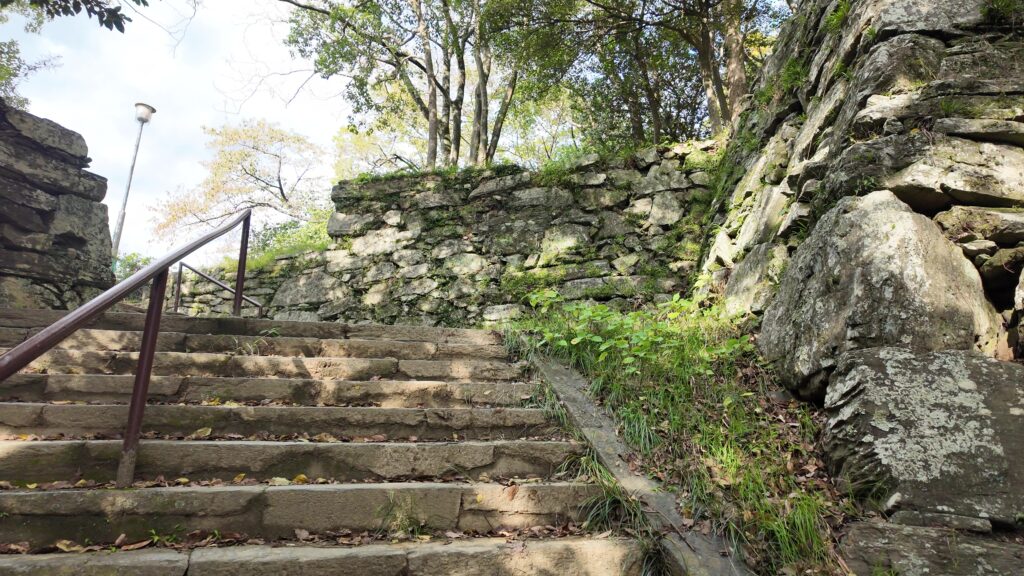
そして、再度の本丸突入です。当初の天守台と考えられている弓櫓跡の石垣が来ました。これは大迫力です。本丸入口も、大きな石が散りばめられています。「鏡石」ということなのでしょう。今歩いたルートが、当初の大手道だろうとも考えられています。
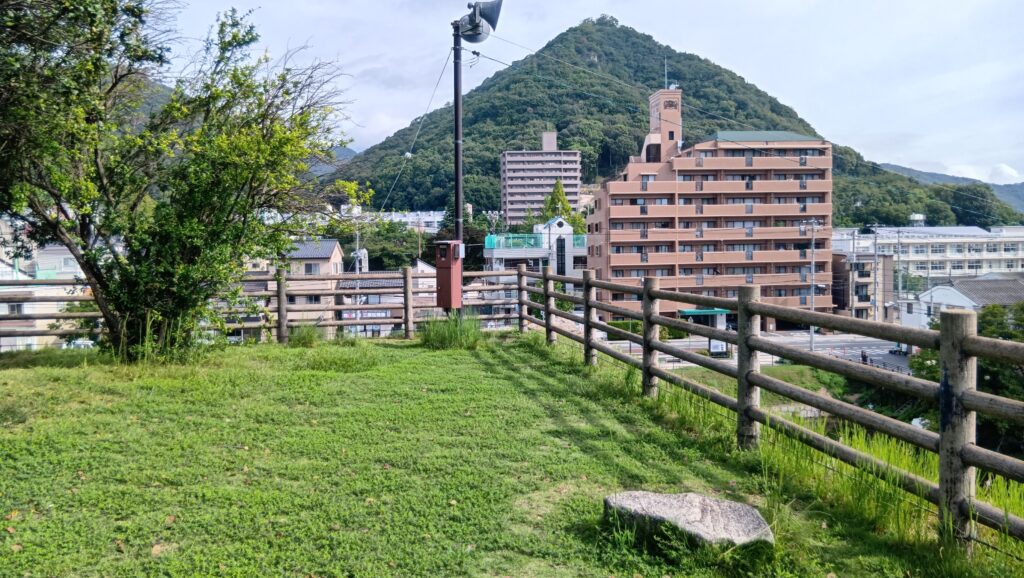
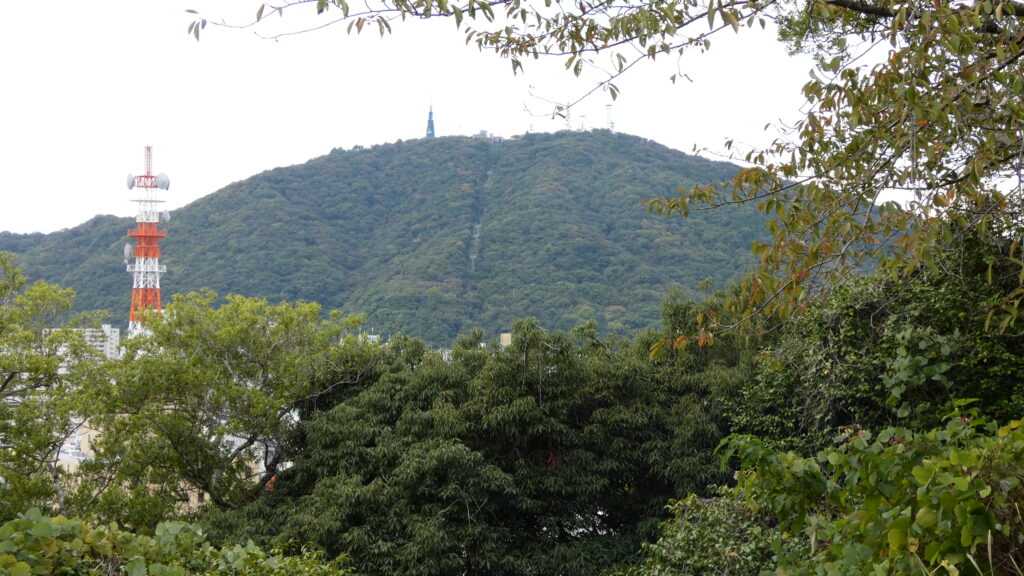
後回しになりましたが、本丸からの眺めをチェックしましょう。ここからは、山が見えます。徳島のシンボル、眉山(びざん)です。次は、この山を登ります。
眉山に登って海を感じる
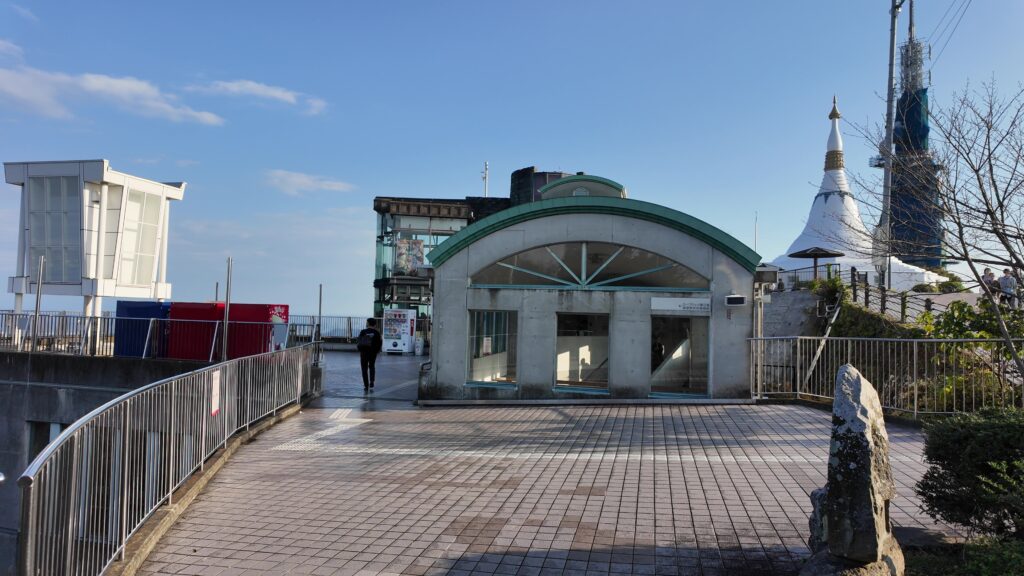
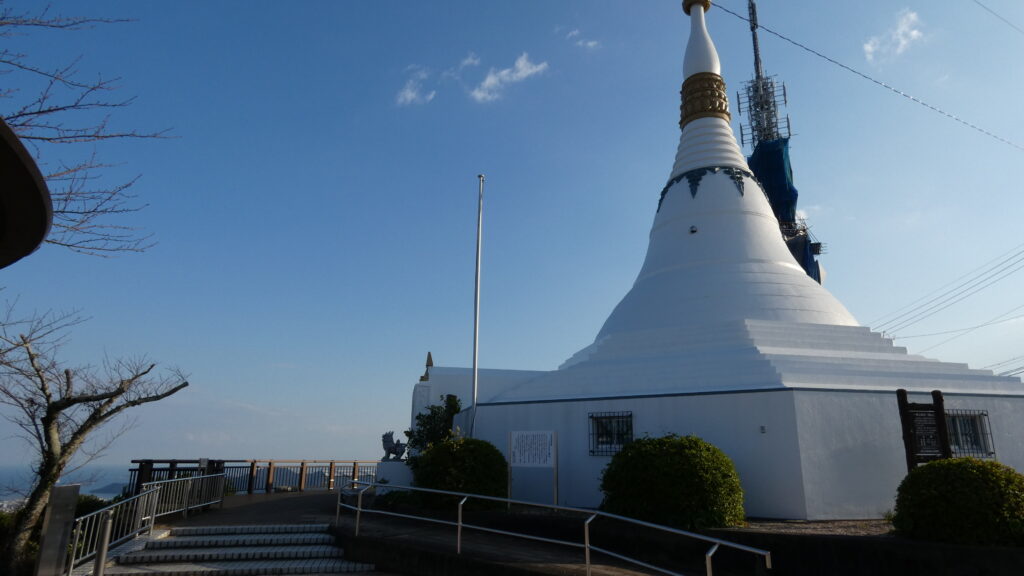
眉山を登るのに、今回は奮発して、片道だけロープウェイを使うことにしました。

どんどん登っていくと、景色がよくなってきます。

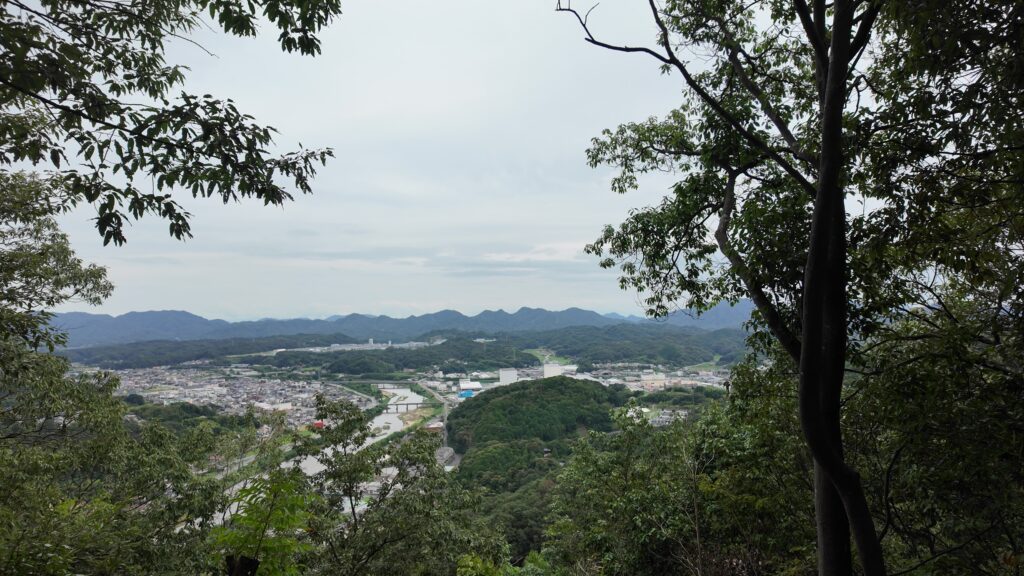
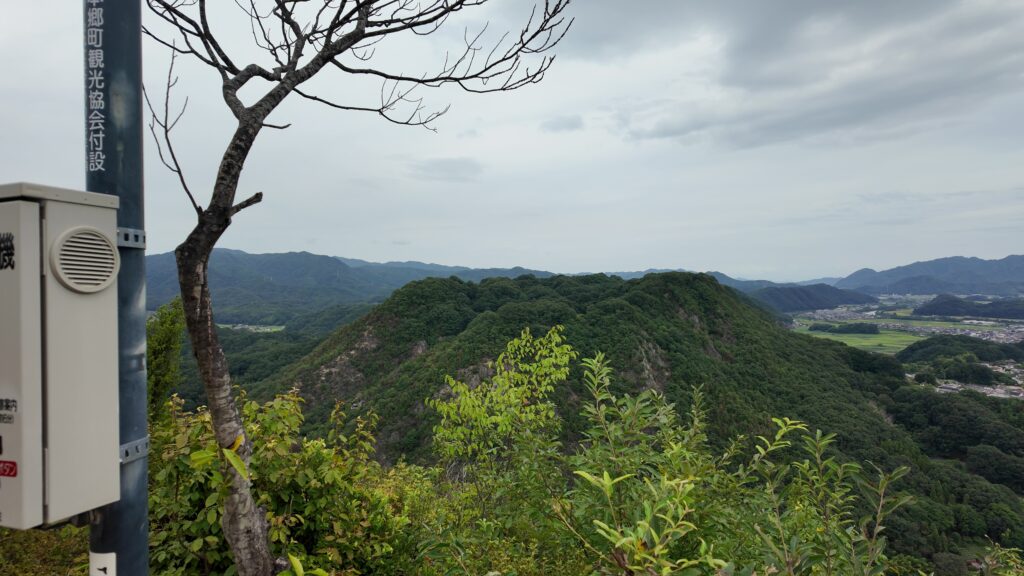
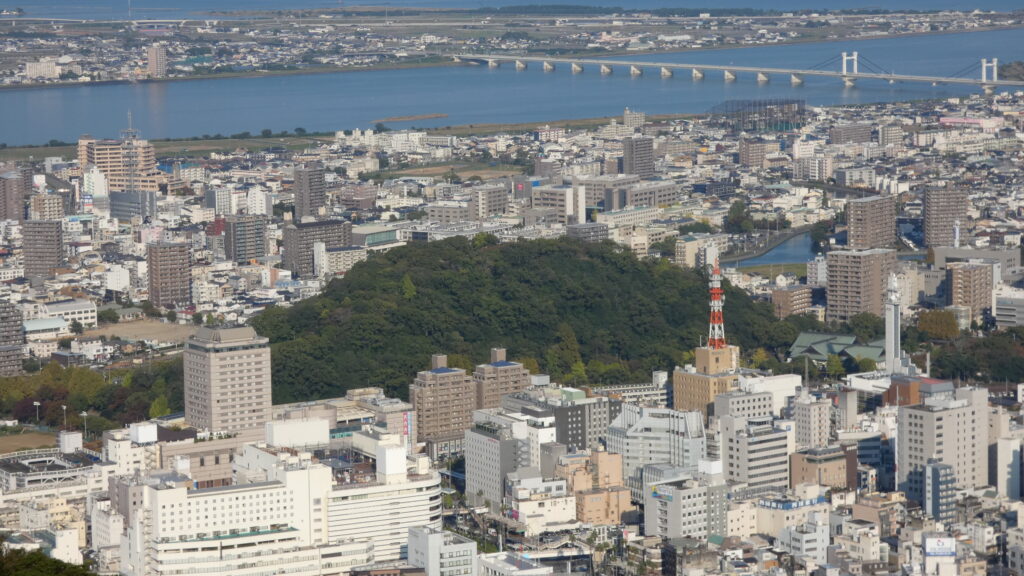
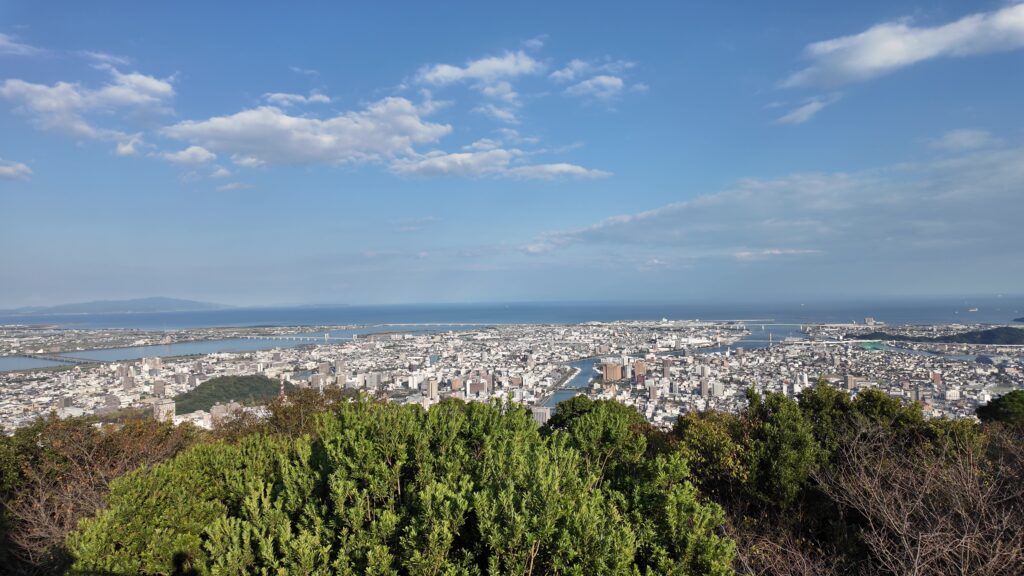
山頂駅に到着しました。さっそく景色を楽しみましょう。素晴らしい景色です。徳島平野や、吉野川まで一望できます。そんな中でも城山は目立っています。
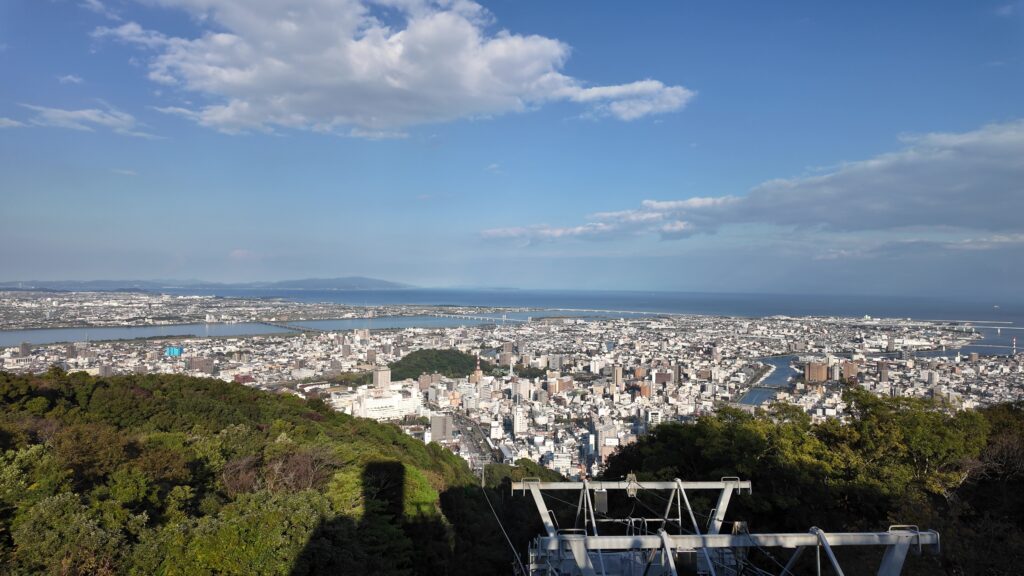
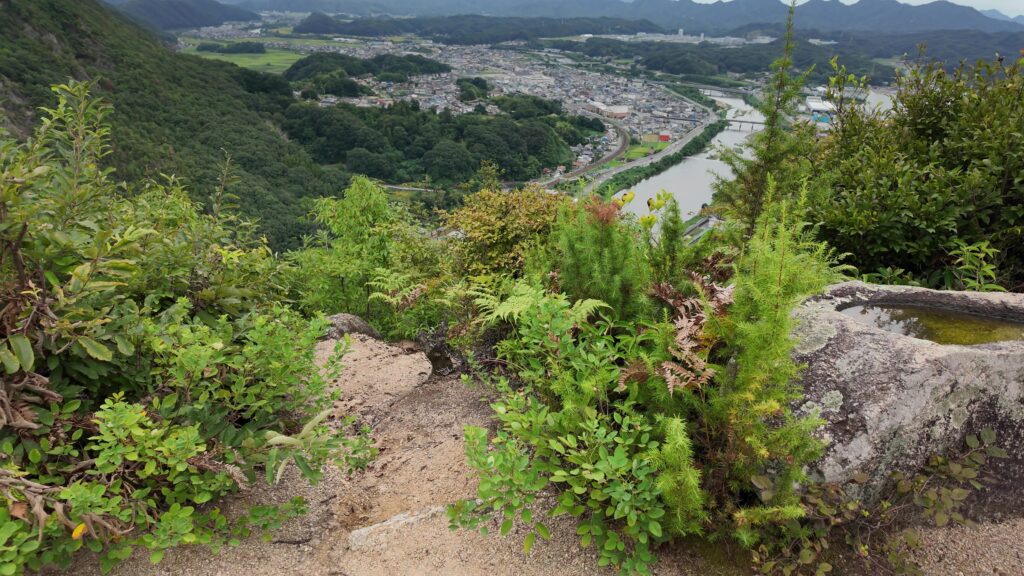
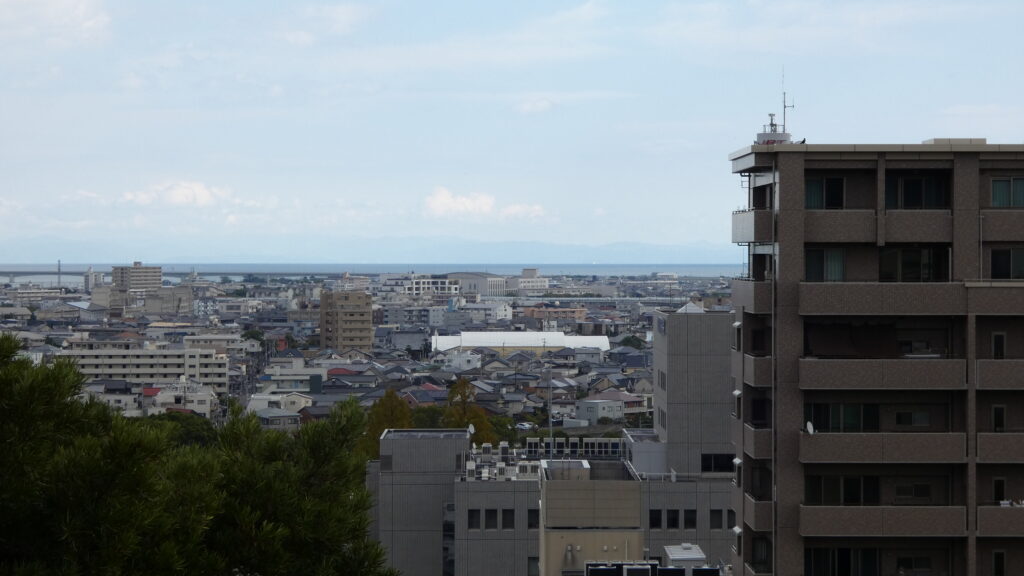
それより少し上の展望台からだと、また一味ちがいます。今度は、平野や川の向こうの海が良く見えます。徳島が、海に開かれているということが、わかっていただけると思います。
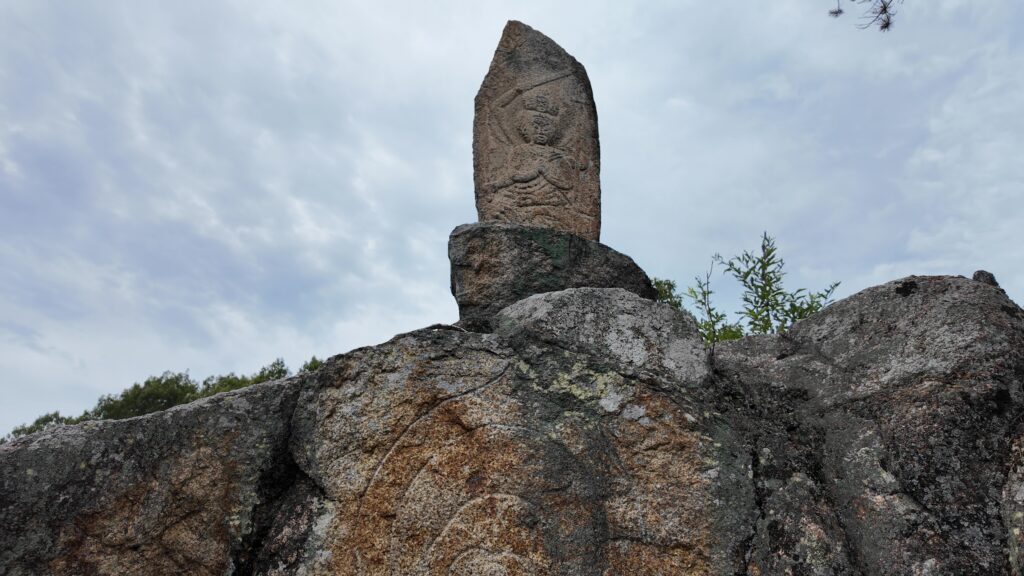
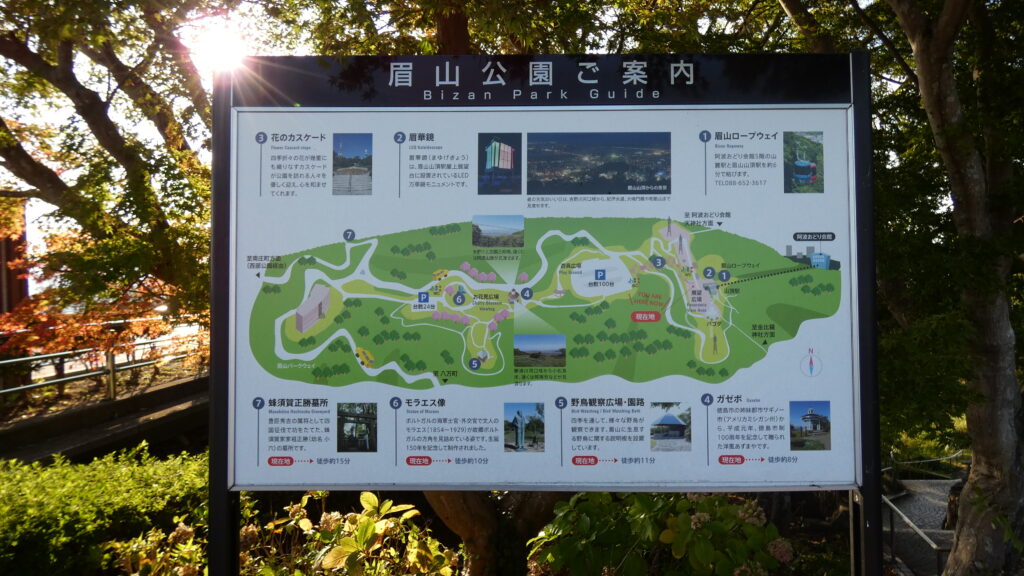
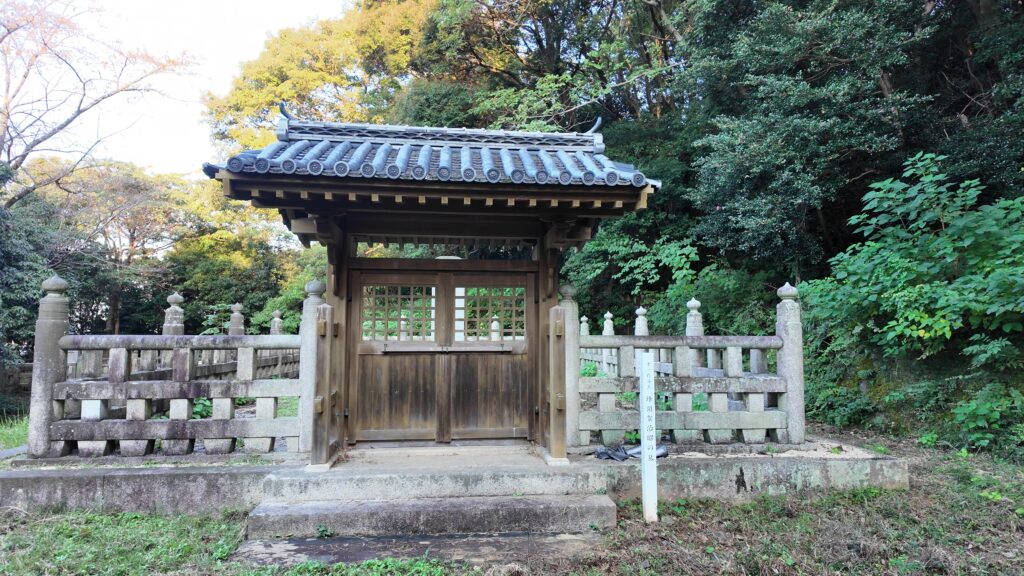
ところで、帰りはどうするのかというと、山頂部の眉山公園の案内図で見ると、山頂駅の反対側に、家祖・蜂須賀小六正勝の墓があります。そこを下ると、歴代藩主の万年山墓地というのがあり、そこに行こうと思います。お殿様の墓は、寺にあるのが普通ですが、十代藩主・蜂須賀重喜が儒教式に改めたのです(仏教式も併存)。

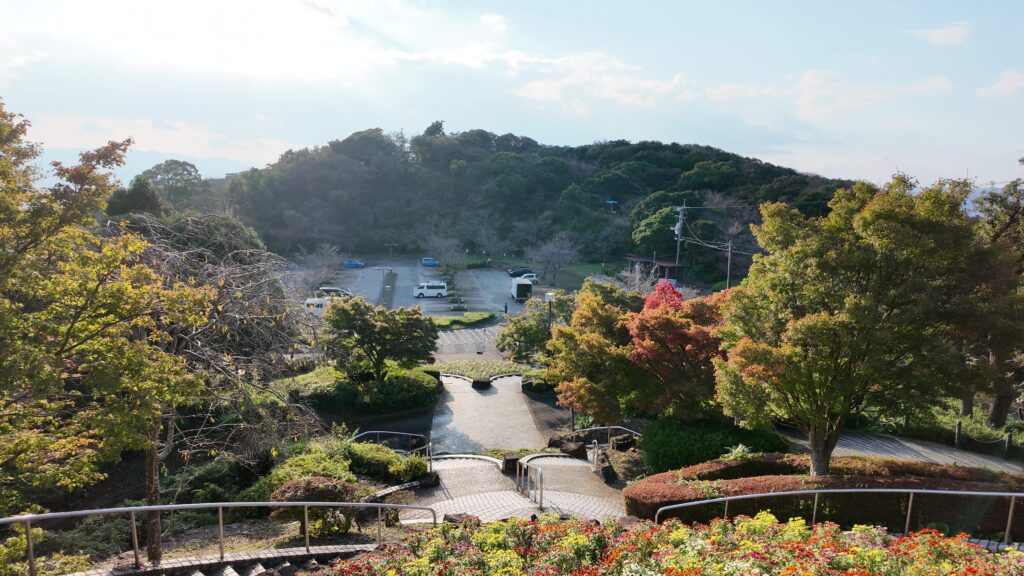
公園の駐車場や、お花見広場を越えていきます。
墓の入口から、入っていきます。亡くなった大坂の地から、移されたとあります。お参りを済ませたら、裏手から下っていきます。
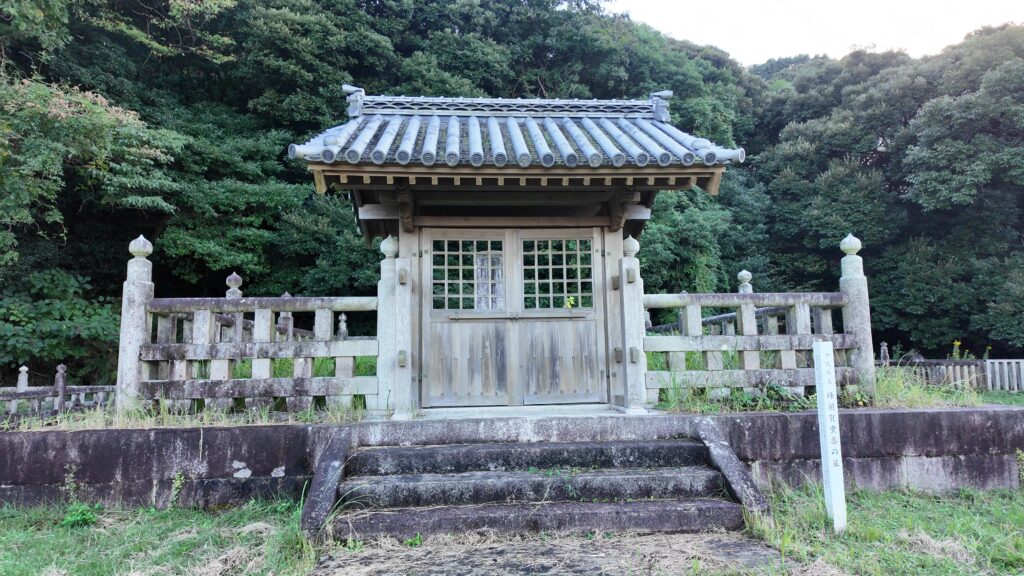
ところで、墓所を作った蜂須賀重善はどんな人だったのかというと、秋田の佐竹氏から養子に来て、当時大借金を抱えていた徳島藩で改革を始めた藩主です。この墓所も、その改革の一環で作ったのです。下っていくとすごい岩があって、文字が刻まれています。重喜が建てた「万年山墓域碑」です。
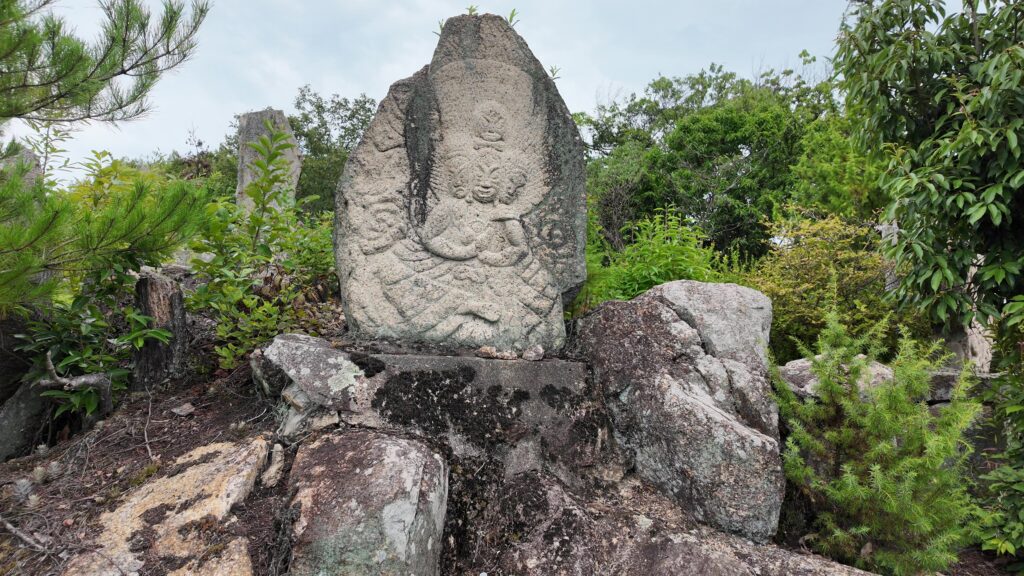
その下に、重喜の子・治昭の墓所があって、その向こうの見晴らしのいい場所に、重喜自身の墓所があるのです。
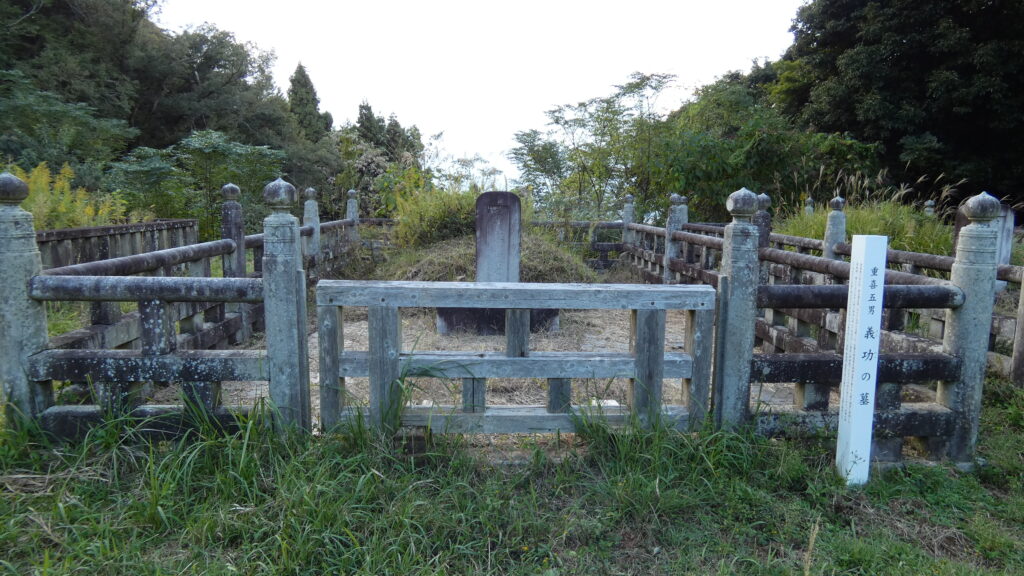
ところで、重喜改革はうまくいったのかというと、人材登用など改革が急すぎて、幕府から強制隠居させられたのです。改革の成果が出たのは、さっきの子の代になってからだったそうです。悲劇のヒーローだったのです。
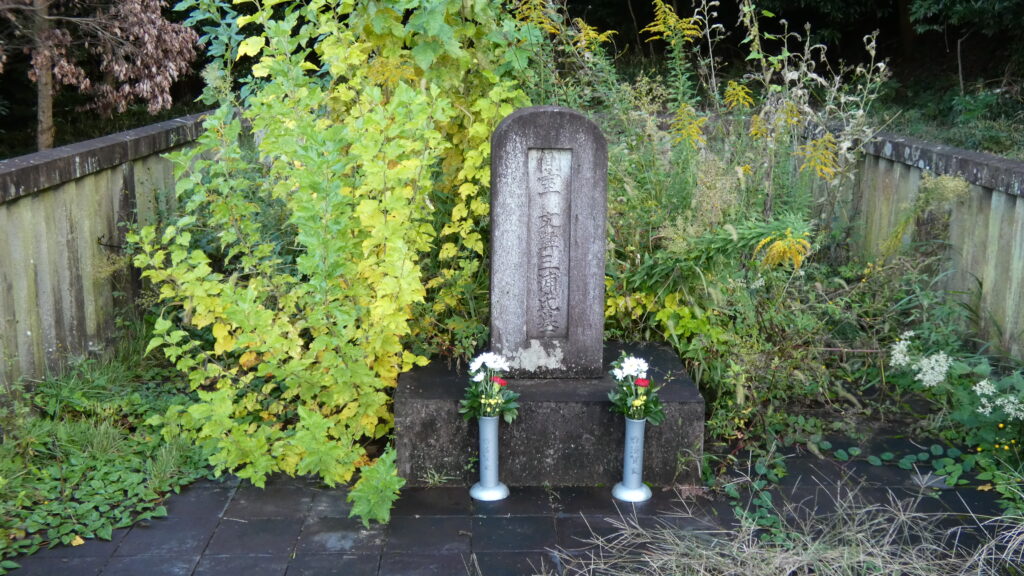
彼の墓の周りにもお墓がいくつもあります。側室たちや、夭折した子どもたちのお墓も、一緒に設けられているのです。これらは、歴史に埋れがちな人たちの歴史史料にも なっています。今でも家族と一緒に、徳島を見守っているということです。

ひょうたん島を巡る
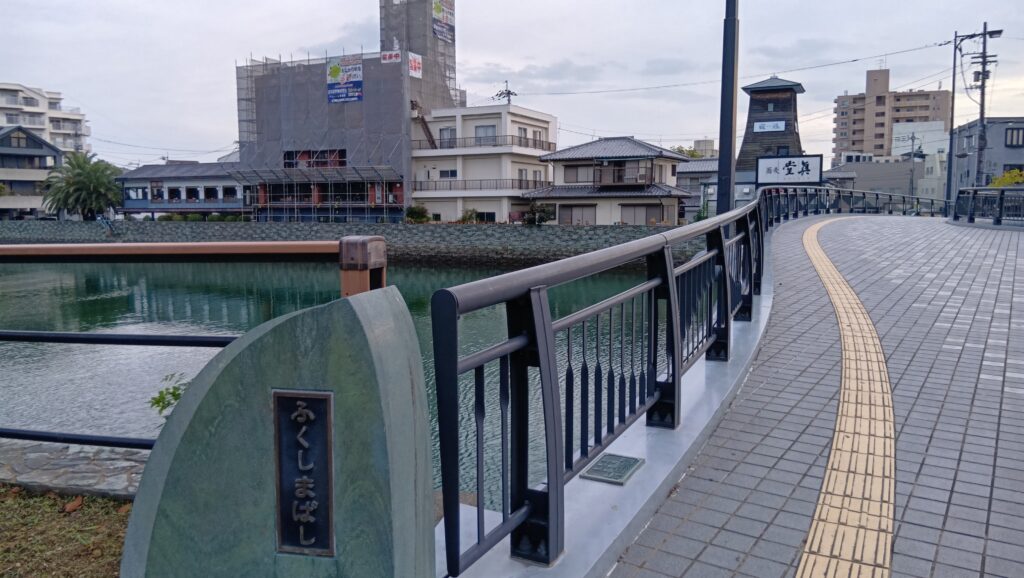
最後のセクションでは、ひょうたん島を囲む川の一つ、助任川にかかる福島橋にやってきました。お殿様が参勤交代のときは、鷲の門からここまで来て、川に乗り出したそうです。川の街道だったのです。
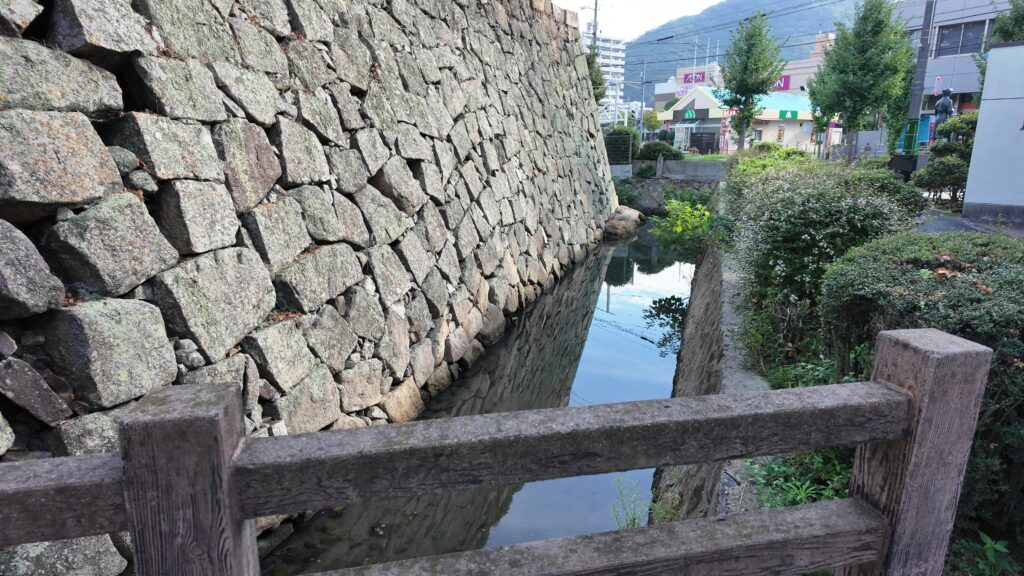
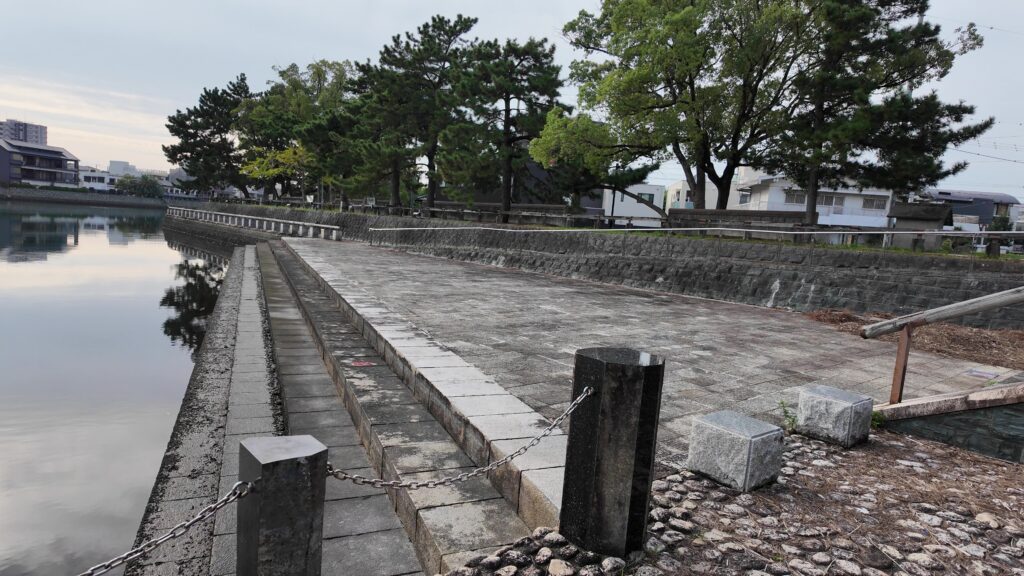
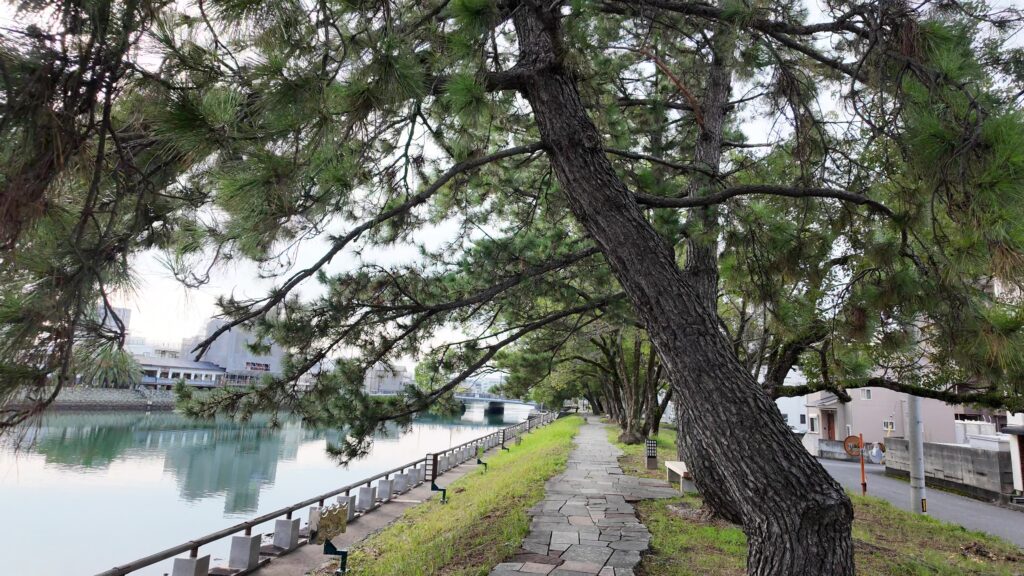
それから、上流の徳住橋辺りから、当時の松並木が残っています。橋のたもとは「雁木広場」と呼ばれていますので、ここからも舟が出たのでしょう。川沿いには石垣も築かれ、城の外郭という位置づけでした。ひょうたん島が防衛ラインだったのです。
河口の方に進みましょう。参勤交代のお殿様は、沖合で小舟から御座船に乗り替えたそうです。今度は海の道を進んだのです。そういえば、高松城のお殿様も同じようにしました。飛行機も連絡橋もない時代だったのです。
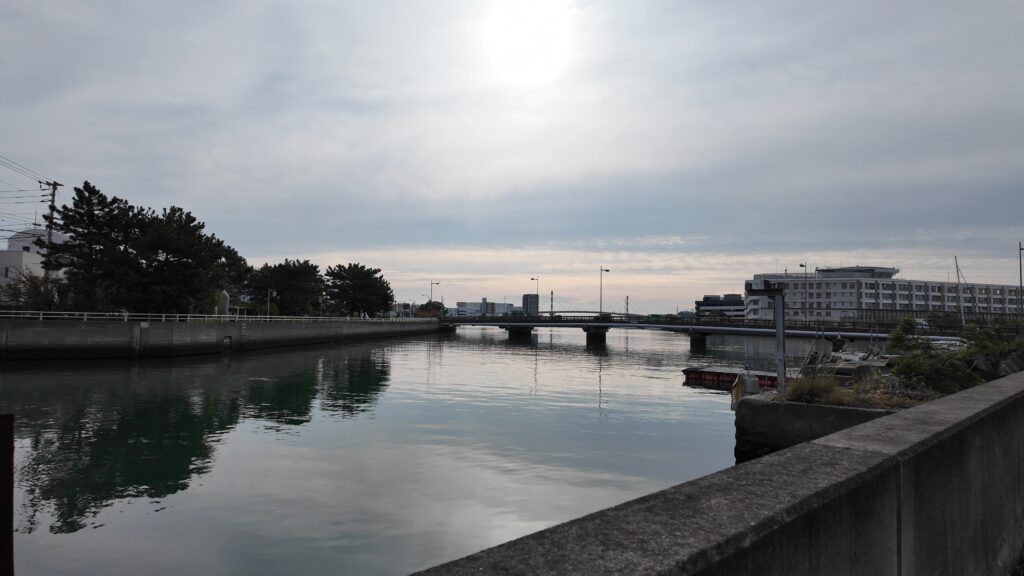
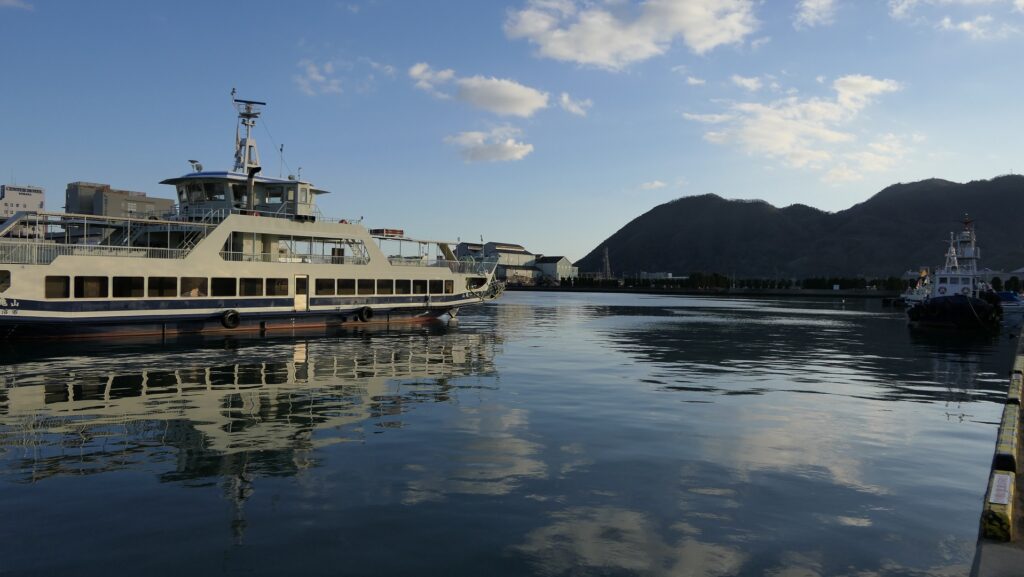
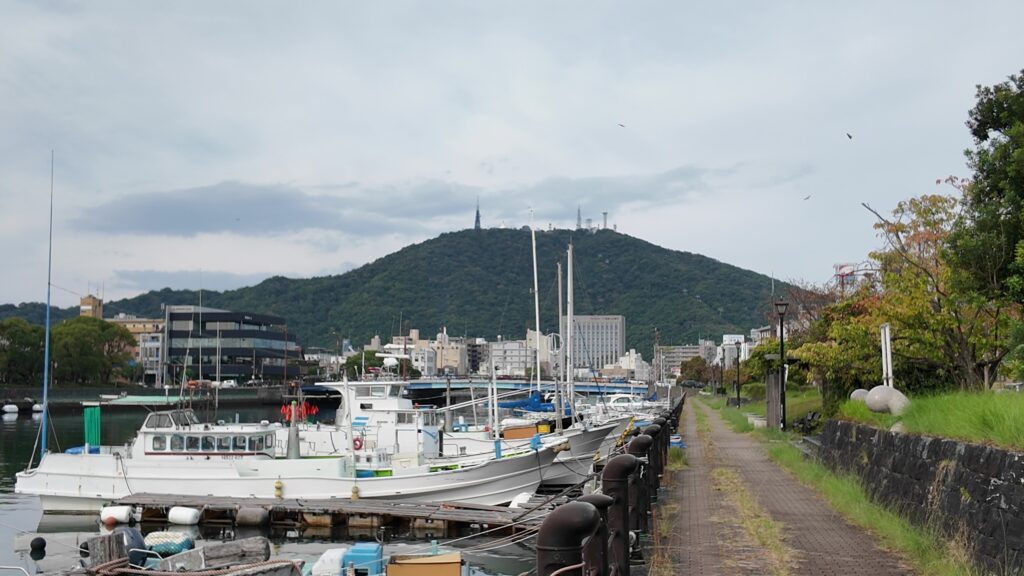
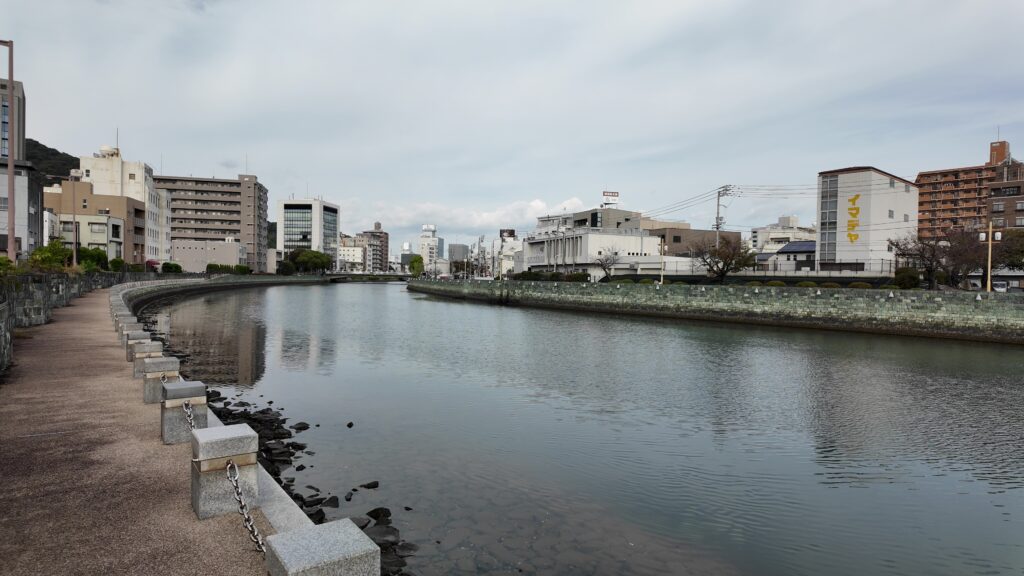
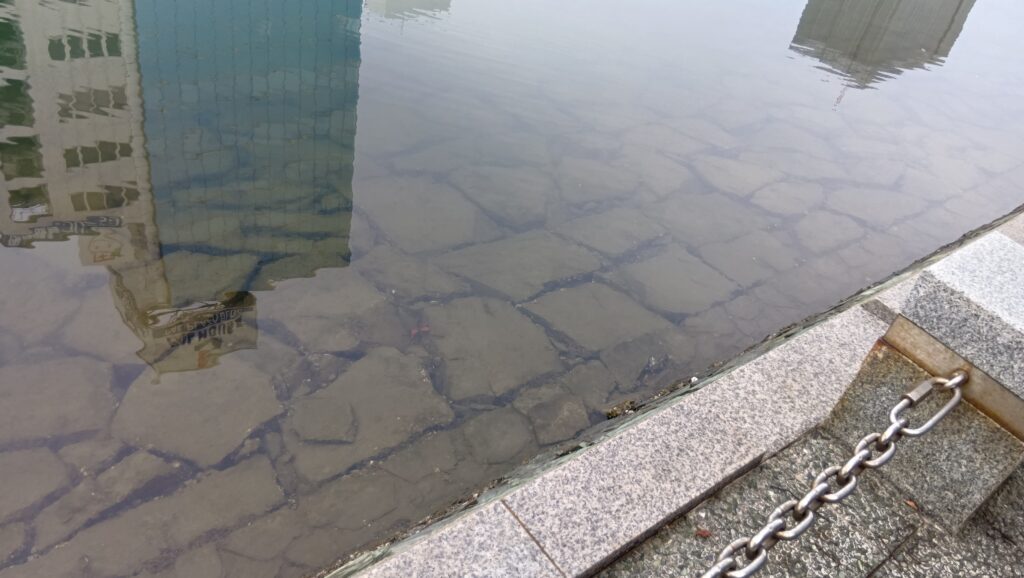
河口を折り返して、新町川に入ります。船がたくさんあって、海を感じることができます。眉山も正面に見えて、そろい踏みです。かつて新町川沿いには、藍商人の蔵が並んでいて、川側にも出入り口が開いていて、雁木と呼ばれる石造りの船着場から、大坂に向けて、舟で藍玉(染料)を出荷したそうです。水面の下に見える、石垣みたいのがそれなのかもしれません。
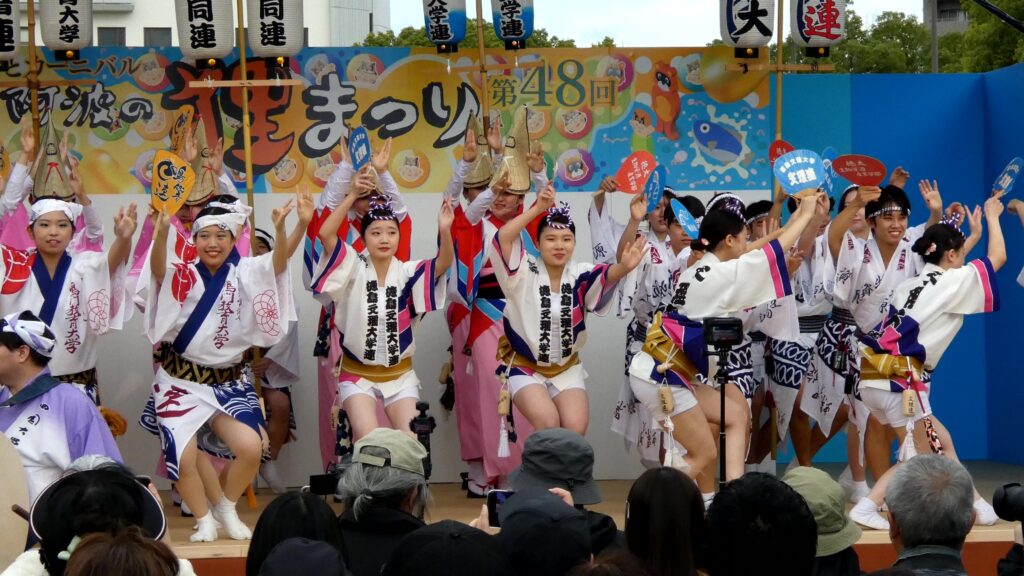
万年山のところで出てきた、蜂須賀重喜は、藍玉が大坂商人に買いたたかれないよう、徳島に大市を開こうとしましたが、やはり実現するまで時間がかかりました。しかしそれが実現し、お客と取引が成立したとき、藍商人たちは、祝杯を上げ、そこで、踊りを踊ったそうです。これも、阿波踊りにつながったのでしょう。新町橋を渡って、駅の方に向かいます。なんとそこでは、阿波踊りをやっていました!イベントでのお披露目に、たまたま当ったのです。城めぐりの、最高の締めくくりでした。
リンク、参考情報
・徳島城博物館、徳島市
・とくしまヒストリー、徳島市公式ウェブサイト
・「史伝 蜂須賀小六正勝/牛田義文著」清文堂出版
・「歴史群像132号記事、戦国の城 阿波徳島城/福永素久著」学研
・「徳島から探求する日本の歴史/地方史研究協議会編」文学通信
・「よみがえる日本の城13」学研
・「徳島藩駅路寺制に関する一考察/衣川仁著」徳島大学機関リポジトリ
・「「徳島の文化を学ぶ」徳島大学オンライン講演会 第3回 徳島の歴史と文化」Youtubeテレビトクシマ公式チャンネル
・「マジすか?蜂須賀!2時間スペシャル」YoutubeJRT四国放送公式チャンネル
・「徳島城博物館・旧徳島城表御殿庭園」Youtubeディスカバー徳島
これで終わります、ありがとうございました。