196.佐土原城 その3

この城跡に出かける前にはどこまで行けるのか確認しておきましょう。

特徴、見どころ

一部通行可能な大手道

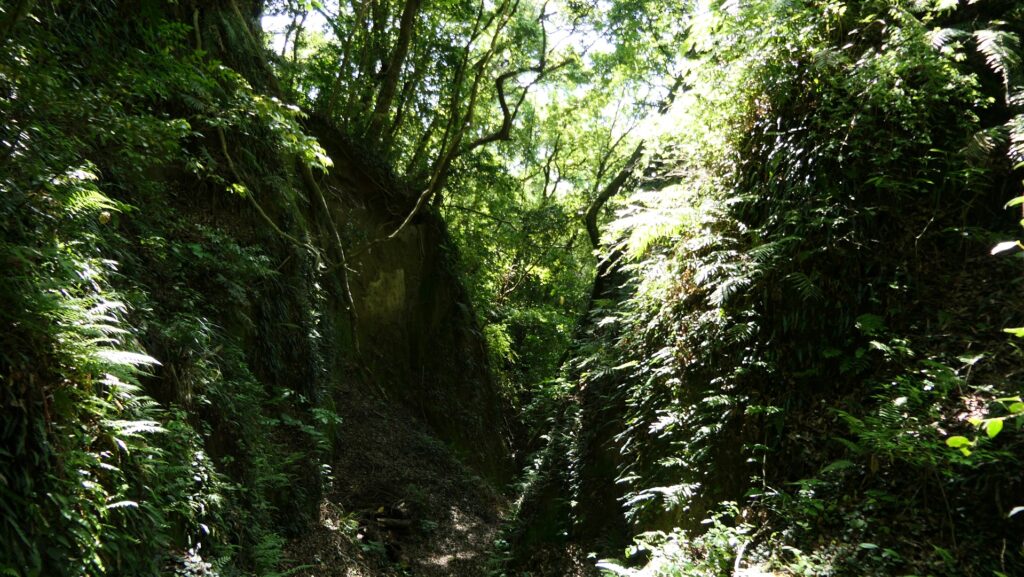
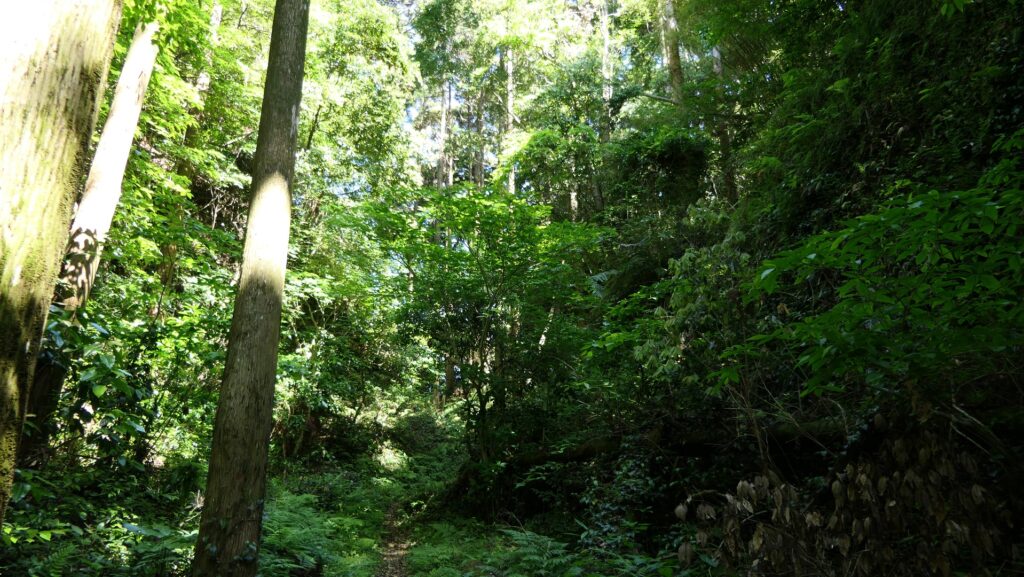
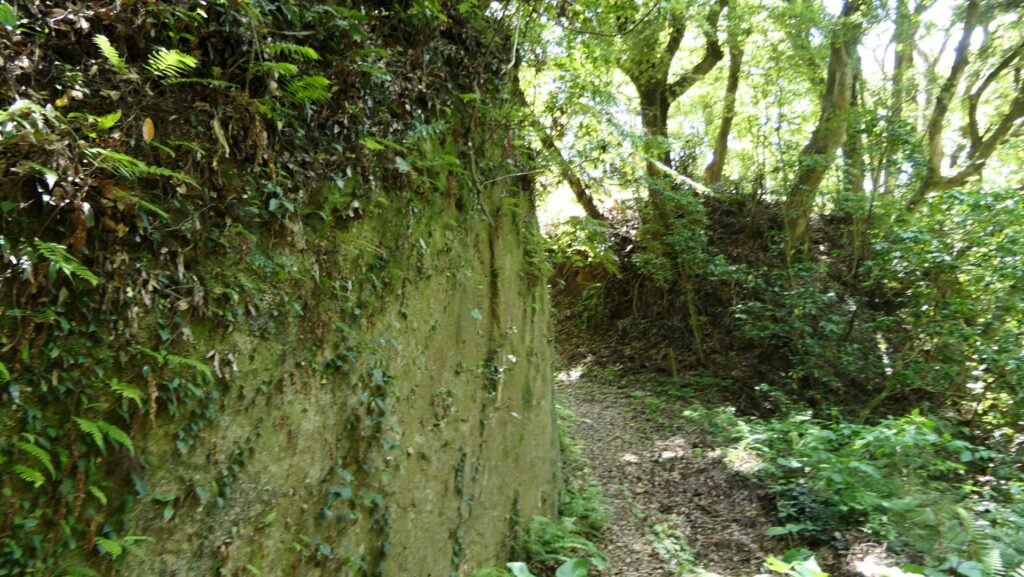
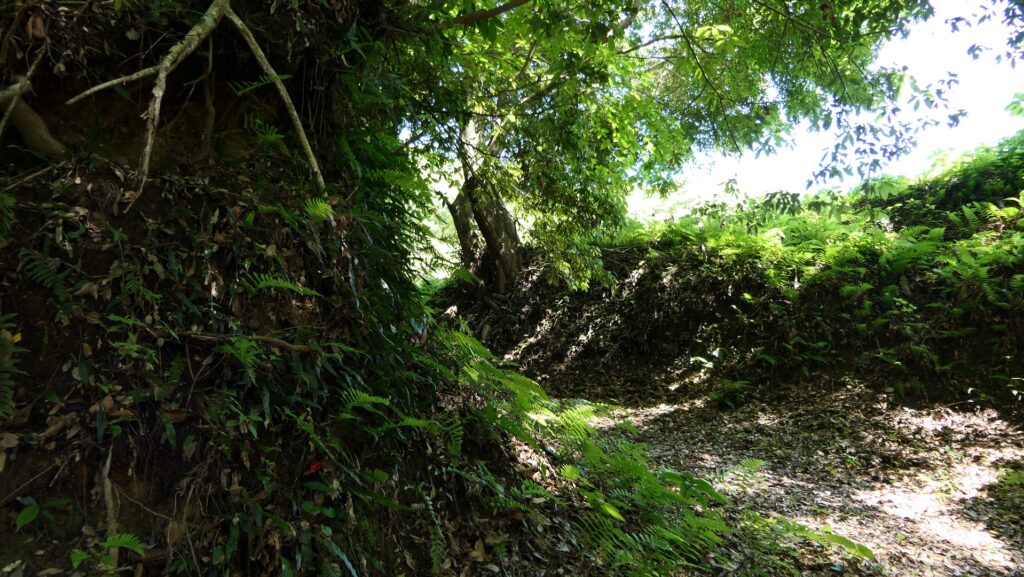
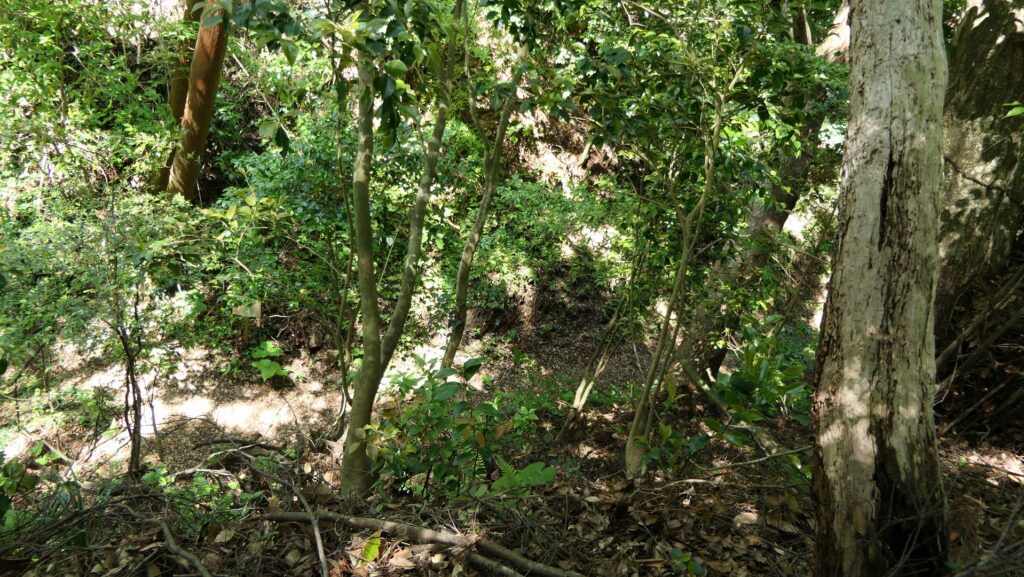
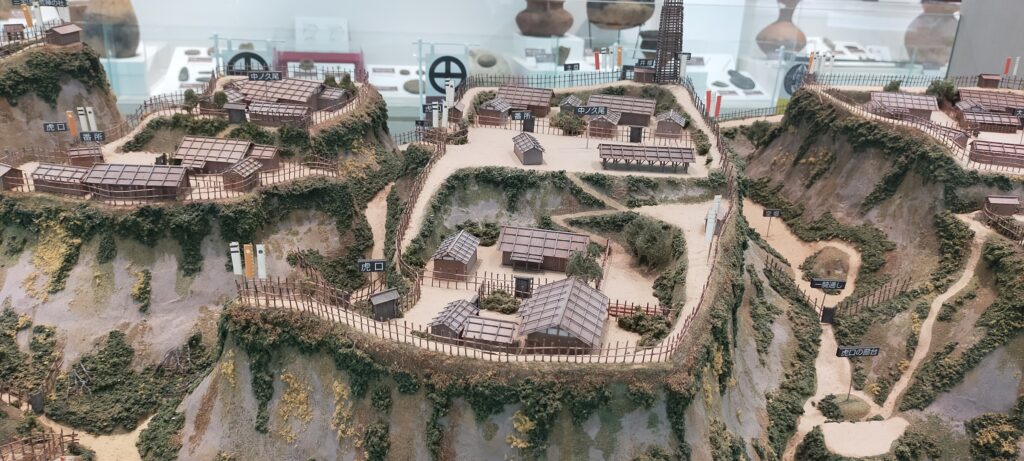
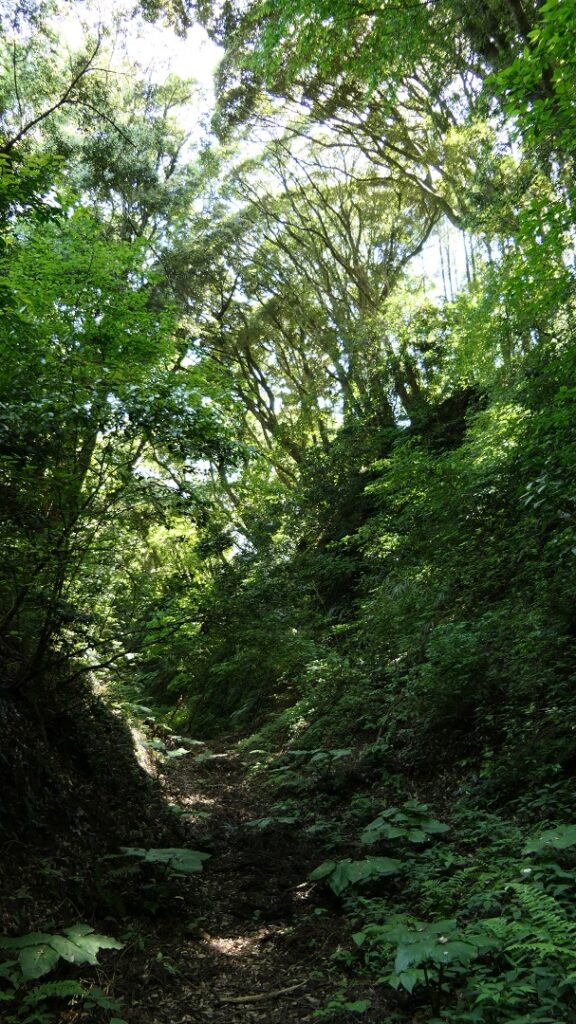
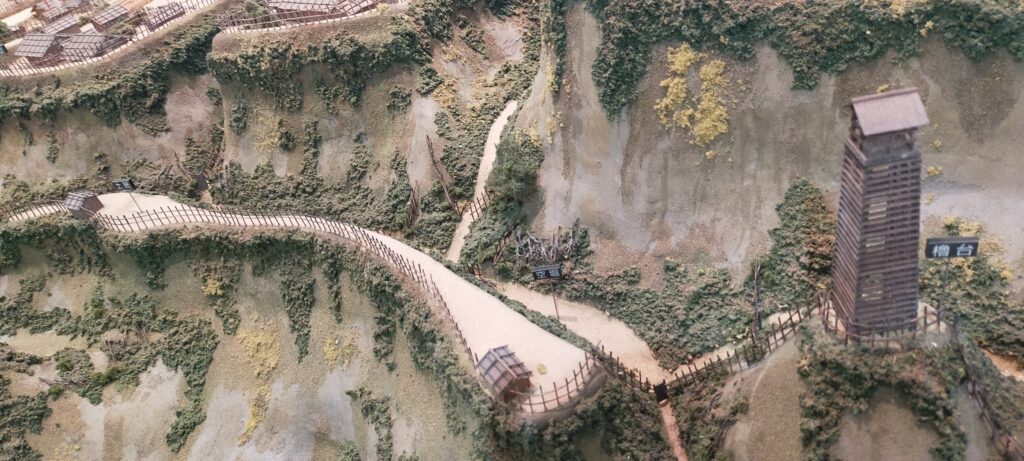
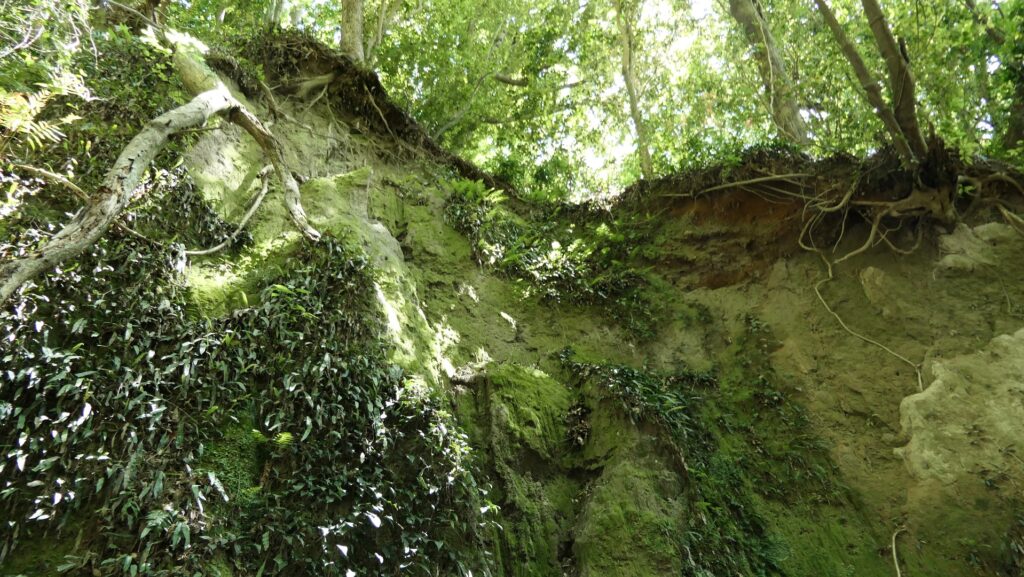
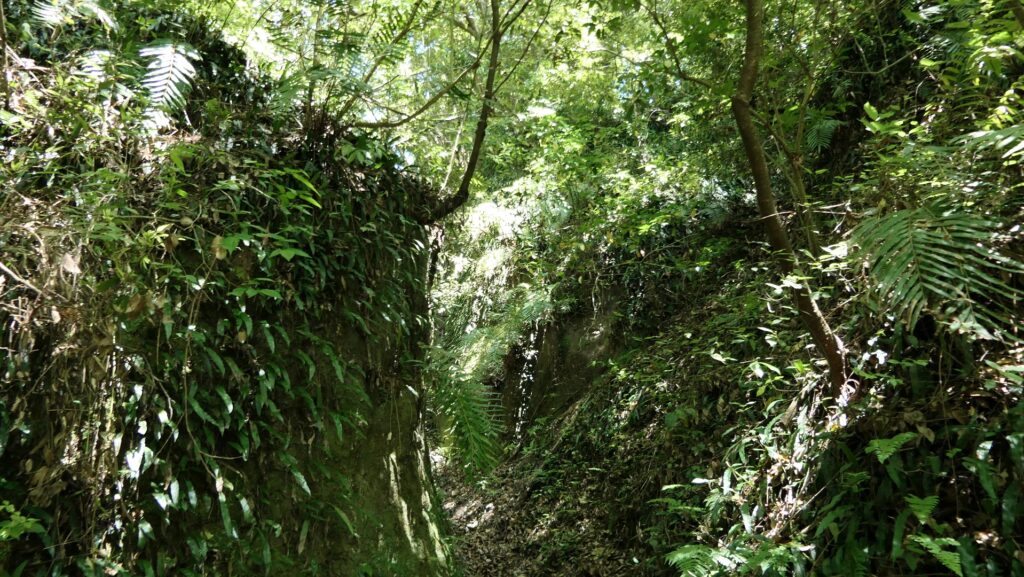
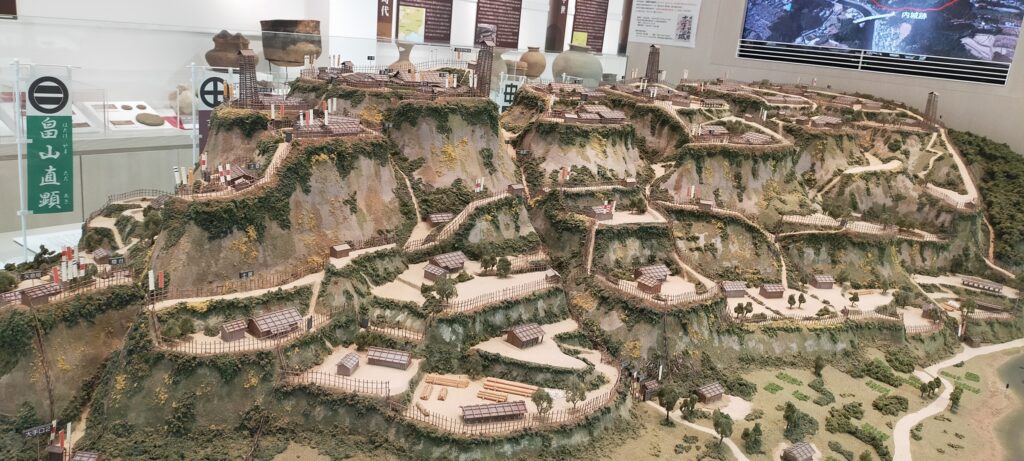
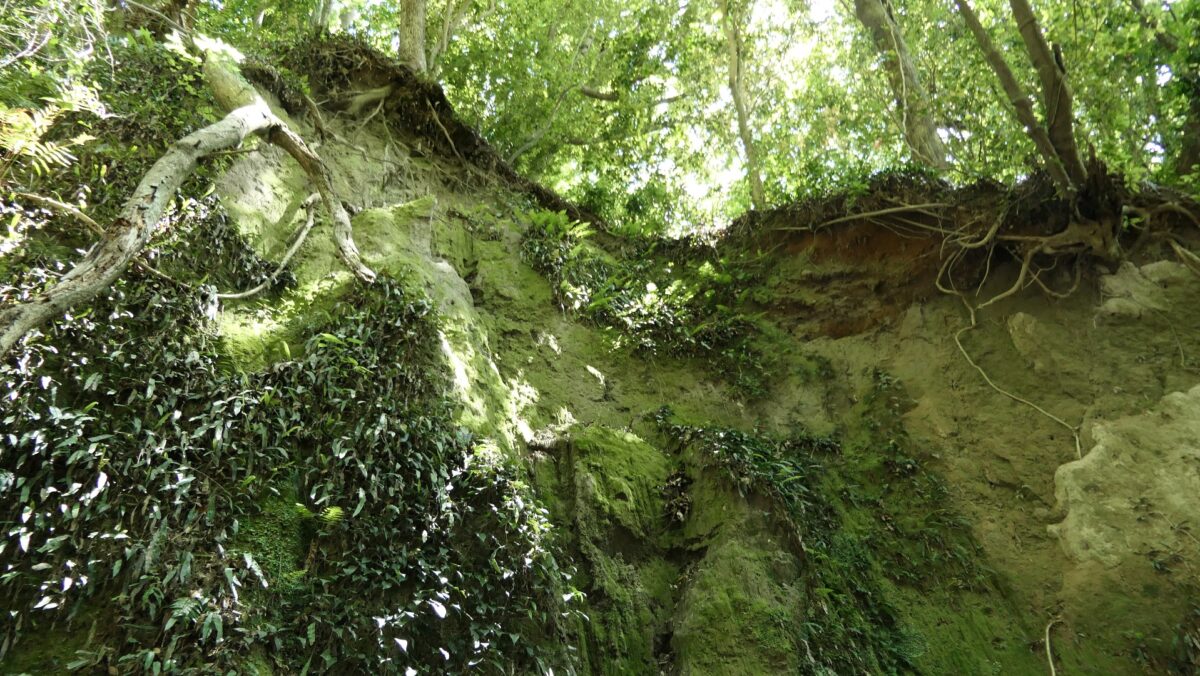
山上へ向かう大手道は、2023年5月の時点では修復中のため途中から通行止めになっています。そのため、このルートの全部を通ってみることはまだできません。しかし、山麓から修復地点の手前まで登って行くか、頂上の方から下ってみることはできます。このルートは基本的に山の別の峰に沿って進んでいて、その入口部分は両側を垂直に削られた崖に囲まれた、大きく且つ深い谷の底を通っています。現代のビジターは築城者の見事な仕事による素晴らしい景色を楽しむことができますが、過去にこの城を攻撃しようとする敵にとっては、守備側からどのような反撃を受けるのか脅威に感じたでしょう。入口からは狭い道が、峰を右側に見ながら続いていて、過去には守備兵がその峰から攻撃してきたでしょうし、現代では土砂崩れが発生して道を簡単に壊してしまいそうです。

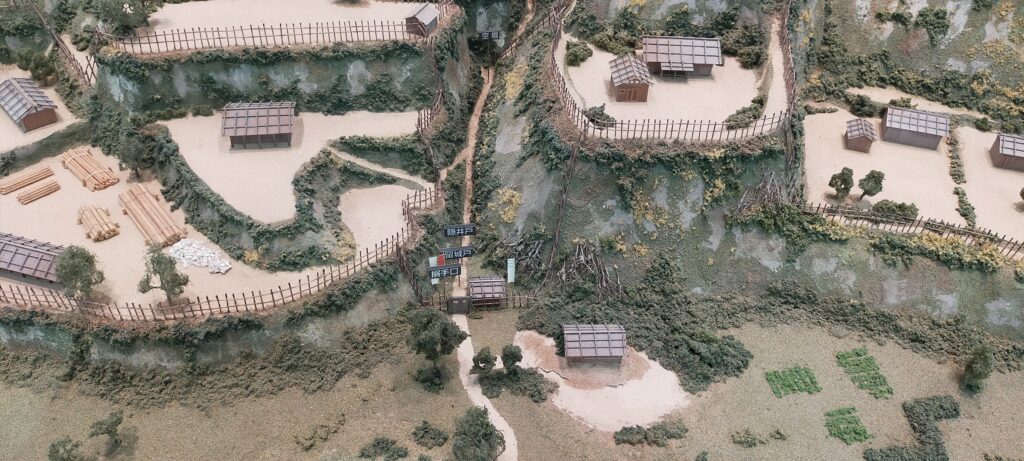
城周辺の地図

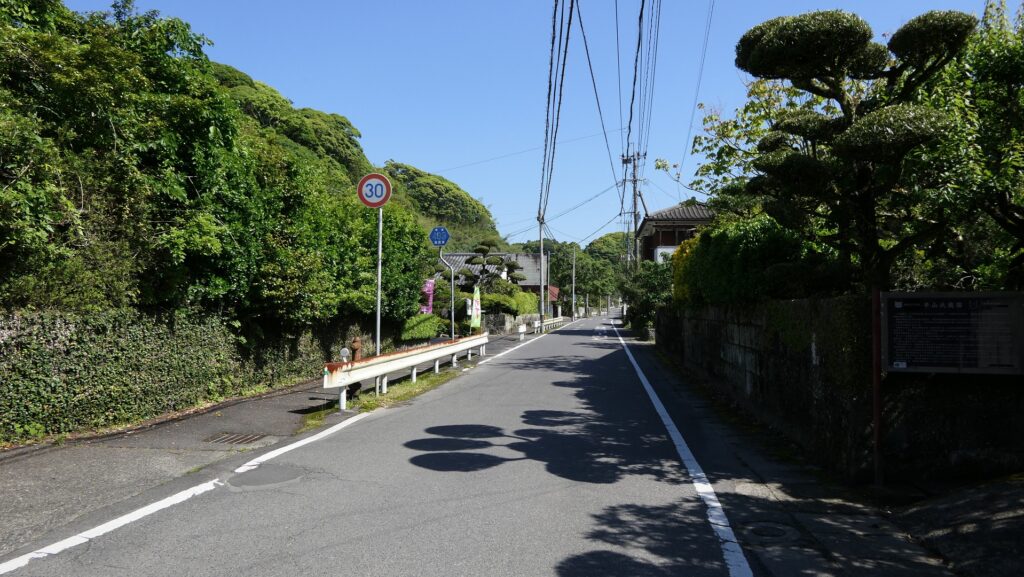
大手道への案内板
大手道入口
右側の峰に沿って進んでいきます
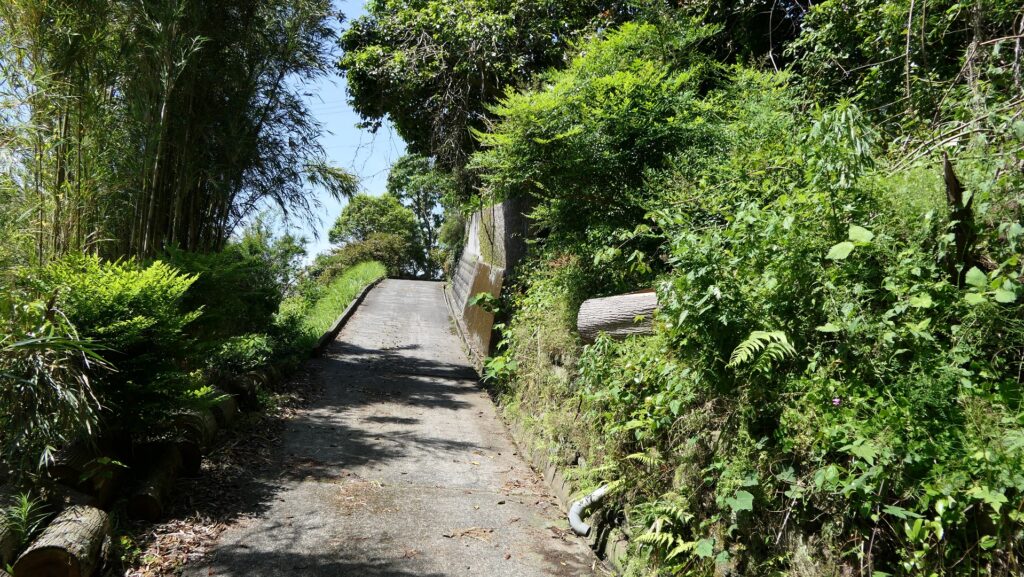
ここから通行止めです

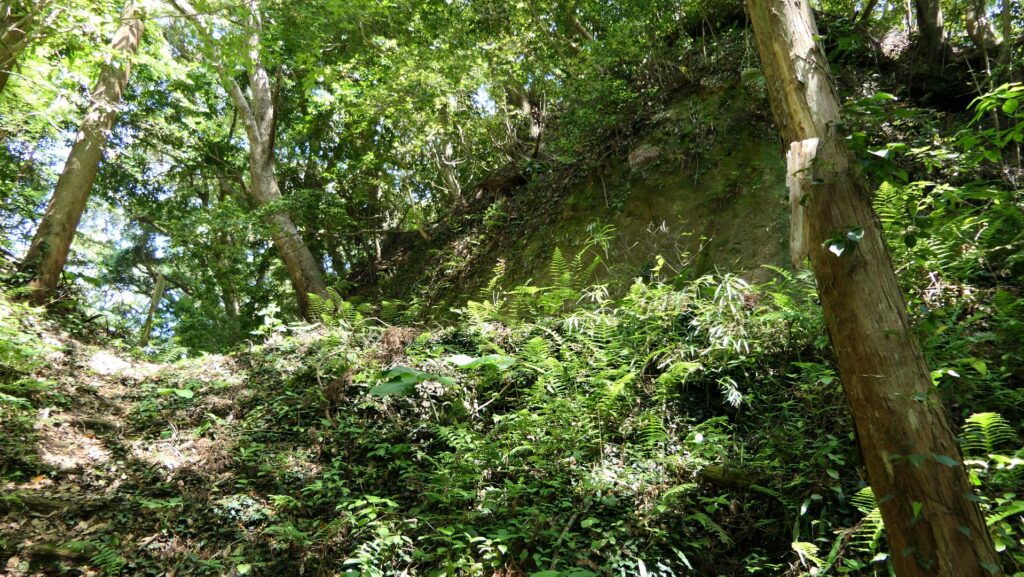
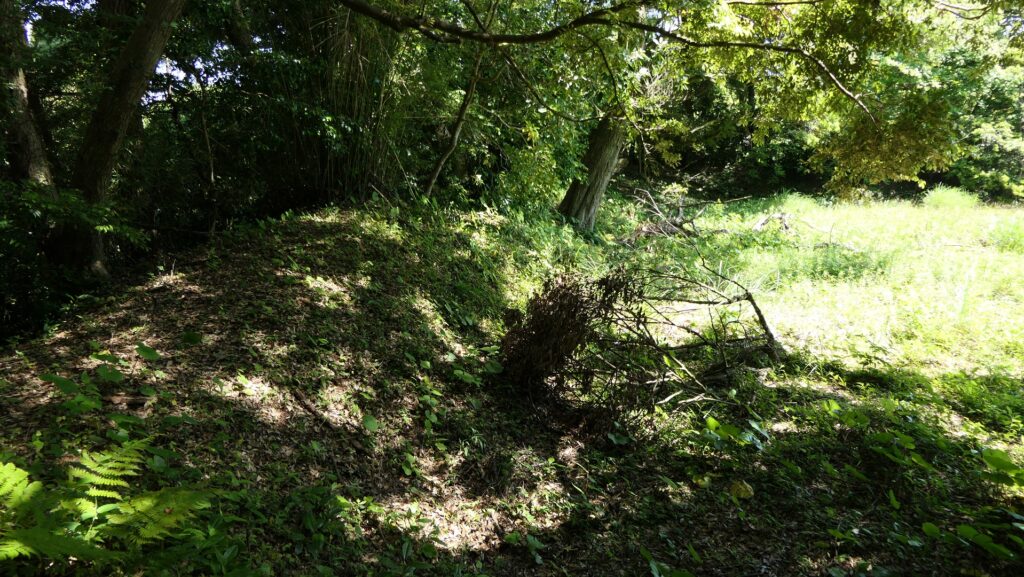
修復地点から上の方は、大手道は右に曲がってもう一つの峰を越えて本丸に至ります。その峰を越える部分には、人工の堀切が掘られていて、その地点も防衛拠点となっていました。

大手道は堀切を越えて本丸に至ります
堀切から下の通行止め地点

その後

明治維新により、佐土原藩の親戚筋である薩摩藩が、日本の政治の実権を握りました。両藩の藩主はもともと同じ島津氏であったことで、佐土原藩も維新の事業に加わりました。佐土原藩の最後の藩主となった島津忠寛(ただひろ)は、本拠地をより便利な地である広瀬に移そうとしました。彼は1869年に、そこに新しい城の建設を始め、佐土原城を廃して建物は全て撤去されました。ところが1871年に中央政府が廃藩置県を行うことになり、工事は中止となってしまいました。

島津忠寛写真、「宮崎県史 別編 維新期の日向諸藩」より  (licensed under Public Domain via Wikimedia Commons)

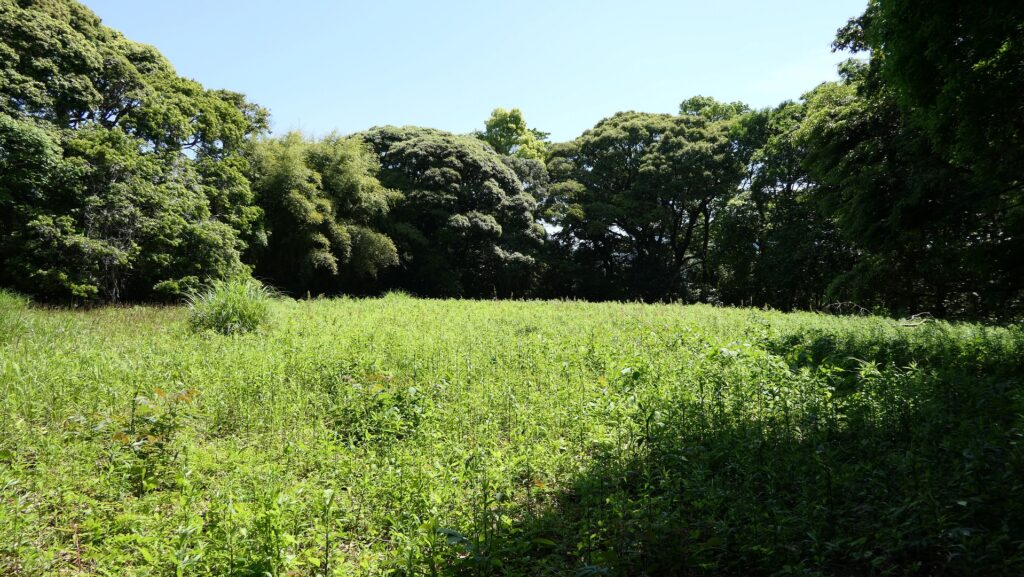
佐土原城跡は長い間、恐らく山麓の平地だけでしょうが、畑地となっていました。その平地にあった二の丸の発掘が1989年に行われ、1993年にはそこにあった御殿が復元されました。本丸の発掘も1996年に行われ、天守台の基礎部分が発見され、それとともに天守でよく使われた金箔瓦も見つかっています。それをもって、今のところ佐土原城には日本で一番南に位置する天守があったのではないかとされています。それらの成果をもとに、2004年に城跡は国の史跡に指定されました。

山上の本丸

私の感想

私は、佐土原城跡に都合3回行っています。最初は何年も前であまりよく覚えていません。2回目の訪問は2022年で、自然災害により山上への2つのルートが全て通行止めになった直後でした。とてもがっかりしました。そのニュースも、シラス台地の崩れやすい性質のことも全然知らなかったのです。1つのルートが再開したというよい知らせを聞いてから、やっと山上を再び訪れることができました。そのとき山頂周辺を歩き回ったのですが、まだ通行止めになっている箇所があり、通路の脇には倒木がありました。そのことで、この城跡を維持する難しさと、それが敵が攻めてくるのを防ぐことにもなっていたのだと実感しました。もし、この城跡に行かれるのでしたら、道が開いているかどうかチェックしてから出発してください。

もう一つの主要曲輪、南の城は立ち入り禁止でした
竹ではありますが、風雨でたくさん倒れていました

ここに行くには

車で行く場合:東九州自動車道の西都ICから約10分のところです。城跡の前に駐車場があります。
公共交通機関を使う場合は、宮崎駅から西都バスセンター行きの宮崎交通バスに乗って、交流センター前バス停で降りてください。
東京または大阪から宮崎駅まで:飛行機で宮崎空港に行ってから、宮崎空港線に乗ってください。

復元御殿前の駐車場

リンク、参考情報

宮崎市佐土原歴史資料館
・「よみがえる日本の城18」学研
・「日本の城改訂版第89号」デアゴスティーニジャパン
・「三位入道(短編集「奥羽の二人」より)/松本清張著」講談社

これで終わります。ありがとうございました。
「佐土原城その1」に戻ります。
「佐土原城その2」に戻ります。

17.Kanayama Castle Part3

This castle might have become more popular.

Features

Living and Religious places in Castle

The enclosures on the upper tiers were used as another pivot point as well as a place for living. The team found traces of kitchen stoves and a well, which were restored with a hut on the Southern Upper Tier Enclosure at the same time as the stone walls. The Southern Enclosure on the top of the tiers is used as the rest house, which is another viewing spot.

The map of the main portion of the castle

The restored hut on the Southern Upper Tier Enclosure
The restored kitchen stoves in the hut
The Southern Enclosure and the rest house on it
A view from the Southern Enclosure

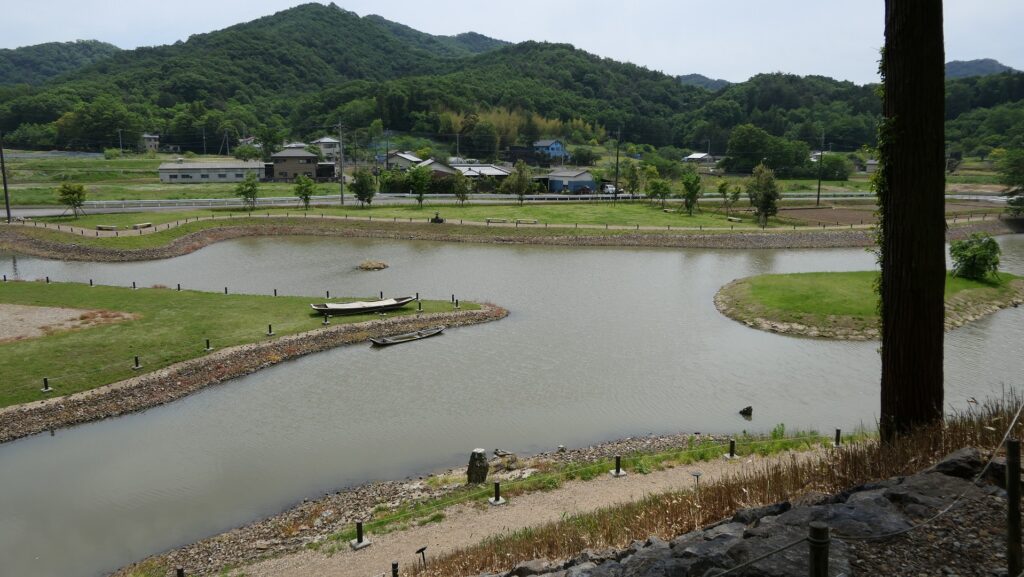
To reach the Main Enclosure on the top of the mountain, you will pass and see a larger pond being covered with stone mounds as well, called Hi-no-ike or the Sun Pond. This is actually not a reservoir but a well, which had been famous as a holy place since the Ancient Times before the castle was built. That’s why people in the castle used it for religious services.

The Sun Pond
The Sun Pond viewed from above

Main Enclosure is used as Shrine

Around the top of the mountain is the Main, Second, Third Enclosures, but you can not access the two of the latter because they are privately owned. You will eventually go to the Main Enclosure on the top, which is now used as Nitta Shrine. As for the castle ruins, you can walk around the enclosure, called Musha-bashiri or the Defense Passage, and see the partially remaining original stone walls which are also uncertain as to who first built them.

The Second Enclosure is not allowed to enter
Nitta Shrine in the Main Enclosure
A view from the Main Enclosure
The remaining stone walls behind the Main Enclosure
The Defense Passage around the Main Enclosure

Later History

After Kanayama Castle was abandoned, the Tokugawa Shogunate banned people from entering its mountain area to provide Matsutake mushroom to the shoguns during the Edo period. In fact, the Matsutake produced at the mountain was served to the Imperial Families until 1964.

A view of the Eastern hiking course, there are still Japanese red pines that could provide Matsutake mushroom, but they can’t produce it now because of aging

The shogunate also conserved the former area of the Nitta Manor by building religious facilities such as Serada Toshogu Shrine, Kinryuji and Daikoin Temples as they had declared the shoguns were a branch of the Nita Clan, which meant they were descendants of the Minamoto Clan. Even the shogunate needed the authority to govern the whole country. As for castle ruins, Kanayama Castle ruins were designated as a National Historic Site in 1934. Ota City has been excavating and developing them as a historical site since 1995.

Serada Toshogu Shrine
Kinryuji Temple
Daikoin Temple

My Impression

When the Yura Clan was banished from Kanayama Castle, only the lord’s mother, Myoinni was against the idea of Hojo Clan keeping the castle. Even after she gave it up, she joined Maeda’s troops to attack the Hojo Clan in 1590 when she was already 77 years old. That caused the Yura Clan to survive while the Hojo Clan to decline in the end. I guess if she and the Yura Clan could still stay in the strong Kanayama Castle even with only a few defenders, there might have been a dramatic event at the castle when Hideyoshi invaded the Kanto Region like Nagachika Narita fought with Mitsunari Ishida at Oshi Castle.

The ruins of Ushiku Castle  (licensed by Monado via Wikimedia Commons)
The ruins of Oshi Castle

How to get There

I recommend using a car when you visit the castle ruins because there are no buses that go directly to the ruins available. It is about a 10-minute drive away from Ota-Kiryu IC on the Kita-Kanto Expressway. There are several parking lots at the foot, halfway up, and at the top of the mountain.
If you want to use public transportation, it takes around 1 hour from Ota Station. It would be better to take a taxi from the station.
From Tokyo to Ota Station: Take the JR Ueno-Tokyo Line from Tokyo Station and transfer to the Ryomo limited express on the Tobu Isesaki Line at Kitasenju Station.

That’s all. Thank you.
Back to “Kanayama Castle Part1”
Back to “Kanayama Castle Part2”

198.Chiran Castle Part3

Very impressive castle to me

Features

Stronger Defense of Main Enclosure

The group of the Main and Kuranjo Enclosures on the right are even more defensive. If you want to go there, you will find the group has two tiers. You will need to pass the first Masugata entrance and reach the first tier before going to the two tops of these enclosures. Each enclosure also has the same defense system as the Imanjo Enclosure mentioned above, which meant enemies had to break the double Masugata entrances.

The layout drawing of Chiran Castle, quoted by Minami-Kyushu City, the route to the Main and Imanjo Enclosures (the red arrows)

The inside of the Main Enclosure is also empty where only the stone monument of the castle stands. The Kuranjo Enclosure is the place where the excavation for the castle was mainly done recently. The excavation team found earthen foundations of some buildings and lots of relics such as pottery and porcelain imported from China and Thailand, and used when the castle was active. That’s why partially restored columns of the buildings are exhibited on the ground there. Unfortunately, views from the enclosures are not good because of the trees and bushes around. It may be difficult for the officials to develop them as a view spot due to the fragile natural terrain.

The inside of the Main Enclosure  (licensed by Mizushimasea via Wikimedia Commons)
The inside of Kuranjo Enclosure, quoted from the website of Minami-Kyushu City
Some of the excavated relics of Chinese ceramic-ware, from the signboard at the site

Later History

During World War II, Chiran Castle Ruins were used for air-raid shelters by digging into their cliffs. As for the castle ruins, the excavation started in 1992, which found the original moats, the Masugata entrances, some building foundations, and lots of relics. As a result, the ruins were designated as a National Historic Site in 1993. In addition, the excavation re-started again in 1998 before the Kuranjo Enclosure was developed for preservation and exhibition in 2005.

The signboard at the entrance of the castle ruins

My Impression

I didn’t know about Chiran Castle at all before my visit to the ruins. I was really surprised to see that the castle had been built using the special conditions the area had. I think this is one of ancestors’ wisdom we should respect. This is also one of the reasons that I love visiting castles and ruins. In addition, I have actually deleted all my photos of the ruins in my camera accidentally except for few ones in my smartphone. I usually write my castle-visiting articles based on my photos. However, this time, I managed to write my article of Chiran Castle using my strong impressions from some books, leaflets and other website articles.

The ruins of Chiran Castle
The ruins of Sadowara Castle, another example of castles which were built on the Shirasu Plateau

How to get There

If you want to visit the castle ruins by car, it is about a 20 minute drive away from Chiran IC on the Ibusuki Sky Line. There is a parking lot around the ruins’ entrance.
If you want to use public transportation, you can take the Kagoshima Kotsu Bus bound for Chiran at the East No.16 platform in front of Kagoshima-chuo Station and get off at the Nakagori bus stop (for those who visit the ruins from the Chiran Samurai Residences side) or the Tokko-Kannnon-Iriguchi bus stop (for visiting them from the former Chiran Airport side). It takes about 20 minutes on foot to get there either form these bus stops.
From Fukuoka to Kagoshima-chuo Station: Take the Kyushu Shinkansen super express.
From Tokyo to Kagoshima-chuo Station: Take the express bus from Kagoshima Airport after using a plane.

The parking lot at the castle ruins
The Nakagori bus stop

That’s all. Thank you.
Back to “Chiran Castle Part1”
Back to “Chiran Castle Part2”