147.Takatenjin Castle Part2

The Legendary Strength of The Castle

Features

Going to Castle Ruins through steep slope

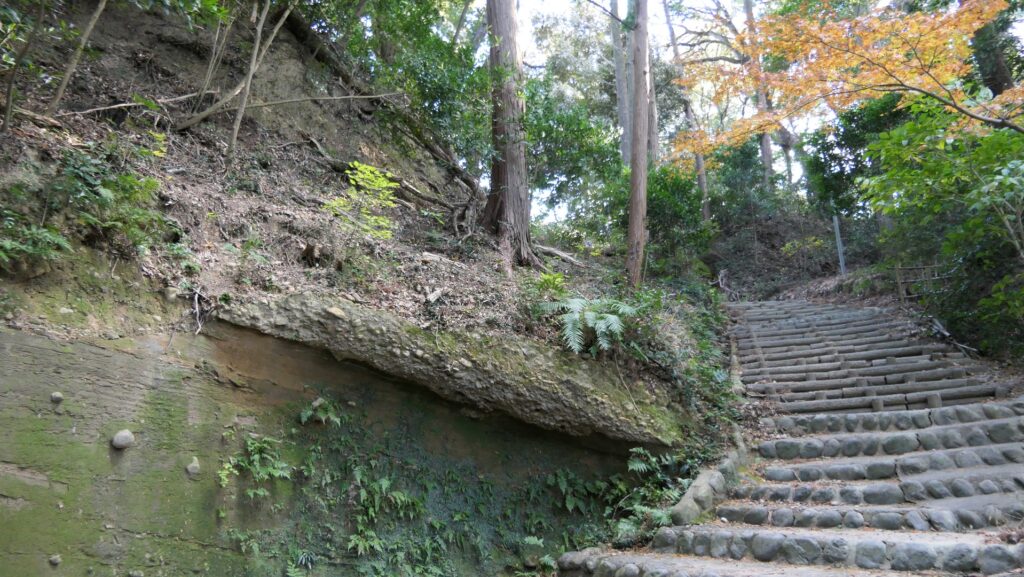
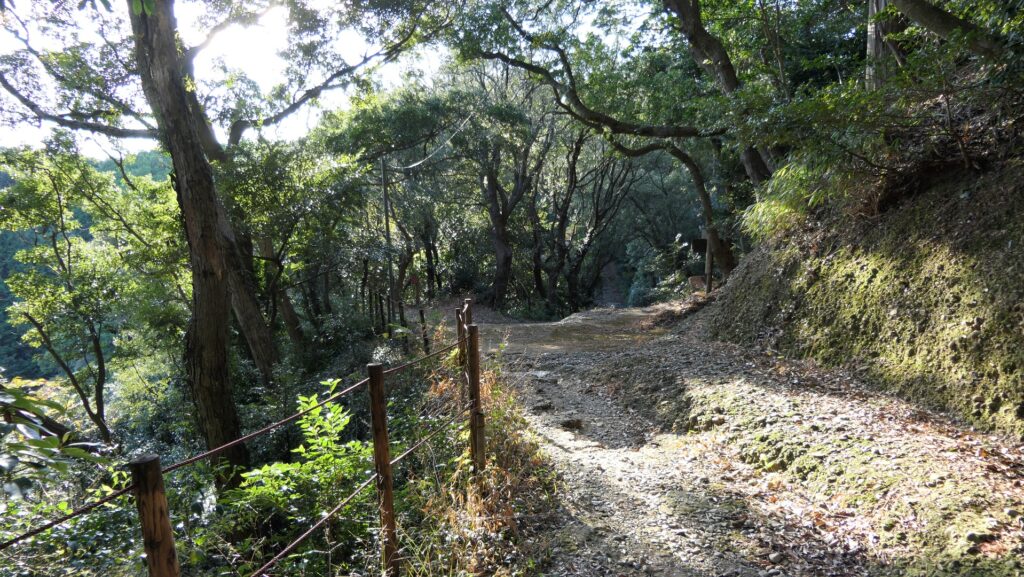
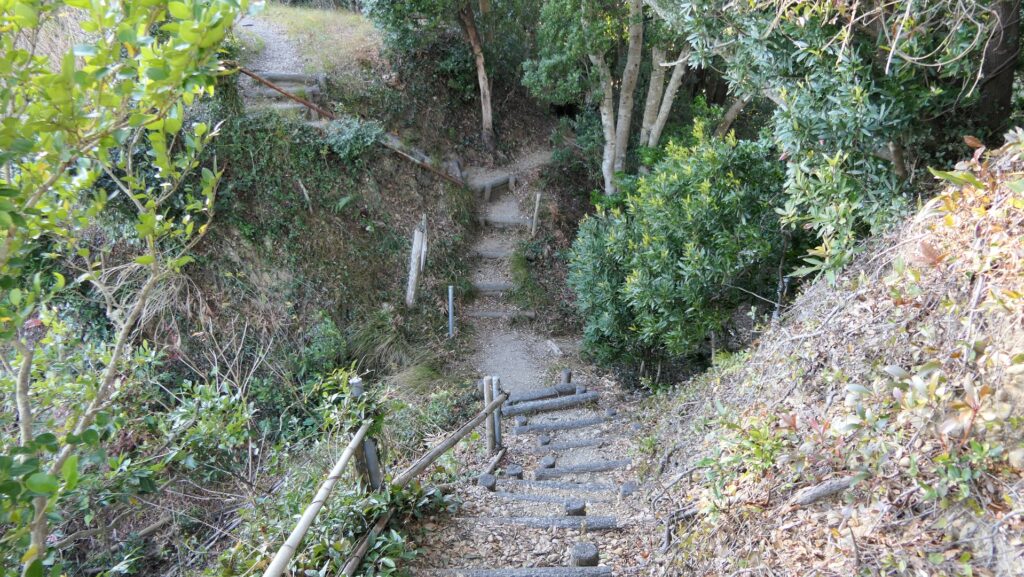
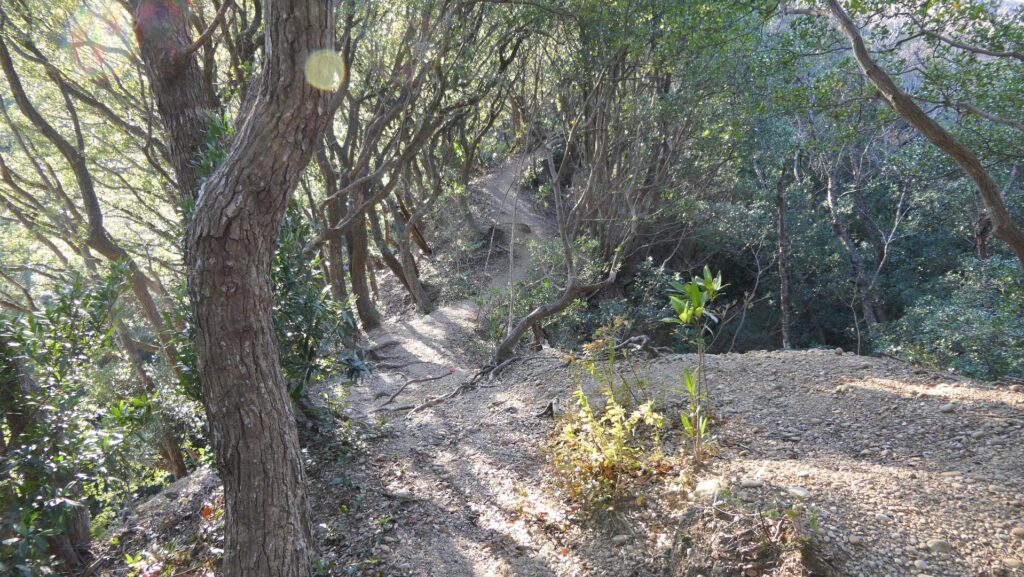
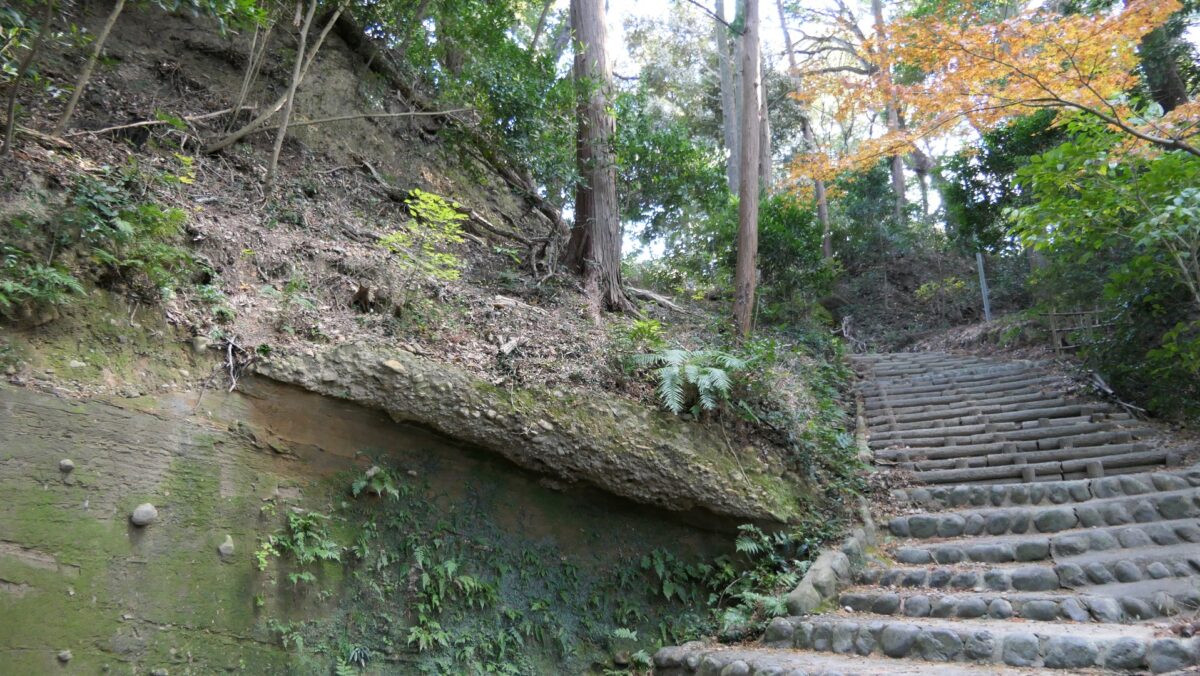
Today, you can visit the ruins of Takatenjin Castle easily if you have a car. You can park in front of either the Main Route in the south or the Back Route in the north. If you want to get a taste of how tough the castle was, I recommend walking on the Back Route. The route is flat all the way to the foot of the mountain, but it gets very steep on the slope. It goes up and zigzags through rough cliffs for a while. However, when you reach the top, you will see that it is actually flat. After seeing this, you will understand that the natural terrain was more than suitable for the mountain castle.

The map around the castle
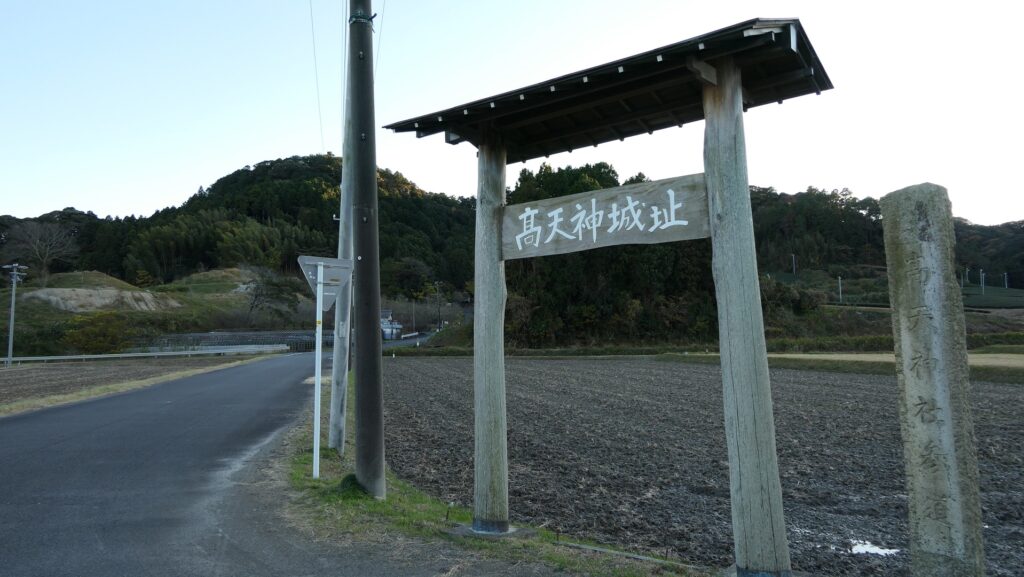
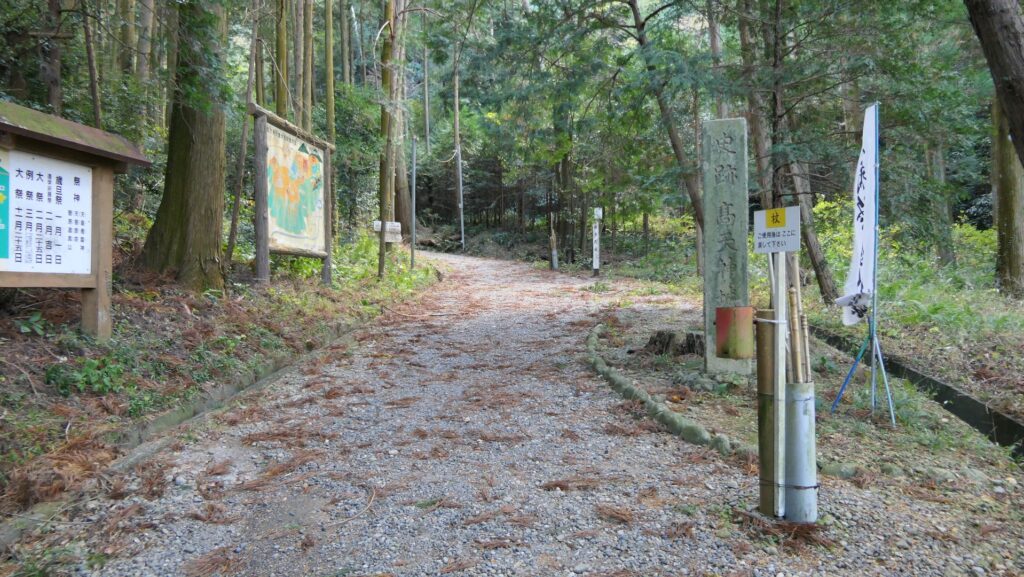
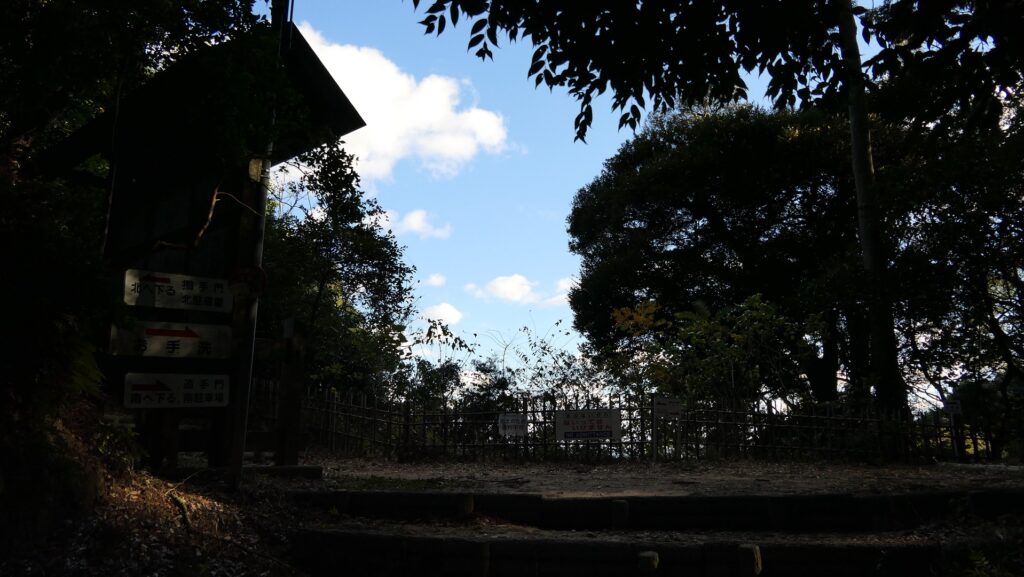
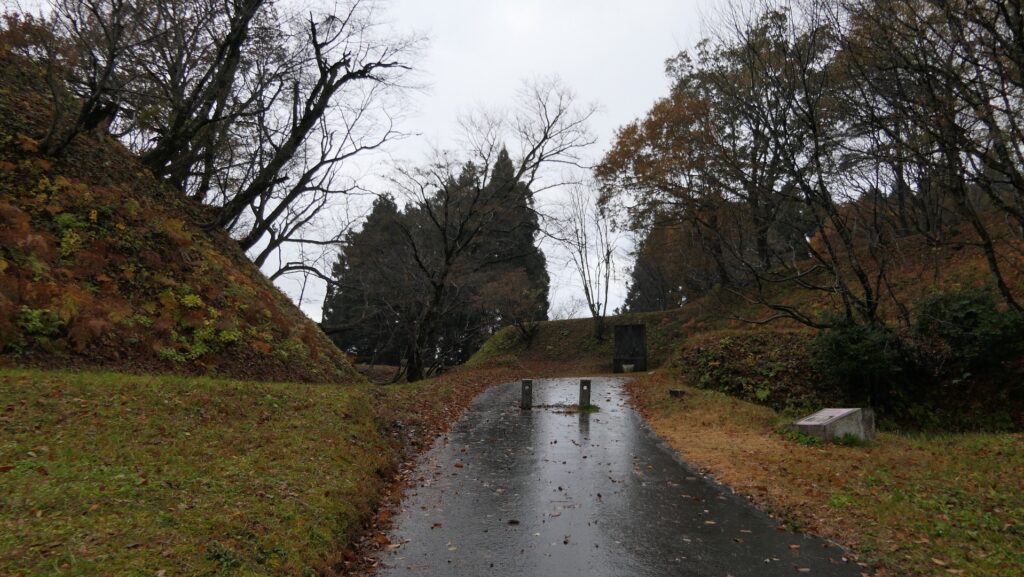
The northern entrance of Takatenjin Castle Ruins
The Back Route
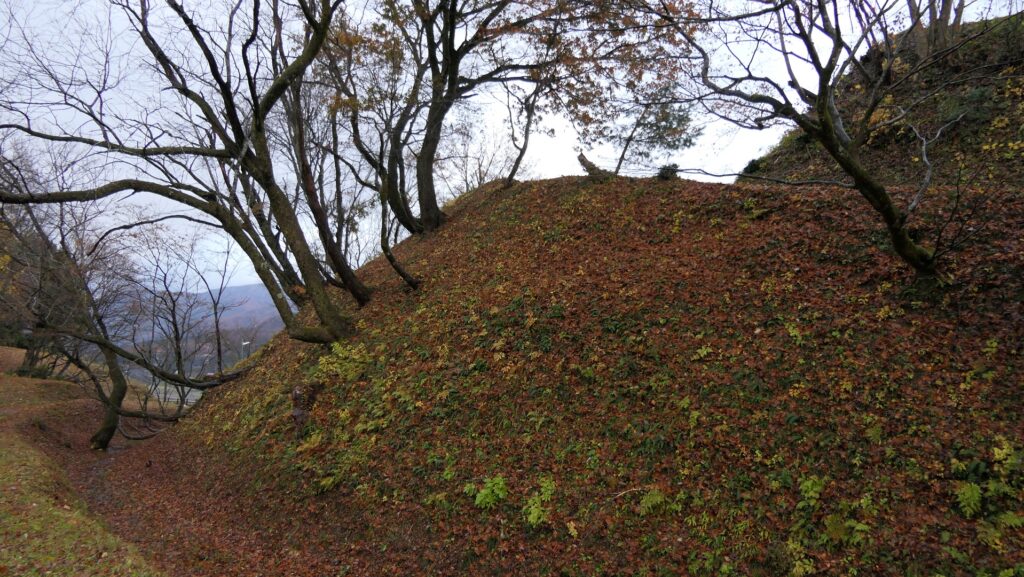
The steep slope through cliffs
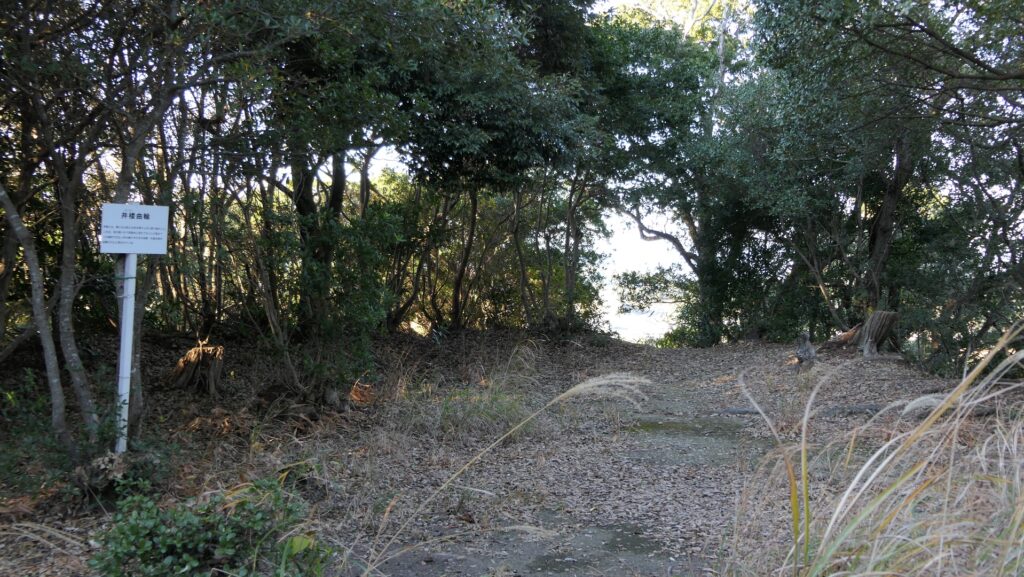
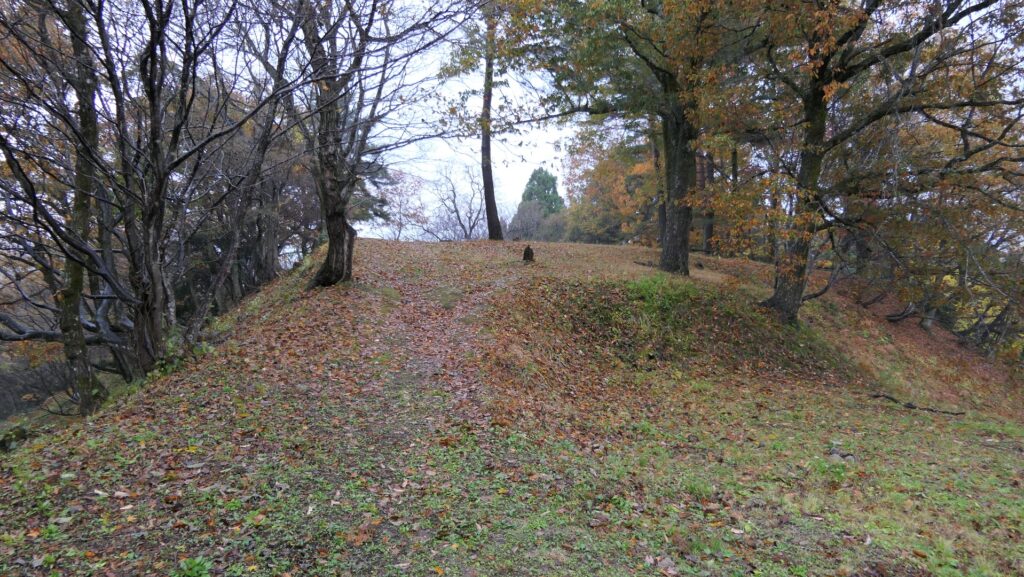
the flat area on the top

Western ridge part

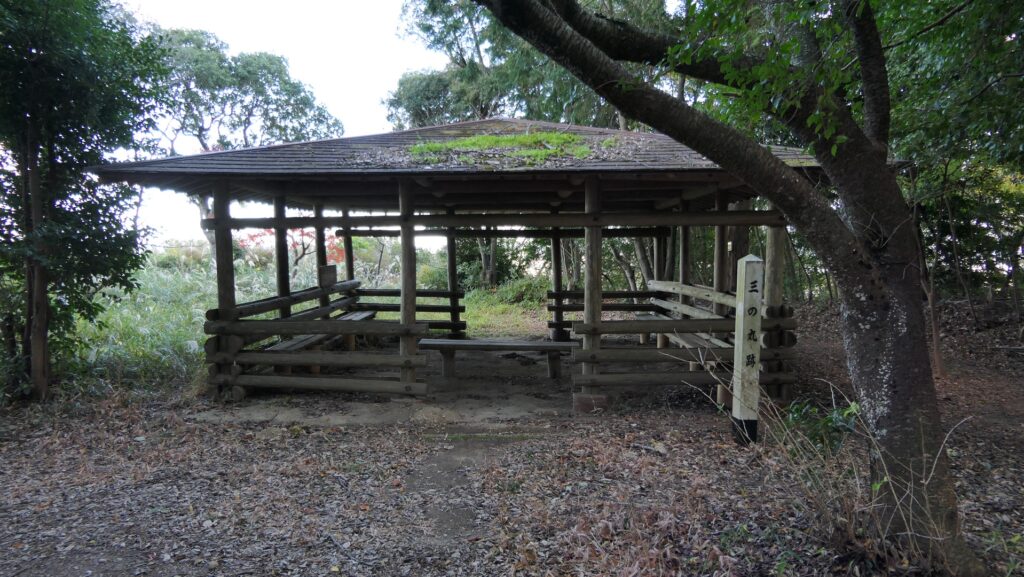
The spot you reached is called the Well Enclosure, which is the connecting point of the eastern and western ridges. The eastern ridge is the older part of the castle, which includes the Kane, Matoba, Main, Gozen, and Third Enclosures. These enclosures were built along natural terrain, which was partly surrounded by earthen walls and paths.
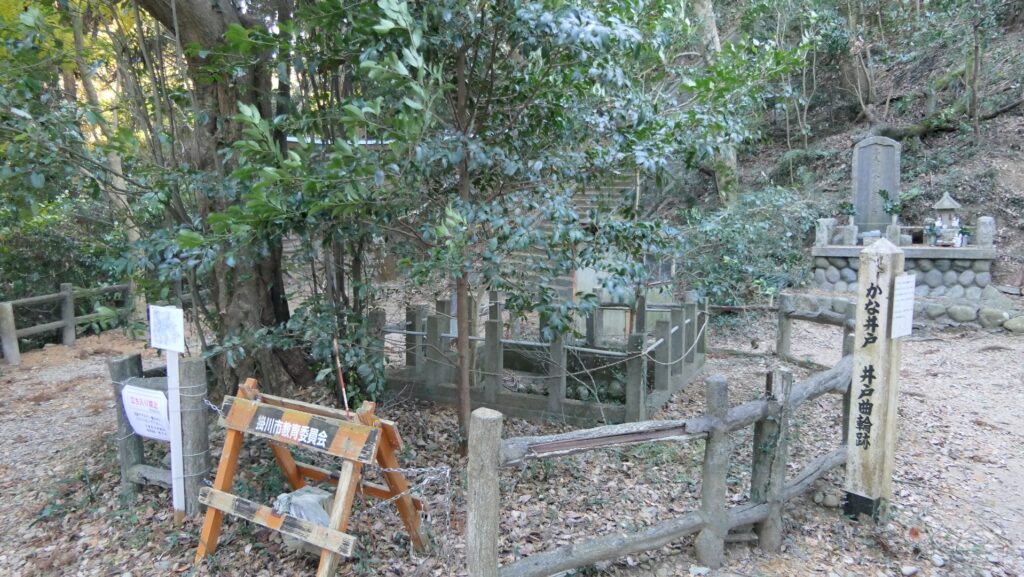
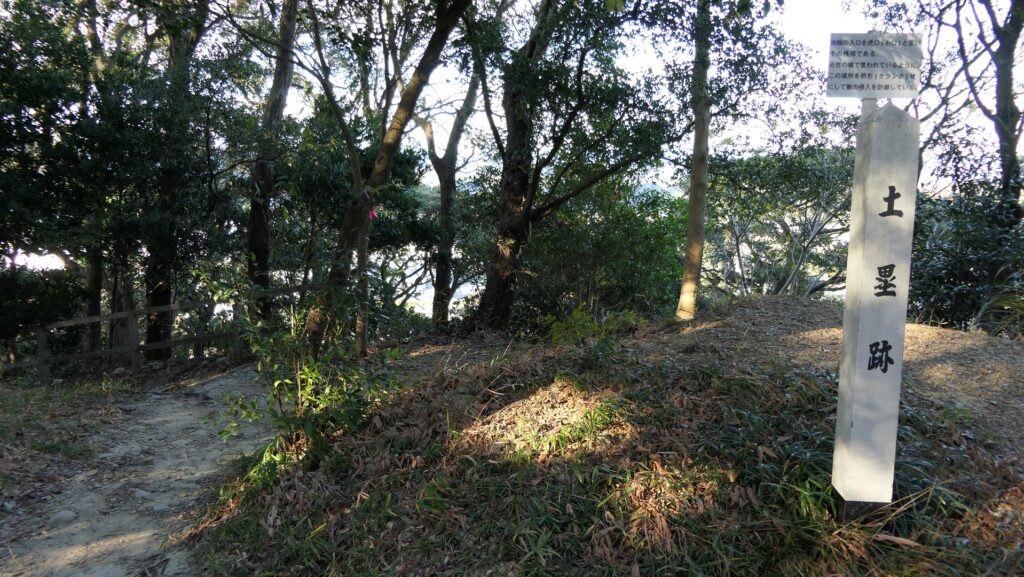
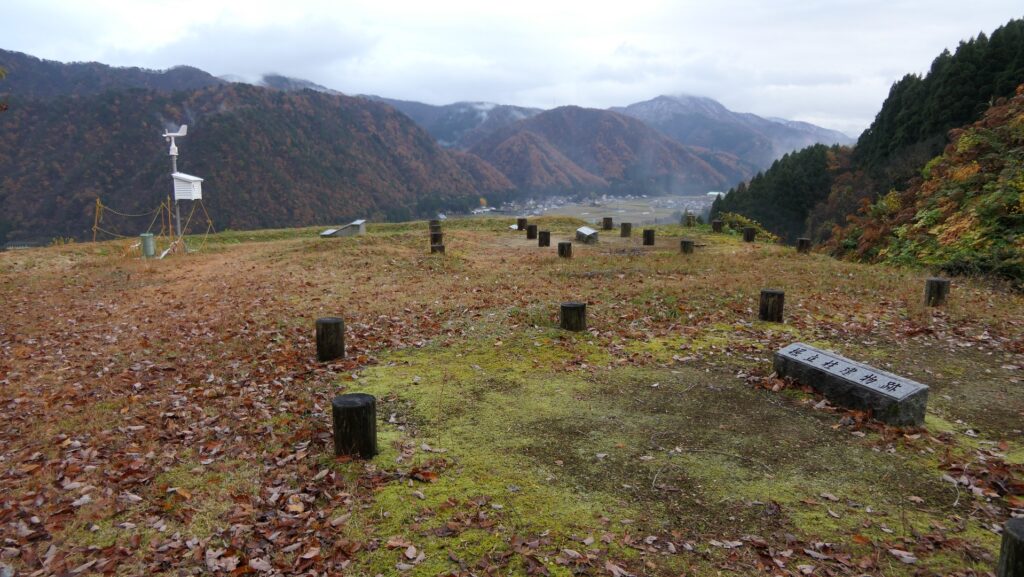
The Well Enclosure
The partly remaining earthen walls
The original path around the Main Enclosure

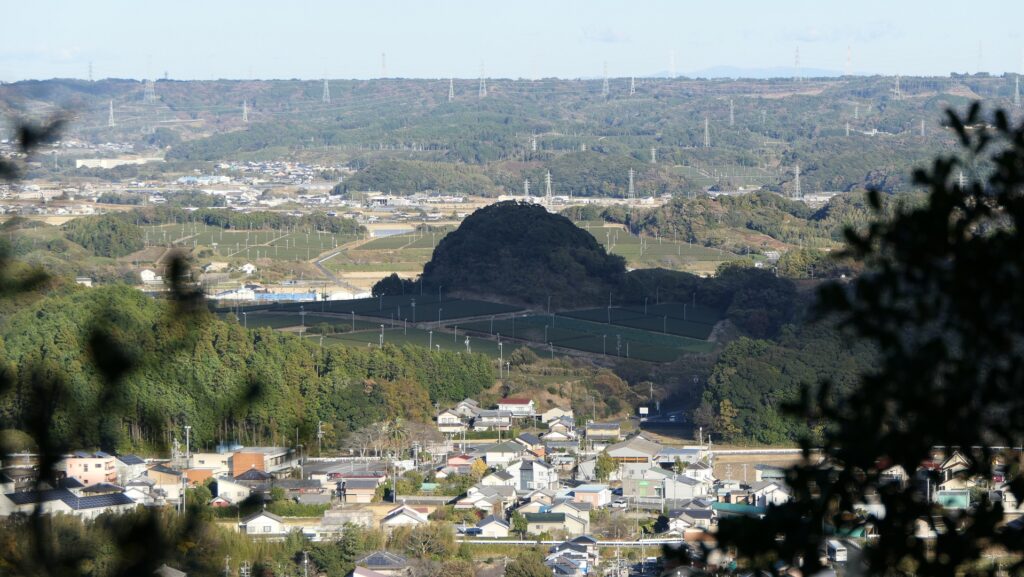
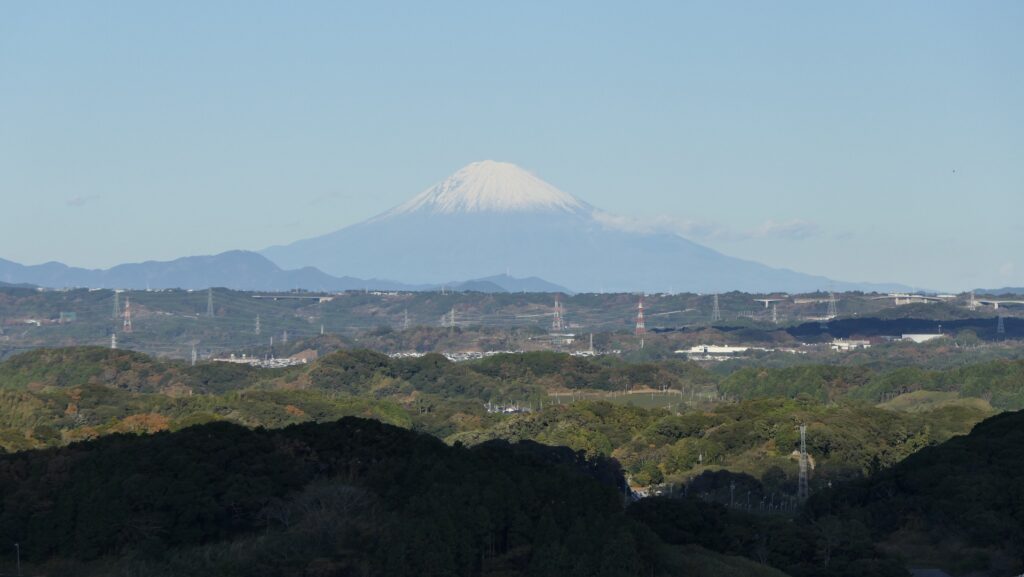
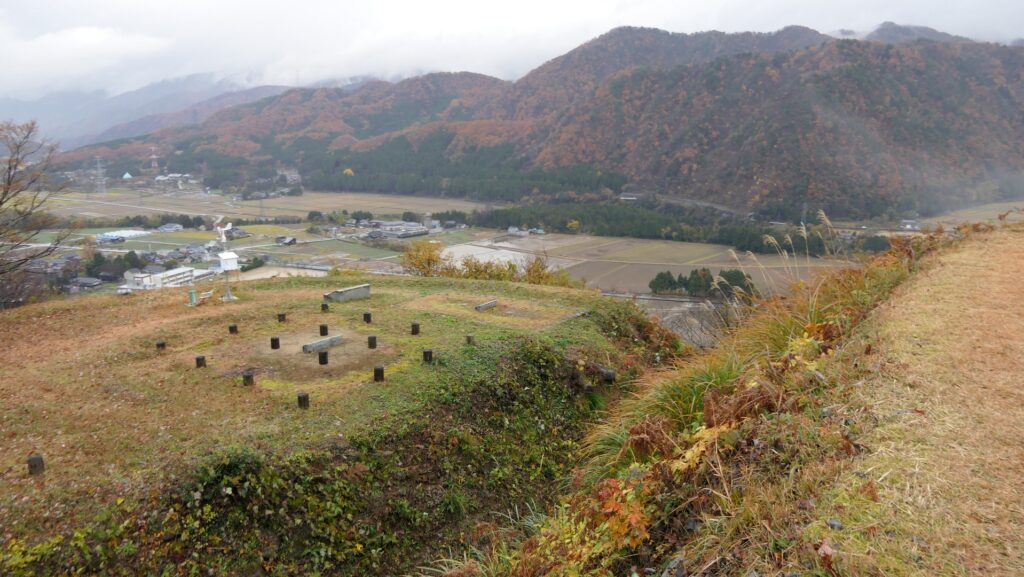
The Main Enclosure is at the center and it is the highest point of the castle. You can look down vertically at the steep cliffs anywhere and see a view of Fort Hinodake, one of the Six Takatenjin Forts, from the enclosure. The Third Enclosure is located at the easternmost part of the castle, having a fine view. On a clear and sunny day, you can see a great view of Mt. Fuji in the east.
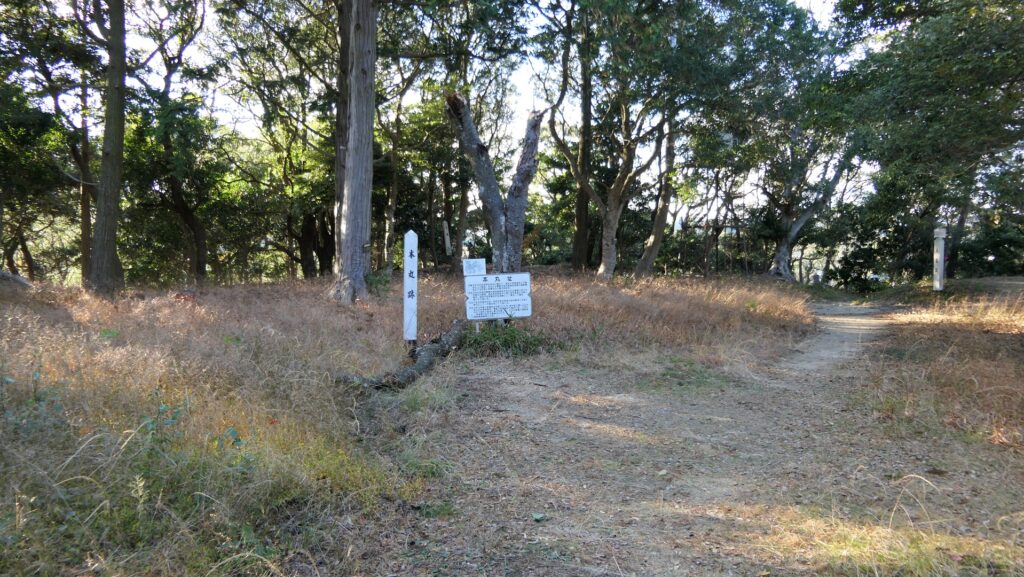
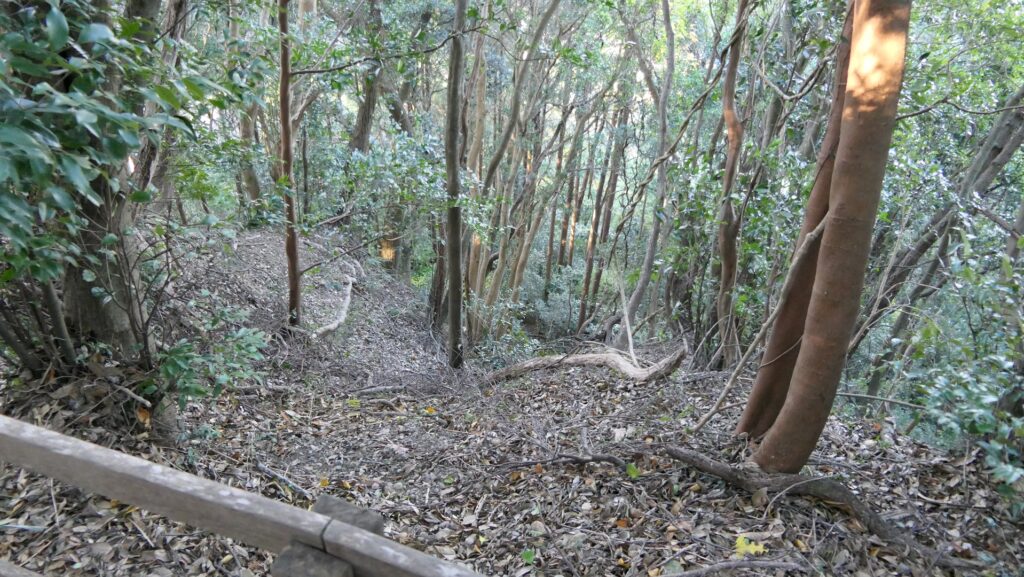
The Main Enclosure
Looking down a steep slope
The ruins of Fort Hinodake
The Third Enclosure
A view of Mt. Fuji from the Third Enclosure

Eastern ridge part

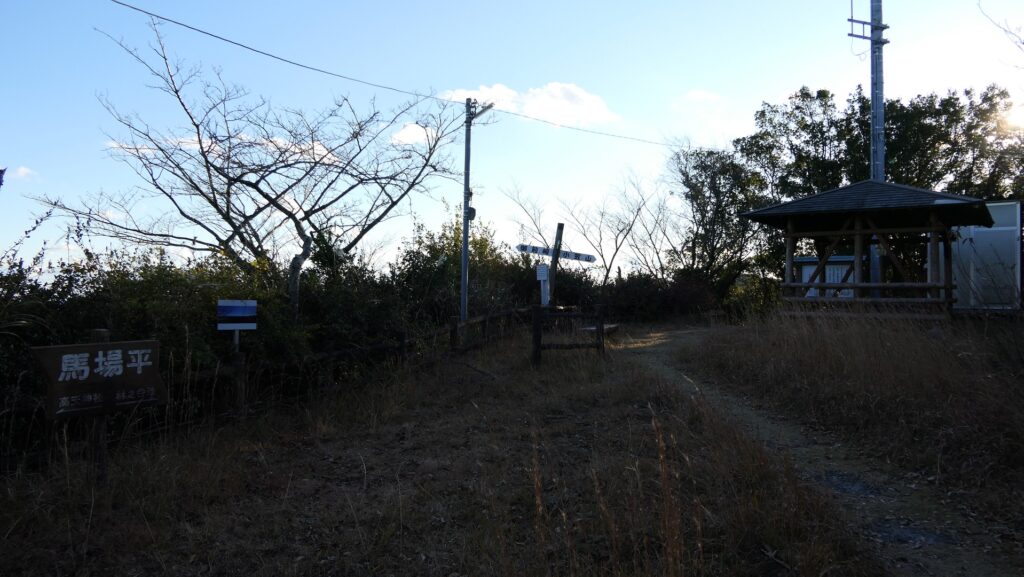
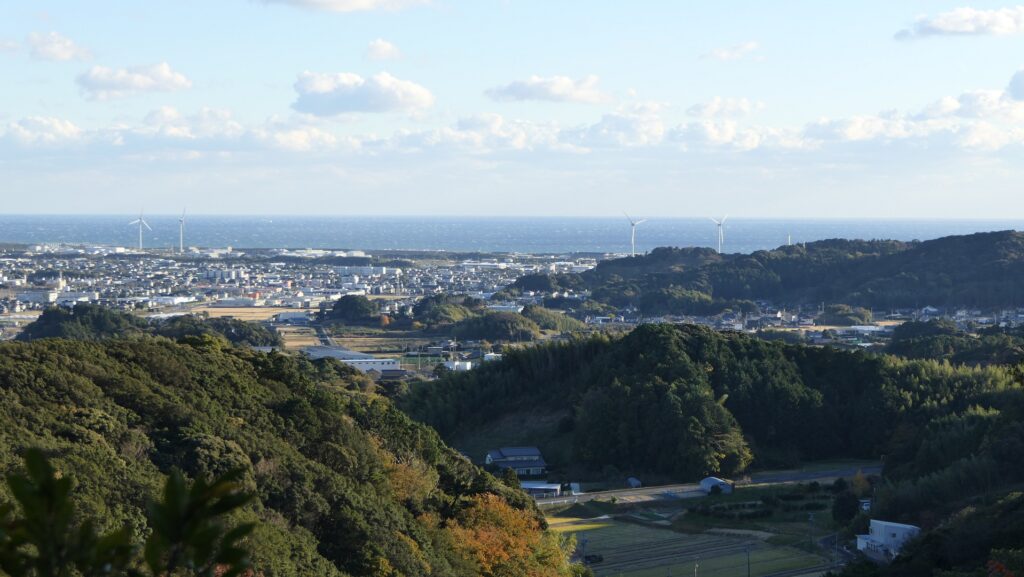
The western ridge is the newer part of the castle which includes the Western, Babadaira, Second, Dono-o, and Seiro Enclosures. The Western Enclosure is the highest point of the ridge where Takaten Shrine currently stands now, so you can see a good view of the Pacific Ocean in the south. The Babadaira Enclosure is below the Western Enclosure and divided by a ditch. Over the Babadaira Enclosure, there is a narrow path. This path is often referred to as “Inumodori” which translates to “Dogs return” meaning “Dogs cannot go through because it’s too tough”.
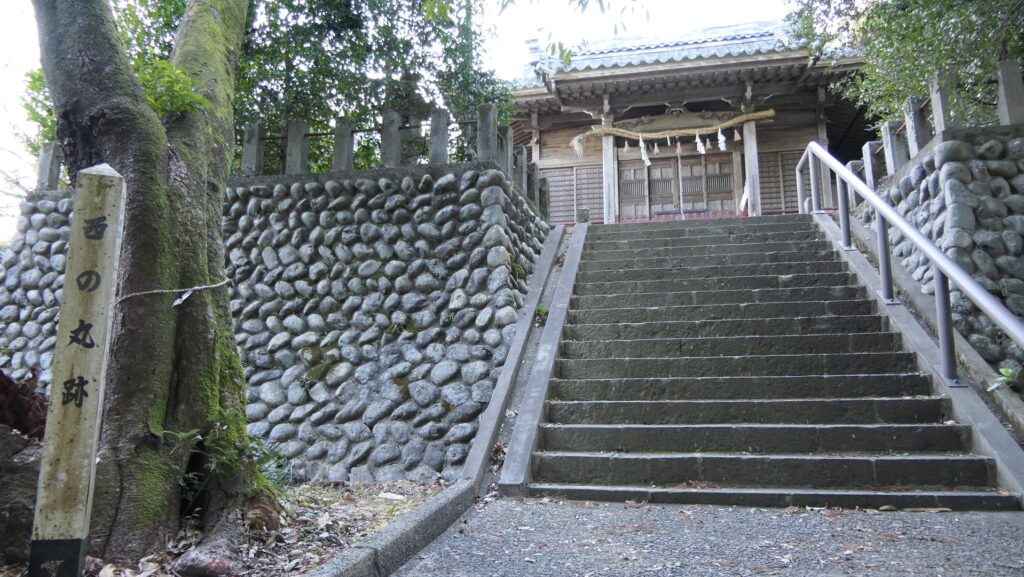
Takaten Shrine on the Western Enclosure
A view of the Pacific Ocean from the Western Enclosure
The ditch between the Western and Babadaira Enclosures
The Babadaira Enclosure
The narrow path called “Dogs return”

The Second, Dono-o and Seiro Enclosures are in a line next to the Western Enclosure, which were fortified by the Takeda Clan. This was because other mountains are connected over the Seiro Enclosure, which could have been attacked from this direction. To prevent this from happening, Takeda built a long dry moat along these enclosures and deep ditches dividing them.
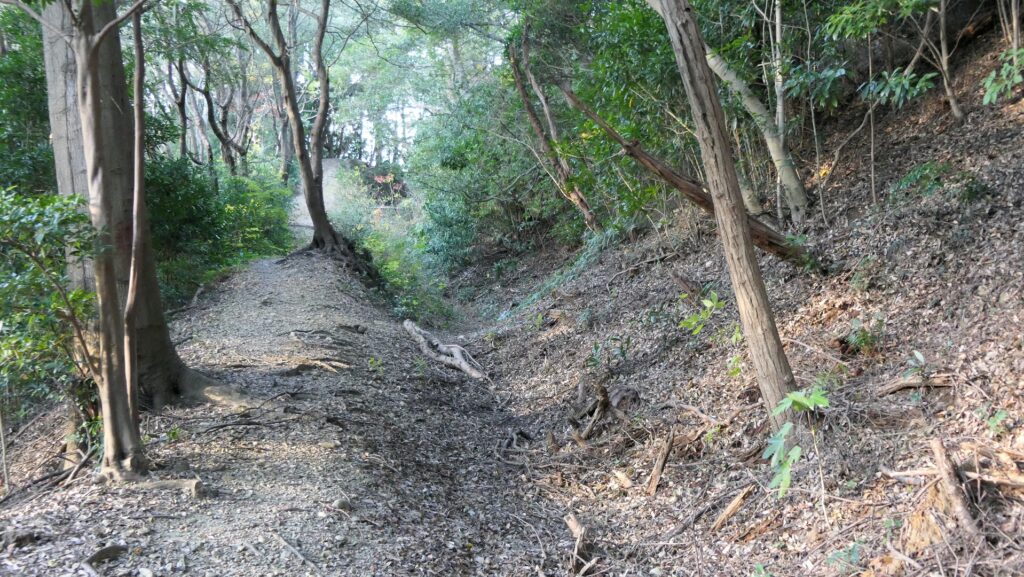
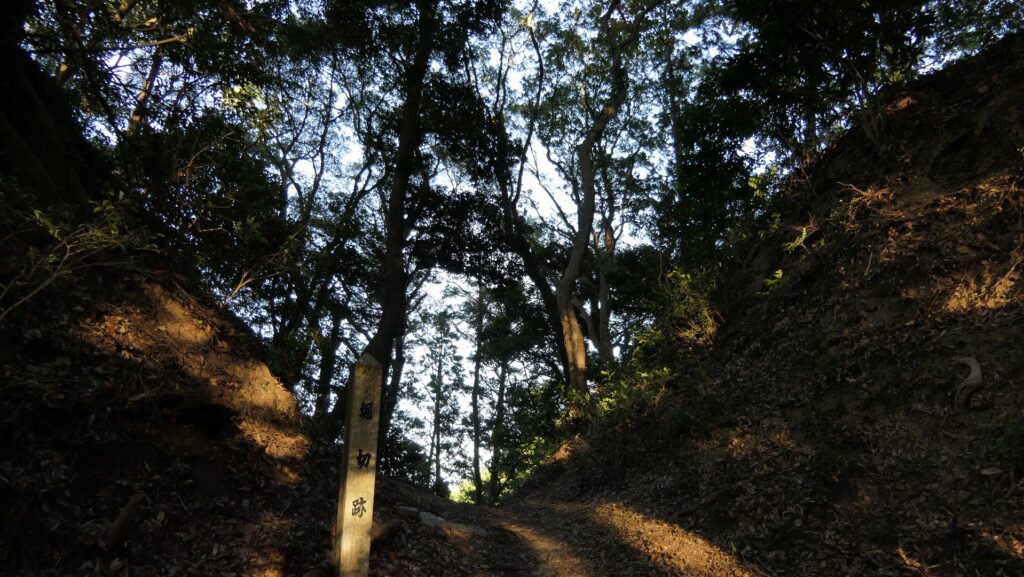
The long dry moat along the enclosures
The ditch between the Second and Dono-o Enclosures
The Seiro Enclosure

To be continued in “Takatenjin Castle Part3”
Back to “Takatenjin Castle Part1”
136.Torigoe Castle Part2

Well developed ruins of a mountain castle

Features

Enclosures built using Natural Terrain

Today, the ruins of Torigoe Castle are well restored for visitors. If you drive to the ruins, you can easily go up to the parking lot near the top of the mountain. After parking, you can walk on the path to the center of the ruins. This path goes through the Rear Third Enclosure and the Rear Second Enclosure. These enclosures protected the Main Enclosure in the north. Similarly, the Third Enclosure and the Second Enclosure also protected the Main Enclosure in the south. Moreover, the Belt Enclosures surrounded the enclosures mentioned above for connection or a defense perimeter.

The aerial photo around the castle

The path to the center of the ruins
The Rear Third Enclosure

For example, if you look at the Rear Second Enclosure, you can see it has a deep dry moat and is highly heaped. You can imagine the builders dug the moat and made the enclosure by heaping the soil from the moat on natural terrain. Some wooden fences were probably built along the enclosure. Some buildings were also built in the enclosure, where you can see the remnants of them now.

The Rear Second Enclosure
The inside of the Rear Second Enclosure
The Rear Second Enclosure seen from the Main Enclosure

Restored Buildings and Stone Walls

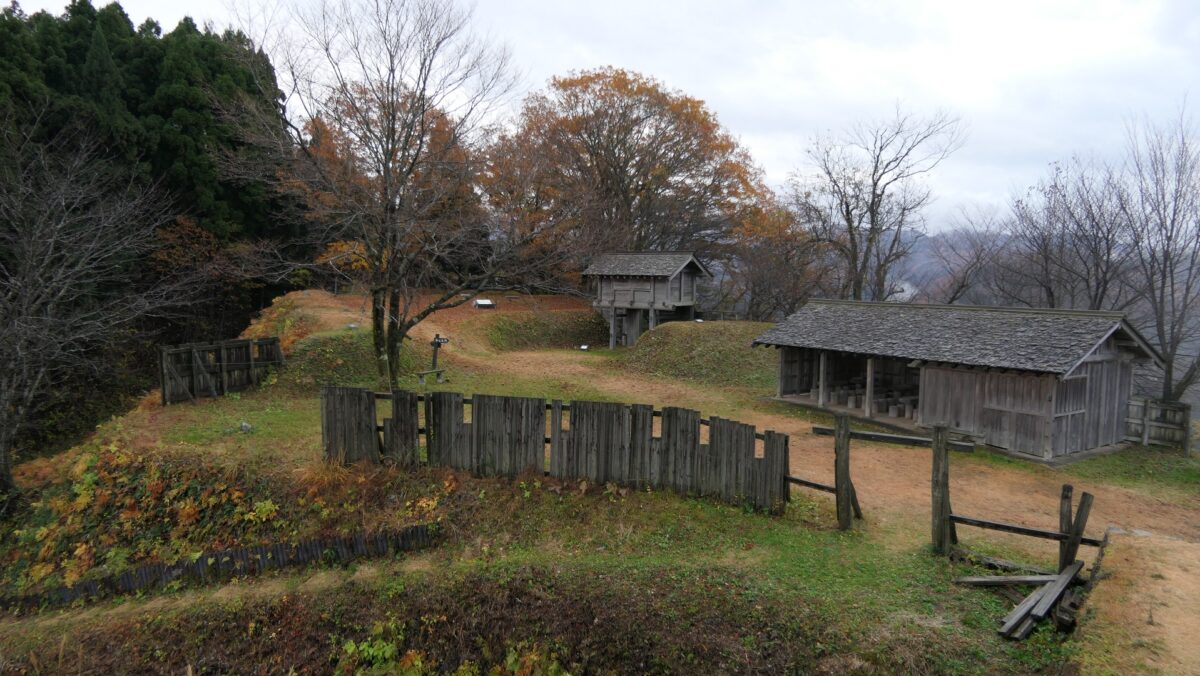
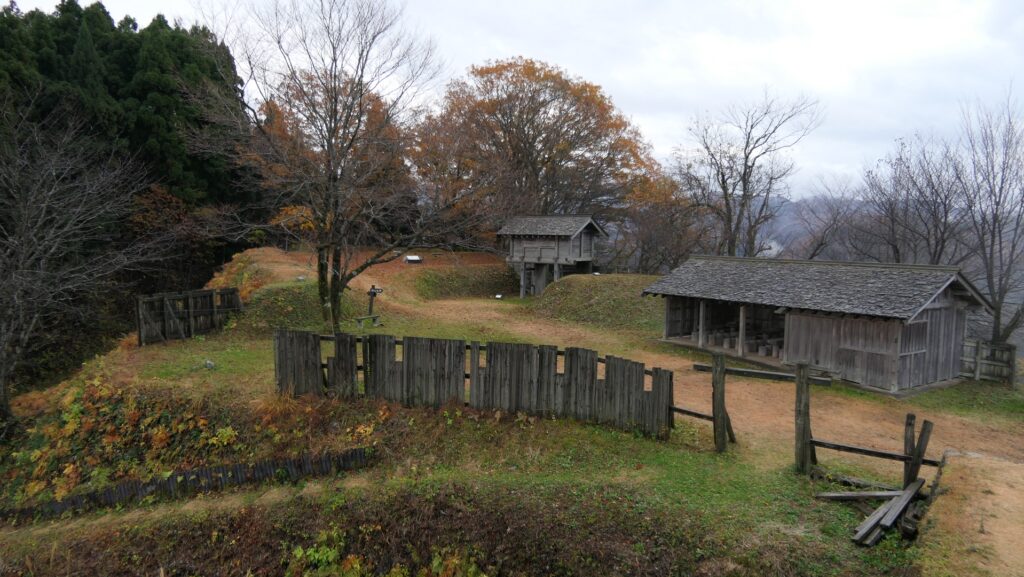
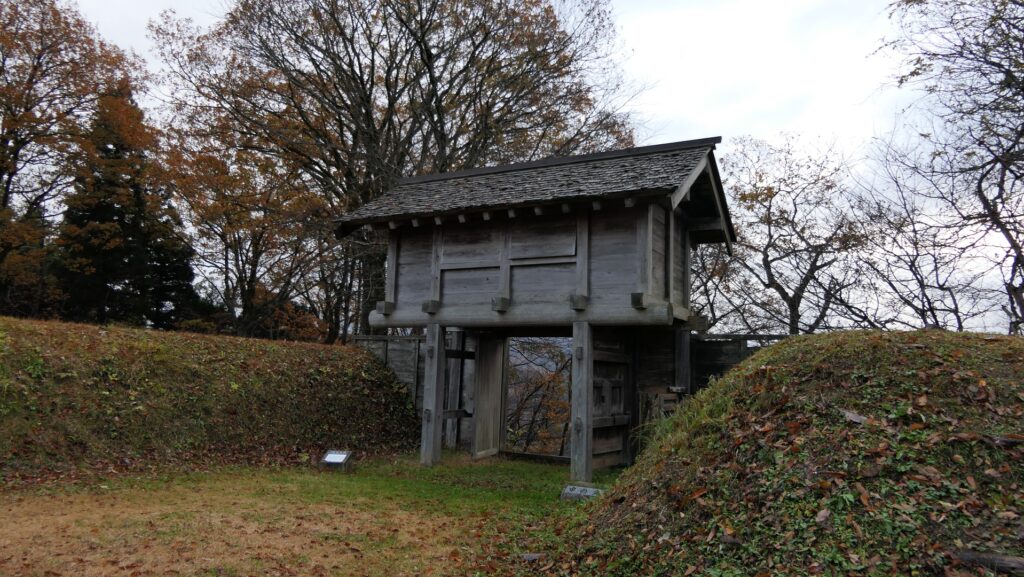
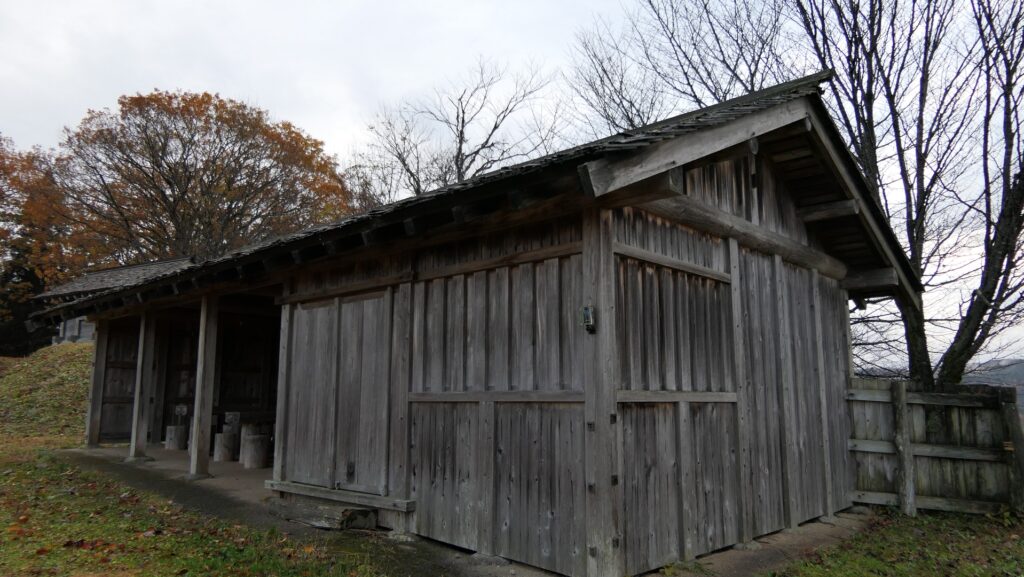
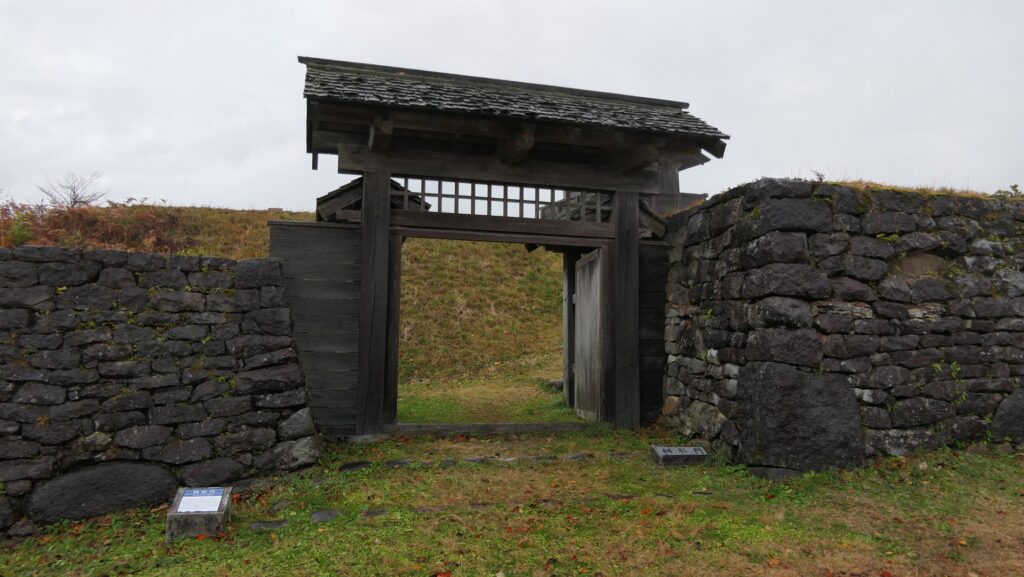
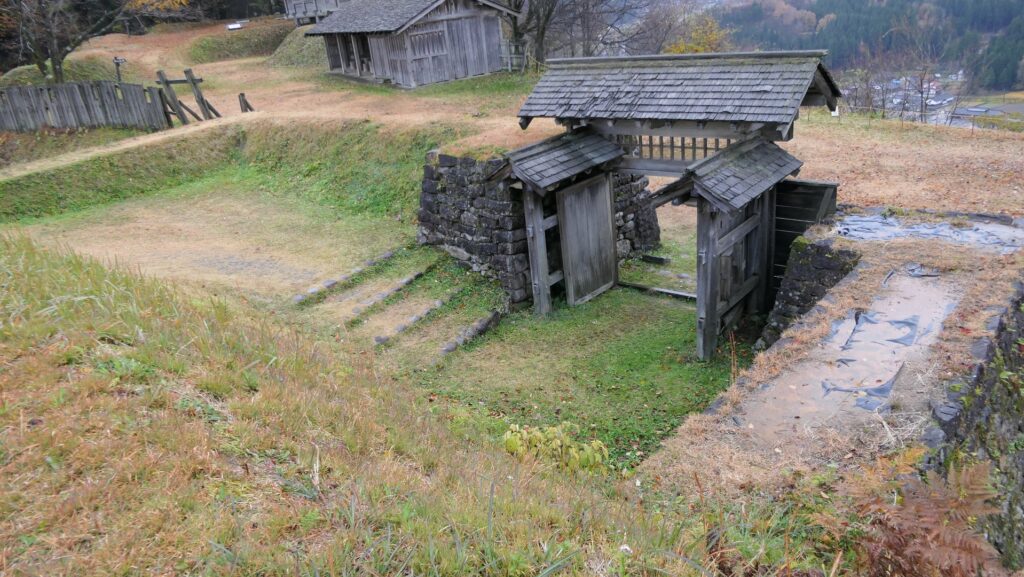
You can go further to the Central Enclosure in front of the Main Enclosure. Due to the achievement of the excavation, some buildings were restored. One of them is the Central Enclosure Gate, which may have been the front gate of the castle. Another is a barrack which is also currently used as the rest house.

The Central Enclosure
The Central Enclosure Gate
The restored barrack and rest house for visitors

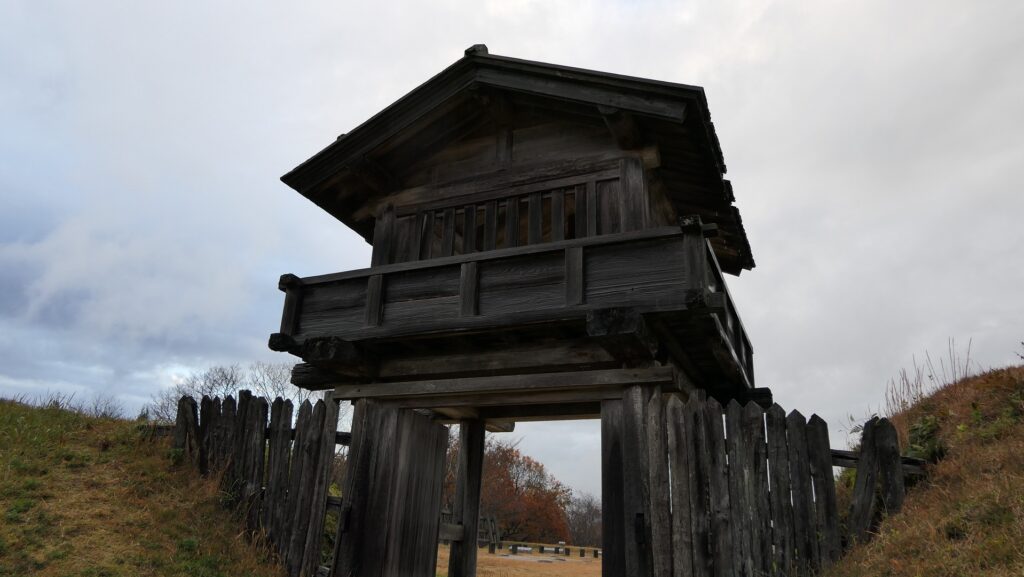
You can finally enter the Main Enclosure through the Masugata-mon Gate which is surrounded by the only stone walls in the castle. They were also restored in recent times, and originally built by Nobunaga Oda’s troops. This was because the castle was changing hands between the Kaga Ikko uprising and Oda during the conflict. Masugata refers to a square space inside or outside of the entrance, which has made it more defensive. In the back of the Masugata, there is, likewise, the restored turret styled Main Enclosure Gate, which was originally built by the Kaga Ikko uprising.

The Masugata-mon Gate
The inside of Masugata
The Main Enclosure Gate

You can enjoy View and see Good Location

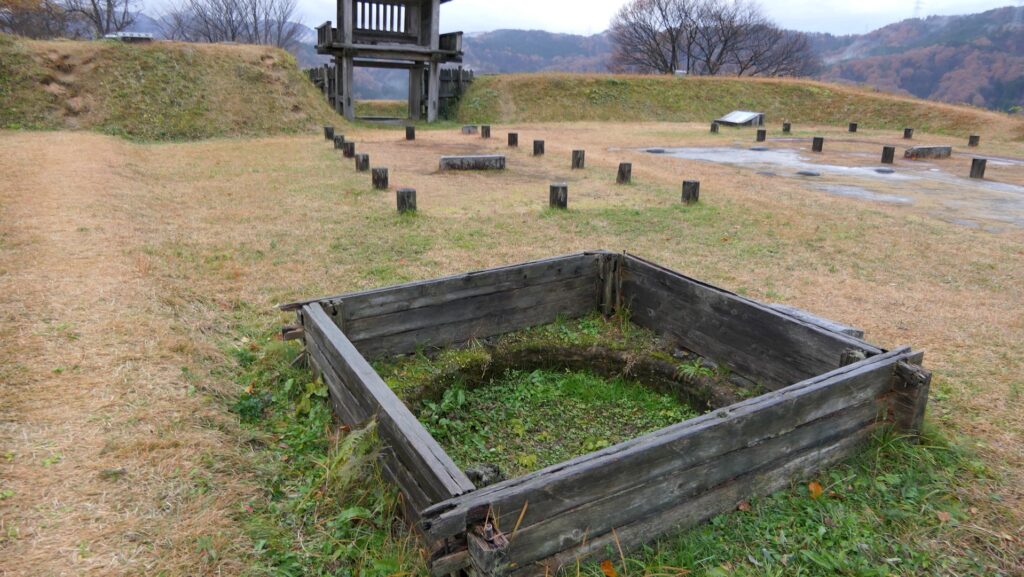
Inside the Main Enclosure, there were a lot of buildings discovered during the excavation. However, the purpose of them is still uncertain, so only columns and stone foundations are shown for visitors. In addition, some wooden fences on the earthen walls, a well, and large jars for storage are restored in the enclosure. From the enclosure, you can see a good view of both sides of the mountain in the east and west, being at a good location for lookout and protection.

The inside of the Main Enclosure
The restored wooden fences
A view from the Main Enclosure (the eastern side)

To be continued in “Torigoe Castle Part3”
Back to “Torigoe Castle Part1”
119.Sugiyama Castle Part3

Castle layout researchers focus on Sugiyama Castle.

Features

Main Enclosure, Center of Castle

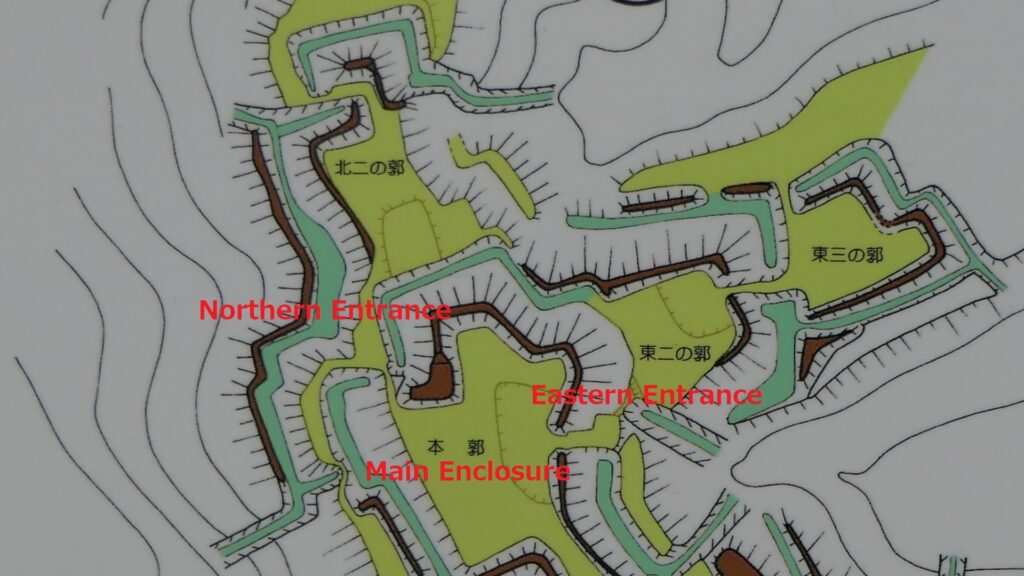
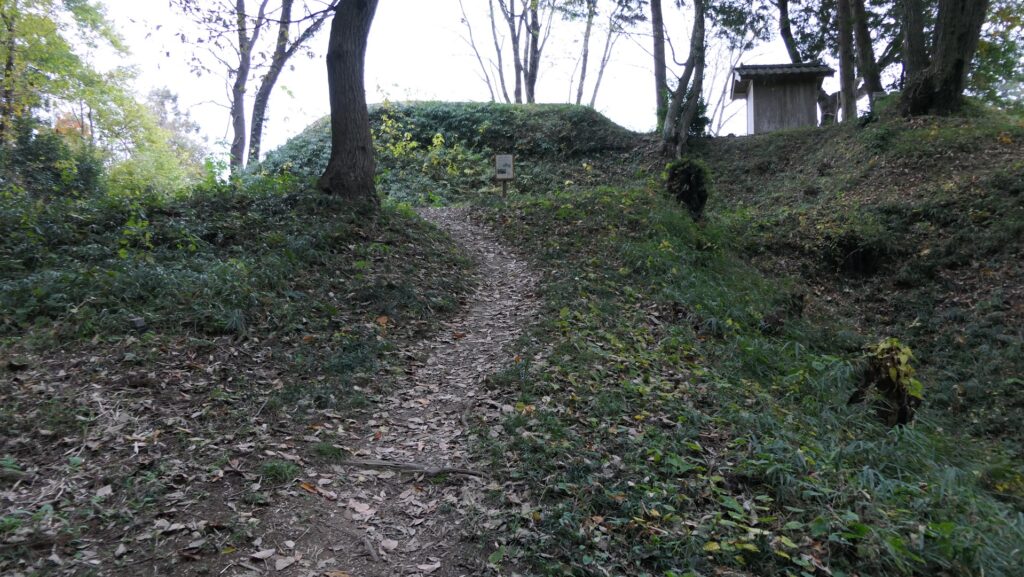
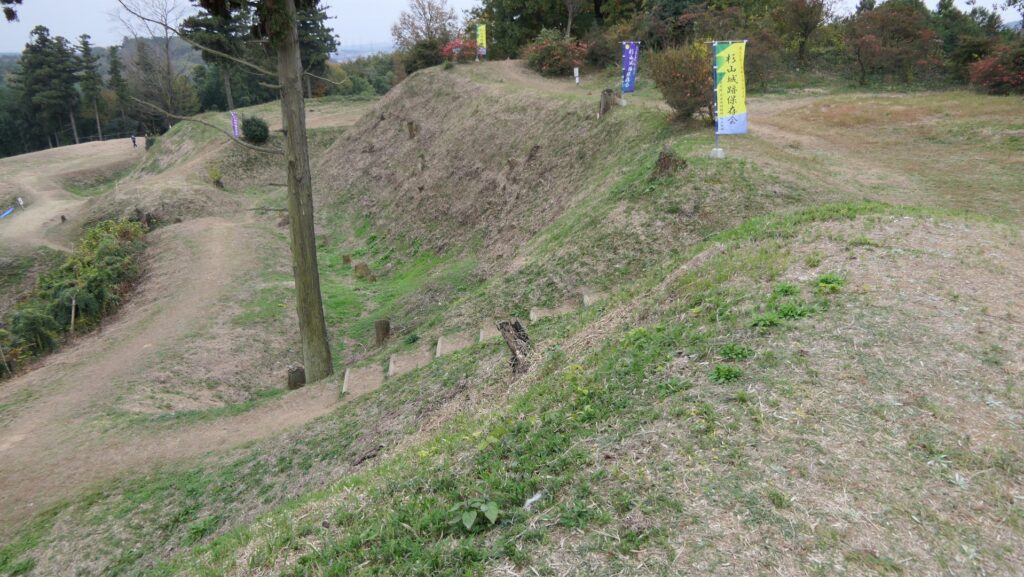
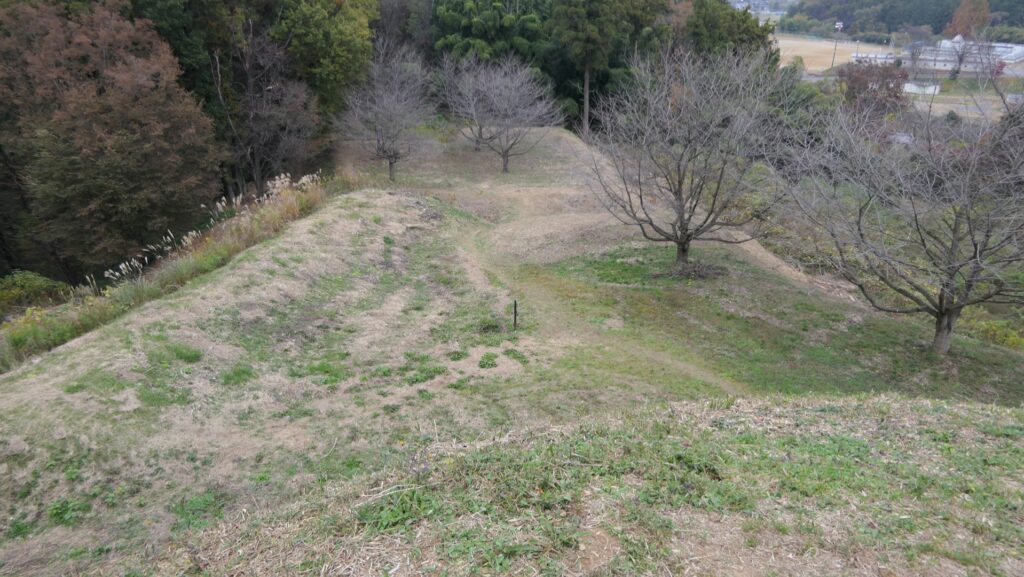
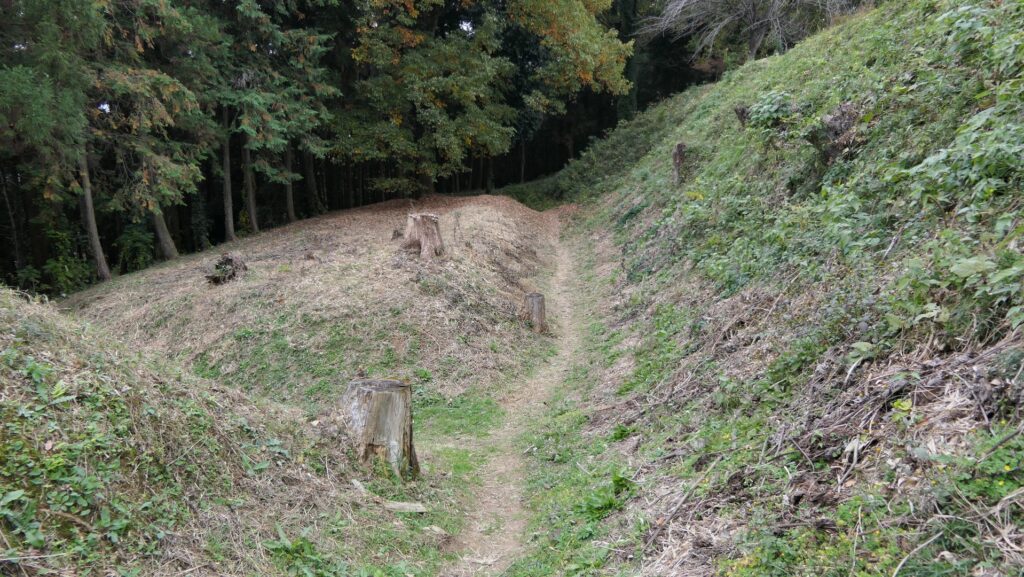
The Main Enclosure is the largest and highest one in the castle. It has three entrances in the south, north and east. The north and east ones were also strictly protected by other enclosures and dry moats like you simulated in the south. The lord of the castle would be able examine the situation in all directions clearly and give the appropriate instructions.

The Main Enclosure
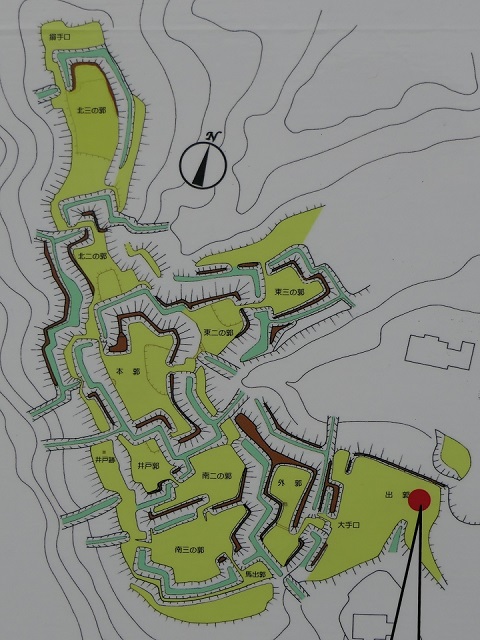
The locations of the Main Enclosure and the northern and eastern enclosures
The Northern Entrance of the Main Enclosure
The Eastern Entrance of the Main Enclosure
The eastern enclosures seen from the Main Enclosure

In addition, some bypass routes are set in the castle, but some of them are dead-end alleys. If you see the layout of the castle, you may think it looks like a maze. It’s true for enemies, but it’s a well-designed fortress for defenders.

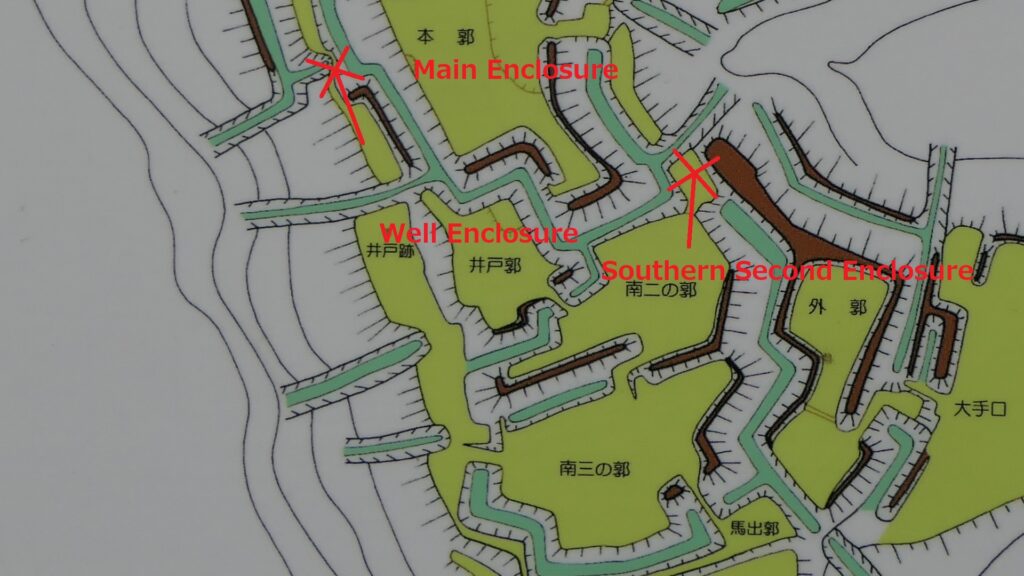
The locations of the spots which are supposed be dead-end alleys
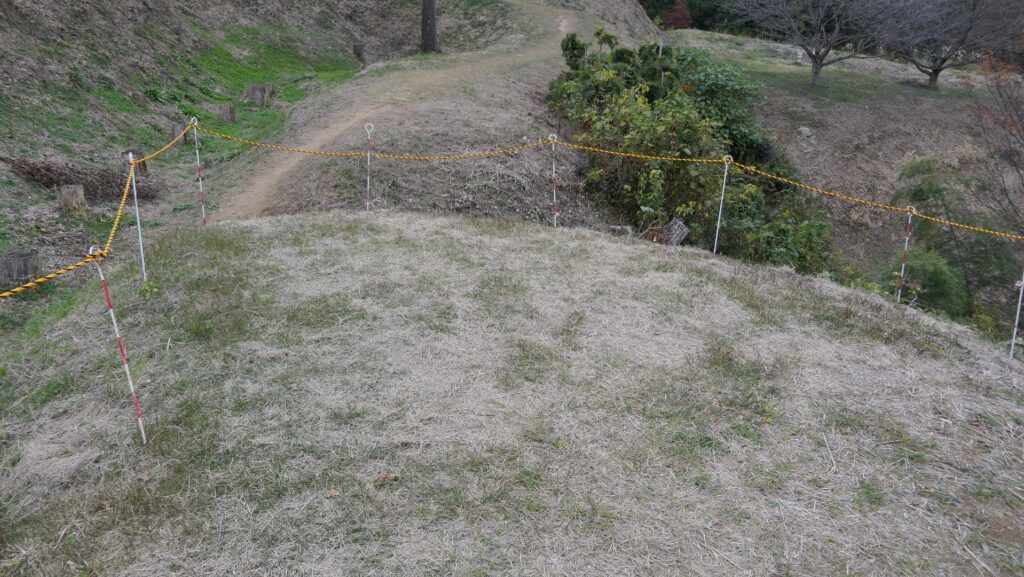
The dead-end alley at the Southern Second Enclosure
The dead-end alley beyond the Well Enclosure

Later History

The ruins of Sugiyama Castle were not known to the public until around 1980s. Only the researchers who studied the layout of castles were interested in this castle. They published the dictionaries and magazines which featured the layout of castles since 1987. The layout drawing of Sugiyama Castle has been one of the most featured ones in these books. The castle became popular little by little. After the excavations between 2002 and 2007, the ruins became a National Historic Site in 2008. It is considered one of the “Hiki Castles Ruins”.

This location map is also a good layout drawing

My Impression

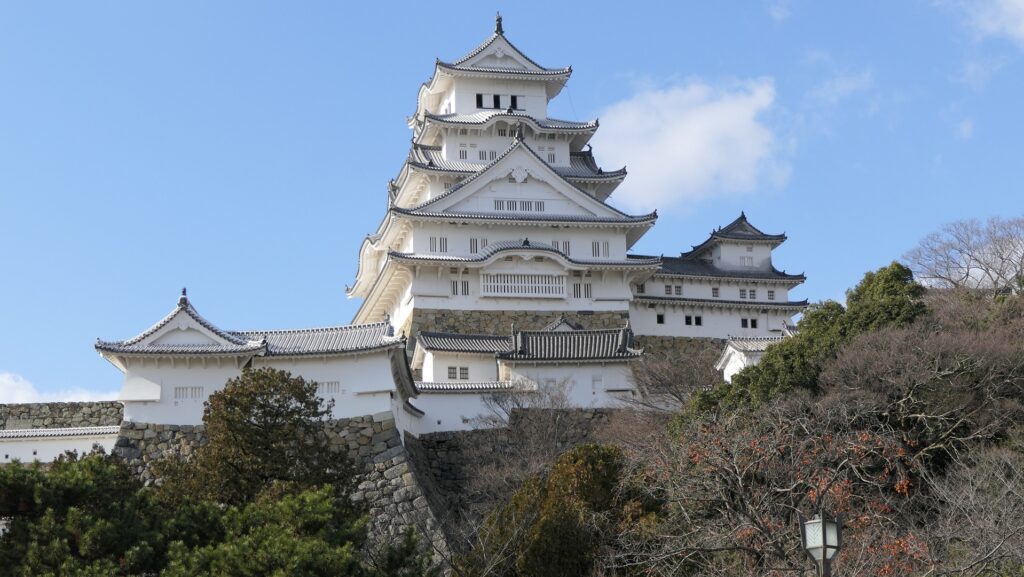
I imagine if Sugiyama Castle was much larger, and equipped with turrets, gates, and stone walls, it would look like the great castles built much later, such as Himeji Castle. This means Sugiyama Castle could be the pioneer of the advanced castle design. However, I rather prefer the effort of building the castle to its historical value. The unknown builders of the castle must have had a small budget, resources, workers, and little time because the purpose of the castle was limited. They thought hard to create their great work under the difficult situation. It may have been easier for them to build a great castle if they had enough resources. I think Sugiyama Castle is also a good lesson for us about how to use limited resources to create good work.

Himeji Castle
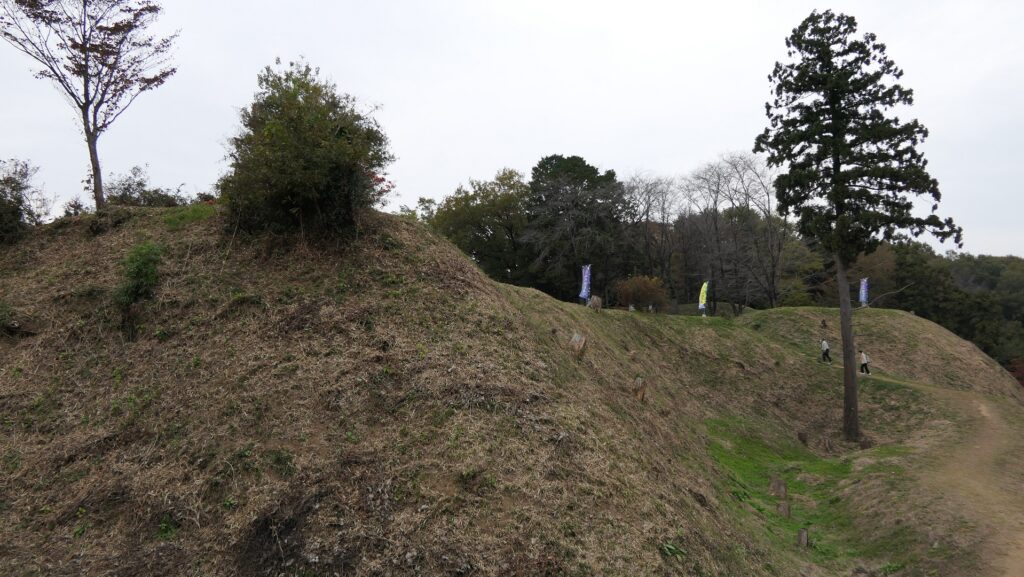
The ruins of Sugiyama Castle

How to get There

I recommend using a car when you visit the ruins.
It is about 15 minutes away from Ranzan-Ogawa IC on Kanetsu Expressway.
The ruins offer a parking lot.
By public transportation, take the Tokigawa-cho route bus bound for Seseragi Center from Musashi-Ranzan Station on the Tobu-Tojo Line and get off at the Taguro bus stop.
It is about 20 minutes on foot from the bus stop.

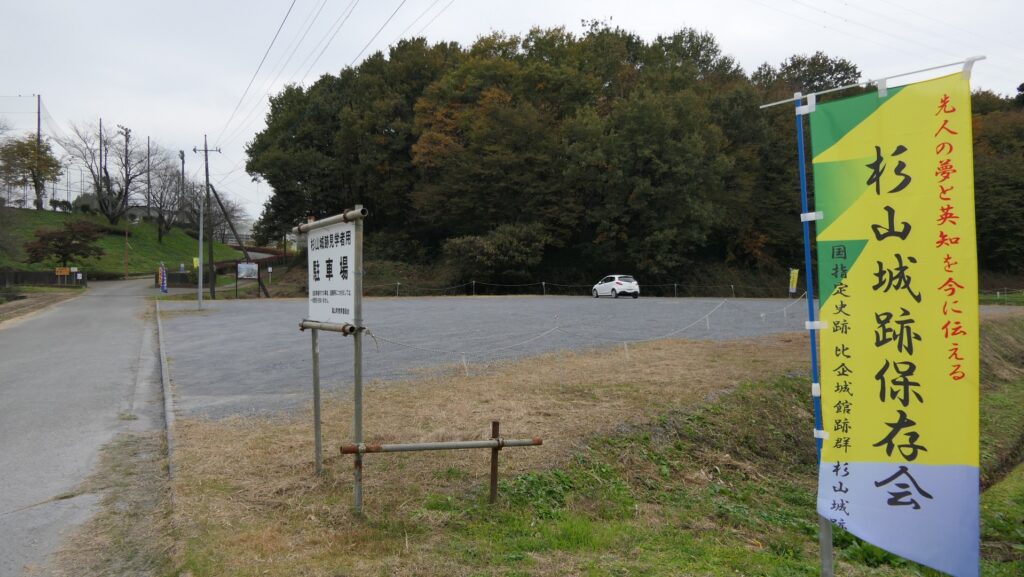
The parking lot at the ruins

That’s all. Thank you.
Back to “Sugiyama Castle Part1”
Back to “Sugiyama Castle Part2”