162.Izushi Castle/Arikoyama Castle Part2

There is only the rest station and the signboard on the main enclosure of Arikoyama Castle. However, the view from the top, about 300m above from the foot, is really breath taking view! The stone walls of the enclosure are what you saw from the foot.

Features

Going to Arikoyama Castle Ruins through Shrine Approach

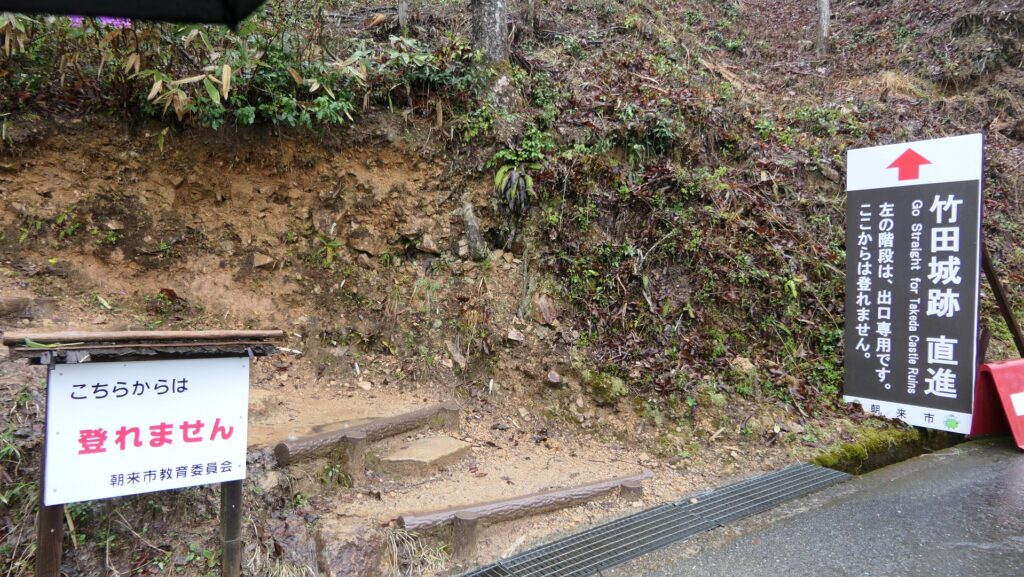
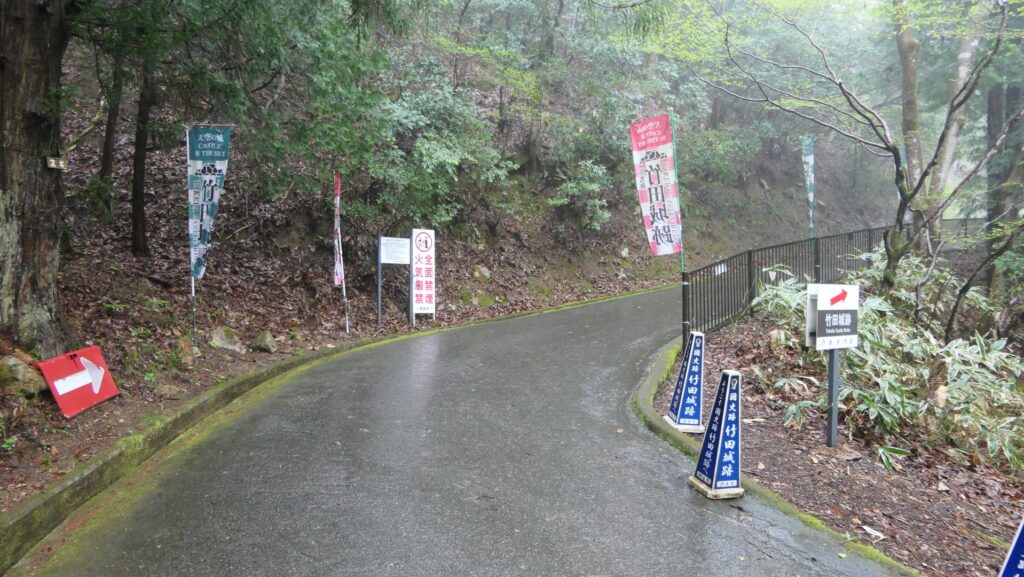
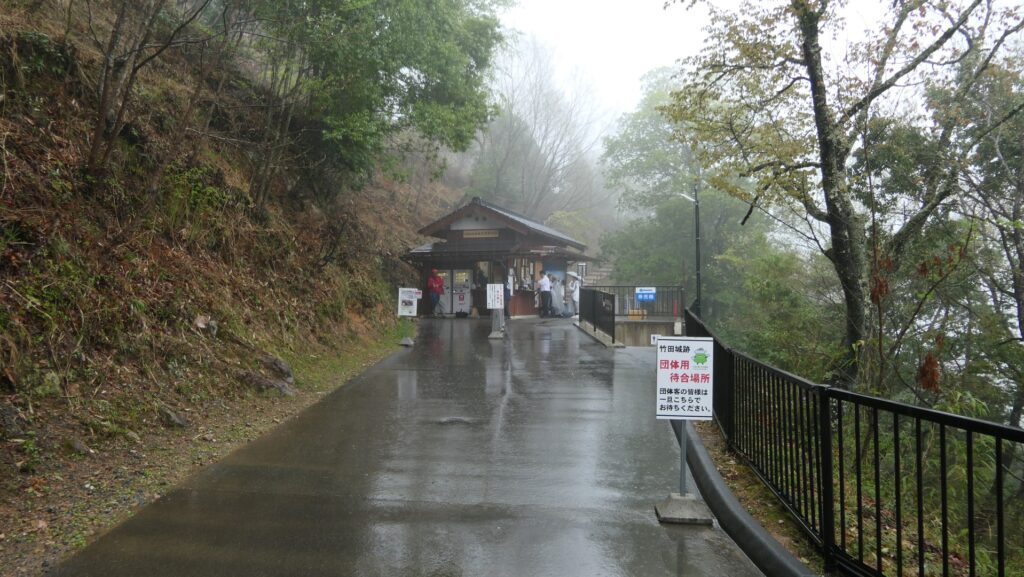
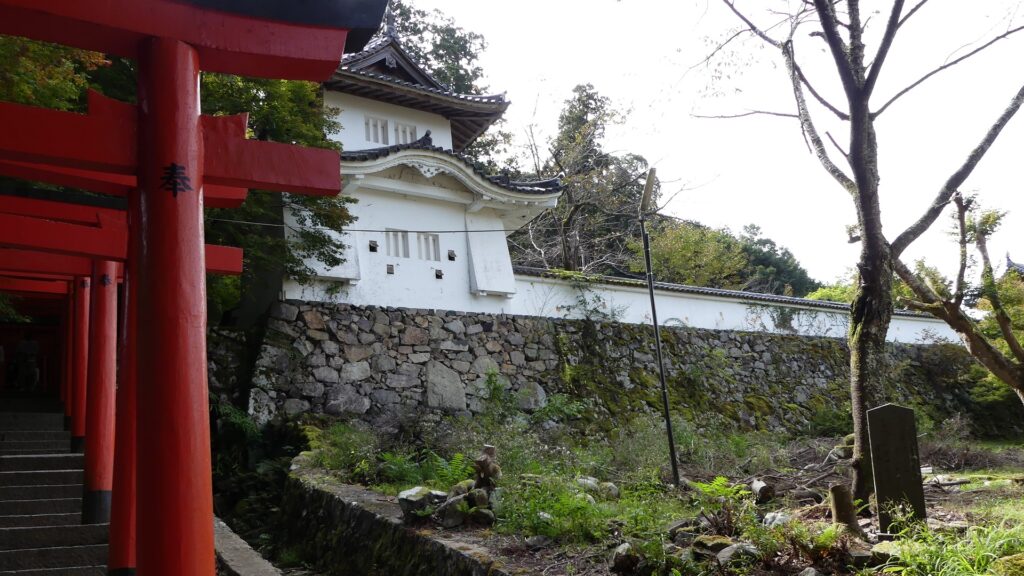
There are two castle ruins in the Izushi area as mentioned in the previous section, which are Izushi and Arikoyama Castles. The latter is older than the former, so I will first describe how to visit Arikoyama Castle Ruins in this article. The entrance to the ruins is now also that to Arikoyama Inari Shrine which is located at the highest of Izushi Castle Ruins. Therefore, you will climb the stone steps of the approach from the foot of the mountain to the shrine though many of its red shrine gates.

The approach to Arikoyama Inari Shrine

The map around the castle

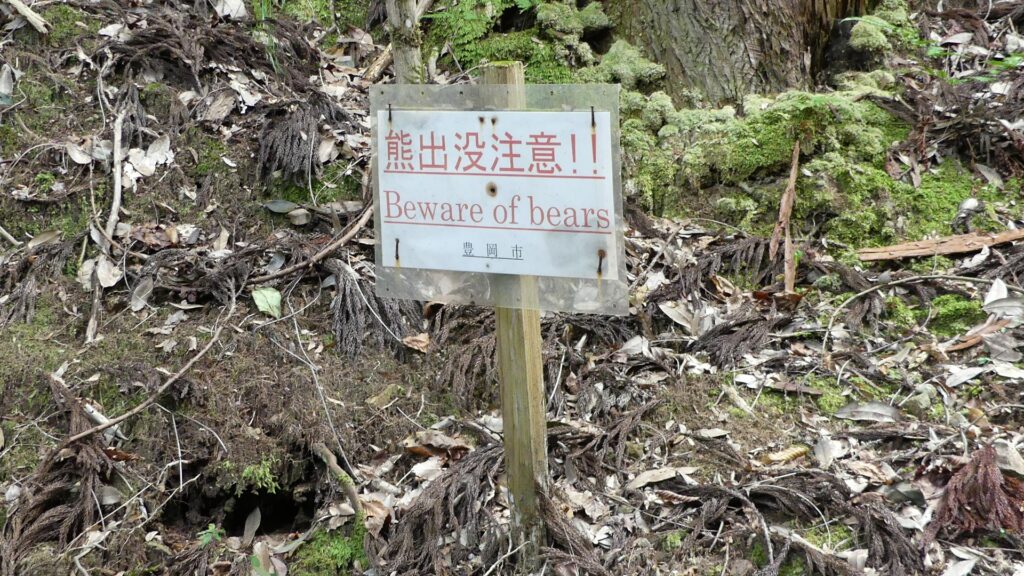
You will also see several tiered enclosures of Izushi Castle with great stone walls and some restored buildings. The trail to the top starts from the point above the shrine building, so you need to prepare for hiking and something to keep you safe from wild animals (a bear bell or radio).

You can cee the Main Enclosure in the back and the Second Enclosure of Izushi Castle on the right
Arikoyama Inari Shrine
The starting poing ot the trail
Please beware of wild animals

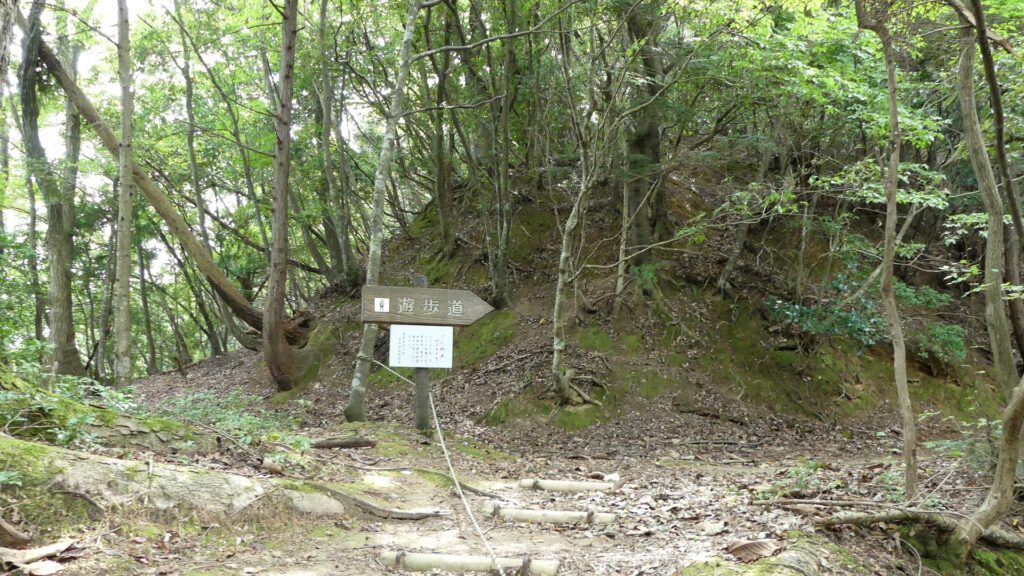
Steep Slopes as Natural Hazzard

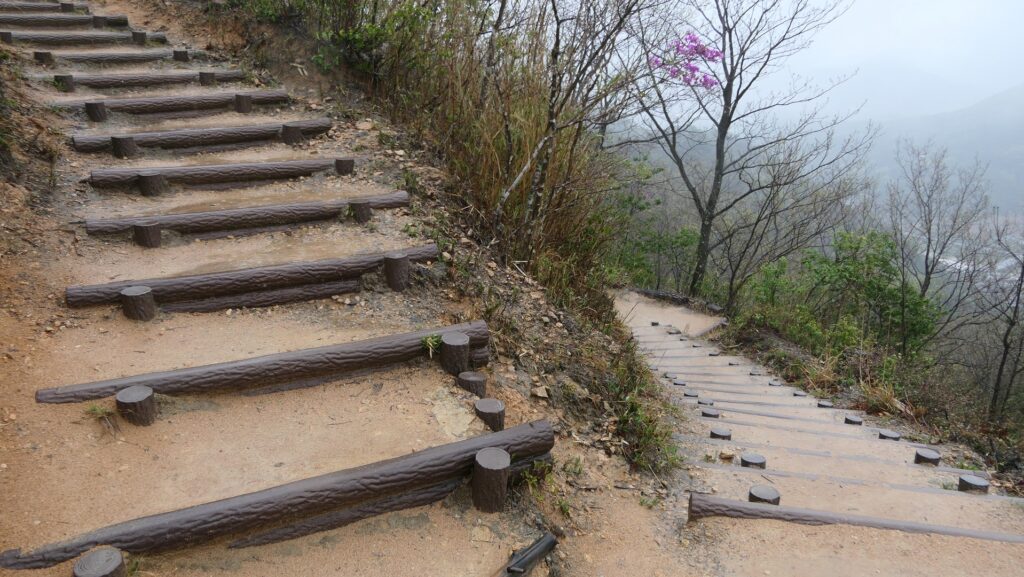
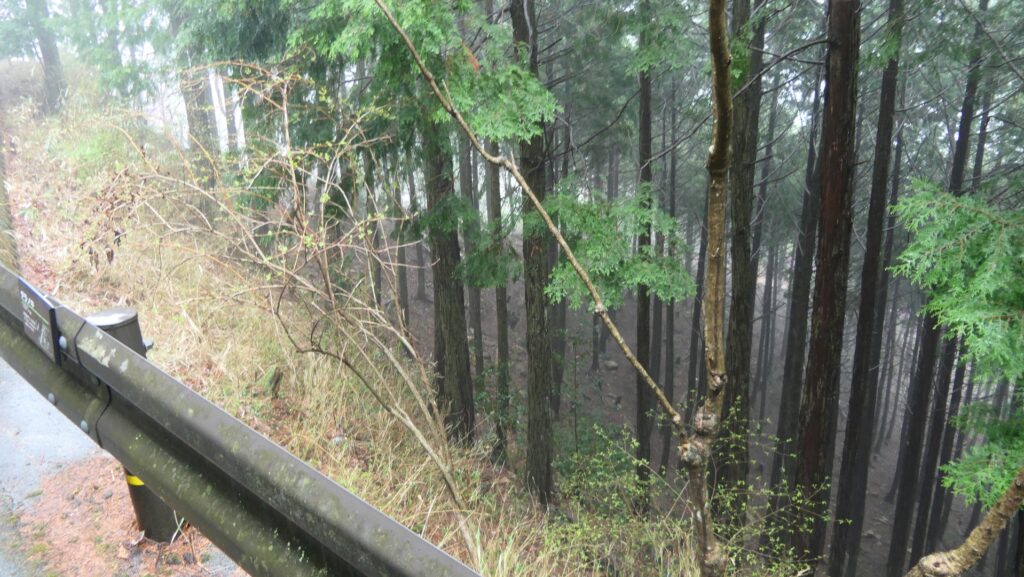
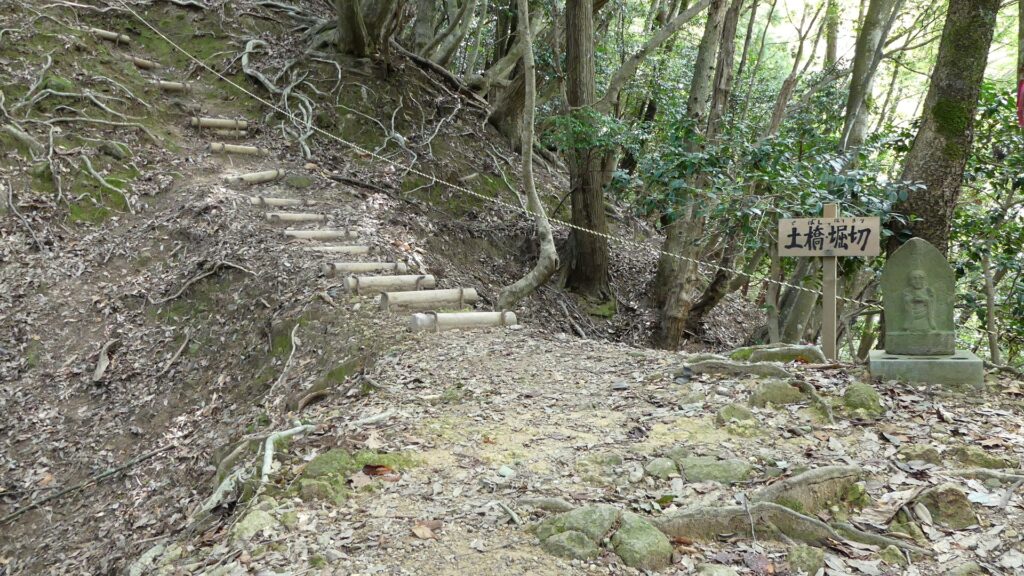
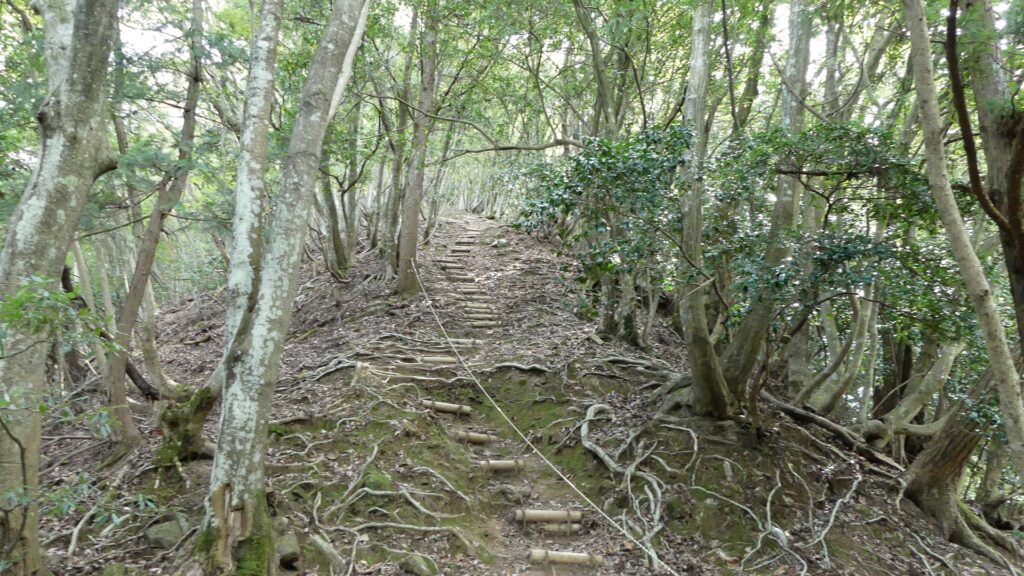
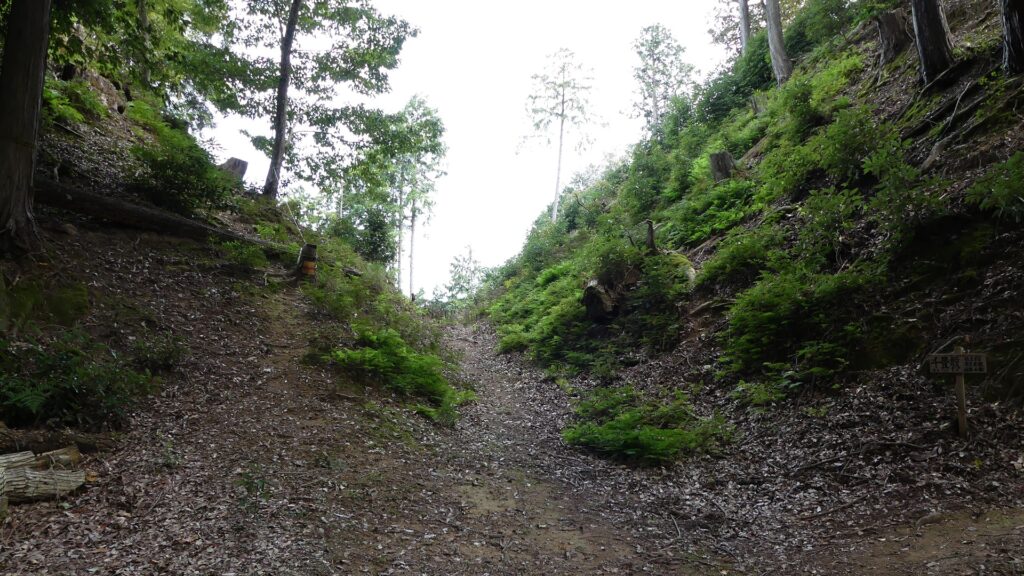
The trail is very steep and goes straight on a ridge of the mountain, which was a natural hazard of the castle. It gets a little flatter on the way, but zigzags and then becomes narrow over an earthen ditch instead. They are perhaps ruins of an artificial defensive gateway.

The steep slopes on the ridge
The spot where the trail is zigzagging
The narrow earthen bridge crossing the ditch
The ditch seen from above

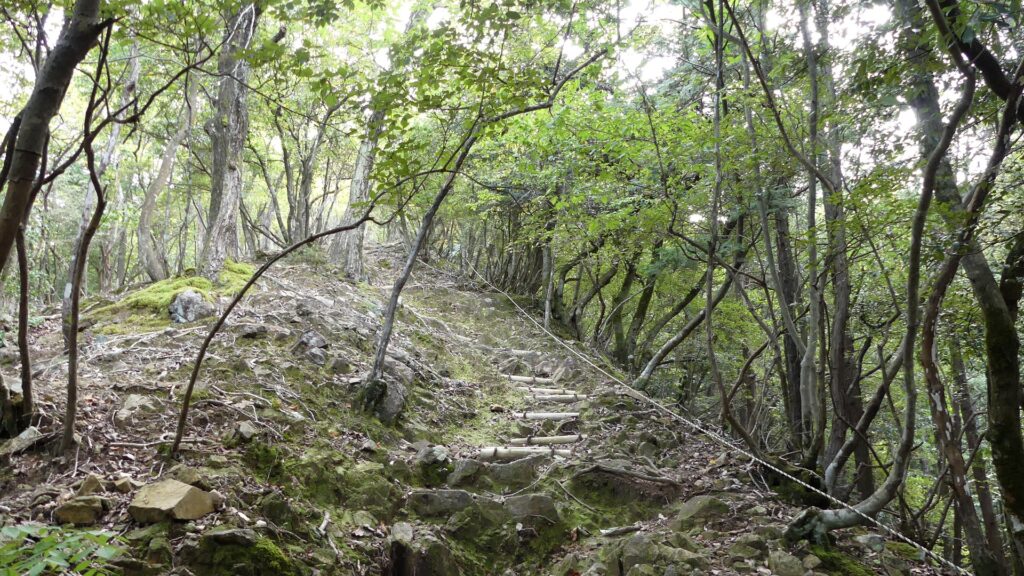
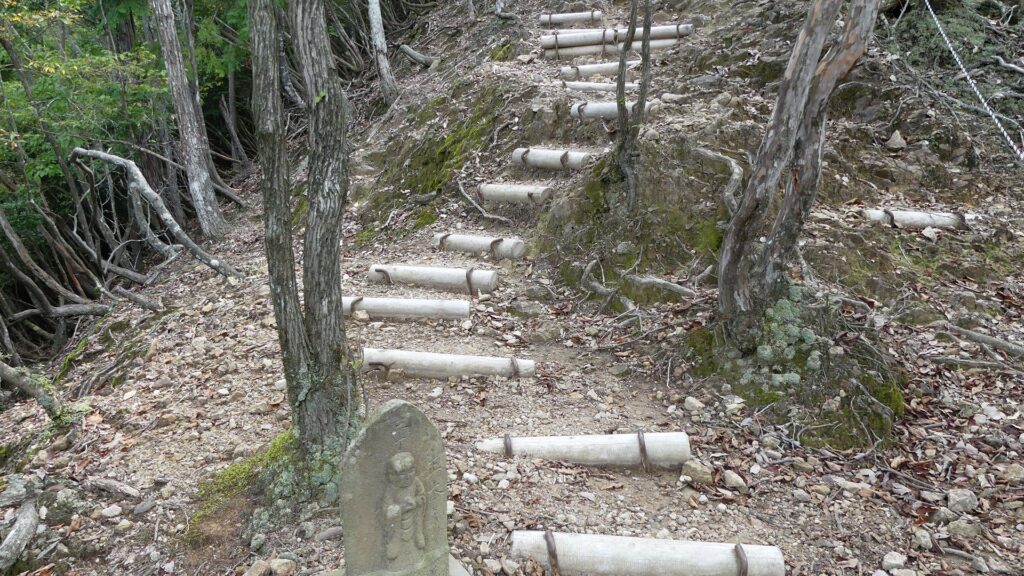
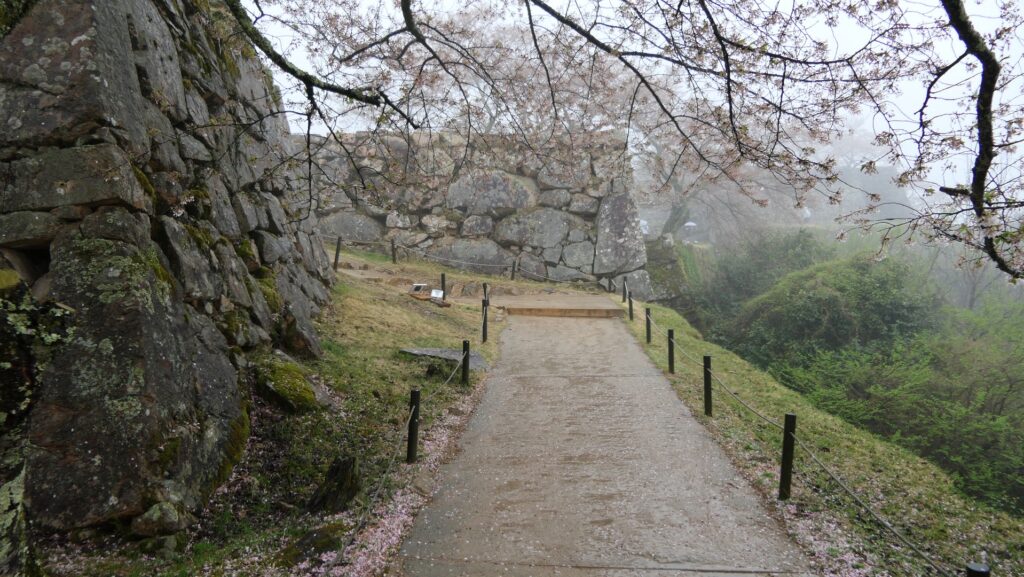
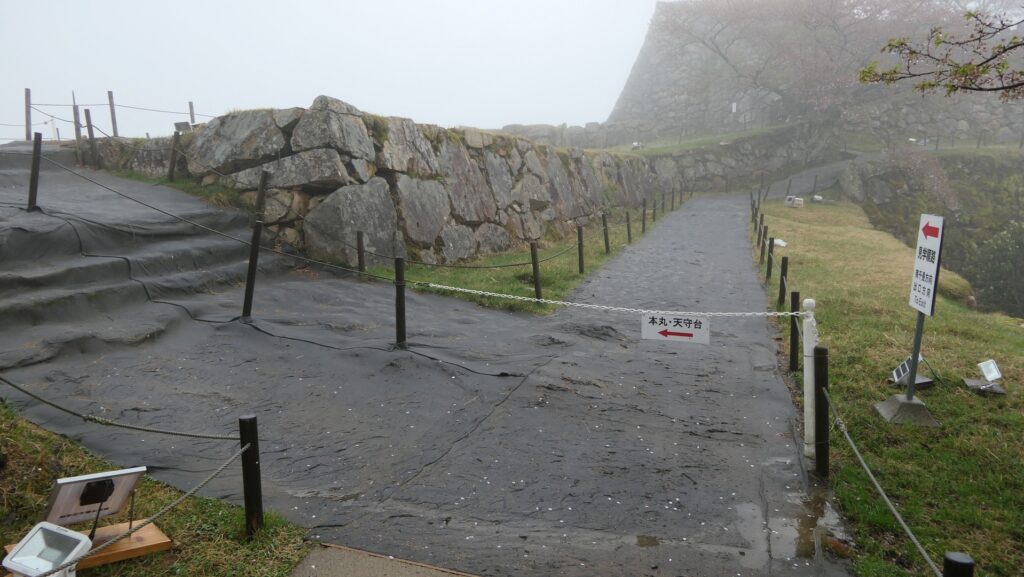
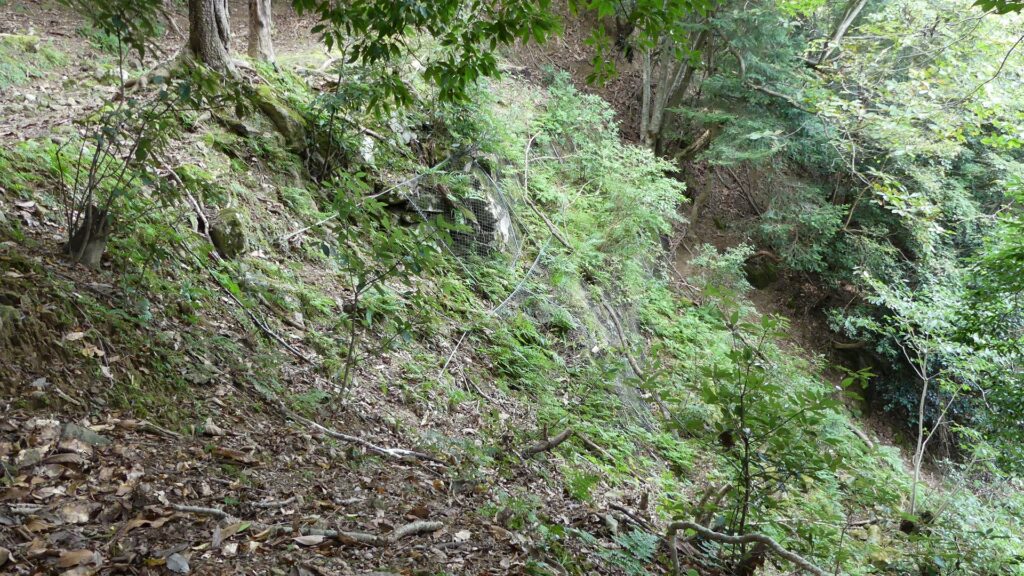
After that, you will go on the steep trail again, which may be too tough for some castle visitors. However, you will eventually reach around the top area and the route turns right to go around. The castle ruins are made of soil so far, but you will see some remaining stone walls around. This is probably because there is the Well Enclosure below the trail, so the walls were built to protect the well from collapsing or being buried.

The trail becomes very steep again
The trail turns right and becomes flat
There is the Well Enclosure below the trail
The remaining stone walls above the well

Six tiered Enclosures on Top

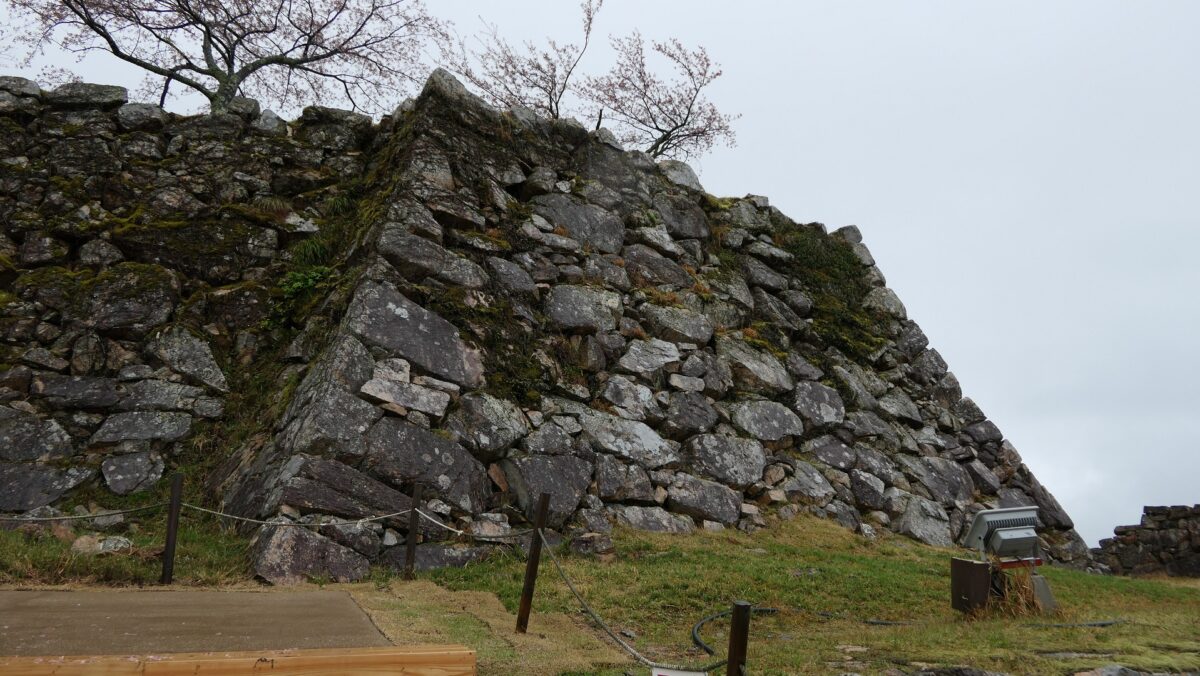
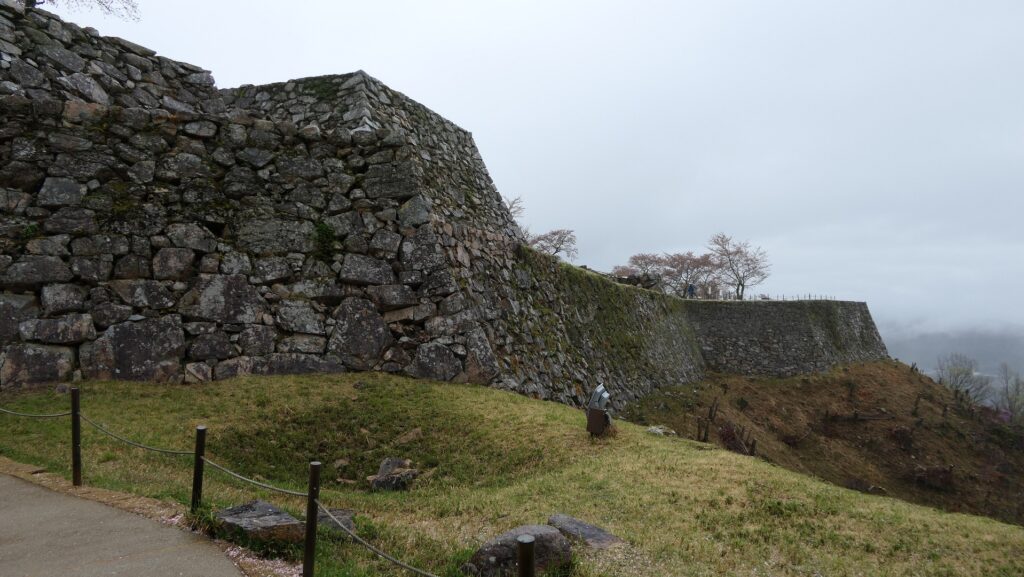
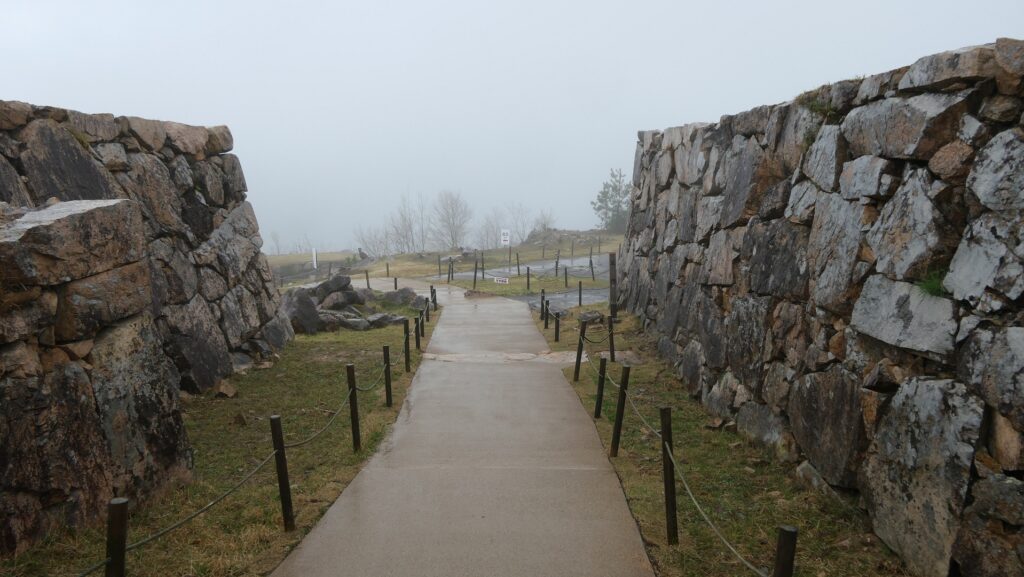
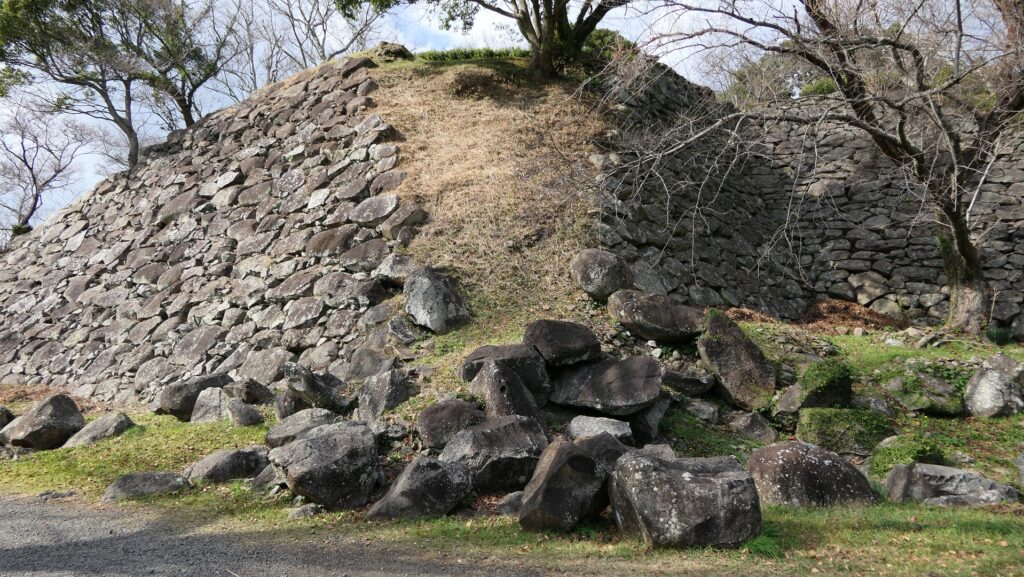
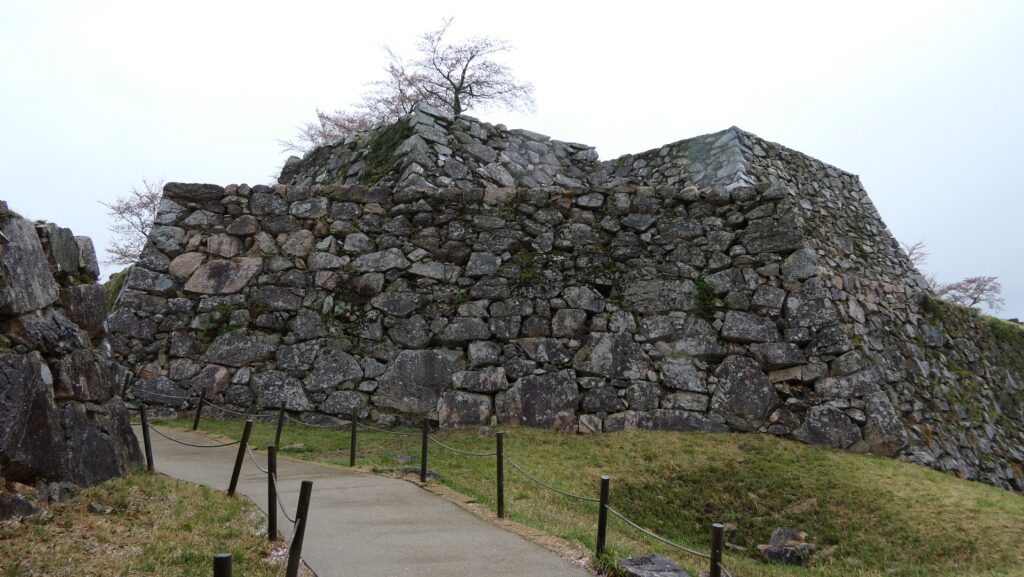
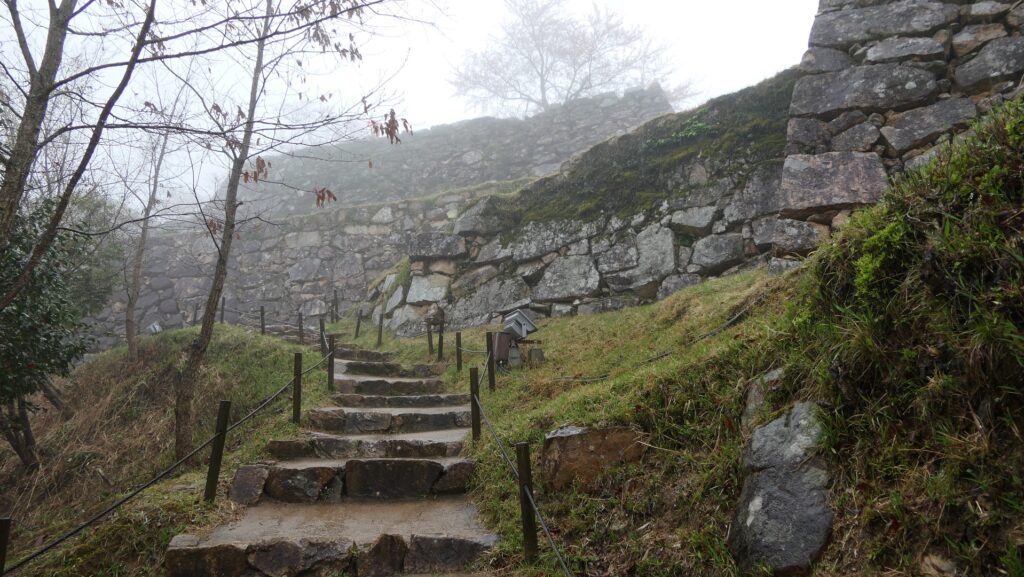
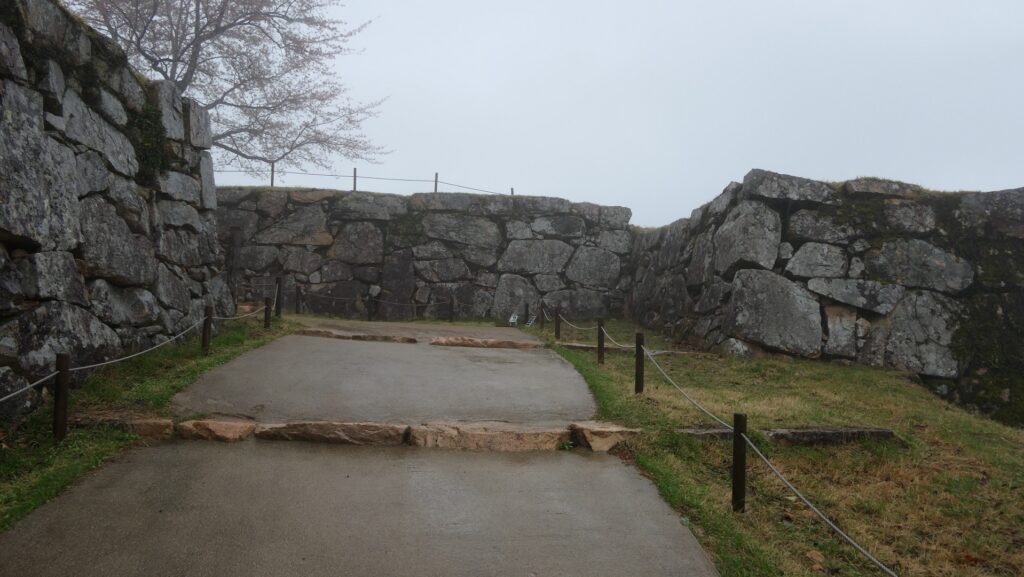
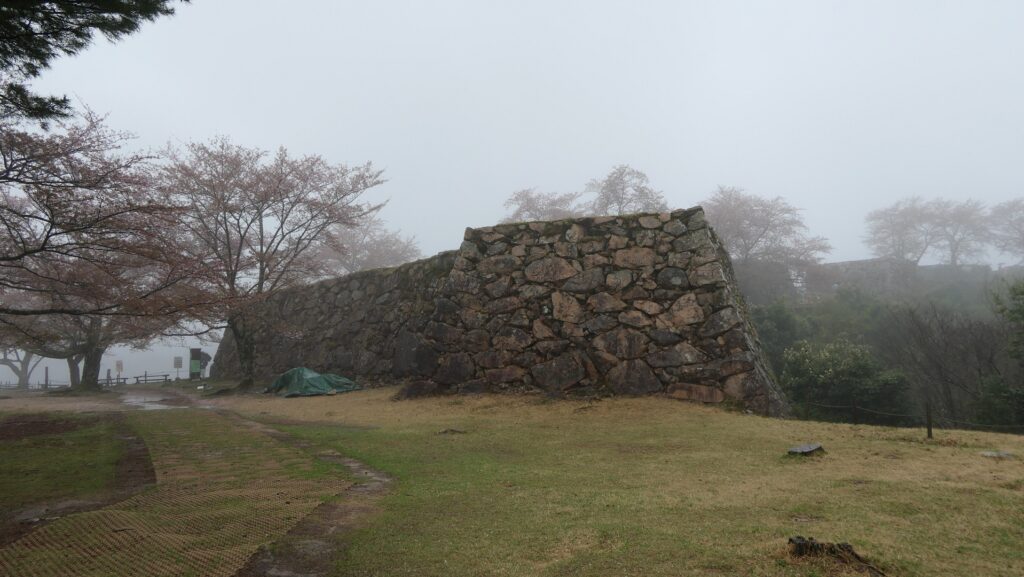
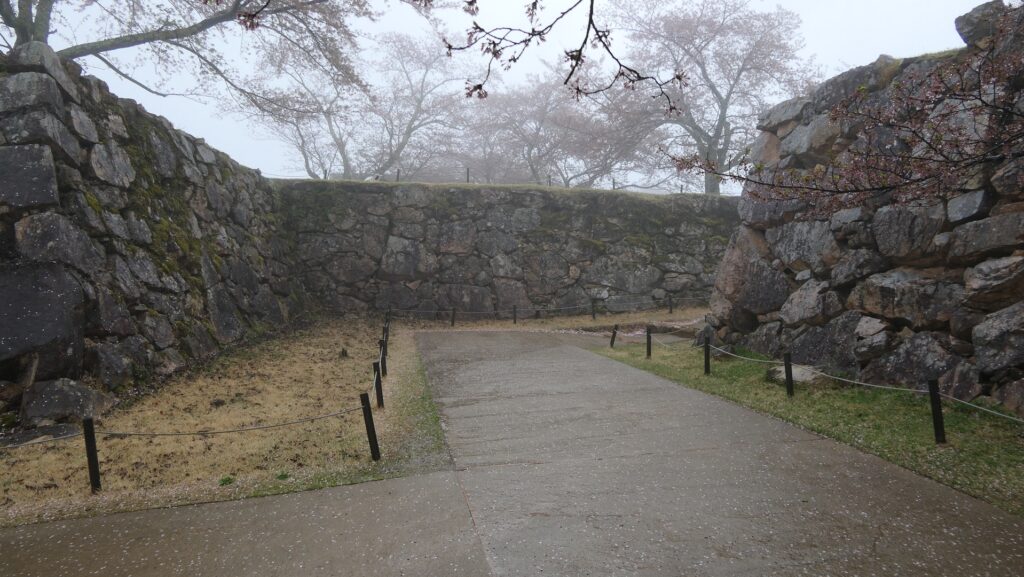
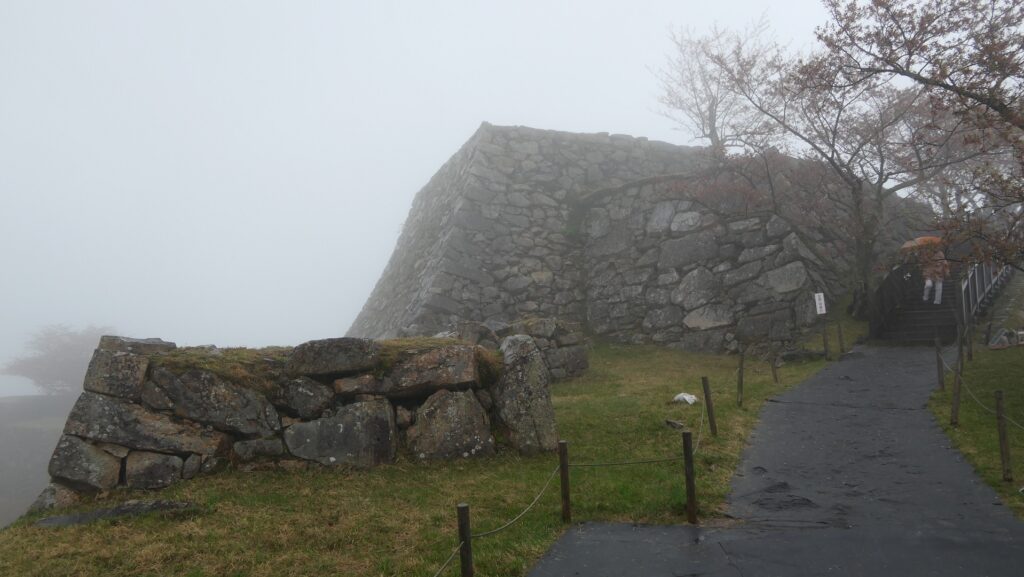
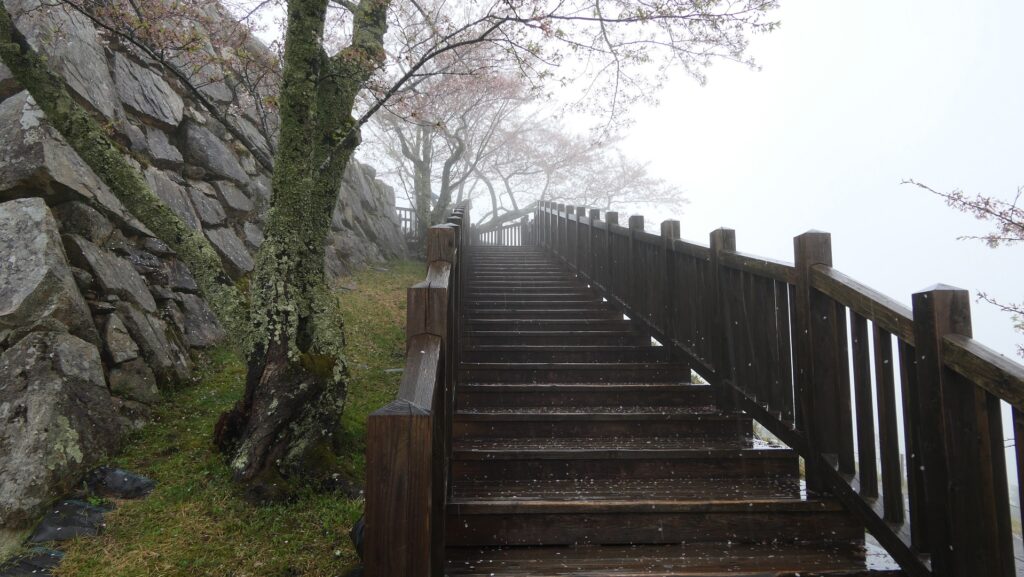
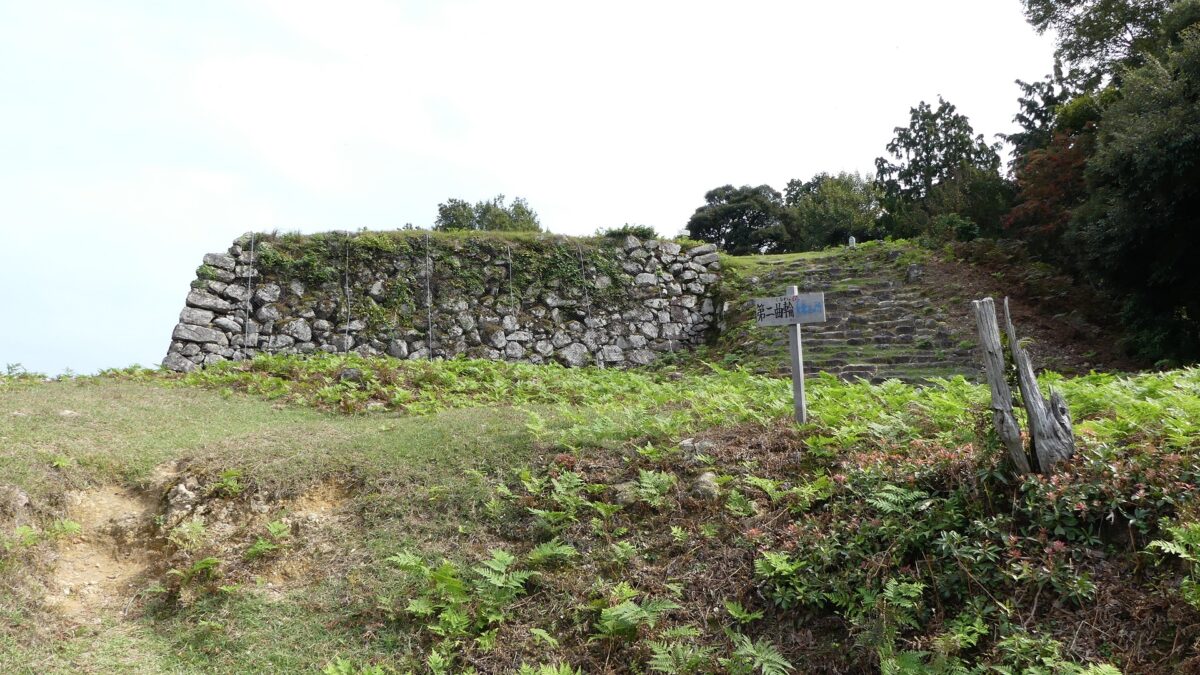
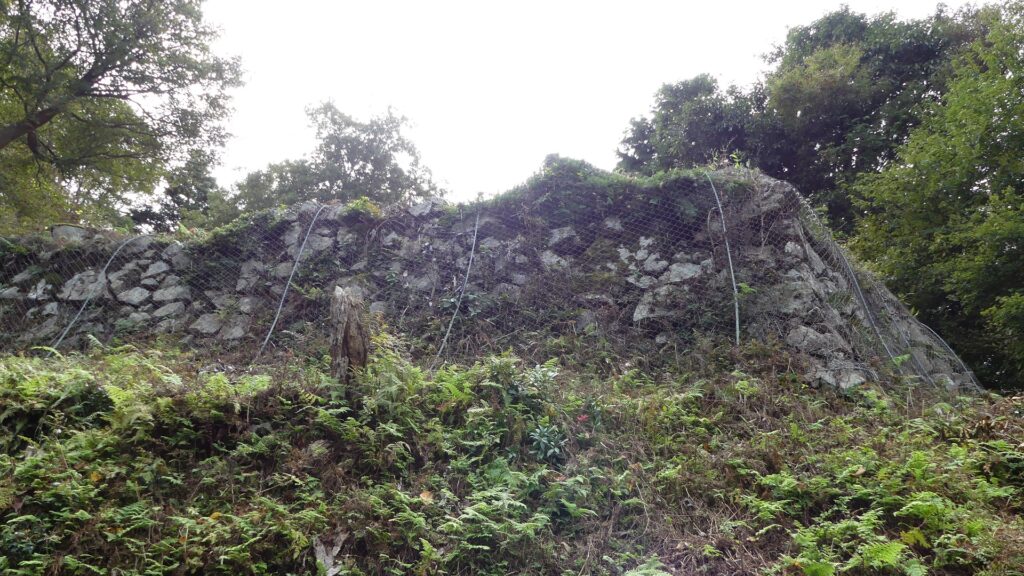
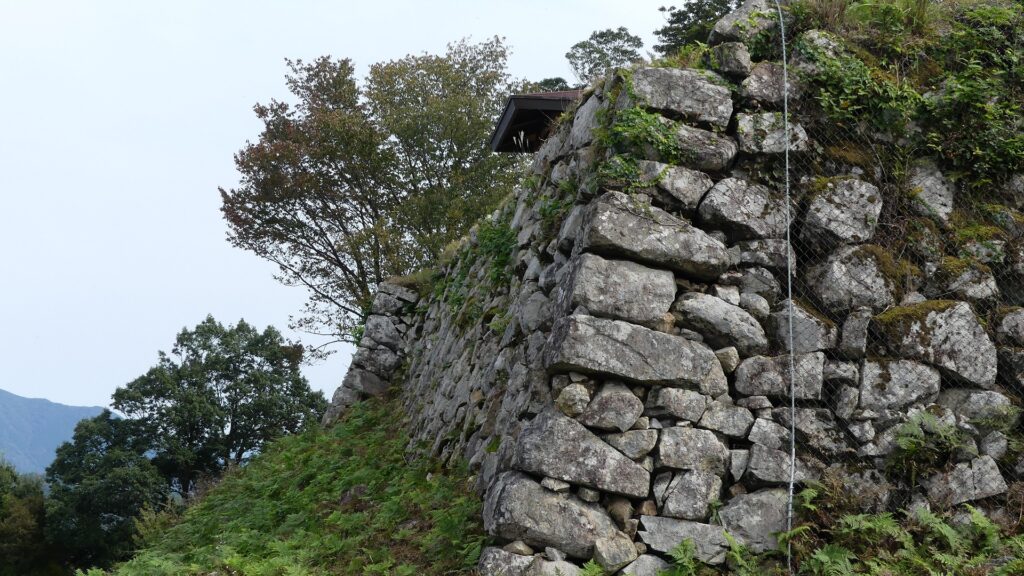
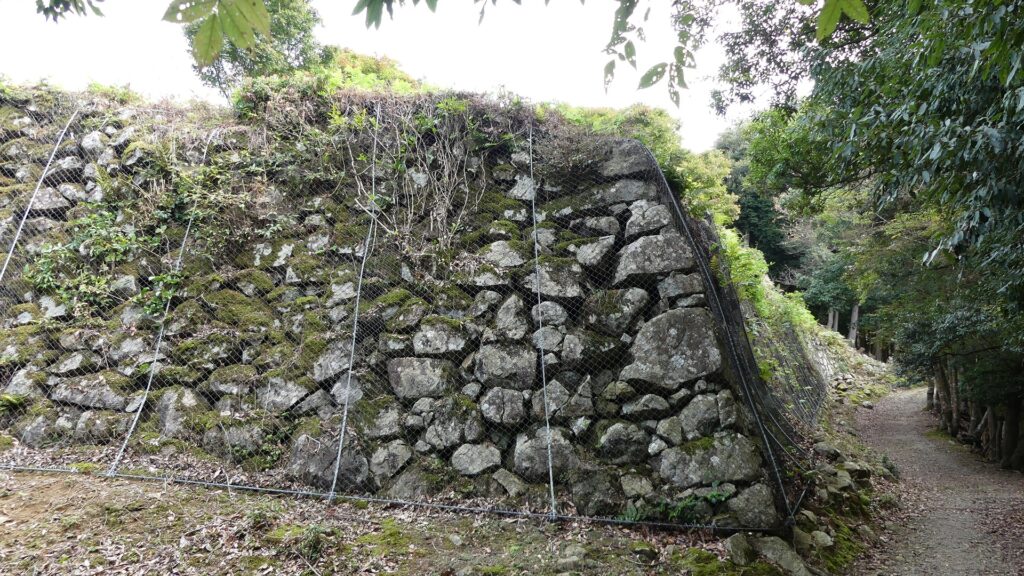
The trail turns left and go up again to the main portion of the castle on the top. The portion has six tiered enclosures which are all surrounded by stone walls using natural or roughly processed stones. That means, these stone walls are an early example of those for castles, which were probably built by Takatora Todo.

The map of the main portion

Climbing to the main portion of the castle
You can see the stone walls of the main portion

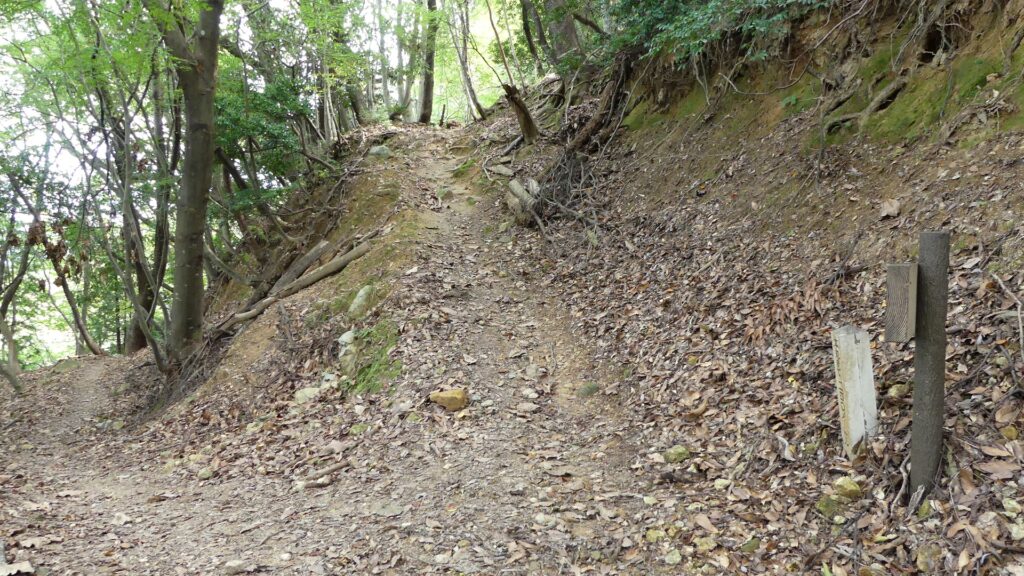
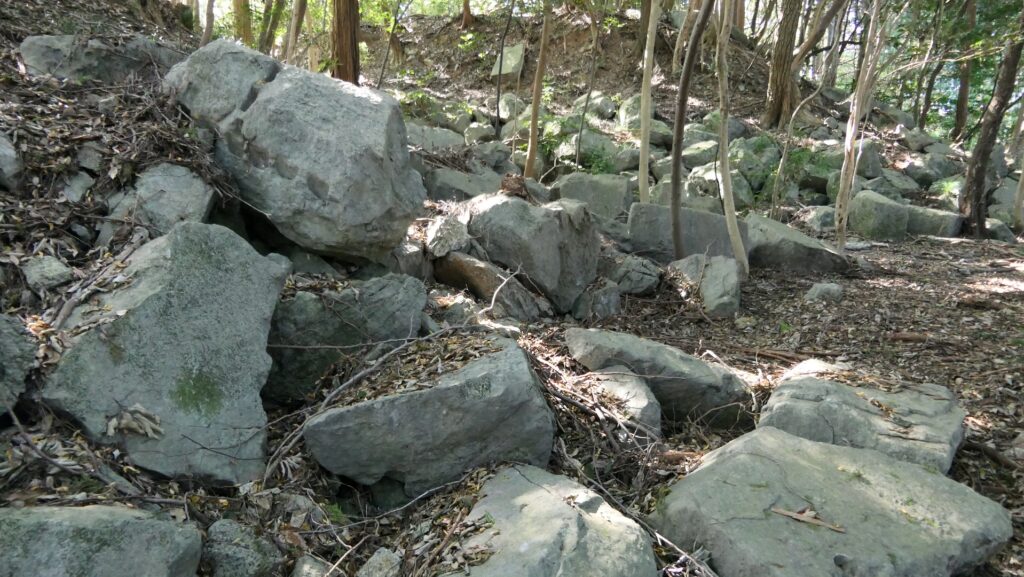
In addition, if you go straight on the branched trail, you will get to the quarry for the stones.

You can get to the quarry of you go straight at division point
The ruins of the quarry

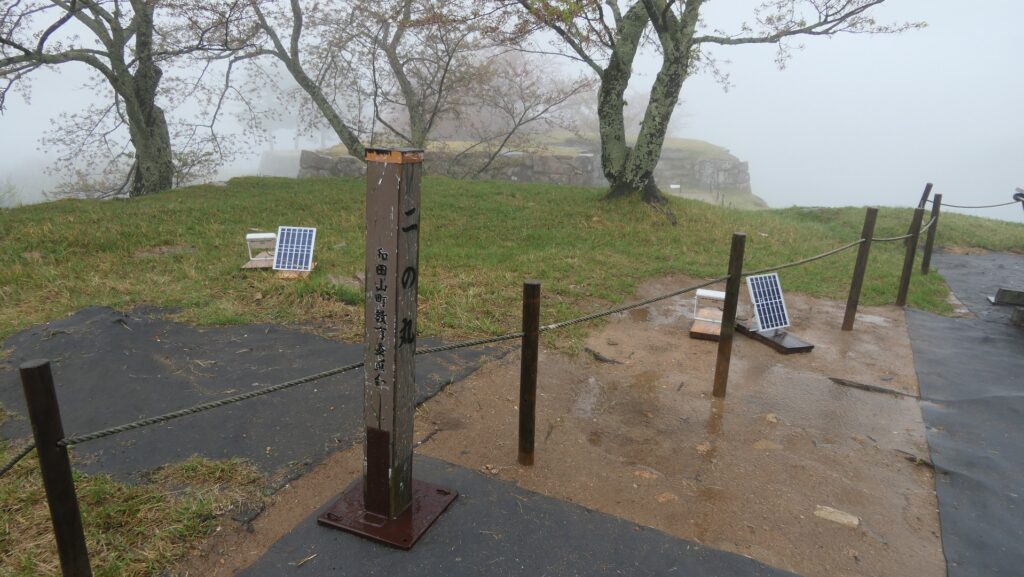
The enclosures are in line from the sixth enclosure on the bottom to the main enclosure on the top. Many of their stone walls were covered by wire nets to avoid from collapsing.

The stone walls of the sixth enclosure
The fifth enclosure on the left and the sixth enclosure on the right

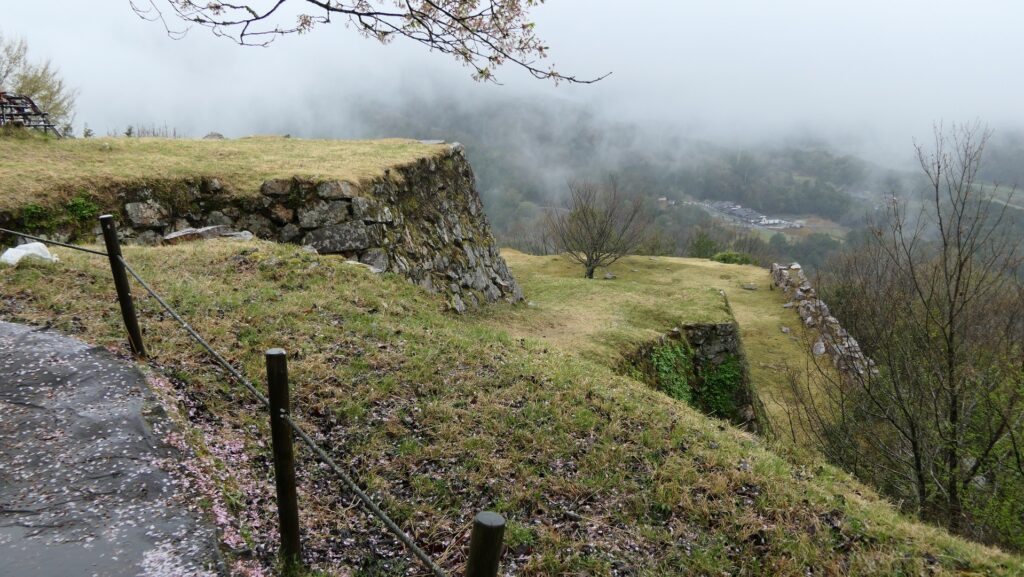
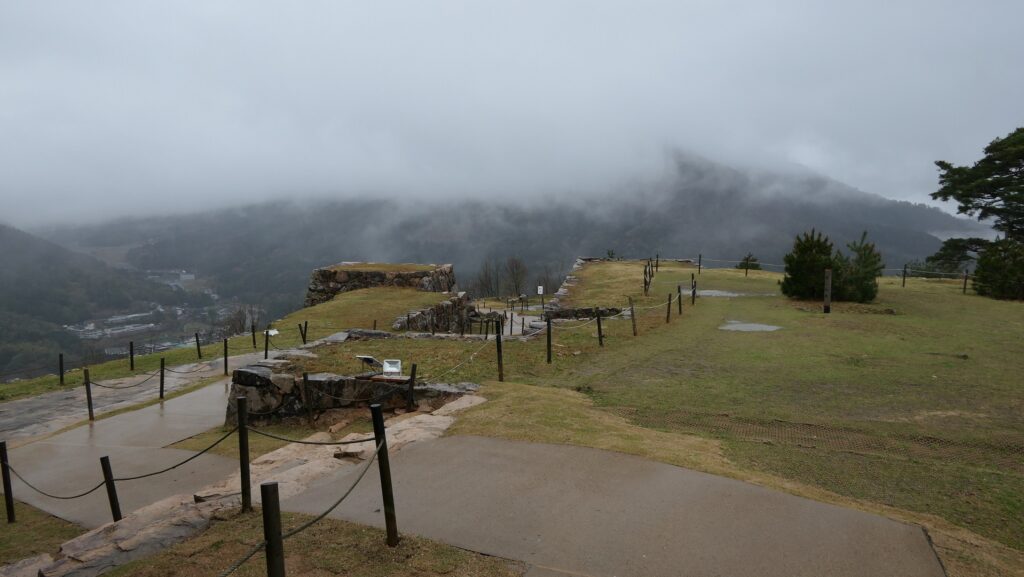
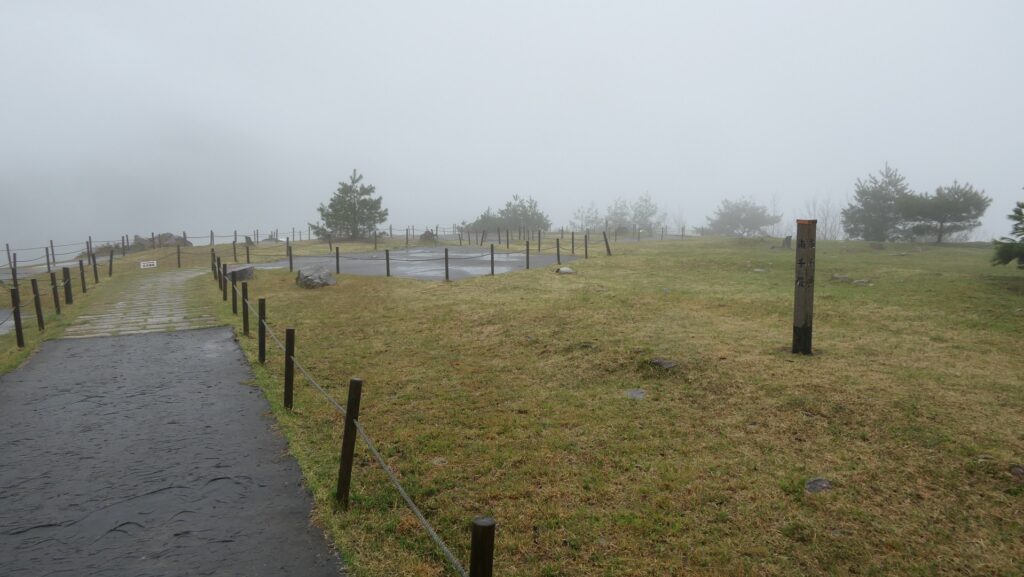
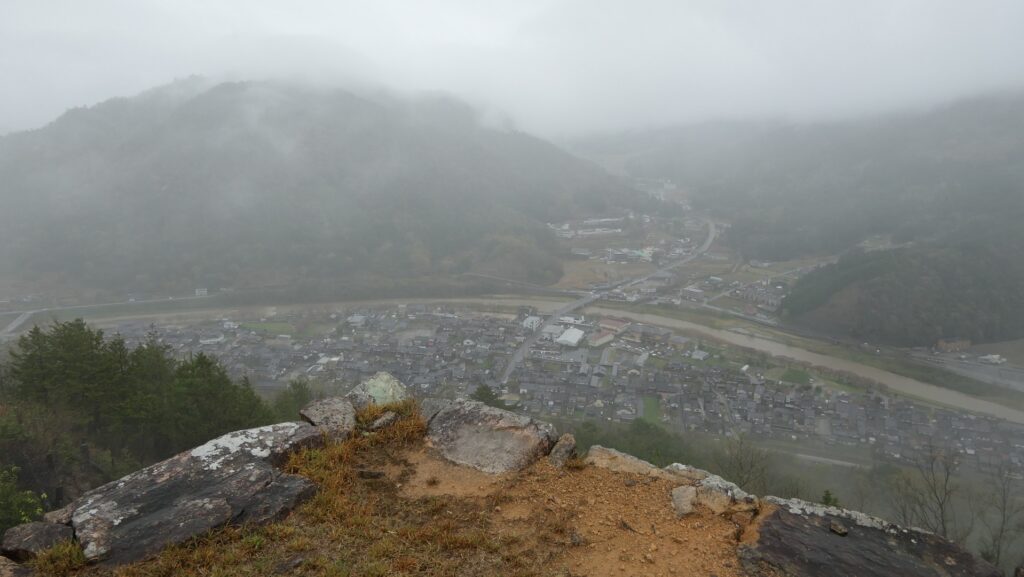
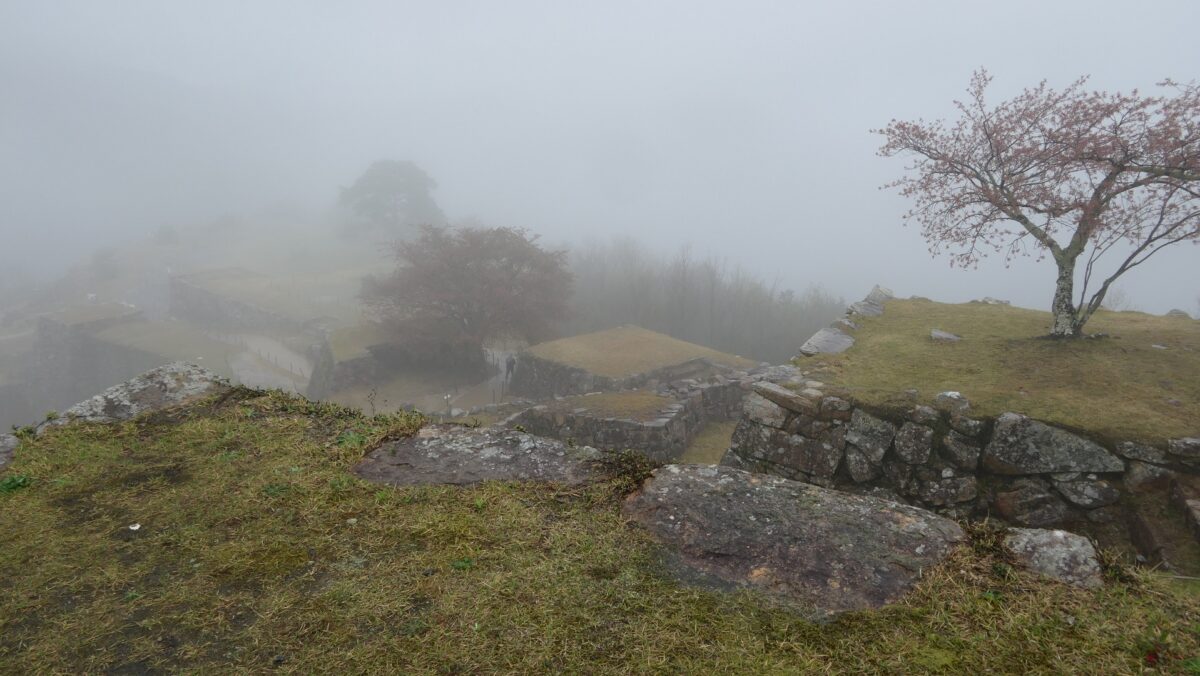
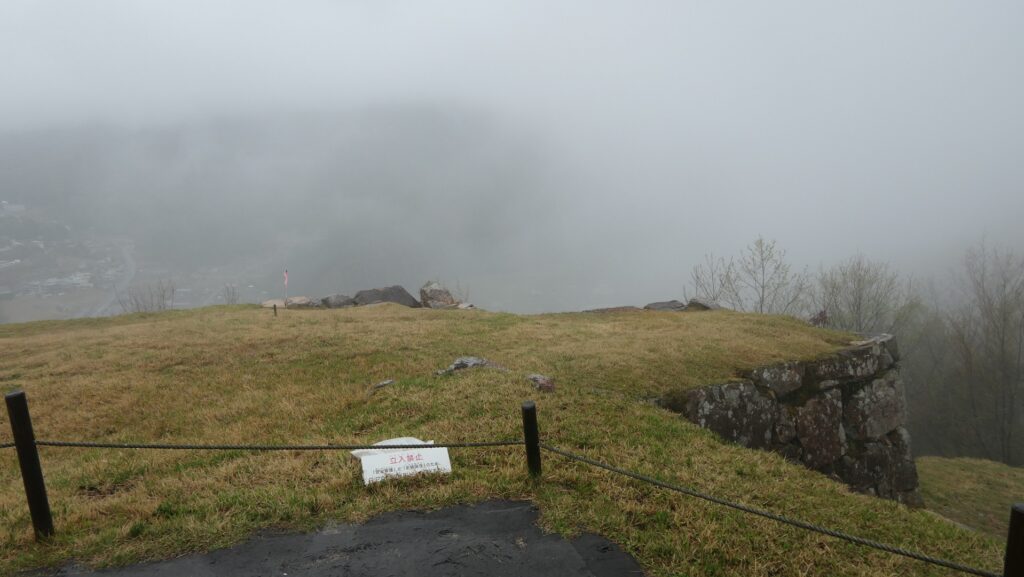
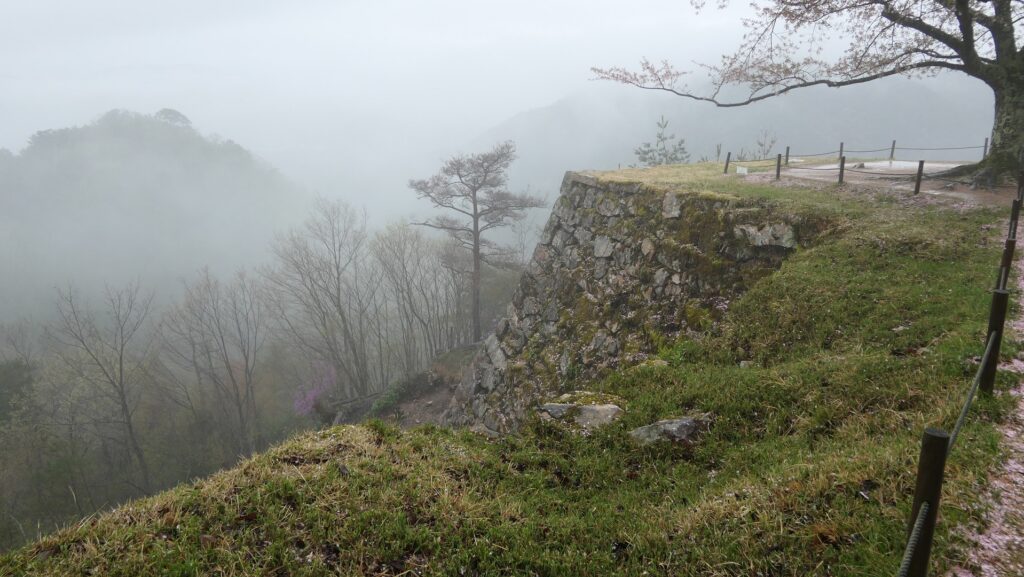
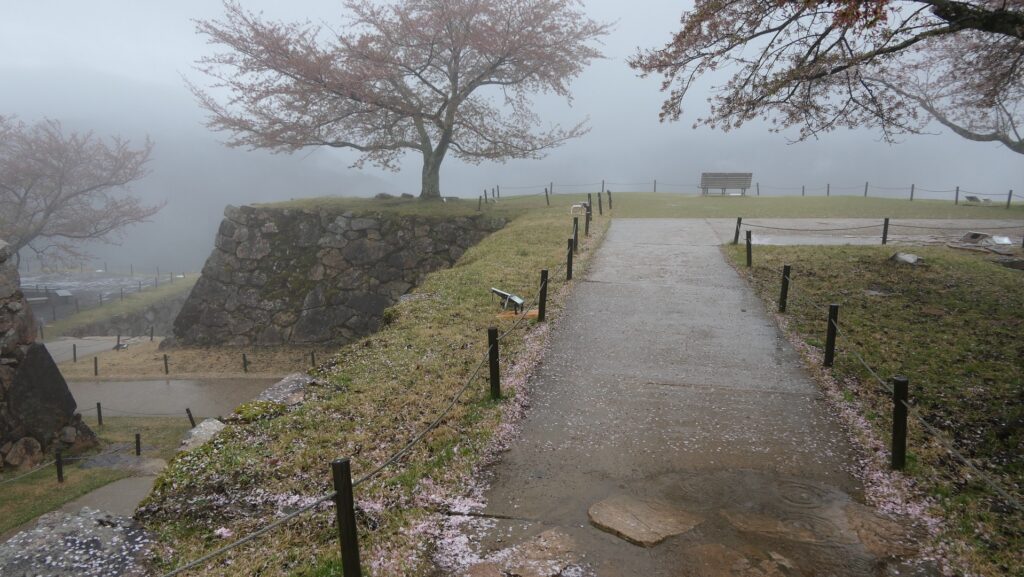
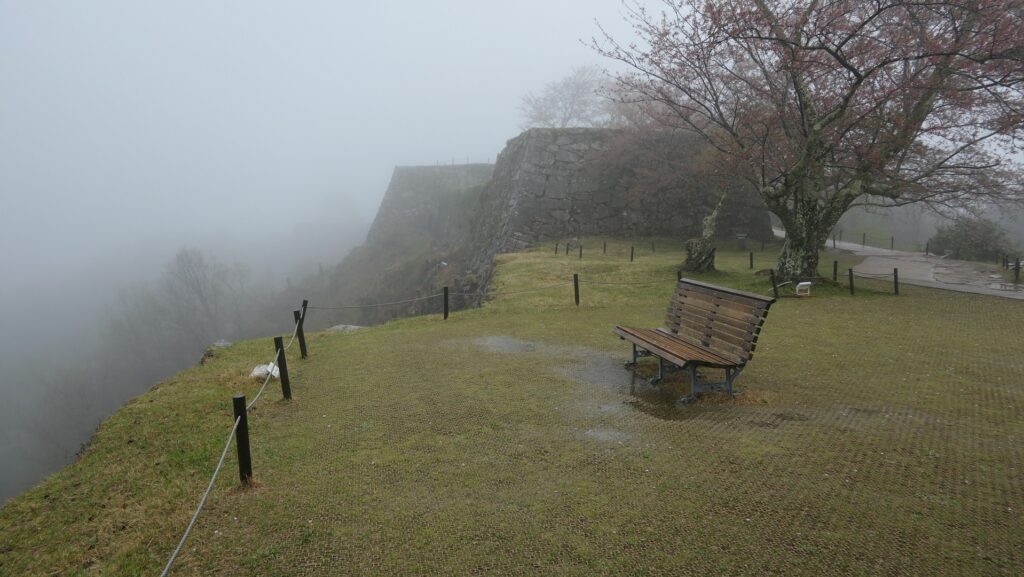
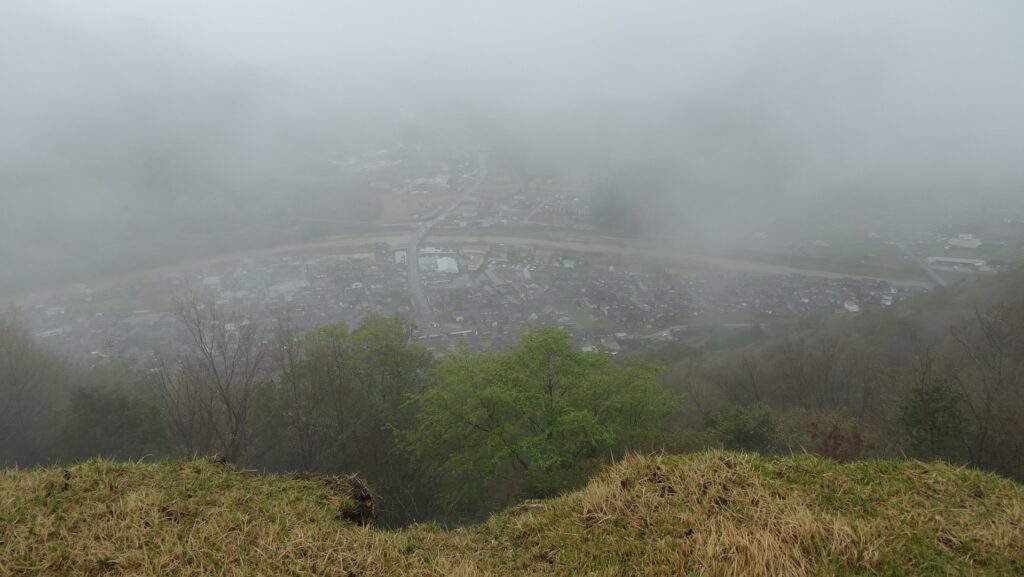
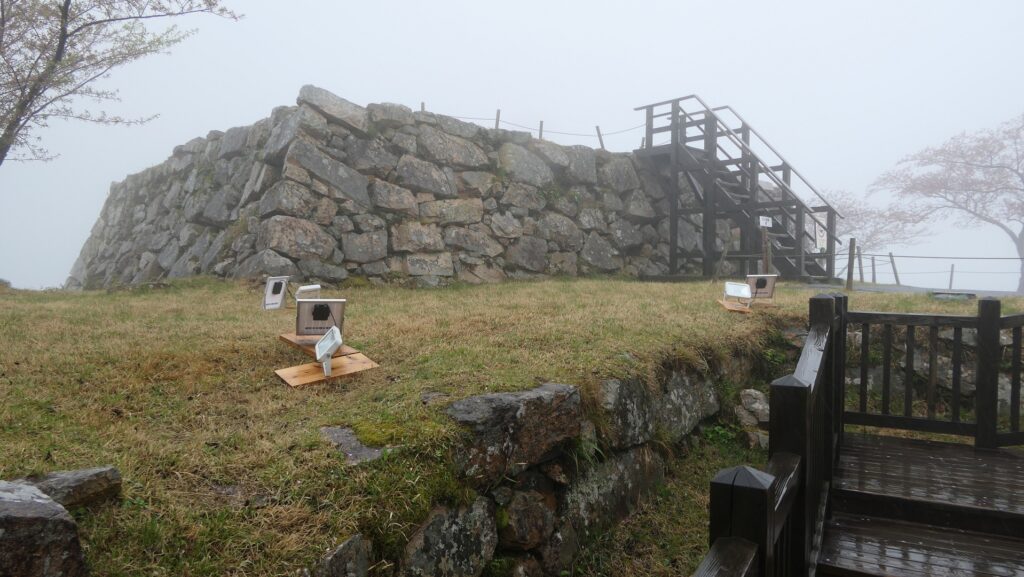
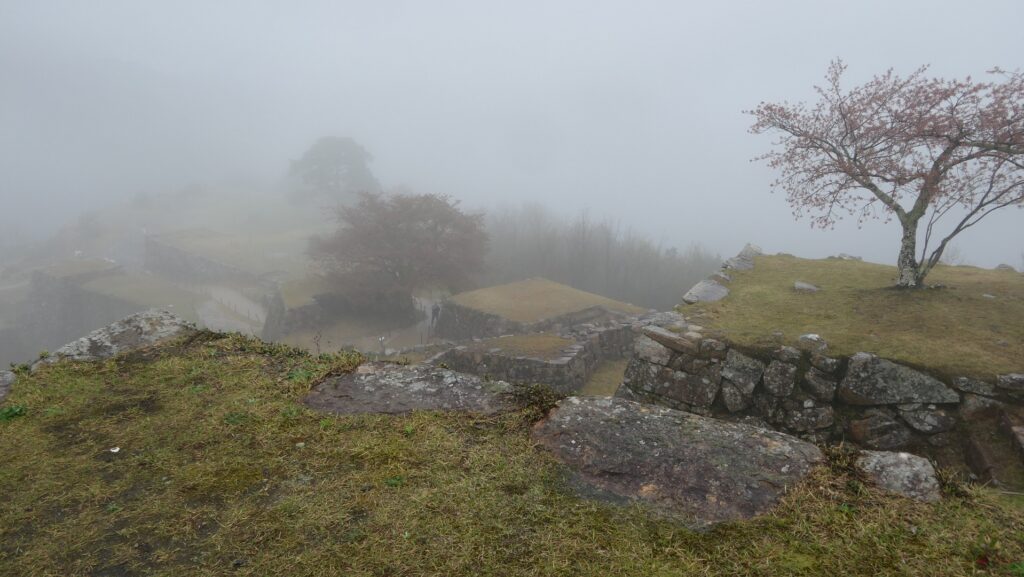
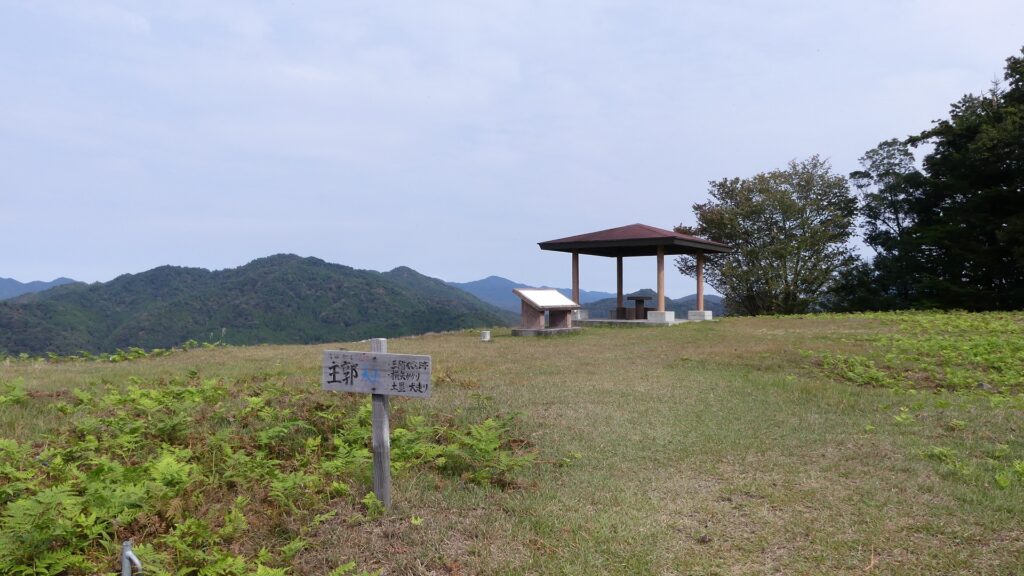
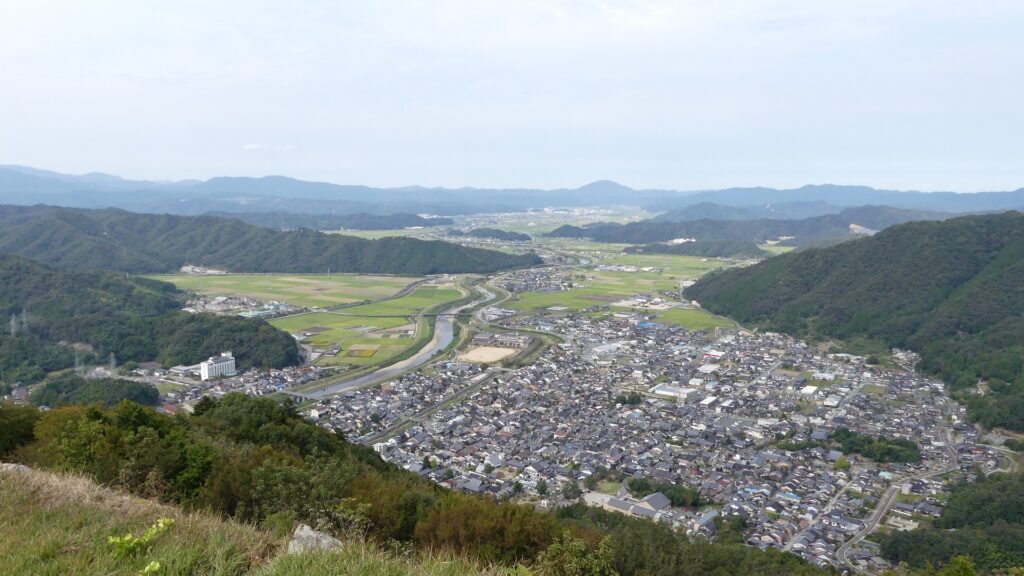
There is only the rest station and the signboard on the main enclosure. However, the view of the Izushi area from the top, about 300m above from the foot, is really breath-taking view! The stone walls of the enclosure are what you saw from the foot.

Going from the second enclosure to the main enclosure
The top of the enclosure
A view from the enclosure
The stone walls of the enclosure

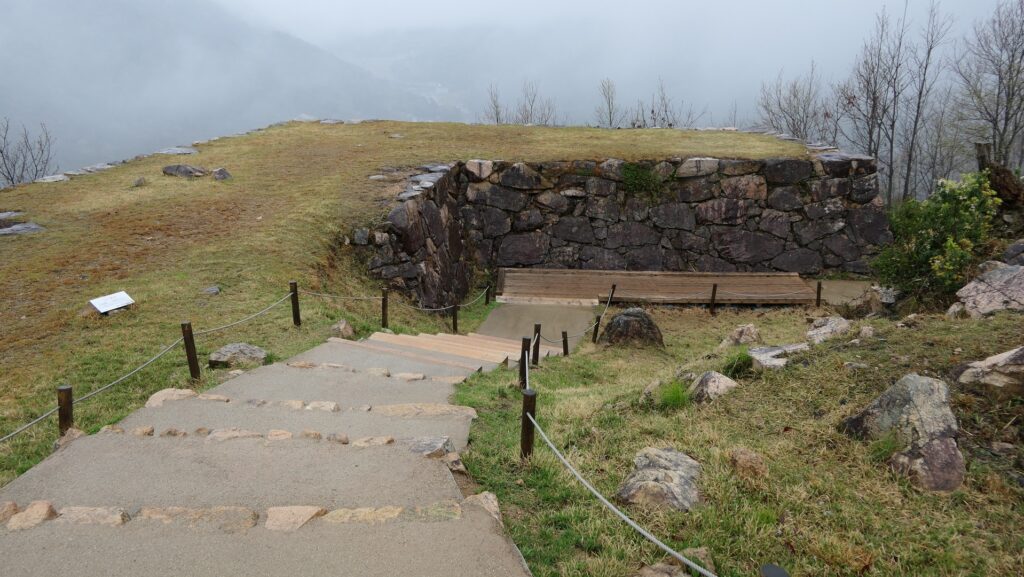
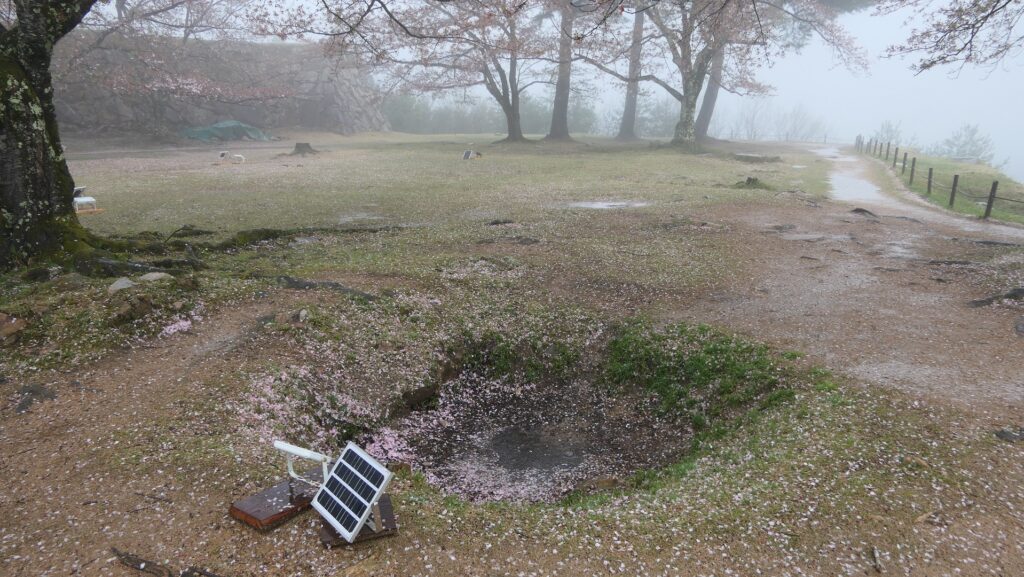
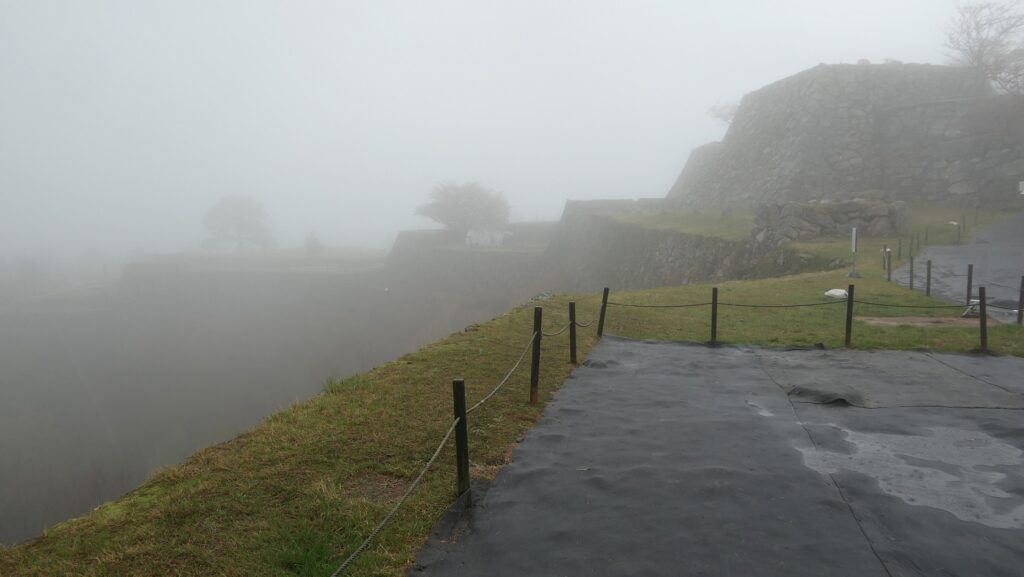
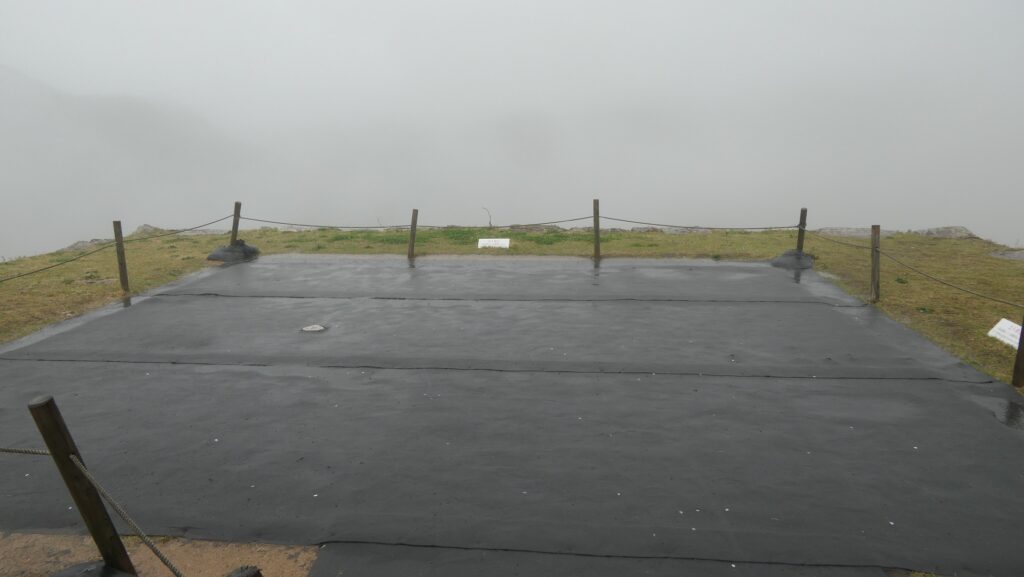
Very spacious Senjousiki Enclosure for top area

The Senjoshiki Enclosure is next to the main portion, which is separated by a huge artificial ditch. You can go there by passing the top of the forth enclosure. The enclosure is mostly made of soil, but very spacious for the top area of the mountain which was used as the lord’s residence or a station for large troops.

The path to the Senjoshiki Enclosure goes from the top of the fourth enclosure, the stone walls beide the path are the third enclosure’s
The huge ditch dividing the main and the Senjoshiki Enclosures
The top of the Senjoshiki Enclosure
The main enclosure seen from the Senjoshiki Enclosure

To be continued in “Izushi Castle/Arikoyama Castle Part3”
Back to “Izushi Castle/Arikoyama Castle Part1”

56.Takeda Castle Part3

I can’t believe the stone walls of Takeda Castle have been left intact for over 400 years since the it was abandoned. Although they have been often repaired and maintained. I still can’t understand why they have been intact for so long.

Features

From Center of Castle to Southern Ridge

The western ridge from the center, called Hanayashiki or the Flower Residence Enclosure, does not usually not allow visitors to enter because of its preservation and the safety of visitors. The enclosure is built on the steeper ridge than the others, which is said to be built to protect the back route of the castle.

The map around the castle

The Flower Residence Enclosure
You can not enter the enclosure

Therefore, you will go on the route to the southern ridge which has the narrow Southern Second Enclosure and the large Minami-Senjo or the Southern 1,000 mat Enclosure, similar to the northern ridge. If you look back to the center of the castle, you can see many great stone walls covering the top of the mountain. The view of the area around the mountain is magnificent.

Going to the southern ridge
The Southern Second Enclosure
A view of the center from the Southern Second Enclosure
Going out to the Minami-senjo Enclosure
The Minami-senjo Enclosure
A view from the Minami-senjo Enclosure

The return path goes from the edge of the ridge, which might have been the other entrance of the castle. You will finally return to the paved path which you have passed.

The exit from the Minami-senjo Enclosure
A view of the same place above from the outside
The return path
You have returned to the paved path which you had passed.

Later History

Takeda Castle was abandoned and all the castle buildings were demolished in the early Edo Period. However, the stone walls of the castle were left as there were, for some reasons. In other cases of abolished castles, their stone walls were also destroyed. The remaining stone walls of Takeda Castle may have been a miracle. The castle ruins were designated as a National Historic Site in 1943. Since then the ruins were sometimes used as the locations of historical movies that feature the intact stone walls of the castle. In 2007, a photographer, posted his photo of the Takeda Castle in the Sky, which won an award. This made the castle famous and the number of the visitors skyrocketed.

Intentionally broken stone walls of Iwakuni Castle on the mountain
The stone walls of Hizen-Nagoya Castle being destroyed like a V letter
The ruins of Suzume-mon Gate of Uda-Matsuyama Castle, after its stone walls were completely destroyed

My Impression

Three things surprised me about the great stone walls of Takeda Castle three times. First, I was simply impressed to see the stone walls on the high mountain. I was wondering how and why the builders built them on such a steep place. I learned that the value of Takeda Castle for the rulers and what the builder, Masahiro Saimura did in the castle are parts of the answer. Secondly, I heard that local people make great efforts on maintaining the stone walls to preserve them and make sure visitors visit them safely. I also think the original layout of the castle even now helps visitors walk smoothly in the castle ruins. Finally, I can’t believe the stone walls have been left intact for over 400 years since the castle was abandoned. As far as I know, there is no other example of stone walls which are the same or similar to Takeda Castle. Although the stone walls have been often repaired and maintained. I still can’t understand why they have been intact for so long.

Unlike the Three castles which were abandoned in the seme period, the stone walls of Takeda Castle remain intact

How to get There

If you want to get there by car, it is about 10 minutes from Wadayama IC on the Kitakinki-Toyooka Expressway. There is a parking lot at the tourist facility halfway up the mountain.
By public transportation, you can take the Tenku-bus from JR Takeda Station and get off at the final bus stop, Takeda-jo. The stop is over 1km away from the entrance of the castle ruins. Or it takes about 40 minutes on foot from the station to the entrance.
From Tokyo or Osaka to Takeda Station: take the Sanyo Shinkansen super express and transfer to the Bantan Line at Himeji Station.

That’s all. Thank you.
Back to “Takeda Castle Part1”
Back to “Takeda Castle Part2”

56.Takeda Castle Part2

The current tourist route is very similar to the bypass route the castle originally had. Hence, the route for the defenders of the castle in the past makes it possible for current visitors of the ruins to move smoothly as well.

Features

Well-developed Castle Ruins

Today, the ruins of Takeda Castle have been well developed to maintain them and control many visitors. If you want to drive to the ruins, you need to park at a tourist facility called “Yamajiro-no-sato” (or “the Village of the Mountain Castle”) and get to the ruins by a taxi, a bus, or walking. Even if you use a taxi, you will still need to walk the last kilometer from where you are dropped off to the ticket office, the entrance of the ruins. The path to the entrance is paved, but the terrain of the mountain is steep and rough when you walk along this path. You may wonder why and how the builders built a castle with great stone walls on such a mountain.

The map around the castle

The tourist facility
Everyone must walk from here
You can see very steep and rough slopes beside the path
Arriving at the ticket office

In the ruins, the tour routes are set one way and the range for visitors to walk around is also limited by poles and ropes. The stone walls and the foundations of the castle look well maintained. This is done by officials closing the ruins for a certain period of time to repair them every year. These activities contribute to keep the ruins in a good condition as well as securing the safety of visitors. For instance, visitors first enter the entrance of Kita-Senjo (meaning Northern 1,000 mat Enclosure in Japanese) at the edge of the northern ridge, then, walk on the ridge, pass the side of the stone wall base for the Main Tower at the Main Enclosure, walk on the southern ridge, and finally get out from the edge of it. This route is very similar to the bypass route the castle originally had. Hence, the route for the defenders of the castle in the past makes it possible for current visitors of the ruins to move smoothly as well.

The map around the castle

You can’t access the edge of an enclosure at the site

Entrances and routes are strictly protected

To get back to the entrance at the edge of the northern ridge, it has a defensive square space surrounded by high stone walls, called “Masugata”. It also had gate buildings on it, where the defenders would attack enemies outside by using guns and arrows. If the enemies reached the gate, they would be locked in the Masugata system.

The entrance of the castle ruins
The Masugata system at the edge of the northern ridge (called the Main Gate at the site)
The Masugata system seen from the inside

Inside the entrance, there is the extensive Kita-Senjo Enclosure, where as the name suggests, could accommodate lots of soldiers and supplies in the past, or tourist groups and events in the present.

The Kita-senjo Enclosure
A view around the enclosure
The Third Enclosure seen from the Kita-senjo Enclosure

If you want to go to the center of the ruins, you will pass another Masugata system to the Third Enclosure and an altered gate built with stone walls to the Second Enclosure through the zigzagging path.

The Masugata system in front of the Third Enclosure
Entering the Third Enclosure
The Third Enclosure
Going to the Second Enclosure

You will next walk on a narrow northern ridge through the Third and Second Enclosures, looking at the center of the castle with lots of stone walls and a view of the area around below. The route is guided by the official instructions to walk around safely in the narrow area.

The tourist routes are guided by the official instructions
The Second Enclosure
The lots of stone walls in the center, seen from the Second Enclosure
A view from the Takeda city area below

Main Enclosure with remaining Stone Wall Base for Main Tower

You will eventually reach the center, the Main Enclosure with the stone wall base for the Main Tower. The route goes beside the base on wooden steps and there are other wooden steps to the base. The base was built using natural or roughly processed stones in the Nozura-zumi method, which look really great. Some historians speculate that a three-level Main Tower might have been built on the base, according to the size of the base.

Arriving at the Main Enclosure
The route goes on the wooden steps beside the base
The stone wall base for Main Tower
The top of the base
A view from the base

To be continued in “Takeda Castle Part3”
Back to “Takeda Castle Part1”