Features
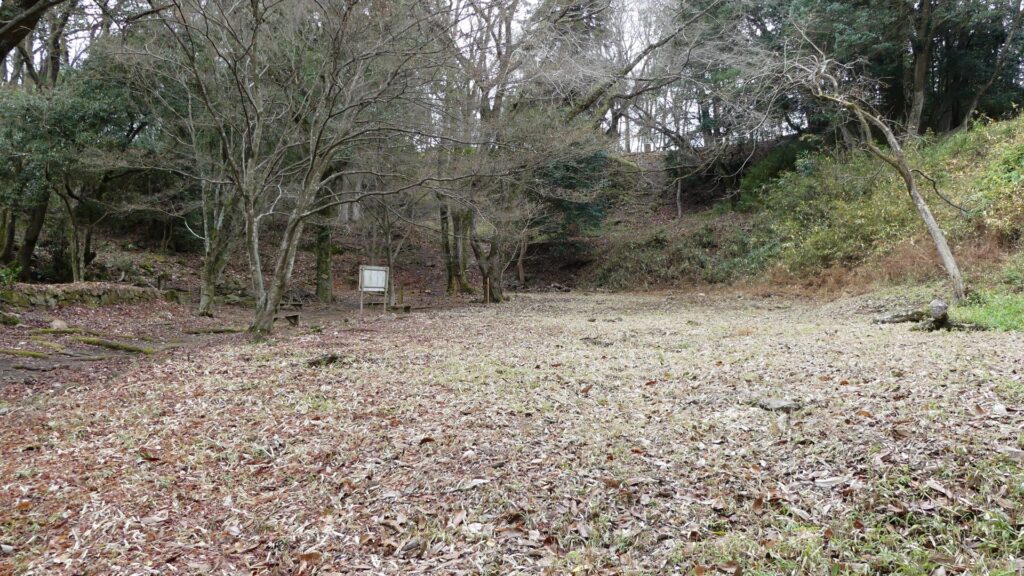
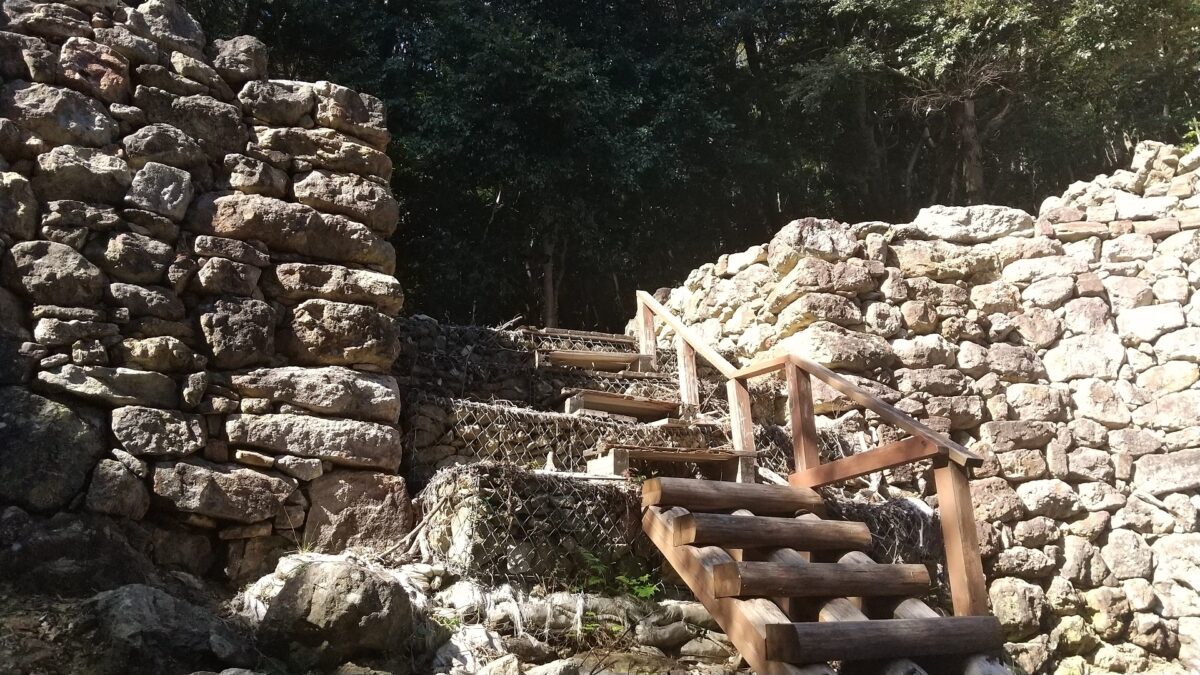
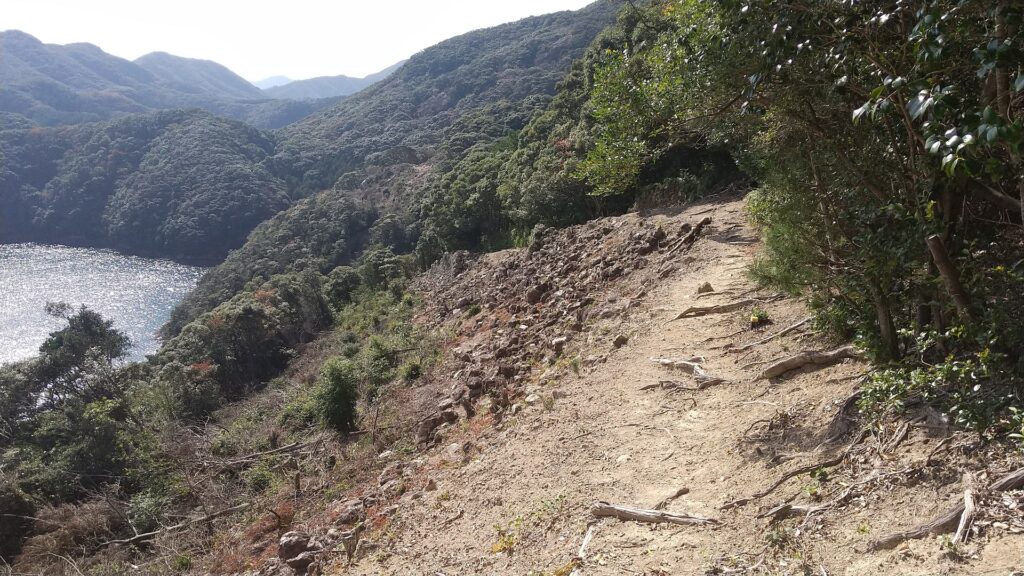
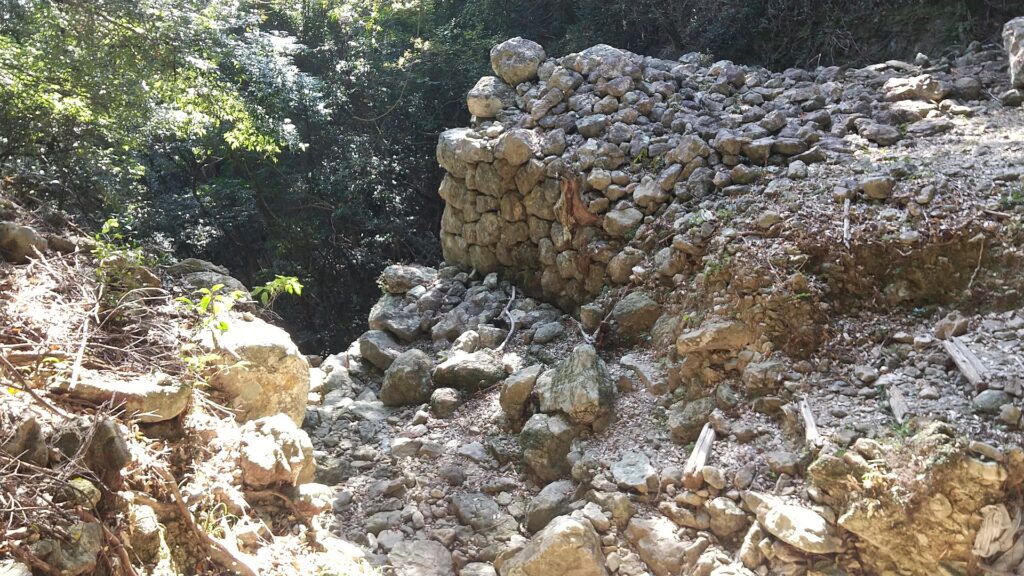
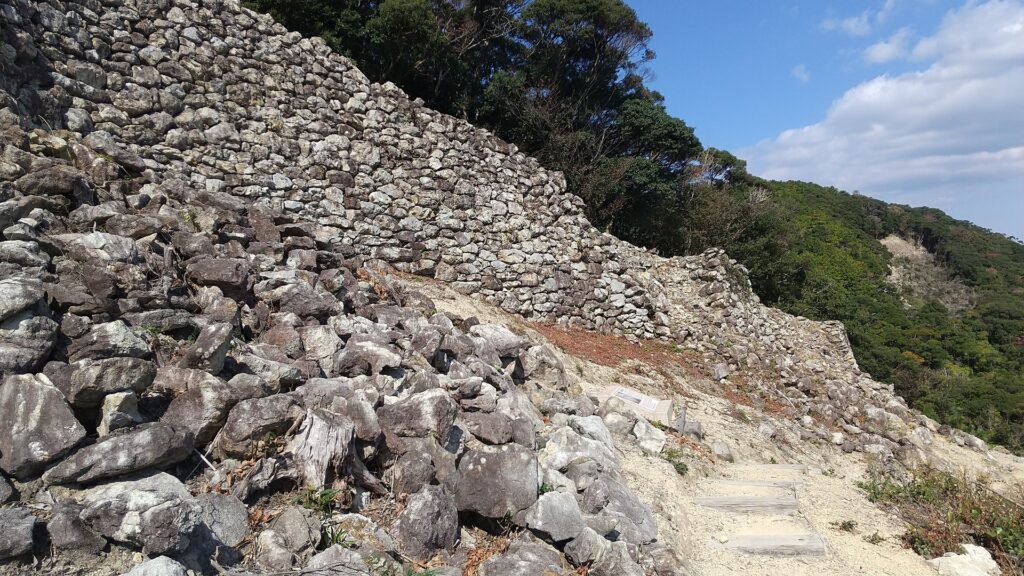
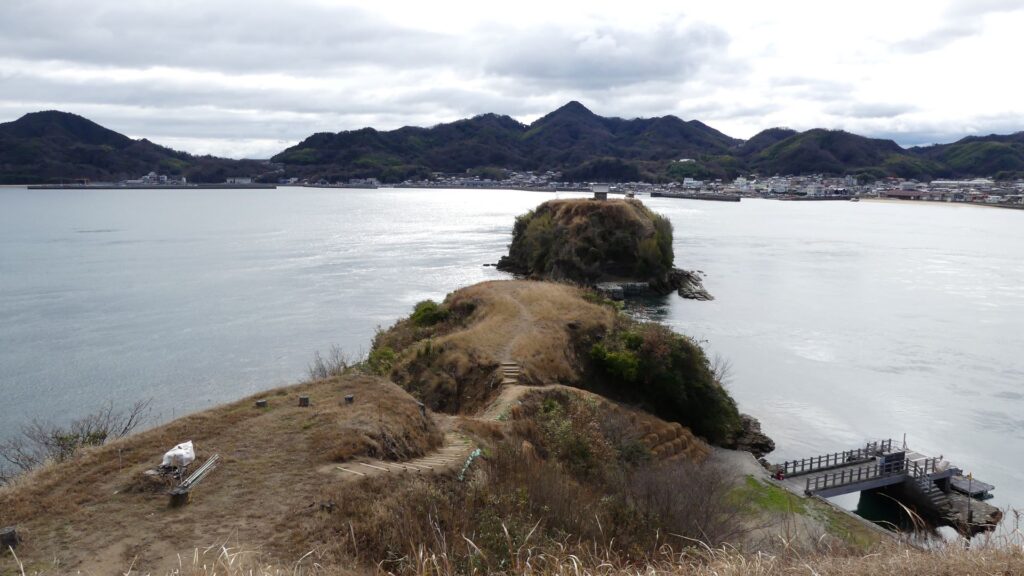
Walking around Second Enclosure
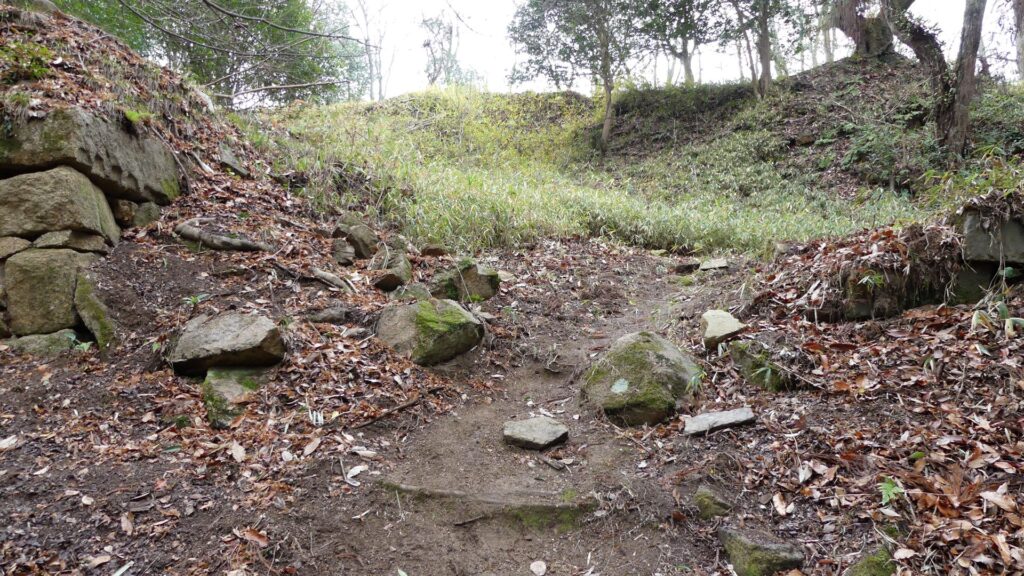
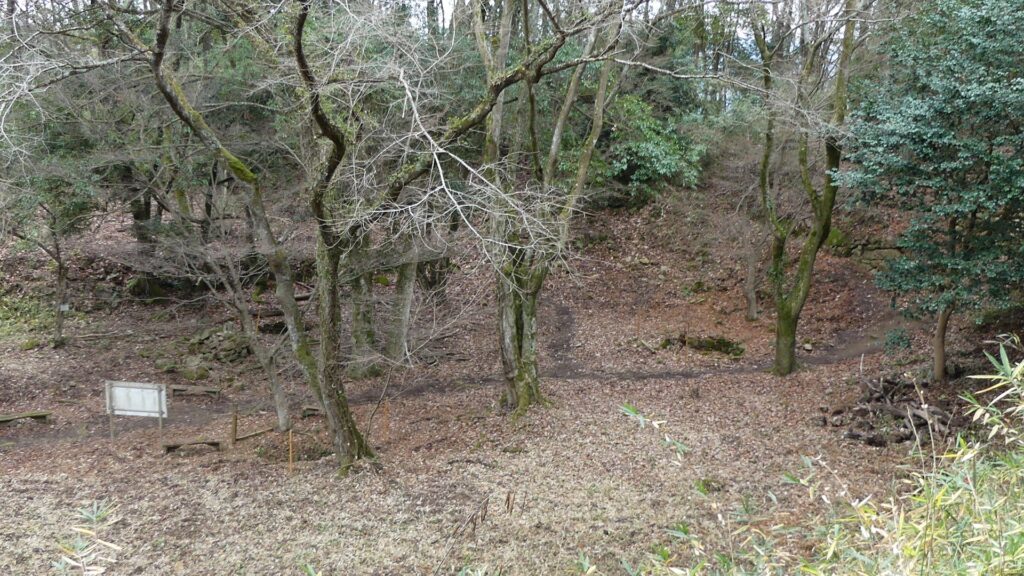
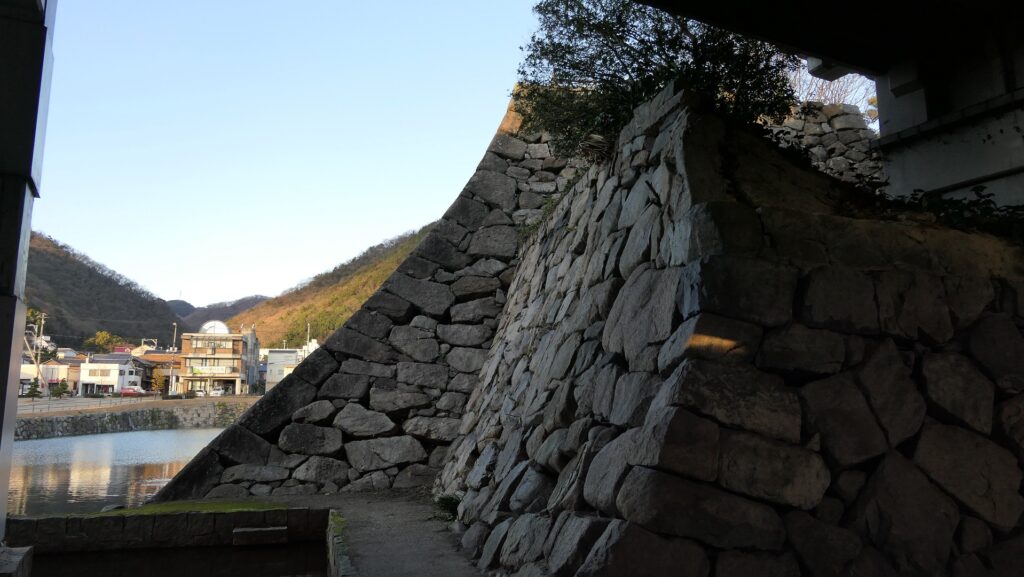
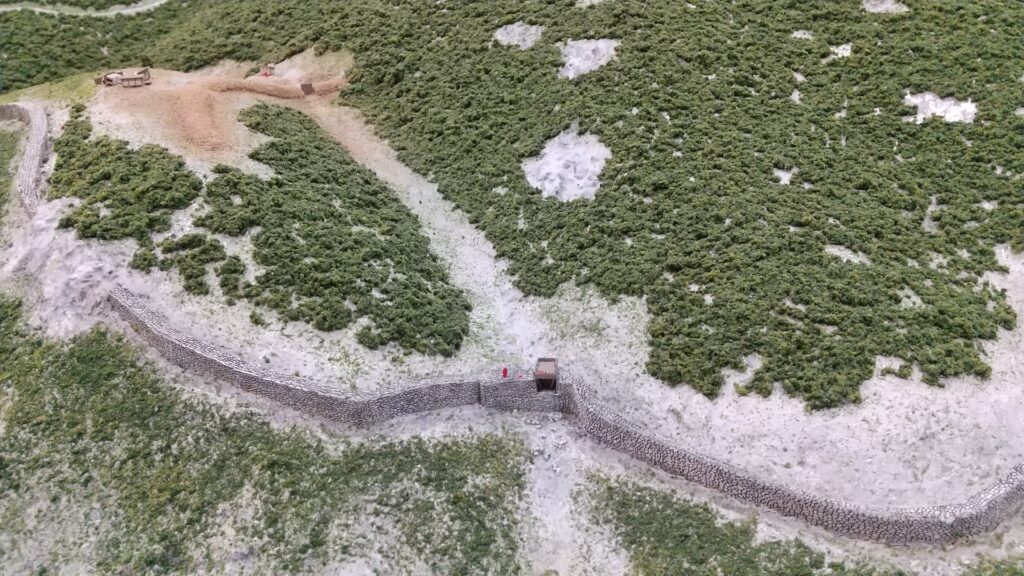
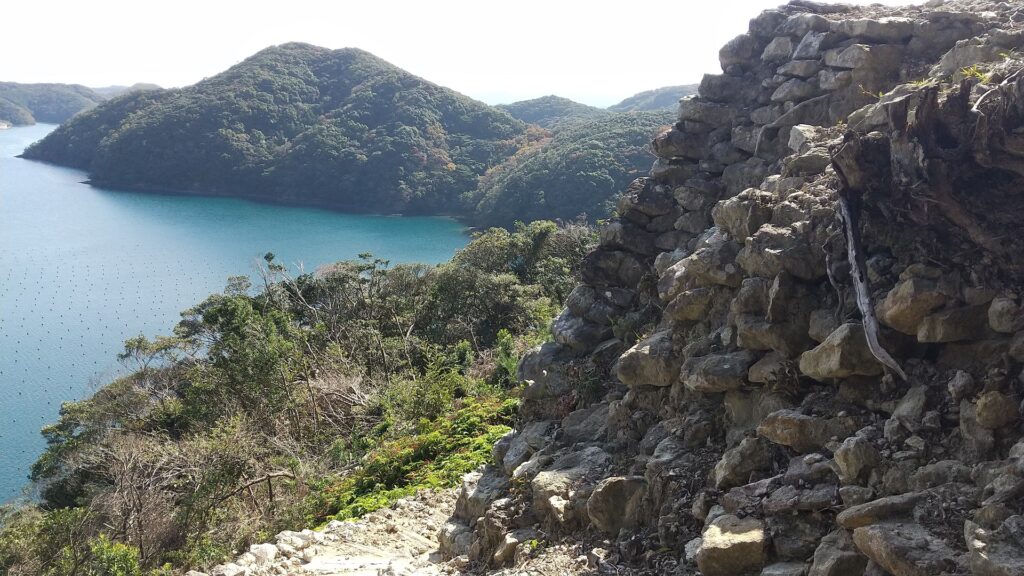
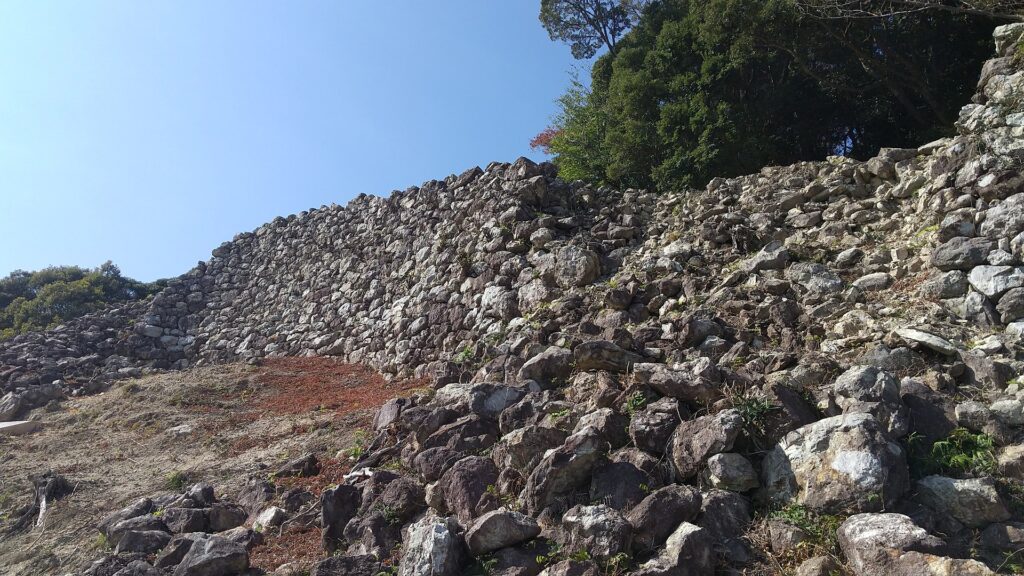
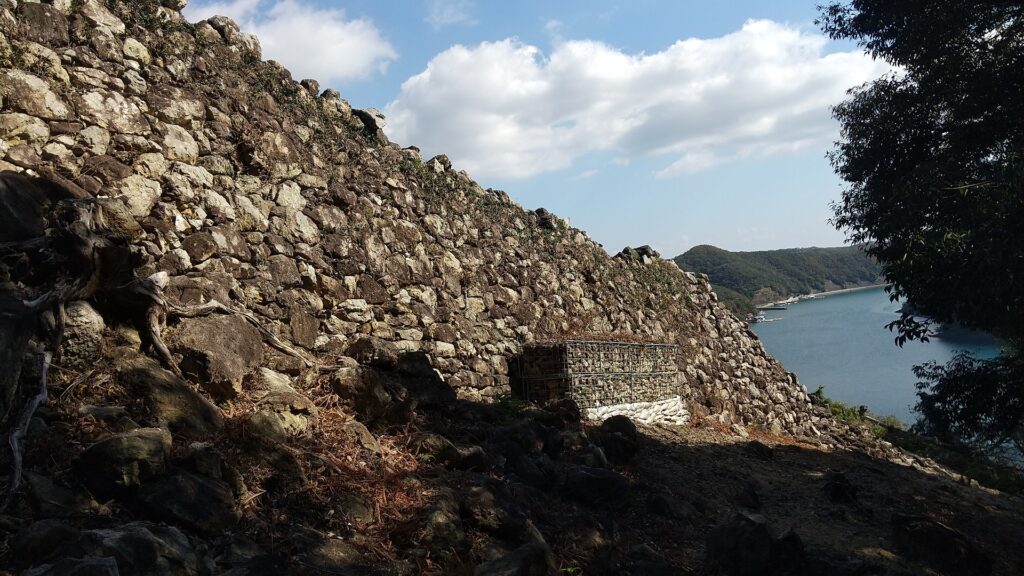
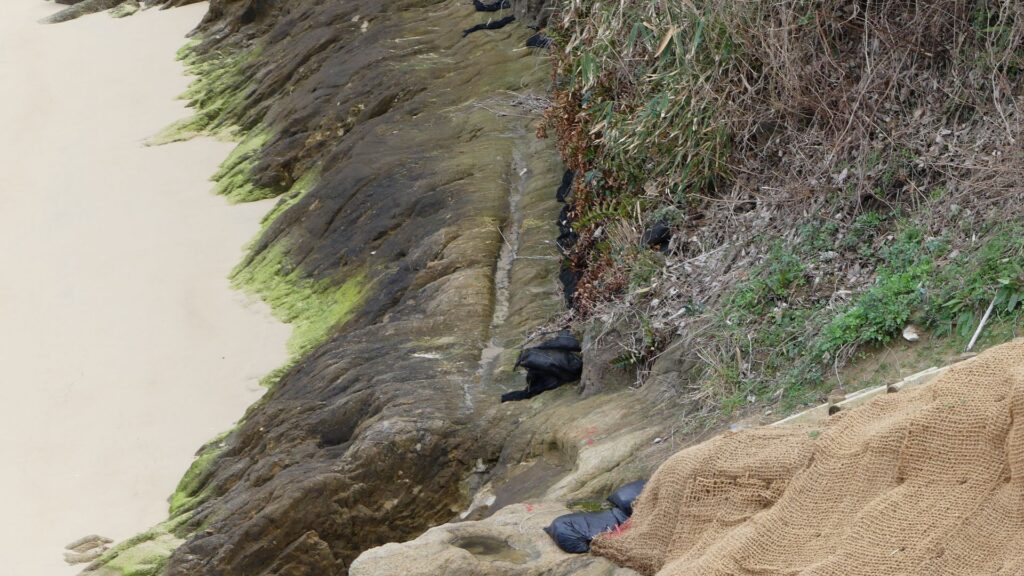
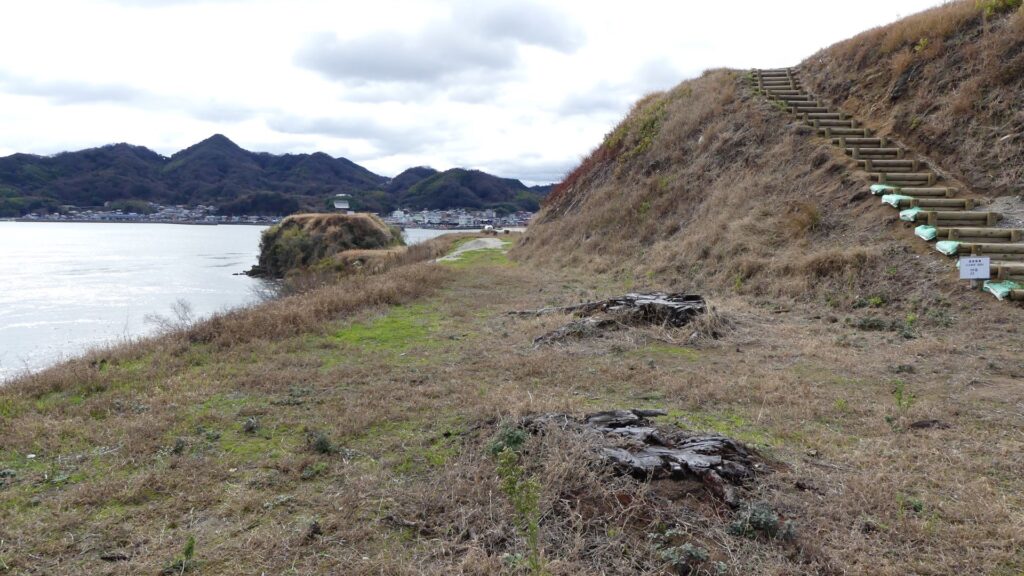
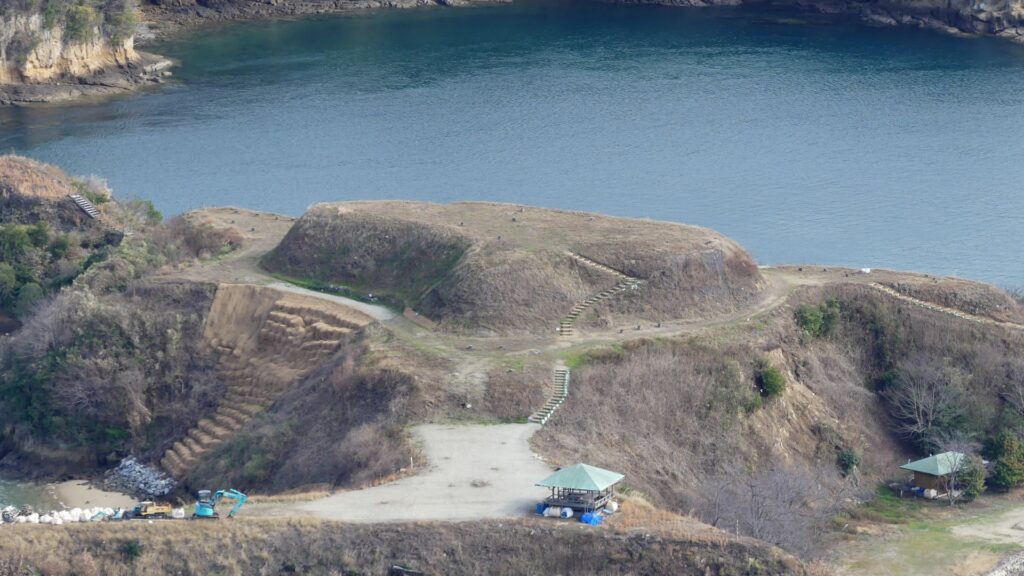
The second enclosure is elevated from the third enclosure and surrounds the main enclosure like passages. It was thought that it was used for residence and lookout point. You can walk around it and see other attractions below. For example, you will see the Funadamari beach which you saw from the boat off the beach. You can sea an artificial ditch which divides the shore and the passage on the beach.
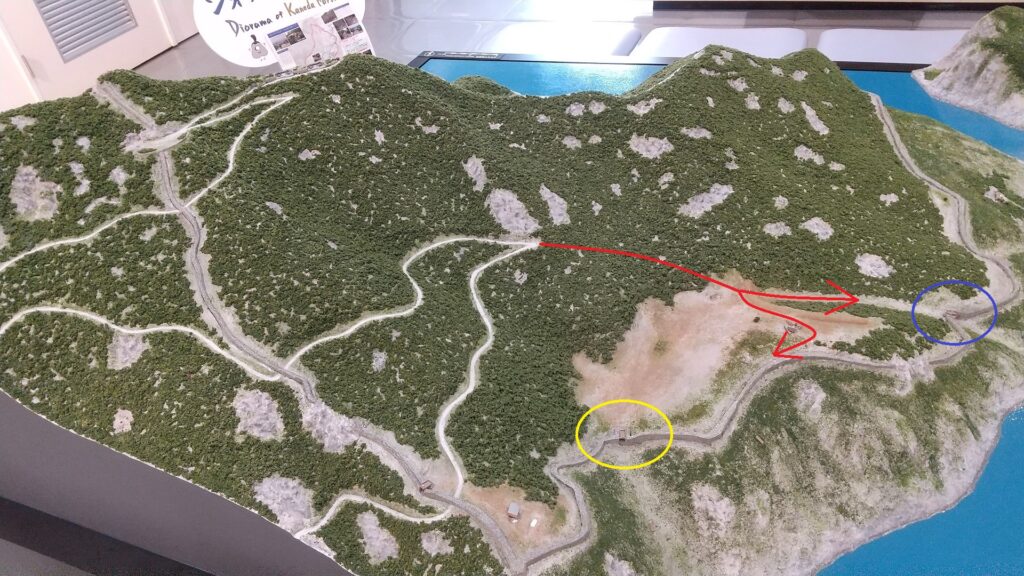
The map around the castle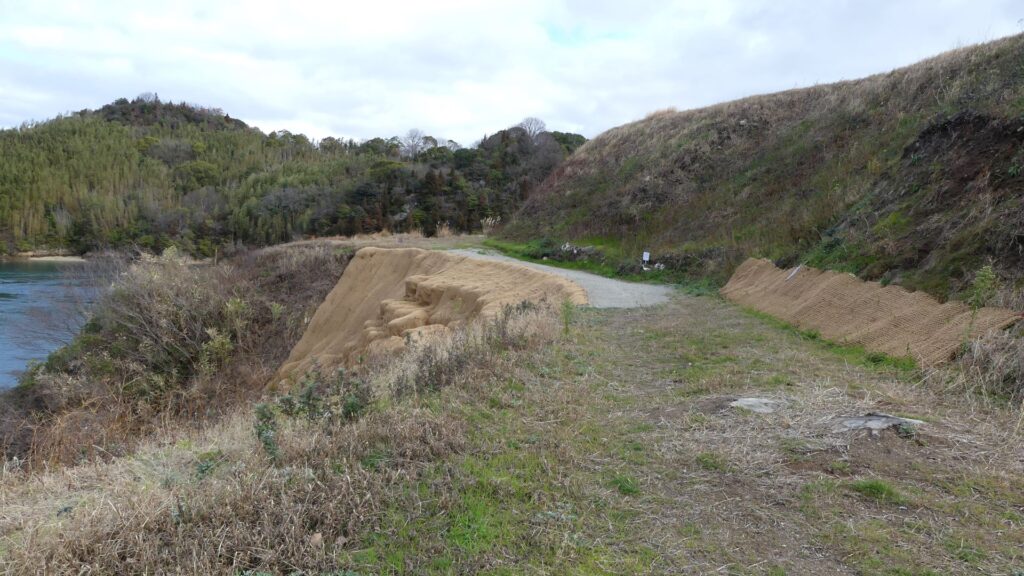

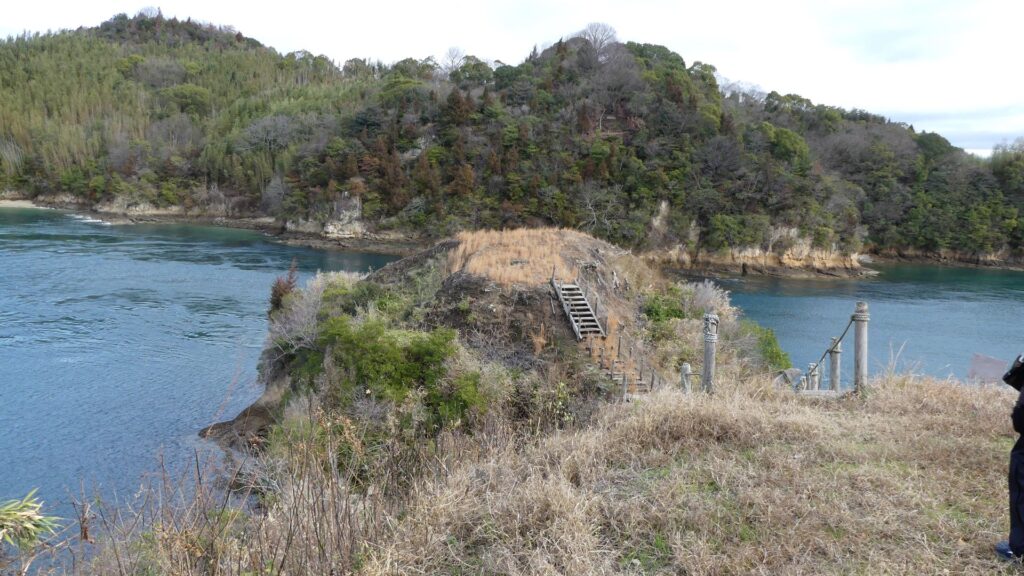
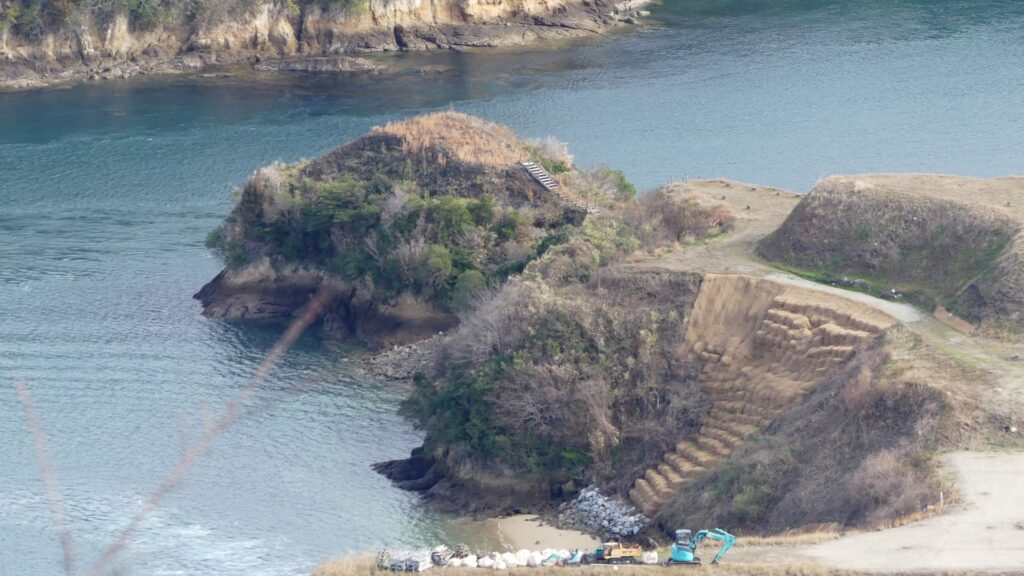
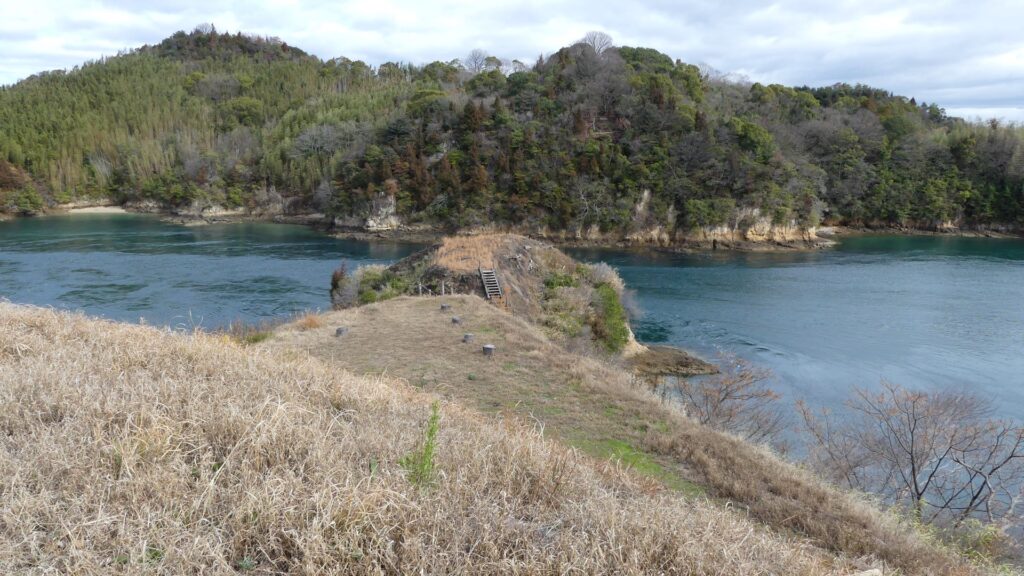
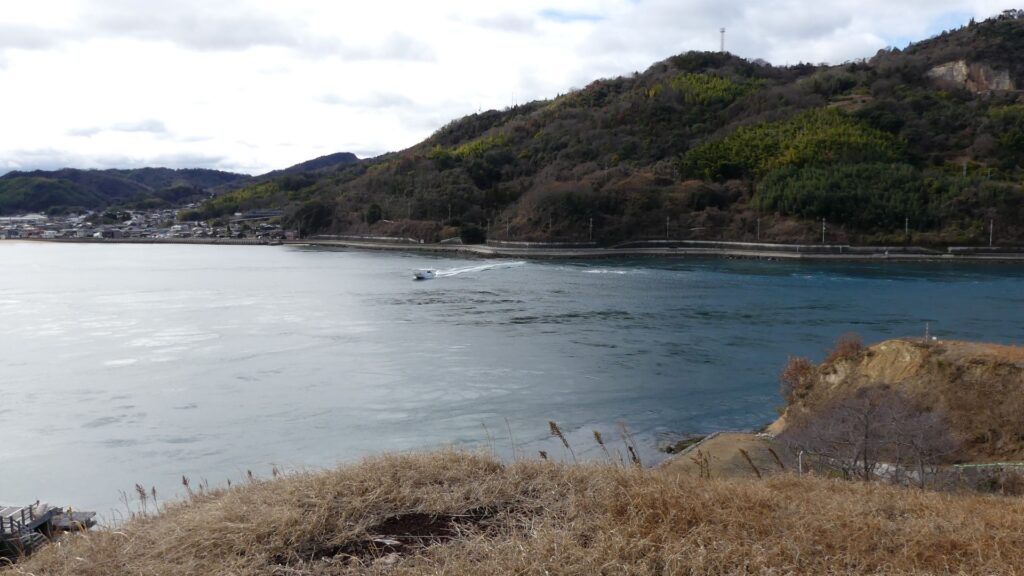
You will also see the enclosure on the northeastern cape, called Yabitsu (directly means “arrow chest”). it was said that the navy soldiers practiced shooting arrows towards Ushima Island from across the sea.
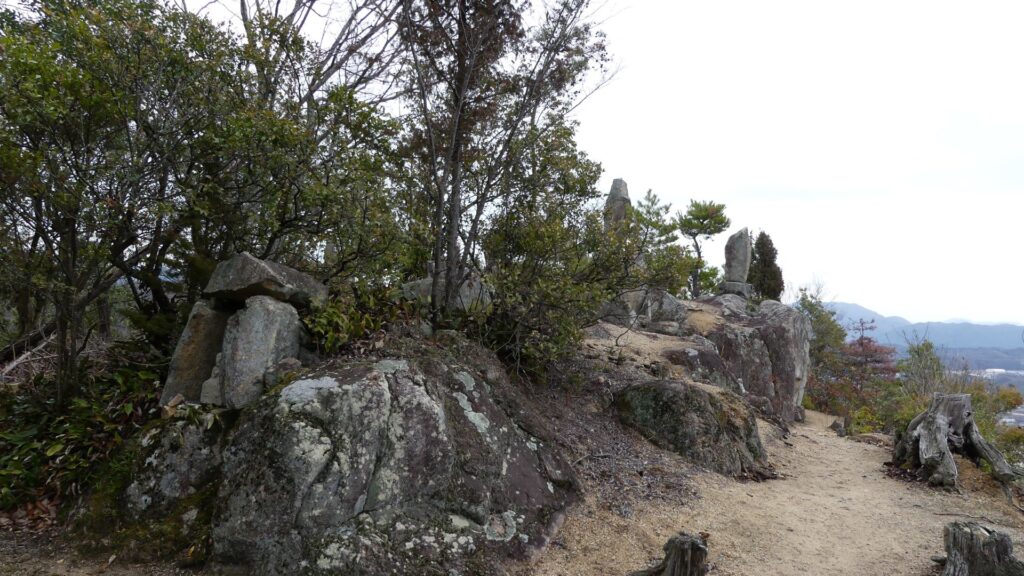
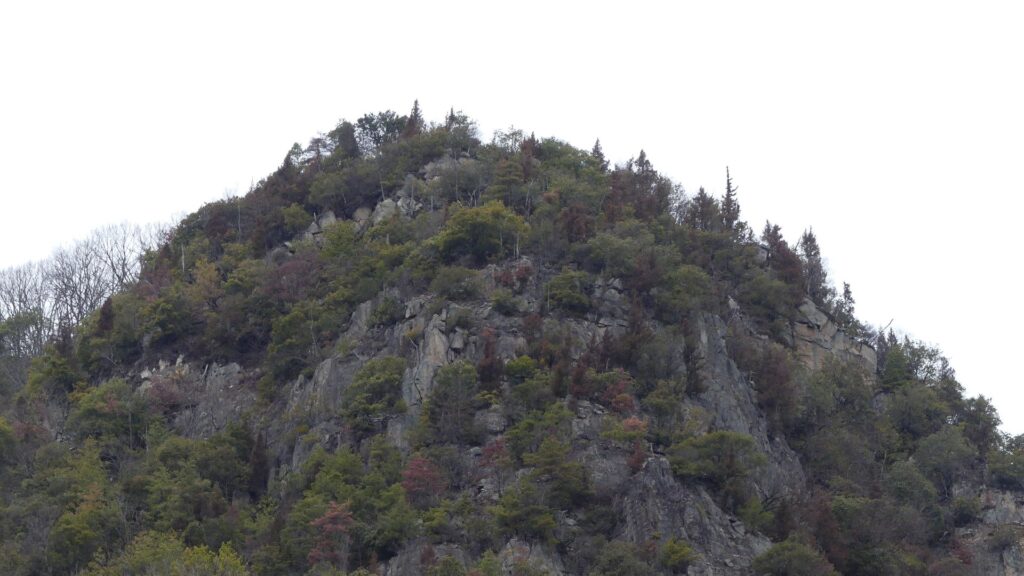
Main Enclosure, Enjoyable place both Now and in Past
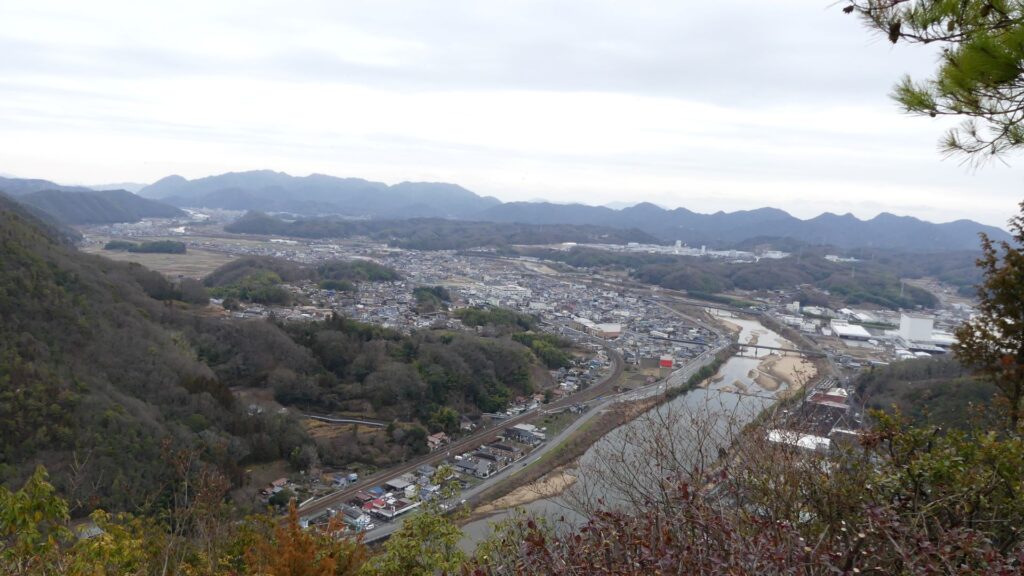
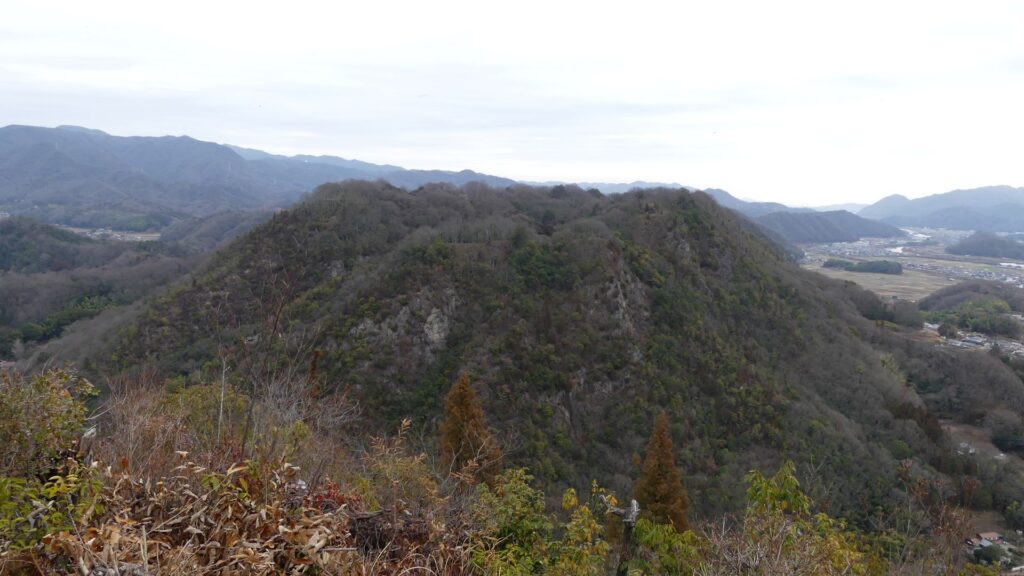
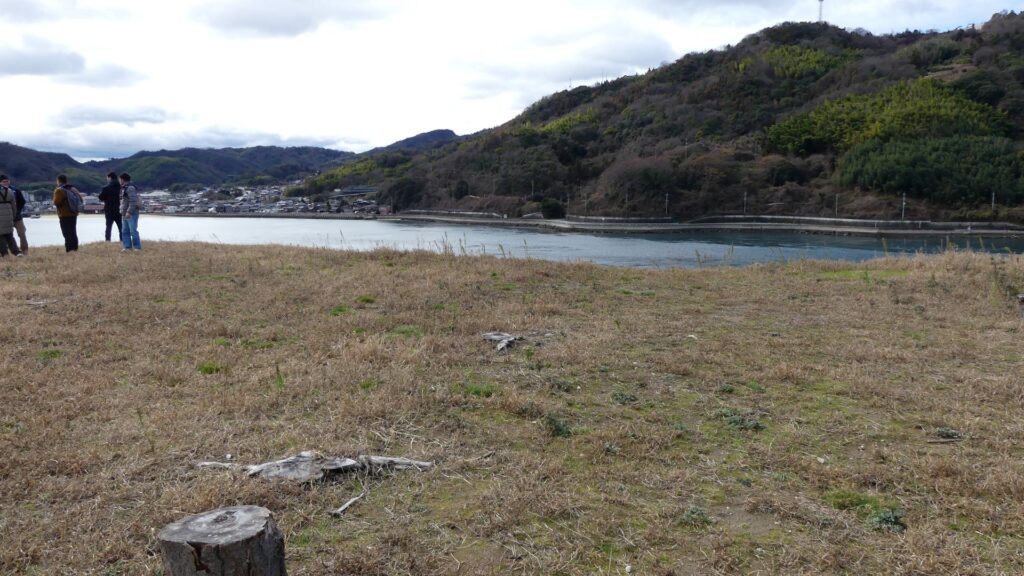
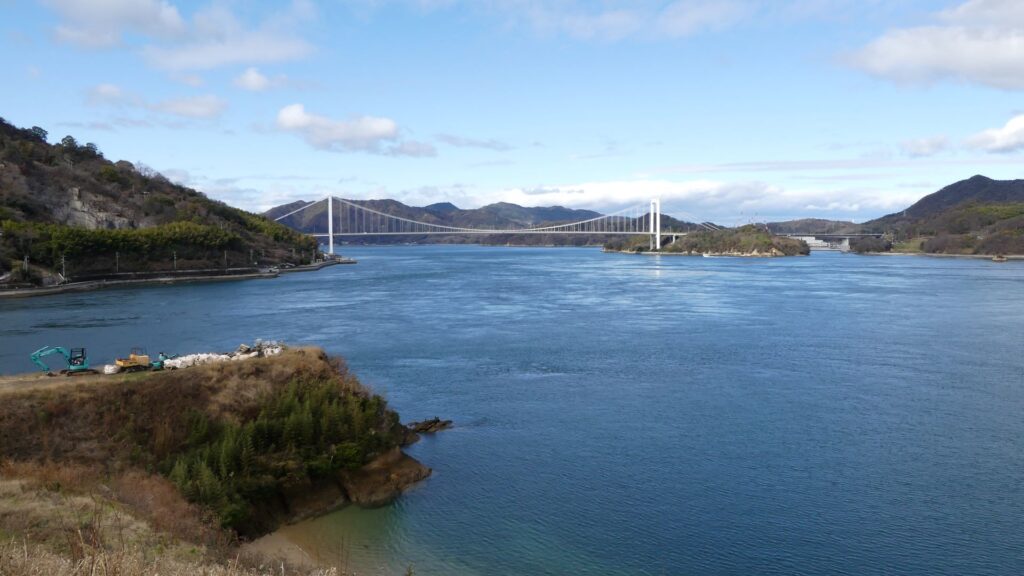
You will finally arrive at the main enclosure on the top, where you can see an amazing 360degree view! The past soldiers also must have been able to monitor everything that happened in the strait. According to the excavations, there were lookout towers and lots of earthenware dishes called Kawarake. Kawarake dishes were disposable ones which were used for parties or ceremonies. That meant the navy members enjoyed their parties on the top with such beautiful scenery.
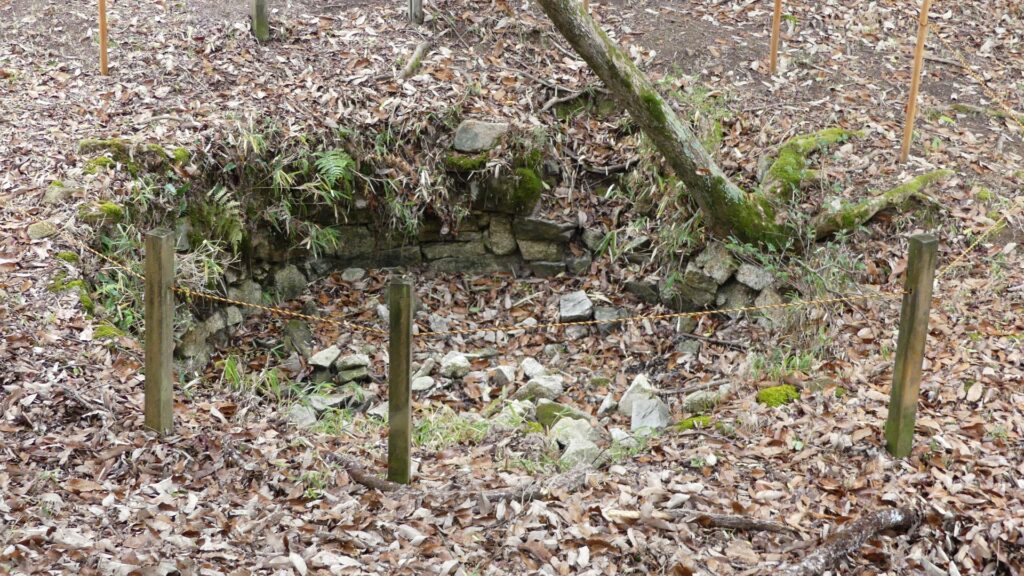
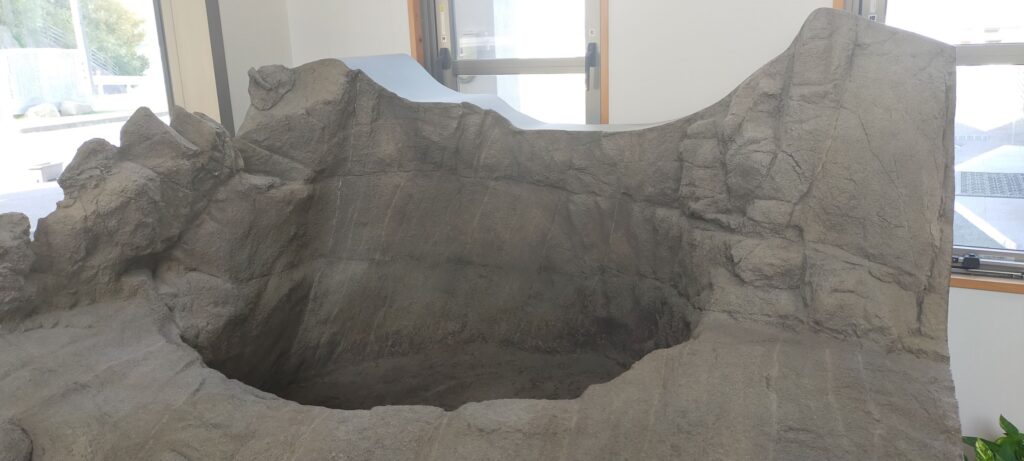
In addition, the island has mysterious large holes (about 1m in diameter and 2m in depth) at its seaside. Historians speculate they might have been water tanks. However, my guide said it was interesting if they were used as baths.
Later History
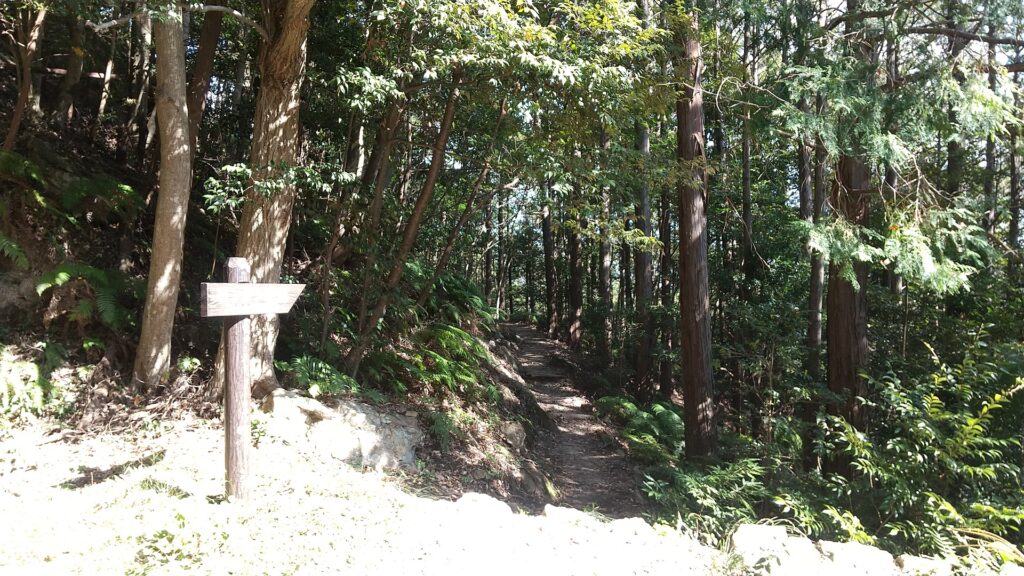
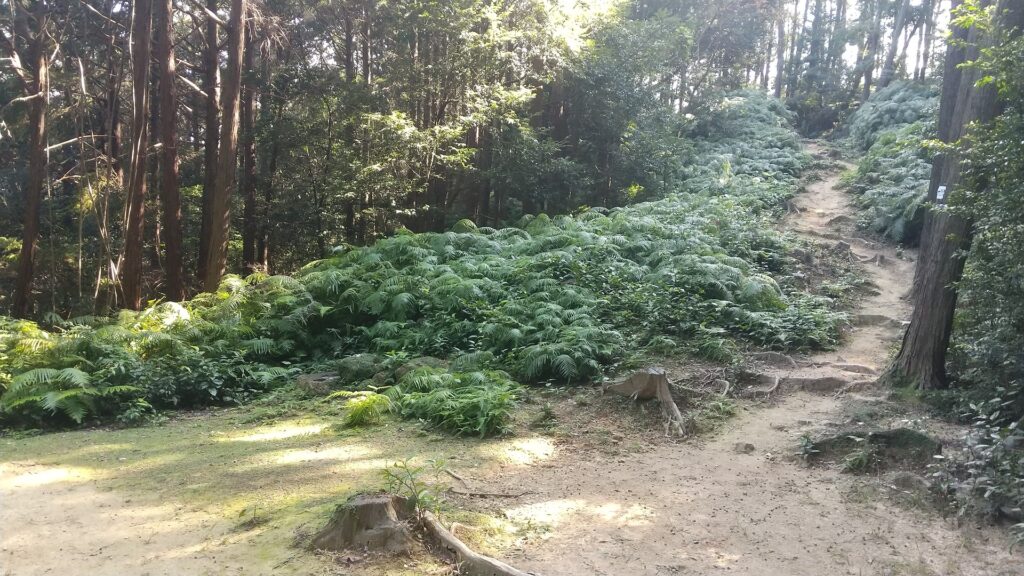
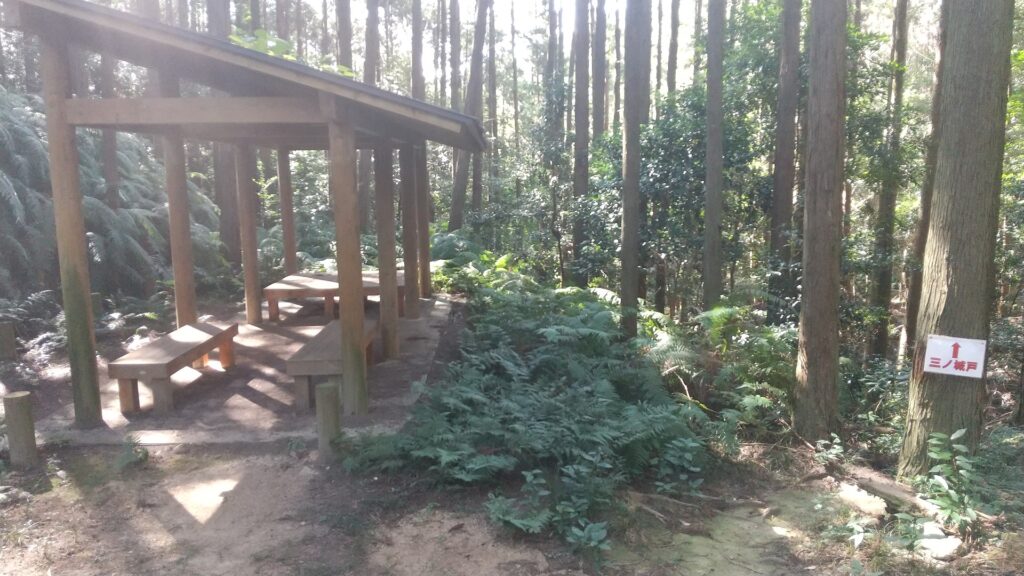
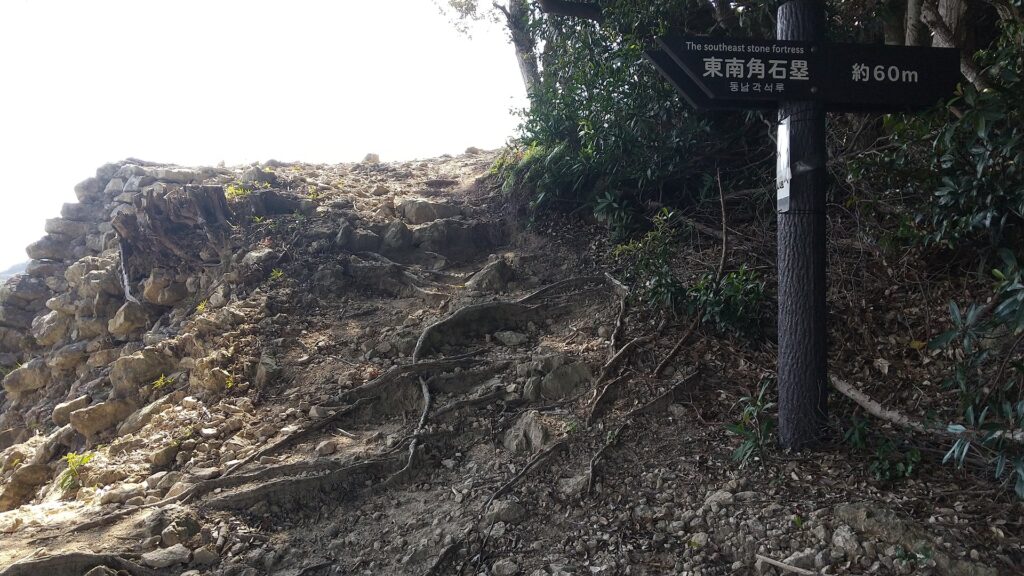
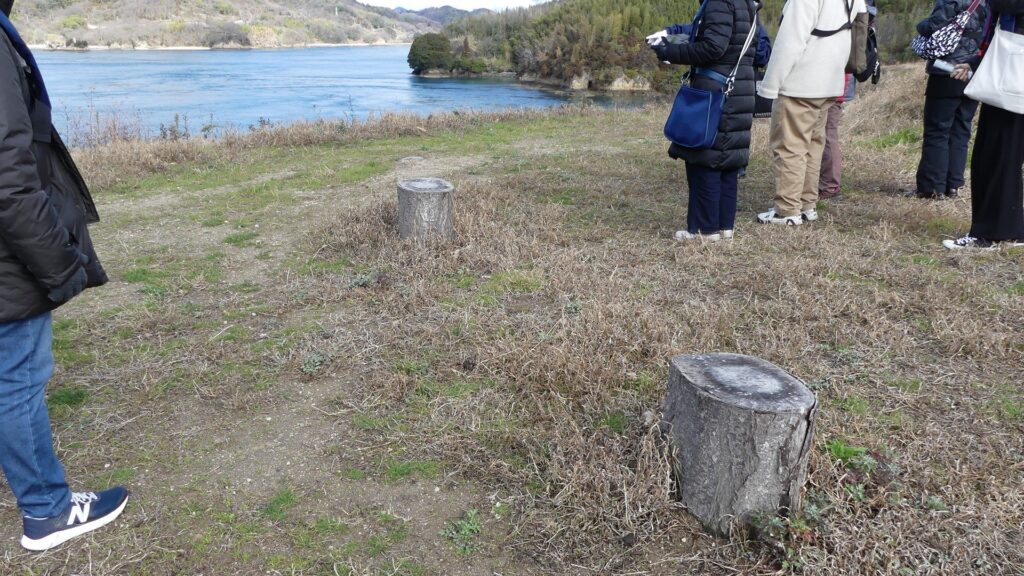
The island was used as fields during the Edo Period after the navies withdrew, but it eventually became deserted as mentioned above. In 1931, the officials started to plant cherry trees on the island. Since then, it became a popular spot for cherry blossoms where other boat tours for the locals were held every spring. However, the trees were all cut down recently because their roots had destroyed the castle ruins. Only their remaining stumps are now used as benches there. On the other hand, the ruins have been designated as a National Historic Site since 1953. In addition, they have been getting popular more and more throughout the country as a castle of the Murakami Navies.
My Impression
I had a special experience by visiting Noshima Castle Ruins because I have not visited any castles by boats. The boat tour made me understand how the castle was used and protected carefully. The experience also taught me that there were people who lived in very different ways from others through the history of Japan. Maybe there are also similar people even in the present time. Someday, I hope there will be regularly scheduled ships that tourists can use to visit the castle ruins, if it gets more and more popular.

How to get There
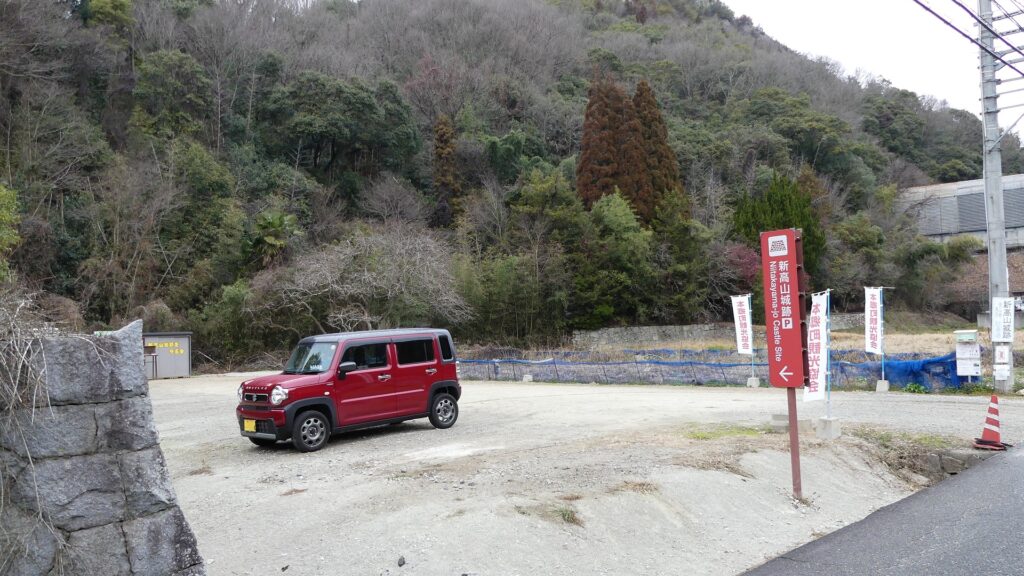
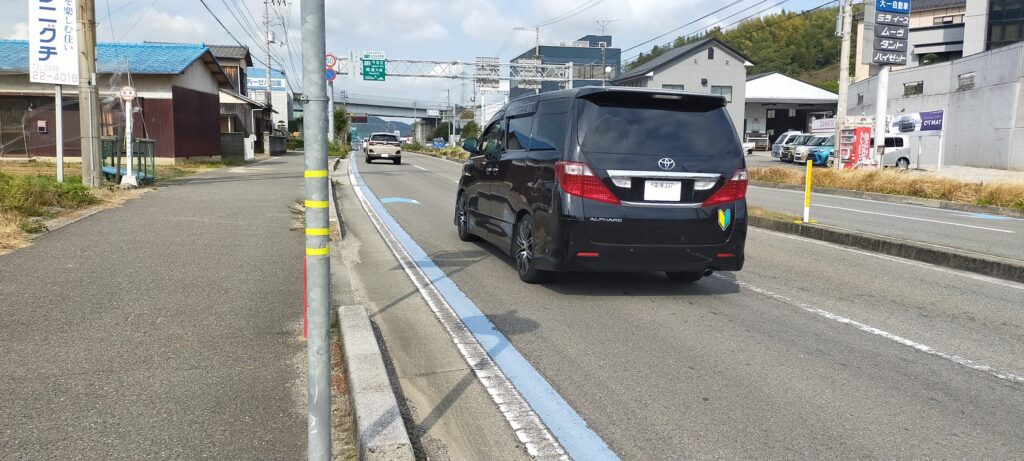
Basically, I recommend using a car to get there. For people from the mainland, it takes about 5 minutes from Kita-Oshima IC on the Nishi-Seto Expressway. For people from Shikoku Island, it takes about 15 minutes from Minami-Oshima IC on the Nishi-Seto Expressway. The parking lots at the Miyakubo fishing port or the Murakami KAIZOKU Museum are available.
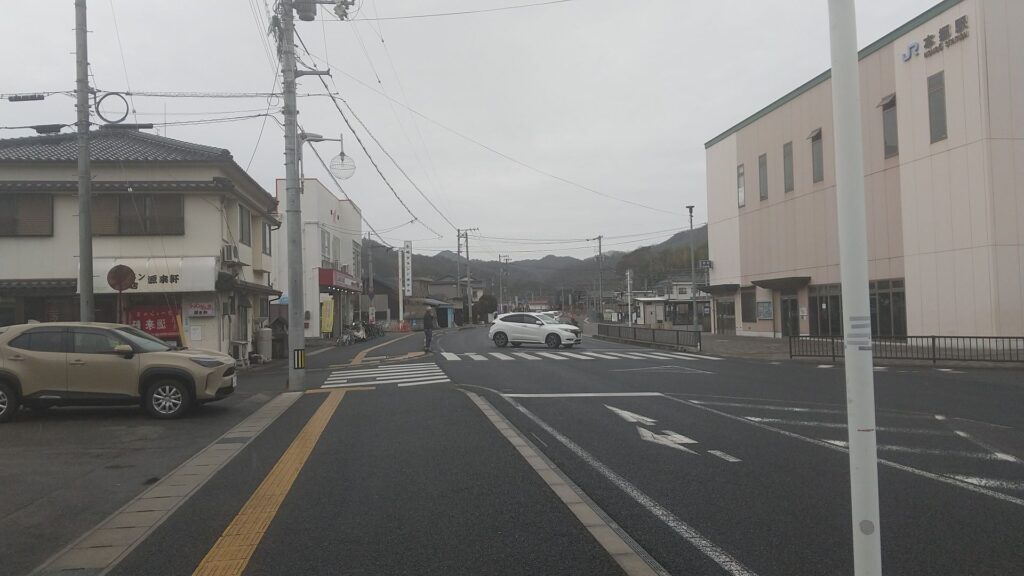
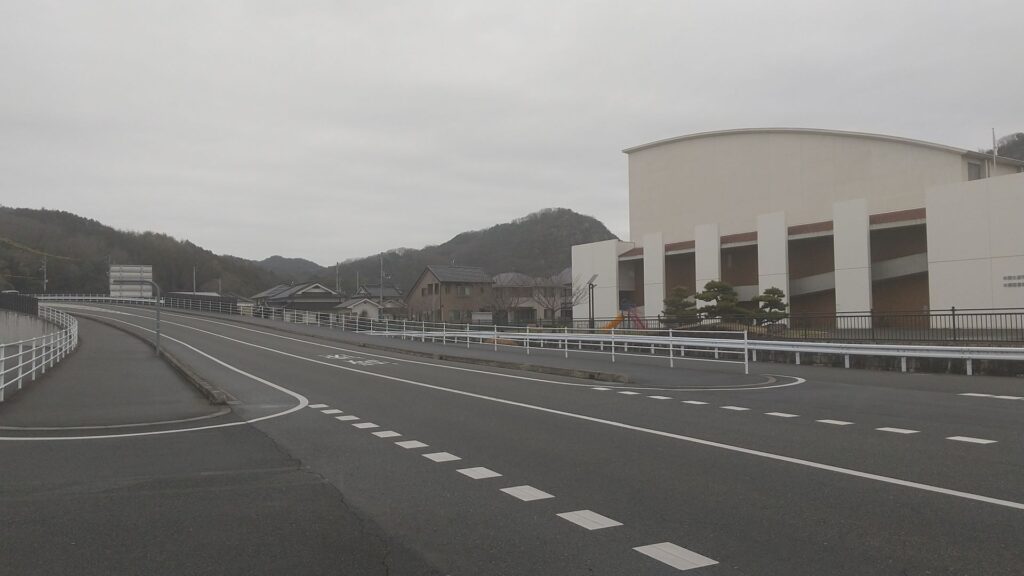
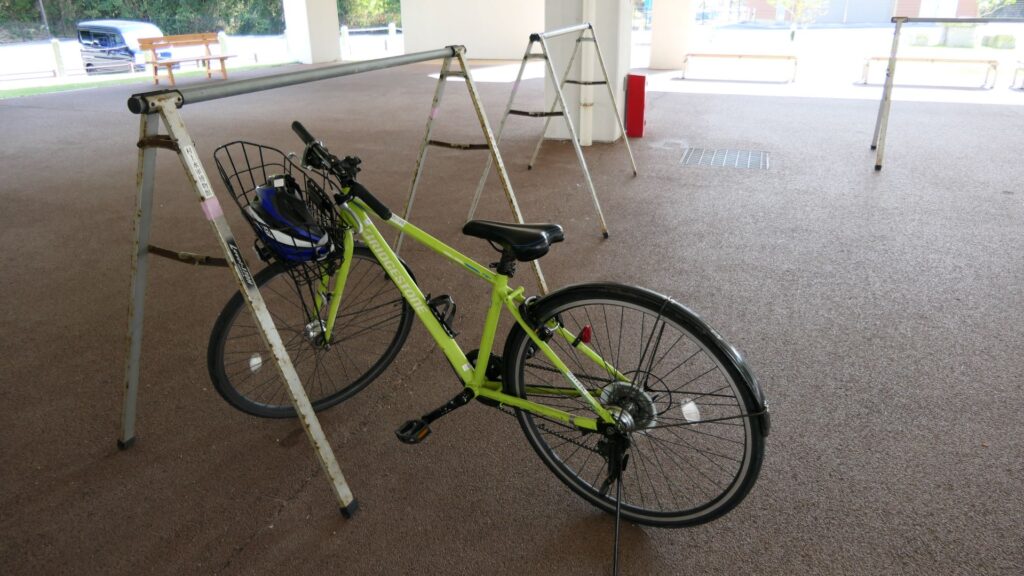
If you have enough time to go there, it may be better to use a bike. This is because the ruins are near the cycling route on Shimanami Ocean Road. For example, if you are in Imabari City on Shikoku Island, you can rent a bike at Imabari Station and ride it on the road right away.
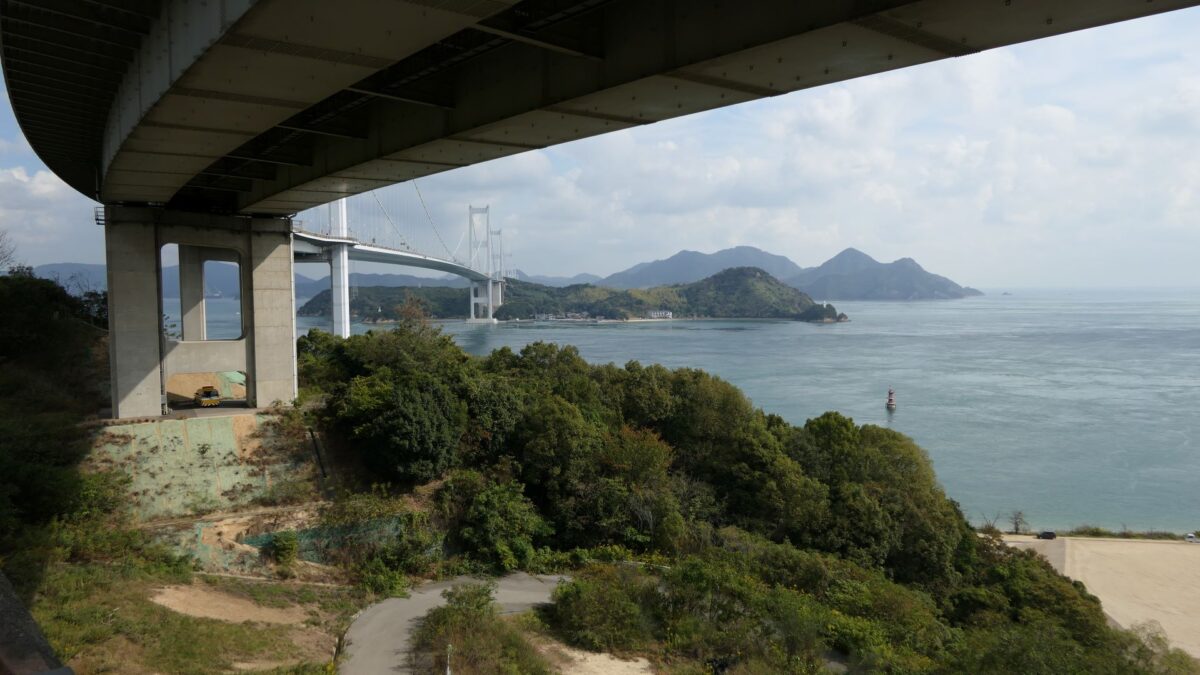
Go across Kurushima Kaikyo Bridges over the Kurushima Strait and go further on the Oshima Island for a while.

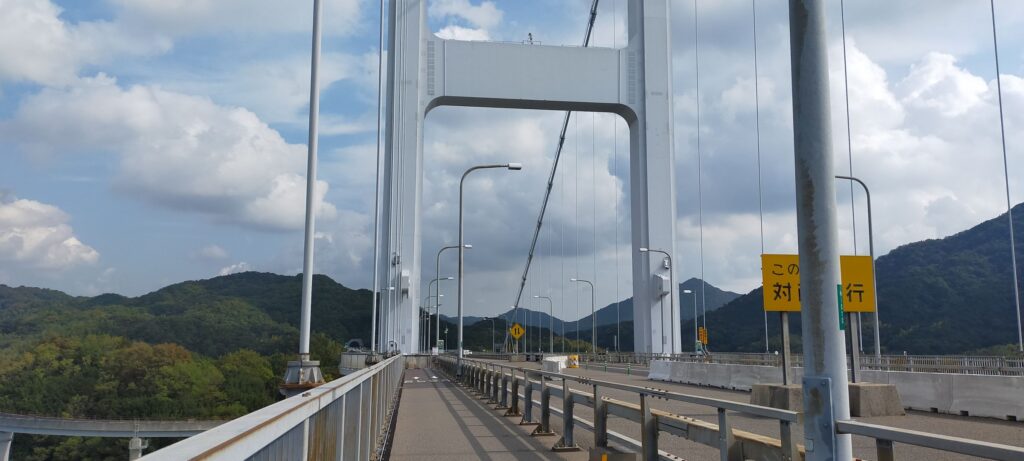

The port is located at the northern edge of the island, which is about 22km from the station.
That’s all. Thank you.
Back to “Noshima Castle Part1”
Back to “Noshima Castle Part2”