188.Hara Castle Part2

You can see the extensive castle ruins.

Features

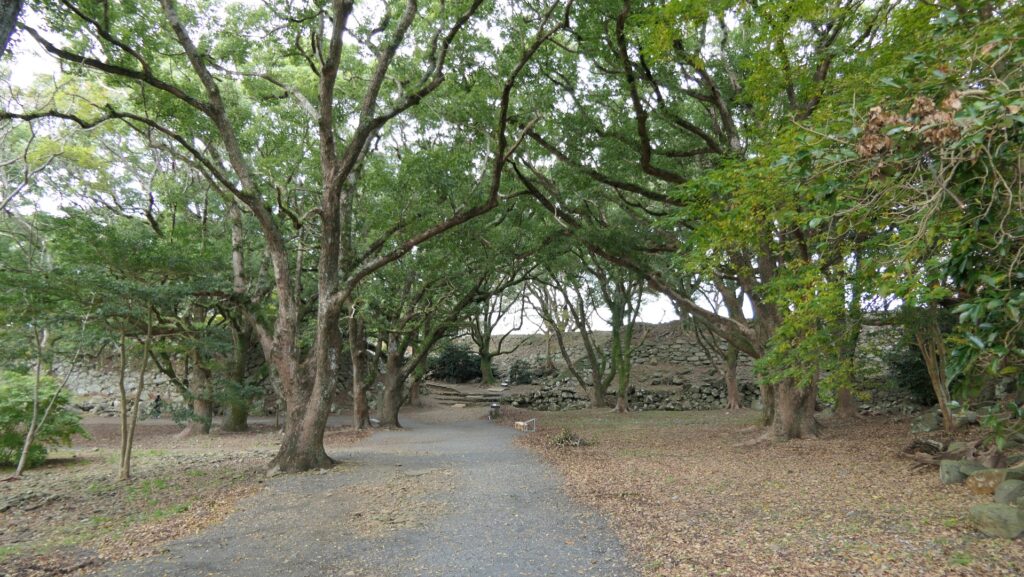
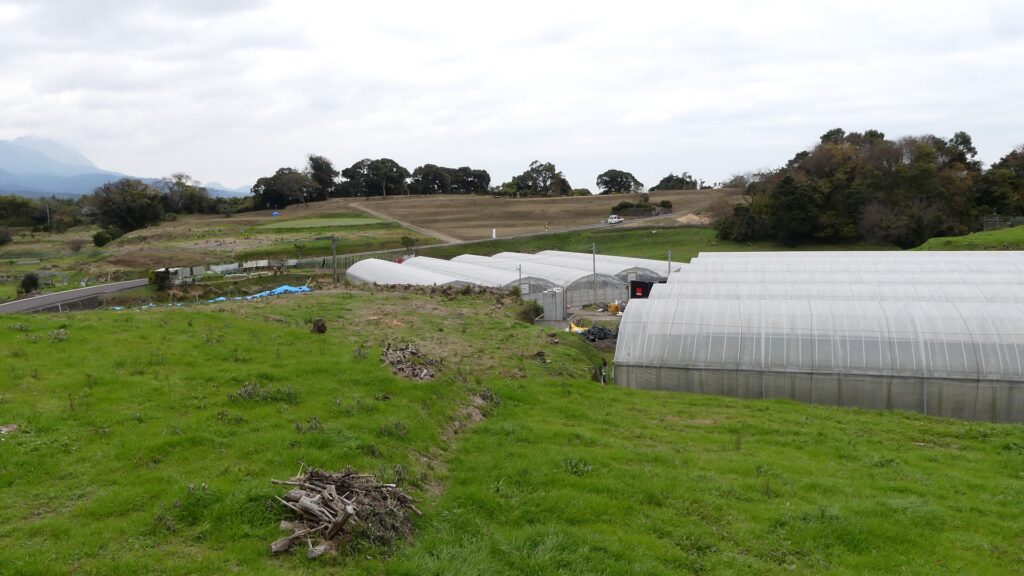
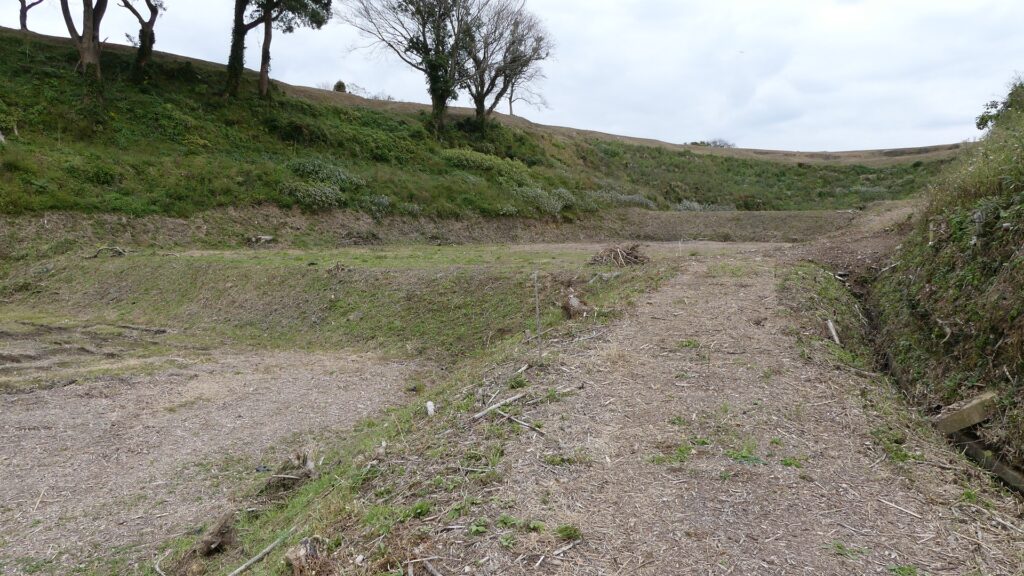
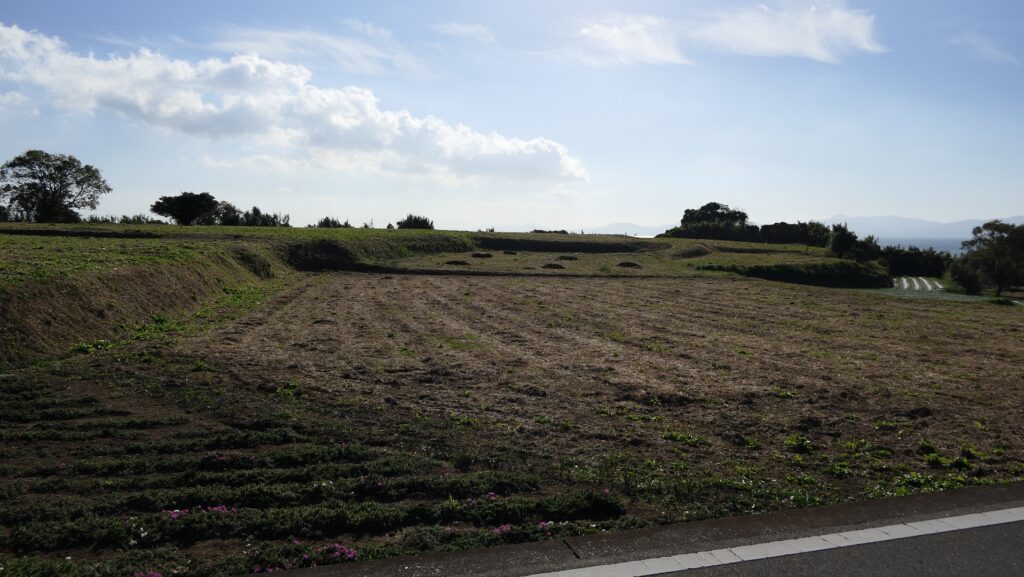
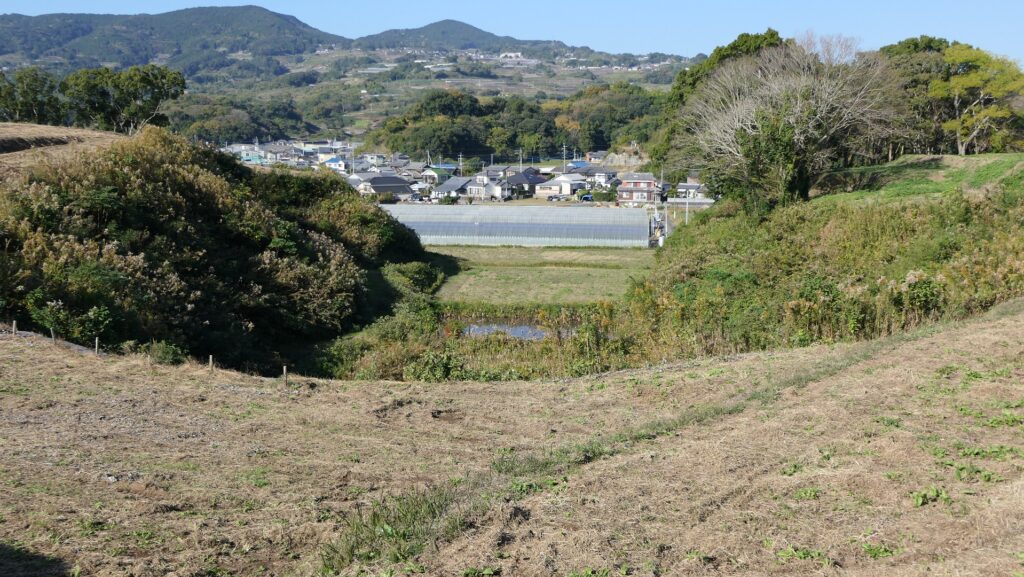
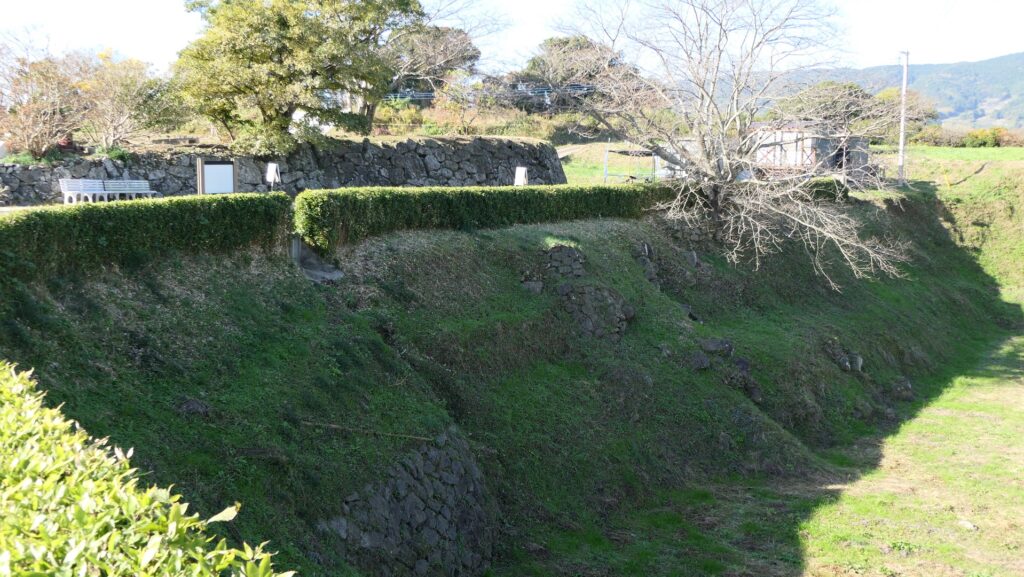
Large hills and valleys in Castle Ruins

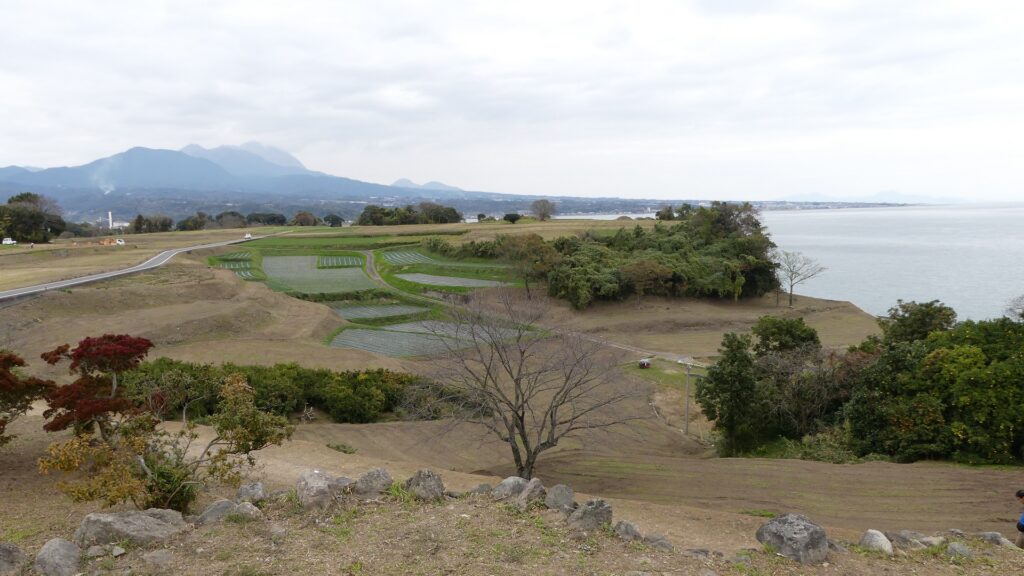
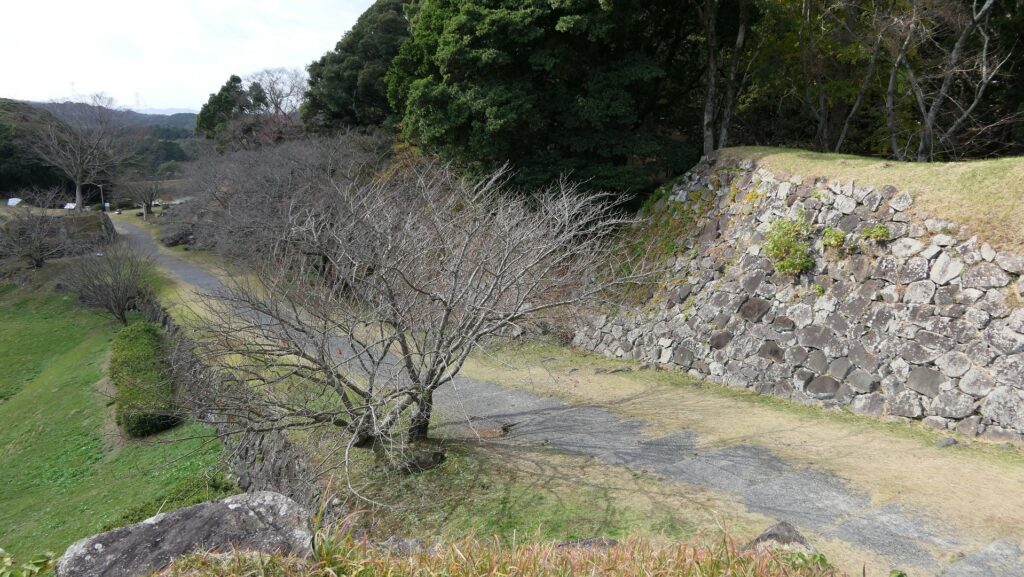
Today, the ruins of Hara Castle are still large with a perimeter of about 4km. The Main Enclosure has mainly been public owned and developed for visitors. The many other areas of the ruins, including the Second and Third Enclosures, are private owned and used as fields. If you walk around and look over the ruins, you can find the large hills and valleys and picture the castle remains. Generally, enclosures of many castles in Japan usually worked closely with each other. However, looking at the enclosures of Hara Castle, they seemed to work independently like a modern fortress. This may be the reason why that the uprising army fought had as equals with the shogunate.

The Main Enclosure has been developed as a historic site
The Second and Third Enclosures have become fields
The extensive castle ruins
Looking up the ruins from the bottom of a valley

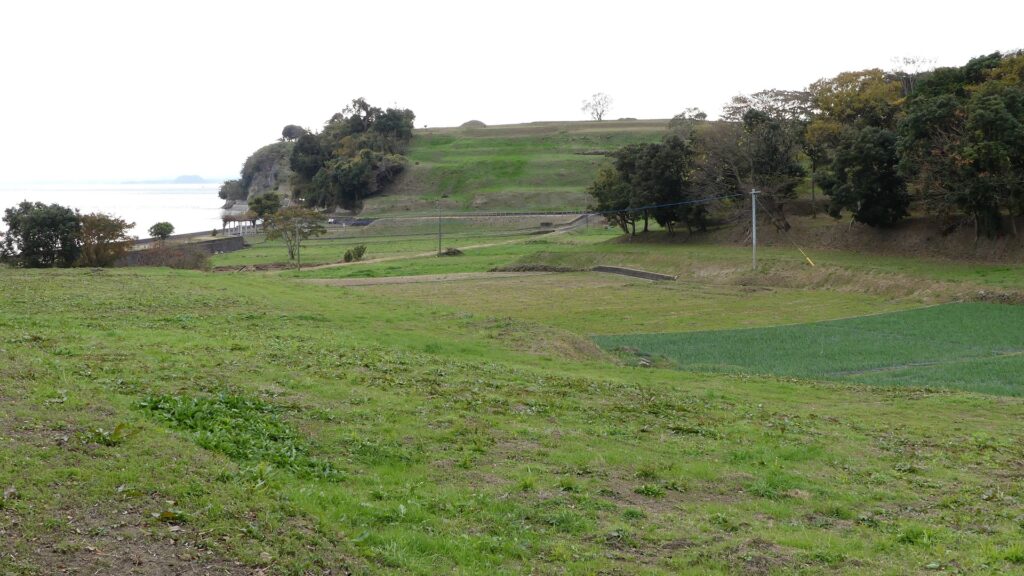
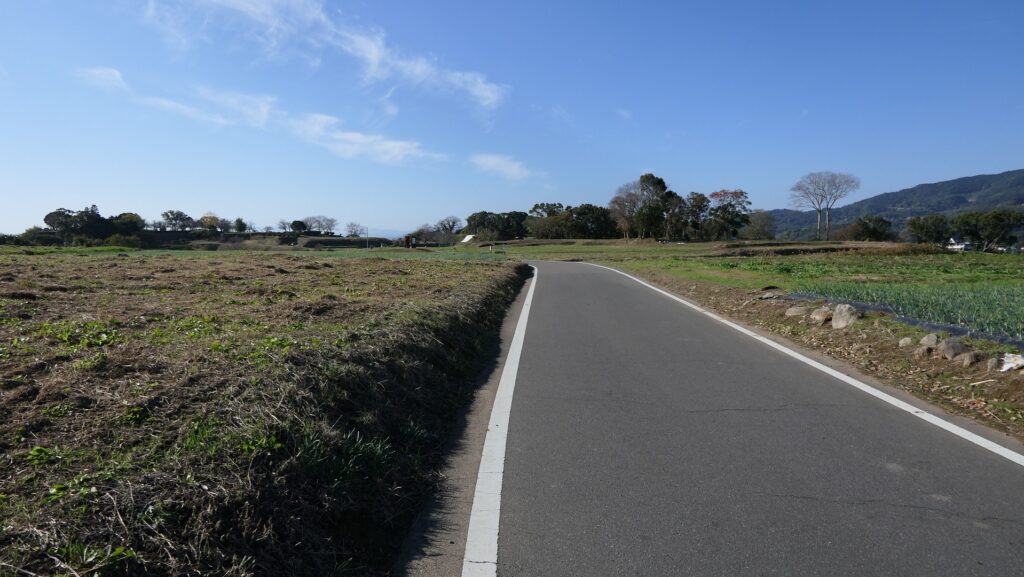
Walking around Second and Third Enclosures

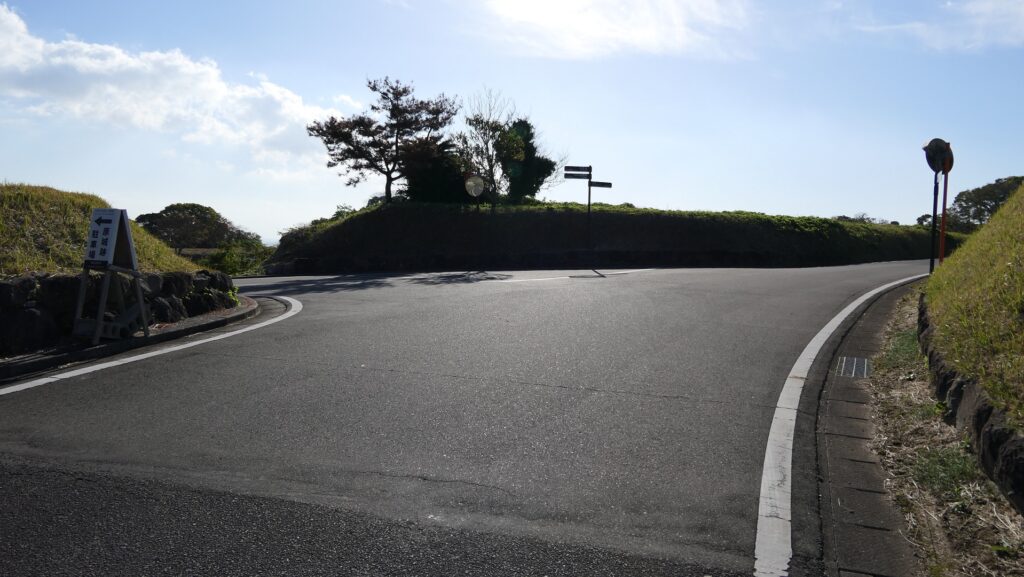
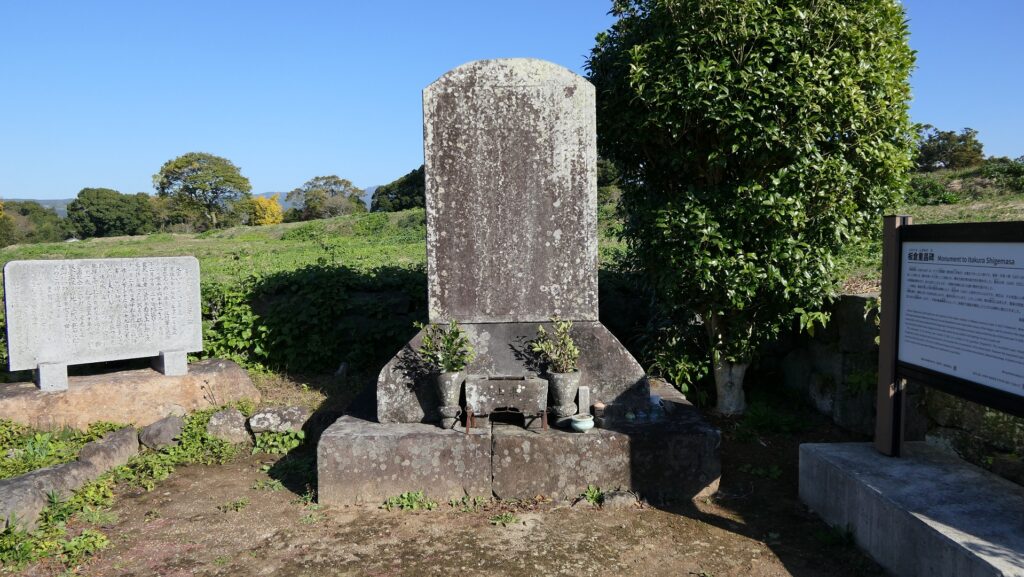
If you drive to the ruins, you will park at the parking lot between the Second and Third Enclosures beside the sea. You will have to walk for about 800m from the parking lot to the Main Enclosure. During the walk, you can see how large the castle was. If you turn right at the first intersection after passing the ruins of the Main Gate, you will reach the monument of Shigemasa Itakura at the Third Enclosure. He was shot and killed here in the first phase of the Shimabara Rebellion.

The map around the castle

The parking lot for visitors
The ruins of the Main Gate
The first intersection from the parking lot to the Main Enclosure
The Third Enclosure
The monument of Shigemasa Itakura

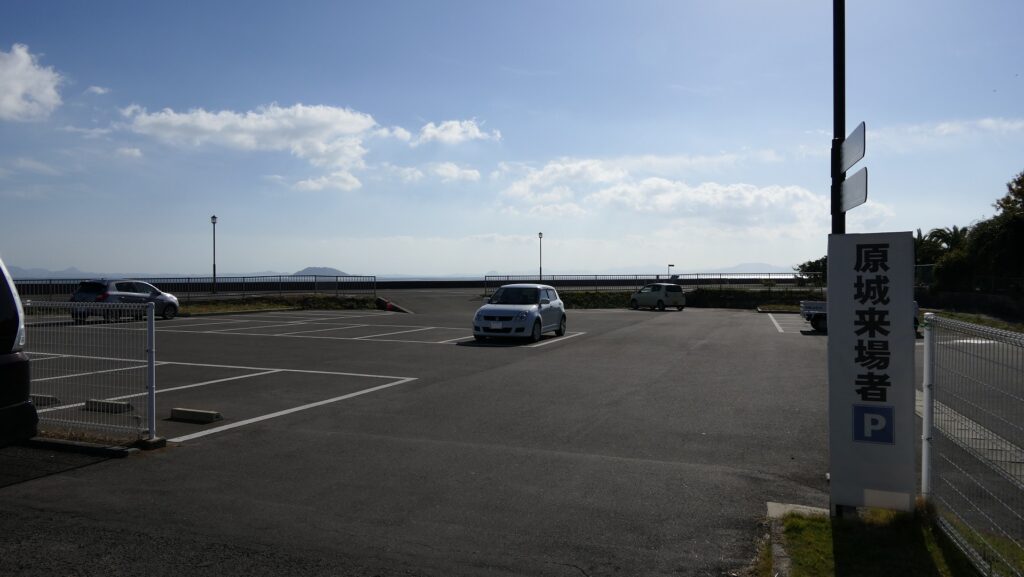
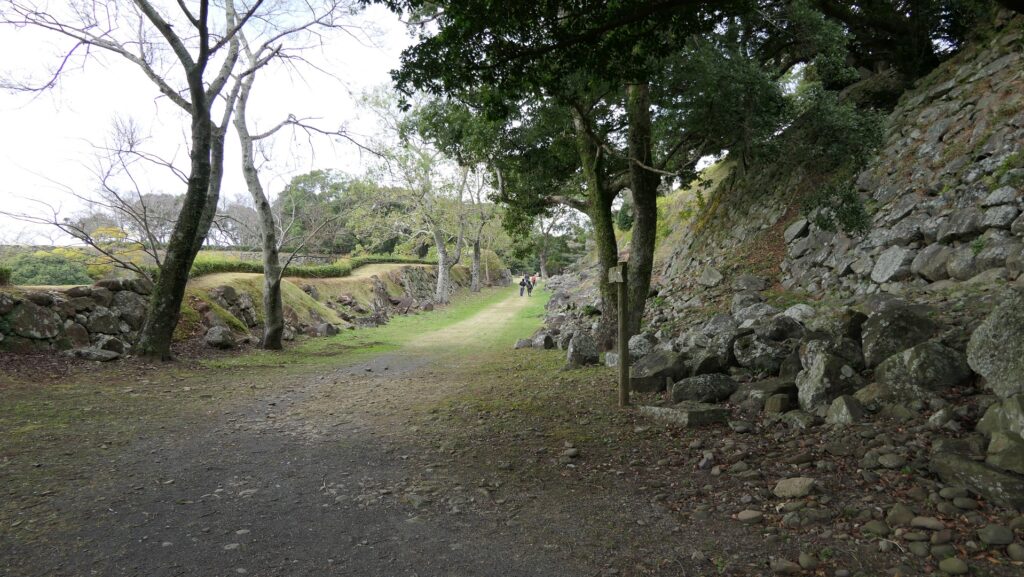
Going back to the route leading to the Main Enclosure, you will see the spacious Second Enclosure on the left and its Barbican on the right. Locals say the bones of as many as 20,000 uprising people are still buried under the fields.

The route around the Second Enclosure
The Second Enclosure
The Second Enclosure Barbican is the right side of the valley

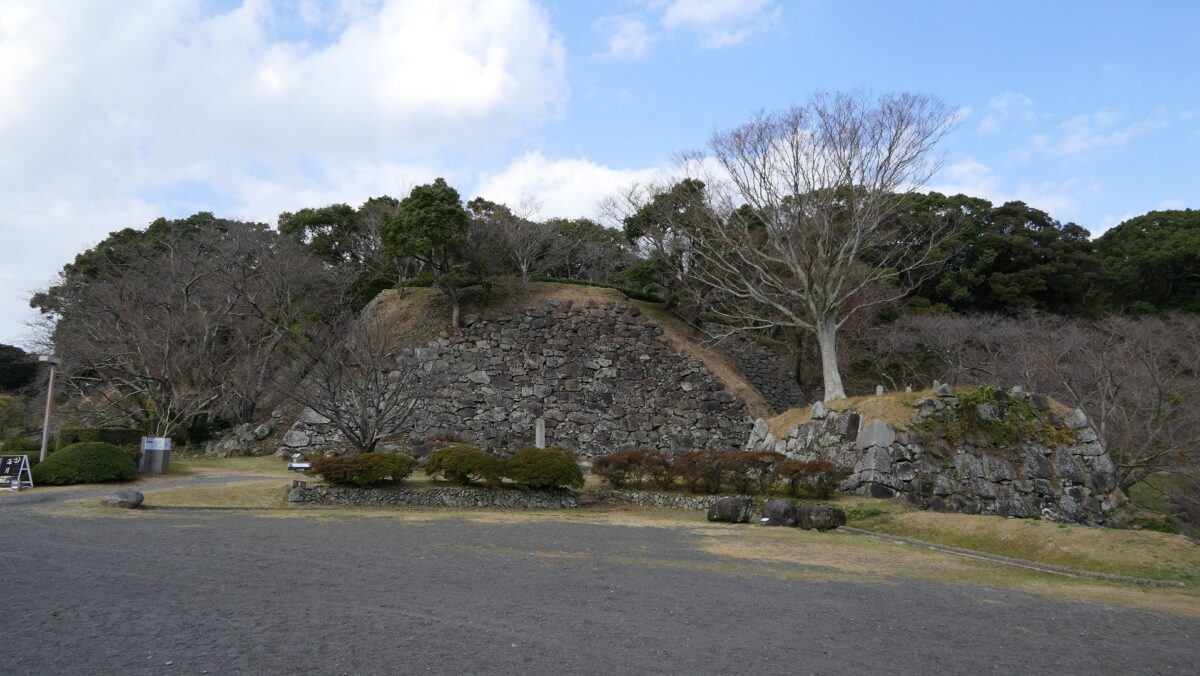
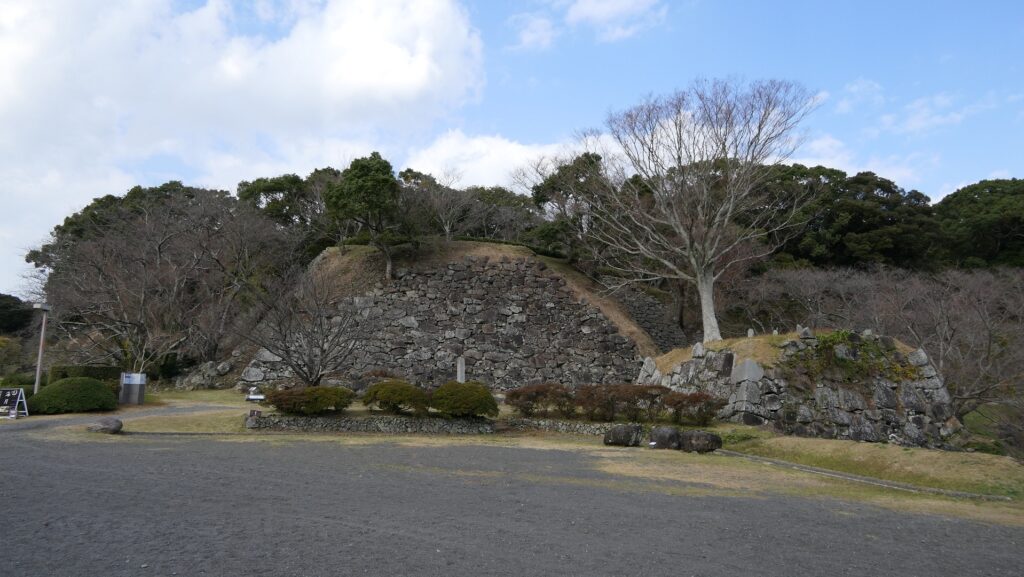
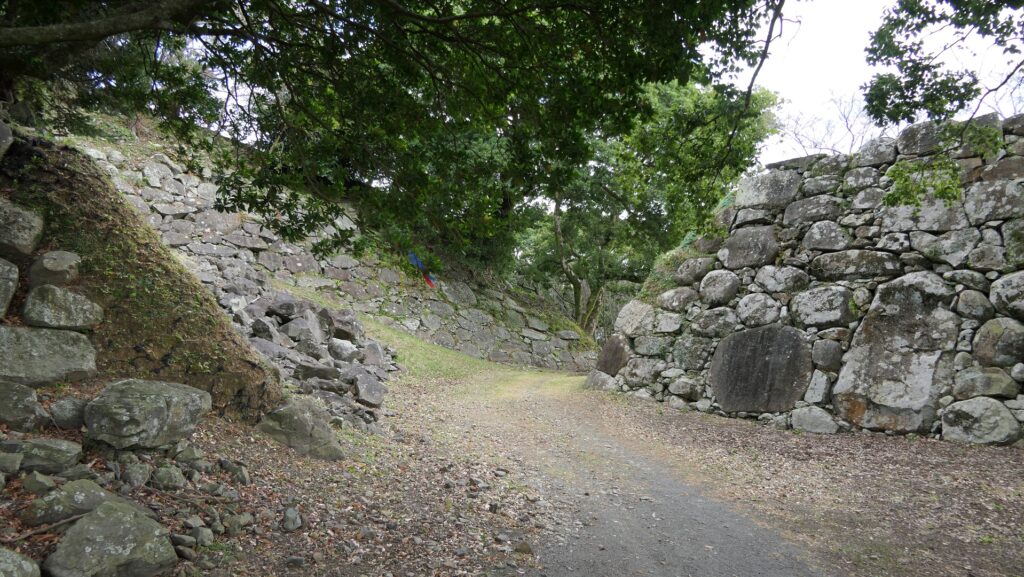
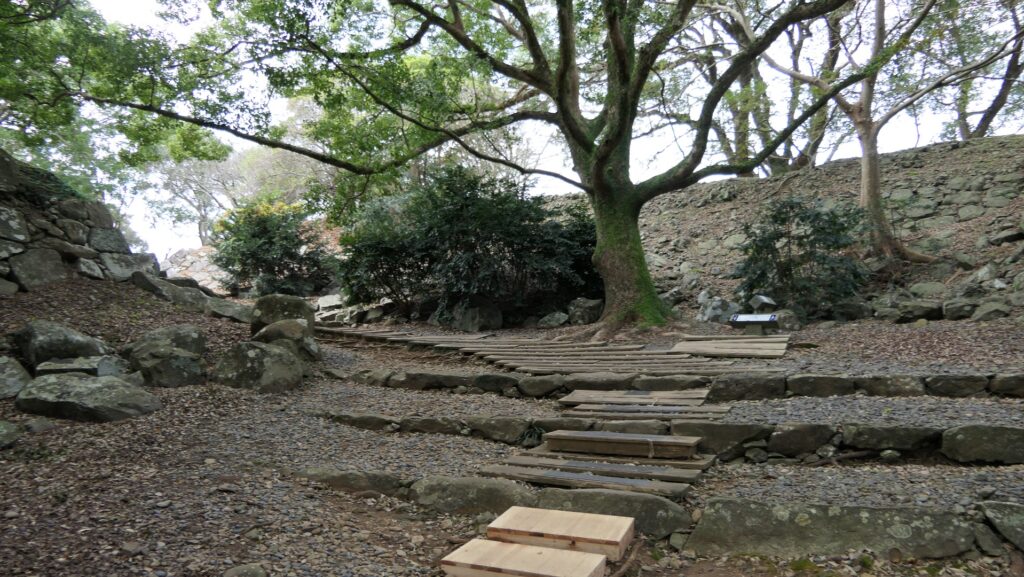
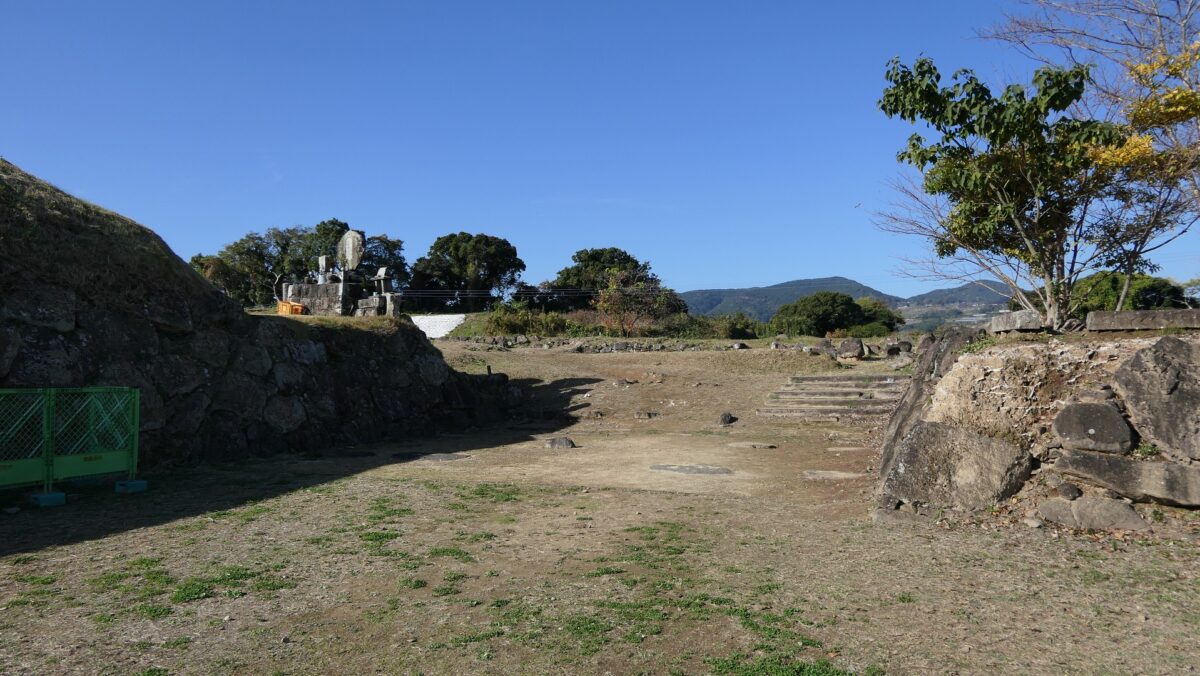
One of the Greatest Main Enclosure Entrances

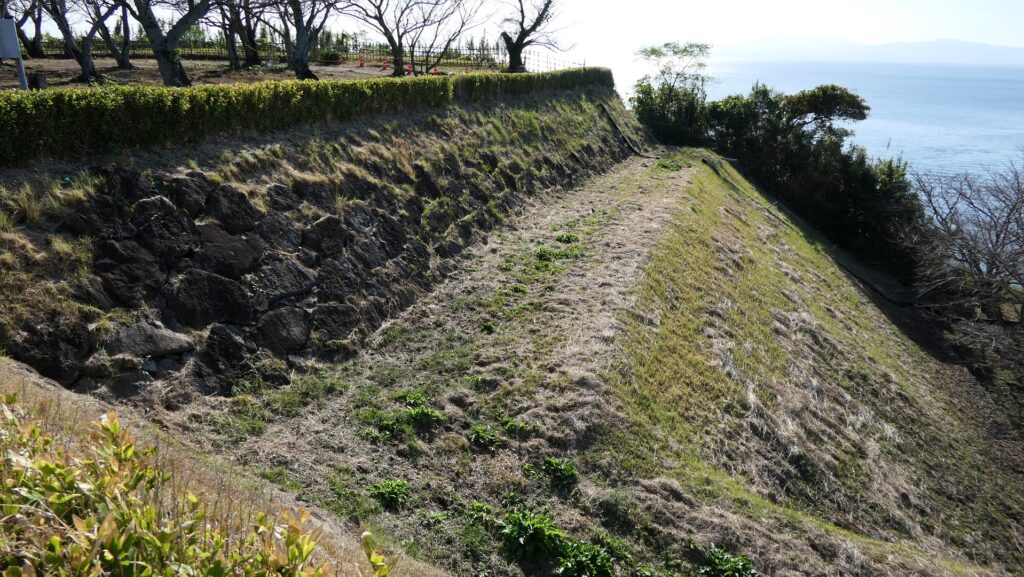
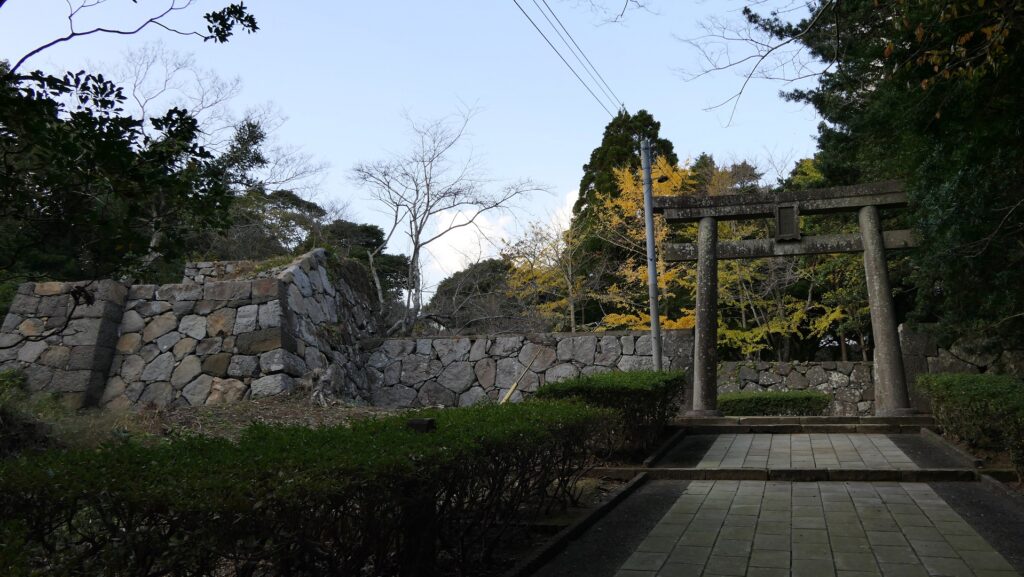
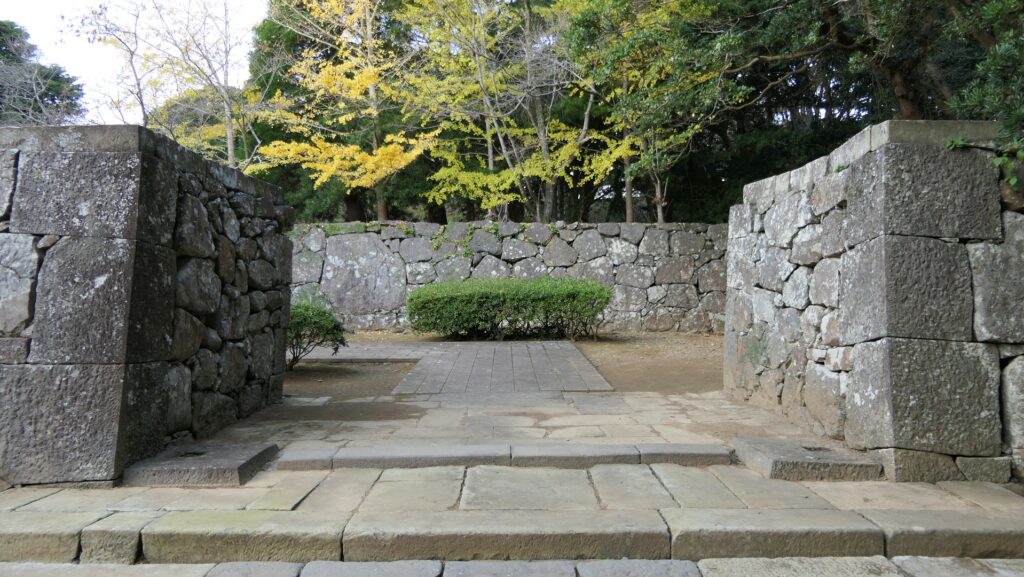
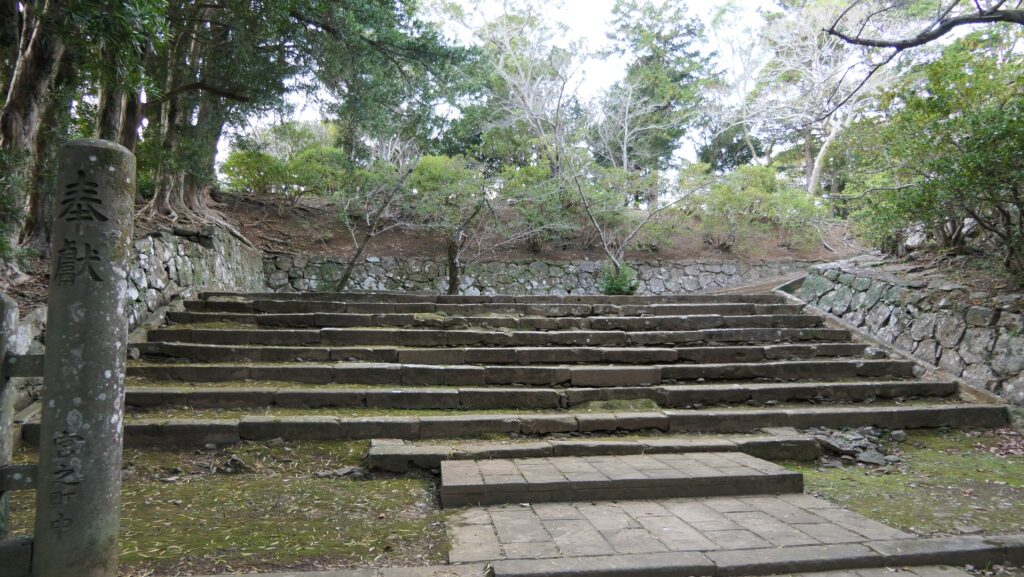
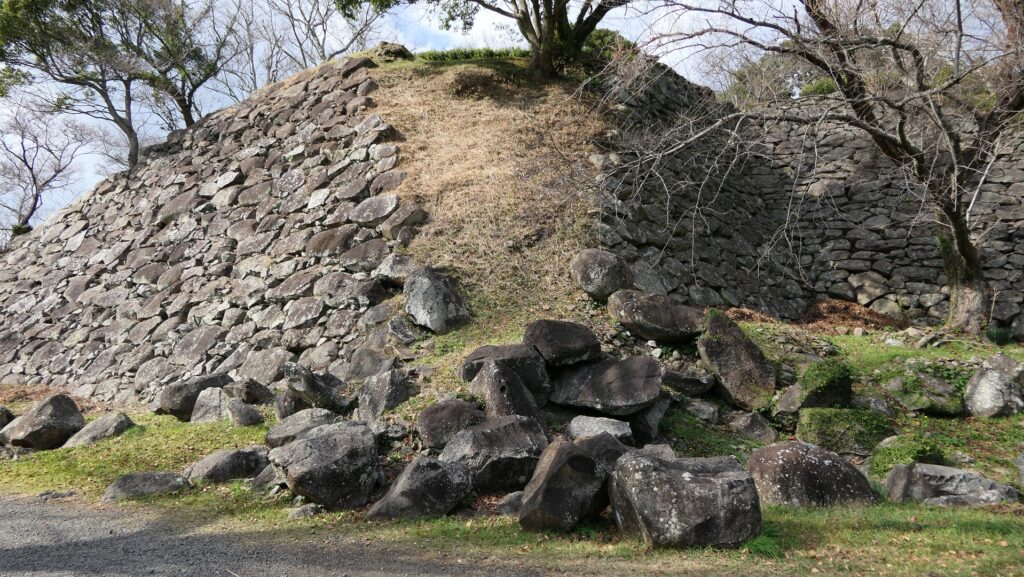
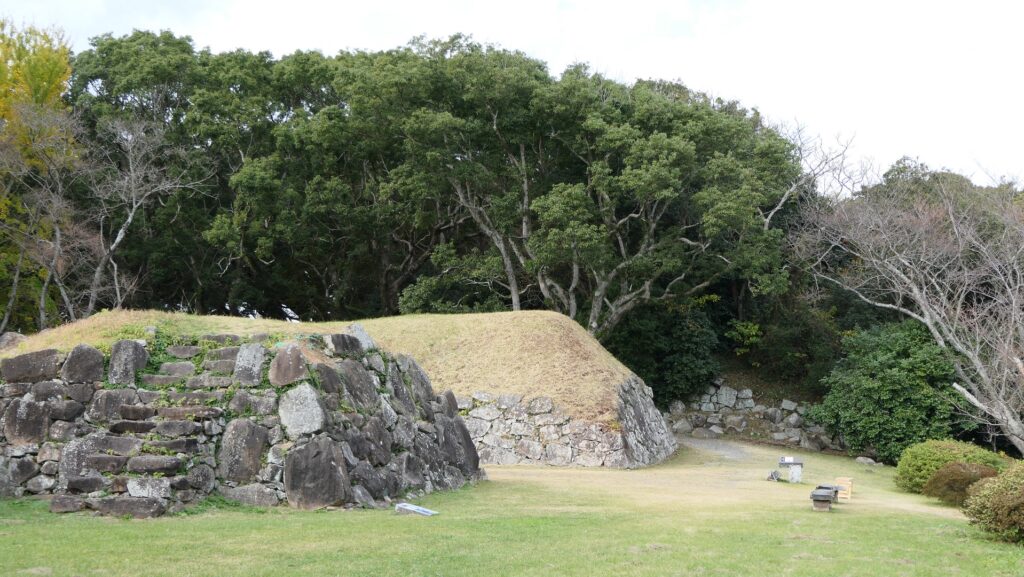
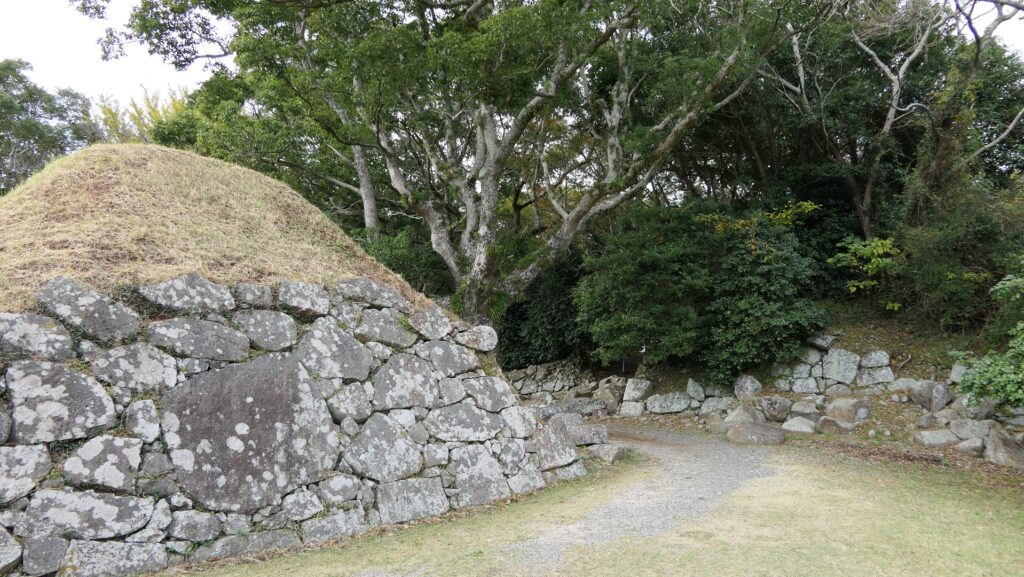
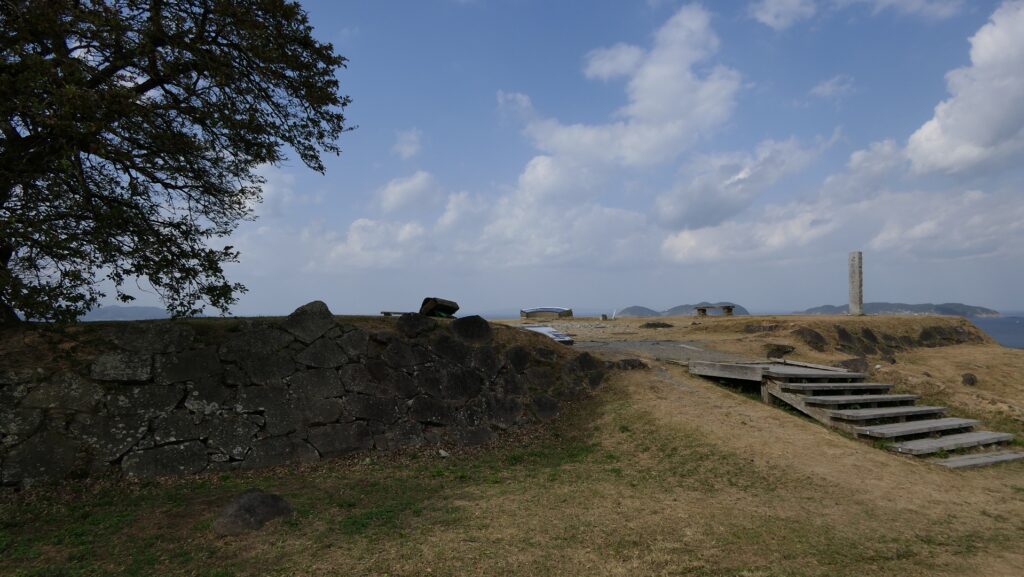
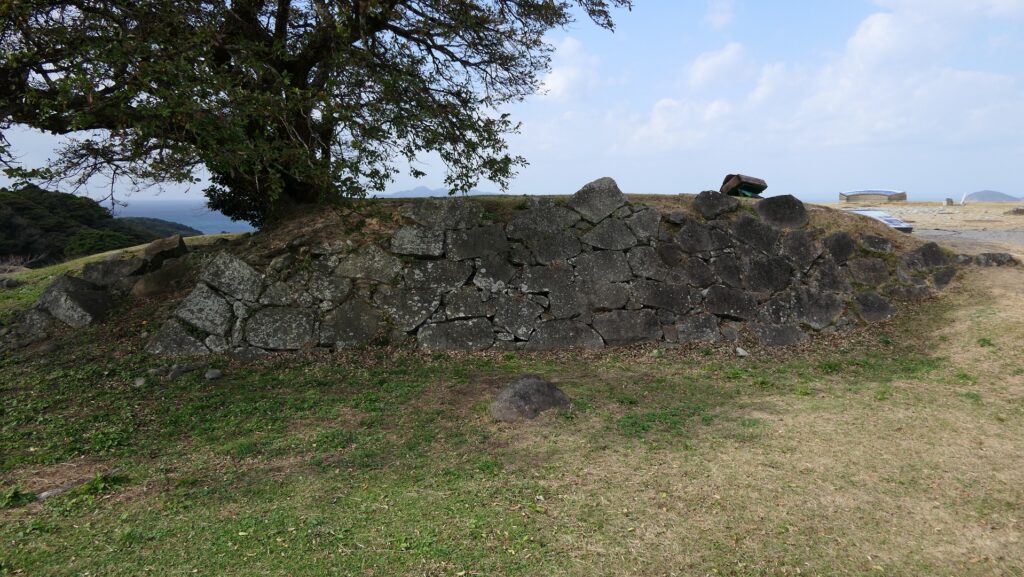
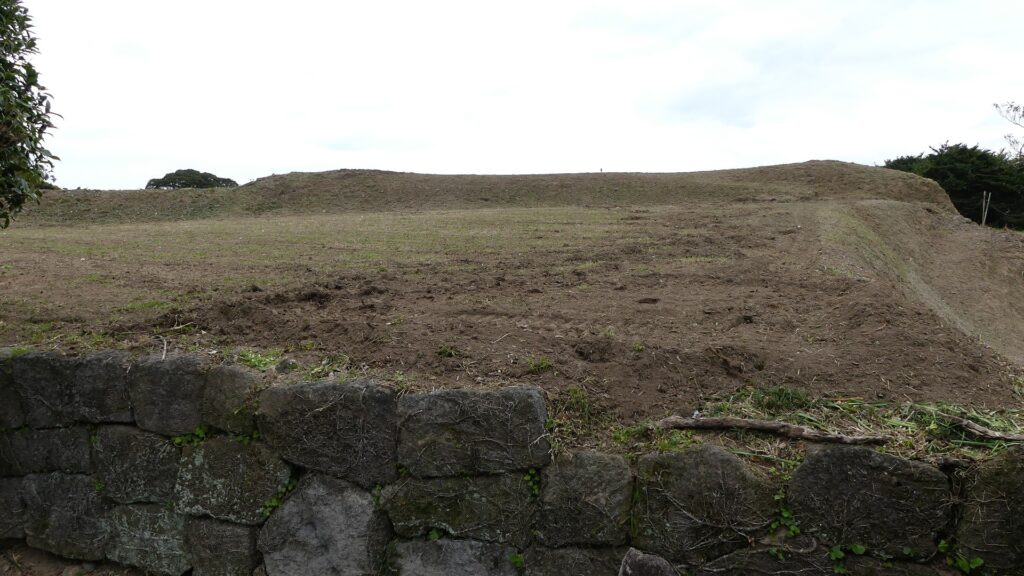
As you approach the Main Enclosure, you will see its great stone walls still surrounding it. However, they were to be excavated after being almost buried by the shogunate. Even historians did not expect the castle had to have such great stone walls. Of course, the stone walls were much higher before the destruction.

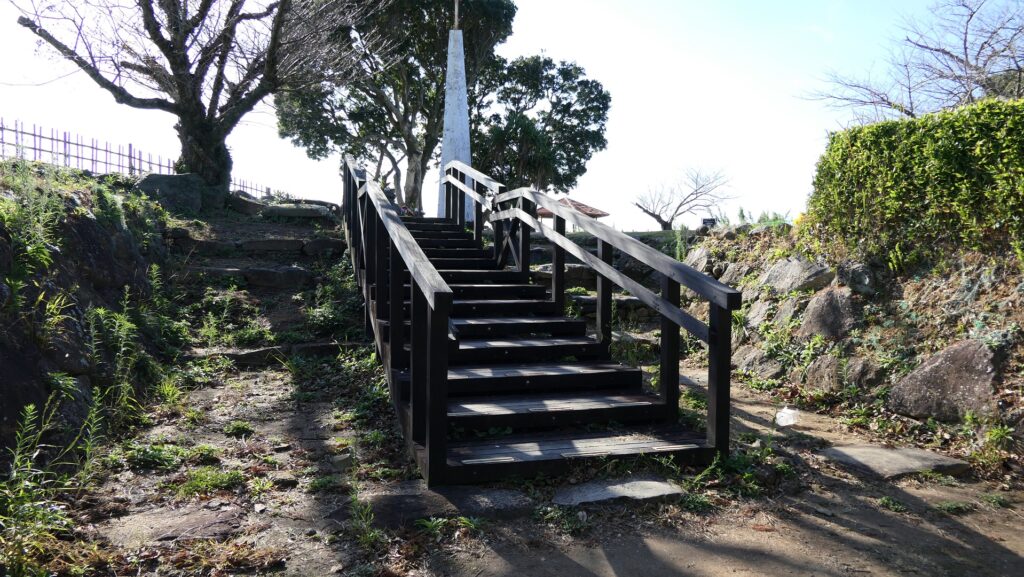
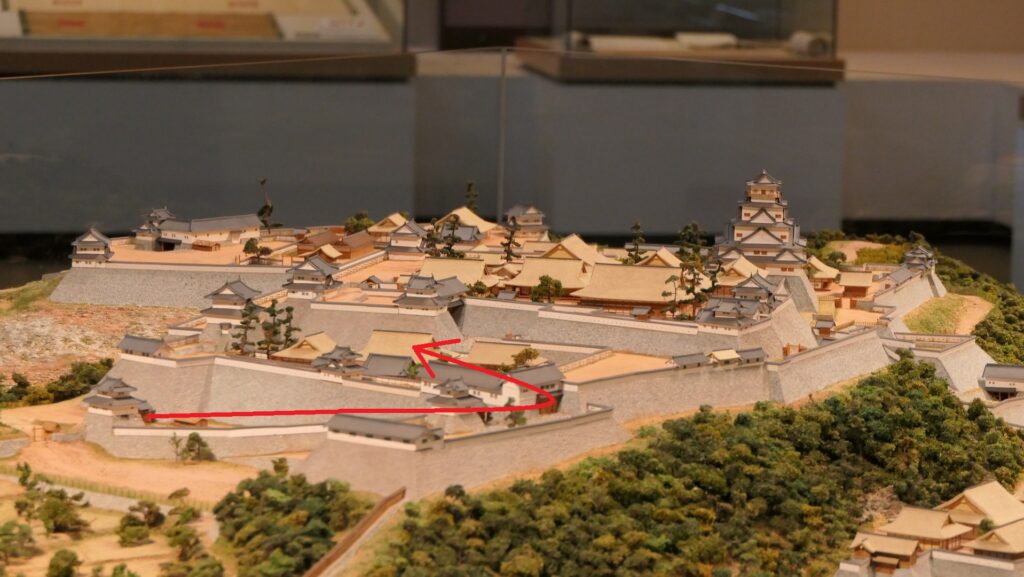
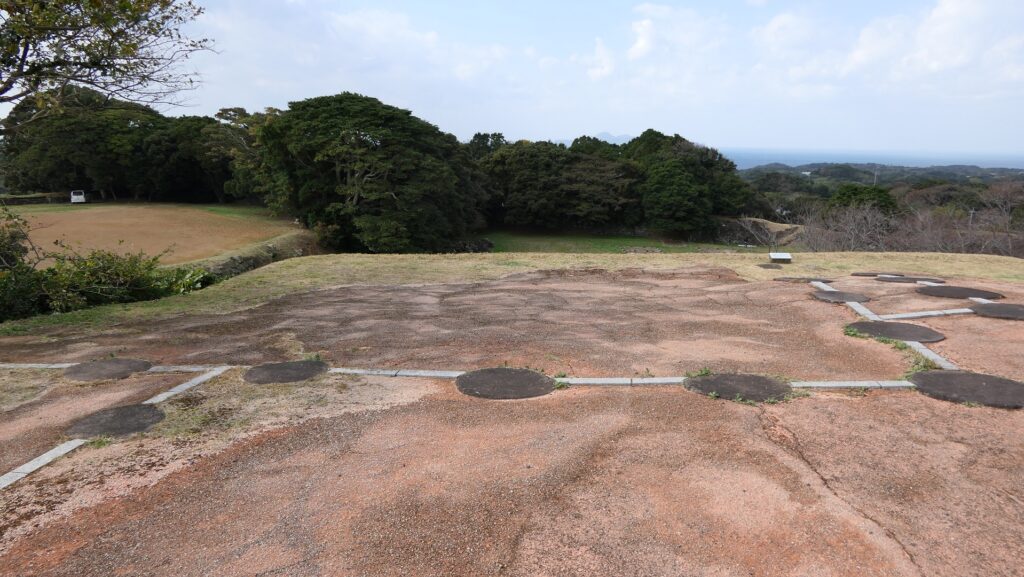
The map around the Main Enclosure, the red line shows the estimated route in the entrance

Approaching the Main Enclosure
The stone walls of the Main Enclosure, which were discovered by the excavation

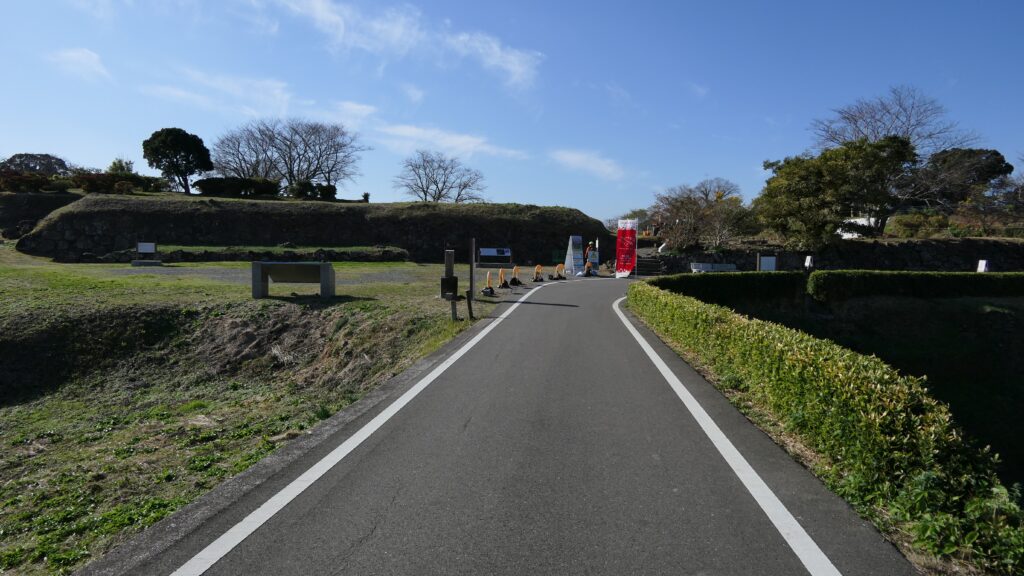
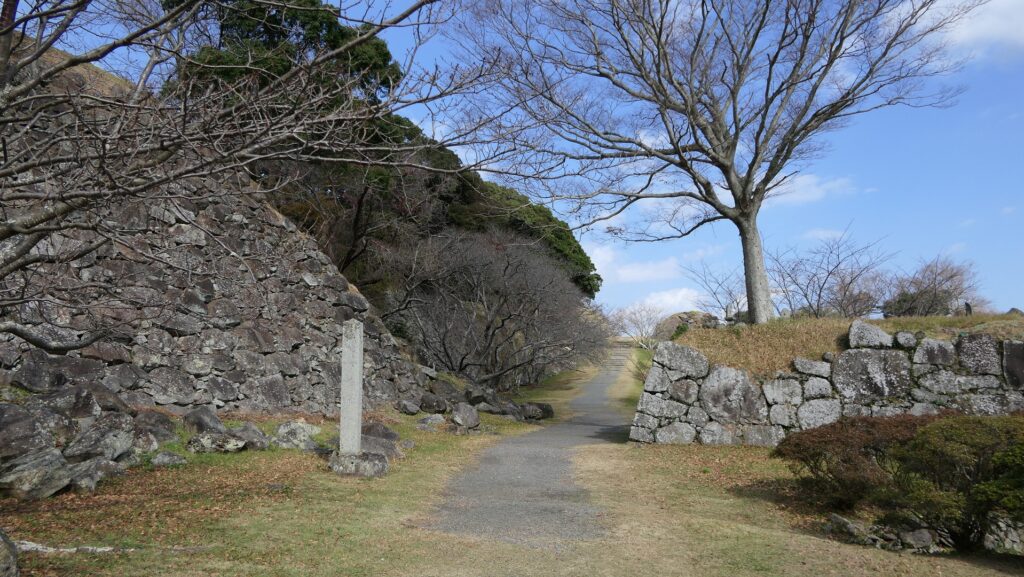
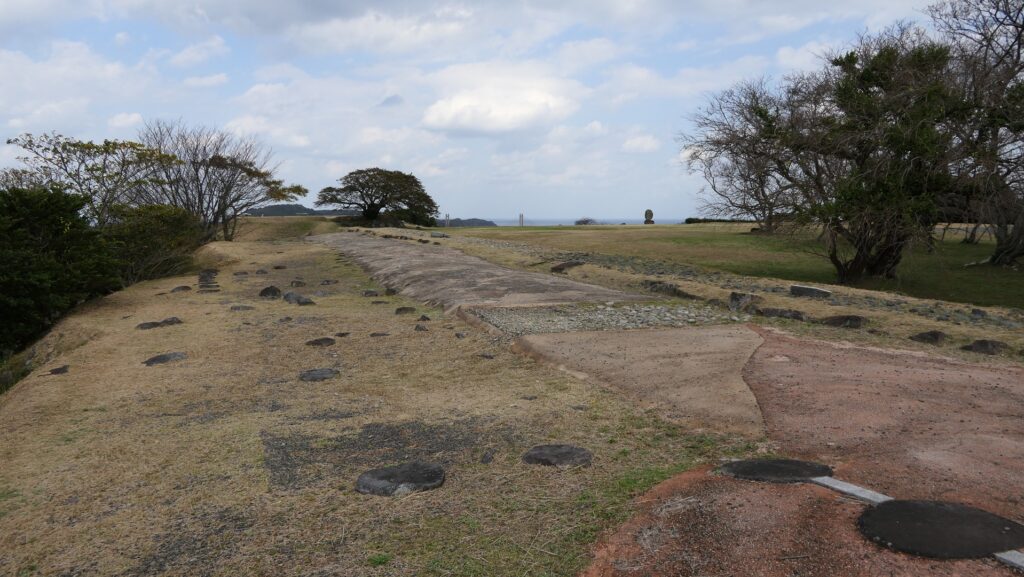
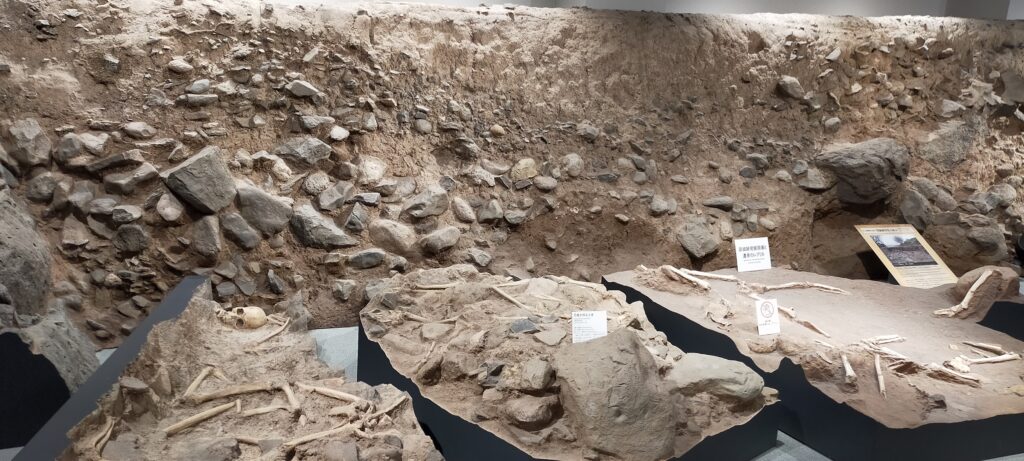
Its entrance, called Koguchi, was also excavated and has been developed for visitors. In fact, this is where the bones of the killed uprising people, which were buried with the stone walls, were found. It had large connected square spaces, called Masugata, forming a maze protecting the entrance. Historians speculate that visitors in the past had to turn 5 to 10 times in the entrance to enter the enclosure. The excavation discovered that the Koguchi entrance of Hara Castle was one of the largest examples of those ever found in Japan.

The excavated Koguchi entrance
The replica of the excavation site, exhibited by Arima Christian Heritage Museum
The ruins of the Uzumi-mon Gate inside the entrance

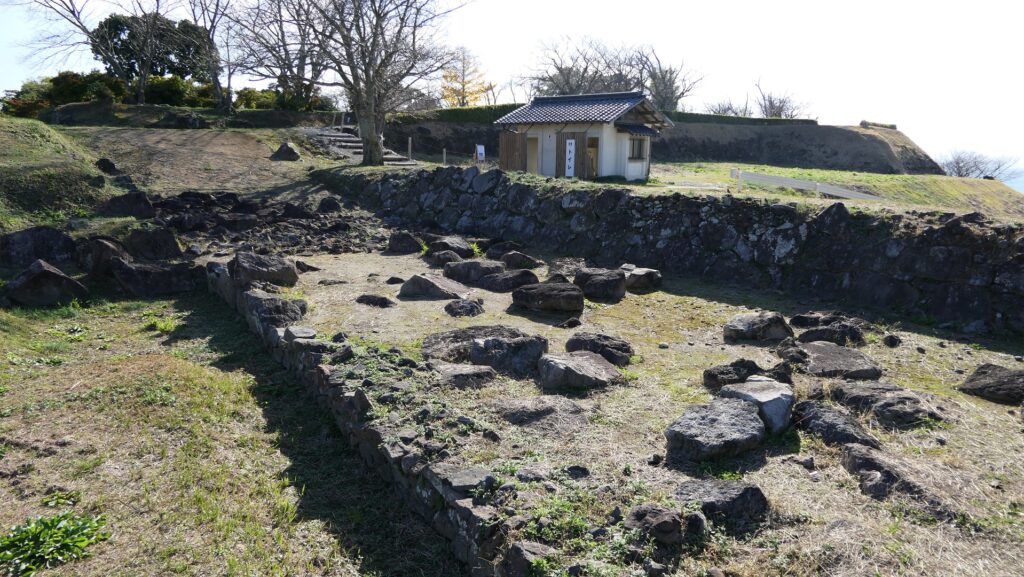
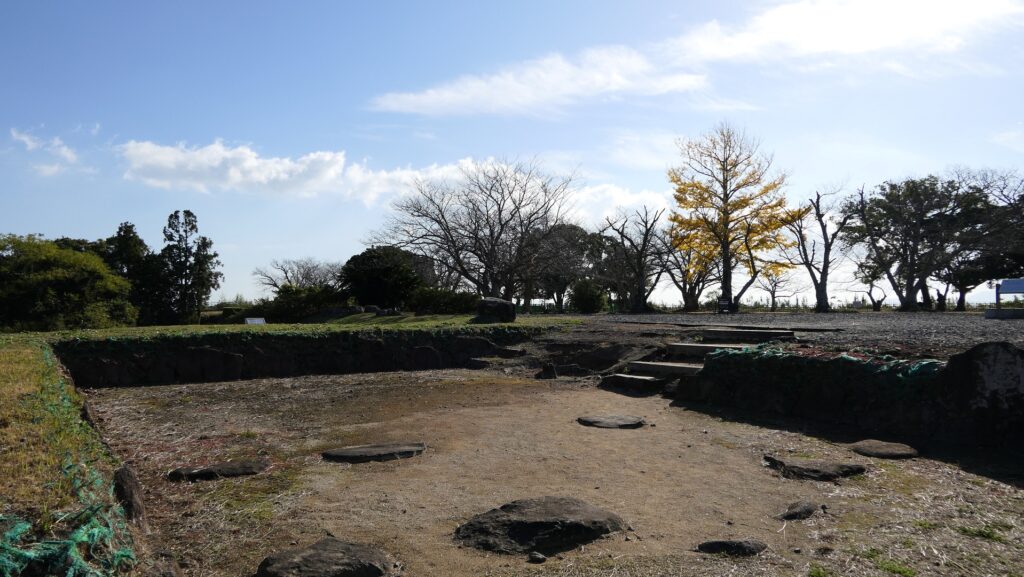
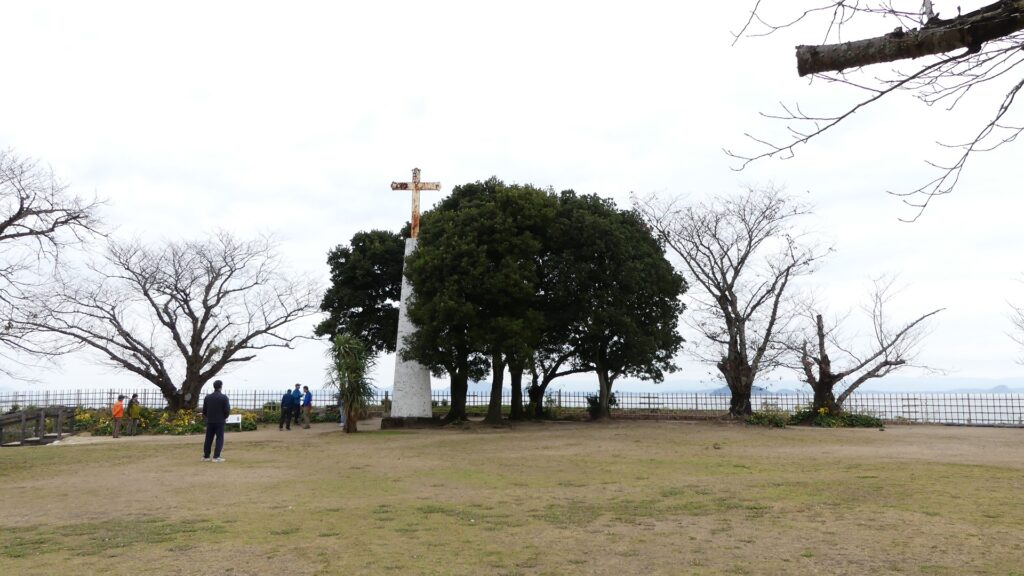
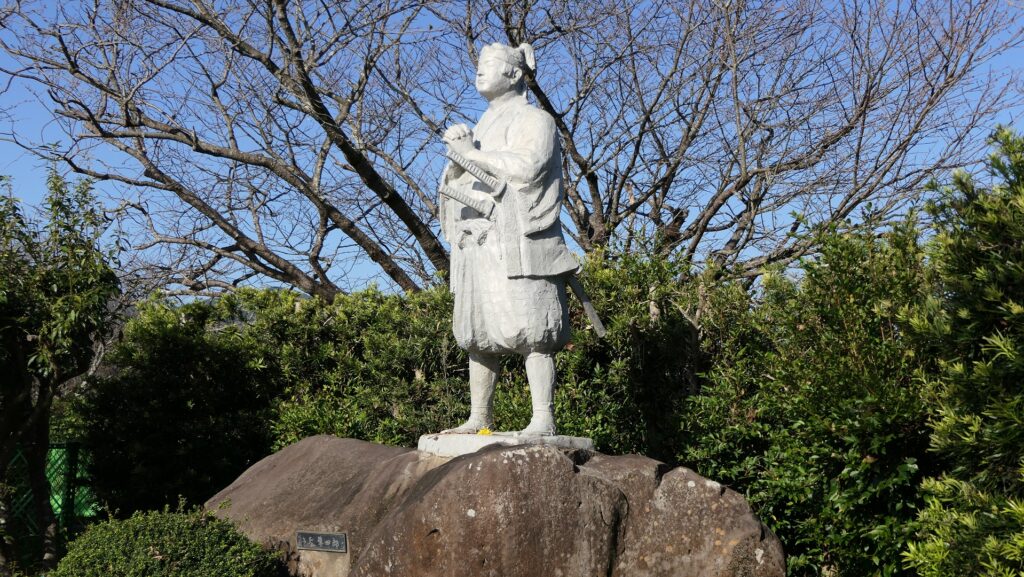
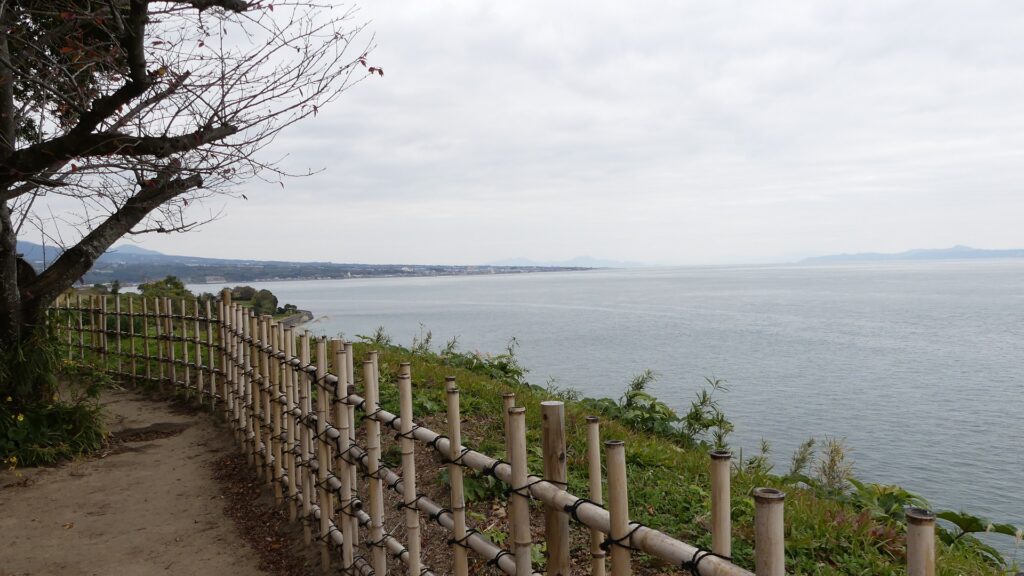
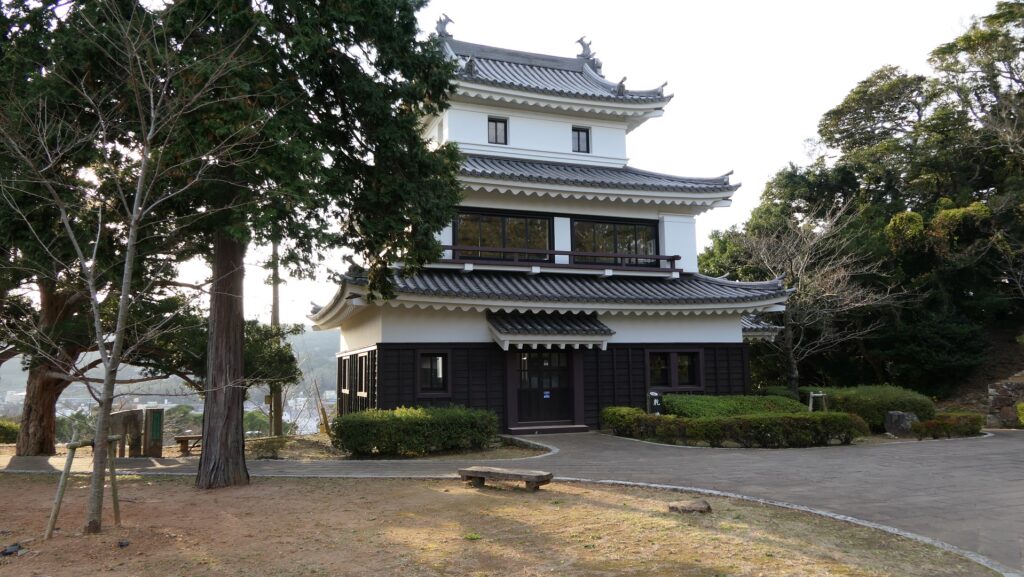
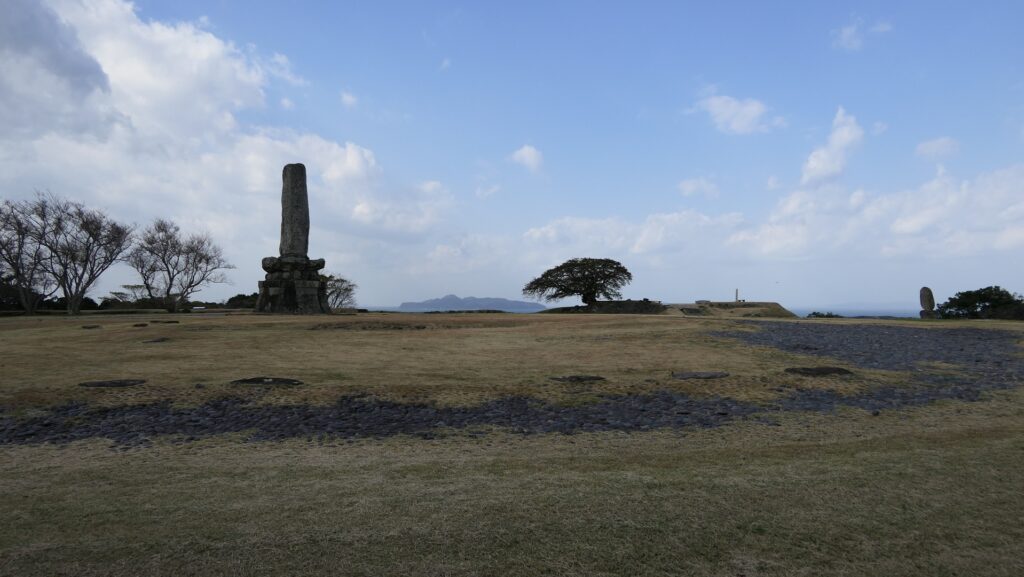
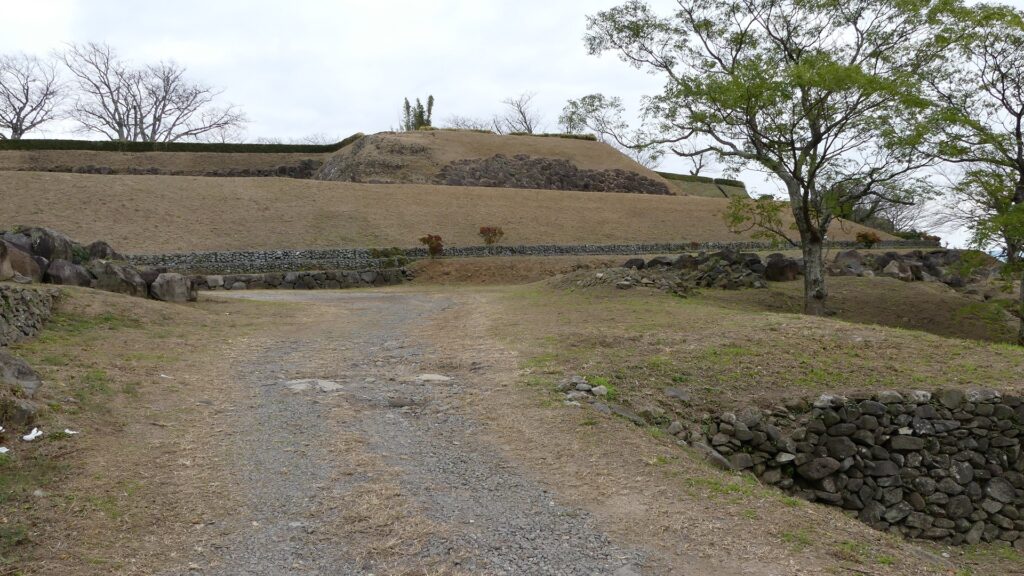
Inside of Main Enclosure has become Square

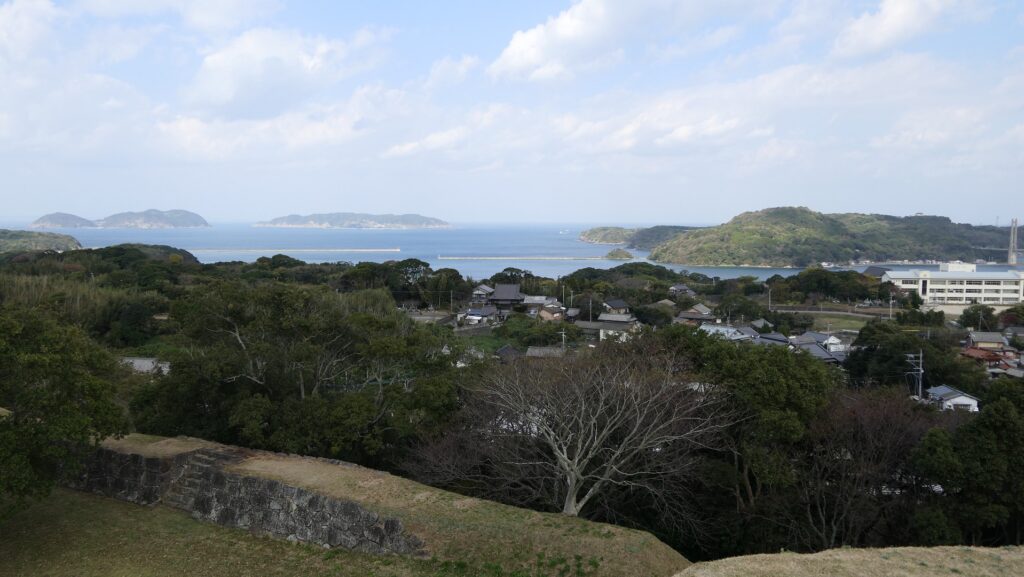
The inside of the Main Enclosure is basically a square now. There are the ruins of the Main Enclosure Gate, the Turret base, and the Ikejiri-guchi Gate along the perimeter. There are also the monument of the Shimabara Rebellion, the statue of Shiro Amakusa, and so on. This enclosure stands on the steep cliff by the sea, so you can enjoy a great view of Ariake Sea, and Mt. Unzen in the distance.

The ruins of the Main Enclosure Gate
The inside of the Main Enclosure
The Turret base
The ruins of the Ikejiri-guchi Gate
The statue of Shiro Amakusa
A view of Ariake Sea from the Main Enclosure
A view of the ruins and Mt. Unzen from the Main Enclosure

To be continued in “Hara Part3”
Back to “Hara Castle Part1”

90.Hirado Castle Part2

A castle with a unique character

Features

Layout using Yamaga style

Today, if you are close to the present Hirado Castle and look at the Imitation Main Tower and some rebuilt turrets on the hill, you may feel that the arrangement of how they are placed is odd. In other castles in general, the Main Tower and turrets are placed along the natural terrain. However, those of Hirado Castle look like they are facing their own directions. This is probably because these buildings were built along the complex line of the stone walls surrounding the castle, based on the Yamaga style.

The Imitation Tower and rebuilt turrets on the hill

The aerial photo around the castle

If you drive to the castle, you can easily go up to the parking lot in the northern part of the hill near the top. After parking, you can walk on the path to the Main Enclosure on the top. The trail reaches the only remaining castle buildings, which are the North Entrance Gate and the Raccoon Dog Turret. The stone walls beside the gate rise with an acute angle to the neighboring turret called Jizozaka
Yagura. This interesting feature may have come from the Yamaga style as well. After passing the gate, you will go on the zigzagged route surrounded by stone walls to the Main Enclosure.

The path from the parking lot to the top
The North Entrance Gate
The Raccoon Dog Turret
The stone walls rising to the Jizozaka Turret
Going to the Main Enclosure

Main Route to Kameoka Shrine as Approach

You can also access the castle from the south by walking on the Main Route. The route is also the approach to the Kameoka Shrine which is located in the Second Enclosure. The ruins of the Main Gate are on the route. These ruins still have a square space surrounded by strong stone walls, called Masugata, which were built for defense. If you go on to the Second Enclosure Gate’s wide stone steps
of the ruins, you will be in the Second Enclosure. There was the Second Enclosure Main Hall where the lord of the Hirado Domain lived. The three-story Inui Turret was rebuilt in the present time as a souvenir shop. The Kameoka Shrine is at the back of the enclosure below the Main Enclosure.

The Main Route
The ruins of the Main Gate
The square space of the Main Gate
The ruins of the Second Enclosure Gate
The rebuilt Inui Turret
The Kameoka Shrine

Castle, Town and Sea seen from Main Tower

The Main Enclosure has the Imitation Main Tower and two rebuilt turrets. The Main Tower was originally another turret called Okimi-Yagura. It is actually a modern building used as a historical museum and observation platform. From the top floor, you can enjoy a great view of the area around the castle, seeing Hirado Port in the north and Hirado Strait in the east both connect to the
Genkai-nada Sea, and there is the interesting shape of the enclosure below.

The Imitation Tower
A north view seen from the Main Tower
A east view seen from the Main Tower
A view of the Main Enclosure seen from the Main Tower

To be continued in “Hirado Part3”
Back to “Hirado Castle Part1”

87.Hizen-Nagoya Castle Part2

Spectacular traces of Hideyoshi’s ambition

Features

From Main Route to Third Enclosure

Today, the ruins of Hizen-Nagoya Castle are well-developed as a historical park. If you drive to the ruins, you can use the parking lot of Saga Prefectural Nagoya Castle Museum beside the park. Visitors usually first visit the ruins by walking on the Main Route. You will see how large the ruins are at first sight. You will also see the large-scale stone walls still surrounding the ruins. However, many of them collapsed like a V letter. In fact, the collapse was done intentionally. If you walk to the Eastern Barbican Enclosure, the route turns back at almost 180 degrees to the Third Enclosure.

The castle ruins seen from around the Main Route
The Main Route
The stone walls being destroyed like a V letter
The Eastern Barbican Enclosure
The Main Route seen from the Eastern Barbican Enclosure
The route turns into the Third Enclosure
The Main Route written on the picture of the miniature model of Hizen-Nagoya Castle exhibited by the Saga Prefectural Nagoya Castle Museum

Third Enclosure as Pivot of Defense

The Third Enclosure should have been the defense’s pivot because the enclosure is next to the Main Enclosure, and both the Main Route and Back Route gather in it. The entrance to the Back Route is still surrounded by the ruins of a large-scale turret and stone walls using many huge stones. The inside of the enclosure has the ruins of a well which could have been used for a siege.

The Third Enclosure
The Third Enclosure drawn in “The folding screen of Hizen-Nagoya Castle”. from the signboard at the site
The entrance to the Back Route
The Back Route seen from the entrance
The ruins of the well

Main Enclosure as Center of Castle

You can walk on stone steps through the alternate Main Gate ruins surrounded by stone walls into the Main Enclosure. The enclosure is very large but empty now except for the monument of the castle. There are some flat exhibitions which indicates what buildings were built, such as the Southwestern Corner Turret and the Hall Turrets, by using stone foundations, gravel, paved areas.

The map around the Main Enclosure

Going to the Main Enclosure
The Main Enclosure
The ruins of the Southwestern Corner Turret
The ruins of the Hall Turrets

The stone wall base for the Main Tower is located in the northwestern corner of the enclosure. Though there are only a few stone walls left, you can enjoy see a great view of Genkai-nada Sea and the castle area around.

The stone wall base for the Main Tower
Only a few stone walls remain on the base
A view from the base

To be continued in “Hizen-Nagoya Part3”
Back to “Hizen-Nagoya Castle Part1”