Features
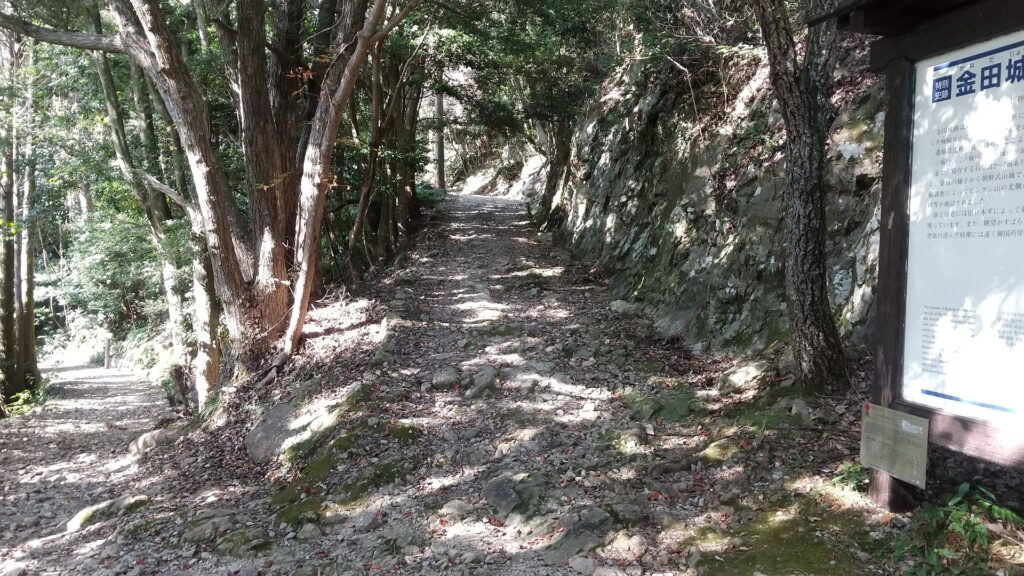
Hiking Course as Fomer Military Road
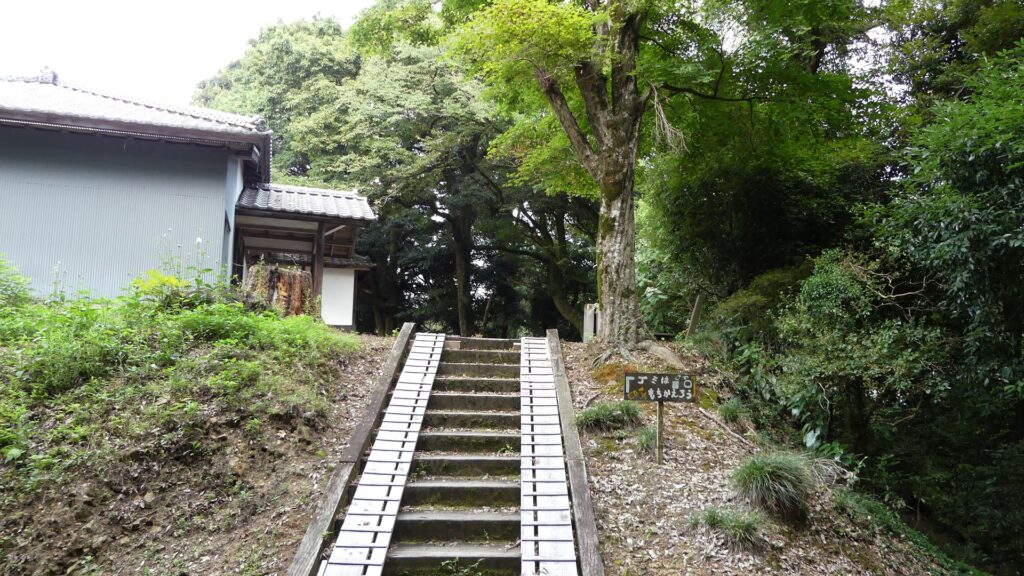
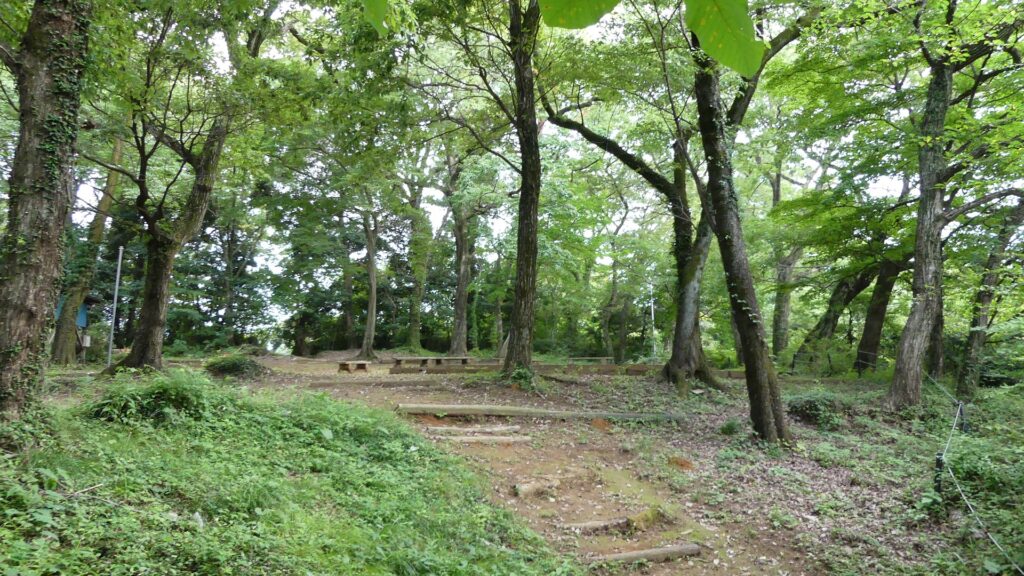
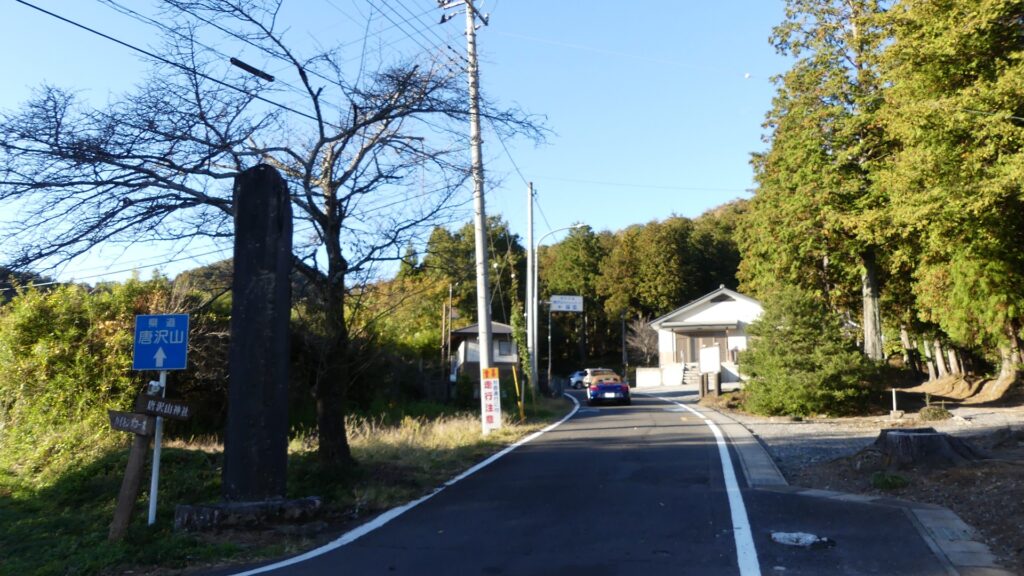
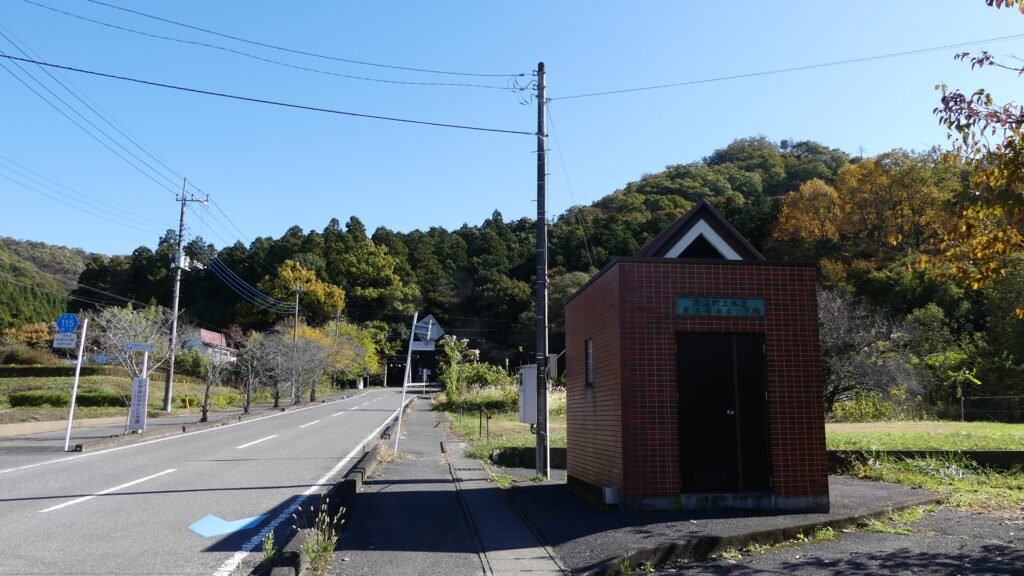
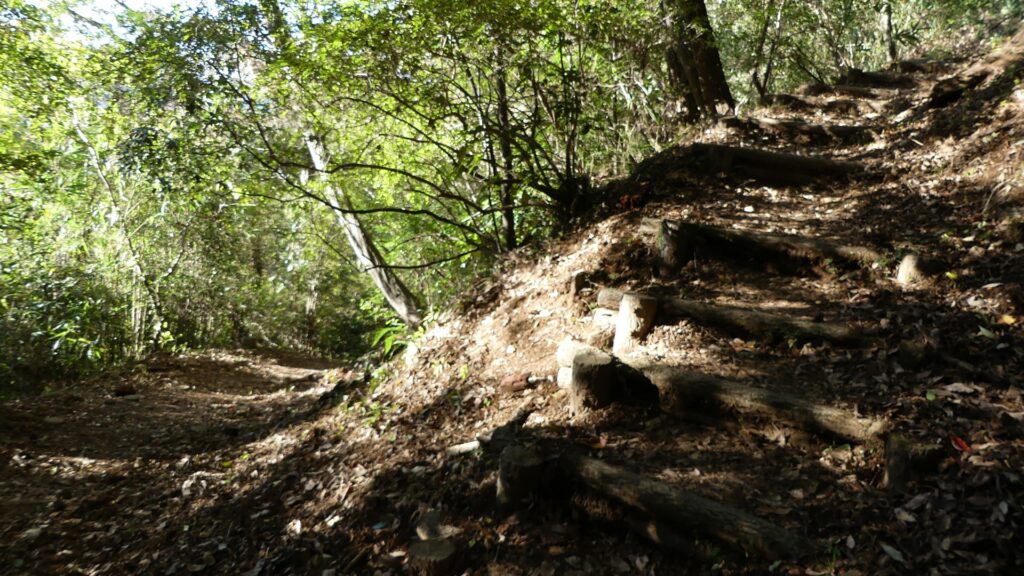
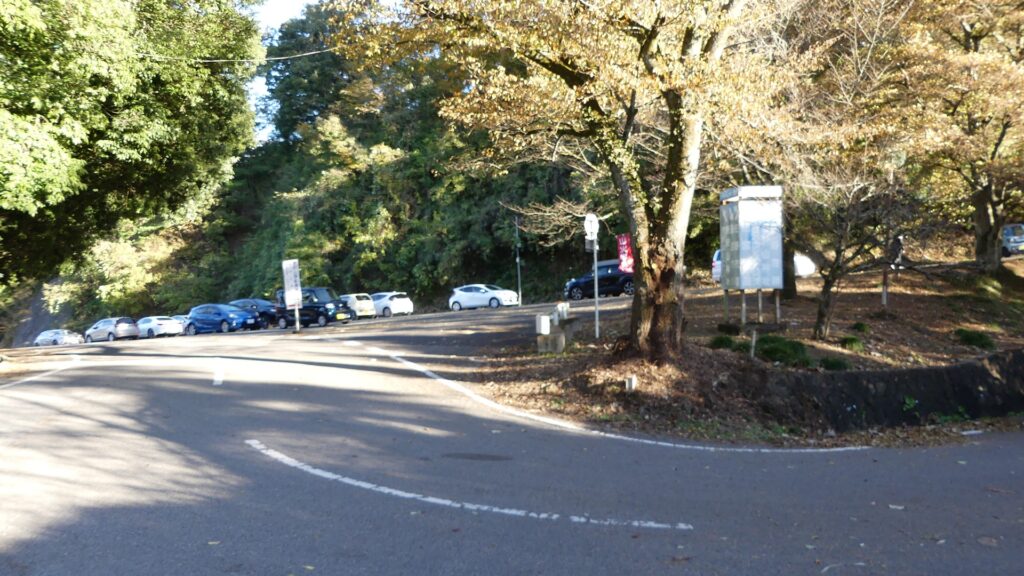
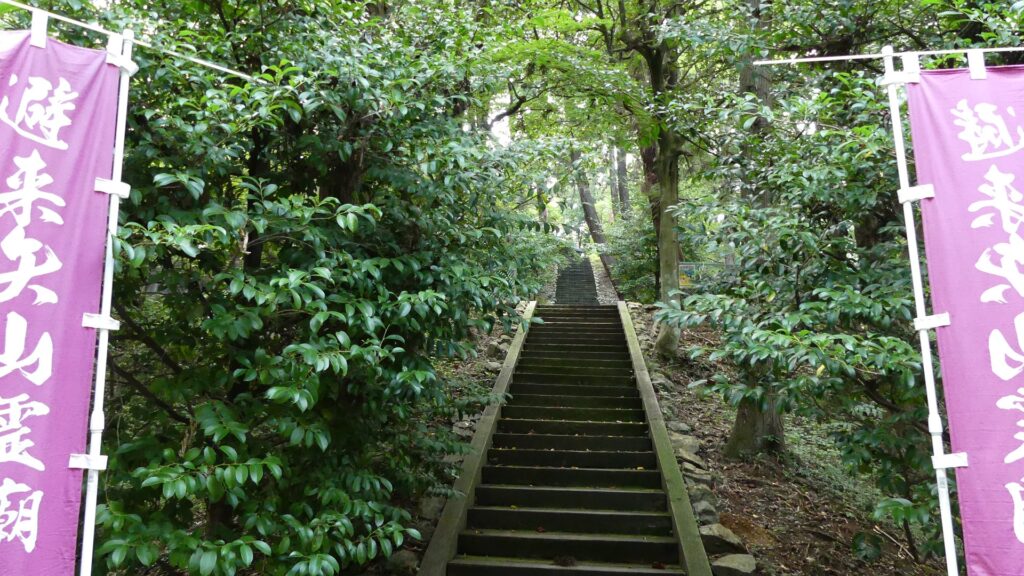
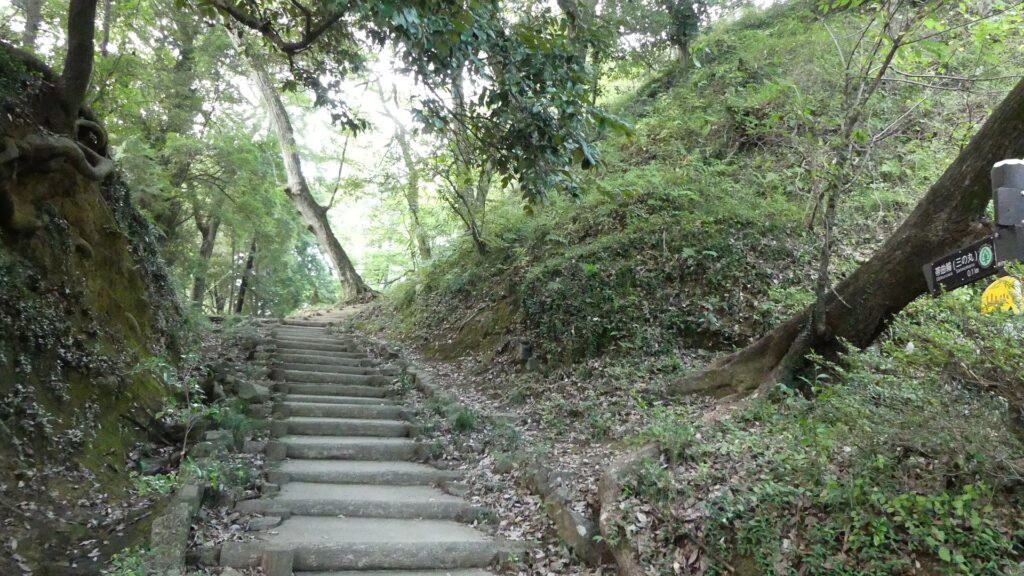
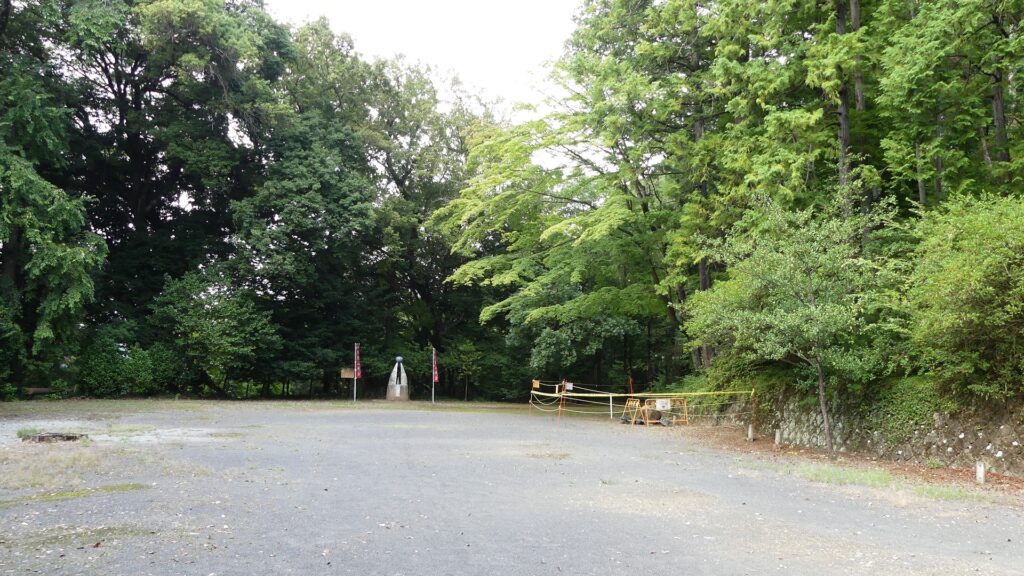
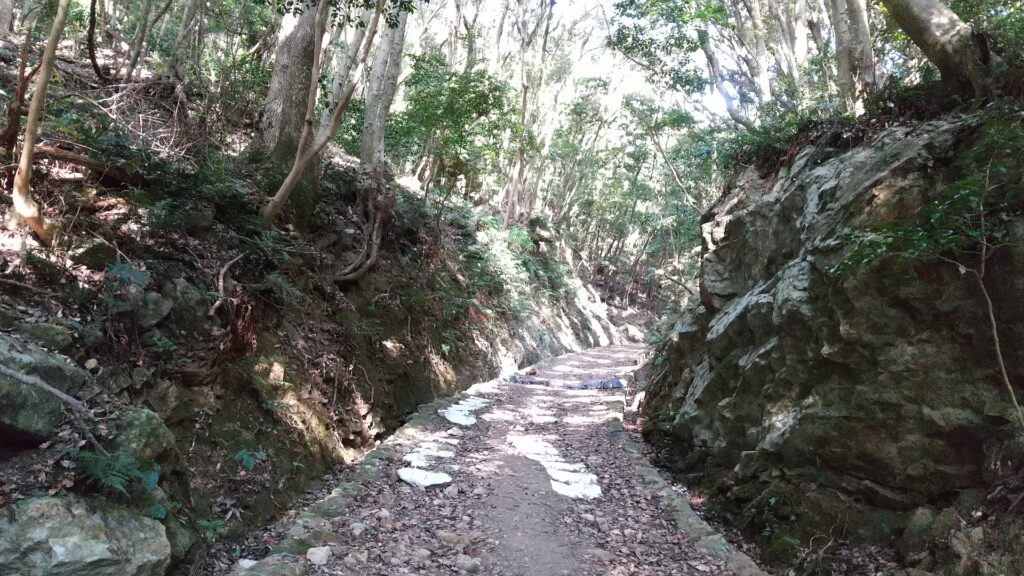
Today, the ruins of Kaneda Castle have become part of the popular hiking course on the Joyama Mountain. Visitors first drive to the starting point of the course via the Prefectural Road 24, which branches off into a forest road. The hiking course has been well maintained because it is based on the military road that the Imperial Japanese Amy developed over 100 years ago. The road was built for the constructions of Joyama Batteries on the top area to prepare for the Russo-Japanese War.
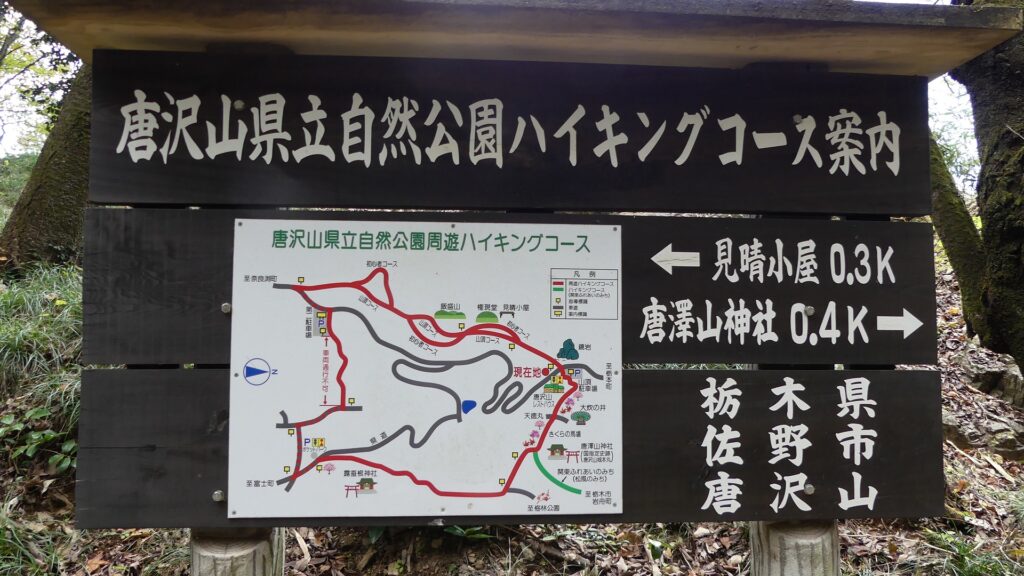
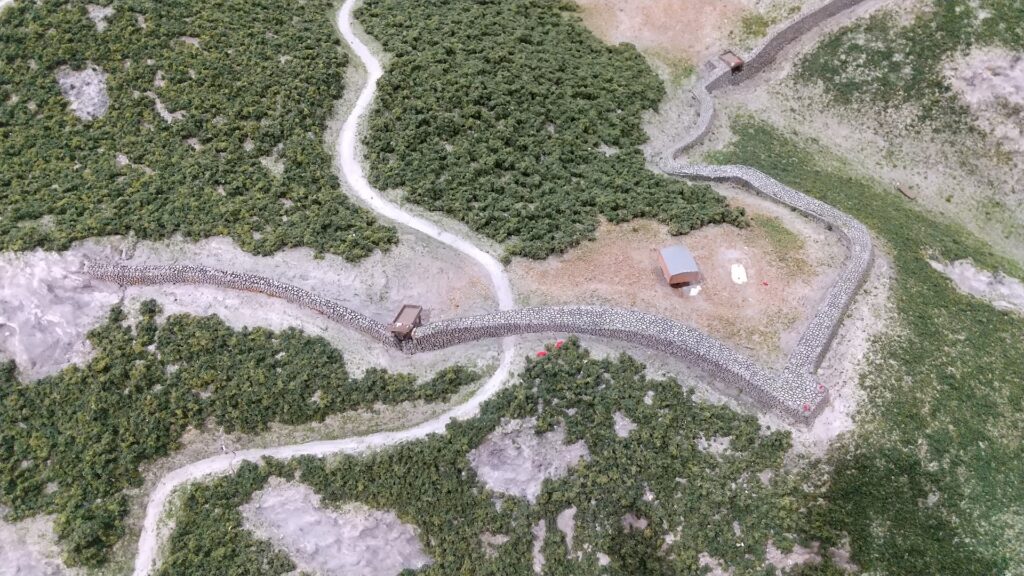
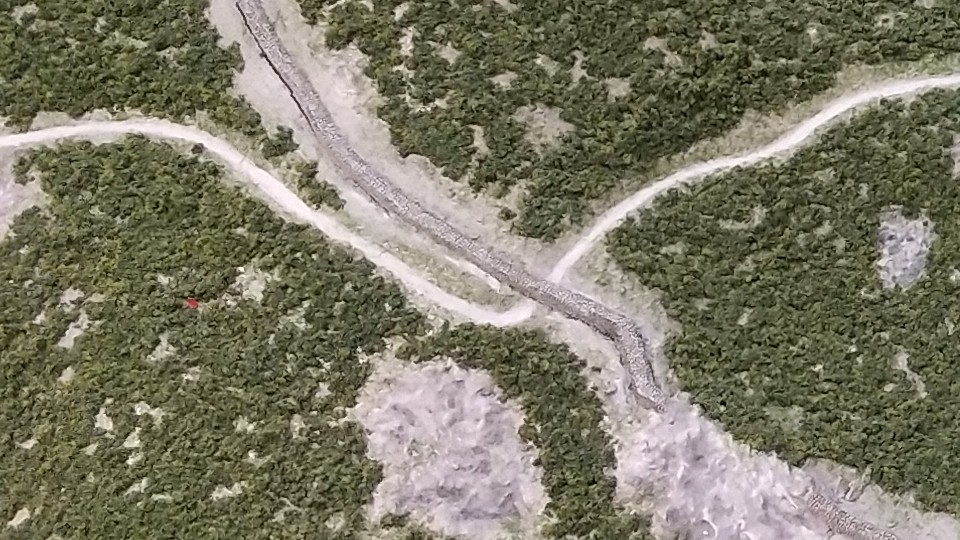
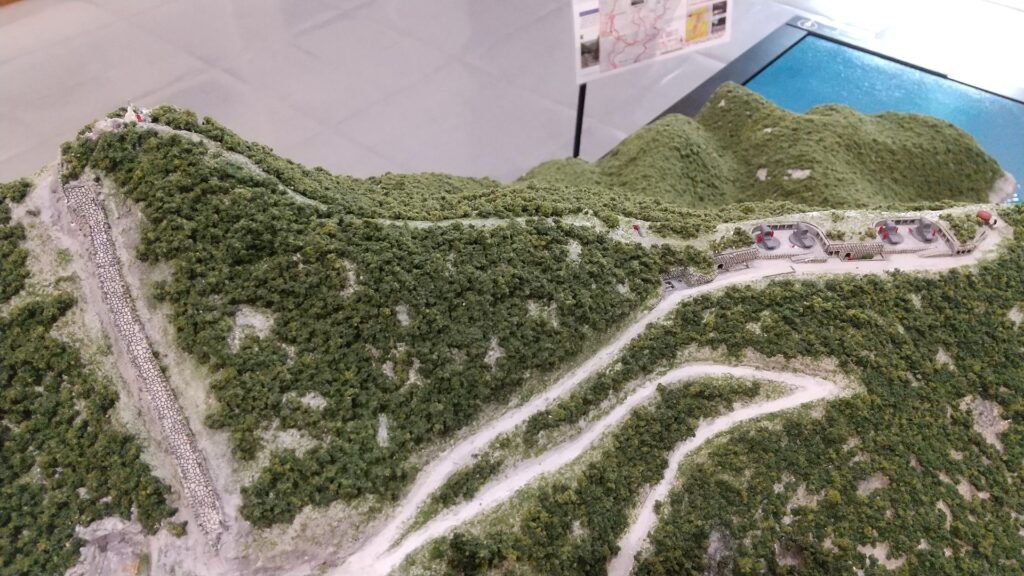
The map around the castle
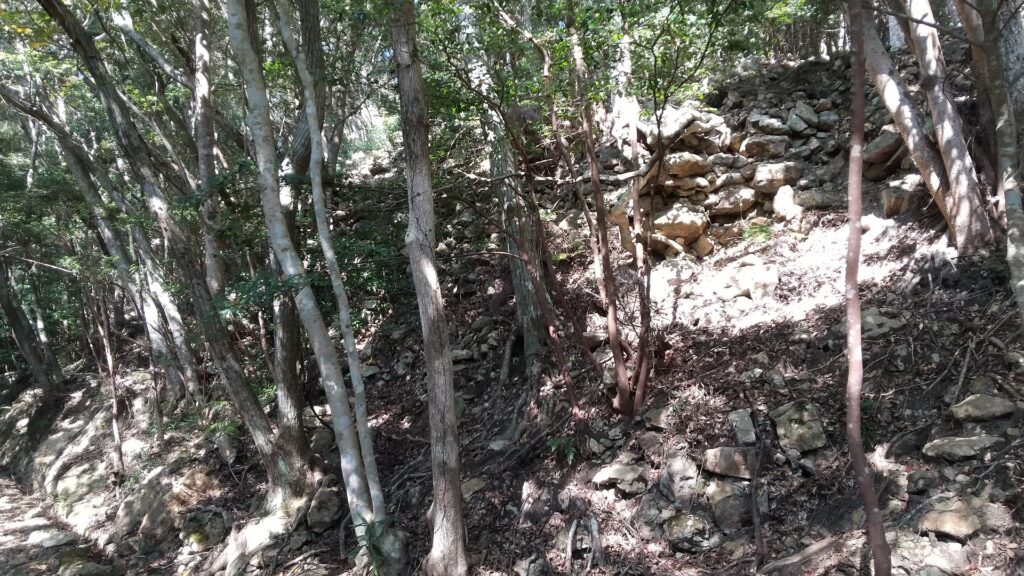
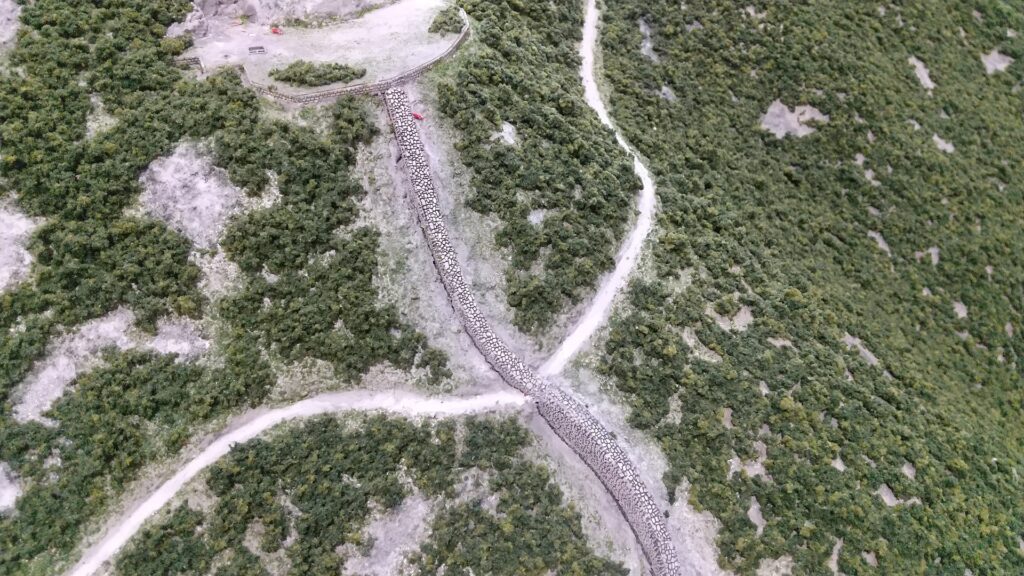
It was constructed largely on the slopes to make it gentle so that carriages could carry materials. That’s why the road crossed the circular stone walls of Kaneda Castle several times. The constructions resulted in the stone walls partially being destroyed. The reasons for it may have been that the walls were unknown for the castle and the constructions were the priority at that time.

Road crosses over Stone Walls several times
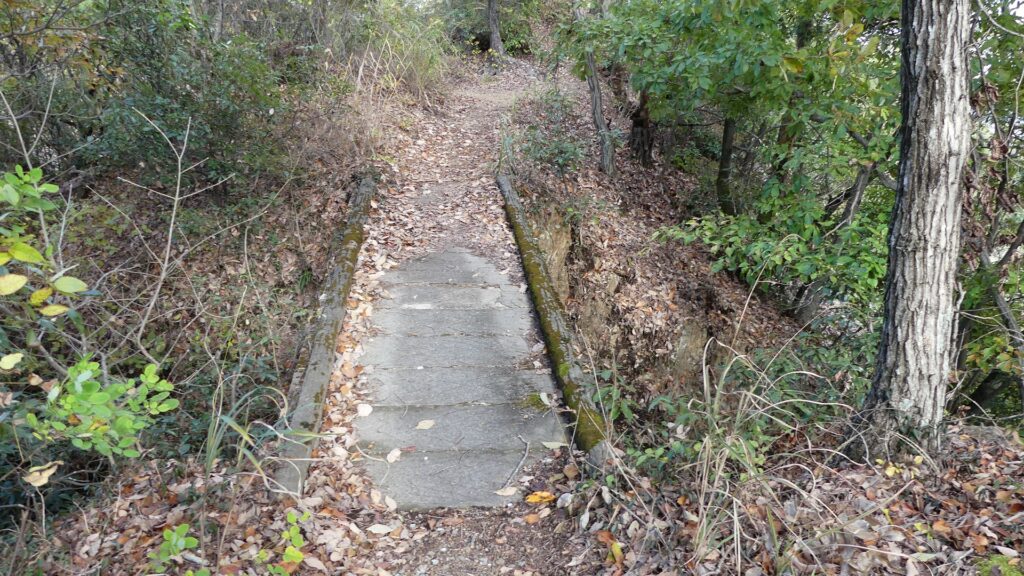
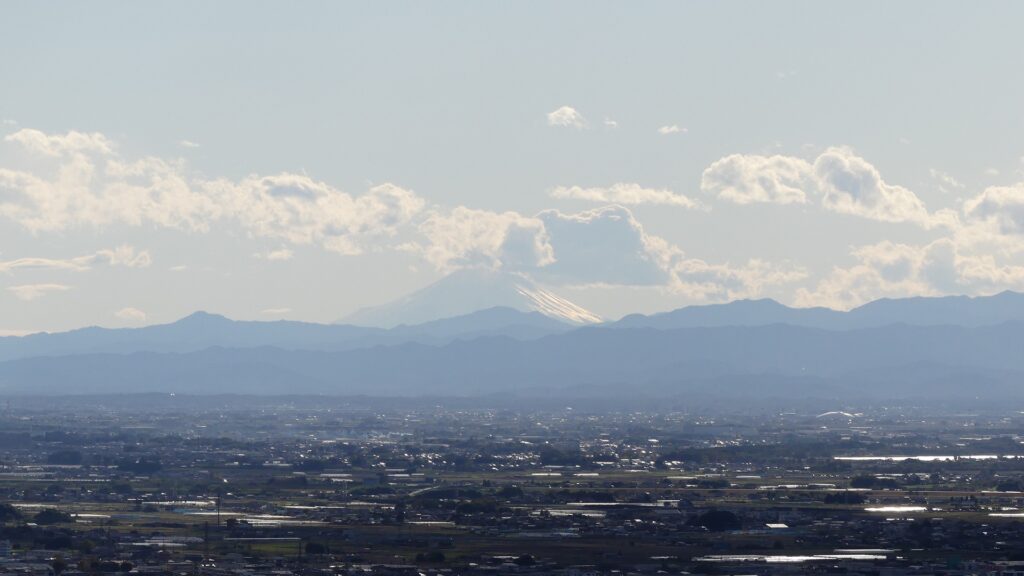
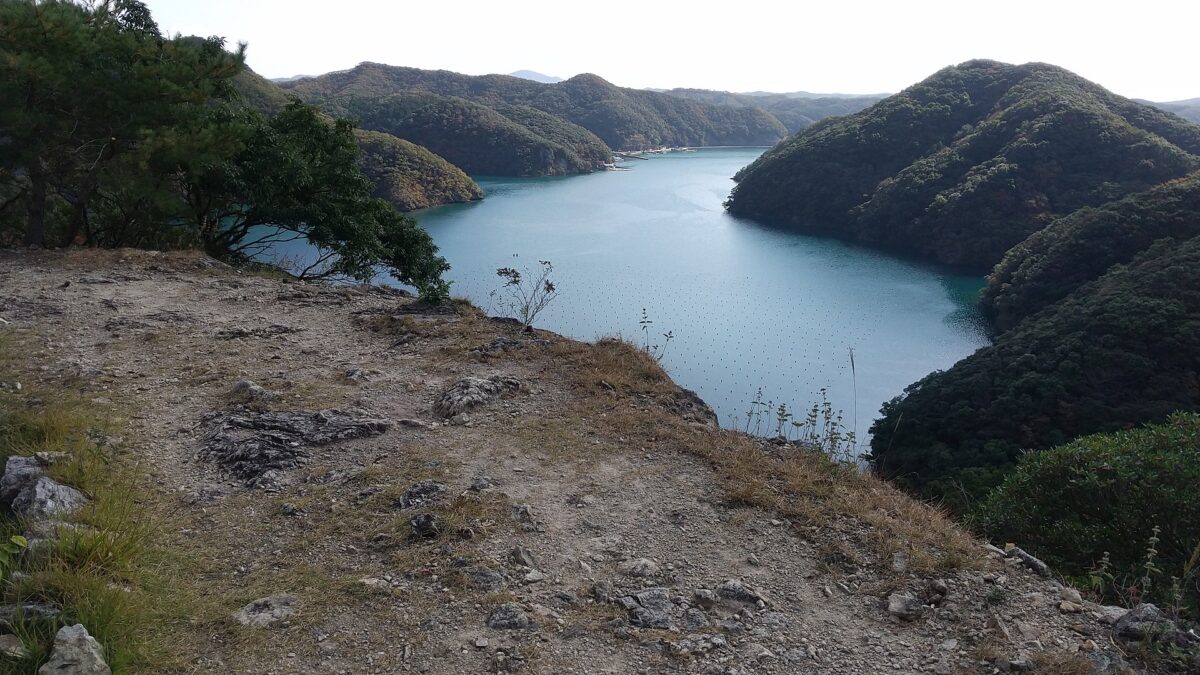
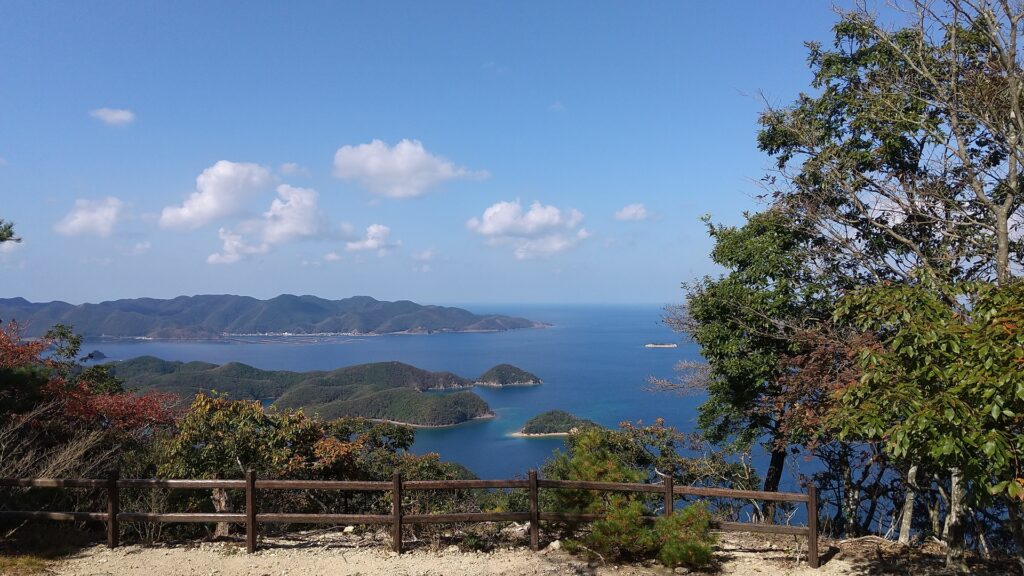
There are a few switchbacks in this hiking course that interest with the stone walls. If you walk up the road for a while, you will see a great view of Aso Bay before meeting the first crossover point with the stone walls.
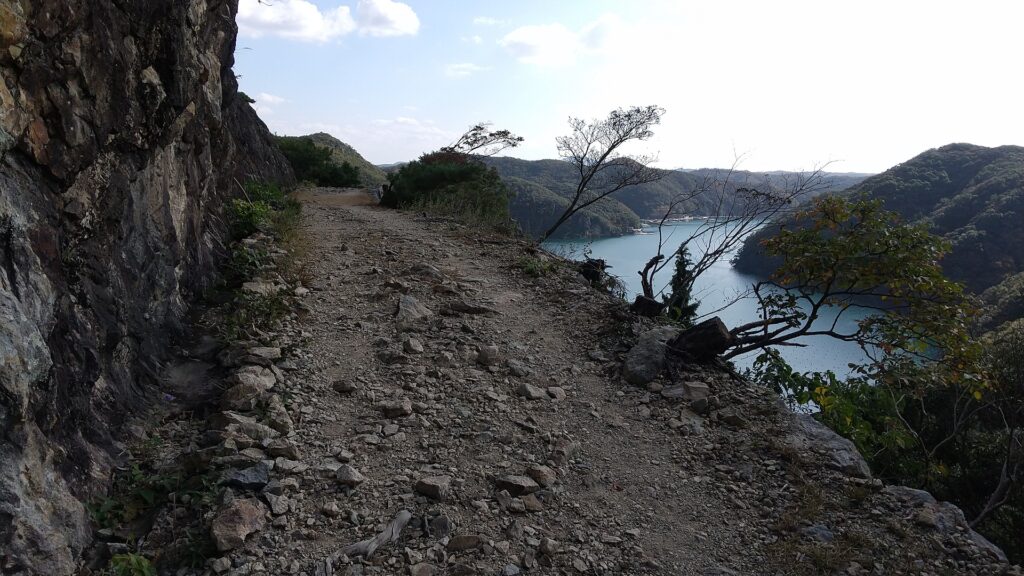
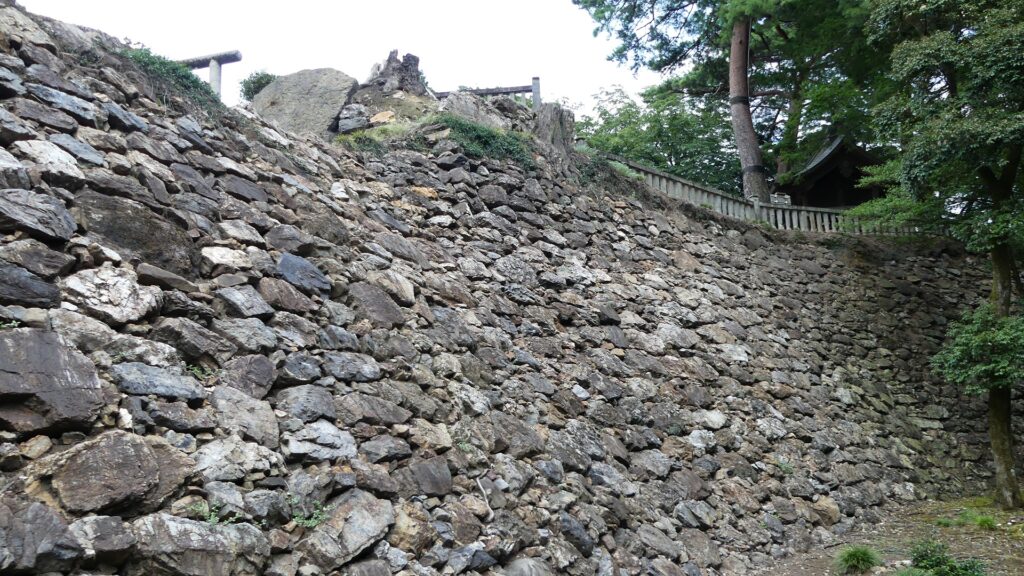
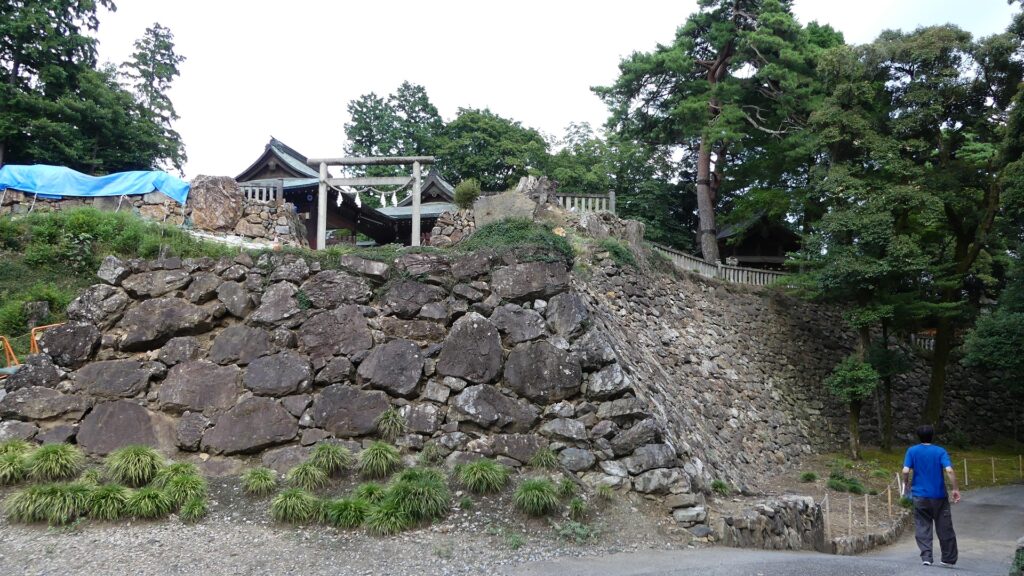
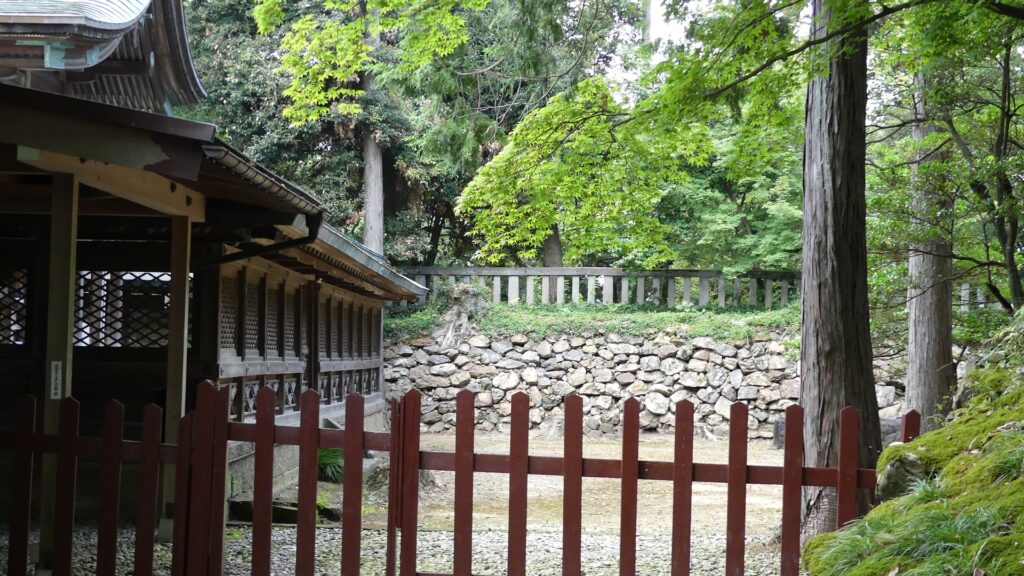
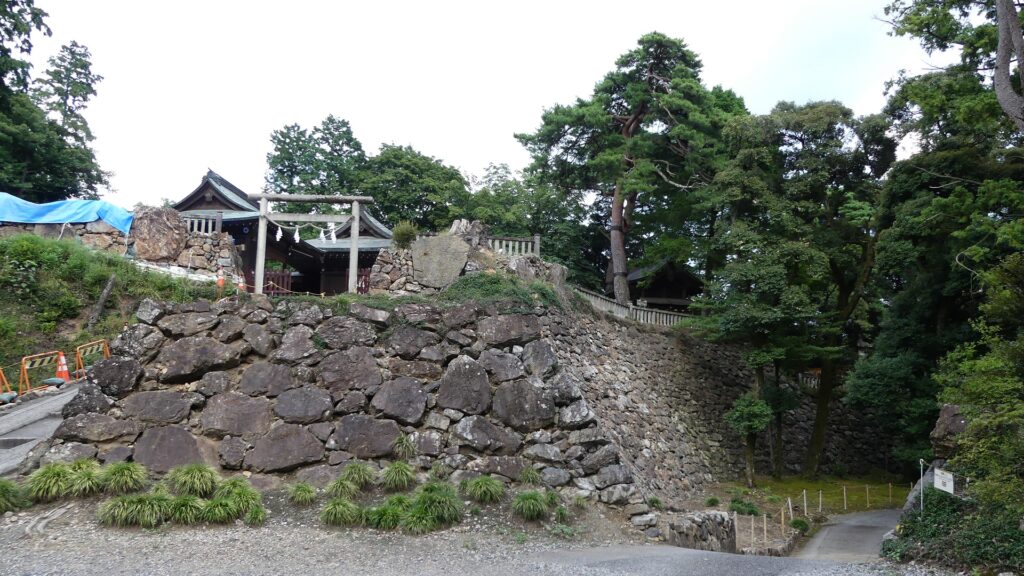
This point is the southern side of the castle, so you can see the stone walls going down on the east to the southeast stone fortress, which is amazing scenery as well.
There are also the ruins of the south gate on the west of the point, which were recently discovered in 2003. They have stone paving and foundations which were probably for gate buildings. The ruins of a building with dug-standing pillars were also found near the gate, which might have been used as a guardhouse.


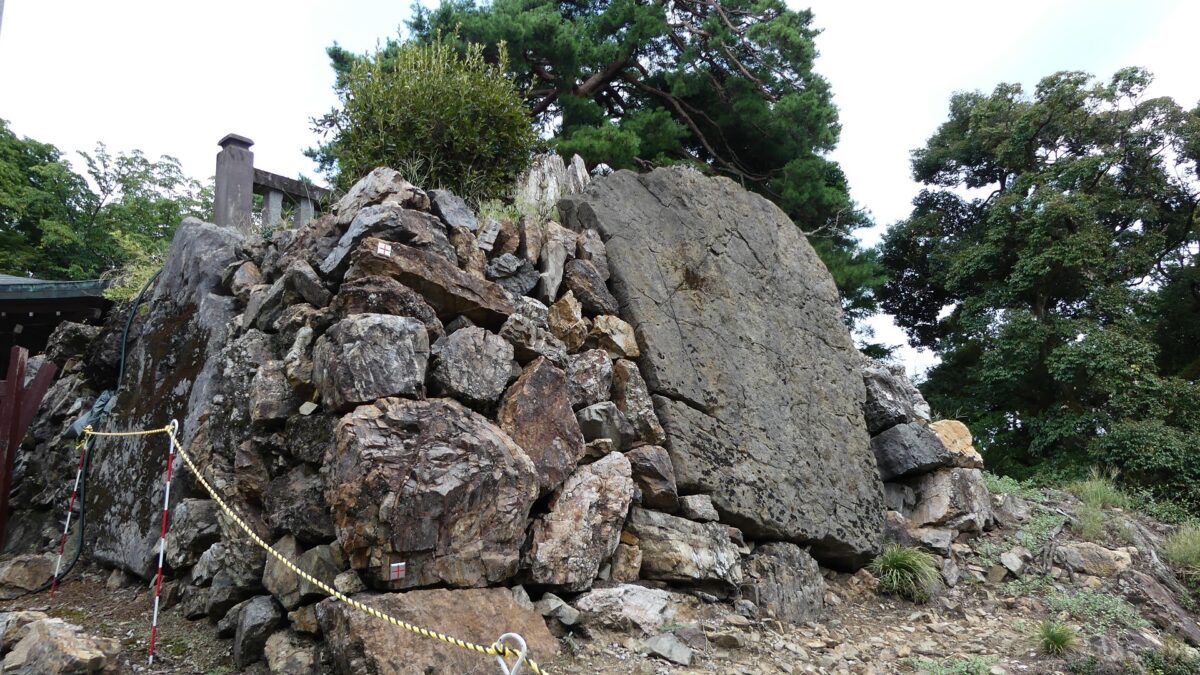
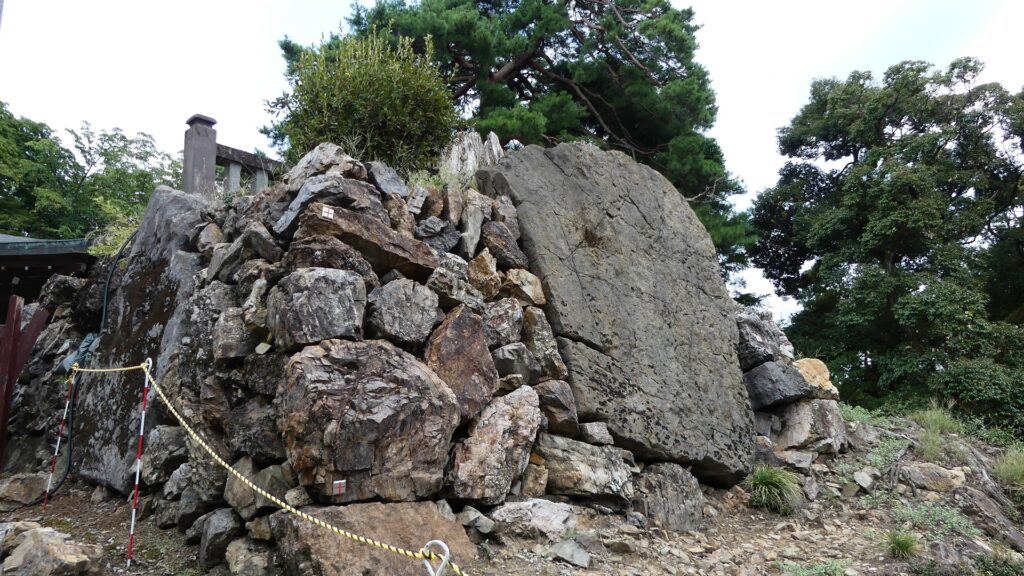
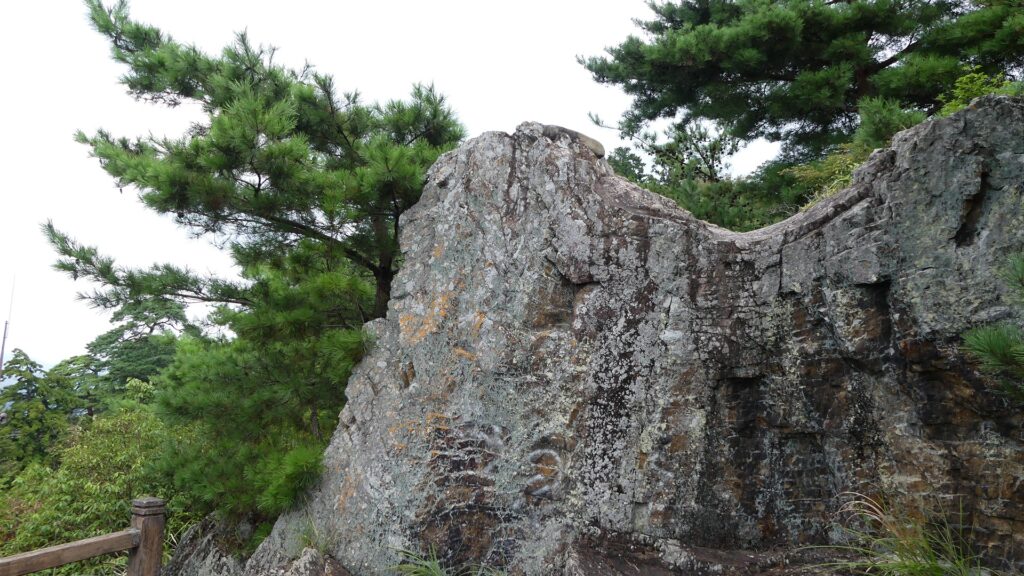
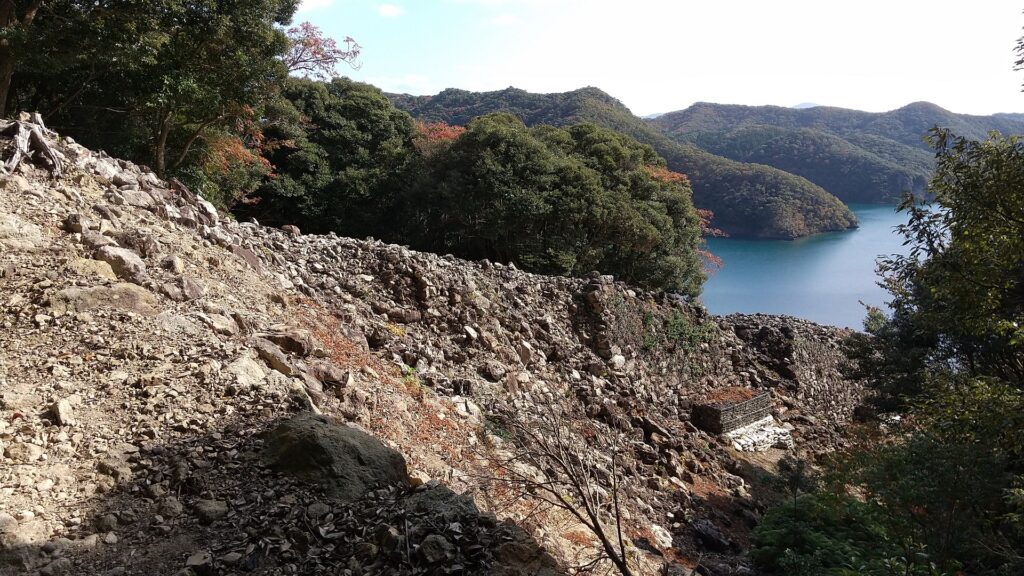
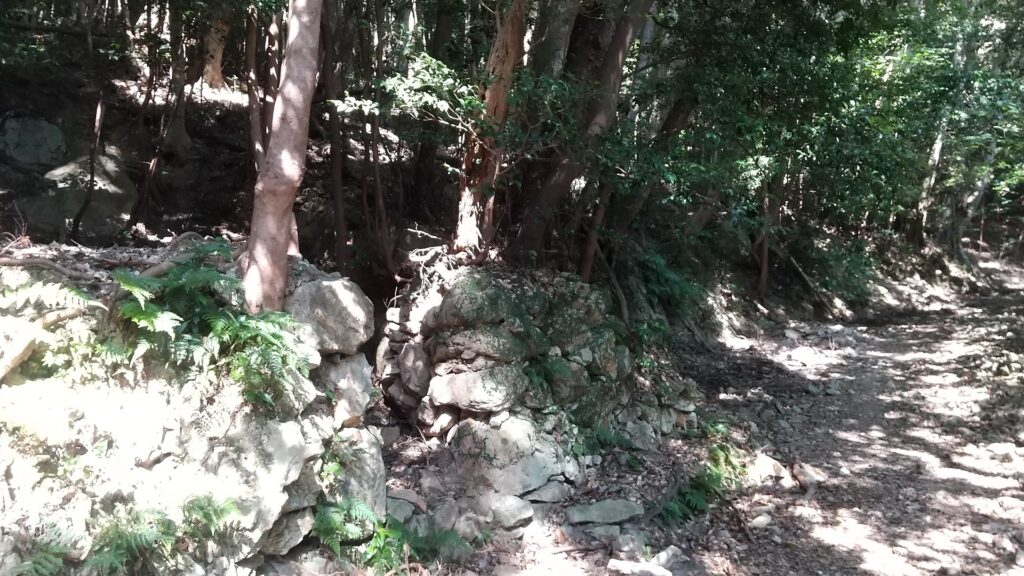
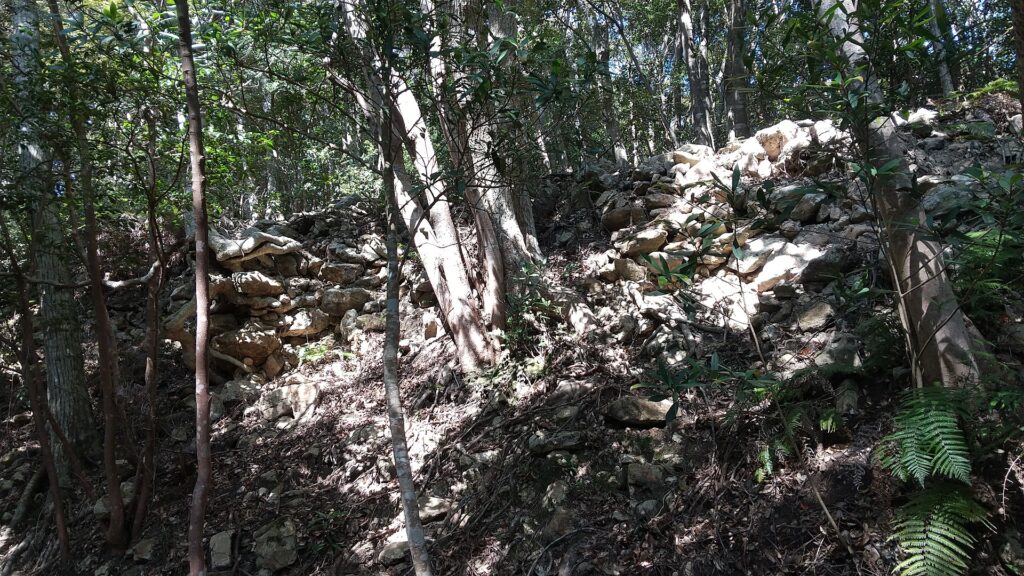
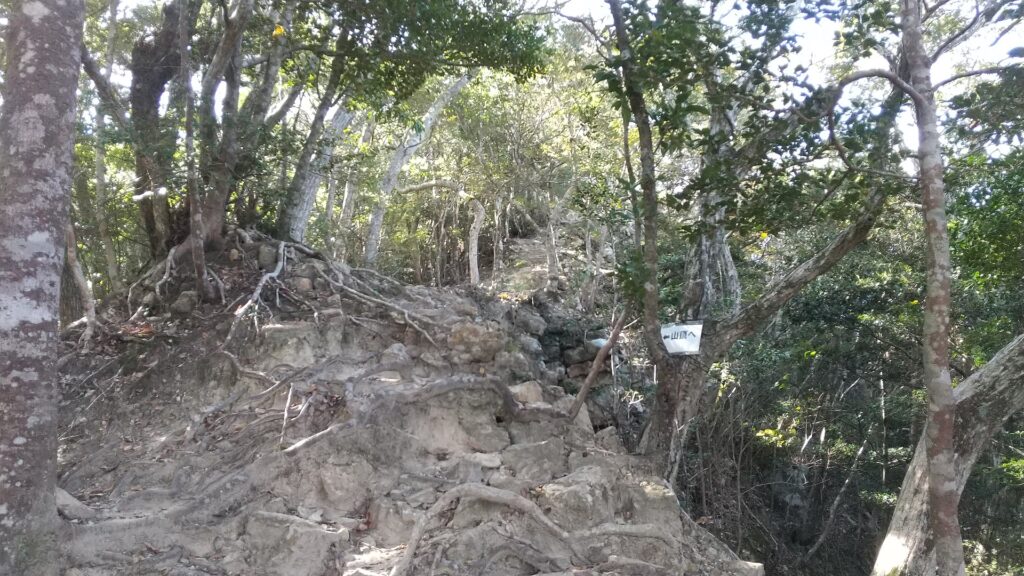
You will meet the second intersection with the wall after the first switchback. The stone walls climb the ridge at that point. The road also goes with the walls in parallel for a short time. It is surprising to see how well the walls were built, so long, on such a steep mountain over 1350 years ago!

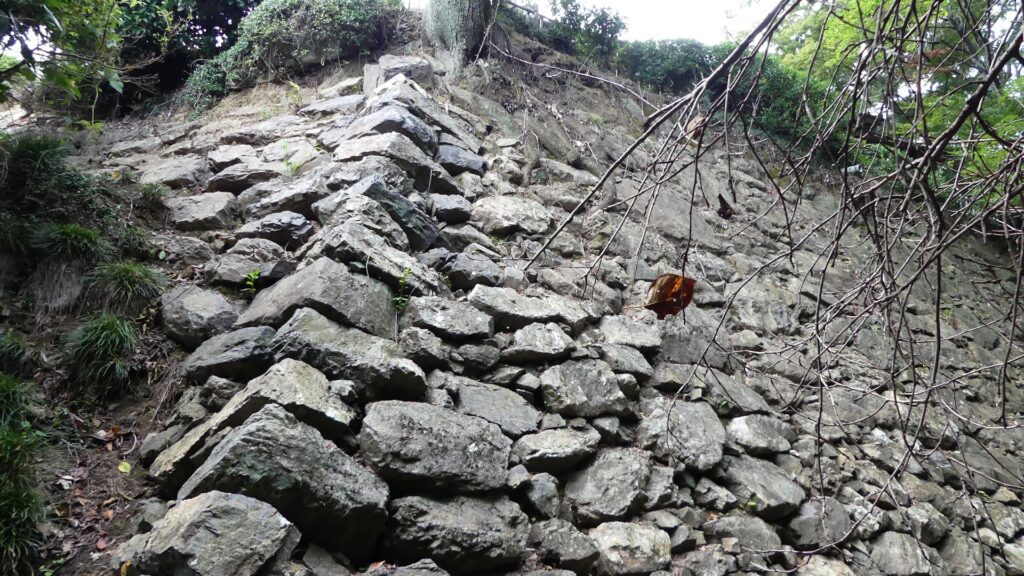
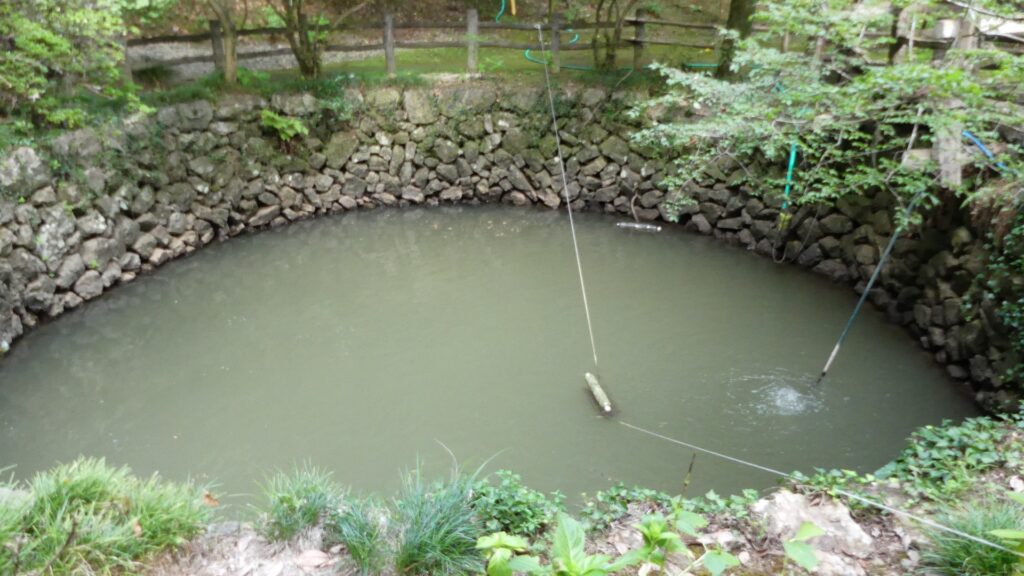
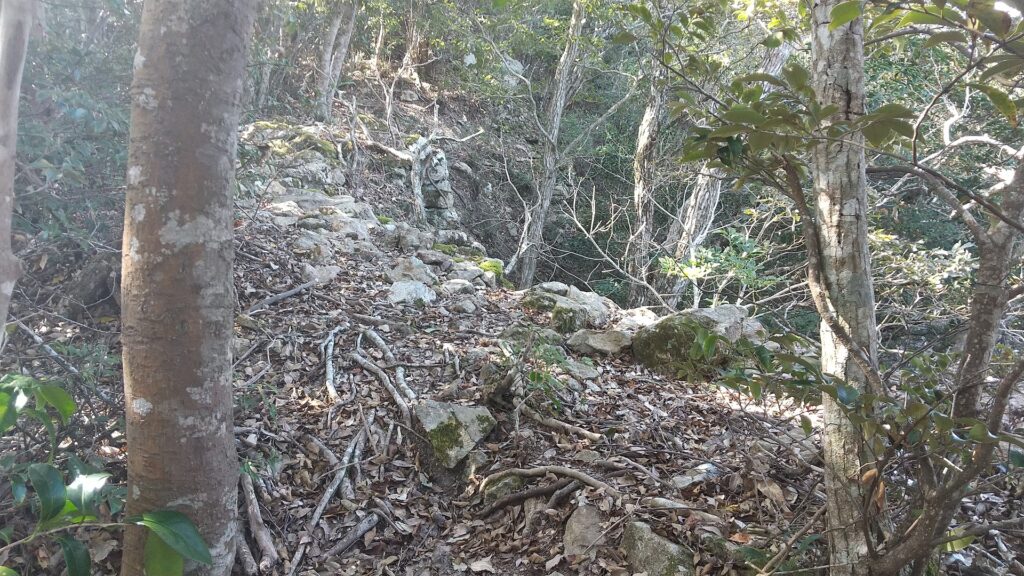
At the third crossover point, you will see not only stone walls but also something like a gate structure. It might be the ruins of a drainage system.

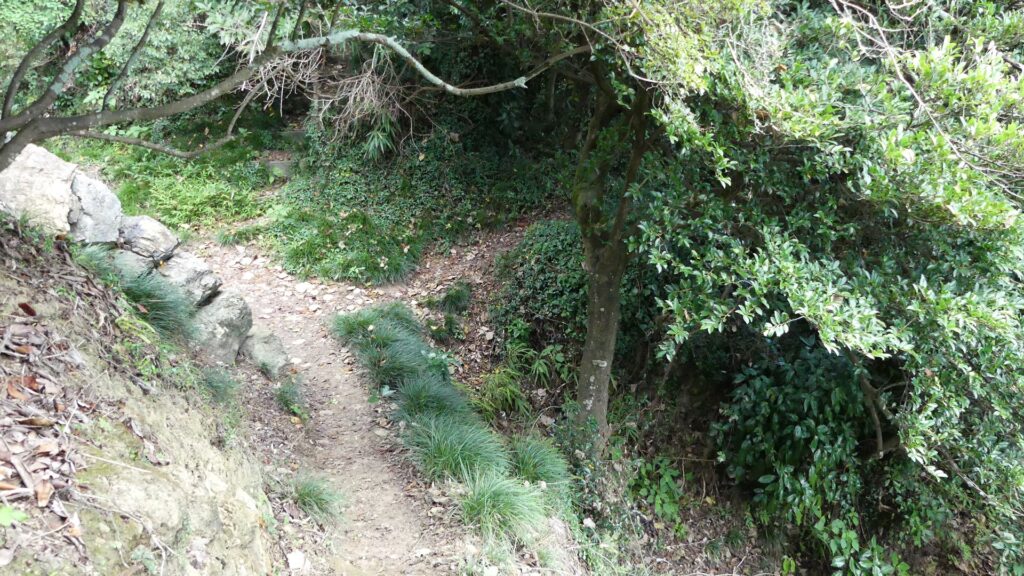
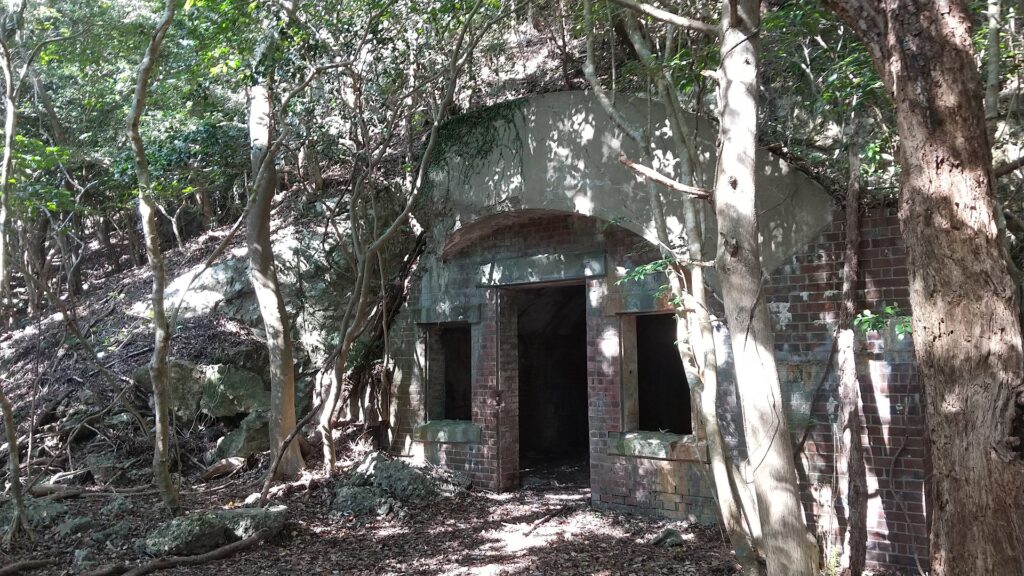
The fourth crossover point mostly consists of the ruins of a military facility, so you can only see few remaining stone walls of the castle above. The top of the mountain will be soon.

Battery Ruins, Stone Walls and Panoramic Views on Top
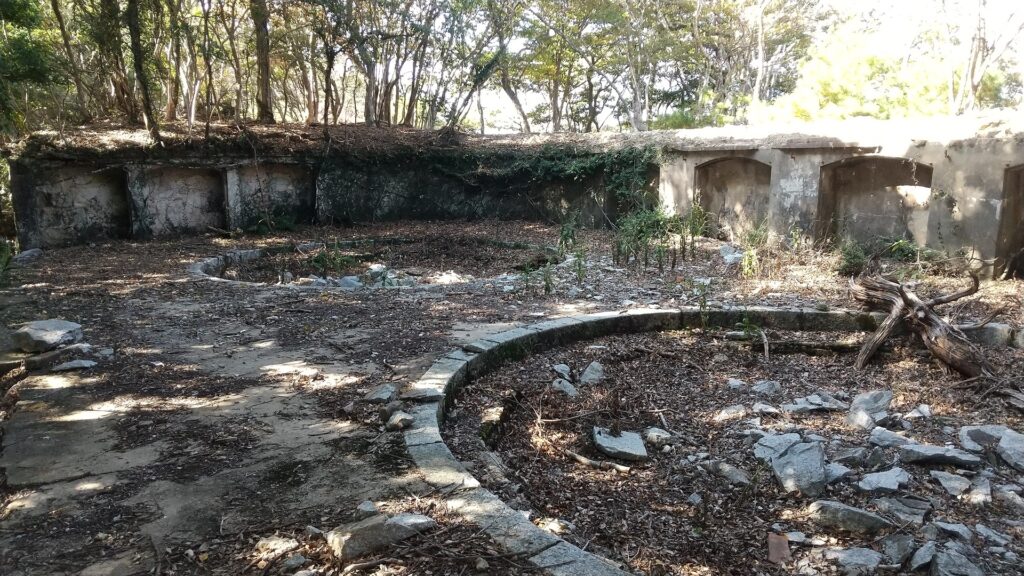
You will first reach the ruins of the batteries below the top. About 100 years ago, there were four 28-inch howitzers at this site, with their gun barrels facing the bay to the west. There are only their huge platforms remaining now where you can even understand their scales.
You can also climb the ridge to the top, which is the same as the western line of Kaneda Castle. Therefore, you will see some remaining stones of the castle walls on the way.
At the summit, there’s very limited space, so it might be difficult to stay long, but this spot offers breath-taking, panoramic views of Aso Bay.

To be continued in “Kaneda Castle Part3”
Back to “Kaneda Castle Part1”