Features
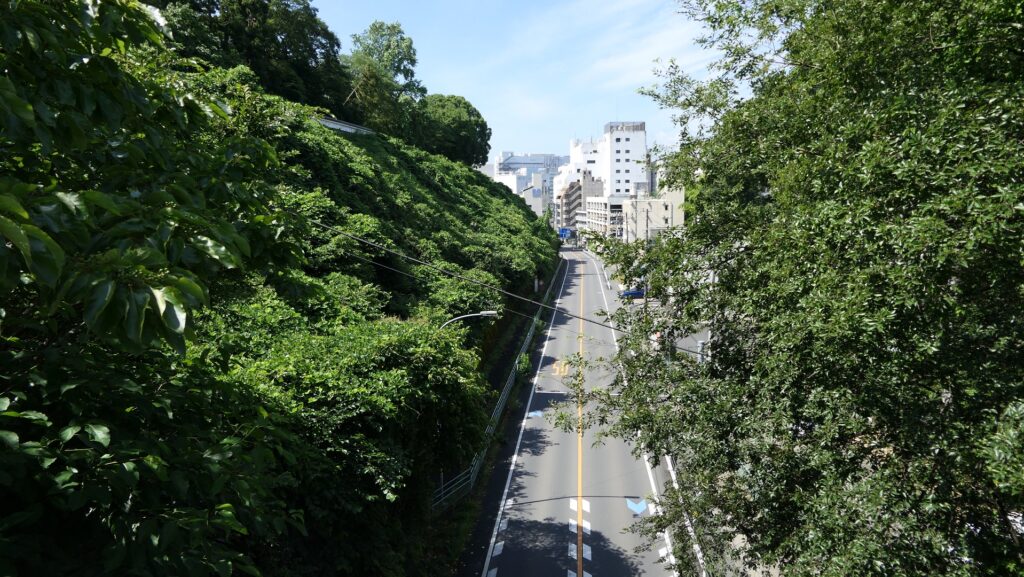
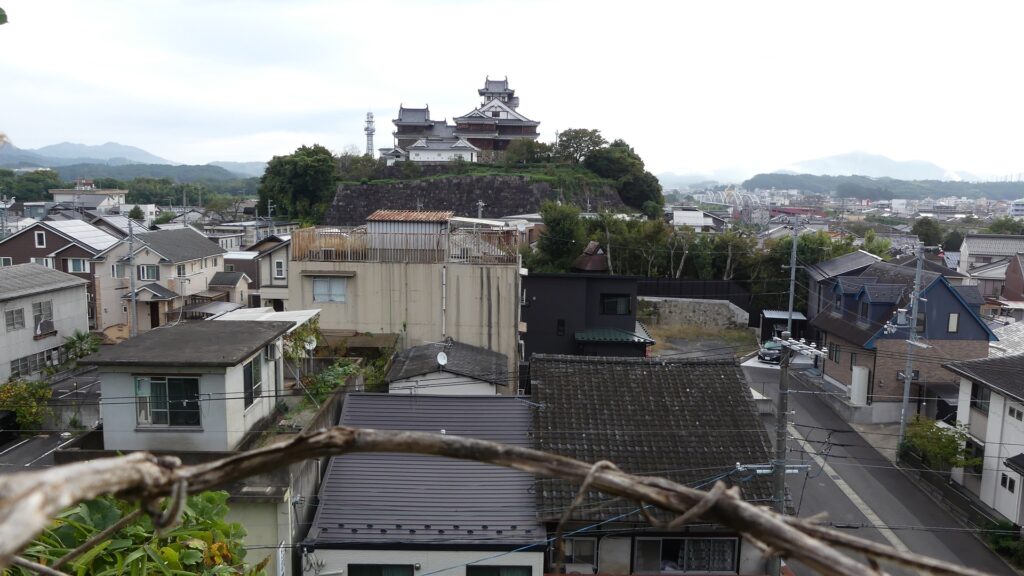
Views from Restored Main Tower
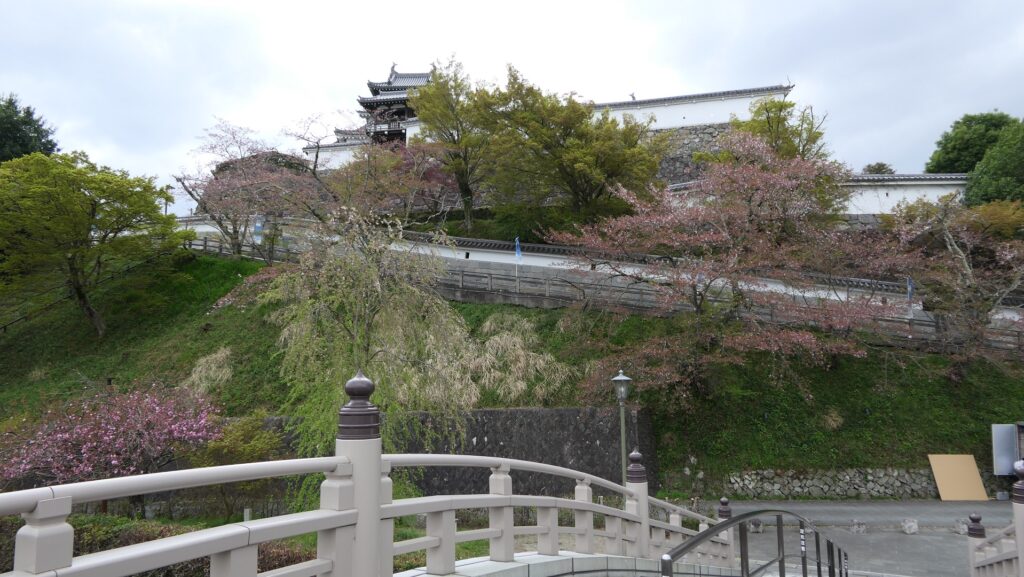
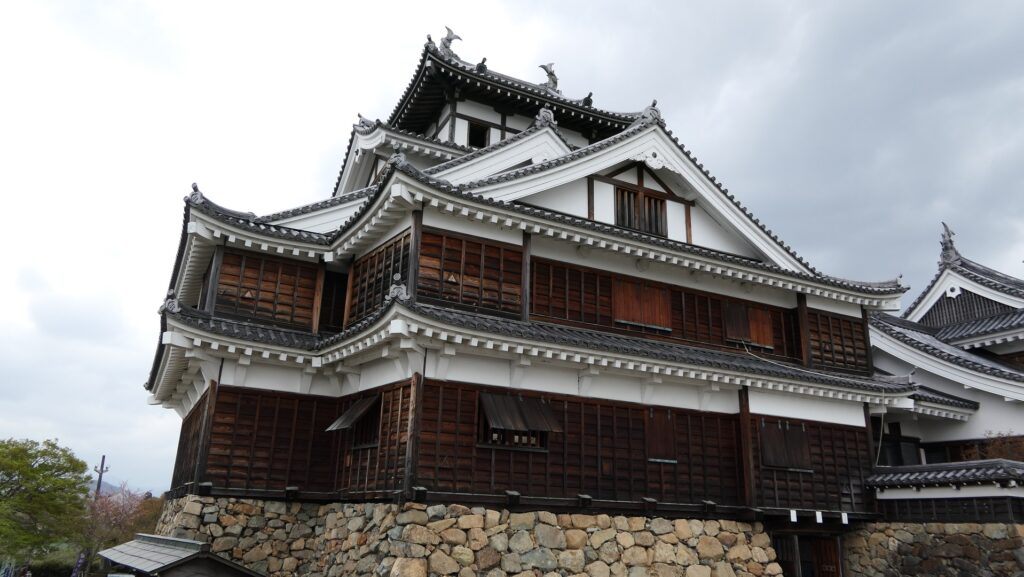
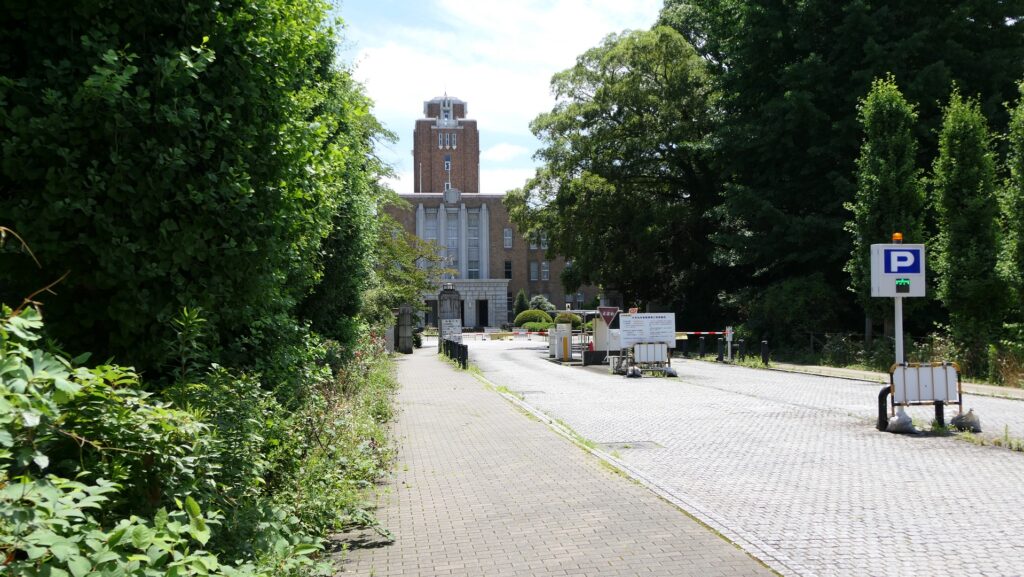
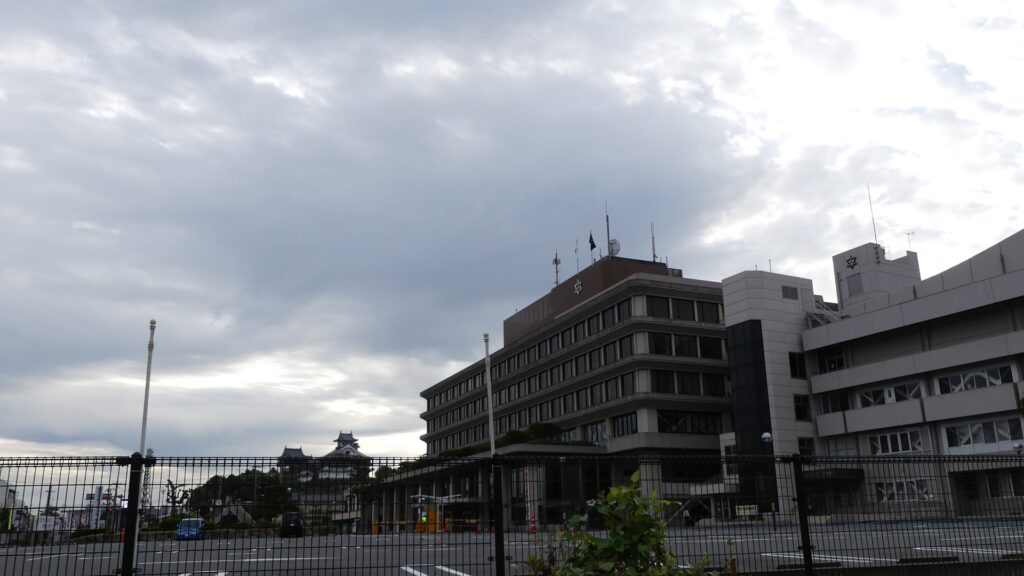
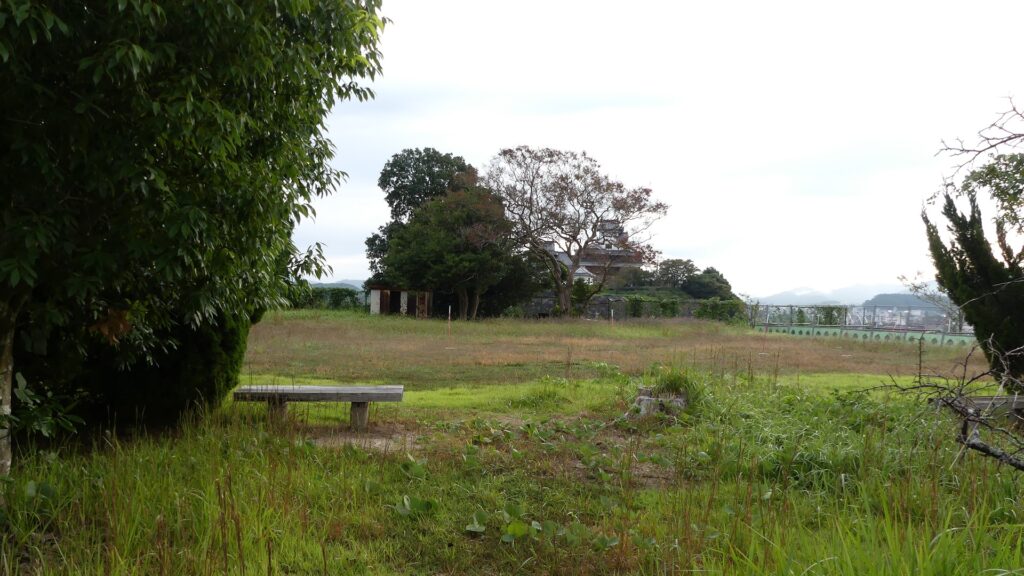
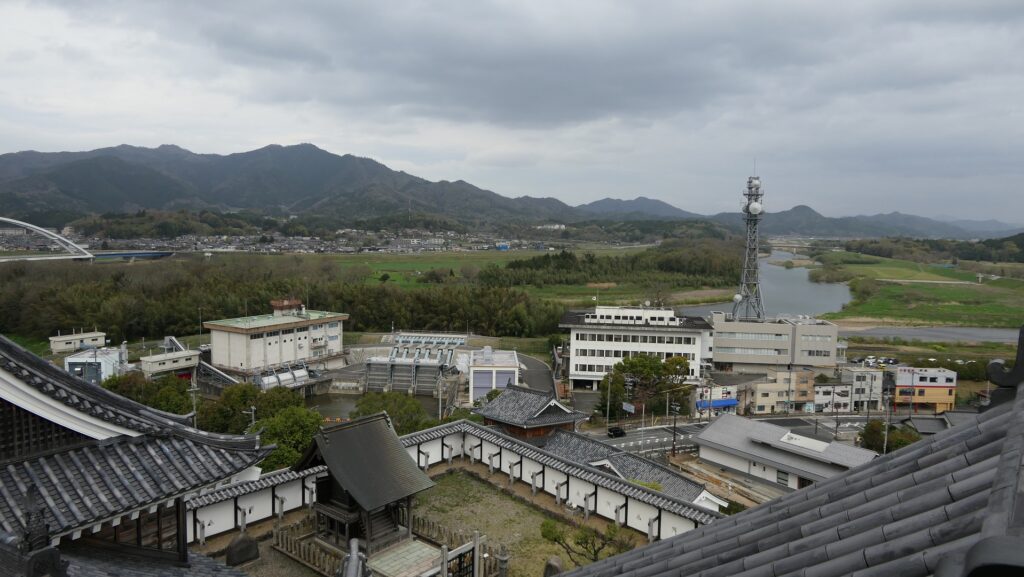
The current Main Tower is actually a restored modern building which is used as a historical museum and an observation platform, where you can learn about Mitsuhide Akechi and the history of the castle. You can also enjoy a view of the city area around the castle from the top floor. For instance, you can see the Third Enclosure which is used as the City Hall on the right and the Hoki-maru Enclosure which has become a park on the left, over the residential area of the former Second Enclosure in the west.
The map around the castle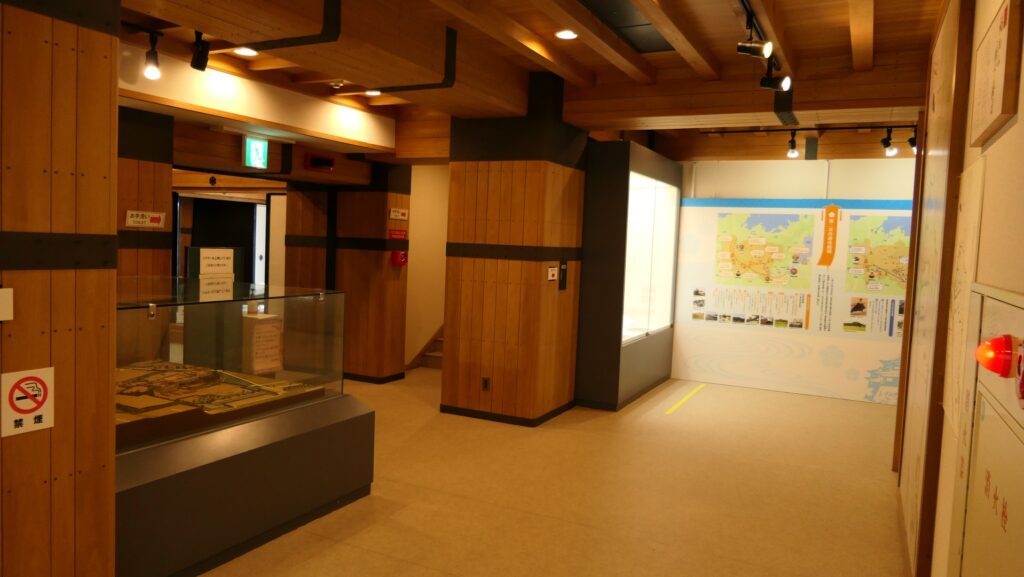
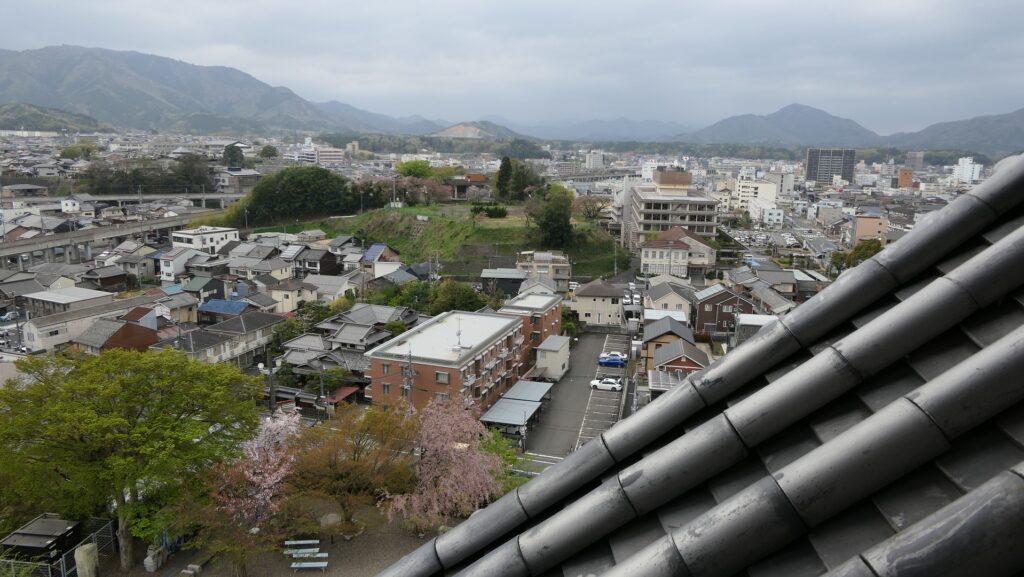
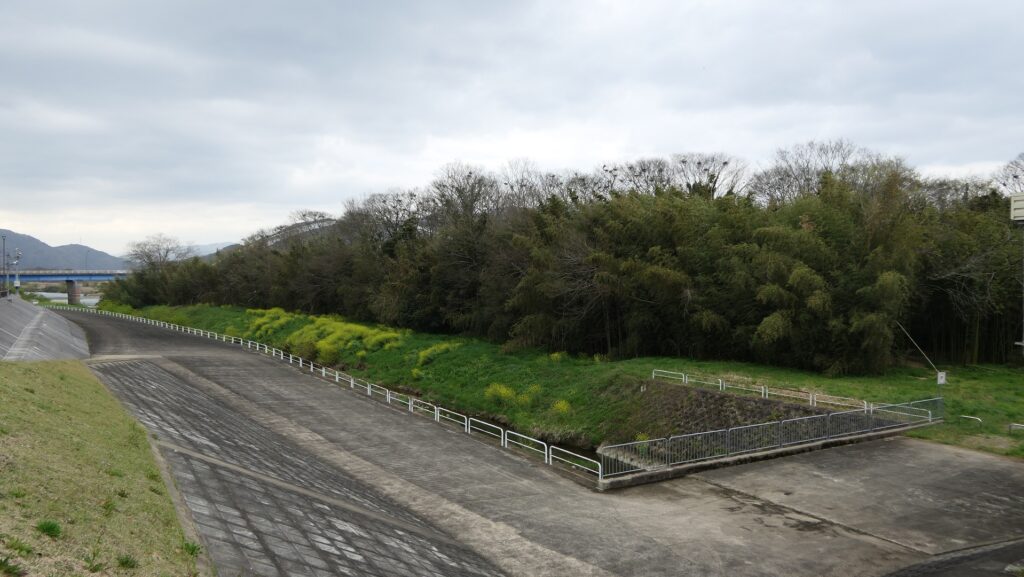
In the northern direction, you can see the Yuragawa River and the bank along it that Mitsuhide built, and it’s called Akechi-yabu or Akechi-bush. Mitsuhide planted bamboos along the river bank to make it durable.
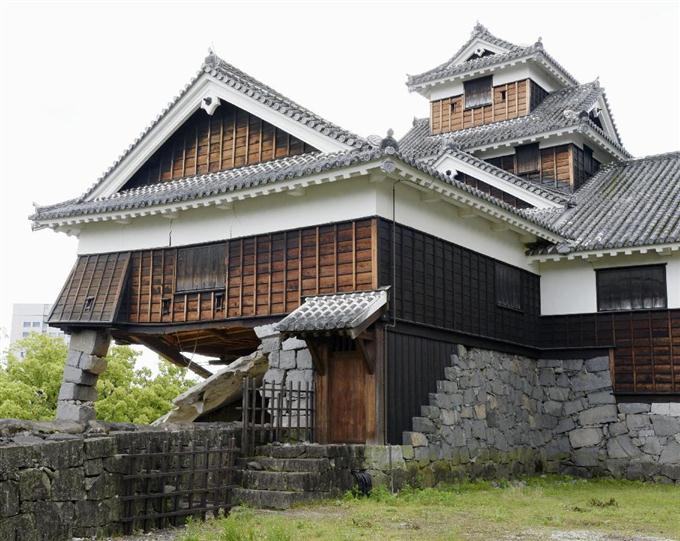
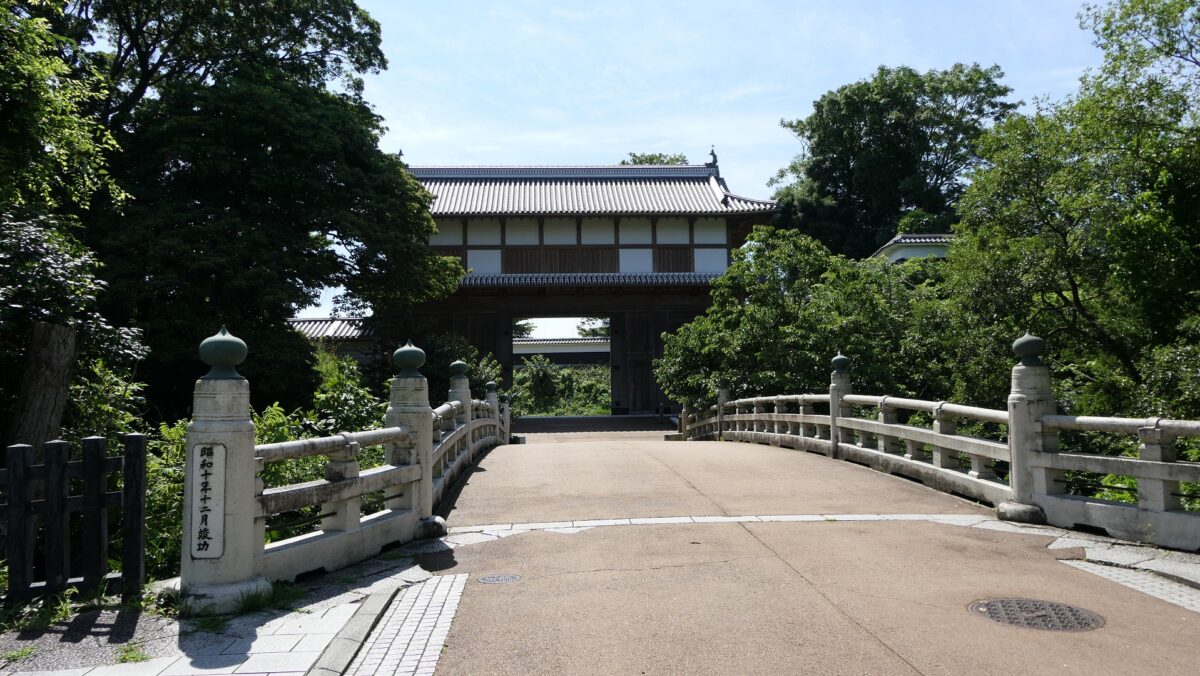
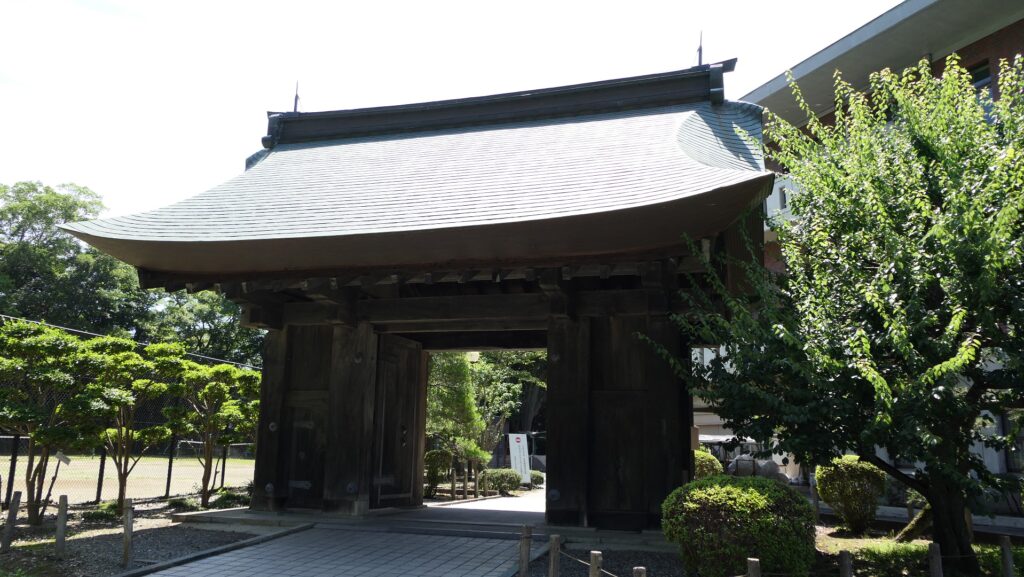
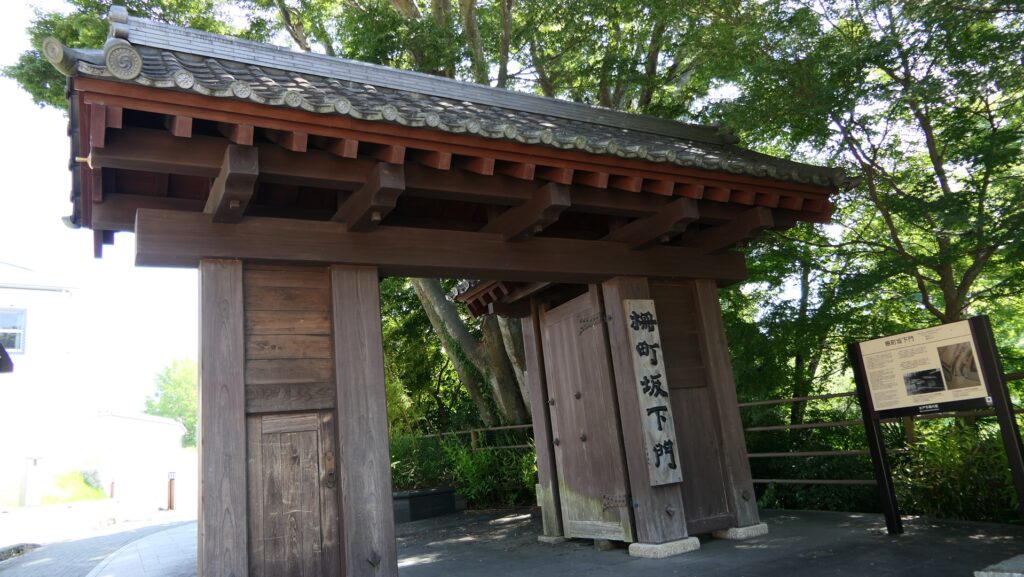
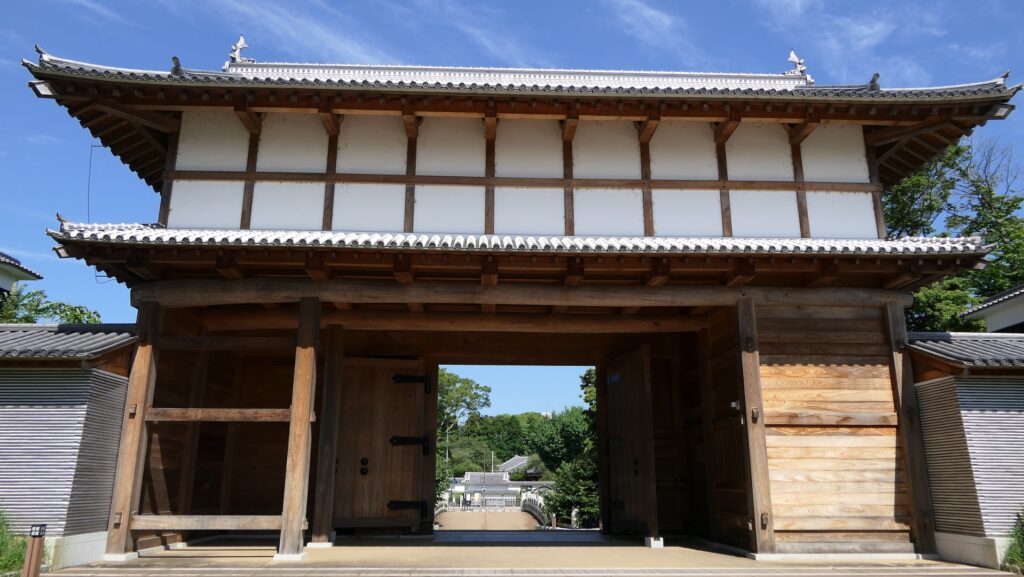
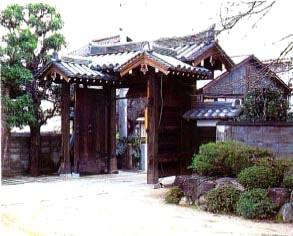
Only remaining building of Castle
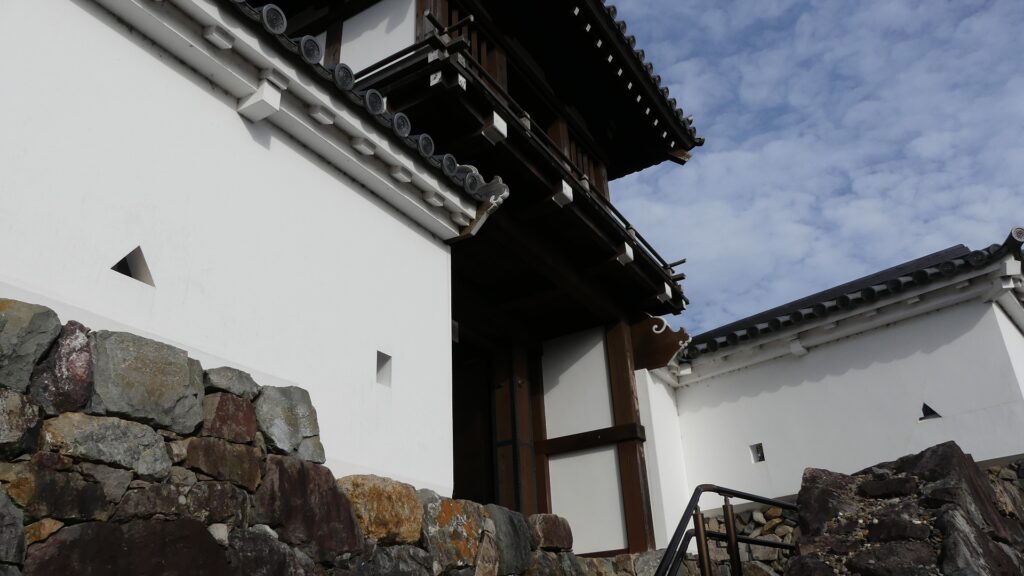
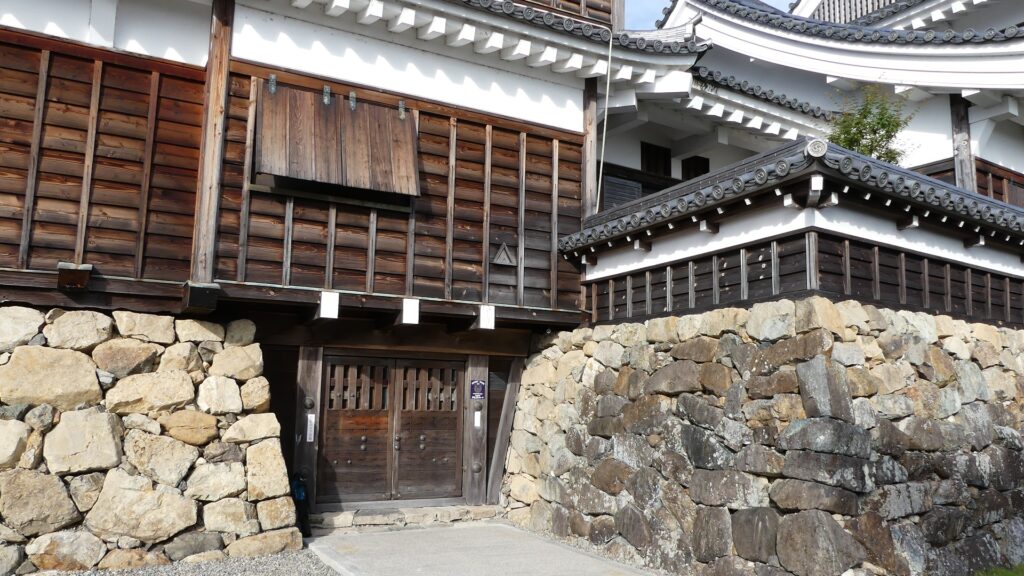
Akagane-mon Bansho or the Guardhouse for the Bronze Gate, which is located in the Main Enclosure, is the only remaining part of the building and is one of its attractions. It had been originally built in the Second Enclosure, but was moved to the current position because the said Second enclosure was removed. In addition, the building of the Bronze Gate was moved to Shogenji Temple in the city and is used as its front gate.
The map around the castle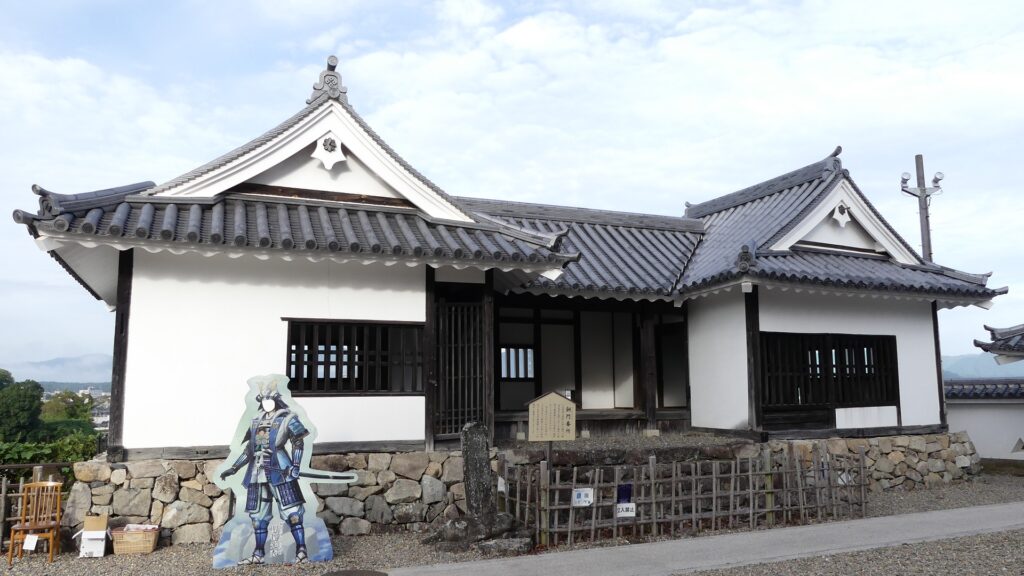
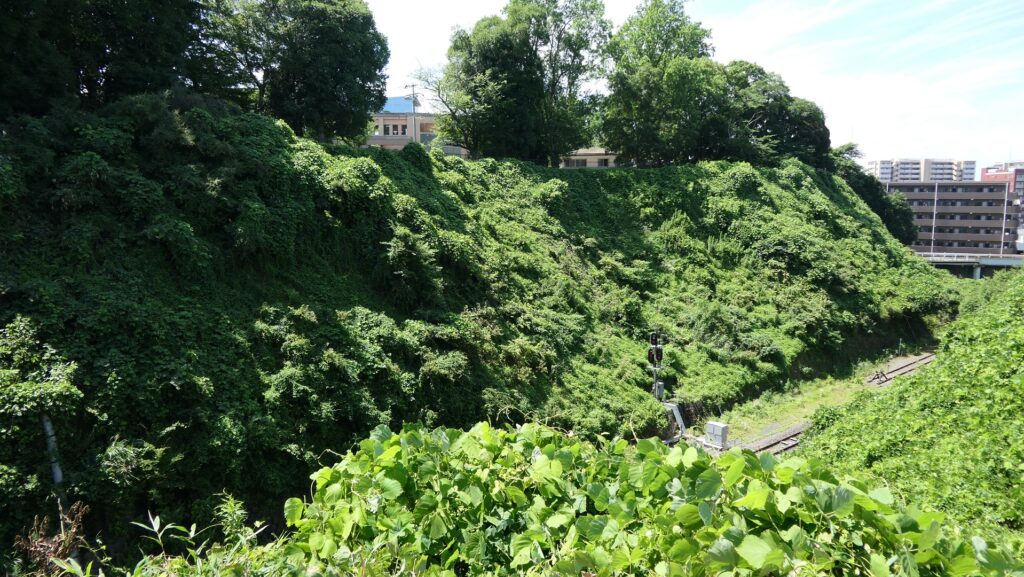
Later History
After the Meiji Restoration, Fukuchiyama Castle was abandoned and most of the castle buildings including the Main Tower were demolished or moved. It is said that the 20th Infantry Regiment of the Imperial Japanese Army destroyed the Second Enclosure for the convenient of the transit between their station and maneuvering ground. On the other hand, people in Fukuchiyama wanted to restore the Main Tower as a symbol of the city for a long time. The restoration launched since 1968 when the illustration of the castle in the Edo Period was found. It is once faced with a budget problem, but it was completed in 1986 with lot of donation from the citizens, which was more than a half of the final budget.
My Impression
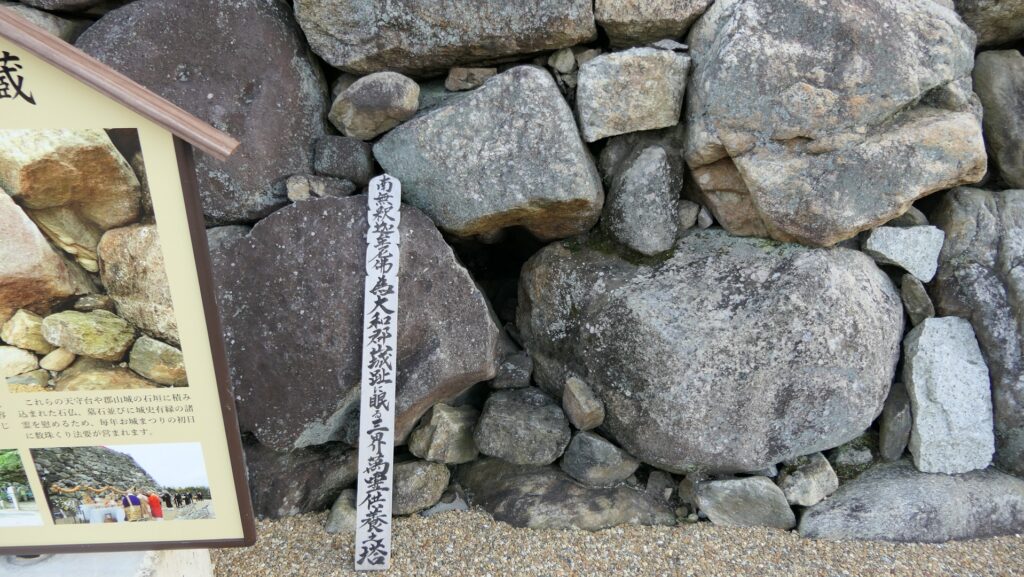
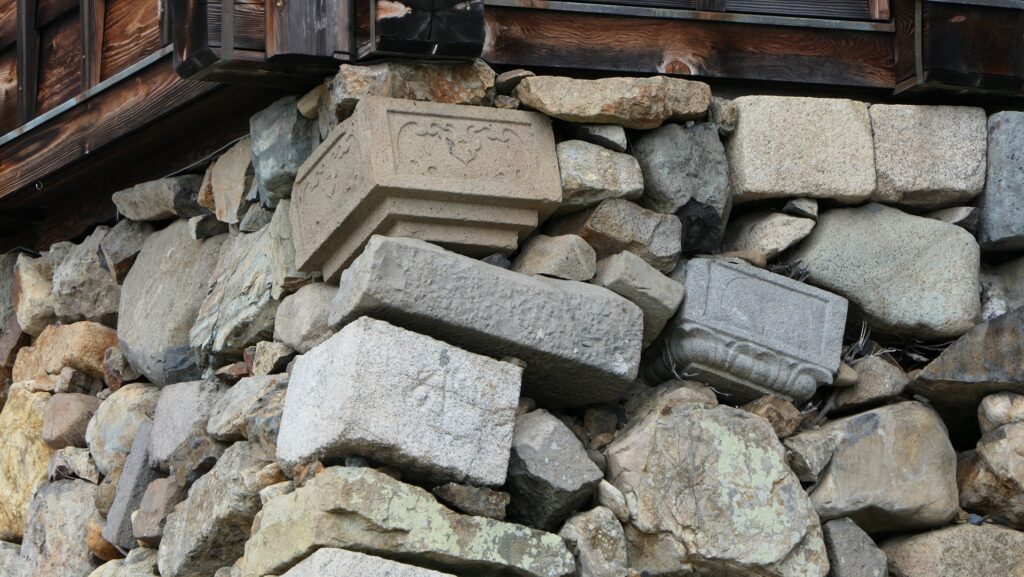
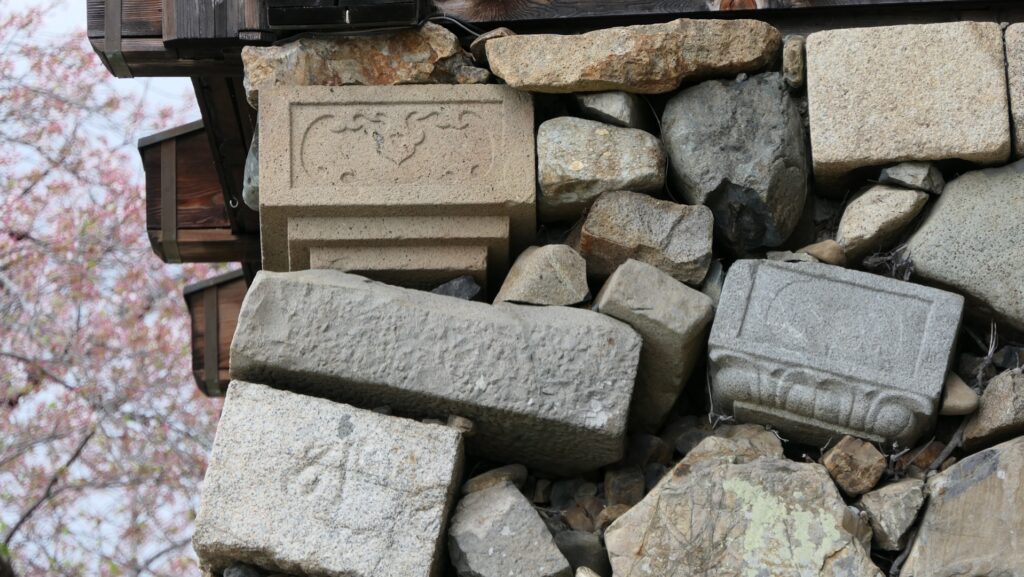
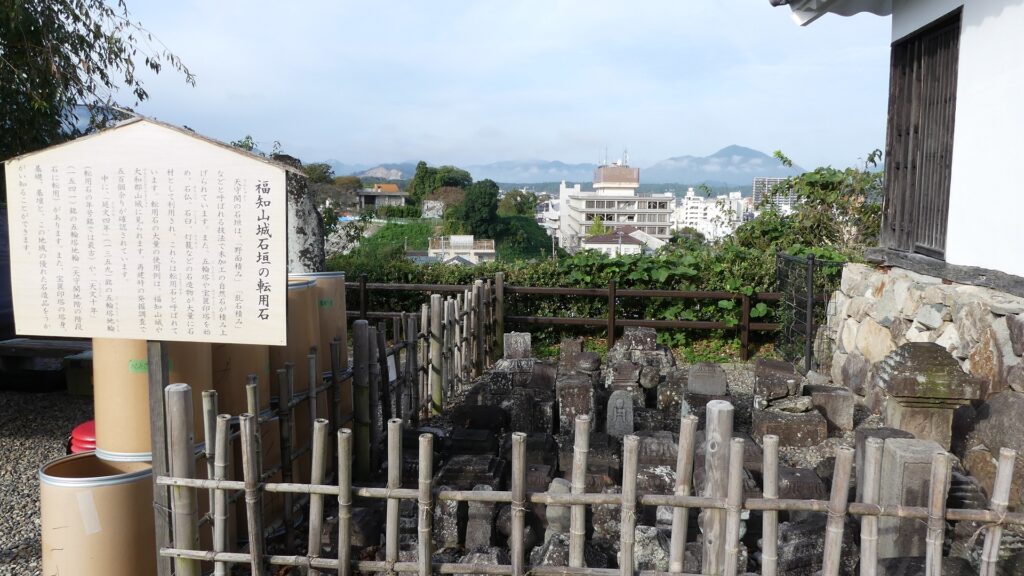
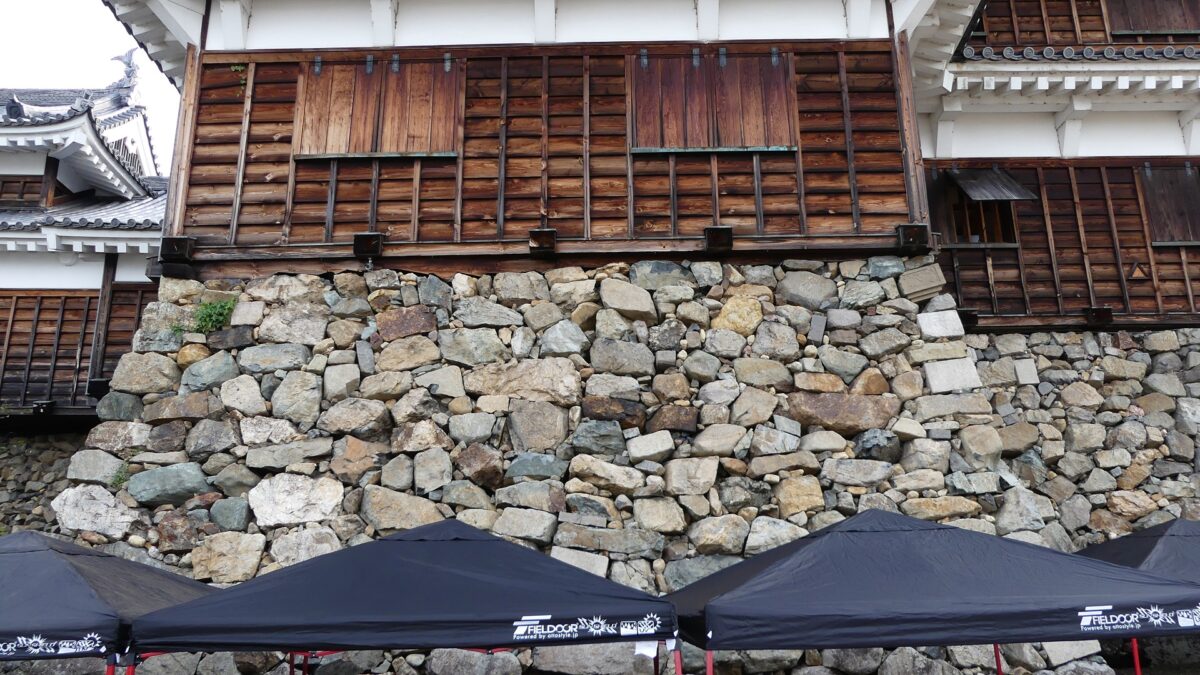
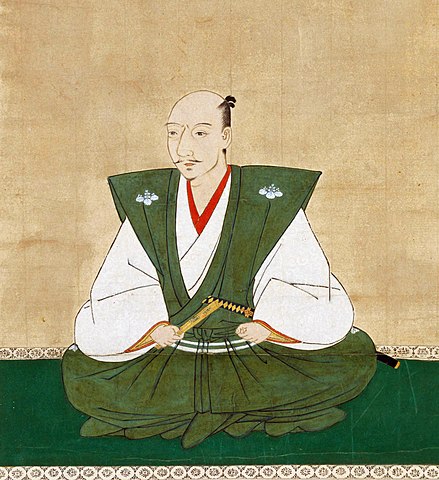
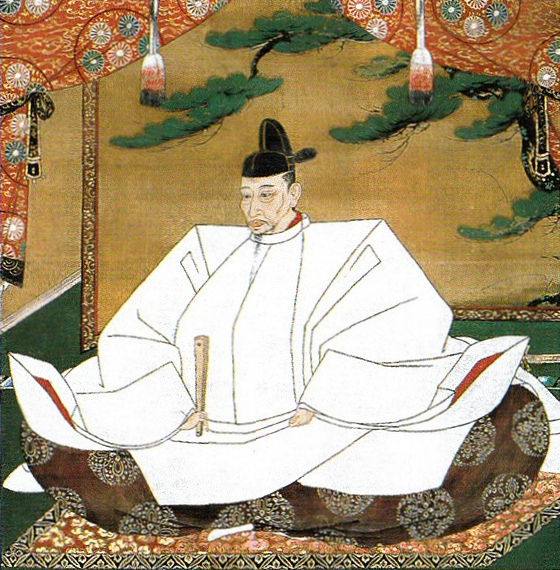
One of the popular assumptions of the reason for Mitsuhide’s rebellion has been the difference of Nobunaga and Mitsuhide’s characters. It is said that Nobunaga was radical while Mitsuhide was traditional. However, as long as looking at the stone wall base for the Main Tower of Fukuchiyama Castle, Mitsuhide seems to have followed a policy of Nobunaga’s castle constructions. It refers to using anything including Buddhism items to build their castles immediately. I honestly say that the stone walls using the tomb stones looks little strange. There is no telling how people at that time felt. I think Mitsuhide was definitely a follower of Nobunaga. A new assumption recently came that Mitsuhide’s position became weak during the discussion about how Nobunaga would invade the Shikoku Region. Mitsuhide’s opinion about it was rejected and his rival, Hideyoshi’s one was taken by Nobunaga. The Honnoji Incident occurred just before the invasion would be done. I’m wondering if the real reason for Mitsuhide’s decision will be uncovered.

How to get There
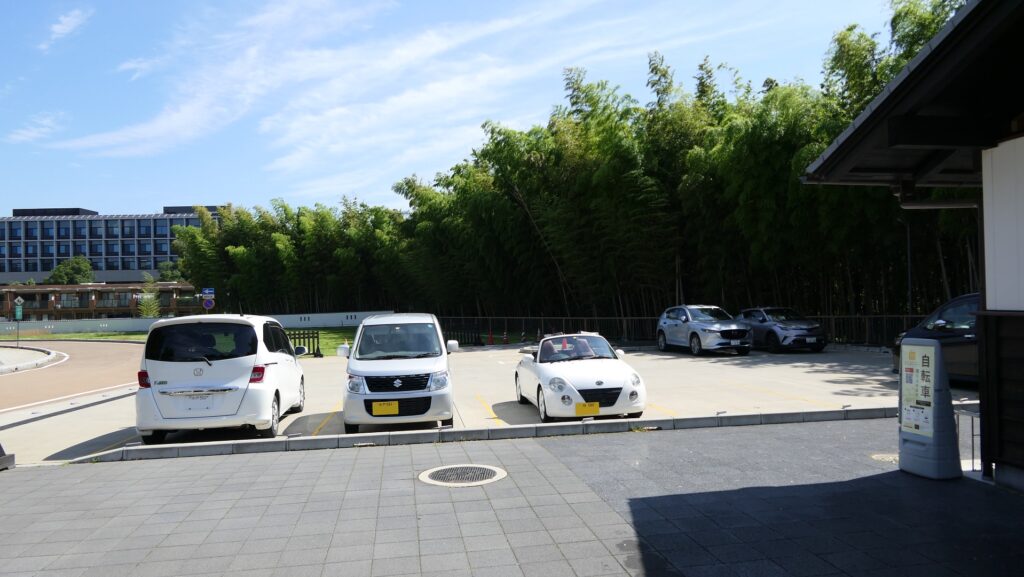
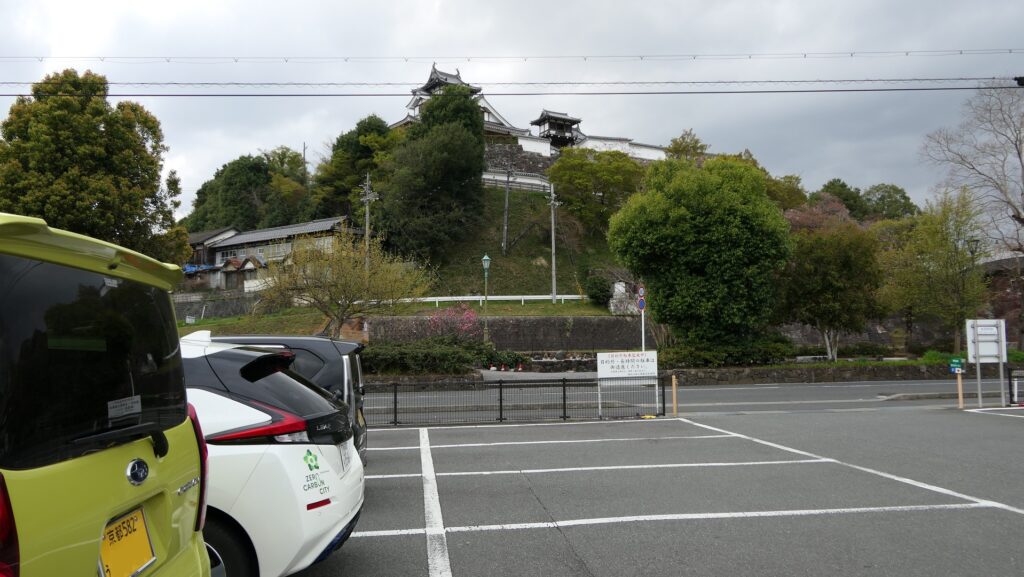
If you want to visit there by car, it is about 3 kms away from Fukuchiyama IC on the Maizuru-Wakasa Expressway. There is a parking lot beside the castle hill.
By public transportation, it takes about 15 minutes on foot to get there from JR Fukuchiyama Station.
From Tokyo to Fukuchiyama Station: Take the Tokaido Shinkansen super express and transfer to the Sanin Line at Kyoto Station.
That’s all. Thank you.
Back to “Fukuchiyama Castle Part1”
Back to “Fukuchiyama Castle Part2”