170.Hamada Castle Part3

Castles look very different depending on people’s perspectives.

Features for History Fans

From Approach Entrance to Nakanomon Gate Ruins

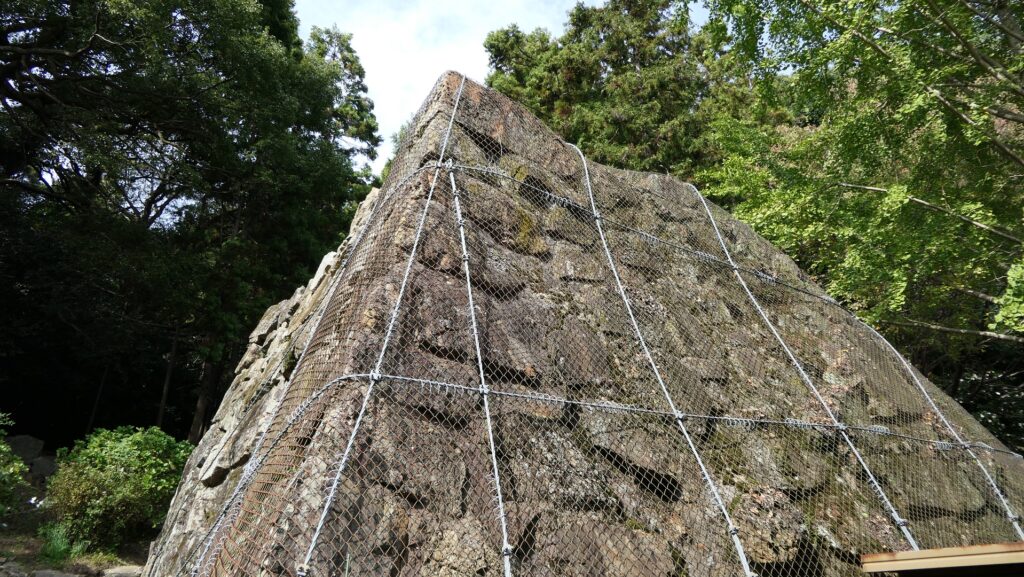
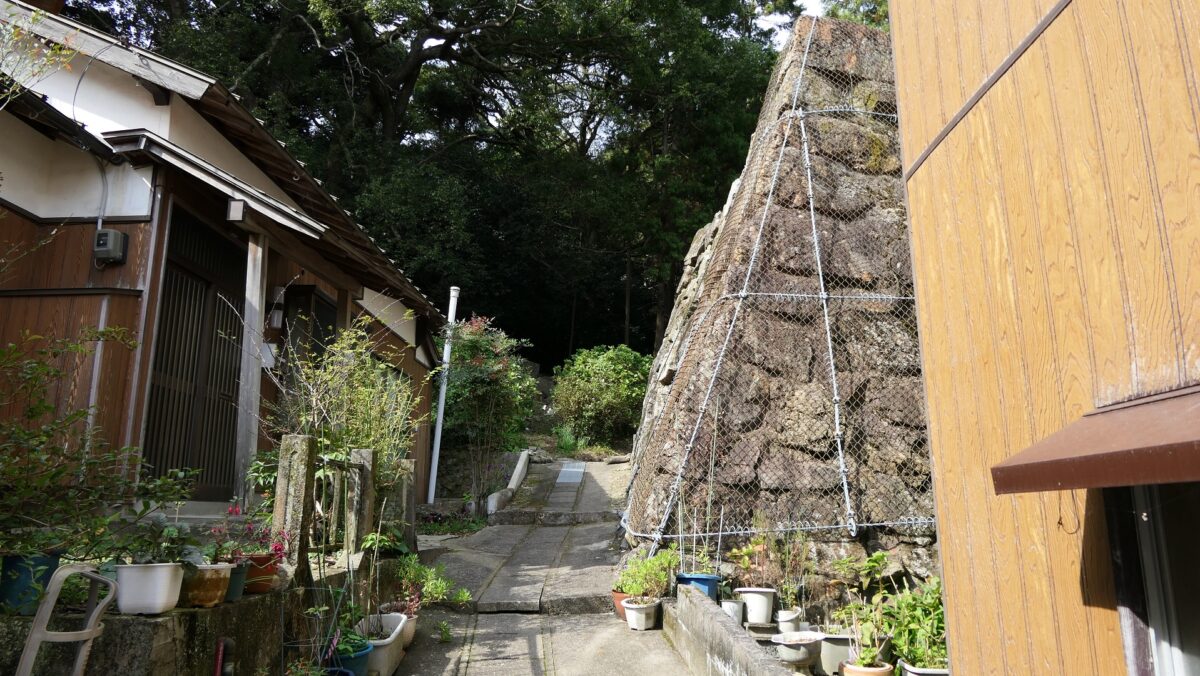
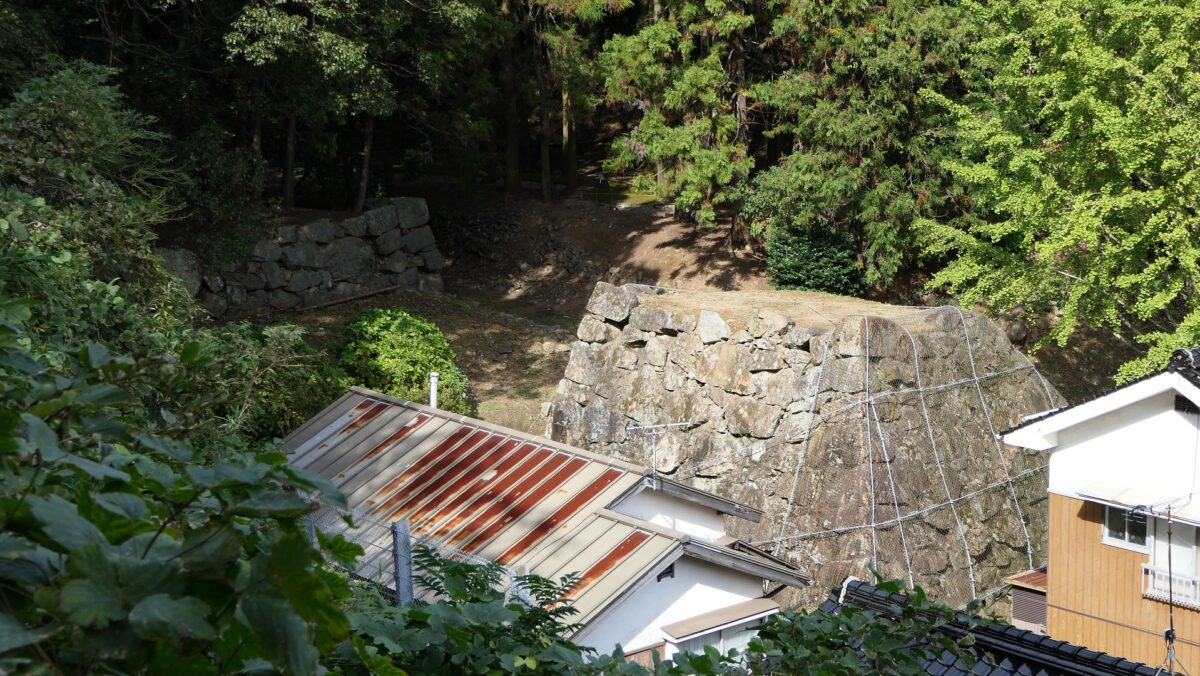
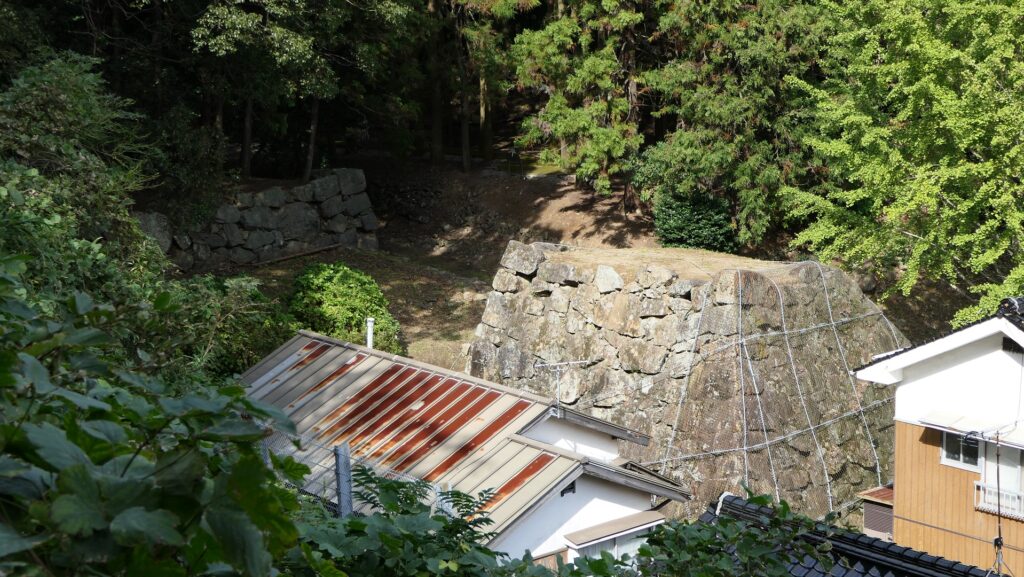
For serious history fans, consider getting back to the starting point of the shrine approach. Let us seek together the original route to the Nakanomon Gate Ruins which we talked about above. The foot had the Main Hall and warriors’ houses and turned into residential areas, so you will need to follow narrow paths among the modern houses. Then the large stone walls of the gate will suddenly appear. These walls are original and they look so great, but are partially covered with wiring nets to prevent them from collapsing.

The map around the casltle, the red broken line is the estimated original route
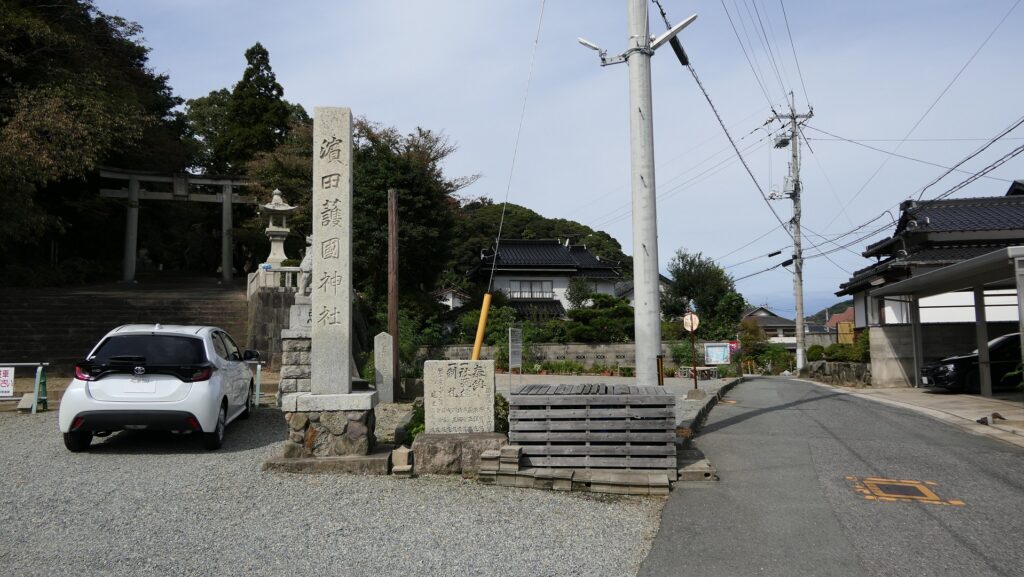
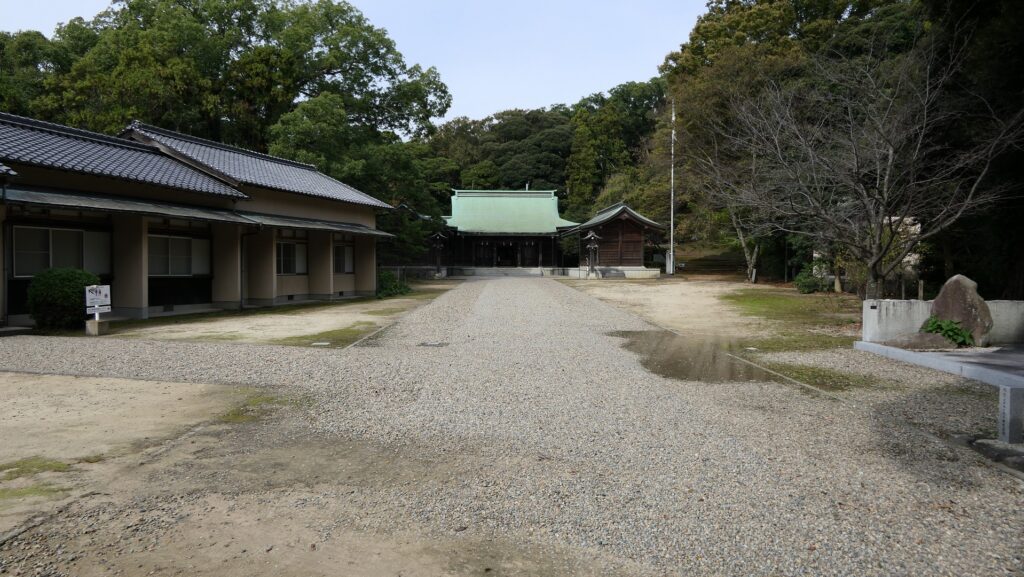
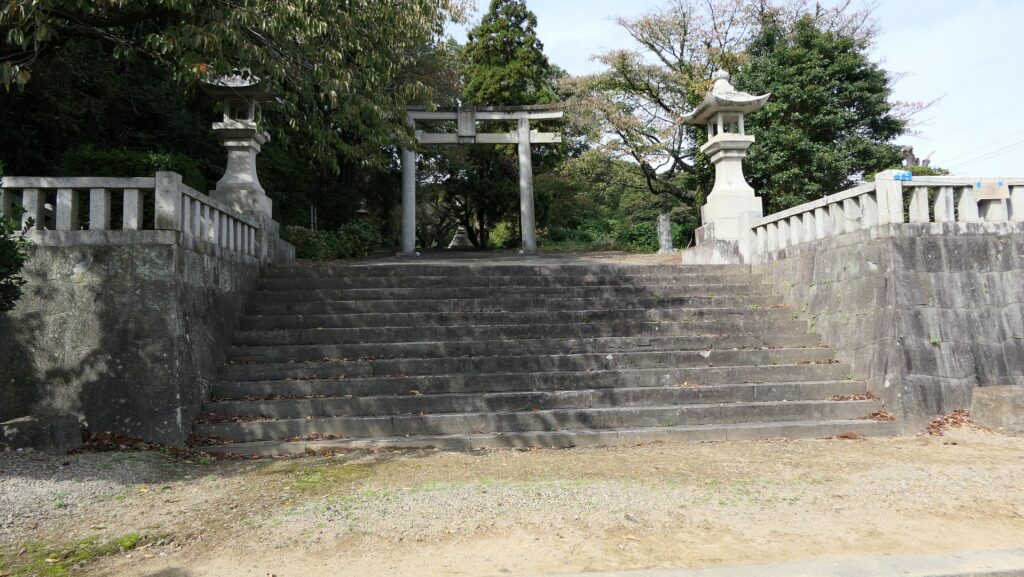
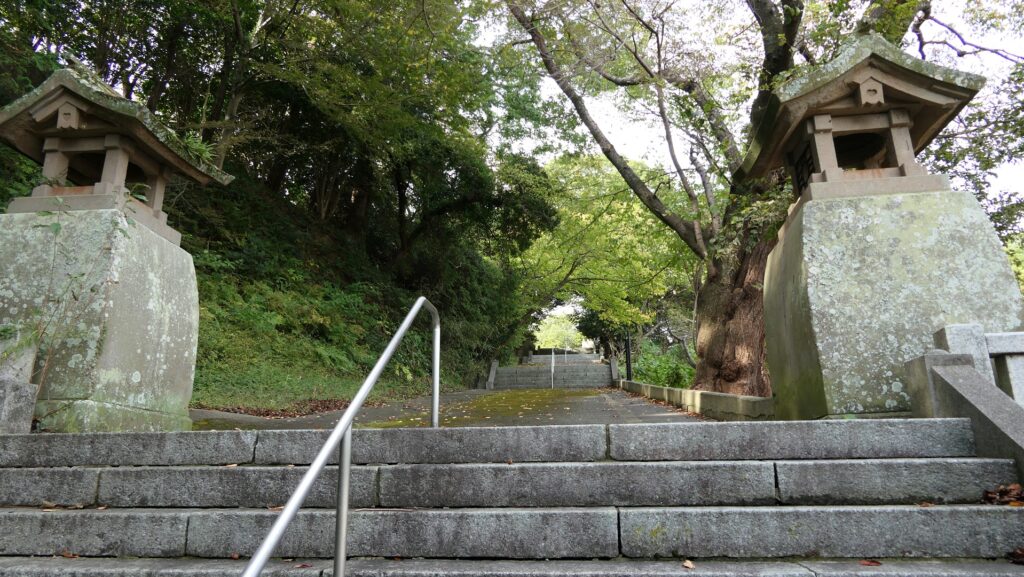
The shrine approach on the left and the residential area on the right
The narrow path among the residential area
the stone walls of the gate suddenly appears
The stone walls are partially covered with wiring nets

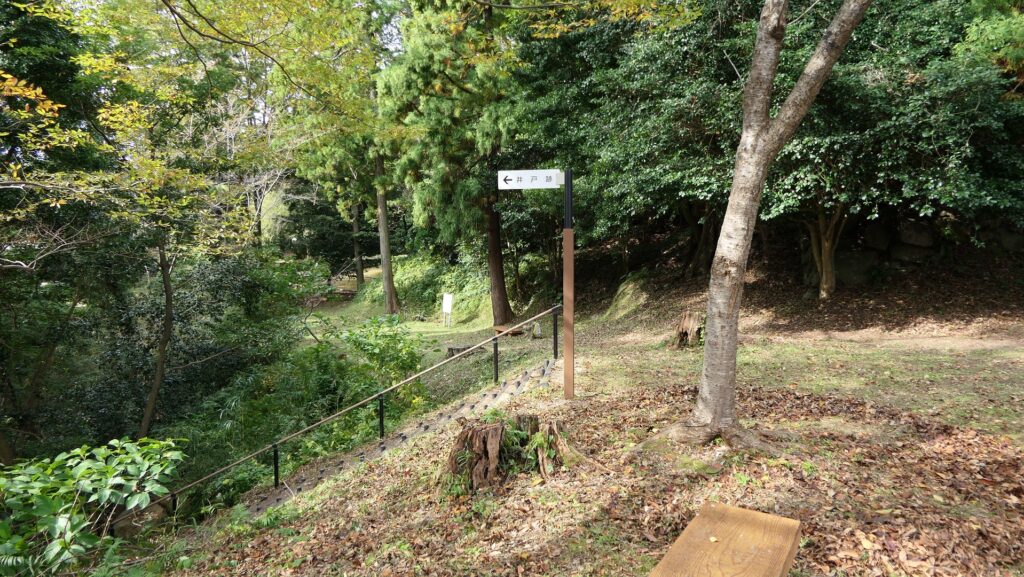
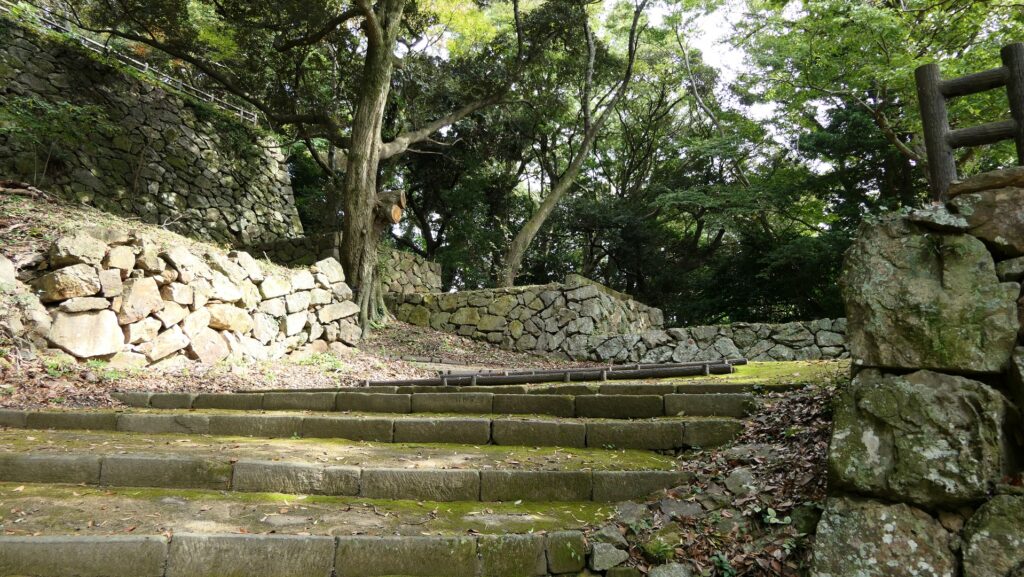
After passing the gate ruins, you will go on a promenade along the valley probably similar to the original route while seeing old stone walls around. You will eventually reach the mid slope beside the shrine.

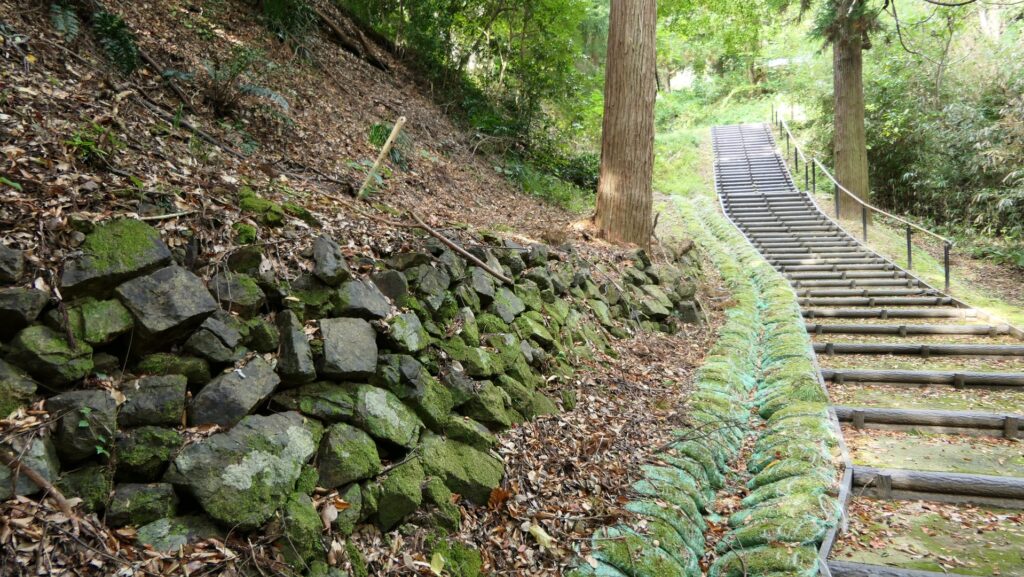
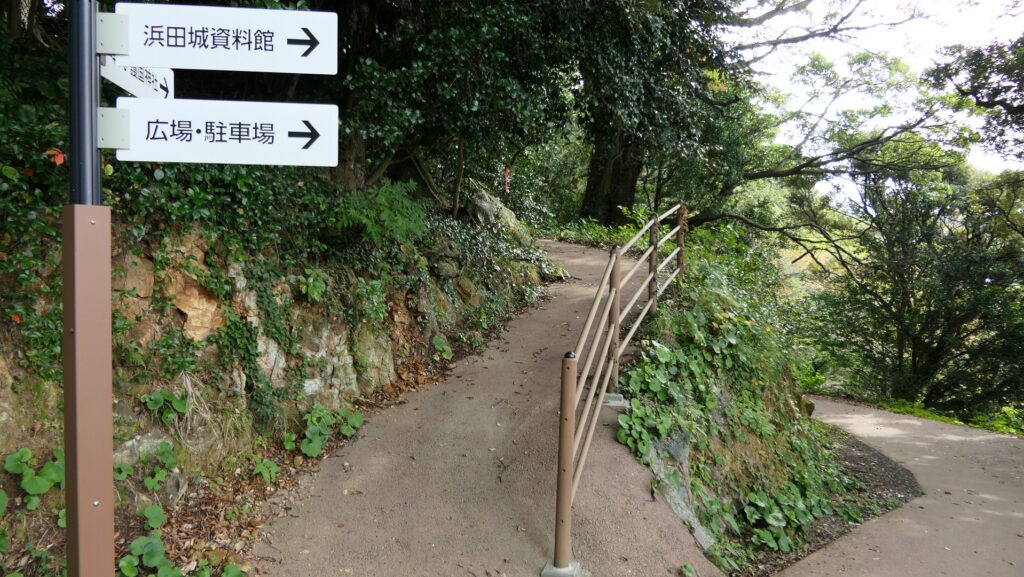
The promenade which is nearly on the original route
You can see some old stone walls beside the promenade
The route arrives at a mid slope point

Going through Third and Second Enclosures

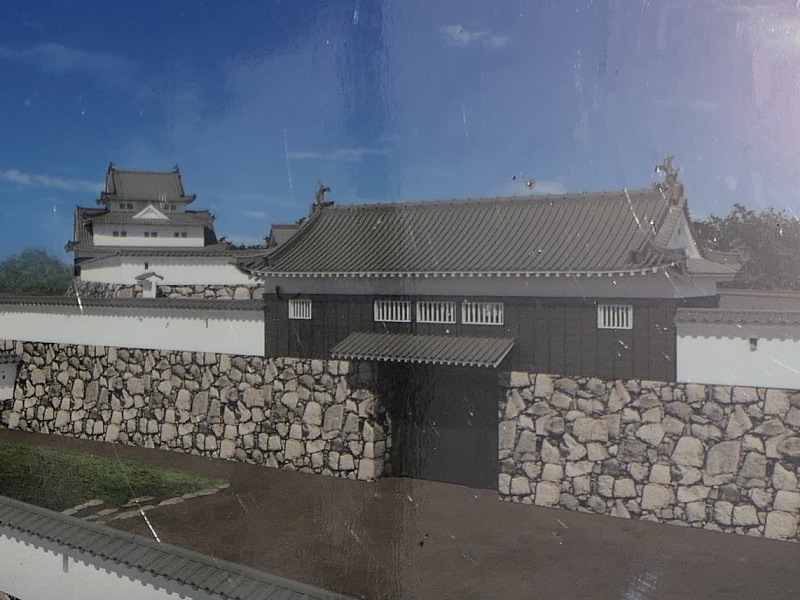
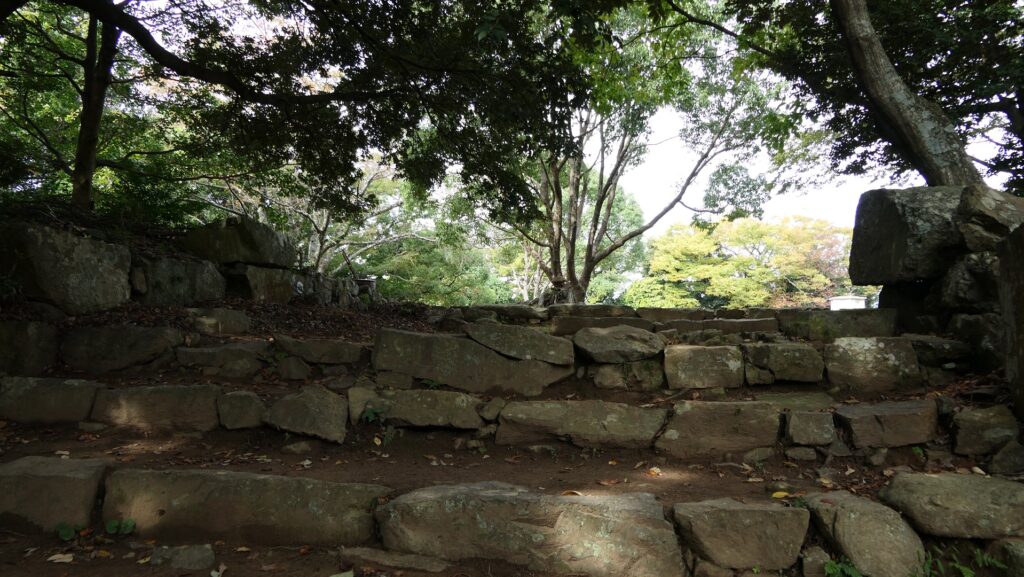
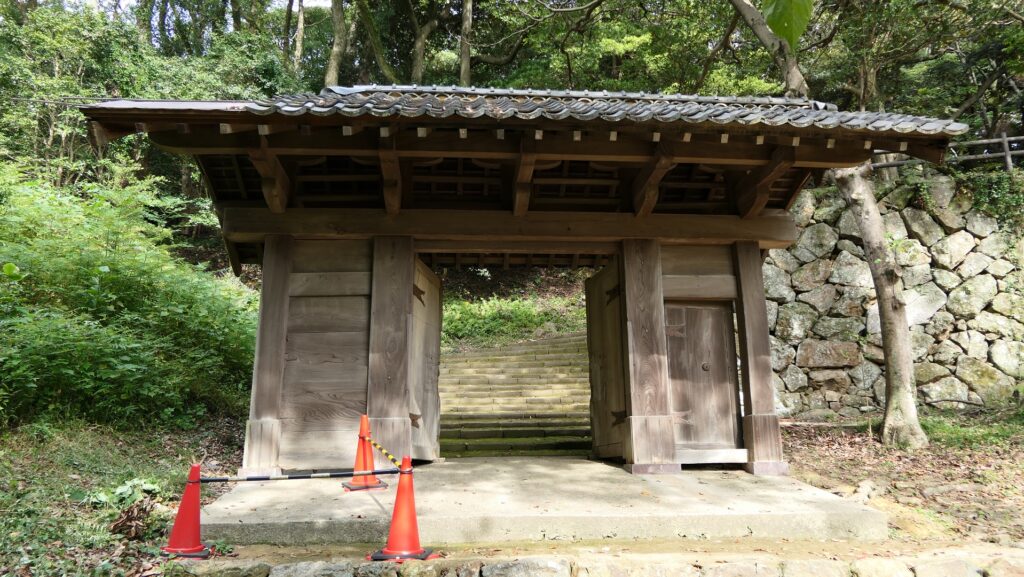
Let us pass the gate building and turn left again, but make sure not to go straight, instead, turn right this time. You can begin now to enter the two tiers of enclosures, surrounded by stone walls, which are original. However, these walls were piled up again during the Showa Era. It was said that the stones for the walls had collapsed before the repair. The lower tier is the Third Enclosure, and the upper is the Second Enclosure. The Second Gate was built between them. A square defensive space called Masugata which was also behind the gate where you can still see the same shape. You will finally reach the Main Enclosure as well from the Second Enclosure passing by the First Gate Ruins.
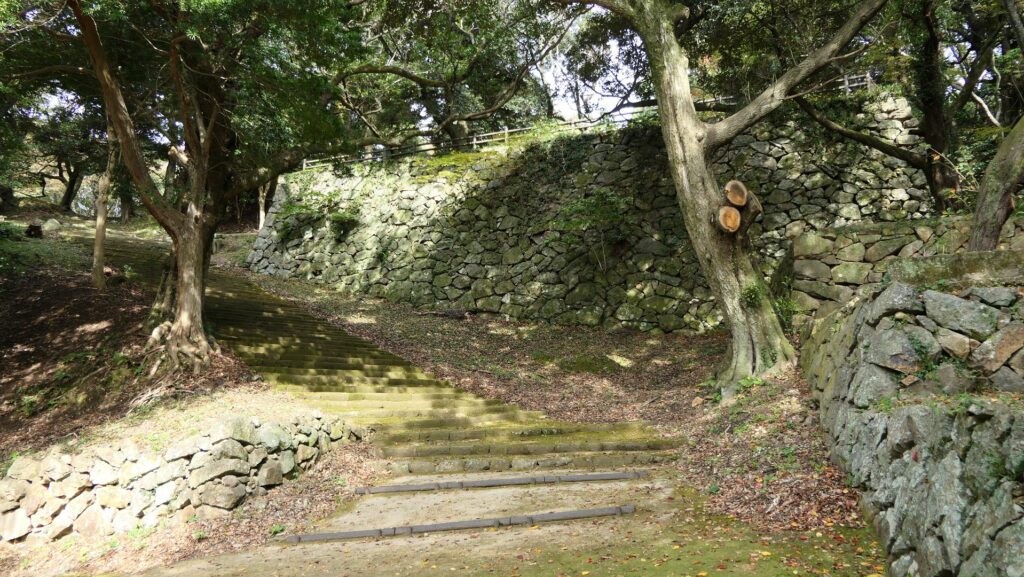
Turn right this time
Entering the Third Enclosure
The ruins of the Second Gate
The restored image by CG of the Second Gate, from the signboard at the site
The square defensive space behind the gate
The ruins of the First Gate to the Main Enclosure

My Impression

After visiting the ruins of Hamada Castle, I realized that people would have different impressions from the same place depending on their purposes such as relaxing or learning about history. I think this idea was similar to the people in the past. Records show that after the warriors in Hamada Castle had gone, children played in the remaining Main Tower until it finally collapsed during the earthquake. There were also very different impressions about the castle between the warriors (the high class) and local people (the low class).

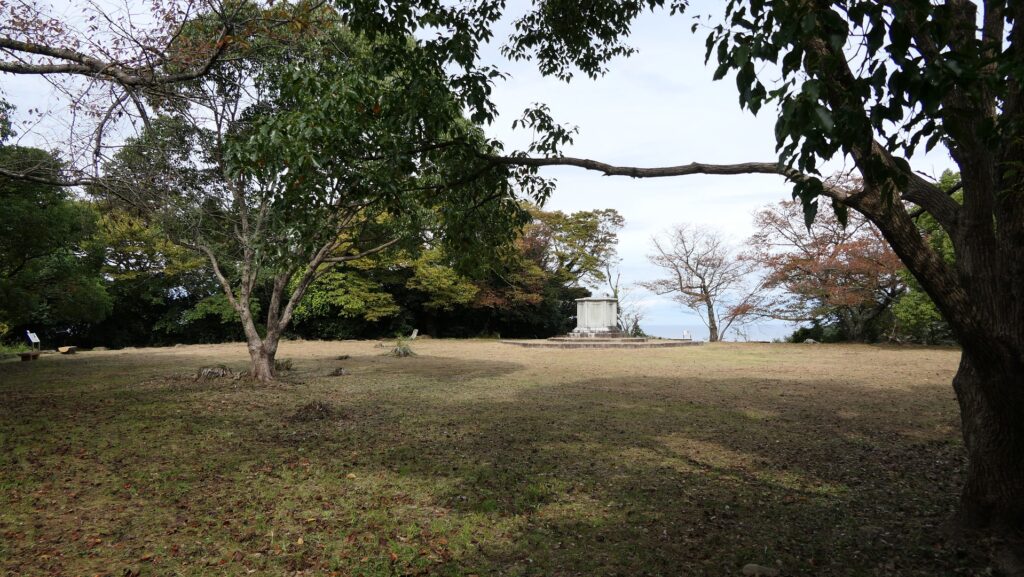
The area around the Main Tower base ruins
The restored image by CG of the Main Enclosure, from the signboard at the site

How to get There

If you want to visit Hamada Castle Ruins by car, it is about a 15-minute drive away from Hamada IC on the Chugoku Expressway. There are parking lots in the western and southern sides of the ruins.
By public transportation, it takes about 20 minutes on foot from JR Hamada Station to get there.
If you go there from Tokyo or Osaka, I recommend traveling by plane, using an express bus or combining them with trains.
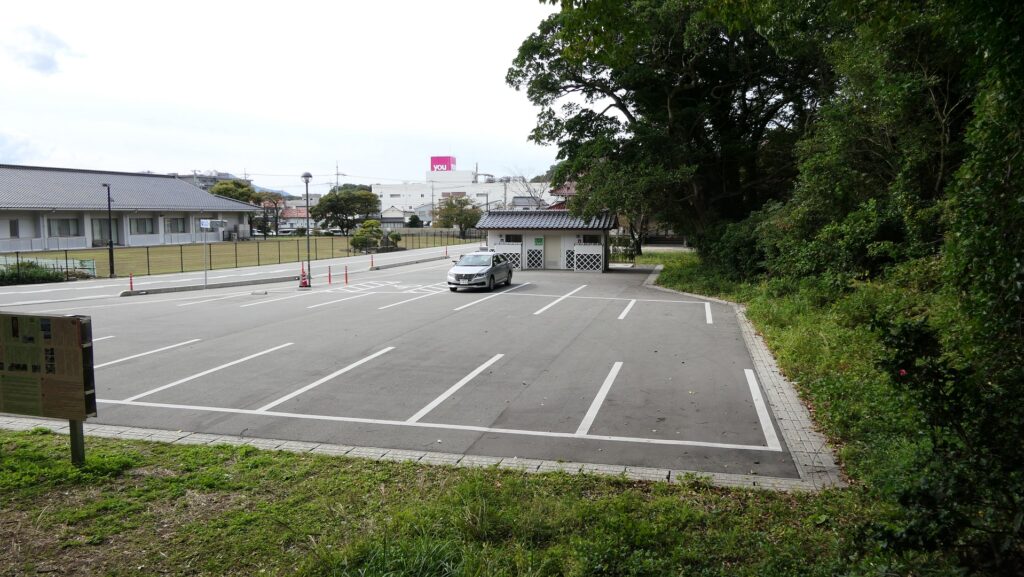
The parking lot in the western side of the ruins

That’s all. Thank you.
Back to “Hamada Castle Part1”
Back to “Hamada Castle Part2”
170.Hamada Castle Part2

Introductions for both casual visitors and serious history fans

Later History

After the Meiji Restoration, Hamada Castle Ruins had a little complicated history. The Japanese Army at first owned the ruins but they remained idle, while the remaining Main Tower collapsed due to the Hamada Earthquake in 1872. No buildings survived. After the ruins were sold to the former lord, Matsudaira Clan in 1890, Shimane Prefecture turned them into the Hamada Park in 1903. The route to the Main Enclosure on the top was developed, on the other hand, some stone walls were destroyed for the construction. In 1938, Hamada-Gokoku Shrine was established at the mid slope of the hill. Its approach from the foot was developed.

Hamada-Gokoku Shrine

After World War II, Hamada City, which bought the ruins, planned to improve the park as well as a working area for people. Another route from the foot was developed and some stone walls were repaired by the work. The stone walls had been left after the fire at the end of the Edo Period. However, it was pointed out that their original condition was not considered in the repair. As a result, the ruins were designated as a Prefectural Historic Site of Shimane Prefecture in 1962.

The route to the ruins, which was developed after World War II

Features for General Visitors

Going to Castle Ruins through Hamada-Gokoku Shrine

Today, there are two routes to the ruins of Hamada Castle, houever they are not the original. If you choose the approach to Hamada-Gokoku Shrine as the route, it goes straight to the shrine at the mid slope with stone steps. You can look down Nakanomon Gate Ruins to the right of the way. In fact, the gate was on the original route.

The map around the casltle

The entrance of the approach to Hamada-Gokoku Shrine
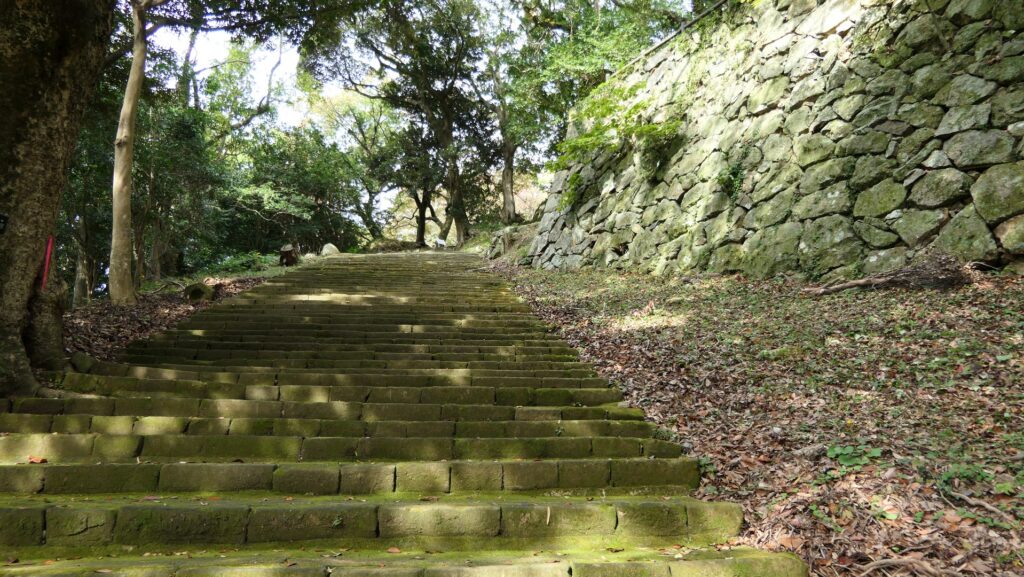
The approach to Hamada-Gokoku Shrine
The ruins of Nakanomon Gate seen from the approach

Gate moved from Tsuwano Castle

In the back of the shrine, you will see an old building which looks like a castle gate. However, it is also not original to this castle. When this city was part of the Hamada Prefectural Capital (Hamada Prefecture was later unified with Shimane Prefecture), they moved one of the gates of Tsuwano Castle for its office. The gate was finally moved to the current position in 1967 made as a park attraction.

Going to the back of the shrine
The former Tsuwano Castle Gate
The photo of the gate when it was used for the office

Going to Main Enclosure through Route developed in Meiji Era

You will enter the center of the ruins from the gate, the route becomes likely the original one surrounded by stone walls, but once you turn left, you will see another straight route to the Main Enclosure on the top. Such a layout was hard to believe for a castle because it would have been easier for enemies to attack it. In fact, this route was also developed for the park during the Meiji Era by breaking the stone walls of the Barbican Enclosure beside the Main Enclosure. That’s why visitors have easy access at the top.

Going the center of the ruins
The route becomes straight again
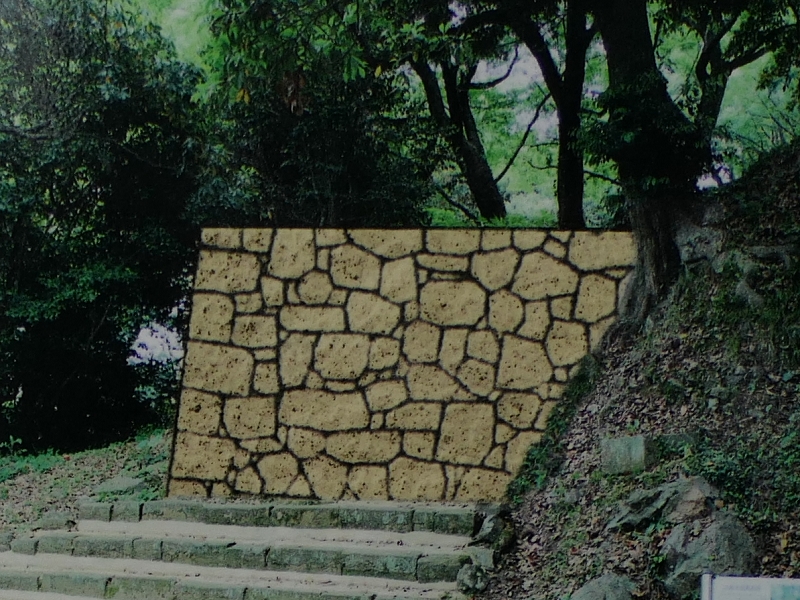
The image of the original stone walls of the Barbican Enclosure, from the signboard at the site
Part of “the illustration of Hamada Castle Stone Walls”, from the signboard at the site, adding the red arrow as the current route and the red circles as the broken stone walls

Main Enclosure becomes Park Square

The inside of the Main Enclosure is a square now where you can see views such as the Hamada city area and Tonoura Cove. You can also see some remaining stone walls around and the rest seemed to have collapsed due to the earthquake back in 1872.

The inside of the Main Enclosure
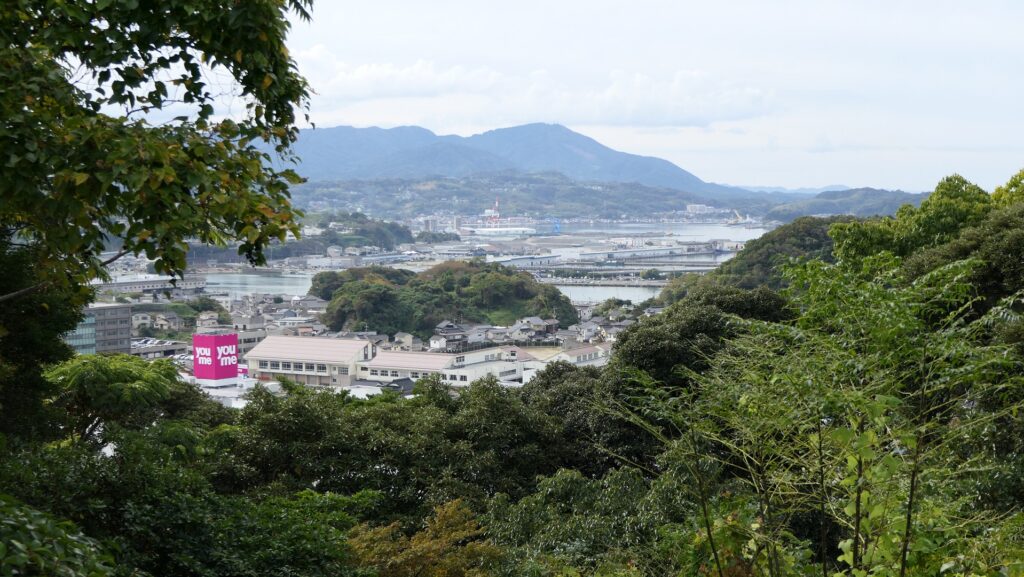
The Hamada city area seen from the Main Enclosure
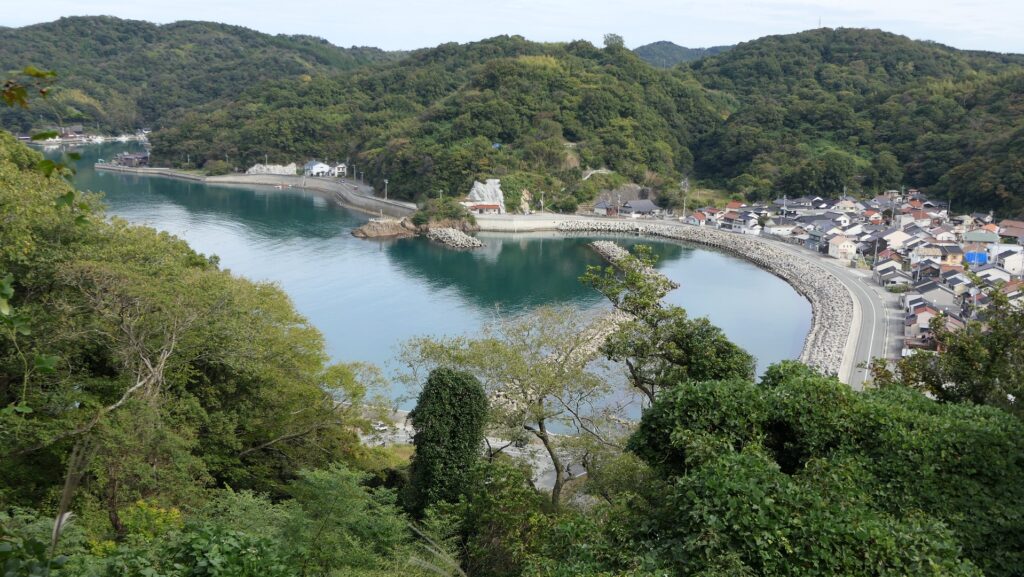
Tonoura Cove seen from the Main Enclosure
The partially remaining stone walls of the Main Enclosure

To be continued in “Hamada Castle Part3”
Back to “Hamada Castle Part1”

59.Himeji Castle Part2

The castle and the town are united as one.

Features (From Himeji Station to the Main Towers)

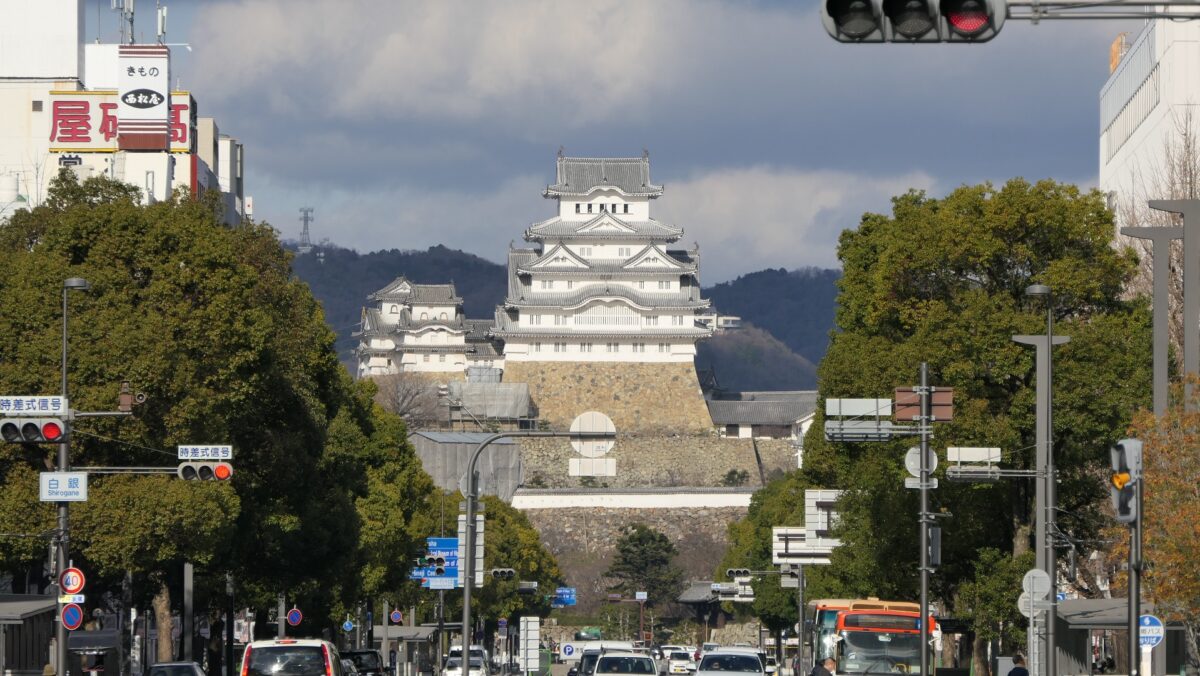
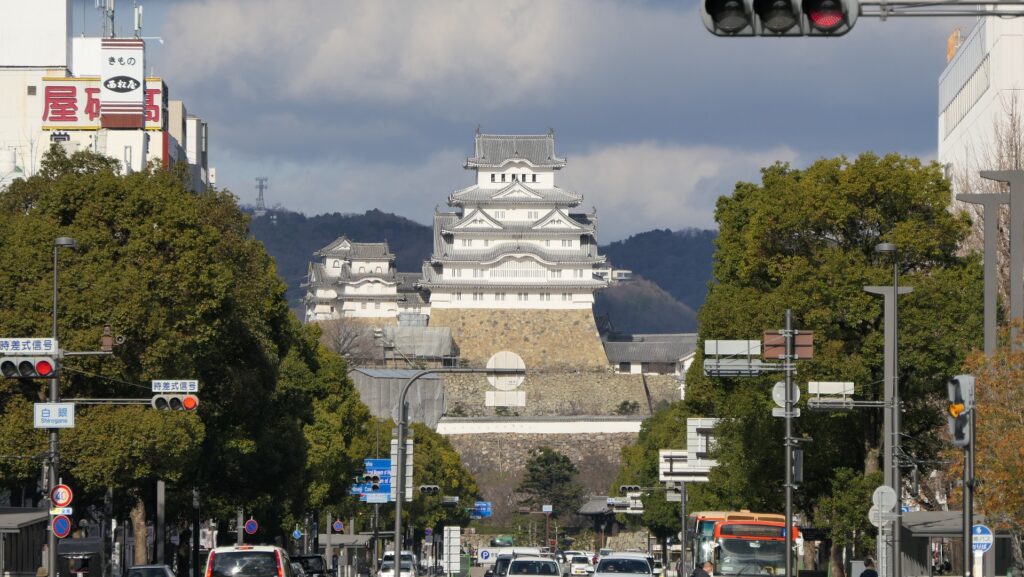
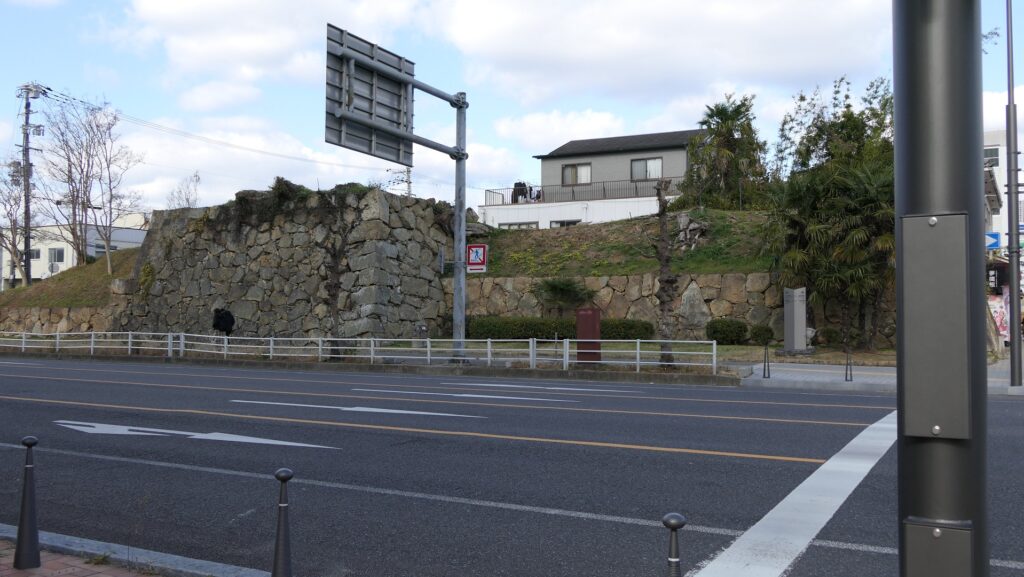
When you go out of the north (Himeji-jo) exit of Himeji Stataion, you can see the Main Towers towards the main street in front of the station in the distance. You get the feeling that the castle and the town are united as one. The Outer Moat was built around this area. The Main Towers are still over 1.5 km away. On the way to the castle along the street, you will see the stone walls of Nakanomon Gate Ruins on the left, where the Middle Moat existed. The area around there has become the city area now, but the street looks like the approach to the castle.

The aerial photo around the castle

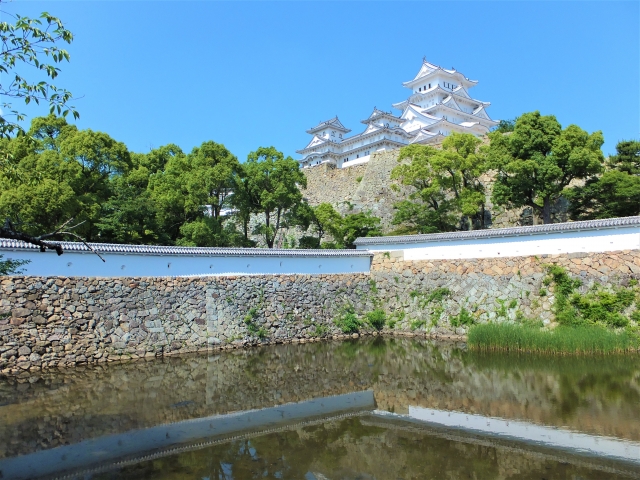
Himeji Castle that can be seen from Himeji Station
The ruins of Nakanomon Gate

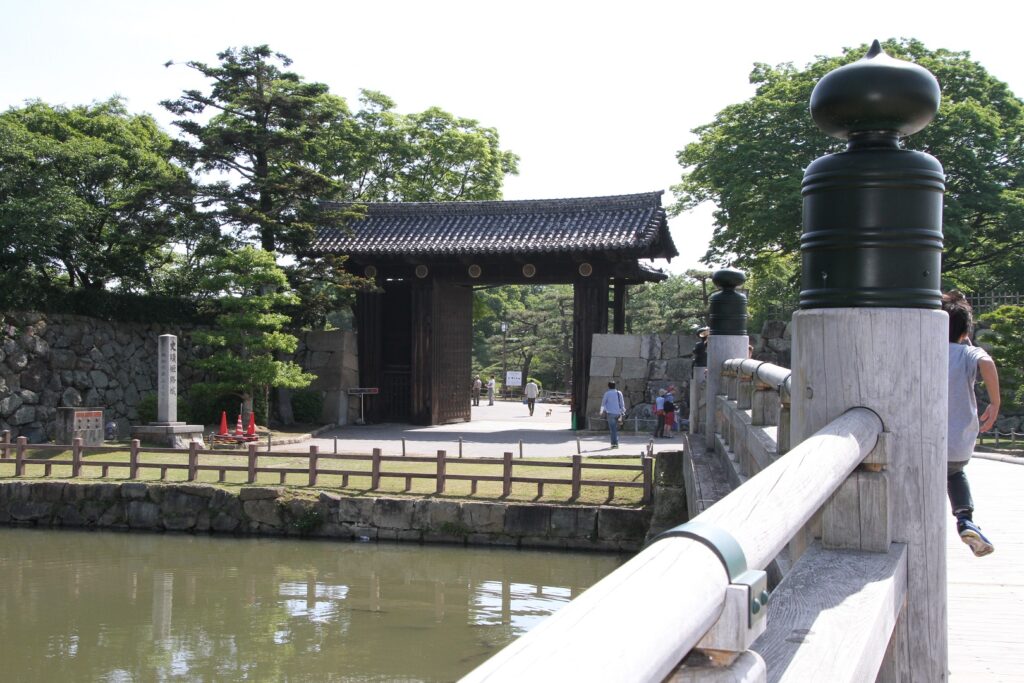
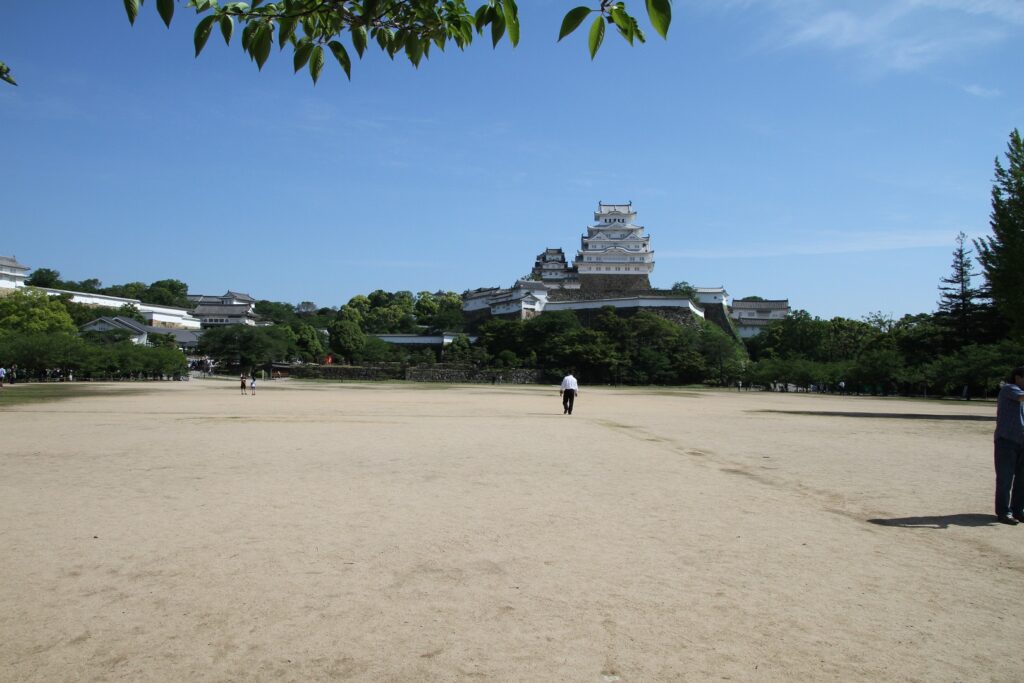
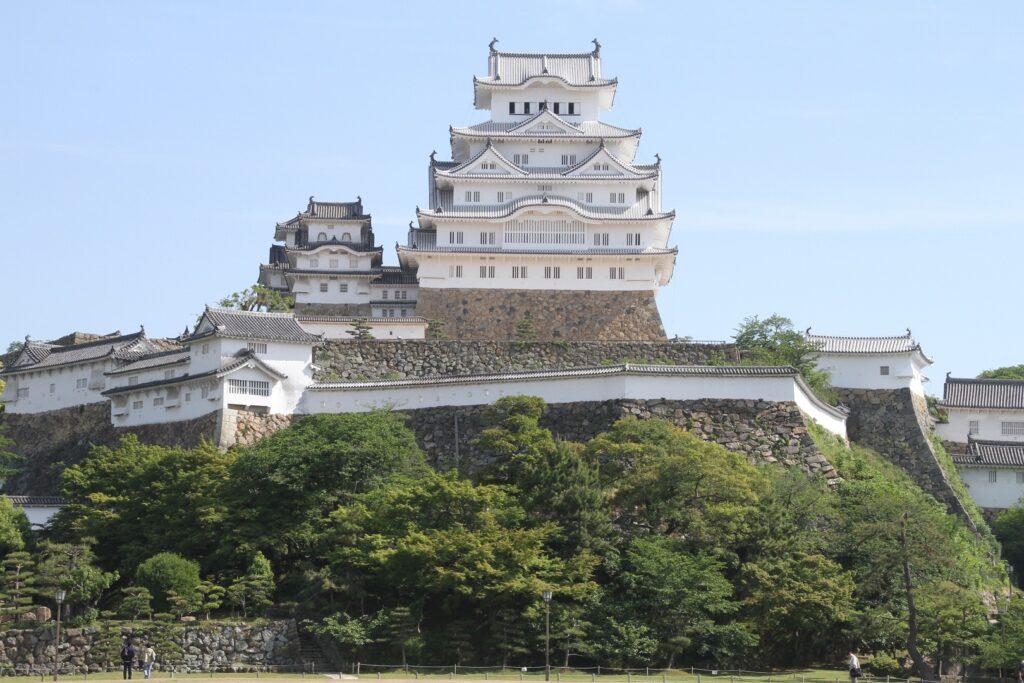
Soon, you will reach the front of the Inner Moat. The inside of the moat is the main portion of the castle called “Naikaku”. The Main Gate called Sakura-mon is the entrance of Naikaku, which is accessible after walking across the bridge. The gate was once demolished but was restored. You can see a large empty square called the Third Enclosure where many halls once stood. You can now get to see the Main Towers on Himeyama mountain up close.

The restored Sakura-mon Gate (the Main Gate)
The Third Enclosure Square
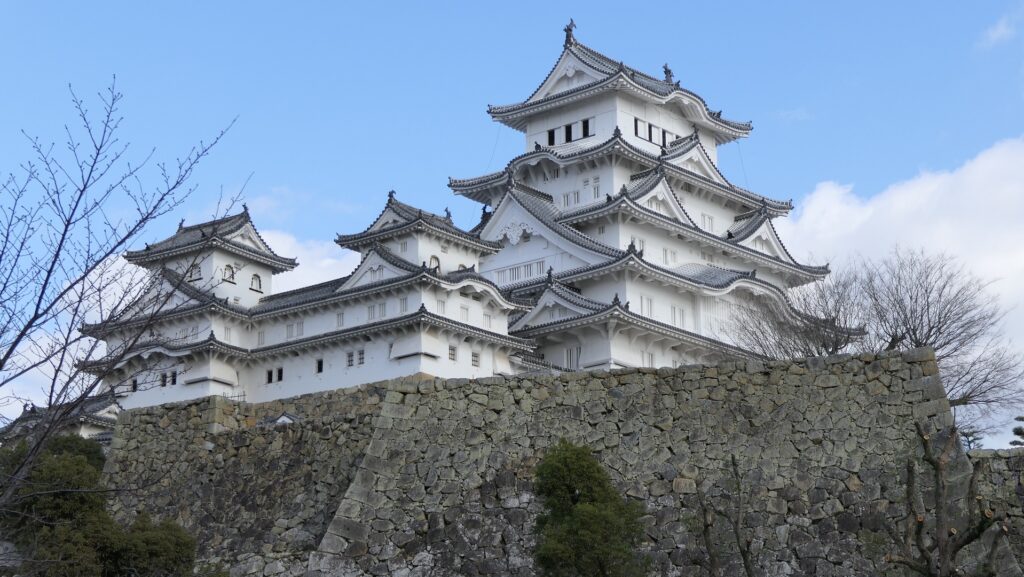
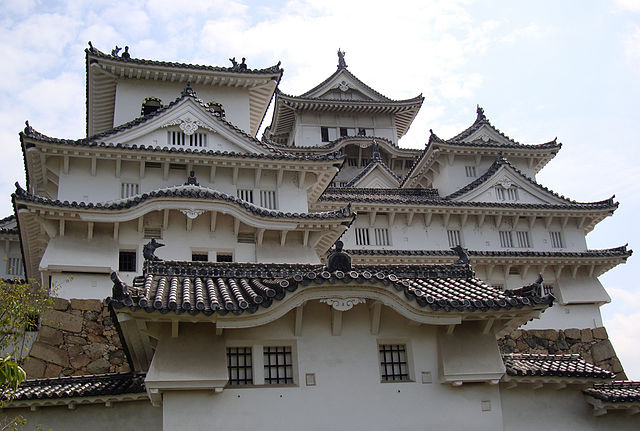
The Main Tower on Himeyama Mountain

The ticket office is at the back of the square. After buying the ticket, you will enter Hishinomon Gate, the entrance of the Second Enclosure. You can go to both the Main Towers on Himeyama mountain and Nishinomaru Enclosure on Sagiyama mountain from the gate because it is located in the valley between the mountains. Inside the gate, you can also see Sangokubori Moat which is said to once be a water reservoir. The Main Towers start to look bigger.

Hishinomon Gate
Sangokubori Moat  (taken by わゆすけ from photoAC)
The Main Tower is looking bigger

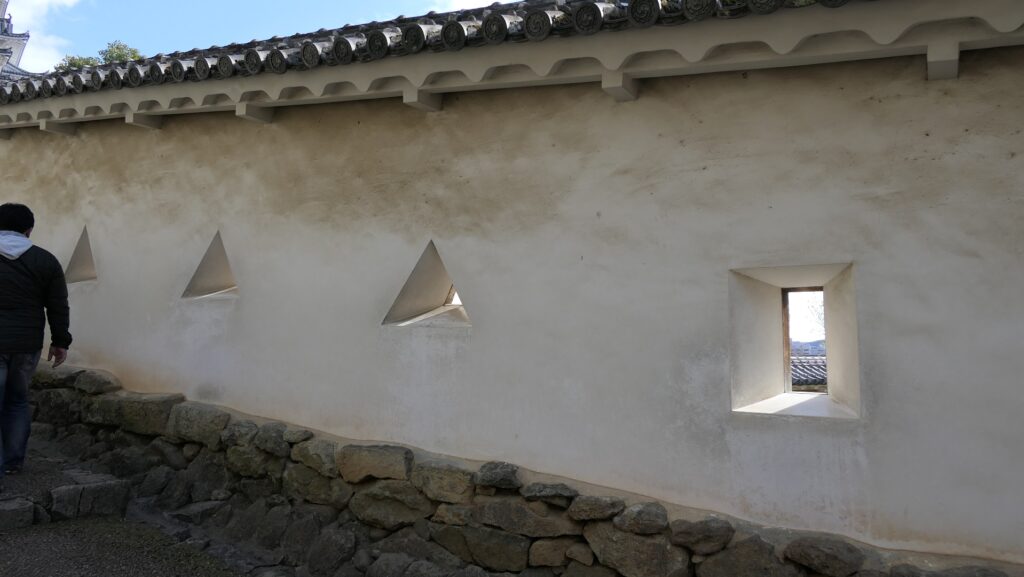
To reach the Main Towers, you will need to go through many gates in front of you. In fact, the shortcuts to the Main Towers are set on the right of Sangokubori Moat, but the routes can be hard to find for visitors. That meant enemies could be led to the difficult route easily. You can see a lot of loopholes on the plaster walls along the route. The loopholes have several interesting shapes, but they were also a threat to enemies.

The map around the castle

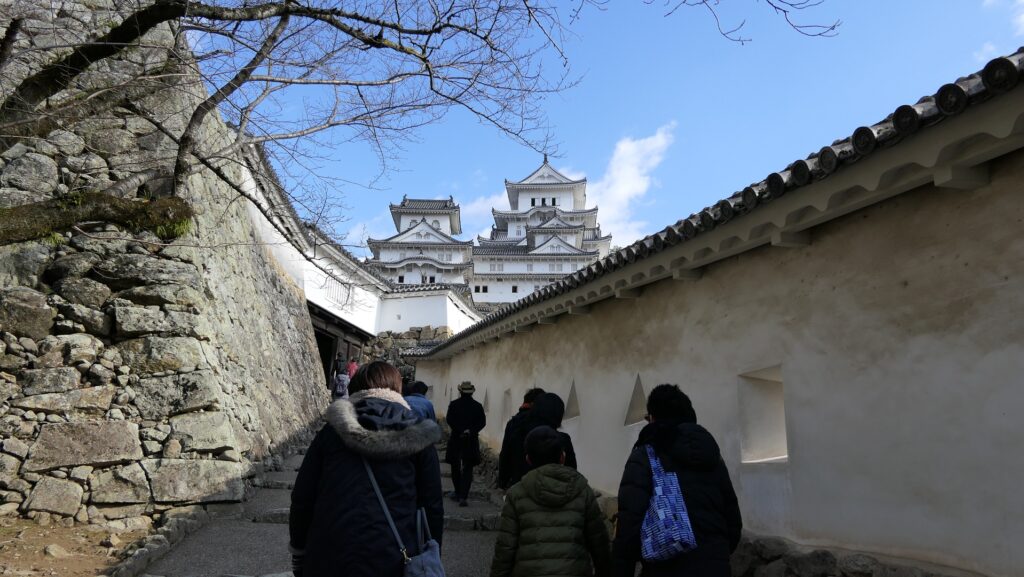
The route to the Main Tower
The loopholes on the plaster walls

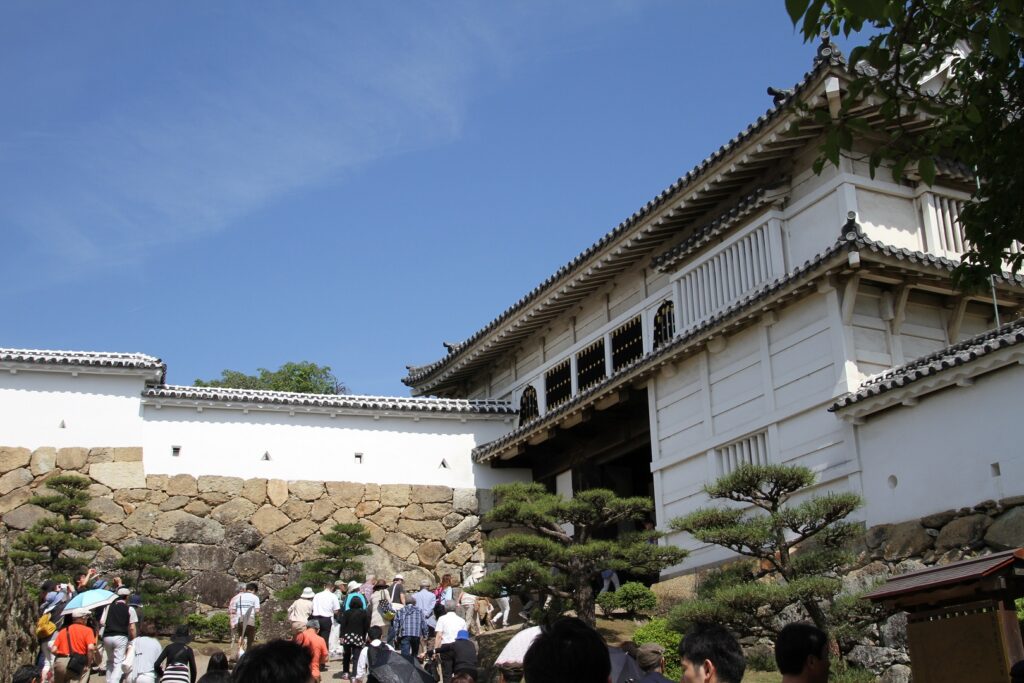
The farther you go, the closer the Main Towers get; however, the route suddenly changes direction before the Ninomon Gate. In addition, the entrance of the gate is very low and narrow under the turret building for the gate. Enemies would have been very confused to see such a defense system. You will enter the Main Tower Enclosure after passing the next gate called Honomon. You can see a mud wall on the right, which looks different from the castle’s other white plaster walls. It is called “Abura-kabe” or the Oil Wall and said to derive from Hideyoshi’s period. The wall actually hid other gates to the Large Main Tower. You will need to go through five more gates to reach the tower! The three Small Main Towers are along the route to protect the Large Main Tower.

Ninomon Gate  (licensed by そらみみ via Wikimedia Commons)
The Oil Wall (licensed by 663highland via Wikimedia Commons)
The Small Main Towers protecting the Large Main Tower

To be continued in “Himeji Castle Part3”
Back to “Himeji Castle Part1”