114.Karasawayama Castle Part3

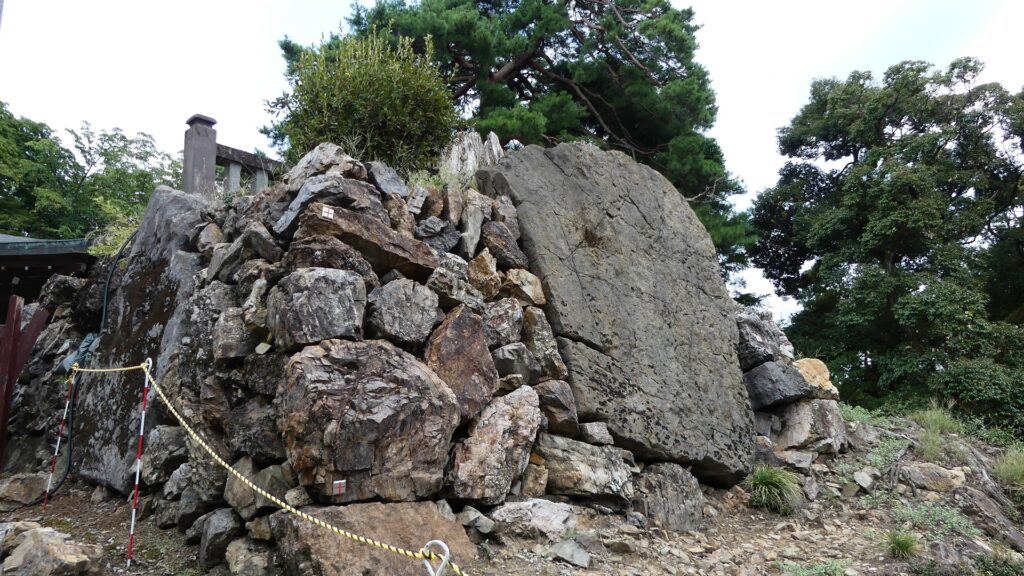
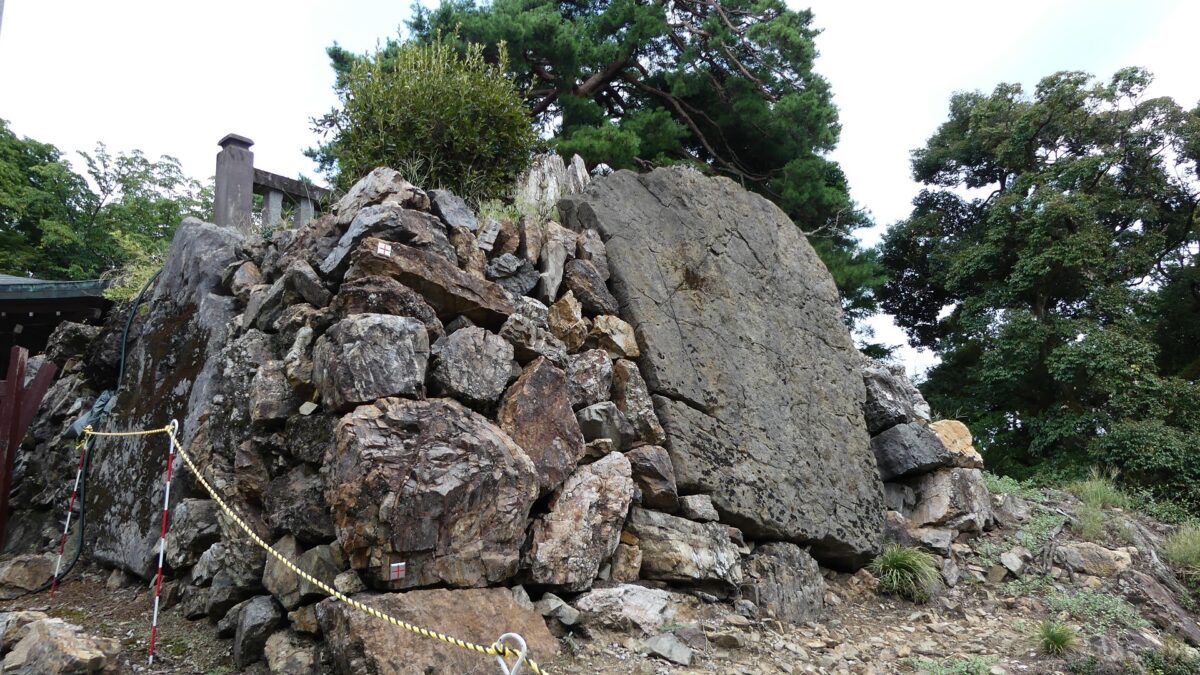
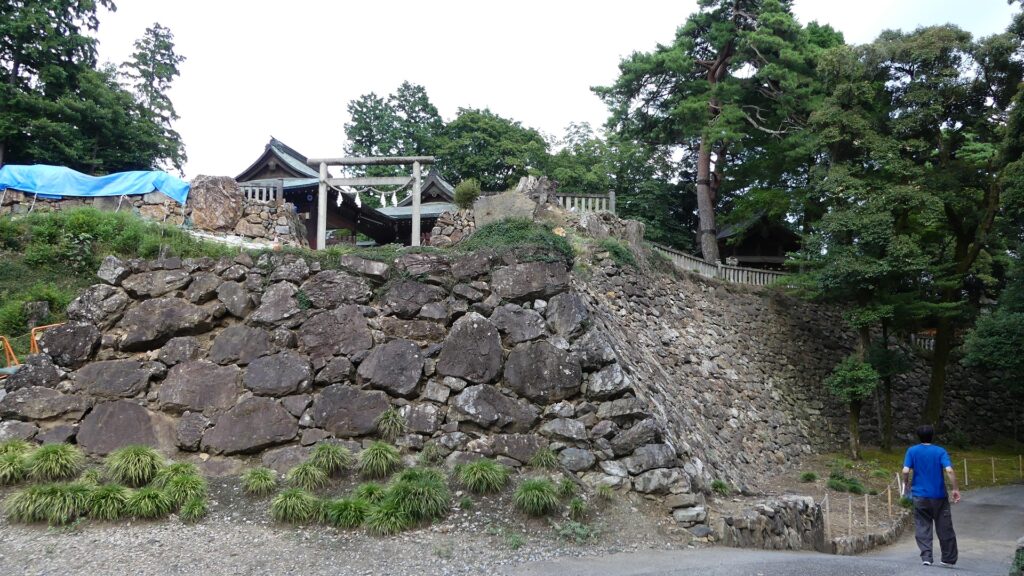
The stone walls of the main enclosure entrance are not so high, but use several huge ornament stones.
In addition, the entrance was recently researched and it was found that it had a turret gate. Overall, these structures made the castle stronger as well as more authorized.

Features

Great Stone Walls of Main Enclosure

The stone walls are around 8m high and about 40m long. They were built by piling natural or roughly processed stones in a way called Nozura-zumi. They look rough but really great! It was said that the last lord, Nobuyoshi Sano built them by inviting an excellent guild of stone craftsmen celled Ano-shu from western Japan.

The map around the castle
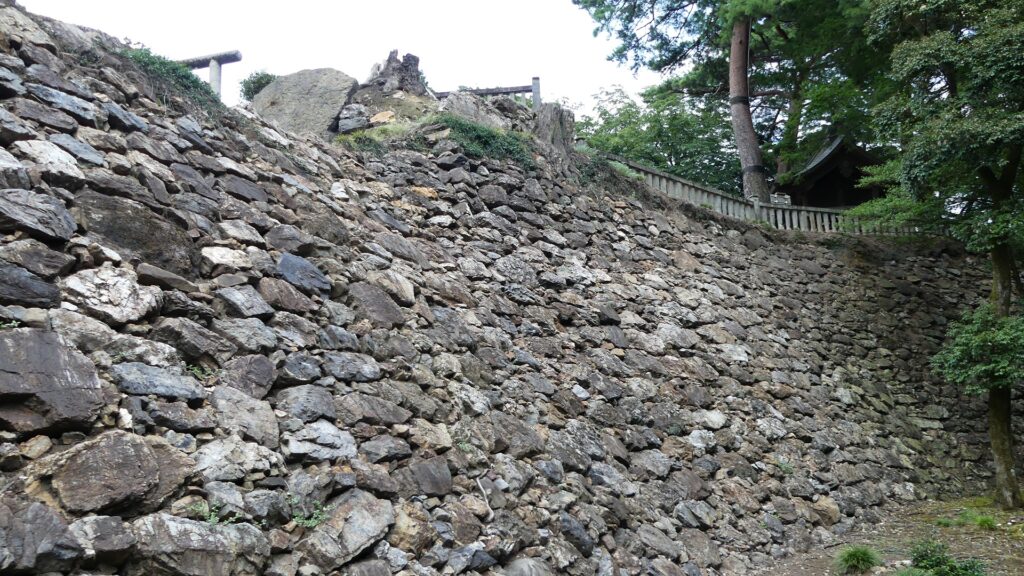
The high stone walls of the enclosure
The stone walls seen from the second enclosure side

You will eventually enter the second enclosure just below the main enclosure. Therefore, you will see the entrance of the main enclosure, which was also surrounded by great stone walls. They are not so high (at 2.5m), but use several huge ornament stones, called Kagami-ishi (meaning mirror stones).
In addition, the entrance was recently researched and it was found that it had a turret gate. Overall, these structures made the castle stronger as well as more authorized.

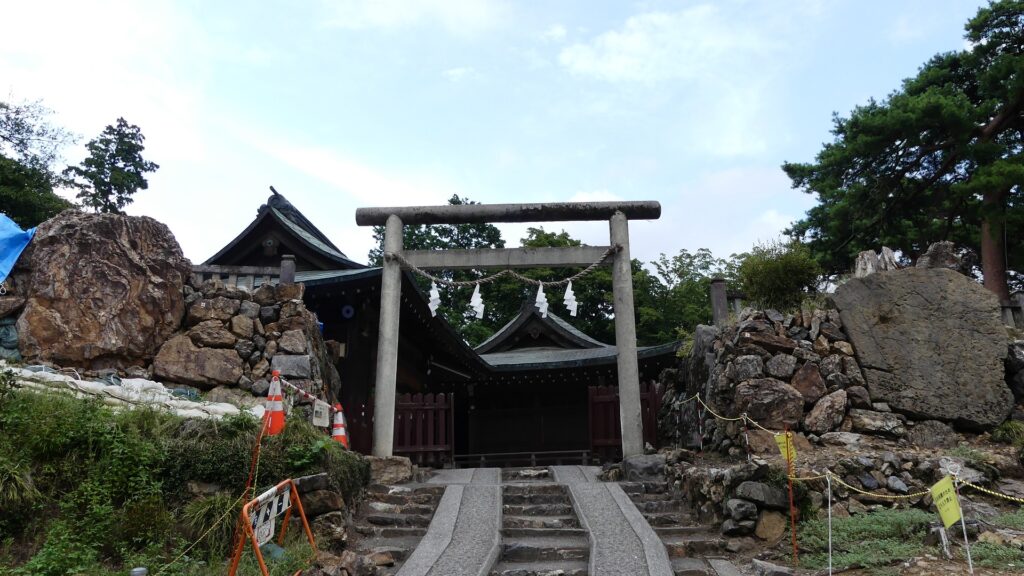
The second enclosure in the front and the main enclosure in the back
The entrance of the main enclosure
One of the ornament stones

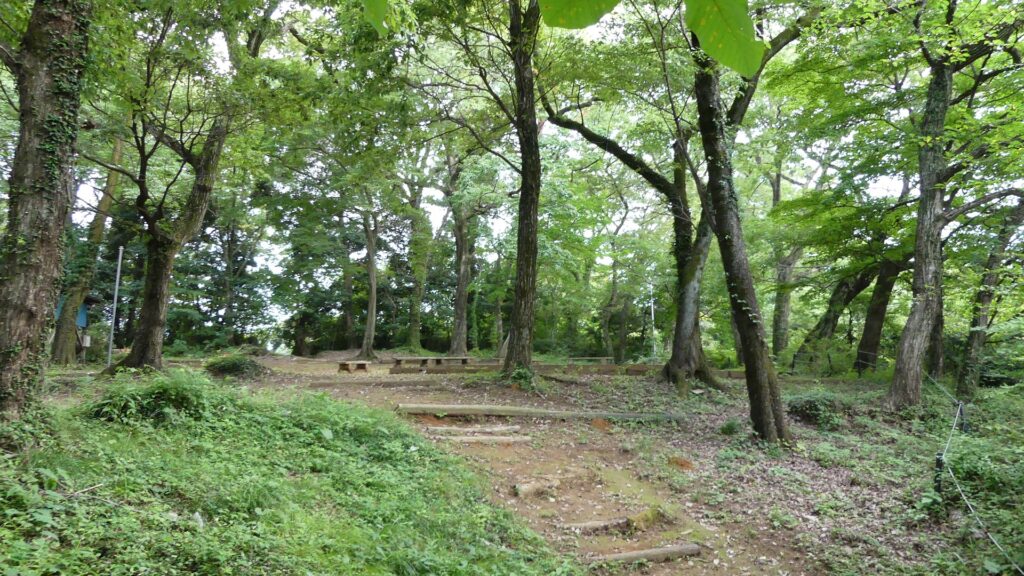
The enclosure is on top of the mountain and is used for the shine buildings. It is unknown what buildings it had in the past, but it might have had buildings like the Main Hall and the Main Tower.

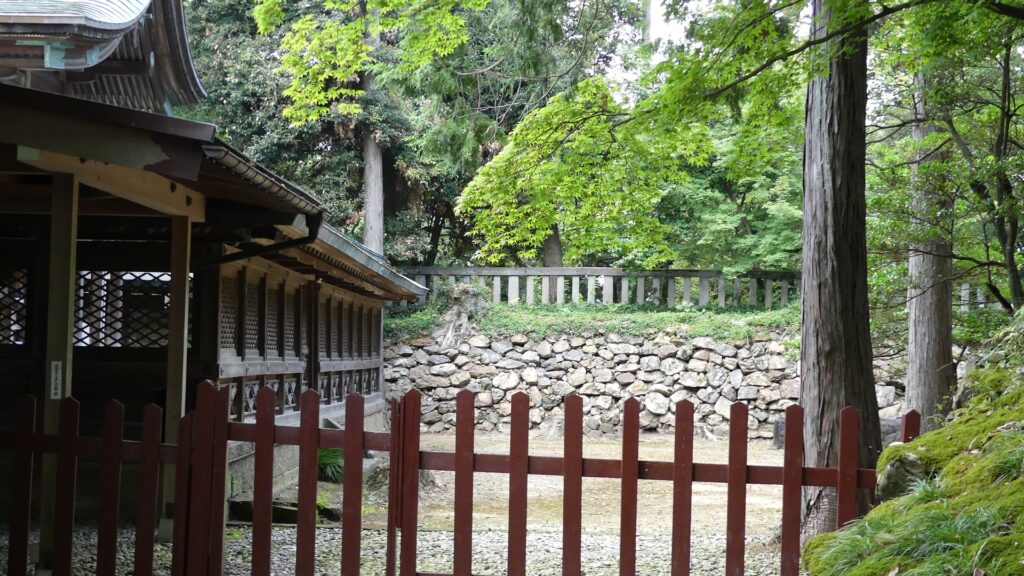
The front shrine hall
The stone walls around the enclosure

Defensive Spots in North and South

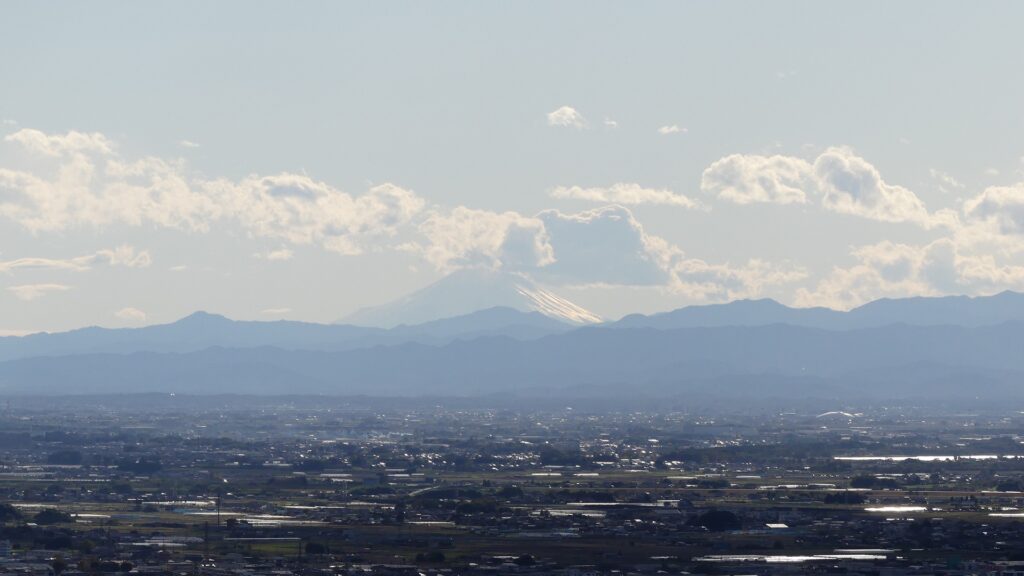
There is another enclosure, in the south of the main enclosure, called Nanjo (meaning southern castle). It was built to protect the southern ridge of the mountain where you can see stone walls and dry moats around. The shrine office is on the enclosure and this is another great viewing spot. If the weather is fine, you can enjoy a view of both Tokyo Sky Tree and Mt. Fuji. Nobuyoshi might have had no choice but to accept the shogunate’s close questioning that looking down on Edo Castle from the mountain would be rude.

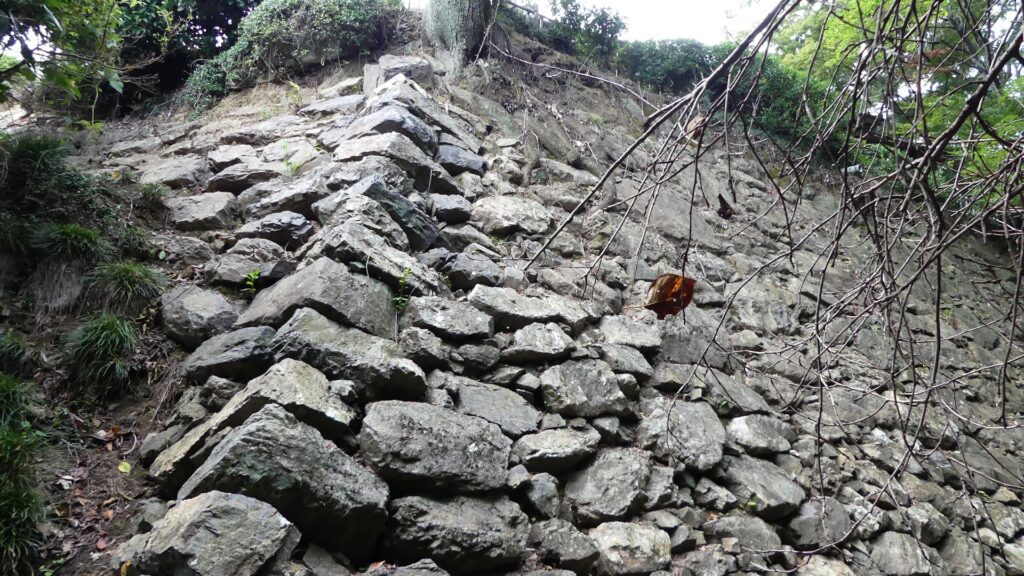
The southern castle
The stone walls around the enclosure
The dry moats around the enclosure, called the First Moat
A view from the enclosure, it was clouded when I visited there

There is also other enclosures on the northern ridges, such as the Northern Castle. They are basically made of soil, divided by earthen ditches and connected by earthen bridges, which were older parts of the castle.

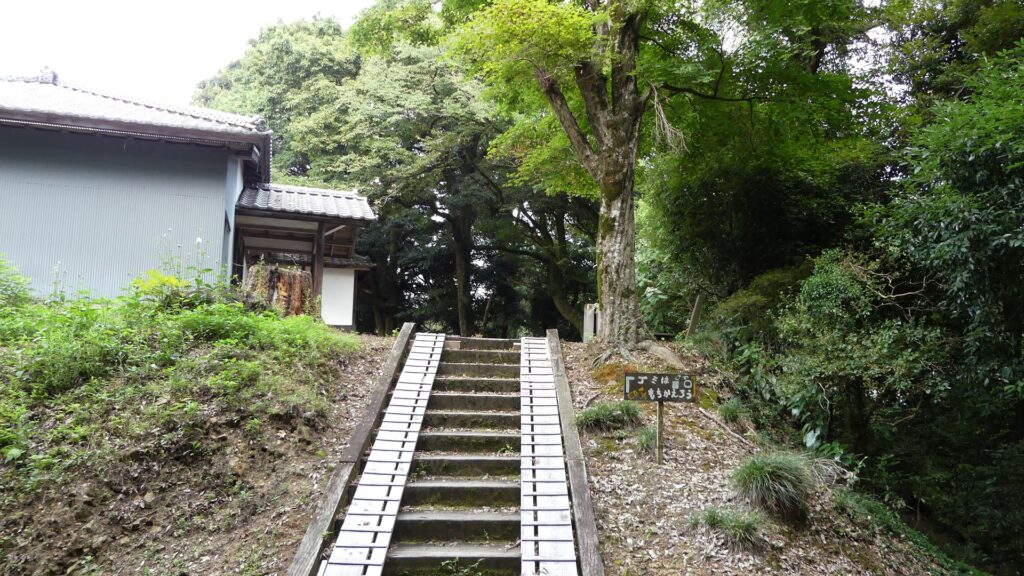
The Nagato-maru Enclosure
The Kane-no-maru Enclosure
The Sugi Enclosure
The double ditches between the Sugi and northern enclosures
The northern enclosure

Hiking Course has other Castle Ruins

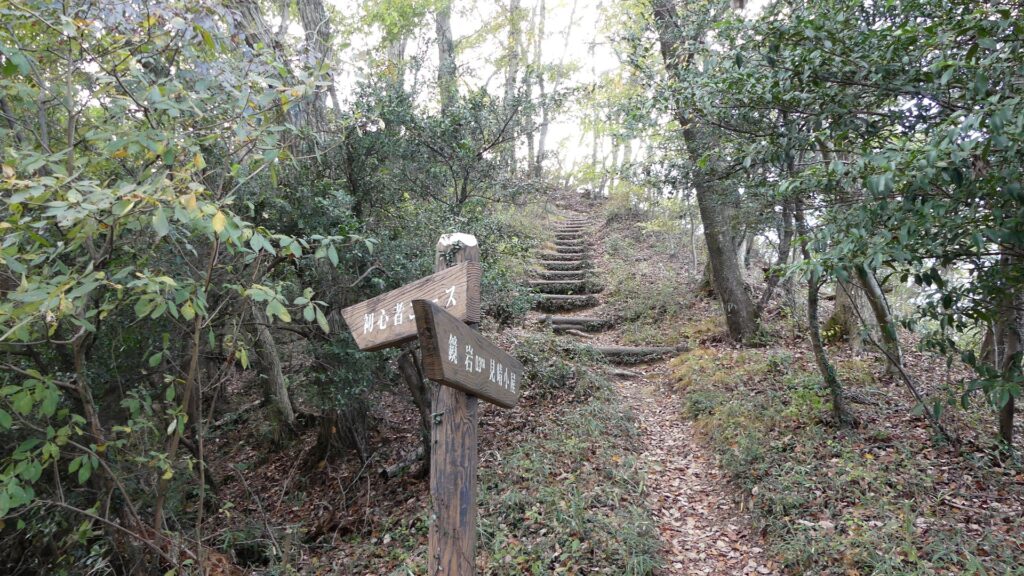
For hikers, it is recommended to try part of Karasawayama Shuyu(Round) Course, from the castle to Imori-yama Mountain via the Kagami-iwa Rock, Byobu-iwa Rock and Gongen-do Hall Ruins. The course is on another ridge connected to the Karasawayama Mountain, which was a defense point for the castle.

The map around the mountain

The relief map around the mountain
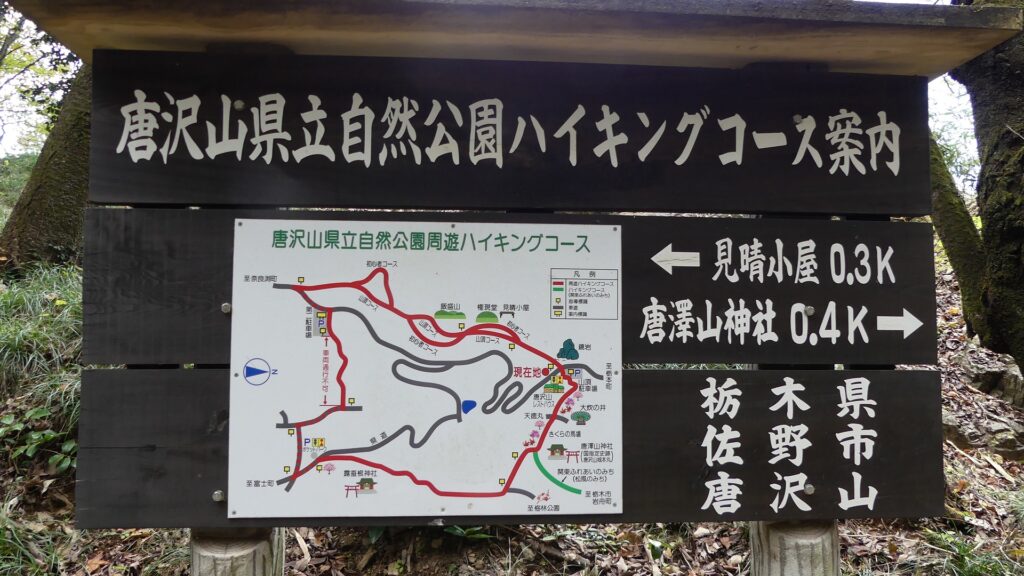
The location map of the hiking course
The Kagami-iwa Rock
The byobu-iwa Rock and the view

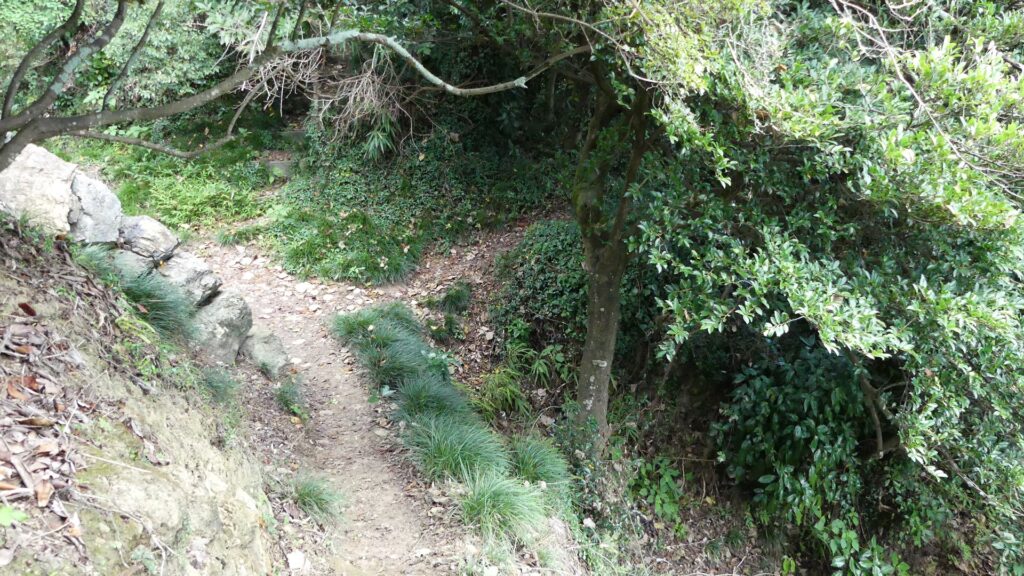
That’s why you can see a set of a narrow bridge with artificial ditches on the way. You can also enjoy a great view of the whole Kanto Region on each peak of the ridge. The Imori Mountain is where Kenshin Uesugi and Masatsuna Sano fought against each other in their last battle in 1570.
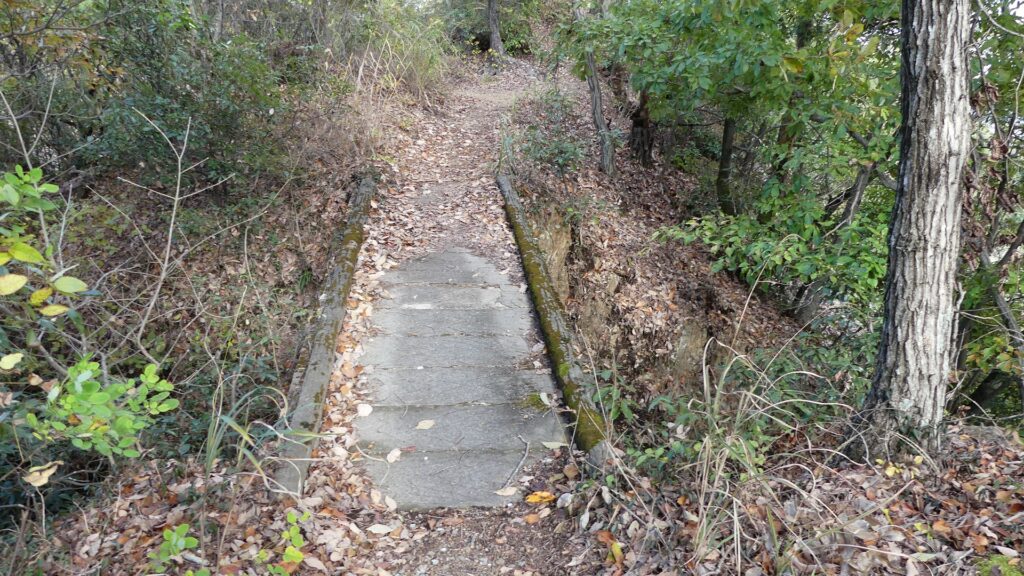
The bridge over the ditch
Going to the Gongendo Hall Ruins
A view from the hall ruins
The zoomed Mt. Fuji
The top of the Imori Mountain

Later History

After the Sano Clan was banished by the Tokugawa Shogunate, the Ii Clan which was a senior vassal family of the shogunate owned the Sano area as its detached territory during the Edo Period. The clan banned people from entering the mountain, the former castle area. That’s why the ruins of the castle have been preserved in a good condition. After the Meiji Restoration, locals established the Karasawayama Shrine in 1883. Establishing shrines on castle ruins was a popular way to maintain them at that time. The ruins also became part of Karasawayama Prefectural Natural Park in 1965. That’s why several approaches and hiking courses have been developed there. As for castle ruins, Sano City has been researching and studying them since 2007. As a result, they were designated as a National Historic Site in 2014.

Karasawayama Shrine

My Impression

The current people often say Kenshin Uesugi attacked Karasawayama Castle and approached its main enclosure, but failed. Meanwhile, Kenshin himself wrote on his letter in 1567 when he owned the castle and was attacked by the Hojo Clan that “Only the Main Enclosure remained”. I’m not sure if similar things happened twice whether the people misunderstood Kenshin’s sides. Either way, Kenshin and the castle were closely involved. I think the people are still borrowing his name even today to explain about the strength of the castle.
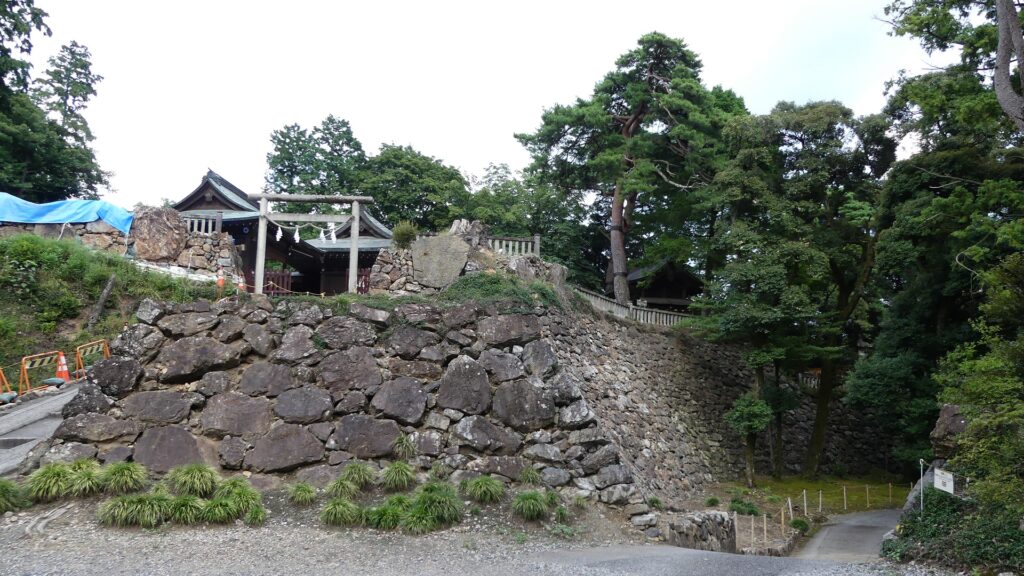
The main enclosure of Karasawayama Castle

How to get There

If you want to visit the castle ruins by car, it is about a 10-minute drive away from Sano-Tanuma IC on the Kitakanto Expressway.
There are parking lots at the foot, the mid slope and top of the mountain.
By public transportation, it takes about 40 minutes on foot from Tanuma Station on the Tobu-Sano Line to the top.
From Tokyo to the station: take the train on the Joban Line from Tokyo or Ueno Stations, transfer to the Tobu-Isesaki Line at Kitasenju Station, and transfer to the Tobu-Sano Line at Tatebayashi Station.
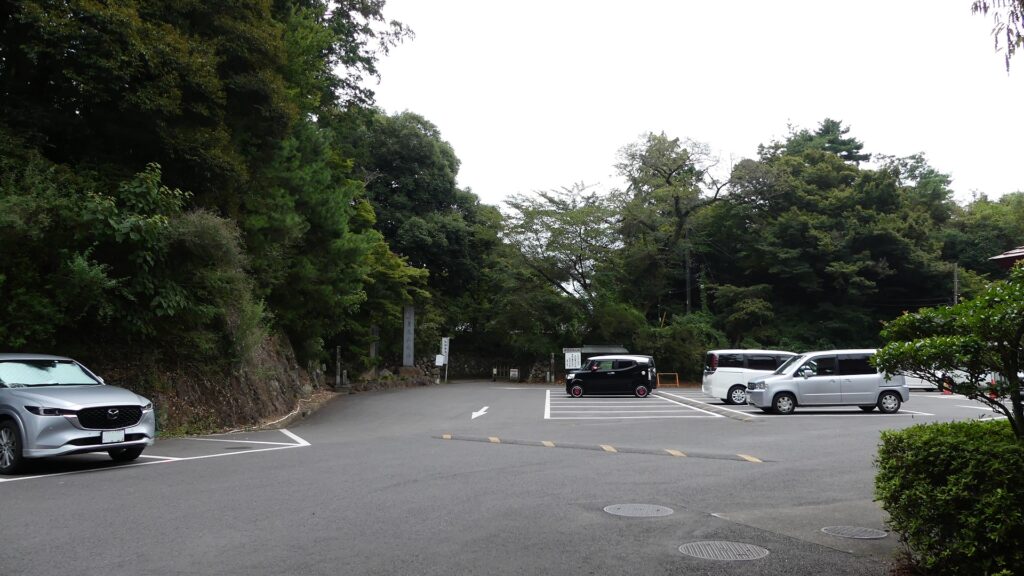
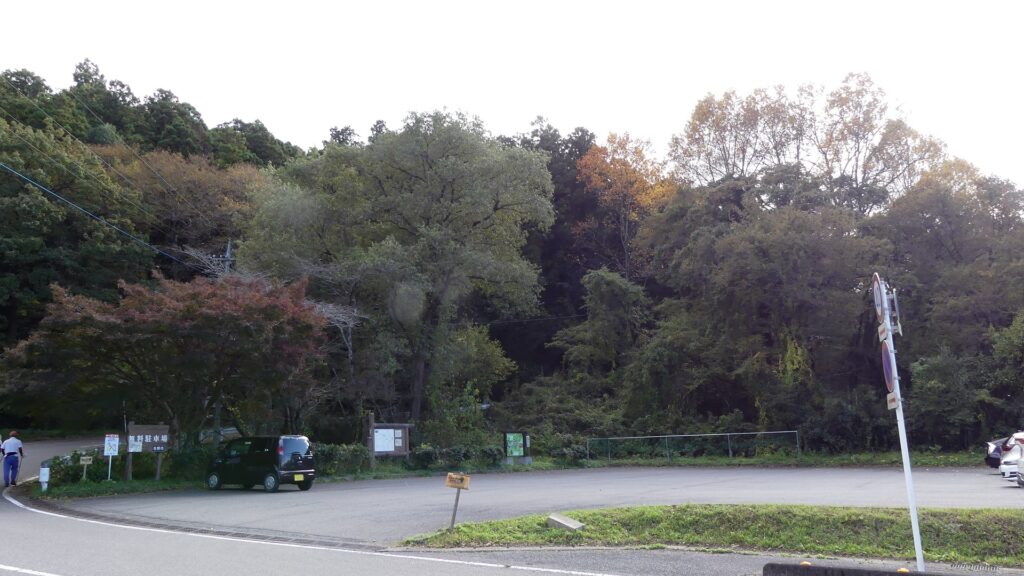
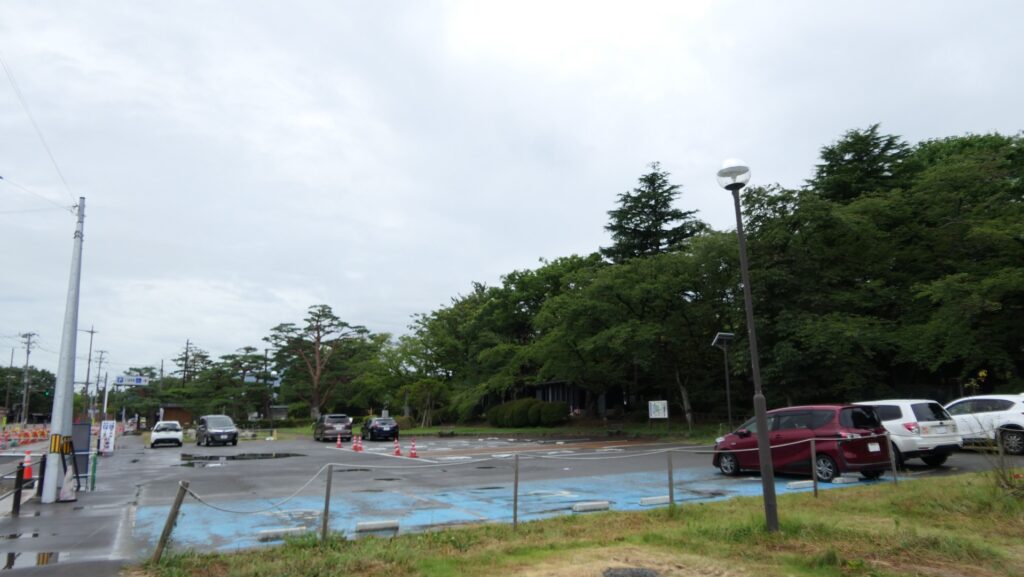
The parking lot at the top
The parking lot at the southern route
The parking lot at the western route
The parking lot on the way of the hiking course

That’s all. Thank you.
Back to “Karasawayama Castle Part1”
Back to “Karasawayama Castle Part2”
108.Tsurugaoka Castle Part3

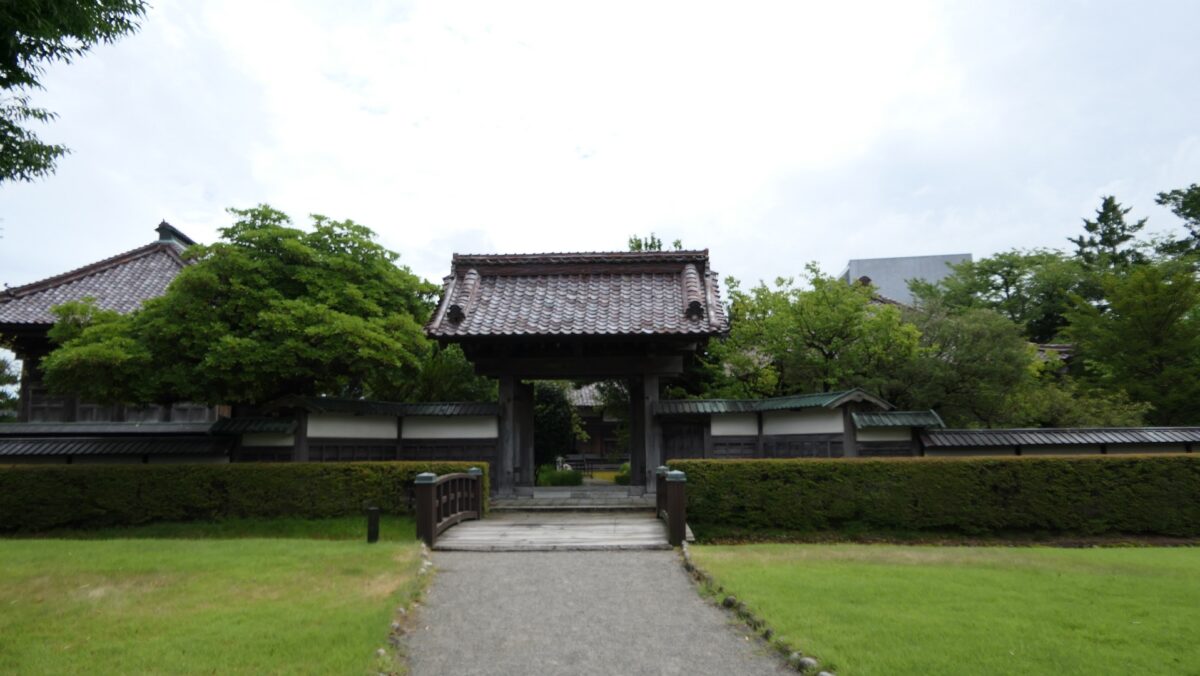
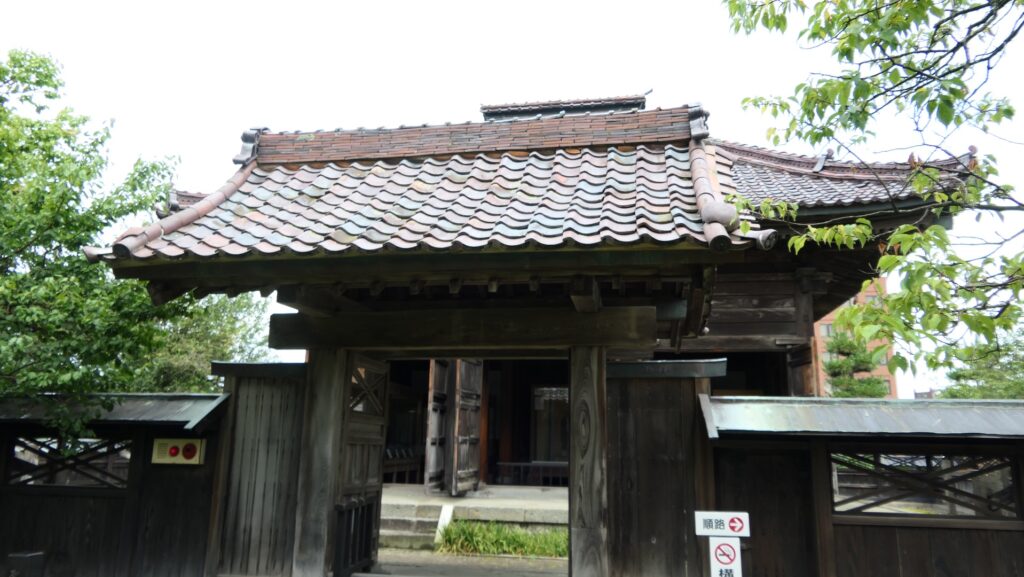
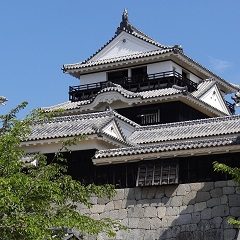
You should also check out the partially remaining Chidokan domain school buildings in the third enclosure. They are the only remaining domain school buildings in the Tohoku Region, including two gates, the Confucian temple, a lecture hall and Oiri-no-ma Rooms which were used as the waiting rooms for the lord.

Features

Chidokan Domain School

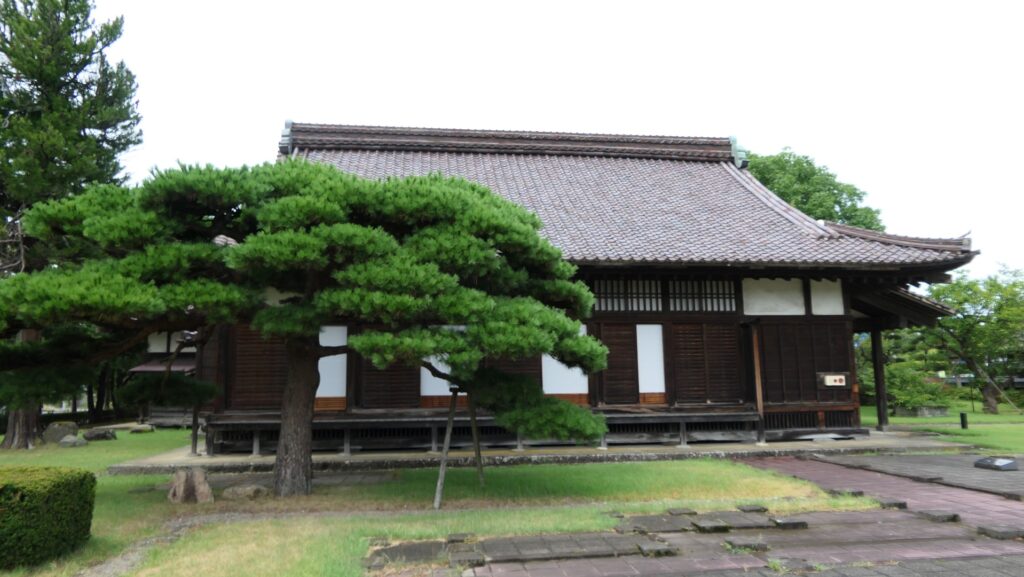
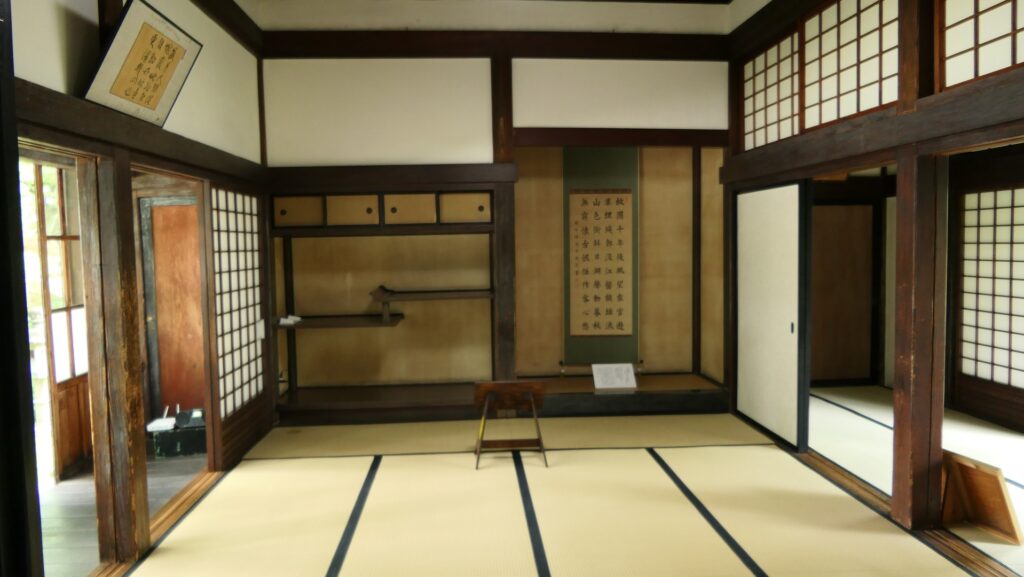
You should also check out the partially remaining Chidokan domain school buildings in the third enclosure, on the opposite side of the Chidokan Museum. They are the only remaining domain school buildings in the Tohoku Region, including two gates, the Confucian temple, a lecture hall and Oiri-no-ma Rooms which were used as the waiting rooms for the lord.

The aerial photo around the castle

The front gate of the domain school
The Confucian temple
The lecture hall
The waiting rooms for the lord

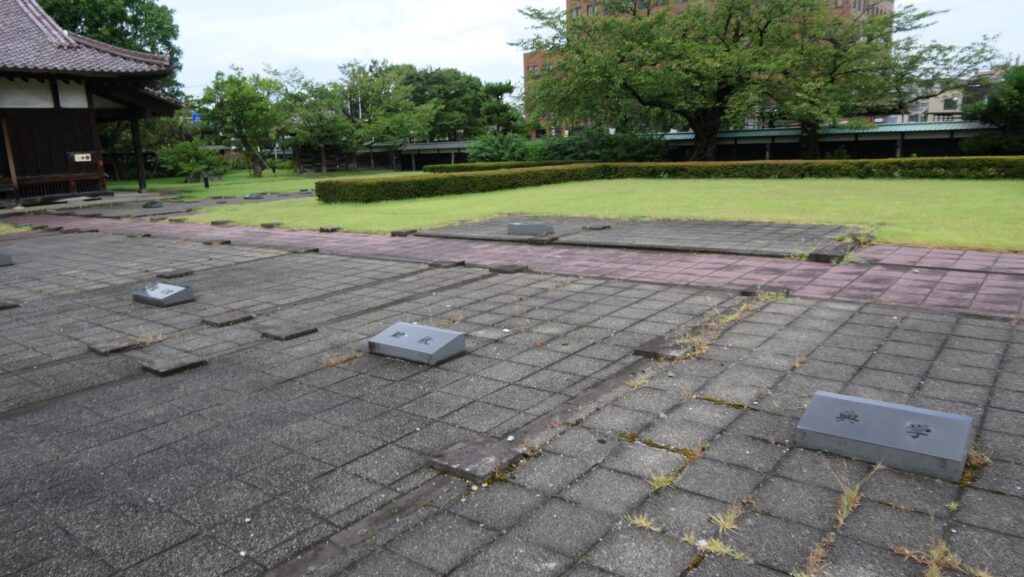
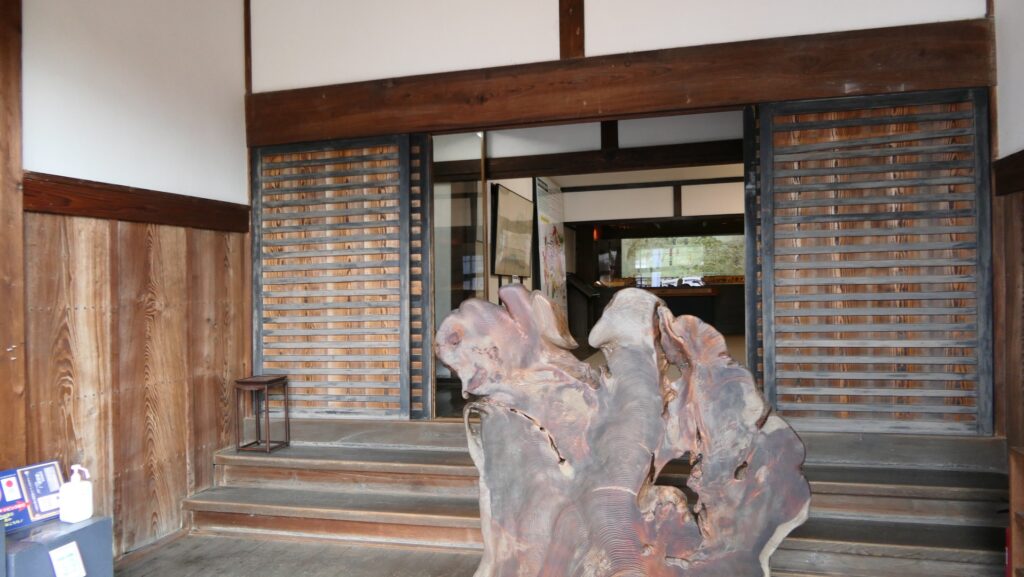
The interior of the buildings are also used to exhibit the history of the school and the domain. The other missing buildings’ bases can be seen outside. The surrender ceremony of the Shonai Domain to the New Government Army was held at this site during the Meiji Restoration. In addition, the site of the domain school has been designated as a National Historic Site since 1951.

The exhibitions in the lecture hall
The living room for the load
The other missing buildings’ bases

Later History

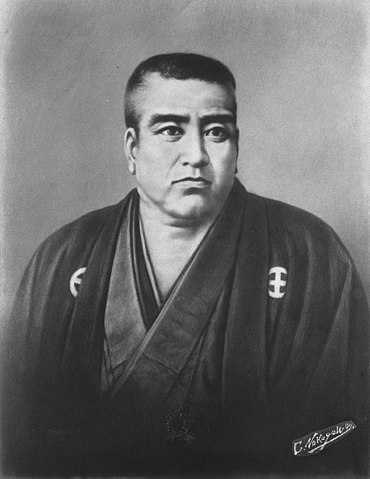
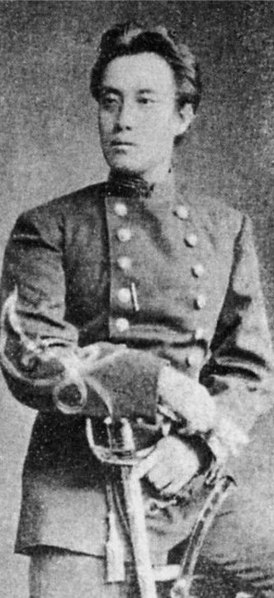
Despite the defeat of the domain, it was allowed to maintain its territory while its ally, the Aizu Domain,was transferred to a much smaller and poorer land. It’s believed this was possible because of the tolerance of the government’s leader, Takamori Saigo. On the other hand, the domain had to pay large sums of money, which was mainly funded by the Honma Clan, to the government in return for it. However, since then, the people in Shonai have greatly respected Saigo and the head of the domain, including the former lord, Tadazumi Sakai, visited and communicated with him. When Saigo rebelled against the government in 1878, known as the Seinan War, two warriors of Shonai supported and died with him. Even after Saigo was defeated, Shonai people still loved his works and published his last instructions in 1890, called Nanshu-ou-ikun, (meaning “the last instructions of the old Nanshu” (Saigo’s pen name)).

The portrait of Takamori Saigo by Edoardo Chiossone (licensed under Public Domain via Wikimedia Commons)
Tadazumi Sakai (licensed under Public Domain via Wikimedia Commons)

As for Tarugaoka Castle, it was abandoned in 1871 and turned into the Tsuruoka Park with all the castle buildings being removed in 1876. However, local people have been doing their best to maintain the castle ruins in a way of each period, as we can now see.

The Tsuruoka Park

My Impression

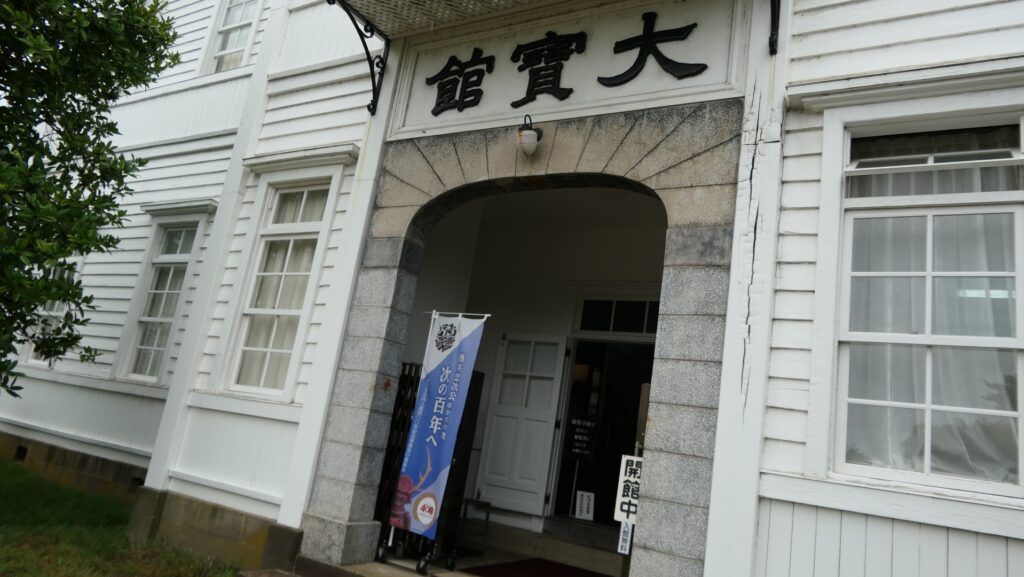
When I visited the ruins of Tsurugaoka Castle, I learned about its history in the three museums at the site, each which seems to focus on distinct perspectives. It felt like the Chidokan Museum focuses on the castle in the lord’s retreat, and the Taihokan Museum focuses on the famous historical local figures, and the Chidokan domain school focuses on the domain’s history. I was able to learn a lot about them in a short time and could feel the passion the locals have for passing on their culture and history to the next generations. I also want to visit Sakata City someday and its ruins of Kamegaoka Castle, which are the partner city and castle to Tsuruoka City and Tsurugaoka Castle.

The entrance of the retreat in the Chidokan Museum
The entrance of the Taihokan Museum
The entrance of the lecture hall in the Chidokan domain school

How to get There

If you want to visit there by car, it is about a 10 minutes drive away from Tsuruoka IC on the Yamagata Expressway. There are several parking lots around the park.
By public transportation, take the Shonai Kotsu Bus bound for Yunohama-onsen from Tsuruoka Satation and get off at the Shiyakusho-mae bus stop.
From Tokyo to the station: Take the Joetsu Shinkansen super express and transfer to the Inaho limited express at Nigata Station.

The parking lot beside the eastern entrance

That’s all. Thank you.
Back to “Tsurugaoka Castle Part1”
Back to “Tsurugaoka Castle Part2”
124.Shinagawa Batteries Part2

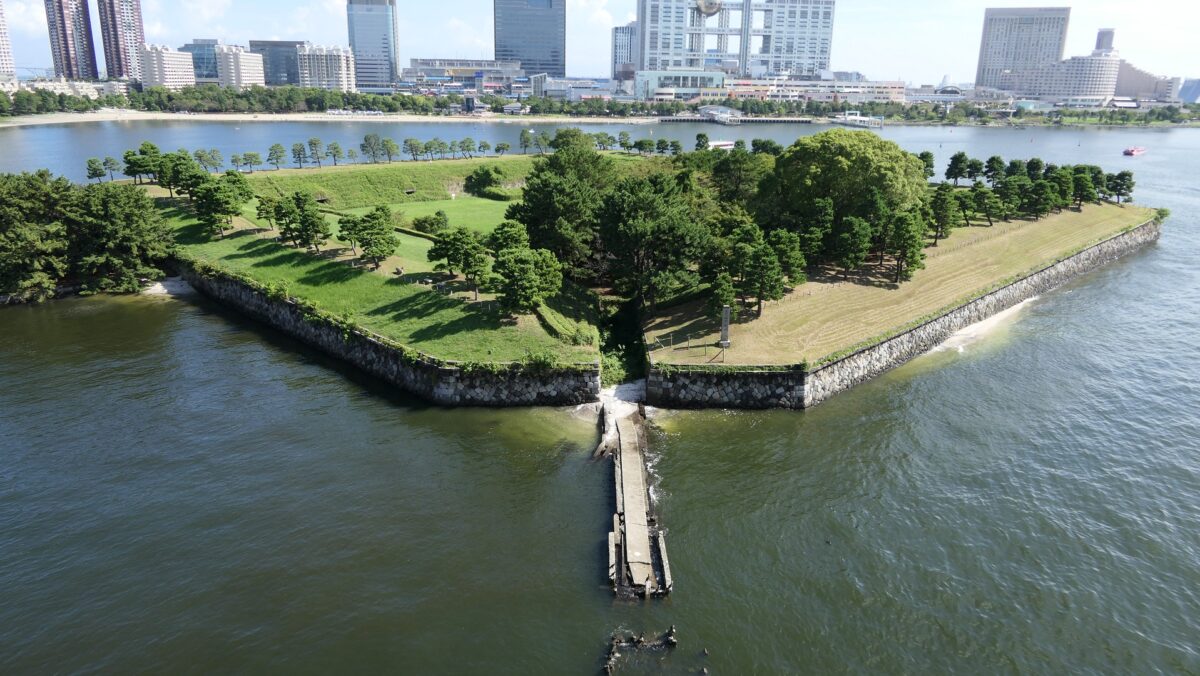
The battery is basically a flat structure to avoid being targeted from enemies’ guns and cannons, so visitors can not easily recognize its whole view. That’s why I recommend seeing the bird’s eye view before or after your visitation.

Later History

The later lives of the Shinagawa batteries have been mixed.
The No.1 and 5 Batteries have been engulfed by landfills.
The No.2 and No.7 (which was left because of the canceled construction) have been removed due to the convenience of transportation.
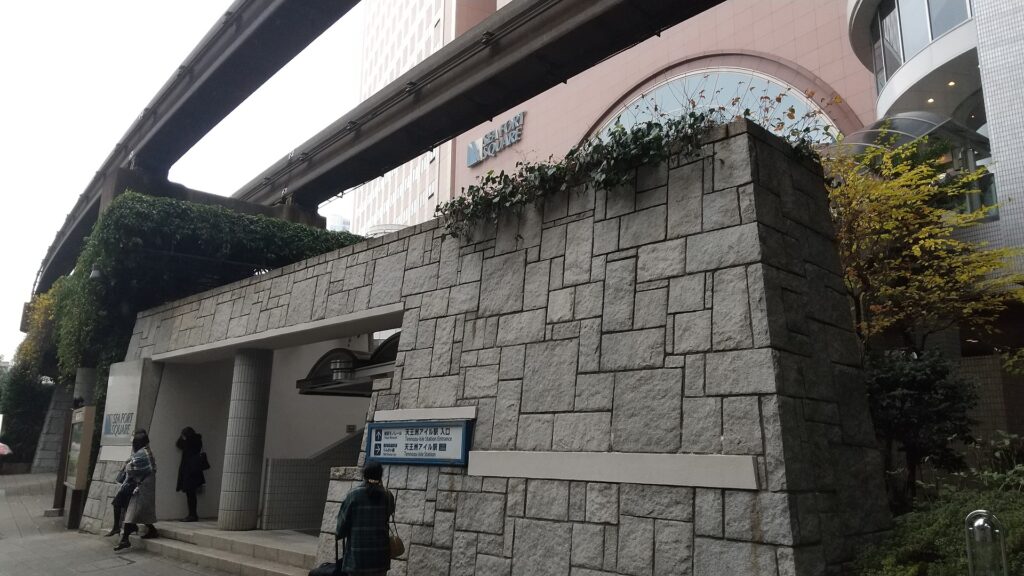
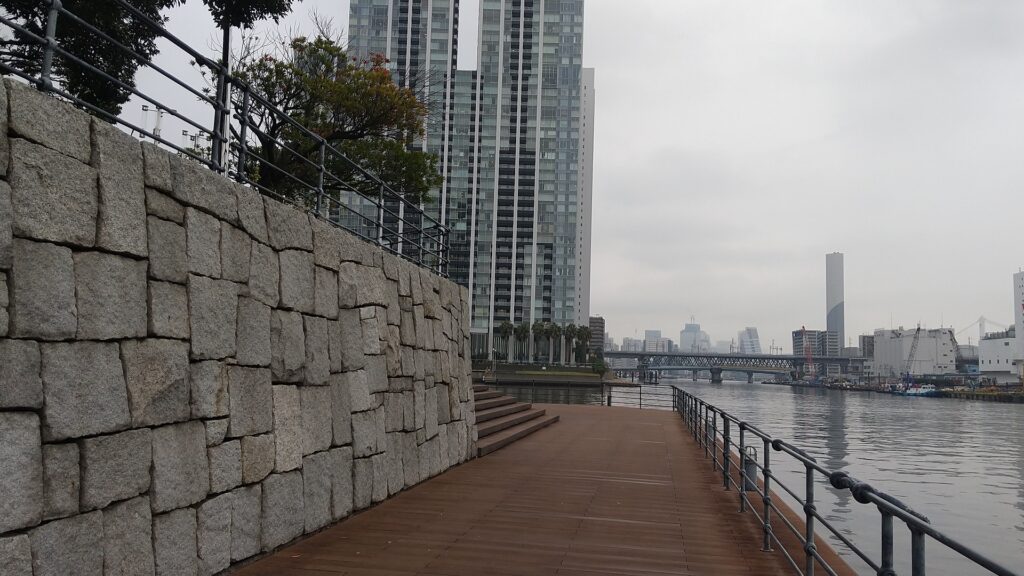
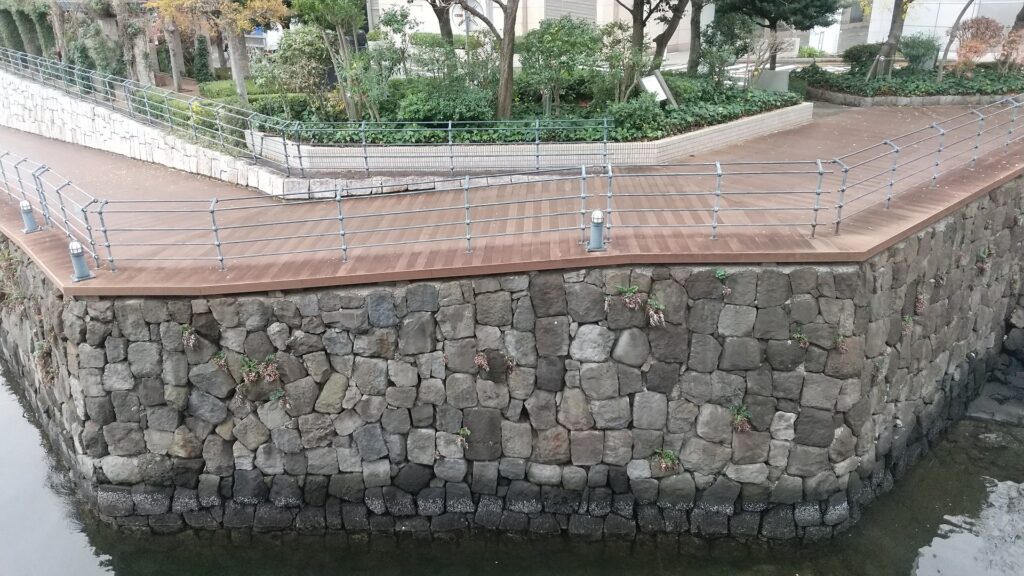
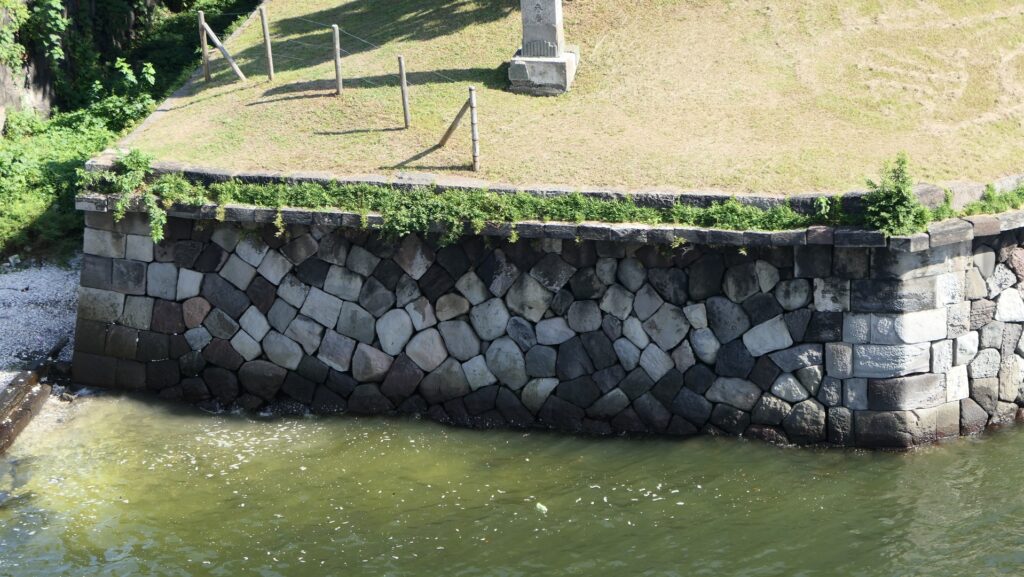
The No.4 (same as No.7) was sold to the private sector before being used for the ground of a dock. The ground has finally become a redevelopmental area of the waterfront, called Tennoz Isle. The remaining stone walls of the No.4 Battery can be seen as the base of its boardwalk.
The No.3 and No.6 are the last remaining historical sites. They were designated as a National Historic Site in 1926 and the No.3 Battery was opened as the Daiba Park in 1928.

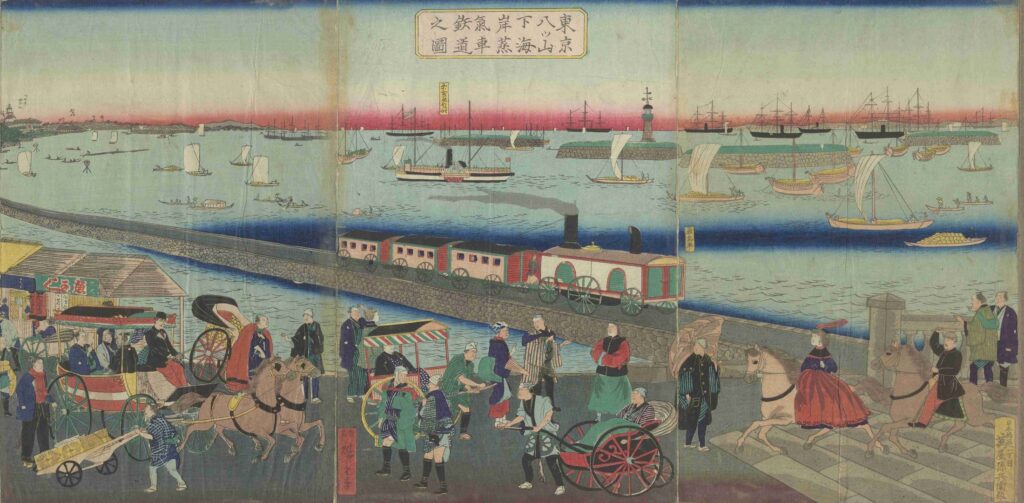
Shinagawa Batteries drawn in a Ukiyoe-painting called the illustration of a steam locomotive at the seaside below Yatsuyama Mountain in Tokyo, attributed to Hiroshige Utagawa the third, in the Meiji Era, exhibited by Tokyo Metropolitan Library, The No.2 Battery was used as a lighthouse

The aerial photo around the batteries around 1945 to 1950

The aerial photo around the batteries around 1975

The Tennoz Isle
The boardwalk of Tennoz Isle
The stone walls of the No.4 Battery support the boardwalk

How to get There

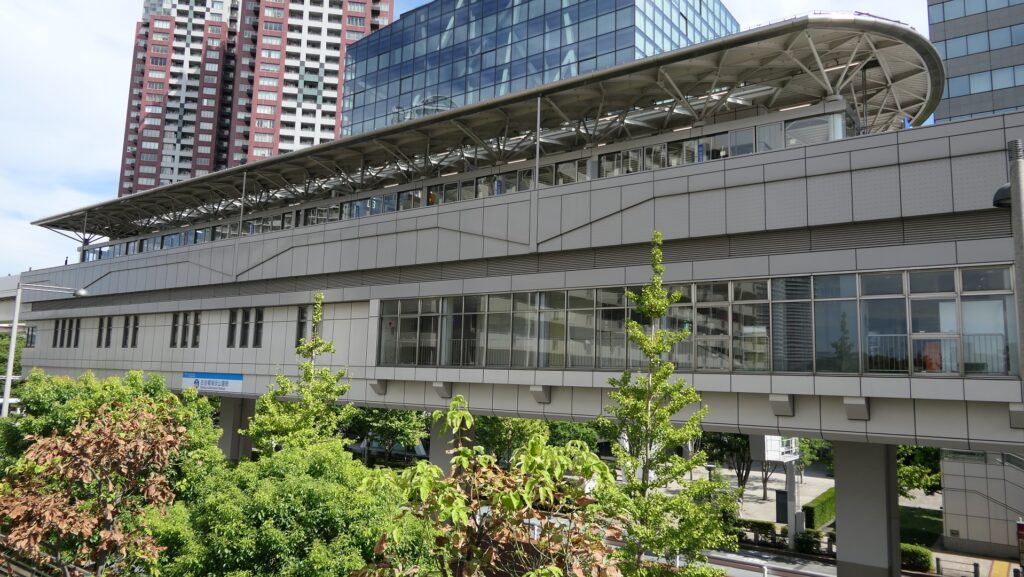
Currently, there are two remaining batteries, No.3 and No.6 out of the five completed ones as mentioned above. In addition, only the ruins of the No.3 Battery are open to the public as a park. If you want to visit the No.3 battery ruins, which has now become Daiba Park, it takes about 10 minutes on foot from Odaibakaihinkoen Station on the Yurikamome line.

Odaibakaihinkoen Station

Walking from Tamachi Station

However, in order to look over the whole view of the two ruins (No.3 and No.6), try this route.
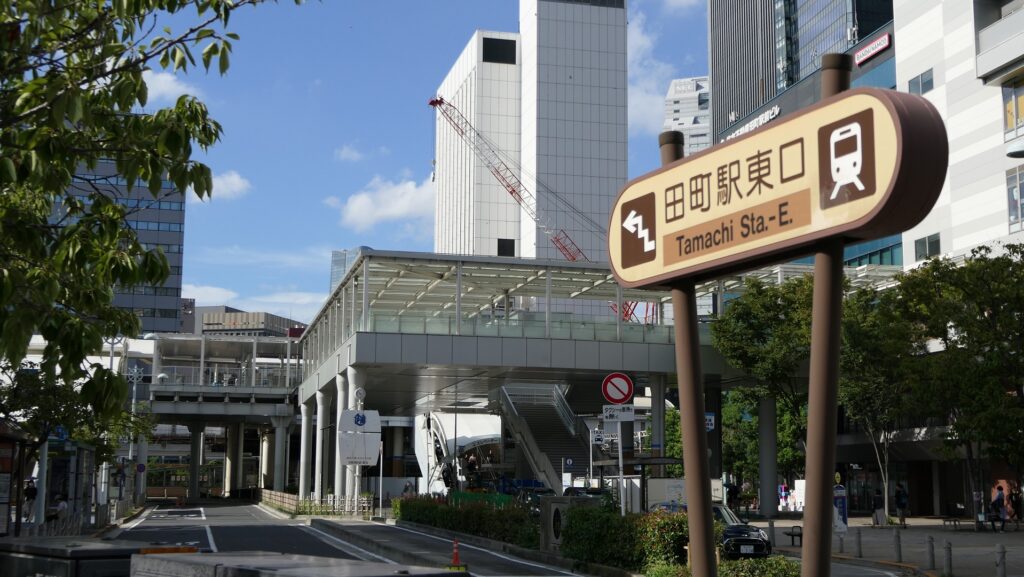
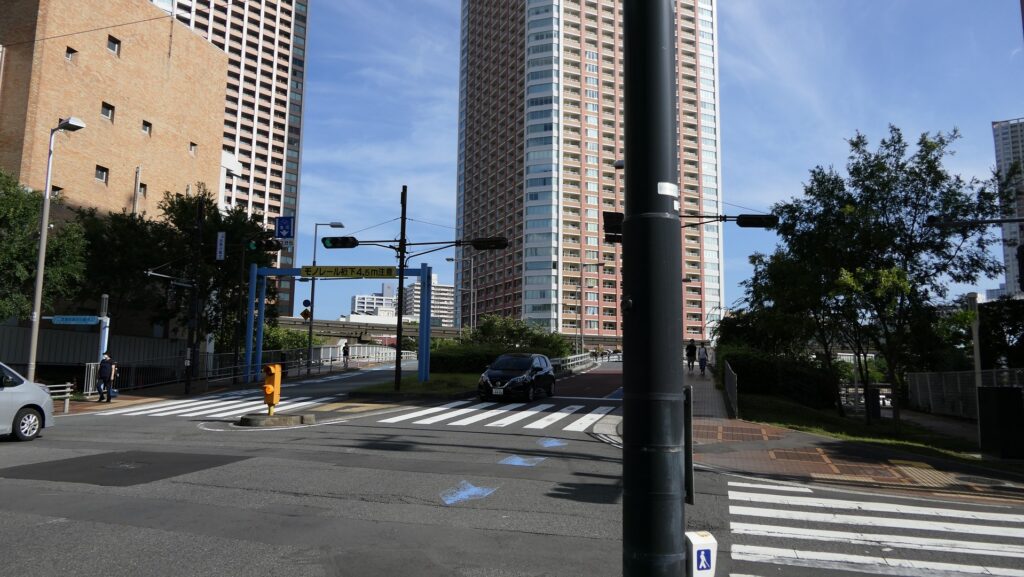
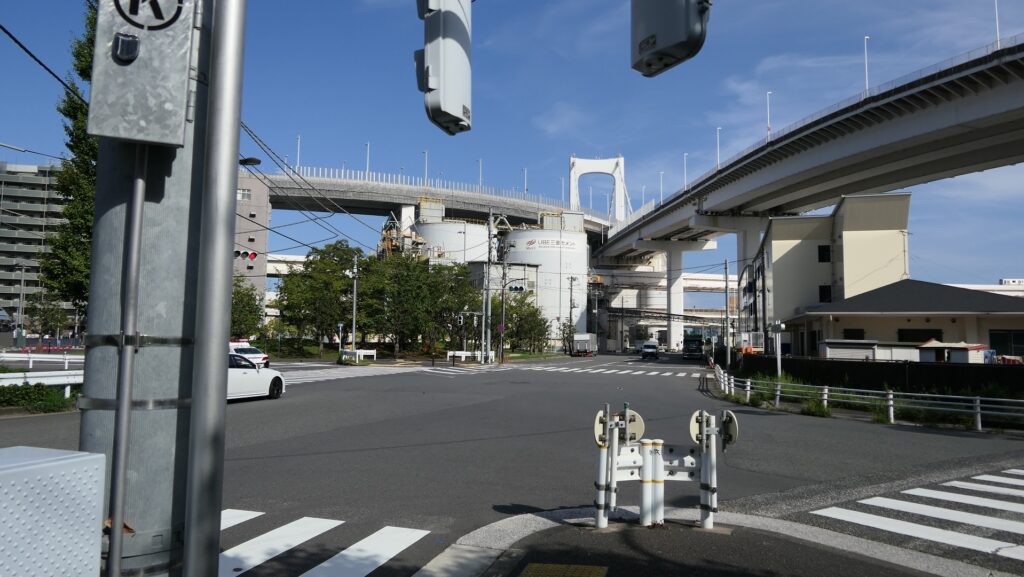
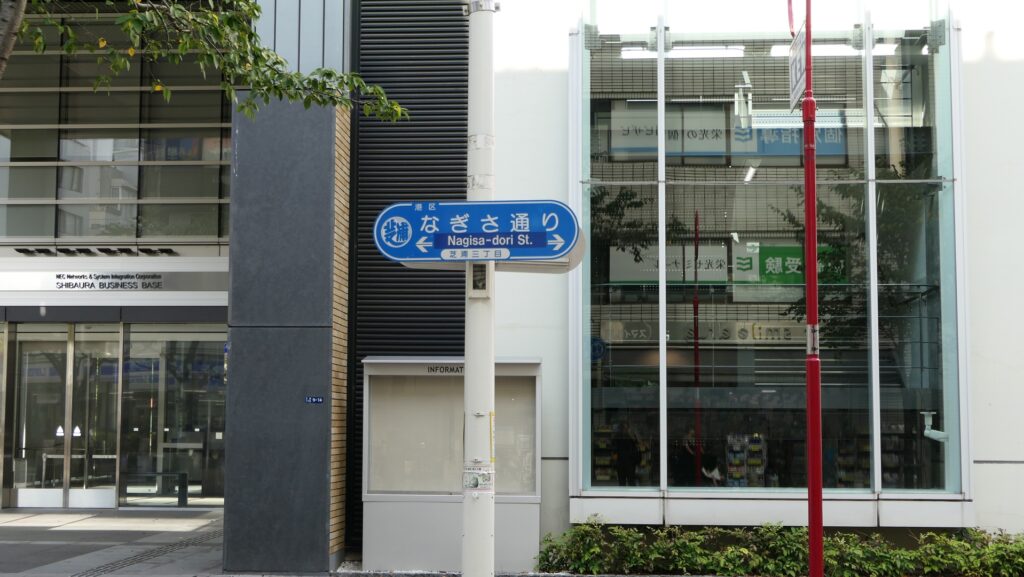
Get out of the train at Tamachi station on the JR Yamanote Line. Exit from the east entrance of the station. Go along Nagisa street for the time being. You can see the Rainbow Bridge which has promenades on both sides (north and south).

The east entrance of Tamachi Station
The Nagisa street
Going along the street
You can see the Rainbow Bridge

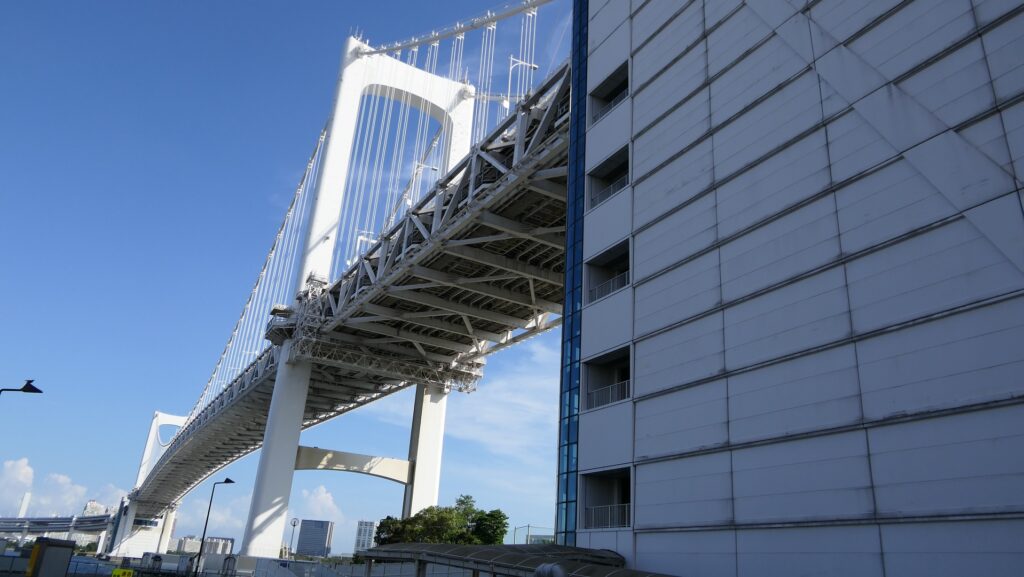
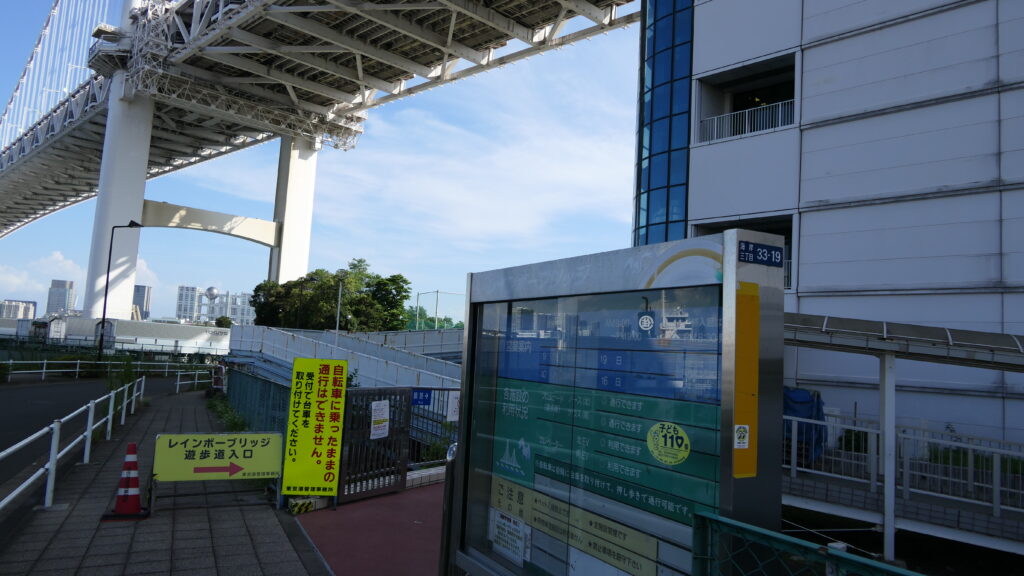
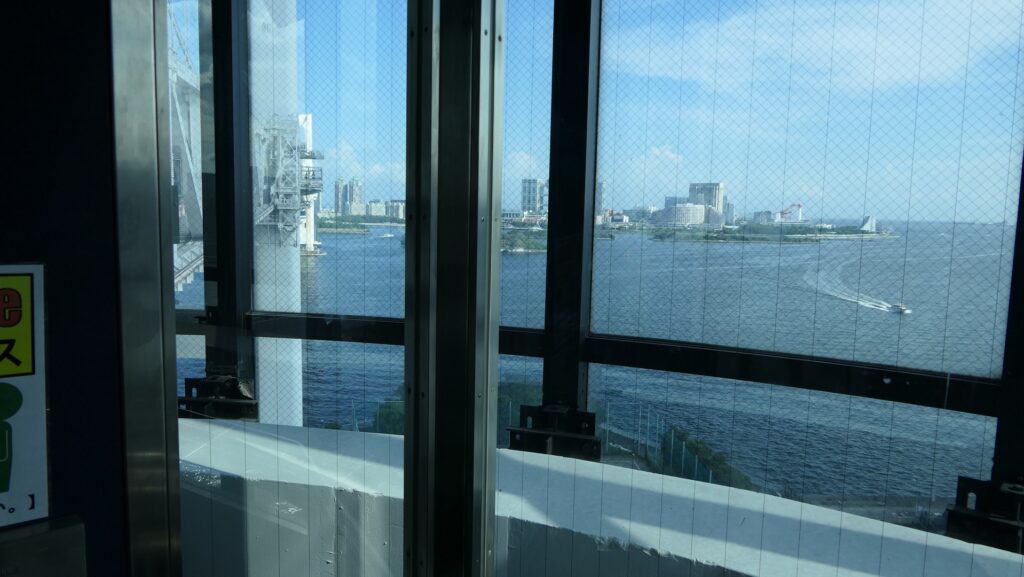
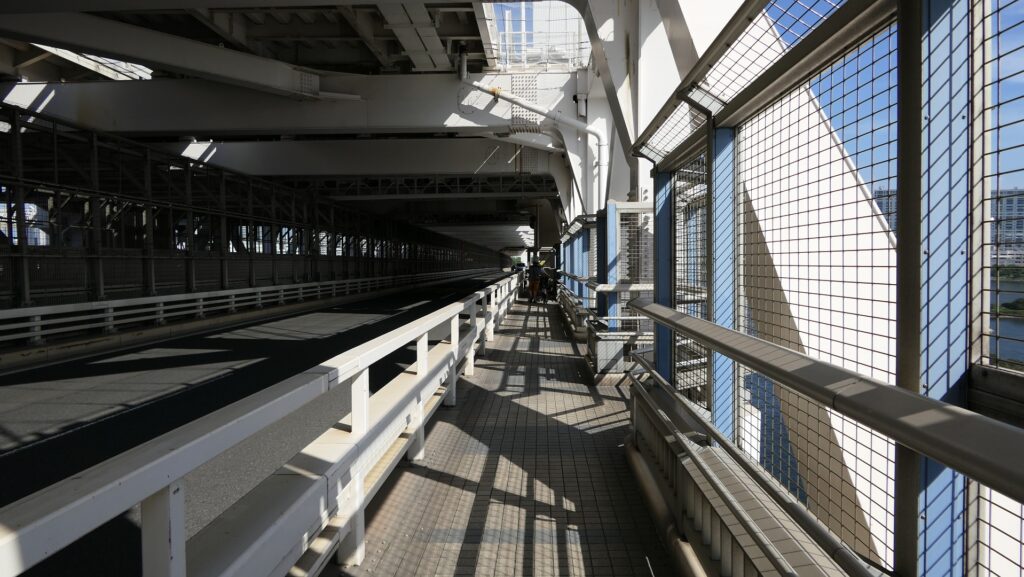
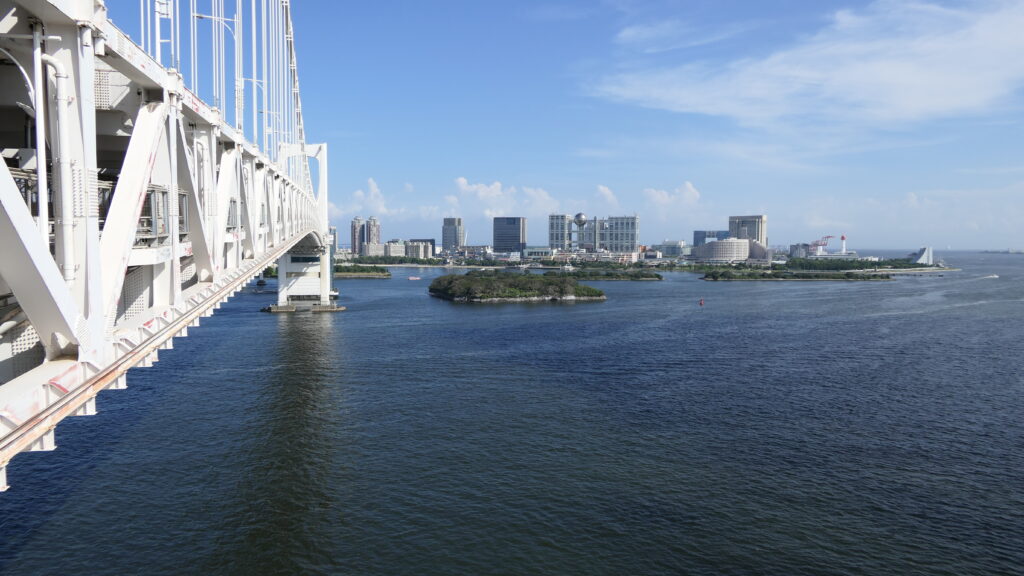
Get in the Shibaura entrance of the bridge and go up using the elevator. Select the south route to see the ruins to the south. If you go straight through the promenade, you will first see the whole view of the No.6 Battery.

The Shibaura entrance of the bridge
The entrance to the promenade
In the elevator
The south route

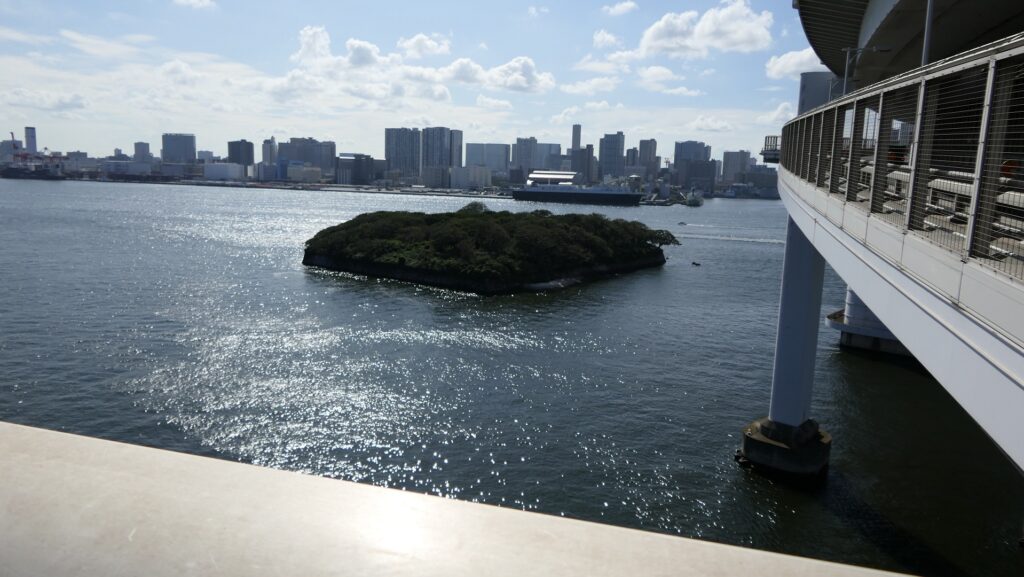
No.6 Battery like Birds’ Paradise

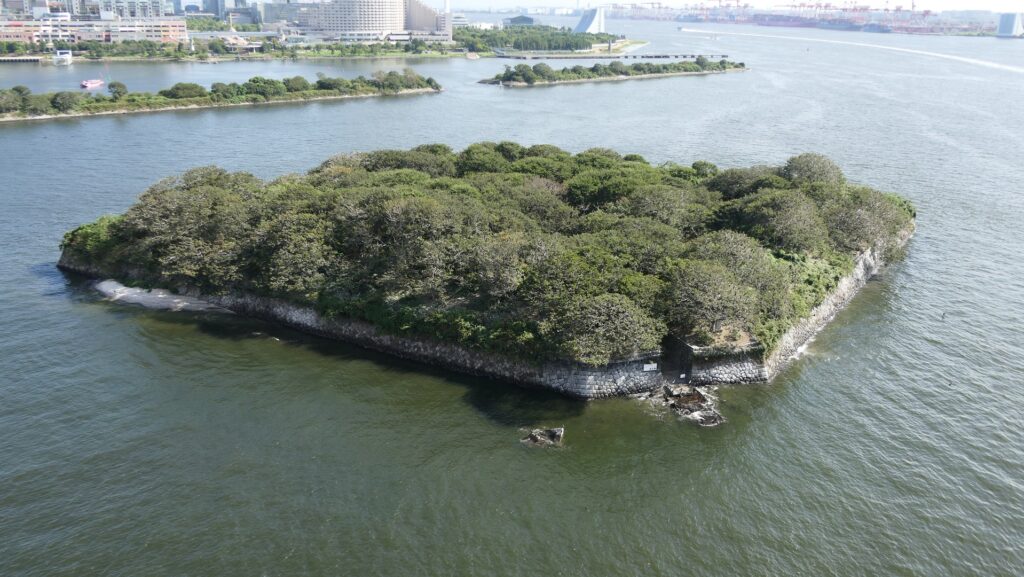
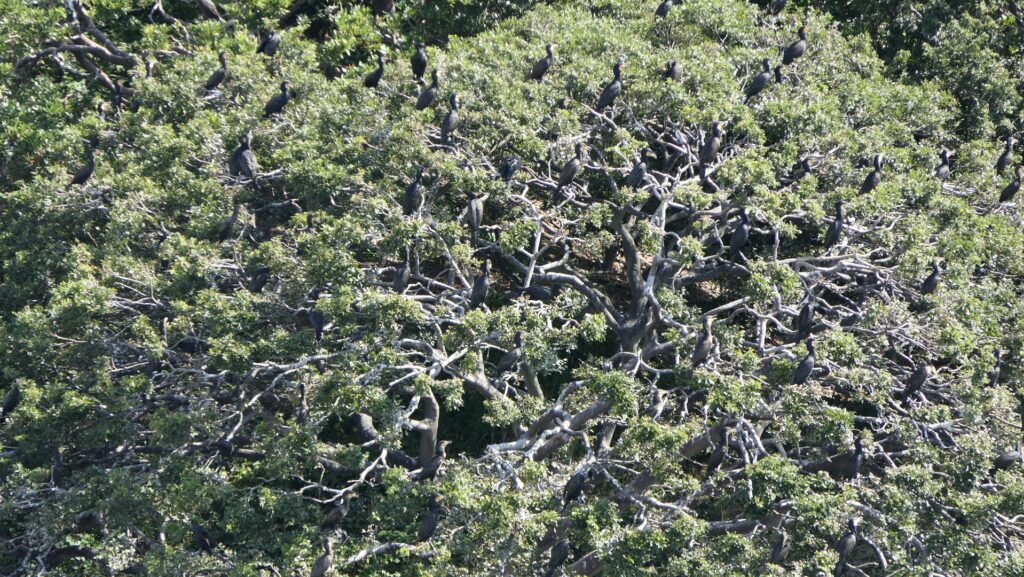
The battery is still isolated in the Tokyo Bay, being left as it has been to keep its original condition as much as possible though the canons and relative facilities were already removed. That’s why it looks as if it was during the first sight. However, if you look at it carefully, it is all covered with trees with uncountable number of birds gathering. According to a historian who visited it with permission from the government, it smells very bad and some structures collapsed naturally. It might have just become the birds’ paradise, so we may need to re-consider how to preserve it.

Getting close to the No.6 Battery
The No.6 Battery
birds are gathering among the trees
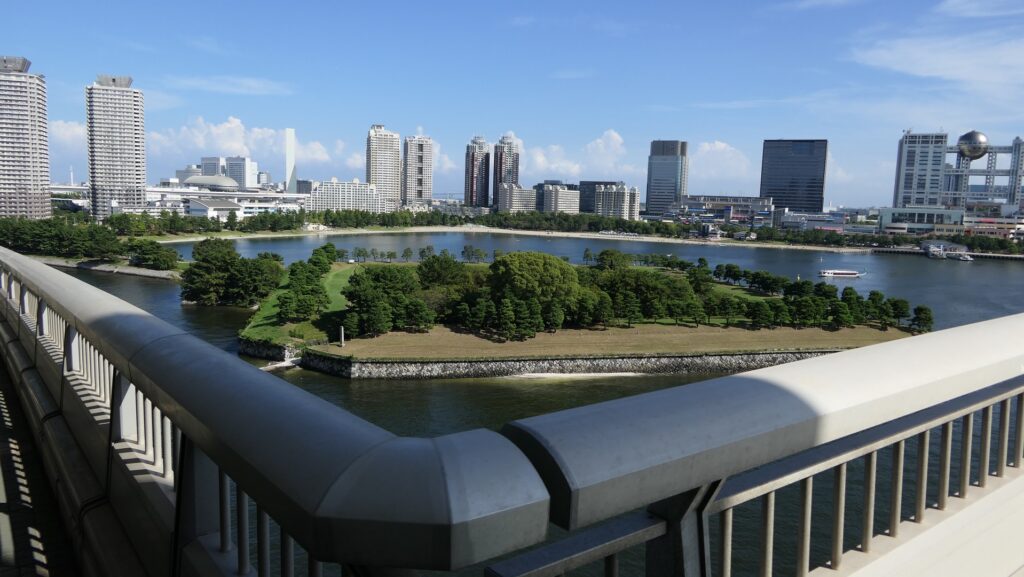
Passing by the No.6 Battery

Great View of No.3 Battery

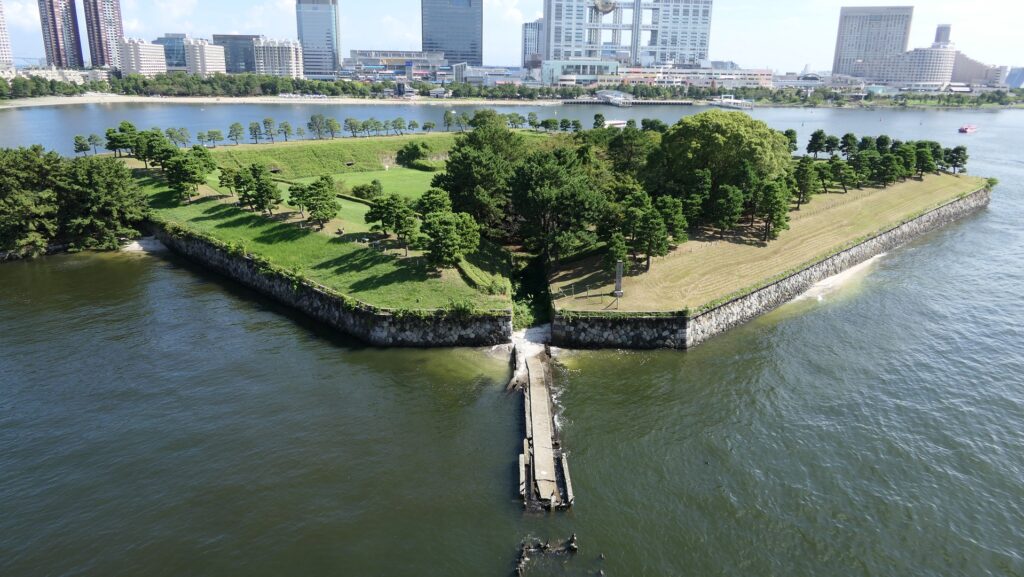
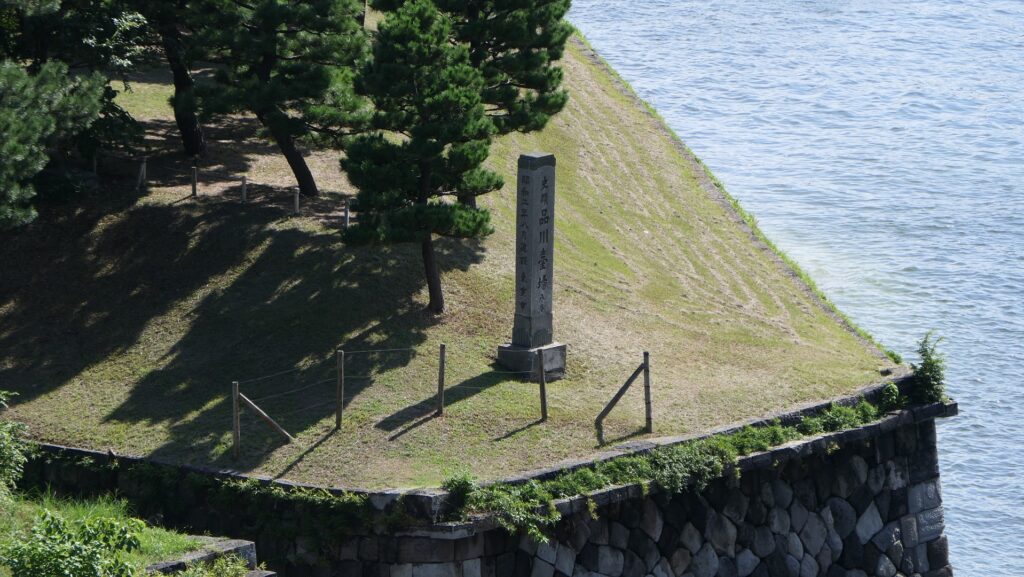
When the promenade goes down with moderate slope, you will be near the park and the view of the No.3 Battery is becoming bigger and bigger. At this point, you will be facing the pier of the battery, it is the biggest one and extremely amazing! It is really a bird’s eye view. It also looks very much better than the No.6 in my opinion. The battery is basically a flat structure to avoid being targeted from enemies’ guns and cannons, so visitors can not easily recognize its whole view. That’s why I recommend seeing the bird’s eye view before or after your visitation.

Getting close to the No.3 Battery
The great view of the No.3 Battery right in front
The signpost of the Shinagawa Batteries at the edge
The stone walls surrounding the battery

To be continued in “Shinagawa Batteries Part3”
Back to “Shinagawa Batteries Part1”