Features
Introduction
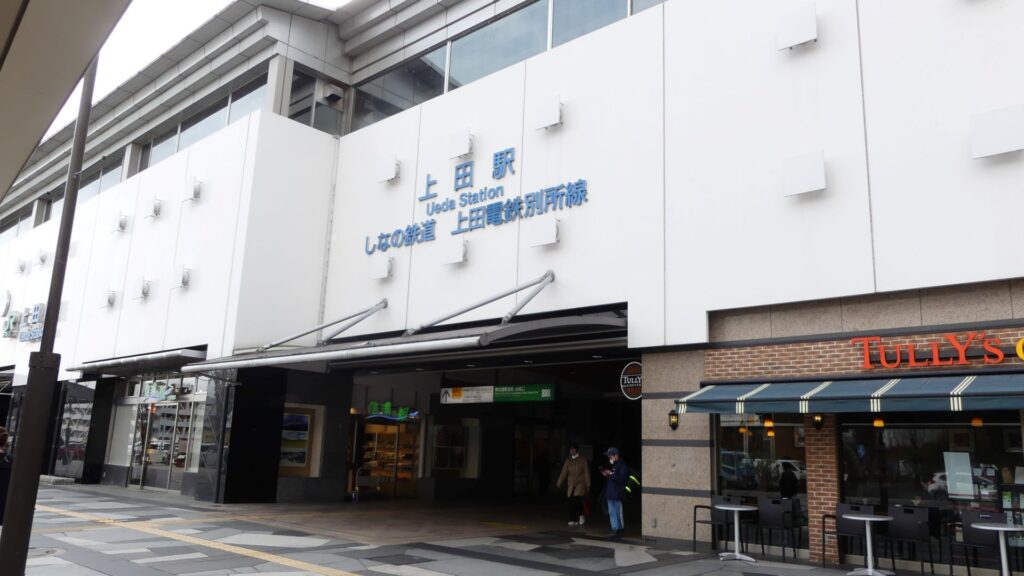
This article will start from Ueda Station which the bullet trains stop and it is a very popular destination. The center of Ueda Castle has become Ueda Castle Ruins Park, about 1km away from the station. However, the castle was larger than the park, which means we will see other attractions of the castle on the way from the station. Atter arriving at the park, we will next see the main enclosure with the remaining turrets and natural hazards for the castle such as “Amagafuchi”. We will finally visit some sites regarding the battles of Ueda; Toishi Castle Ruins and Kangawa River, which are little far away from Ueda Castle.
Attractions in the Town
Let us first go along the street in front of the station after you exit the Oshiro-guchi exit of the station.
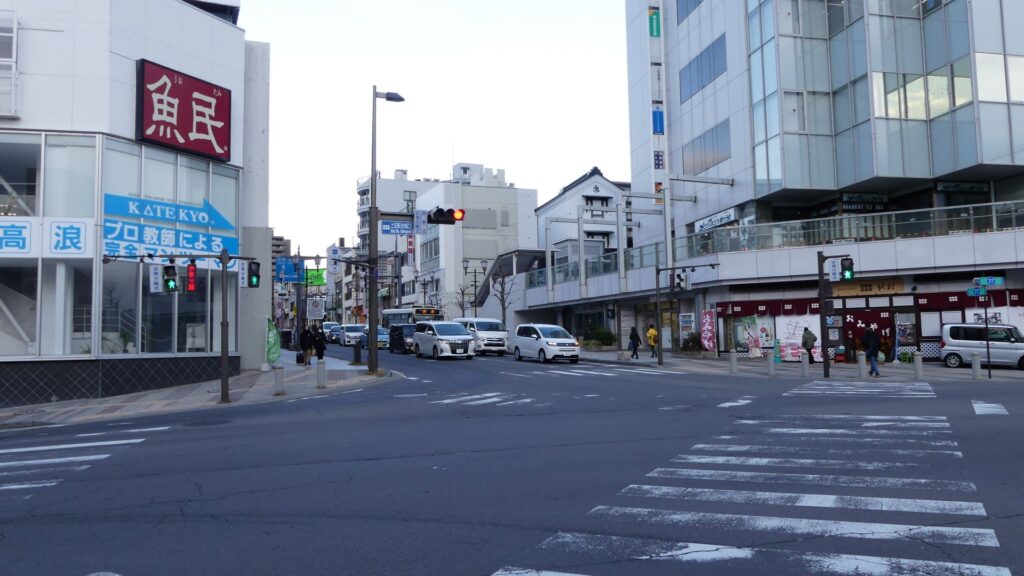
Turn left at the “Chuo-Nichome” intersection, then you will walk on the Ote-dori Street.
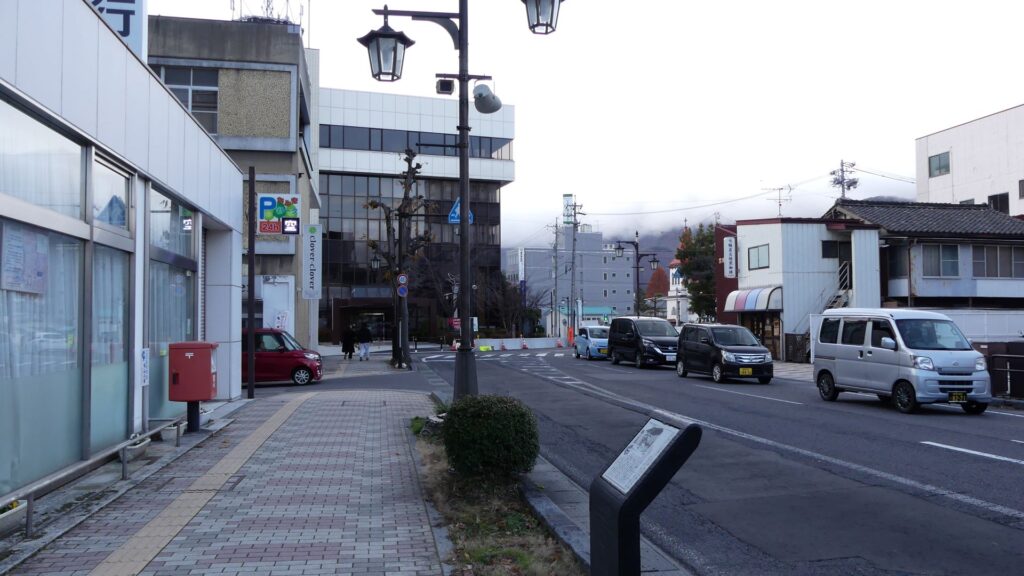
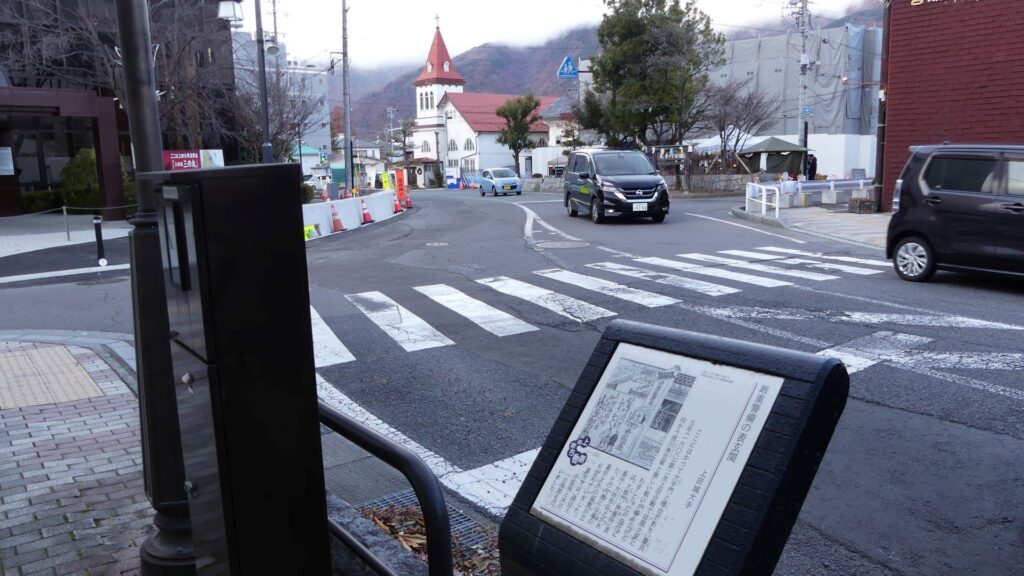
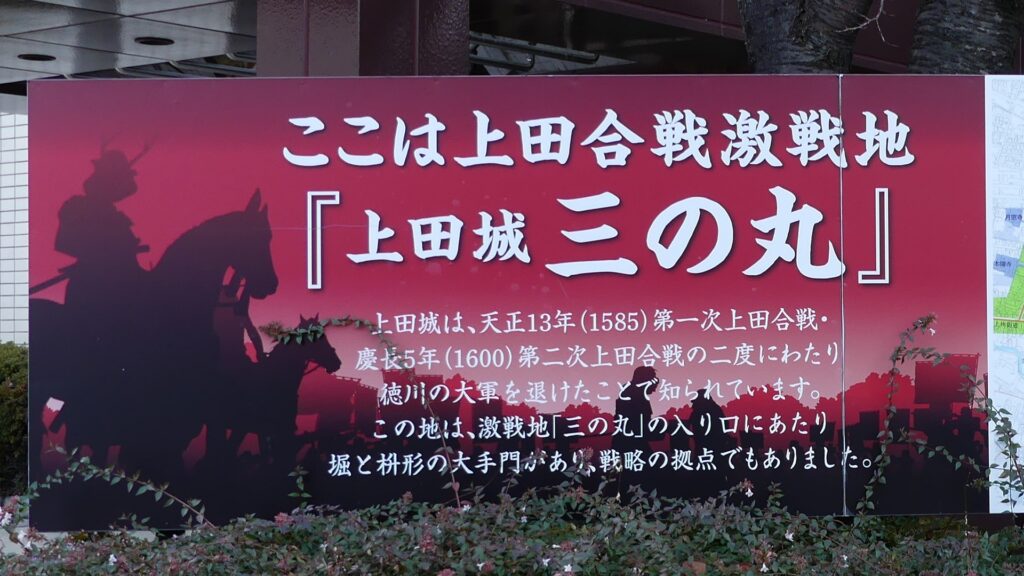
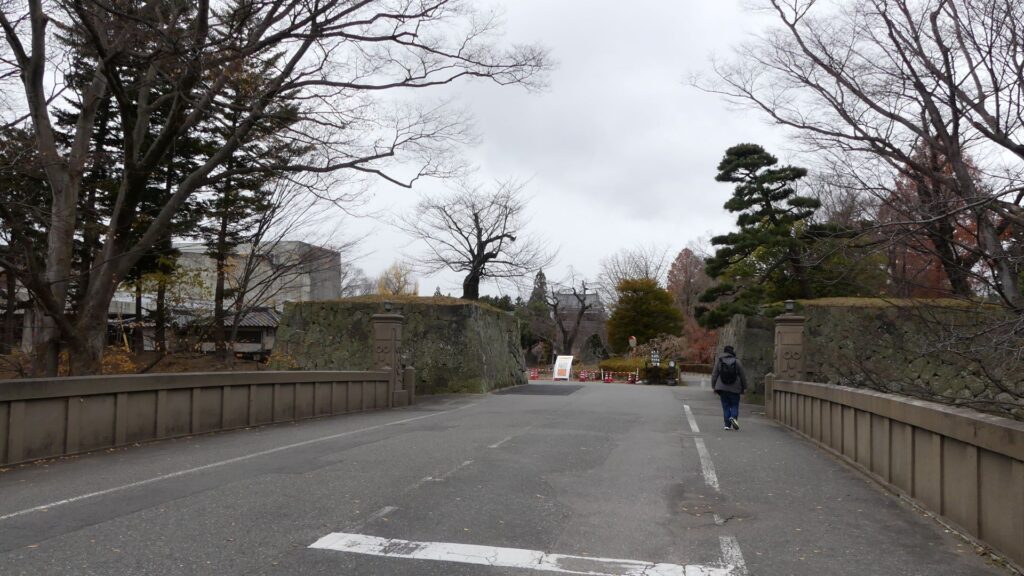
You will soon see the street winding down, which is the ruins of the main gate. This spot is said to have been one of the battle grounds during the battles of Ueda. It used to be surrounded by stone walls and moats, forming a defensive square space, called Masugata during the Edo Period. However, it was also said that the gate didn’t have buildings because of the cancelation of the reconstruction by Tadamasa Sengoku.
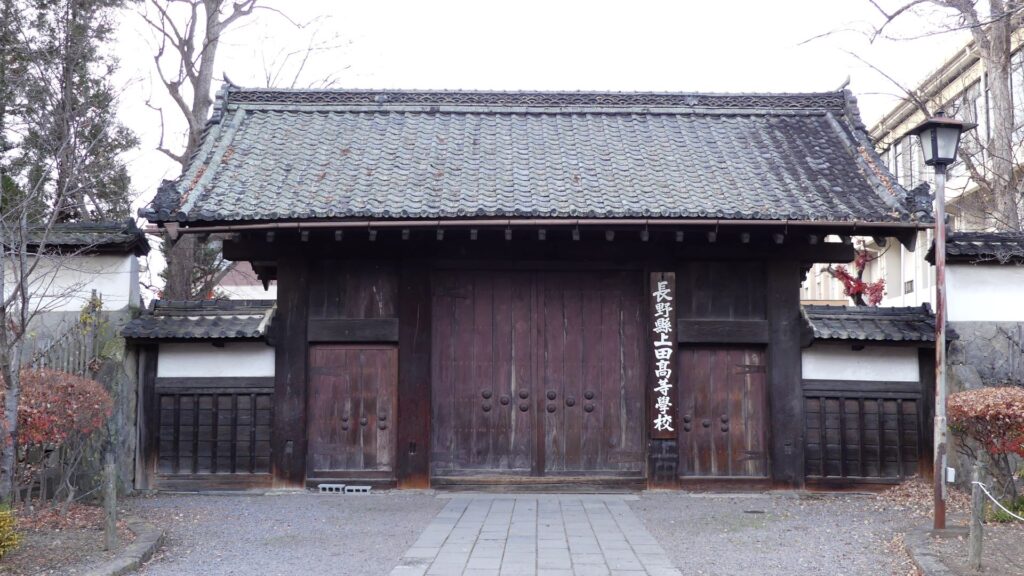
There are the ruins of the residence for the lords of the Ueda Domain since Nobuyuki Sanada was in power, which is now used as a high school. Its front gate and earthen walls and water moats have survived. However, if you look at the corner of the earthen walls, you will notice the corner lacks an edge. The reason for this will be explained in the later parts.
As we continue to walk towards the park, there are the ruins of another residence, called Naka-yashiki. It has been turned into an elementary school, where only the base of the residence has survived. Historians point out that the residence might have been used by Masayuki Sanada, the founder of the castle.

When you get close to the park, you will also find the ruins of the domain school, called “Meirindo”.

Visiting the Second and Main Enclosures
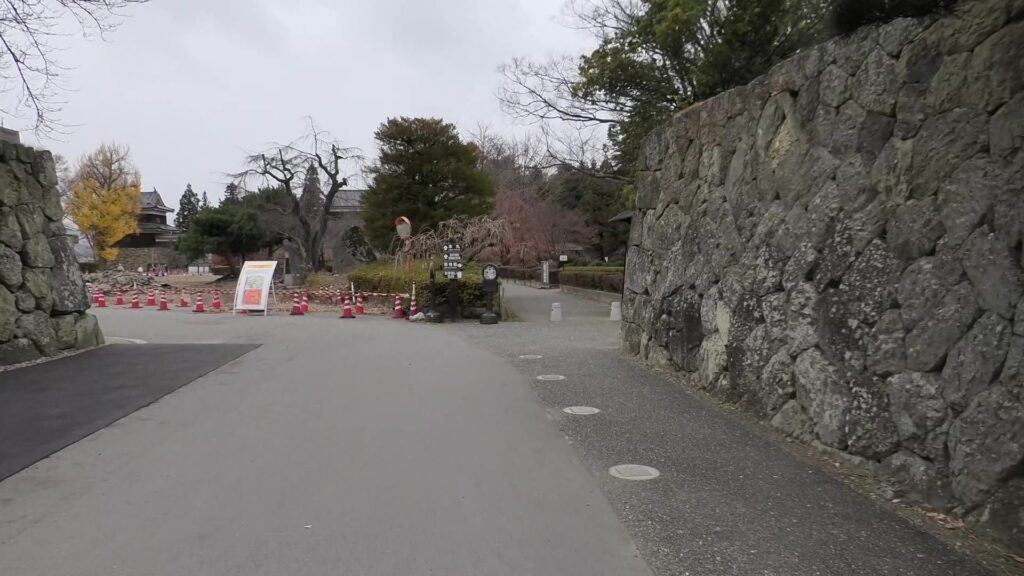
Let us go across the bridge over the moat to enter the eastern entrance of the second enclosure, which is also the park entrance.
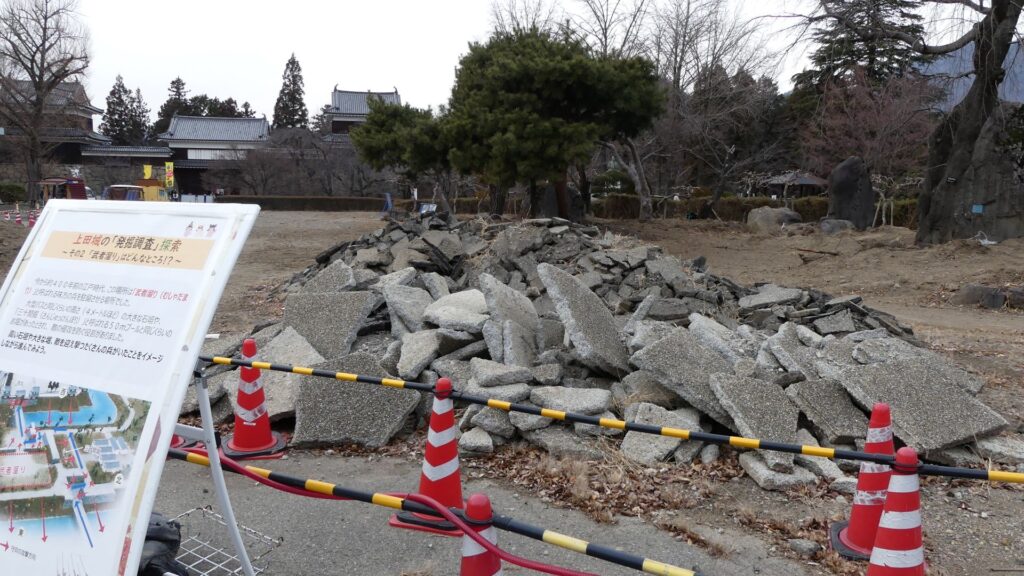
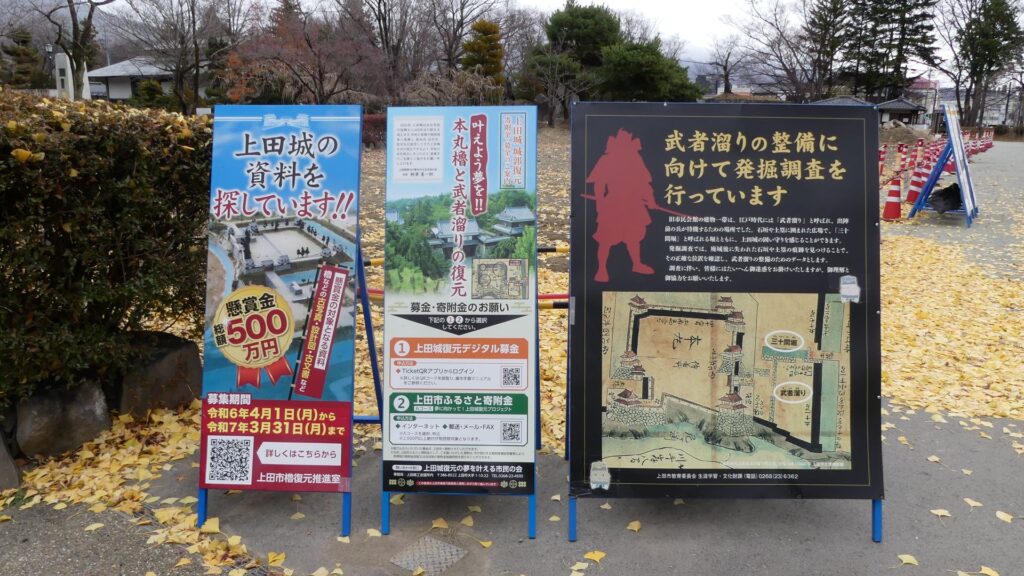
If you look at the inside, you will see the turrets of the main enclosure on the left over there. Visitors can go straight there through the second enclosure today. However, visitors in the past were not able to do so due to the Masugata system at the entrance. In addition, there was a large moat, called “Sanjikken-bori” and the waiting area for the warriors, called “Musha-damari”, in the enclosure to avoid the visitors from walking straight. The officials are currently researching the areas in order to restore the Musha-damari in the future.
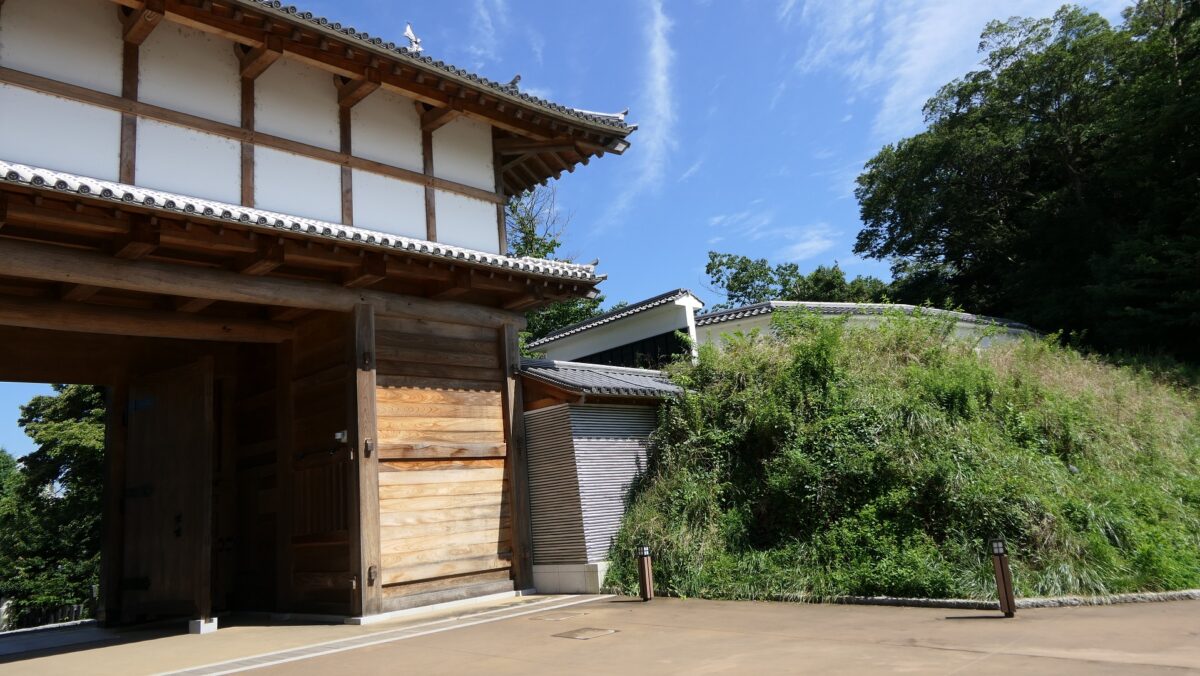
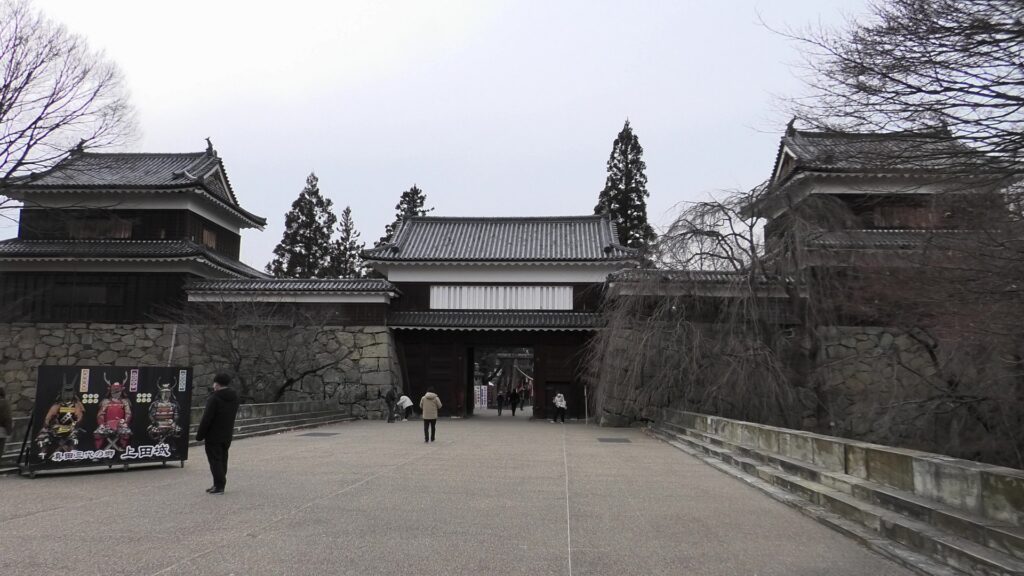
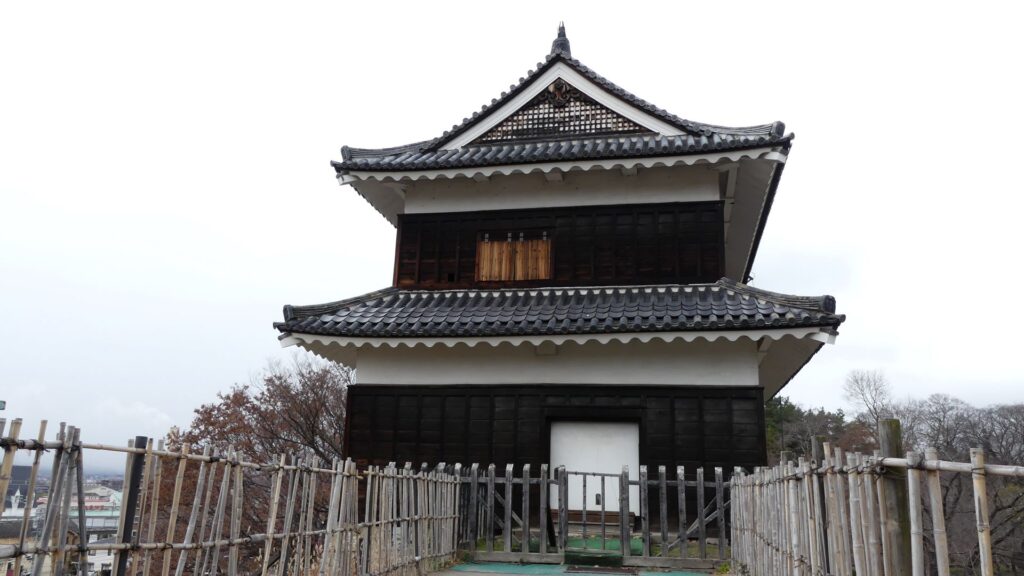
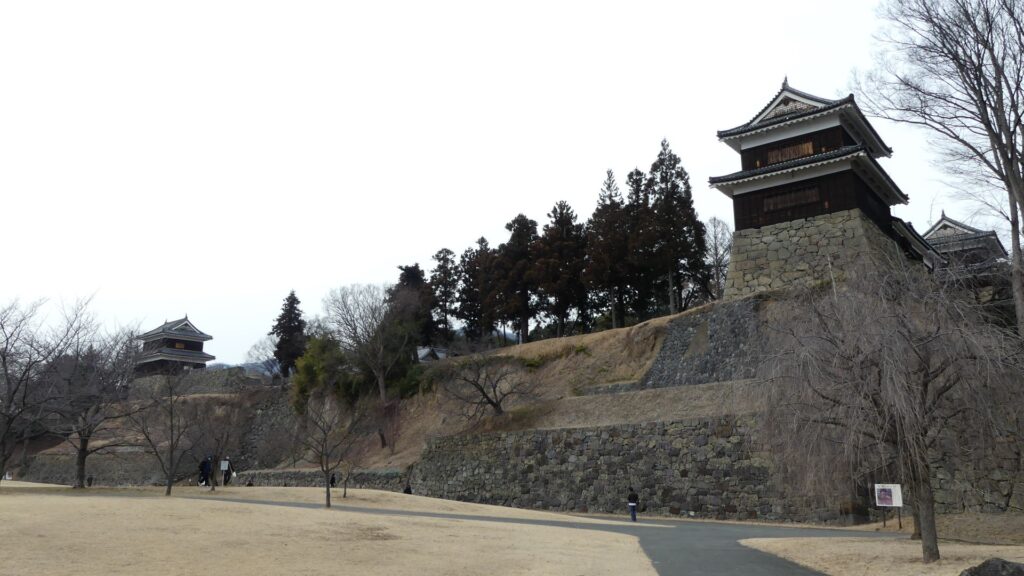
The eastern entrance of the main enclosure has become a viewing spot of the castle. There is the restored turret gate between the remaining southern turret on the left and northern turret on the right.
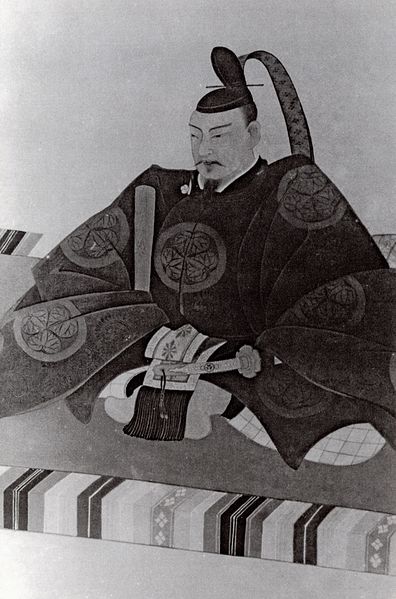
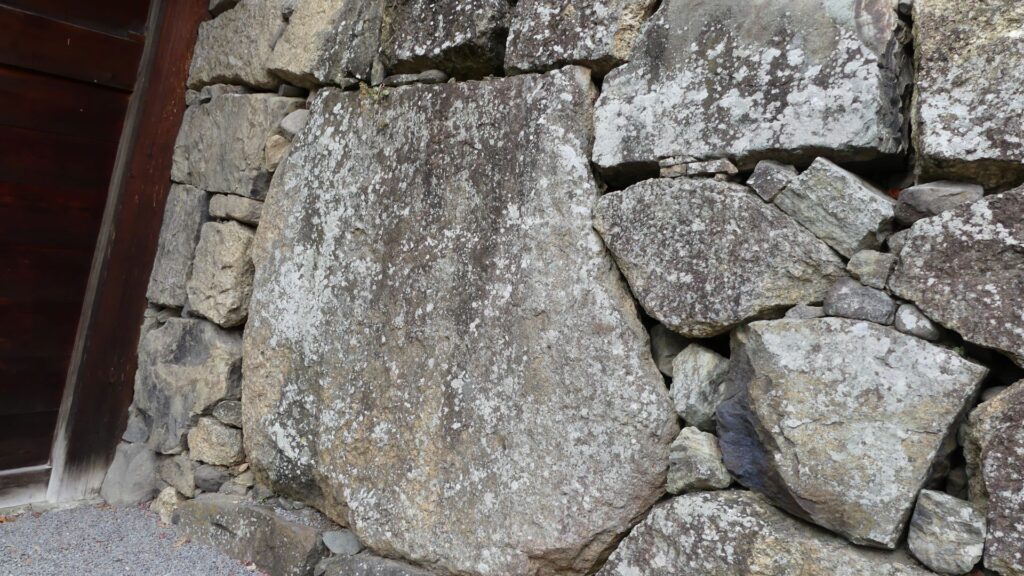
There is also the largest stone of the castle beside the gate, called “Sanada-ishi(stone)”. its name came from a folklore which says when Nobuyuki Sanada wanted to leave the castle with this stone, but it was too heavy for him to carry. However, historians speculate that the stone walls including it were built by Tadamasa Sengoku.
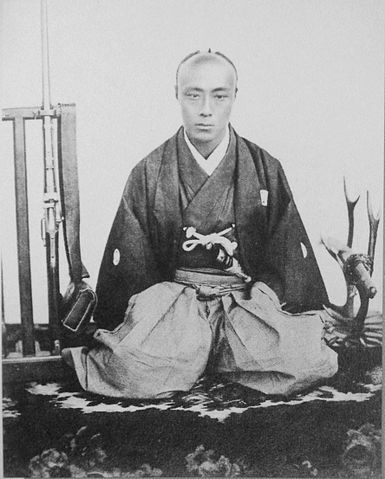
If you enter the gate, you will eventually see the Sanada Shrine in the front. The shrine worships not only the Sanada Clan but also the Sengoku and Matsudaira Clans.
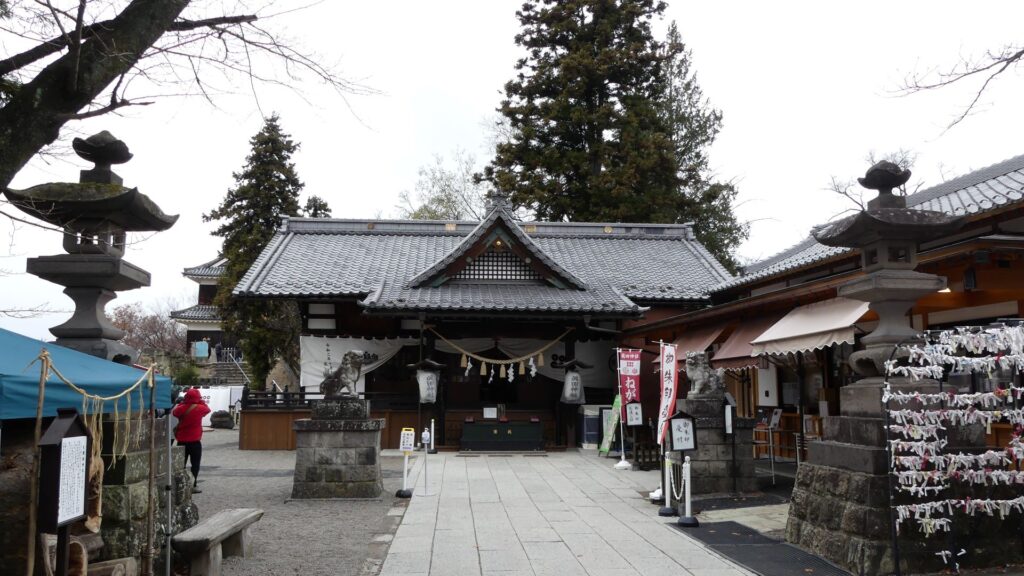
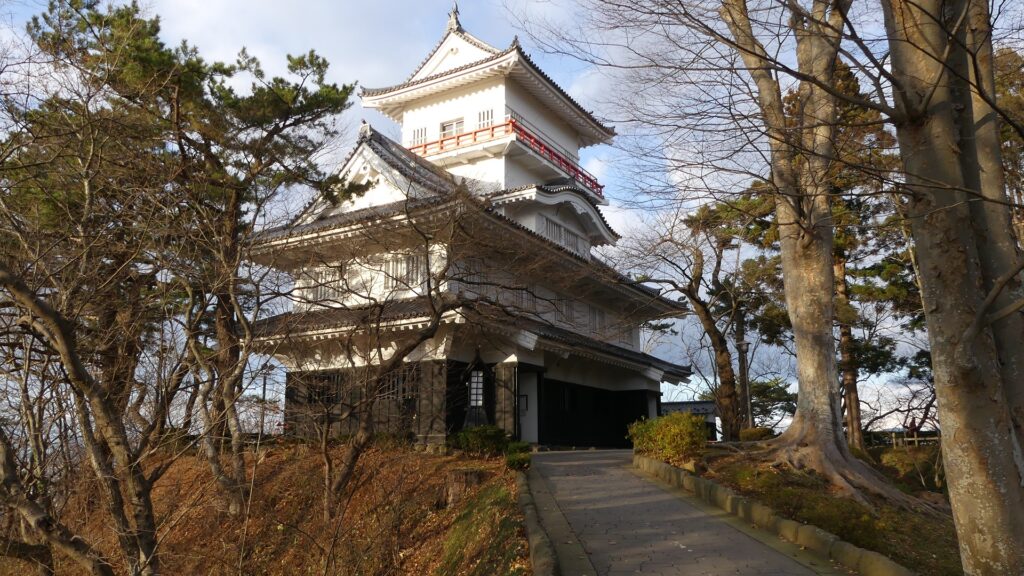
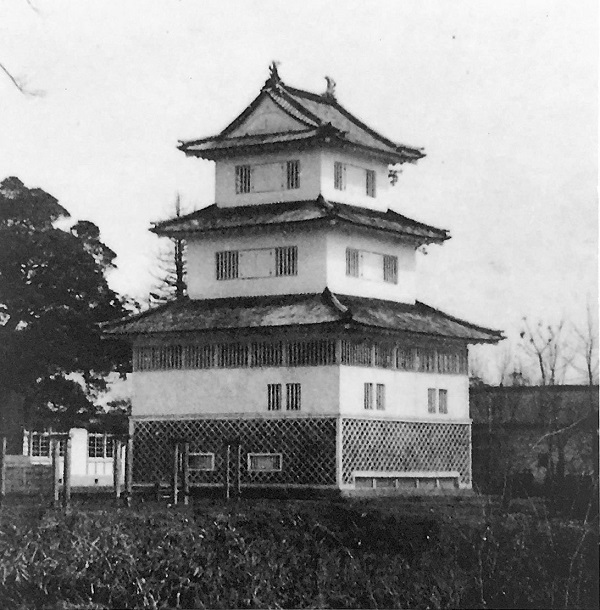
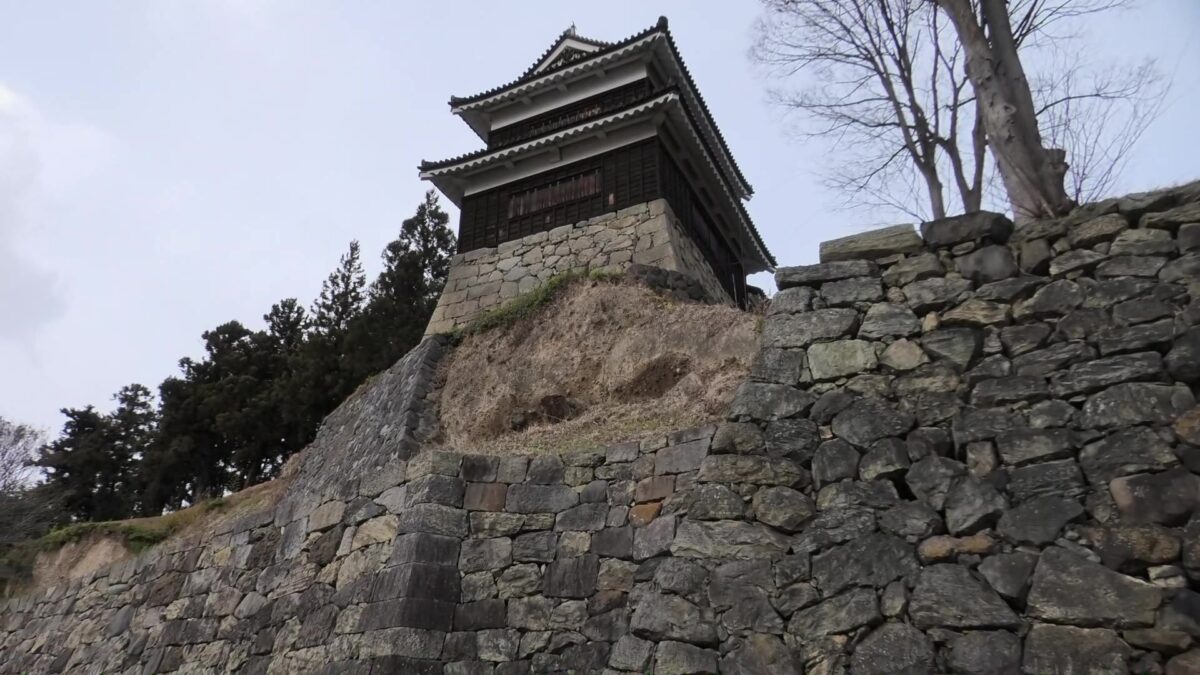
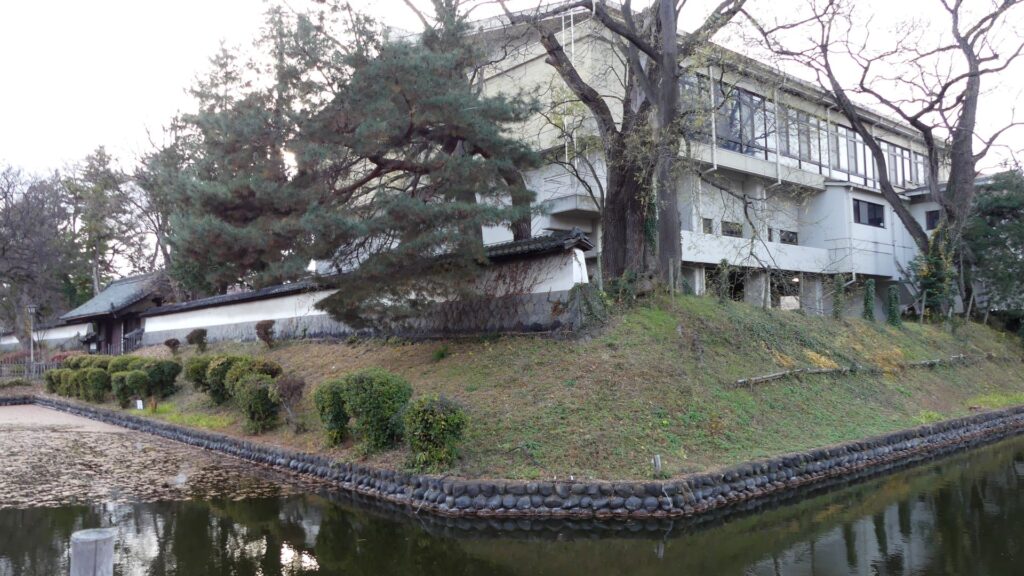
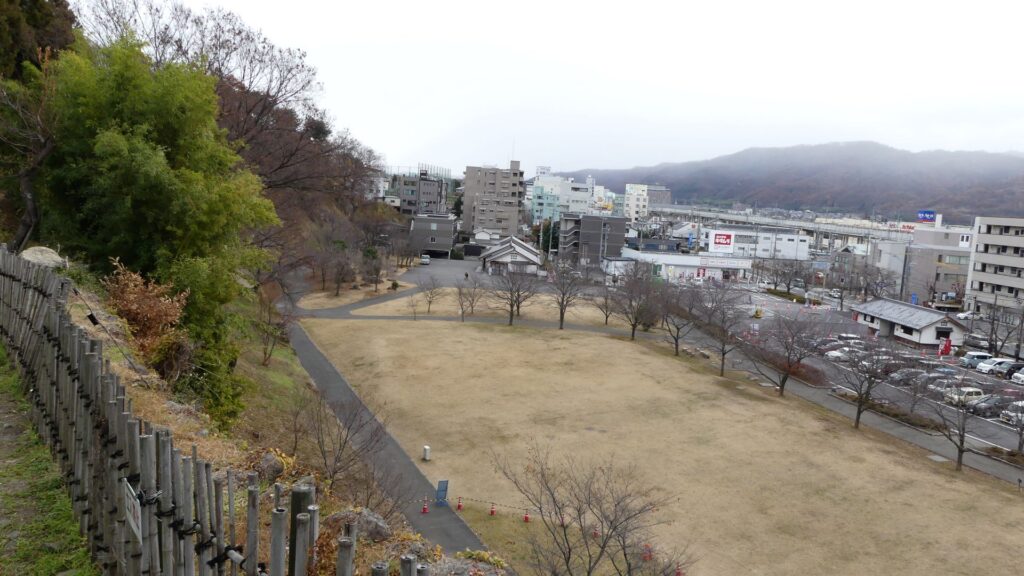
You can also see the other remaining western turret in the back of the shrine. It was once the only remaining building of the castle. It looks like it is still hanging on the cliffs. If you stand by the turret, the view with the cliffs opens up so that you will better understand the location of the castle.
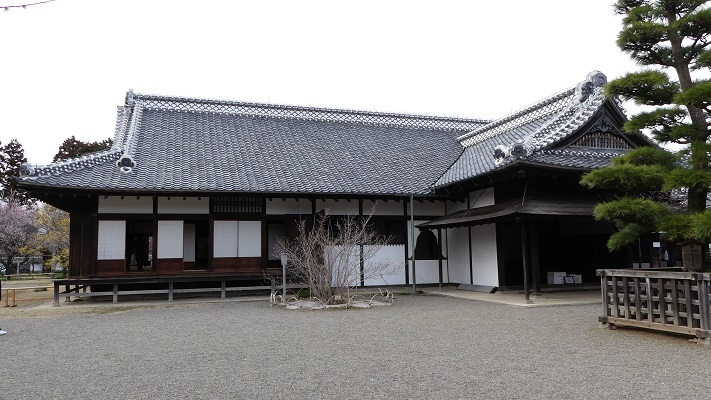
Let us next got to the center of the main enclosure. There were no buildings in the center from the beginning.
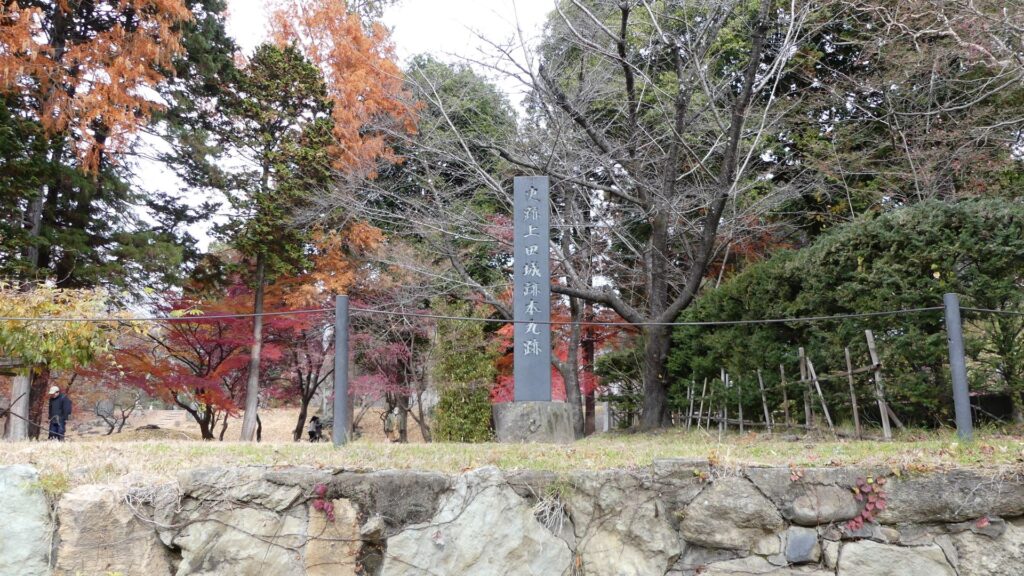
There were 7 turrets around the enclosure. In fact, there were 2 turrets at the northeastern corner of the enclosure. These two were built close to each other but unfortunately, they didn’t survive. The method was not effective for the defensive system. In addition, no one knows their original names.

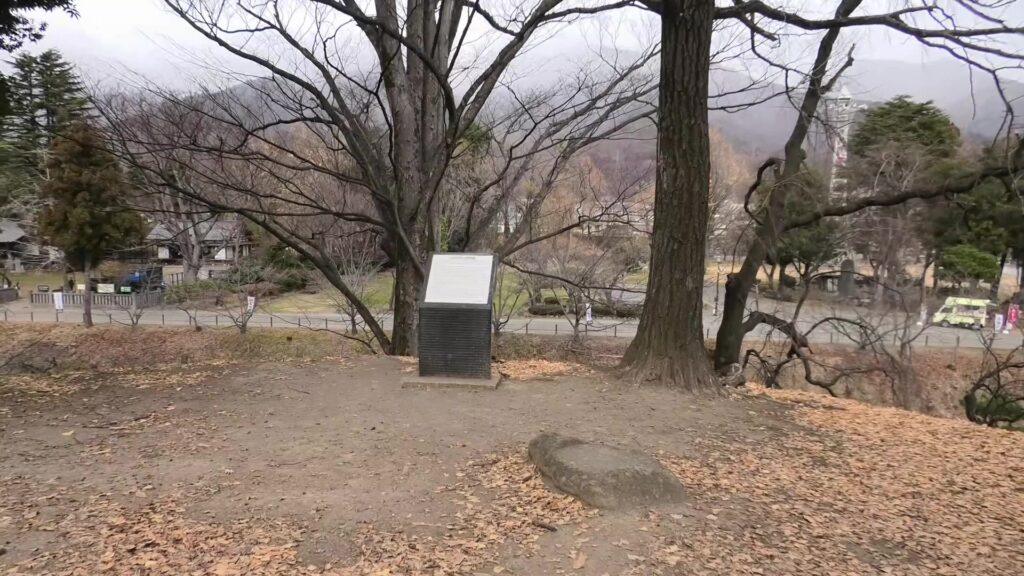
There was one turret at the northwestern corner of the enclosure. The rooftiles with golden leaves were found in the moats nearby. That means there might have been the main tower there during the Sanada Period.

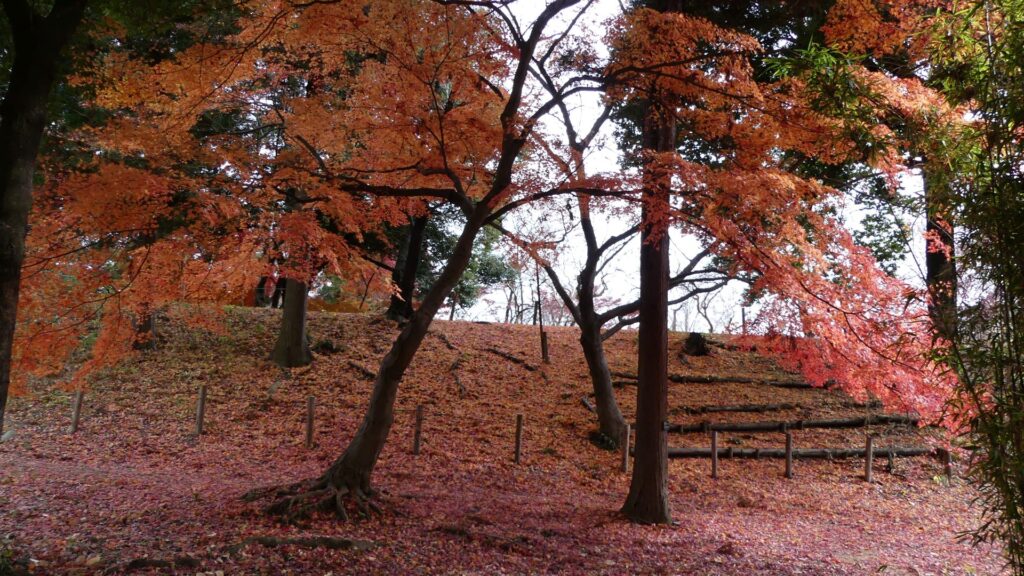
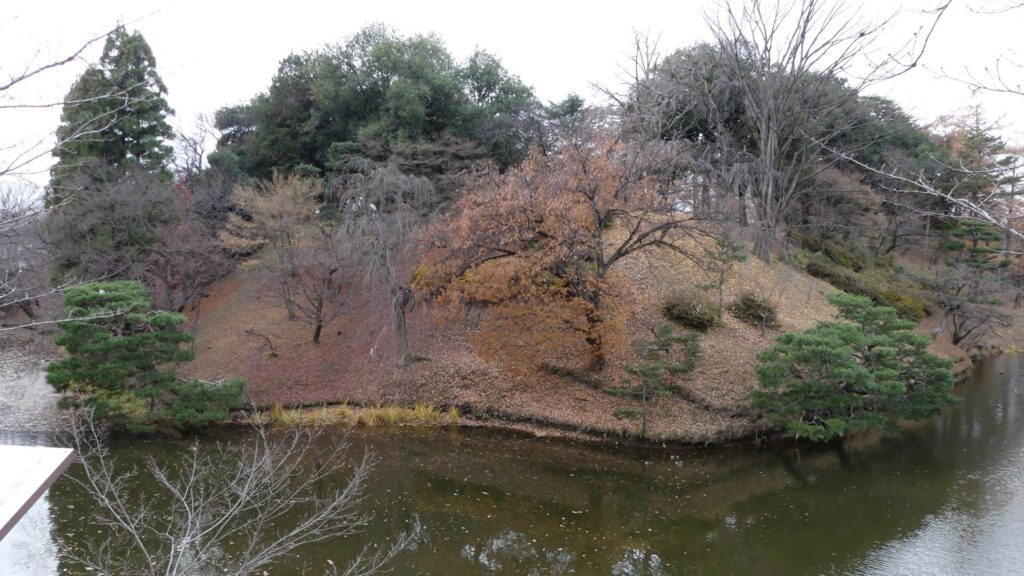
Let us go out of the enclosure and walk around it in order to solve the question of why there were two turrets at the northeastern corner. We will go through the western entrance of the enclosure. It also had the Masugata system. If you walk along the water moat of the enclosure, you will notice the enclosure is the highest enclosure in the castle.

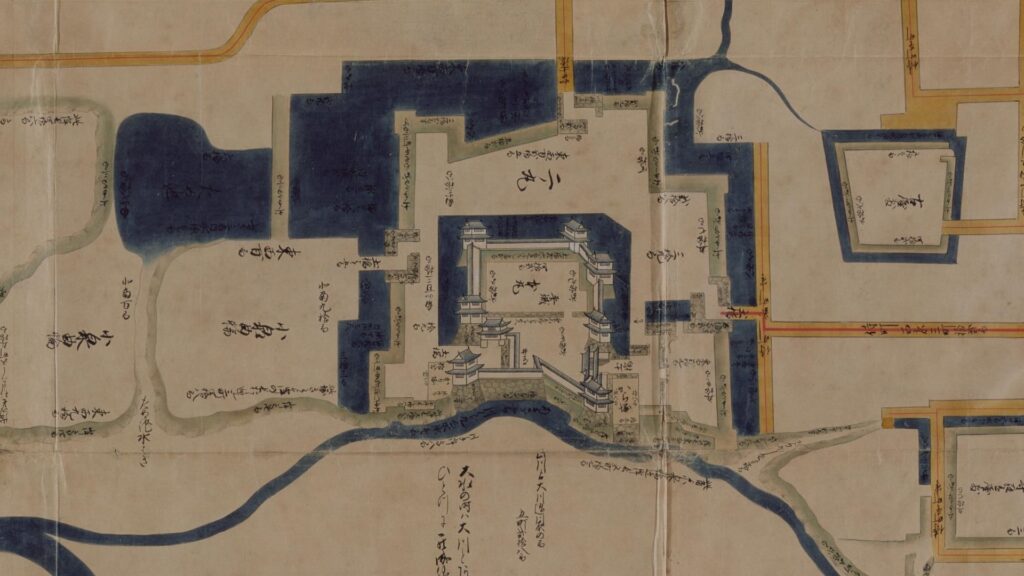
When we arrive at the northeastern corner of the moat, you will find the corner of the main enclosure lacks an edge. This system is called “Sumi-otoshi” which means “lack of the corner”. It is said that the system originated from a tradition that misfortunes come from the northeastern direction. People believed that the shape of the northeastern corner would avoid the misfortunes. The system is one of the features of Ueda Castle. The lacking of the edge of the corner of the residence ruins we saw also came from it. If you look at the illustration of the castle during the Edo Period, you will notice several areas lacking edges at the same direction.
The remaining Natural Hazards
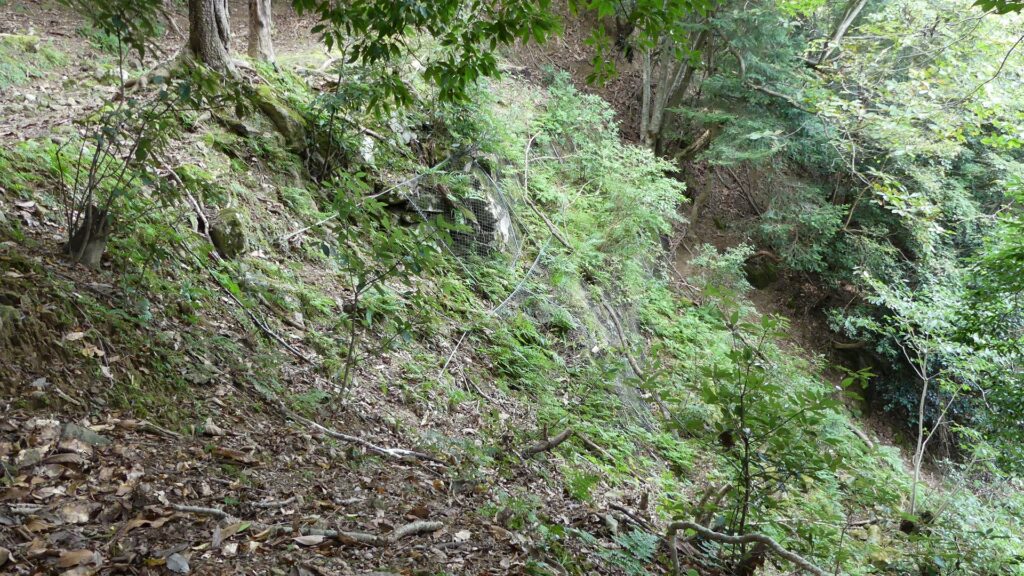
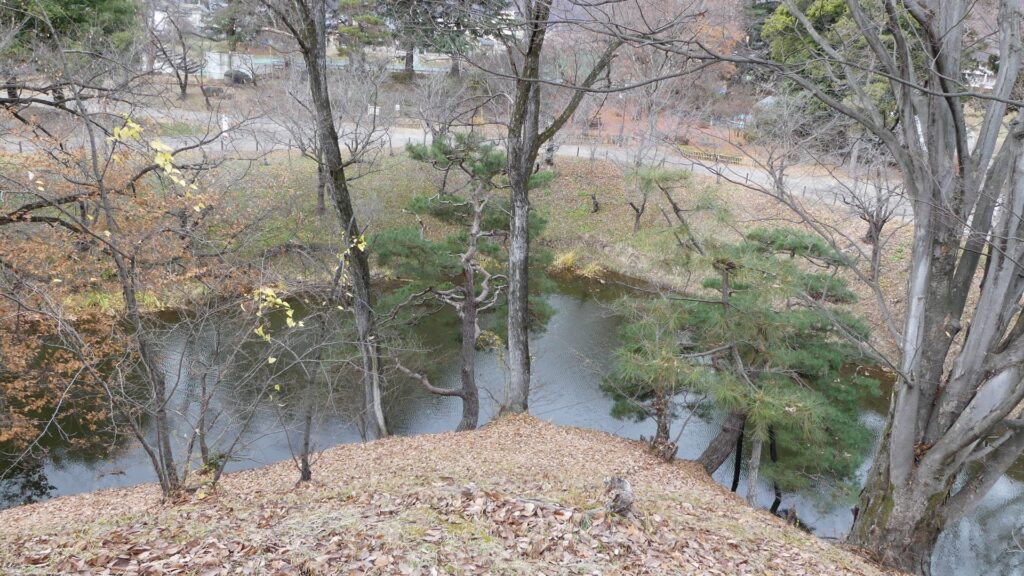
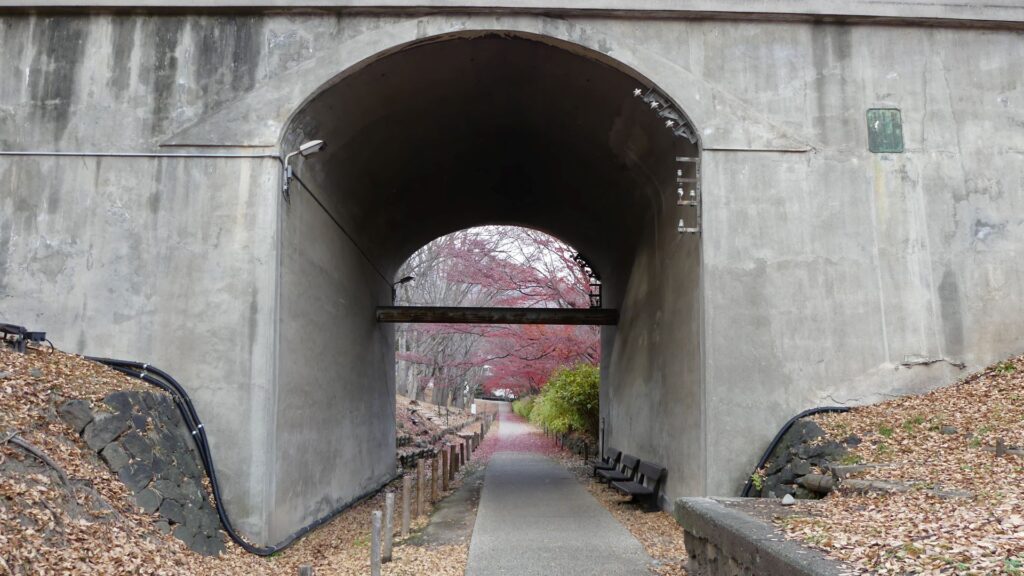
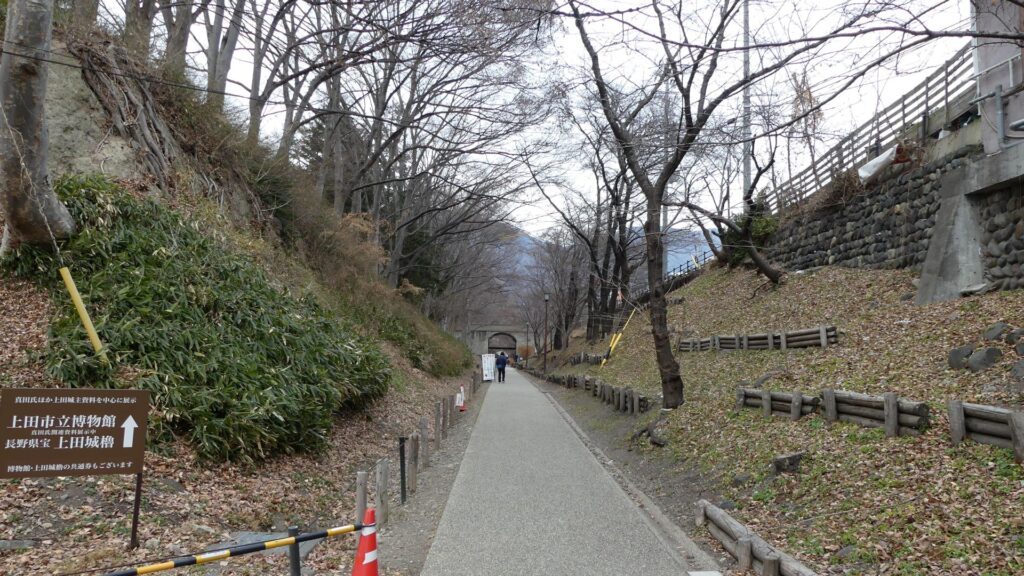
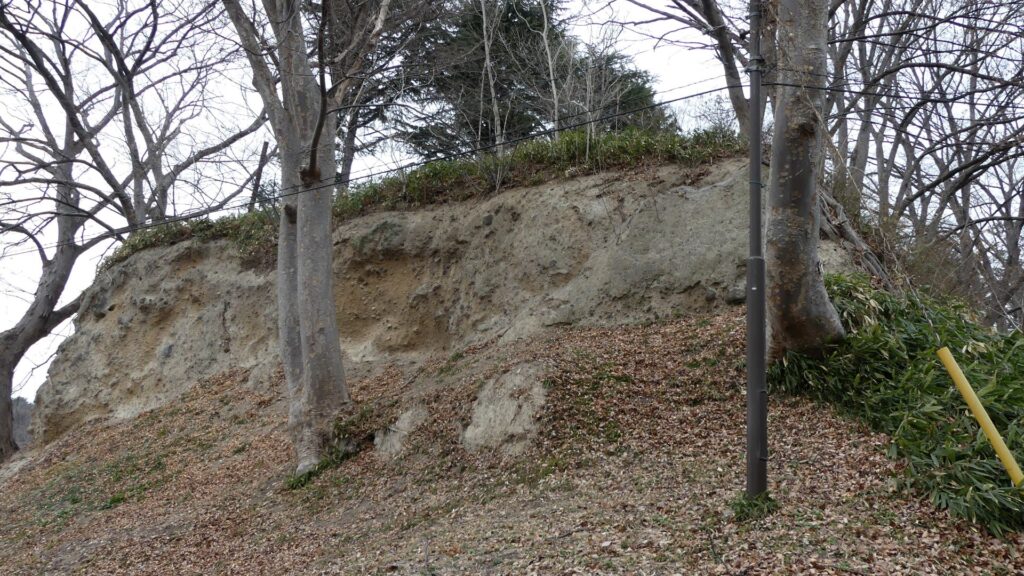
Let us next visit where we can see the castle was built using natural hazards. We will walk down from beside the bridge we first entered to the bottom of the dry moat under the bridge. The bottom has been converted to a good straight pavement which originates from a railway during the Showa Era. If you turn right at the edge of the pavement, you will come the cliff area of the southern part of the castle. The cliffs faced a branch of Chikuma River, called “Amagafuchi”. They are about 12m high and 3 layered. The layers have different terrains which were made from volcanic activities and river flows, which make the cliffs vulnerable.
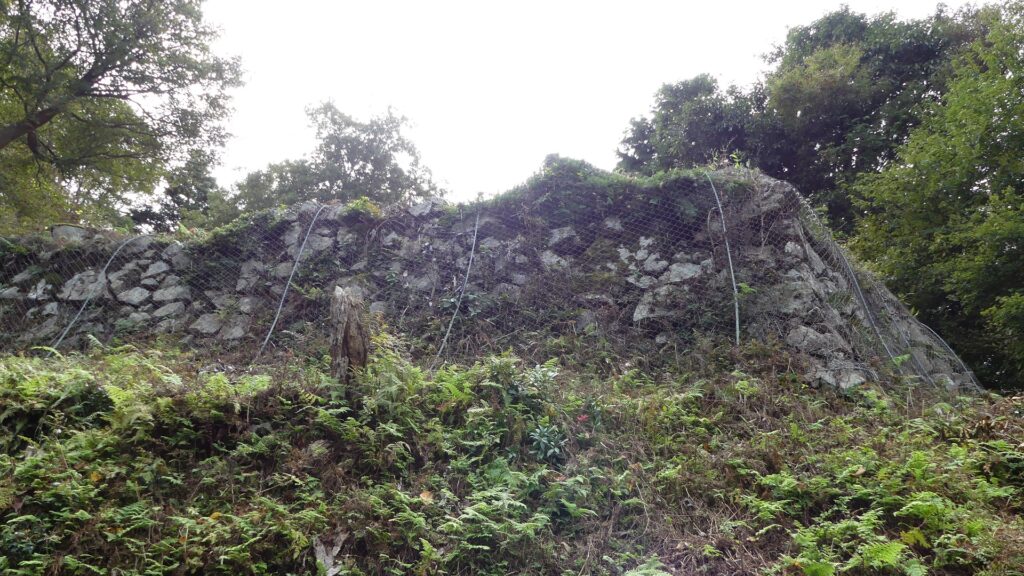
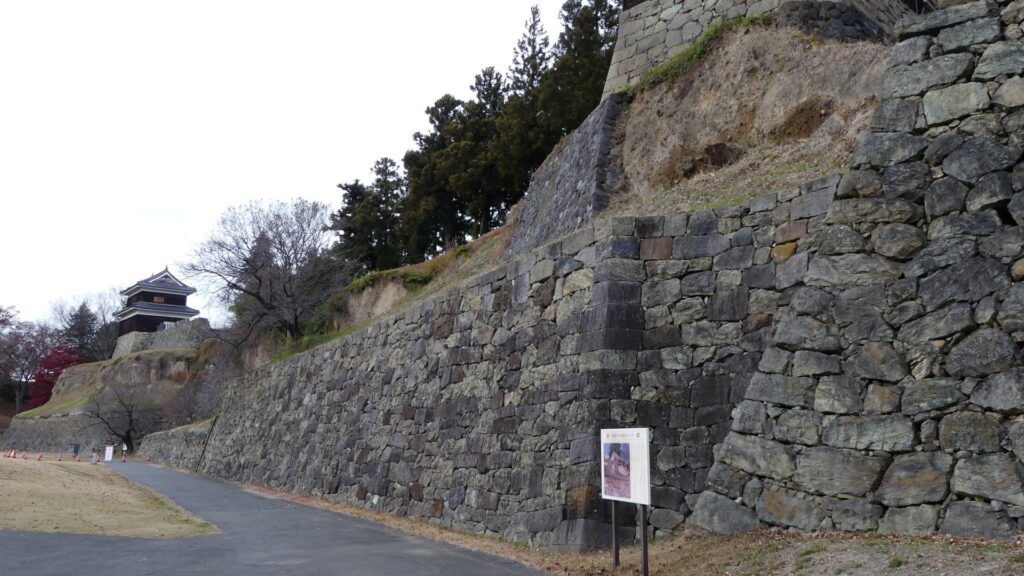
We will eventually arrive at a large square where the branch of Chikuma River flowed. You will be able to see the entire cliff area from there. It was said that after the great flood in 1732, the main flow of Chikuma River might have flowed there, too. The Ueda Domain built the remaining stone walls covering the cliffs in order to maintain them and protect the shore. The river was moved to its original position and the Amagafuchi area turned dry due to the modern constructions during the Taisho Era.
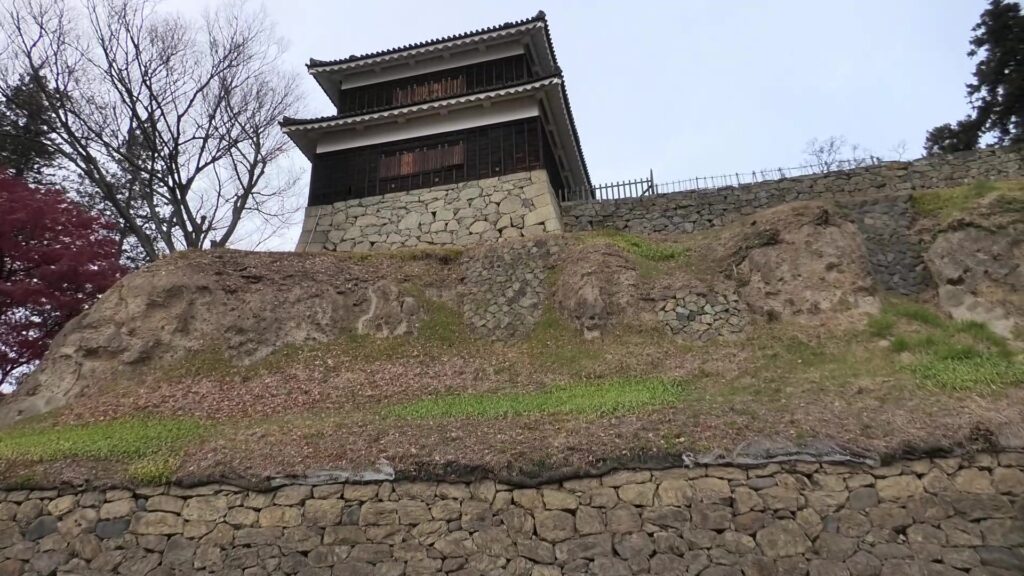
For example, if you look at the stone walls under the southern turret of the main enclosure, you will notice they have three tiers. The upper tier was first built as the turret base. The lower tier was built next as the shore protection. The middle tier was finally built in order to maintain the cliffs. However, the surface of the cliffs is not flat, so the builders were not able to cover all of them. In addition, the builders also had to rebuild the walls several times because they kept collapsing. The original cliffs are partially covered with mortar by the recent repairs.

We will next walk towards the western part of the cliffs. You can see the western turret of the main enclosure is still errected alone on the cliffs.
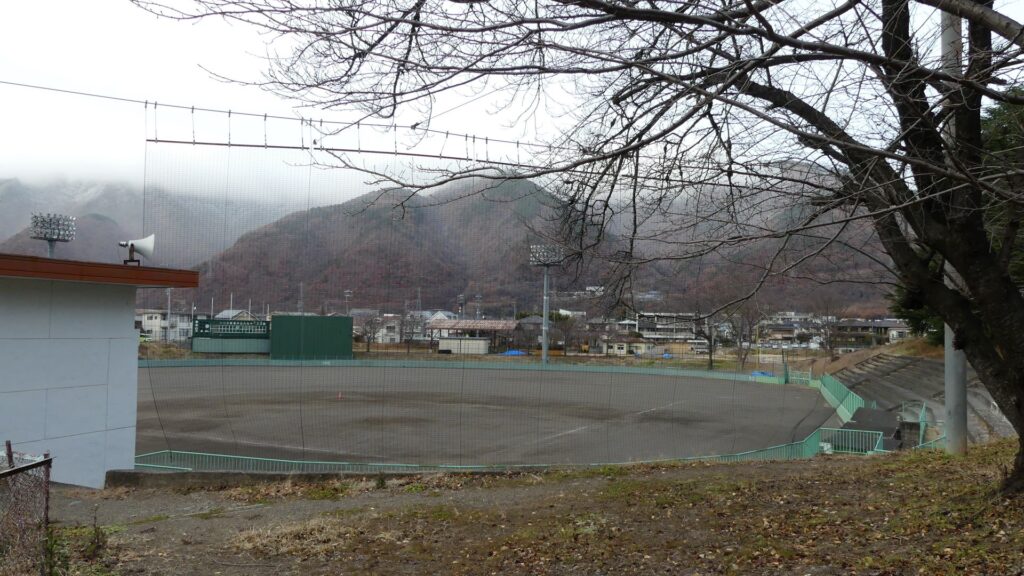
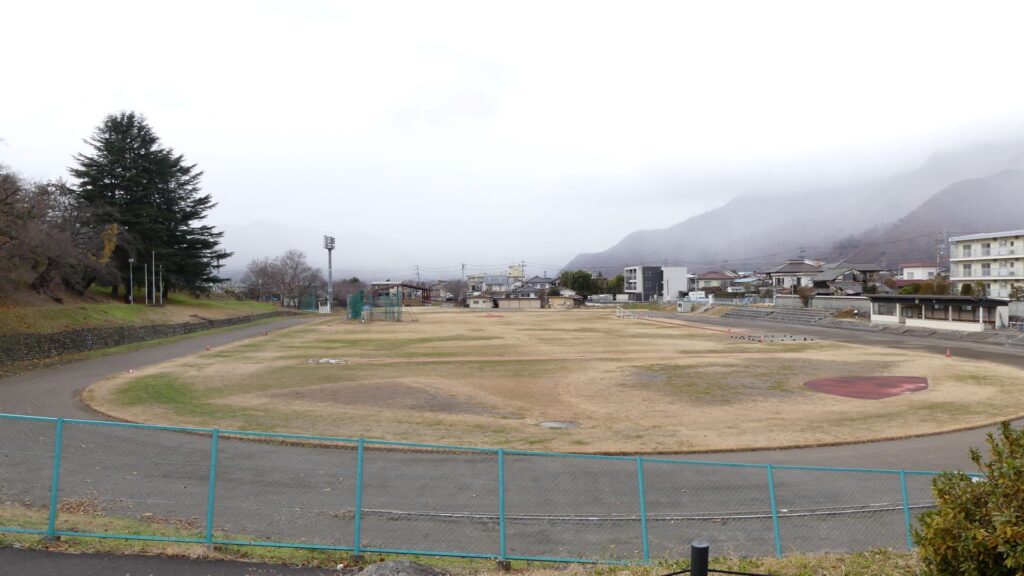
Three are other natural hazards around the castle such as the former large moats. One of them is the ruins of Hiro-hori, which means “large moat” outside of the ruins of the western entrance on the second enclosure. However, the moat has been turned into a baseball field.
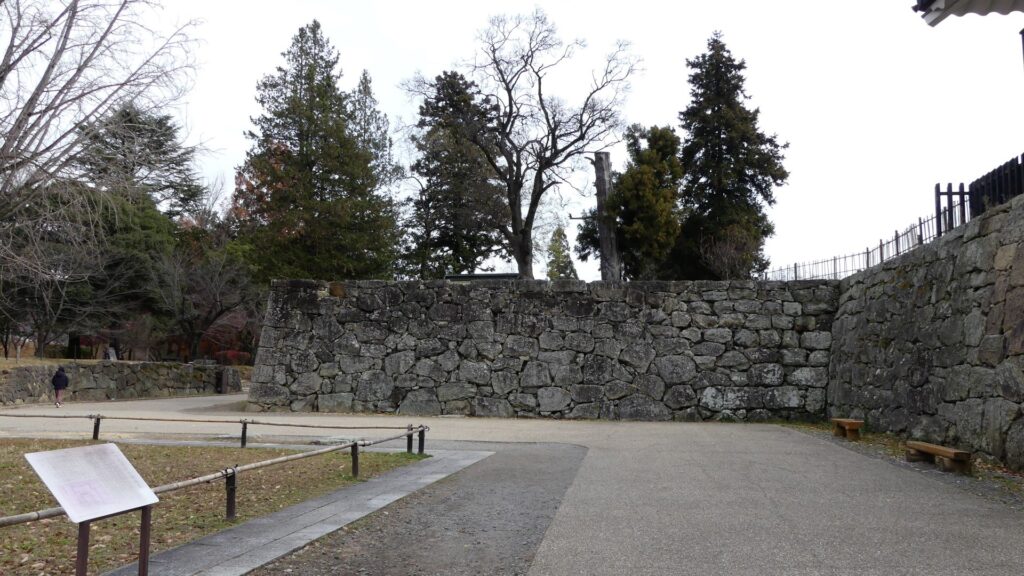
The other moat was outside of the northern entrance of the second enclosure. The entrance still has stone walls. The walls were restored recently using the few remaining original stones.
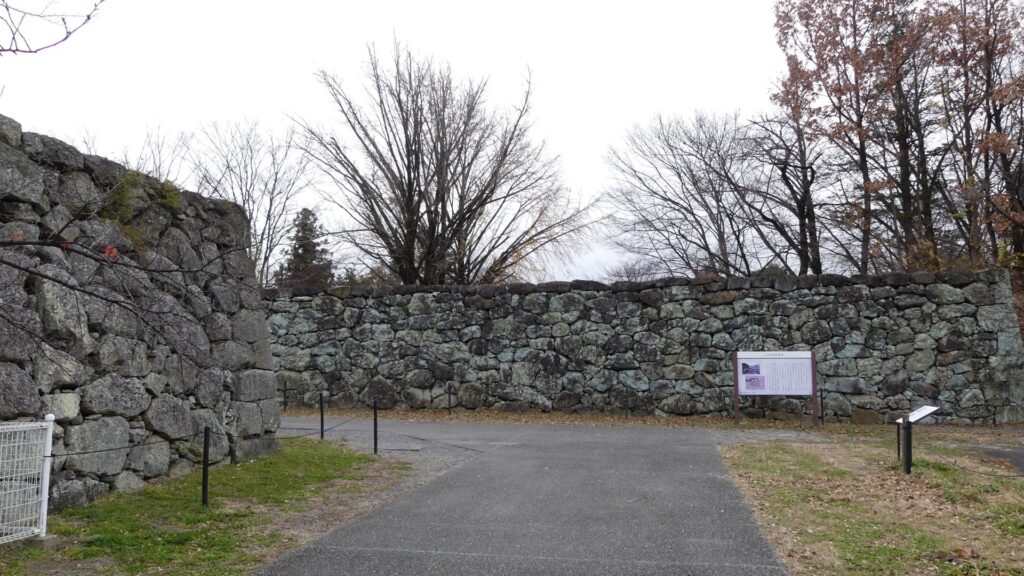
The moat was called Hyakken-bori, which means “180m wide moat”. (Hyaku = 100, ken = 1.8m, a traditional Japanese measurement unit, and bori = moat) It has become a huge playground. These grounds had originally been rivers and were turned into the moats.
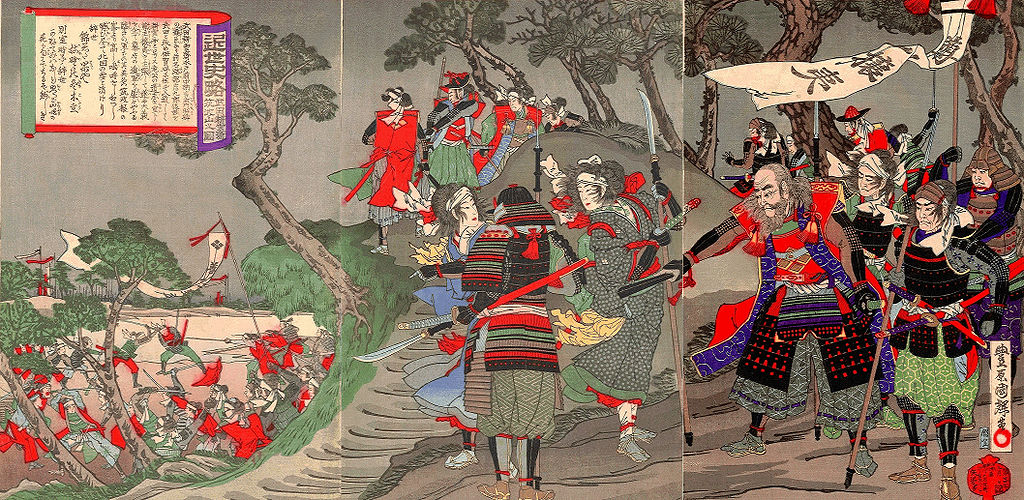
The places related to Battles of Ueda
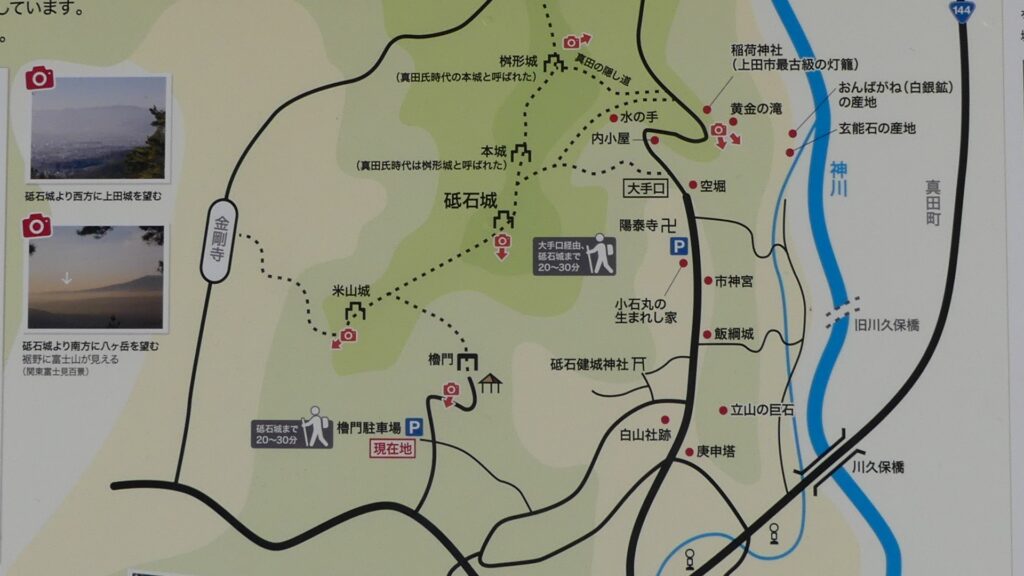
Let me introduce other few places related to the battles of Ueda. One of them is the ruins of Toishi Castle. The site is about 7km away from Ueda Castle, so it may be better for you to use a car to get there. Nobuyuki Sanada used Toishi Castle during the first battle of Ueda. His brother, Nobushige used it as well during the second battle of Ueda. The castle has always been important, even before their time. For example, Shingen Takeda wanted to capture the castle where Yoshikiyo Murakami lived. However, Shingen was defeated badly, this was often referred to as “Toishi-kuzure” which means “collapsing at Toishi”. After that, Yukitaka Sanada, who was the founder of the clan and began working under Shingen, managed to quickly capture the castle by conspiracy. This incident enabled the clown to prosper later on.
Toishi Castle was very large, in fact, it was the aggregate of 4 smaller castles: Komeyama, Toishi, Honjo and Masugata. This time, let us visit one of them, the small Toishi Castle because it is the highest of the 4 smaller castles where we would see Ueda Castle clearly.
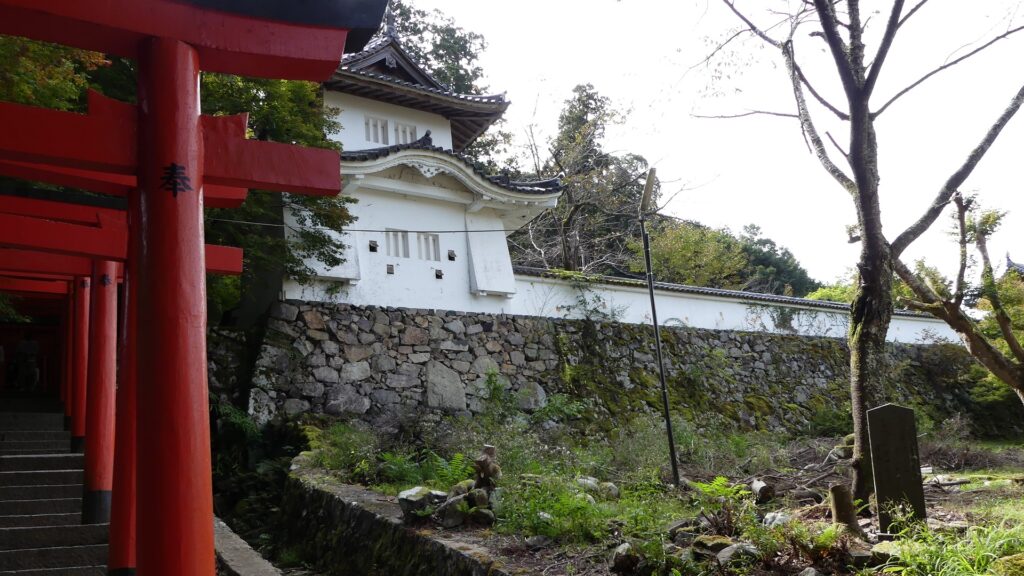
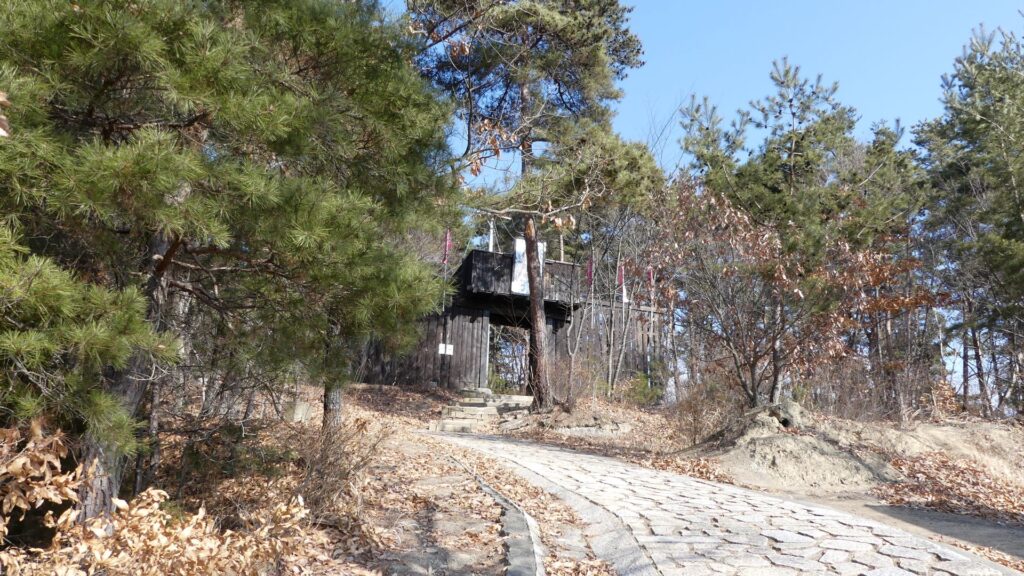
From the parking lot at the foot of the mountain, we will next enter the imitation turret gate to go on the trail.
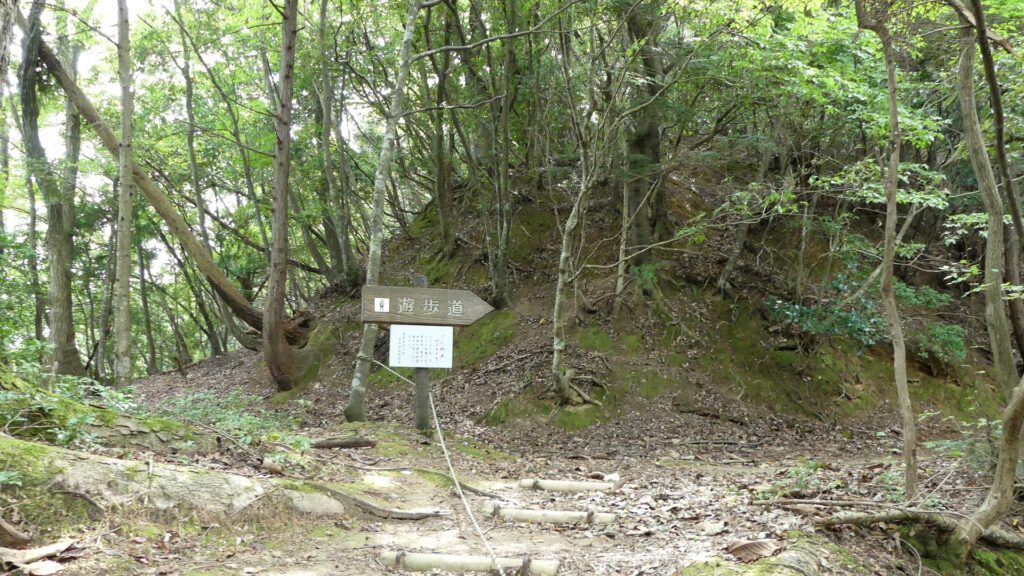
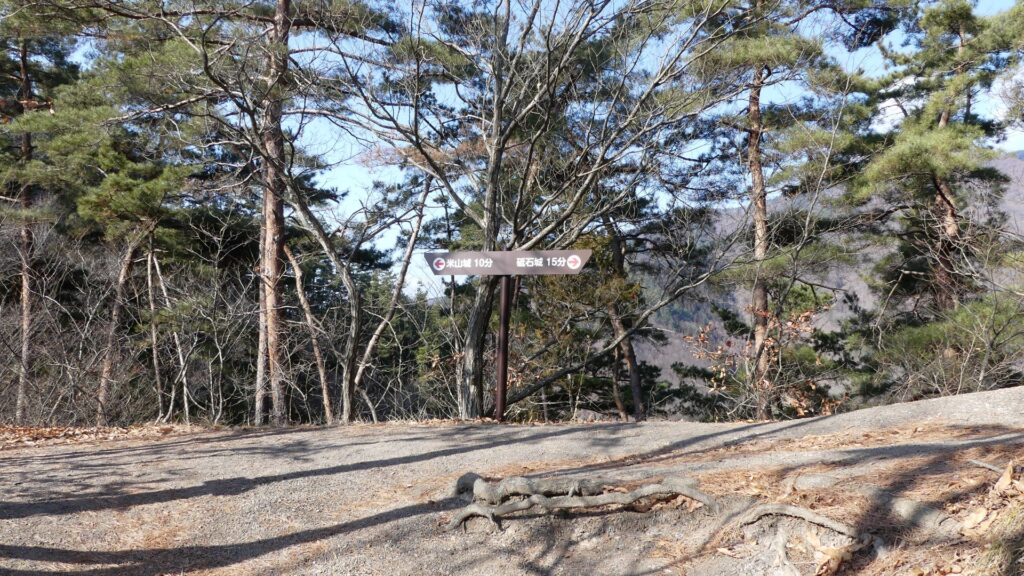
After climbing for a while, we will arrive at the fork to the Komeyama Castle and Toishi Castle. This is where you turn right.
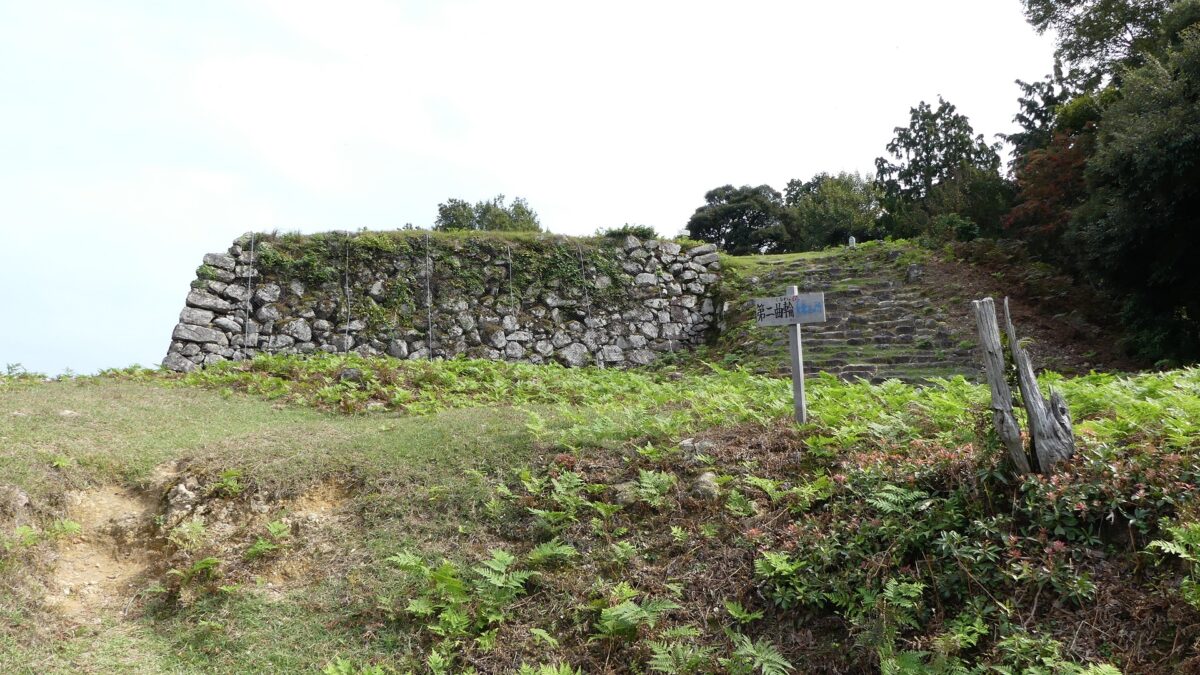
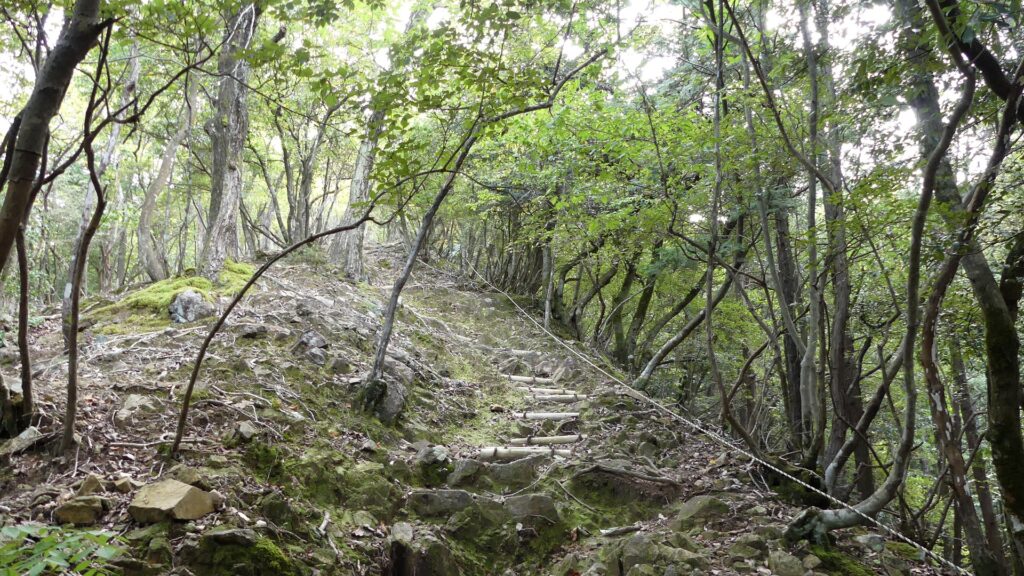
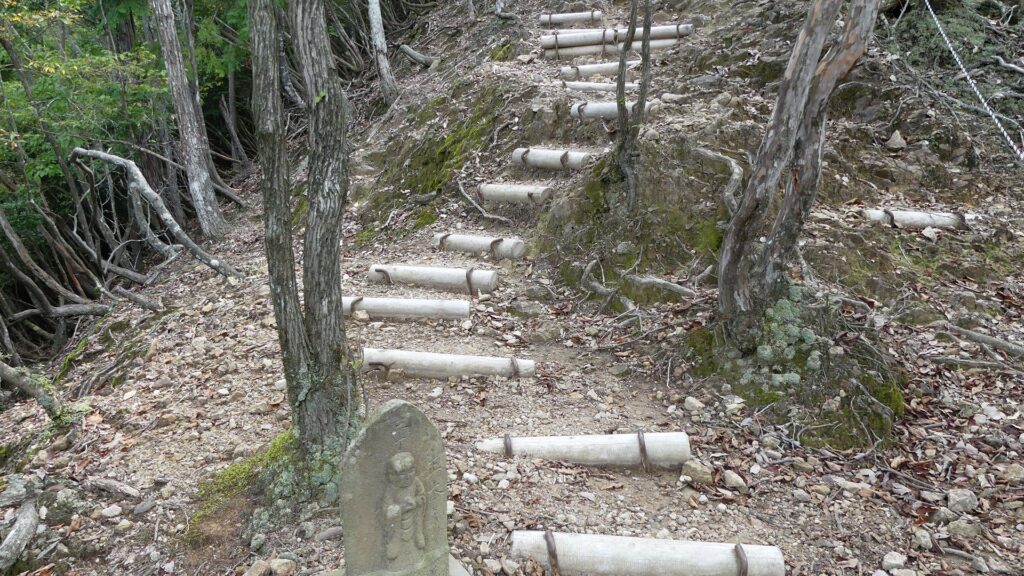
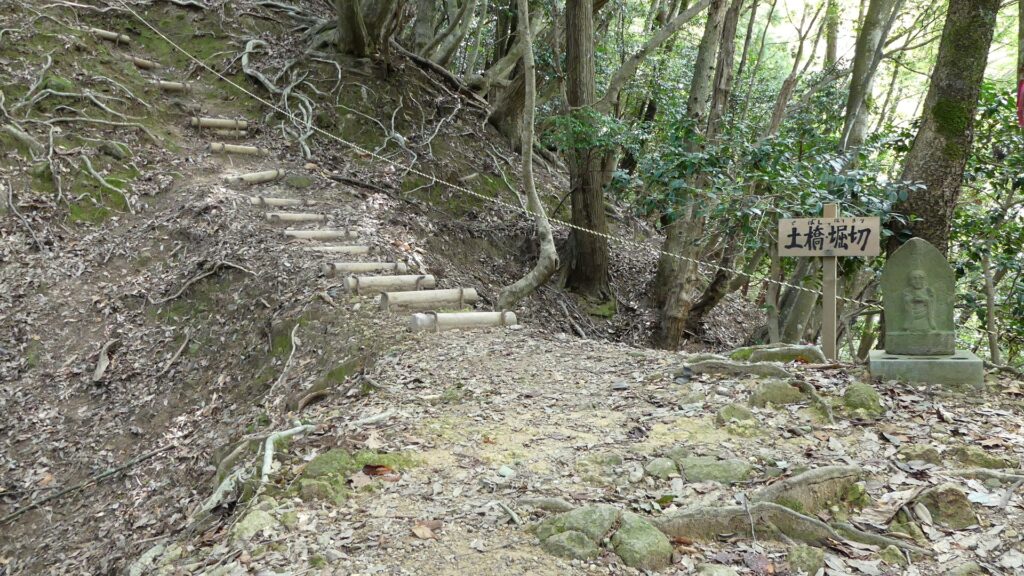
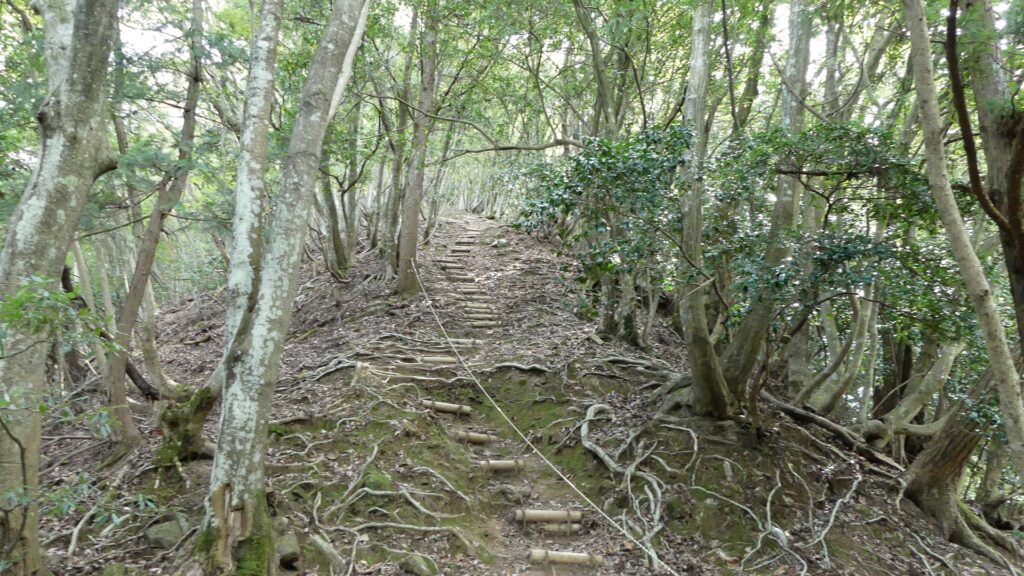
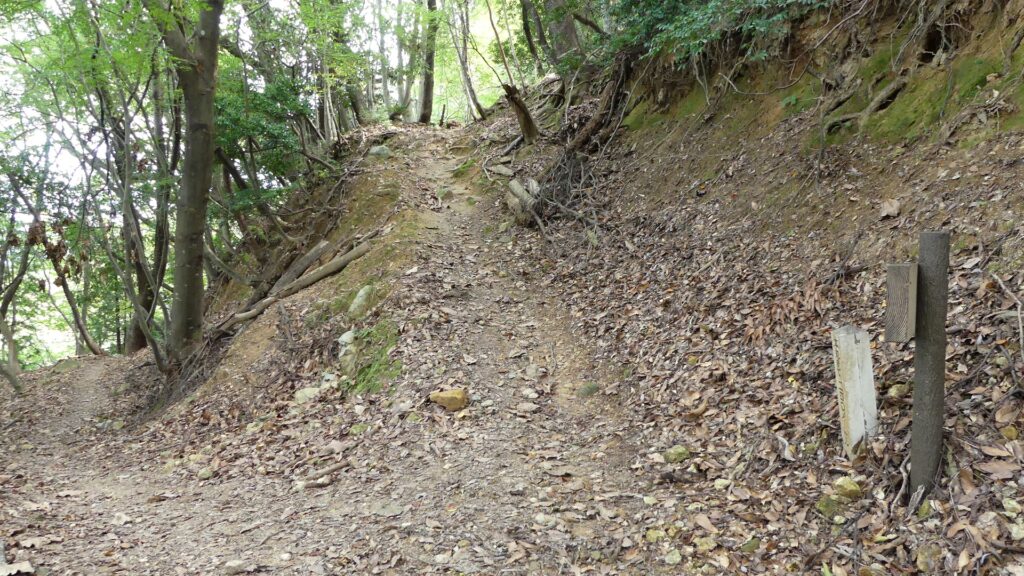
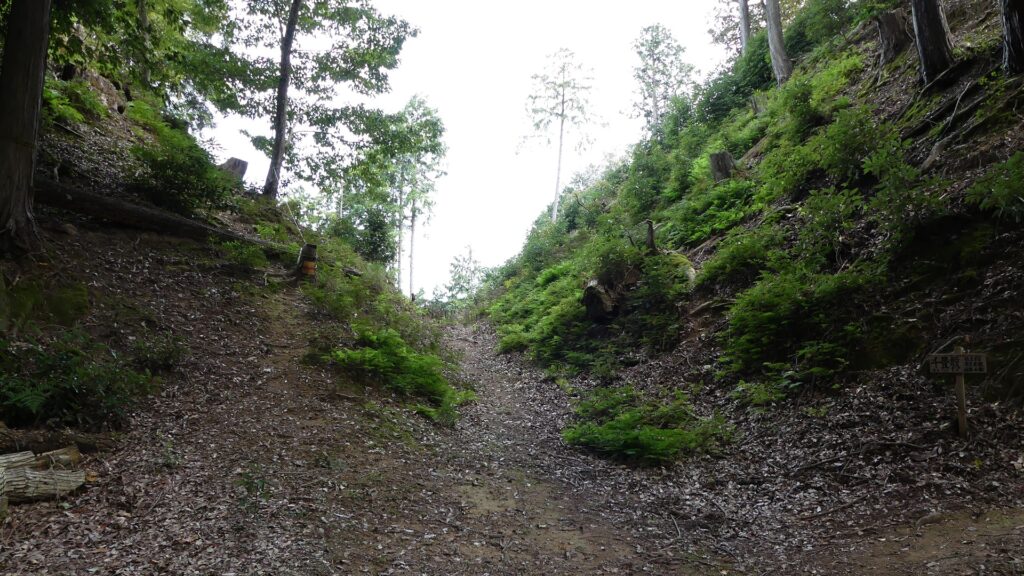
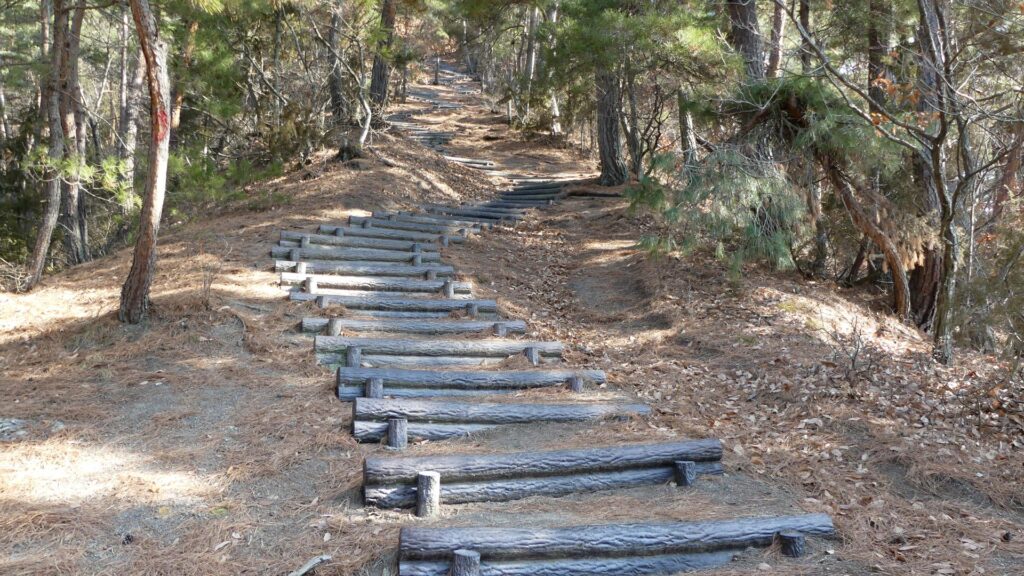
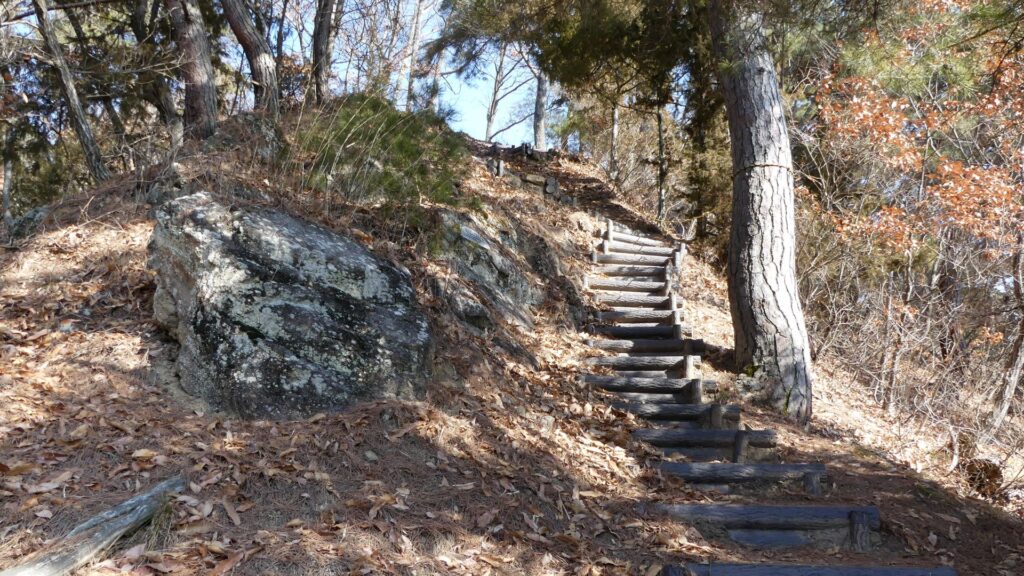
We need to continue to climb long steep slopes to get there. The slopes were probably part of the castle’s defensive system.
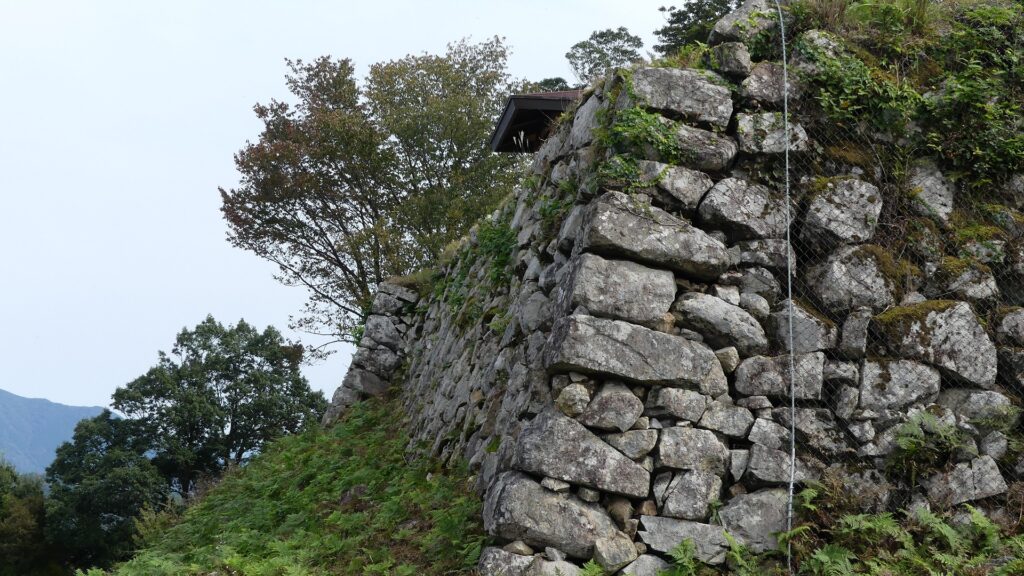
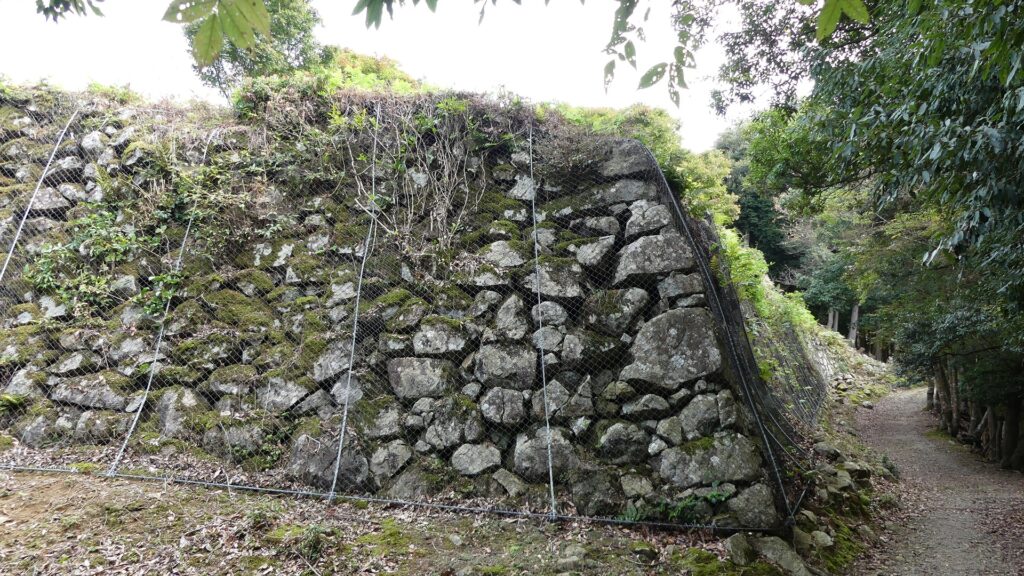
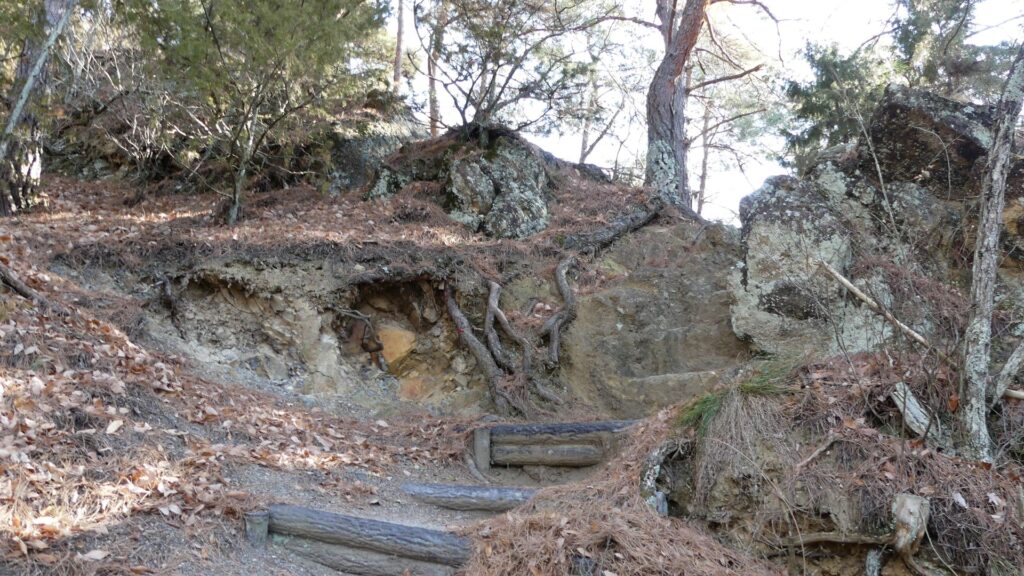
We will eventually see something like a gate and steps which are made of stones. They are likely to have been an entrance of the mountain castle.
We will soon get there.
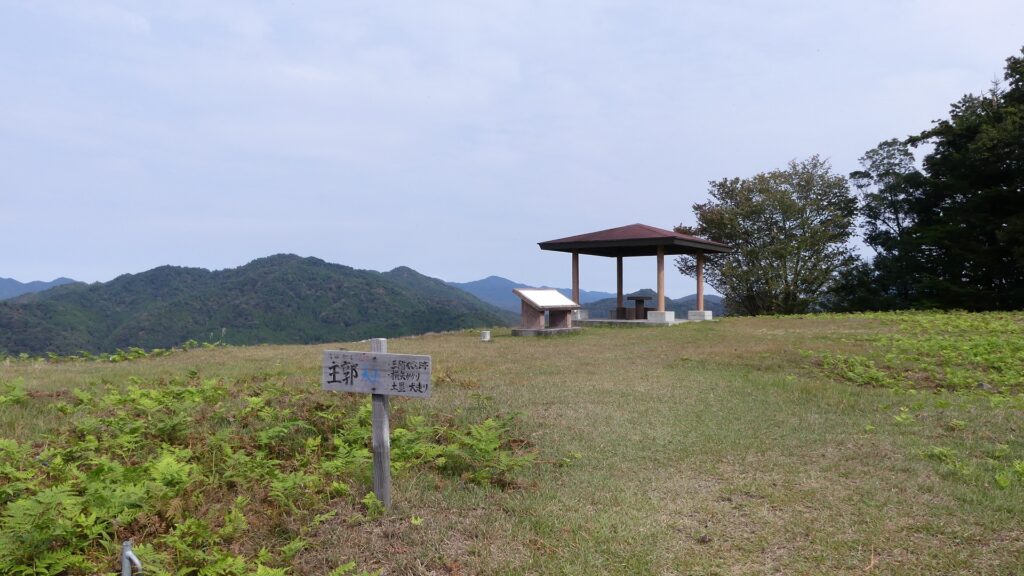
We have reached the top!
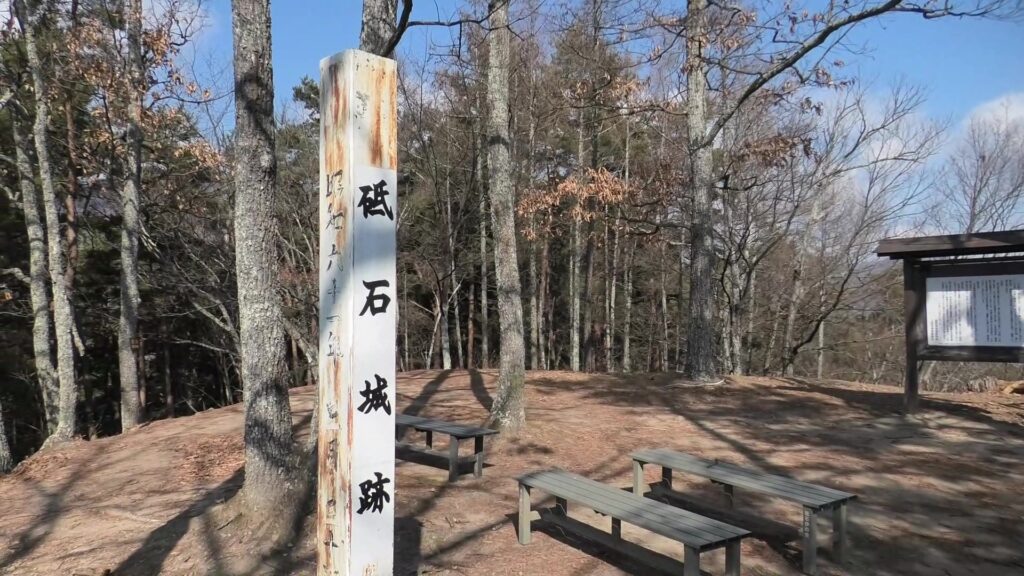
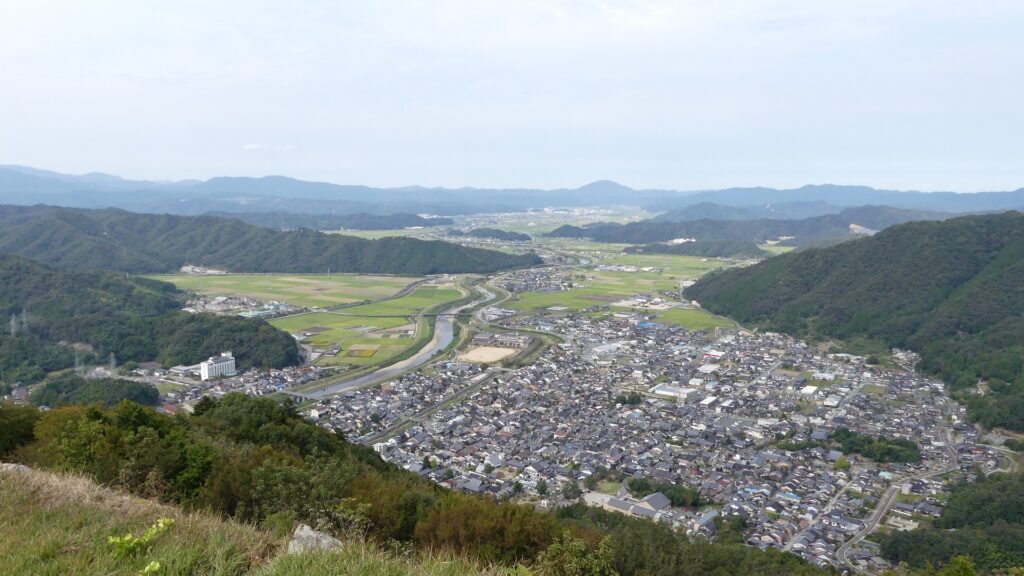
Can we see Ueda Castle from the top?
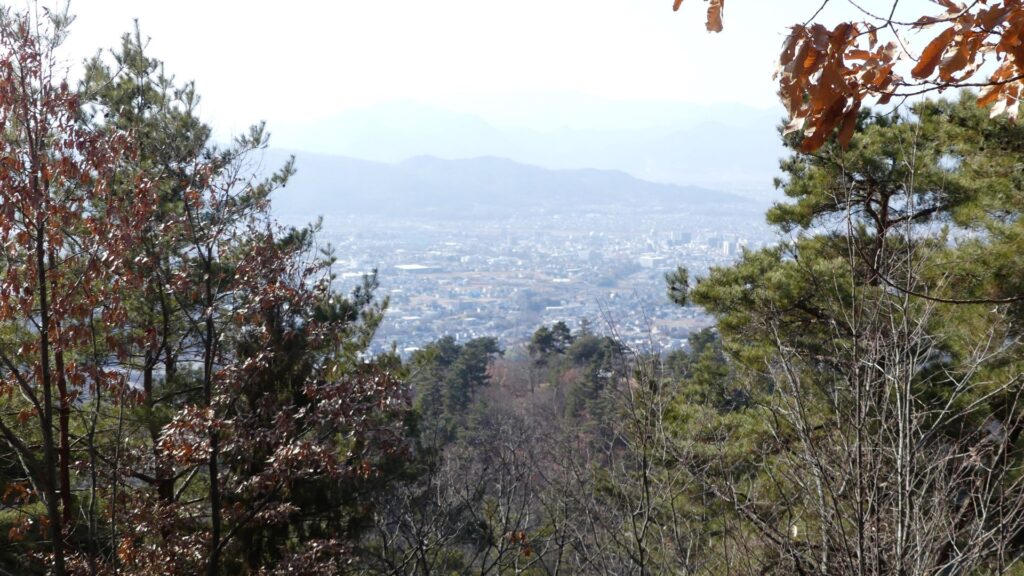
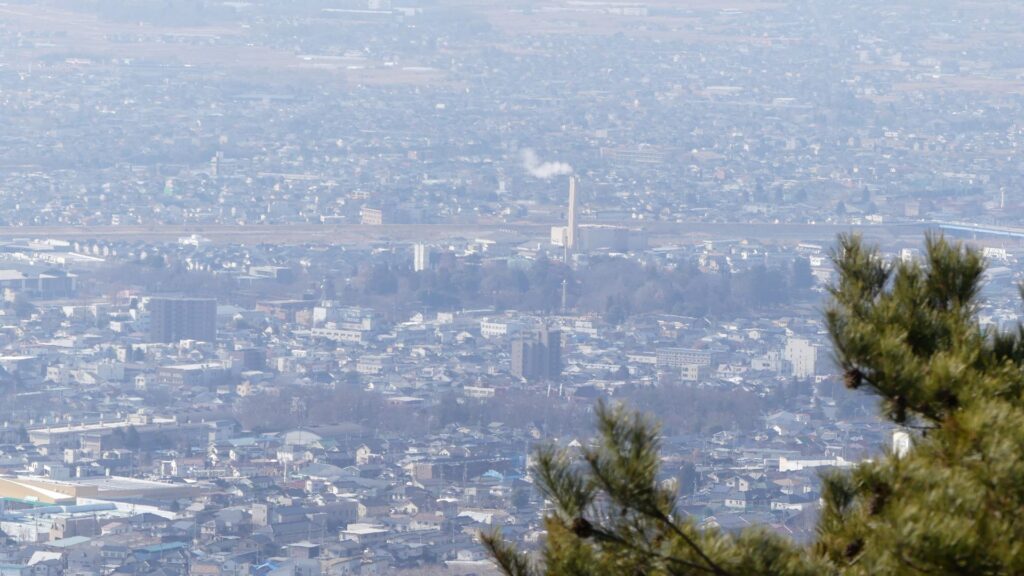
I think Ueda castle is in the area covered with trees in front of the chimney of the waste treatment facility.
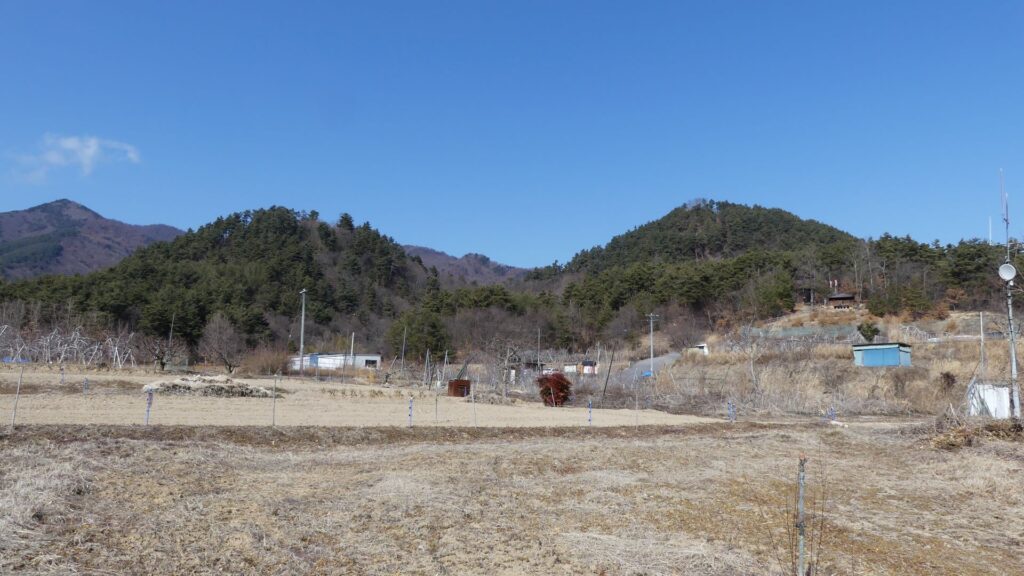
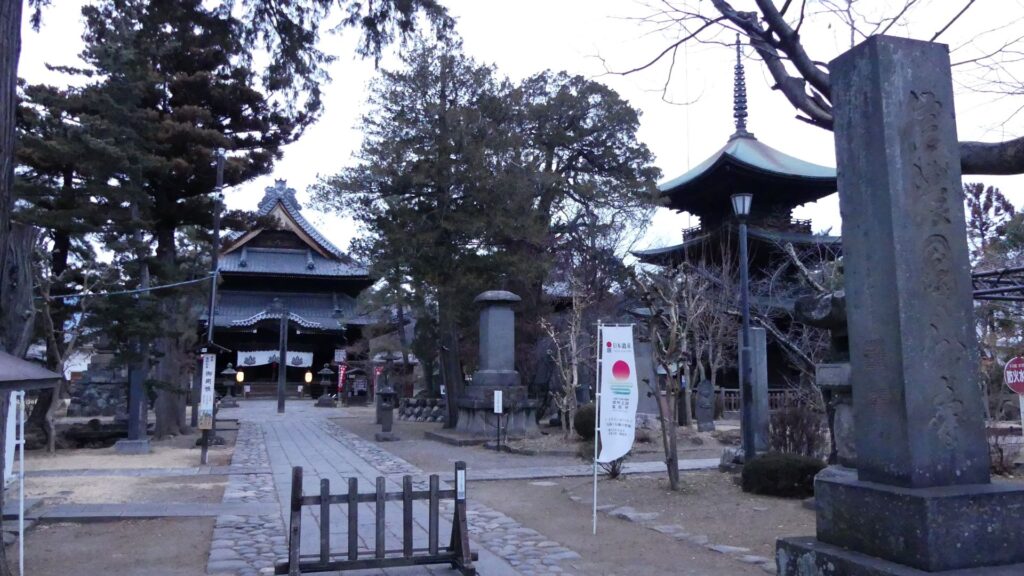
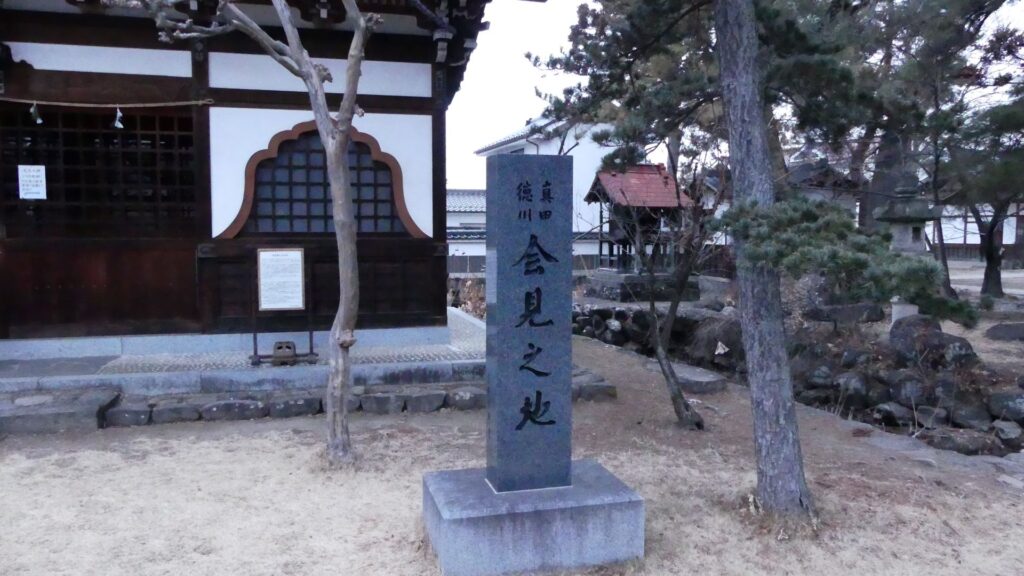
We will finally visit the area around Kangawa River where the severe battle happened during the first battle of Ueda. There is also Shinano-Kokubunji Temple where Nobuyuki Sanada of the Eastern Allies along his father, Masayuki of the Western Allies met during the second battle of Ueda.
We have reached Kangawa River but unfortunately it’s getting dark. The river flows from the area near Toishi Castle to Chikuma River. That meant it was one of the most important defensive lines for Ueda Caste although it looks nothing special now.

That’s all. Thank you.