58.Akashi Castle Part2

The castle with a defensive system that is still obvious

Features

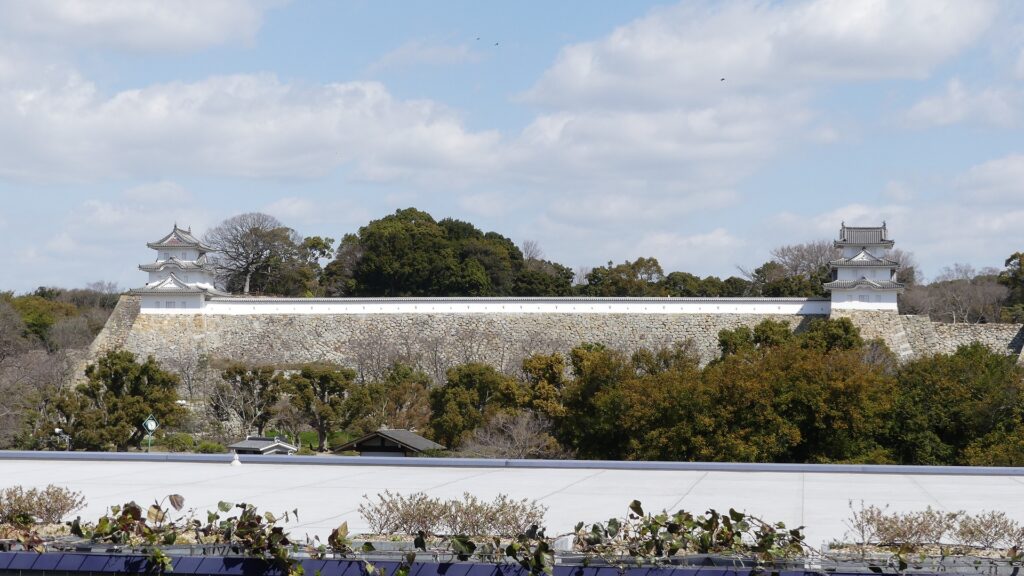
You can see Castle from Station

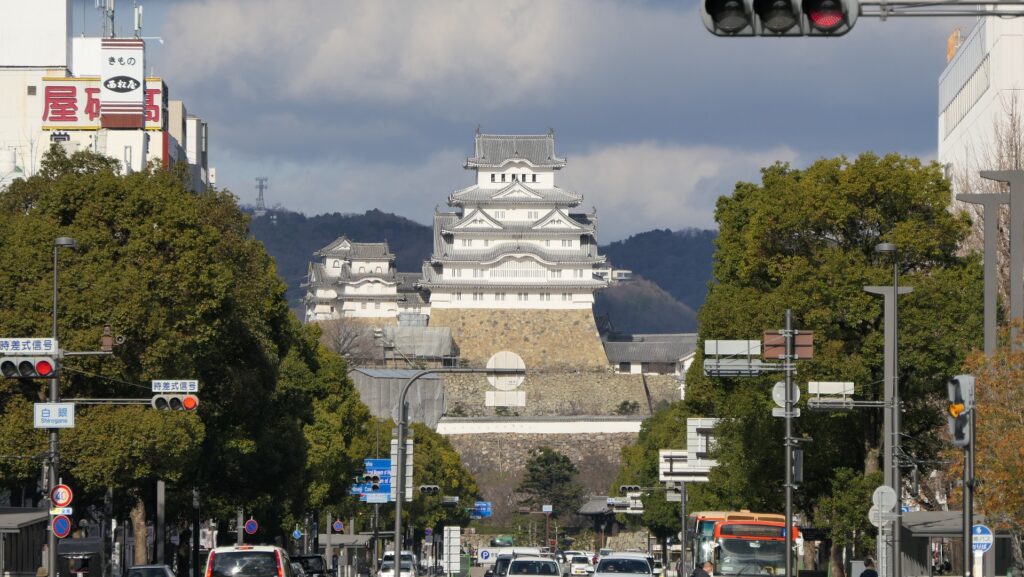
If you visit the ruins of Akashi Castle by train, you will see evidence of what was a very sturdy castle from your first step on the platform of Akashi Station. You will see the two remaining three-story turrets called Hitsujisaru Turret (on the left) and Tatsumi Turret (on the right) connected by the plaster wall on the hill. How wonderful they are!

The castle that can be seen from the platform of Akashi Station

The aerial photo around the castle

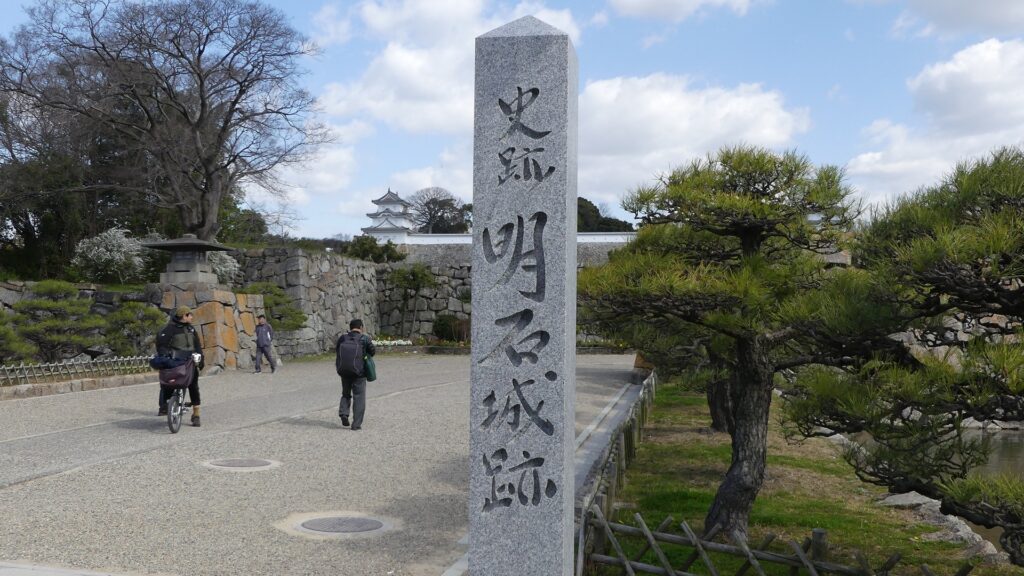
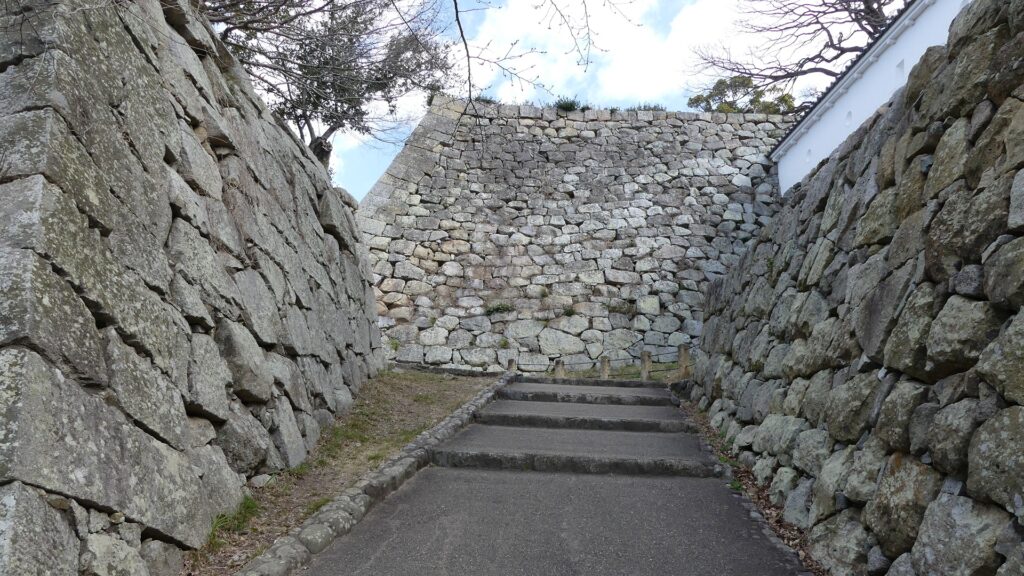
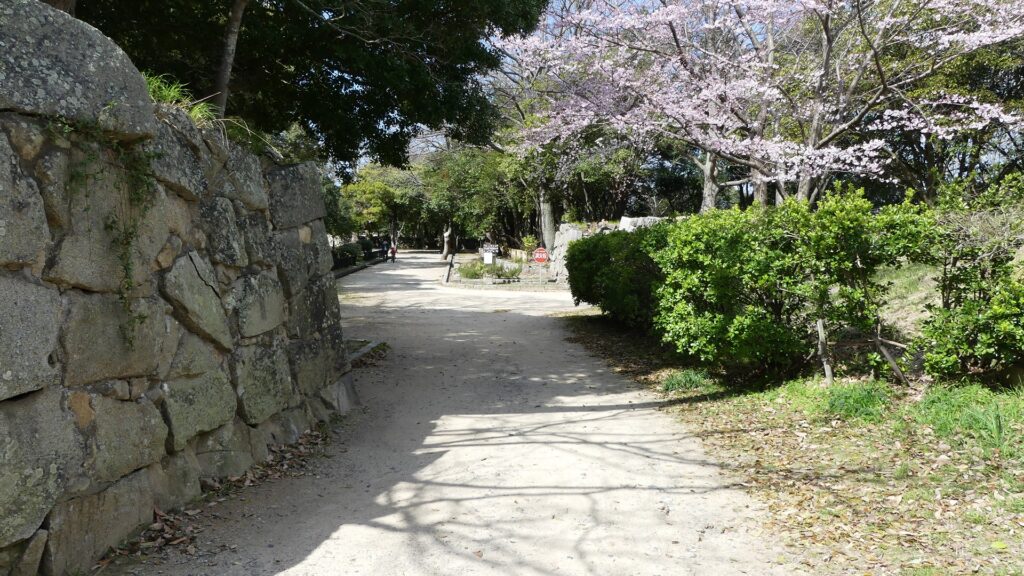
Around the Main Gate

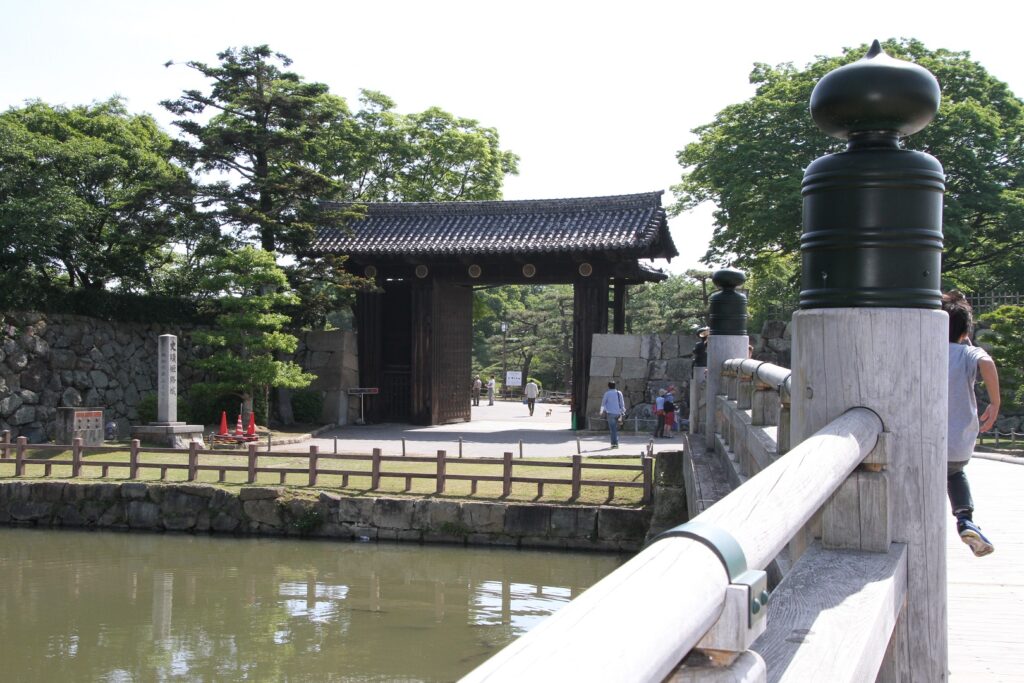
The ruins of the castle have been developed as part of Akashi Park, inclusive of the inside of the Middle Moat. The front entrance of the park was the Main Gate of the castle. Its stone walls remain forming the square space inside called “Masugata”. The plain area is used as a relaxing zone and facilities such as the stadium which was once the Main Hall for the lord.

The entrance of Akashi Park
The Masugata part of the Main Gate

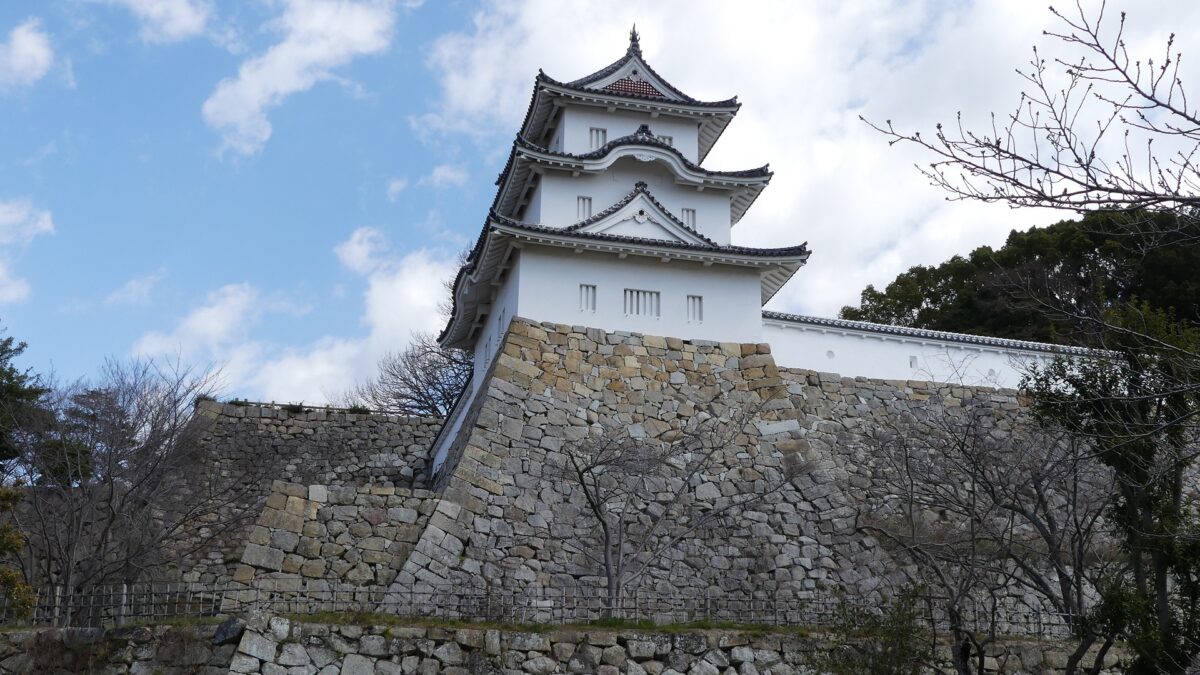
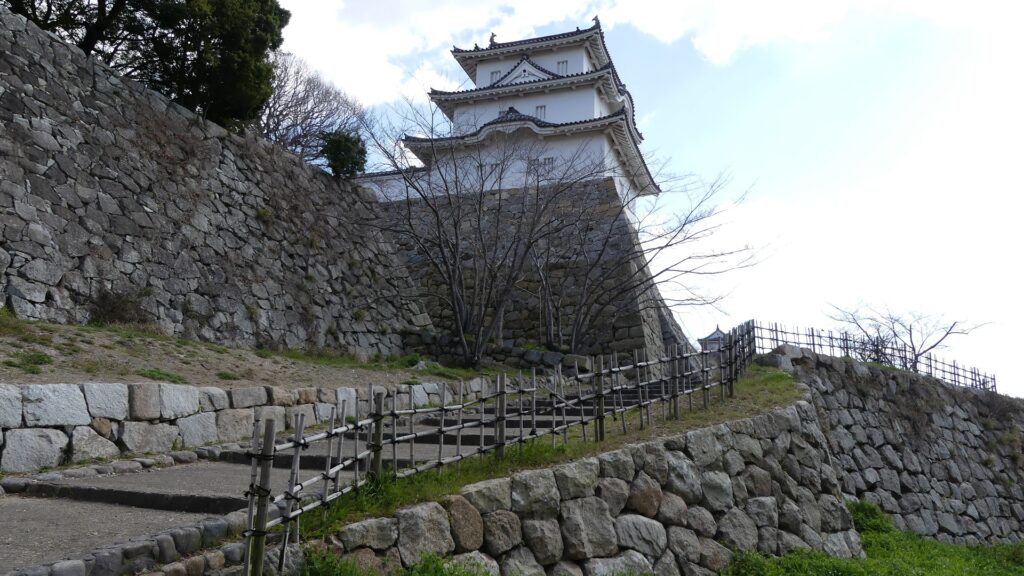
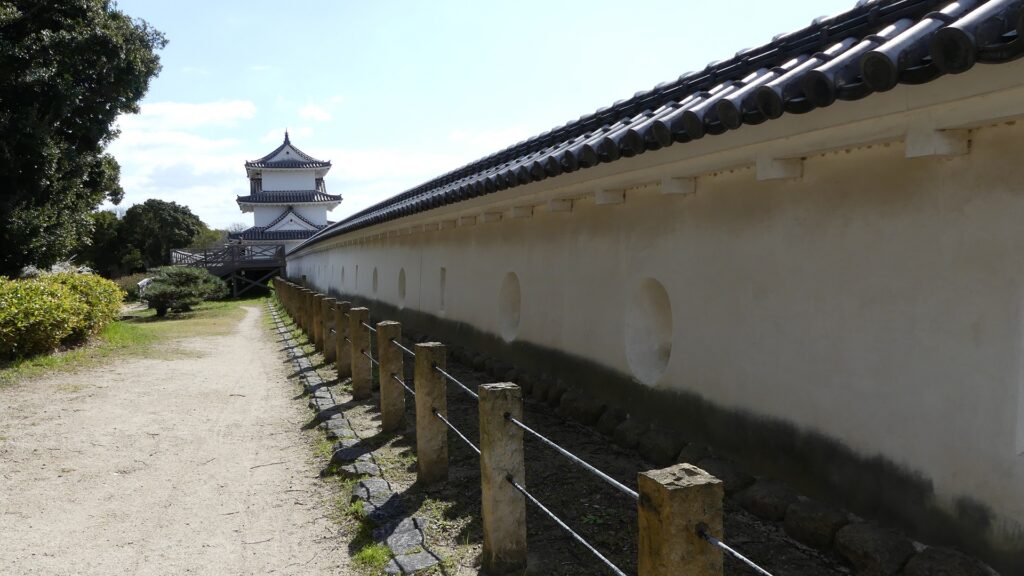
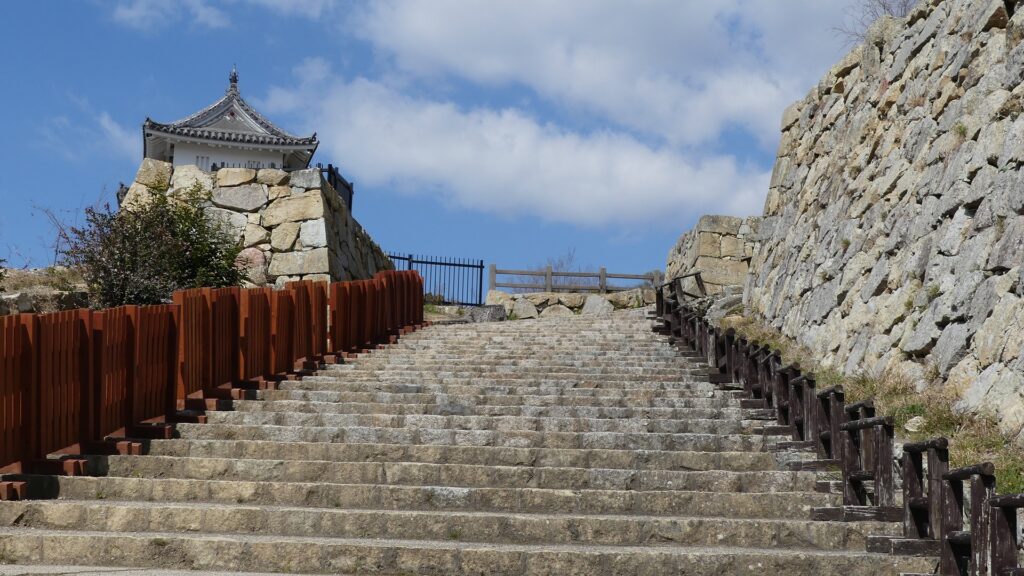
Defense to protect Main Enclosure

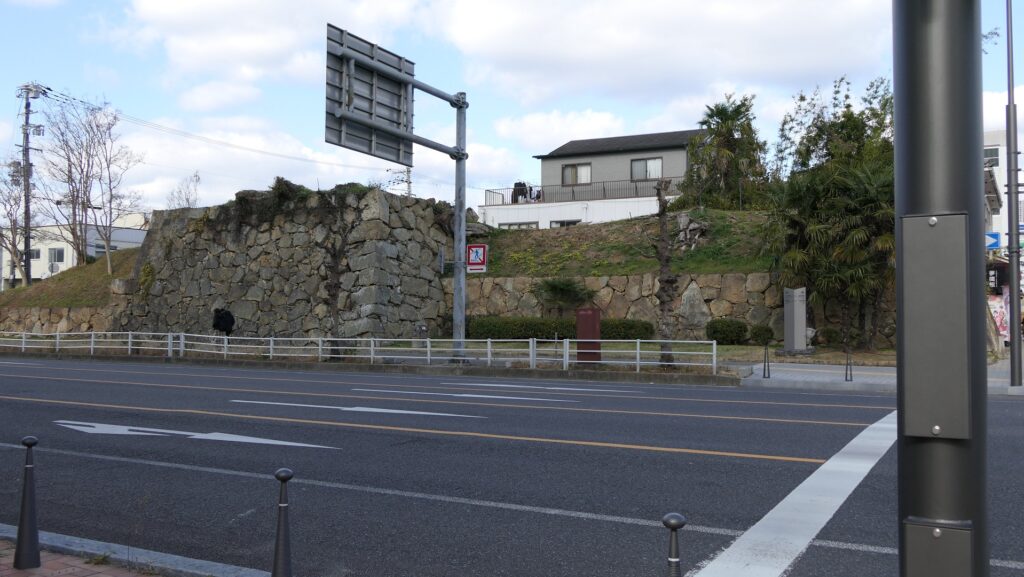
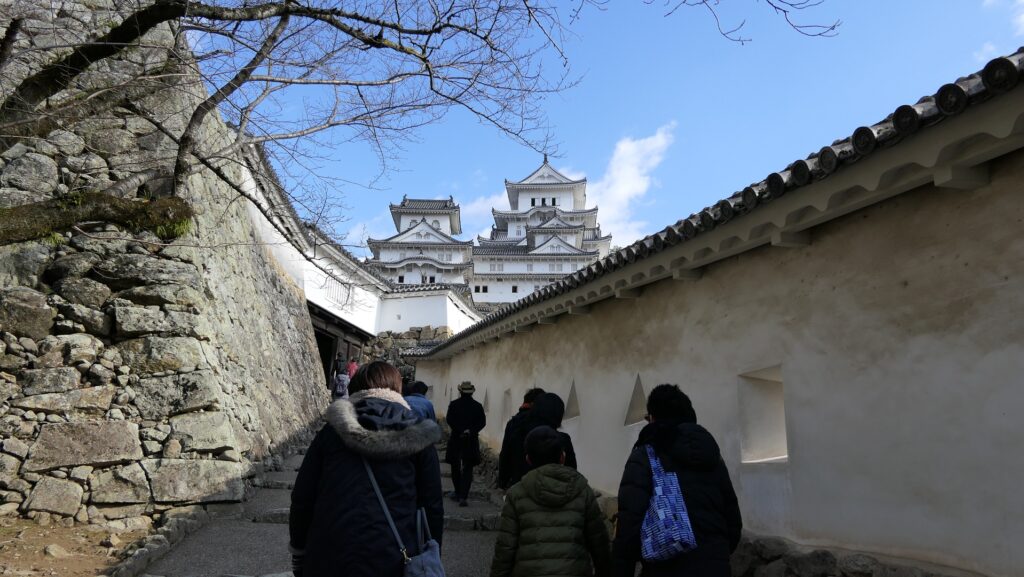
Hitsujisaru Turret of the Main Enclosure stands on the high stone walls in front of you. You can walk up on the stairways towards the turret and reach under the turret and the stone wall base for the Main Tower. However, you can’t enter the enclosure directly. You have to enter it from the back side by going through the Inari Enclosure under it. Enemies would be counterattacked from the Main Enclosure before reaching it.

The standing out Hitsujisaru Turret
The stairway to the Main Enclosure
The blocking stone wall base for the Main Tower
The entrance of the Main Enclosure at the back side

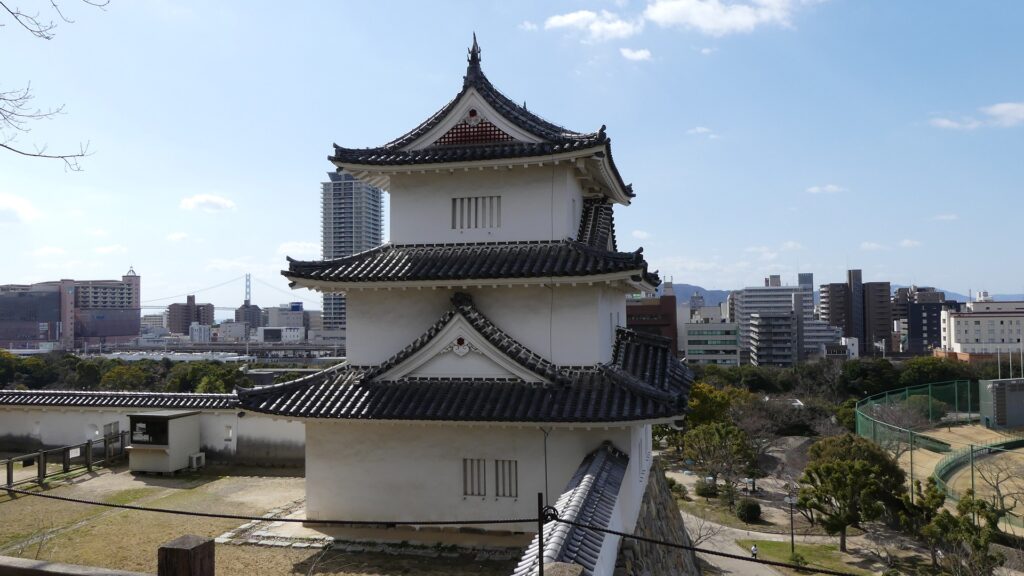
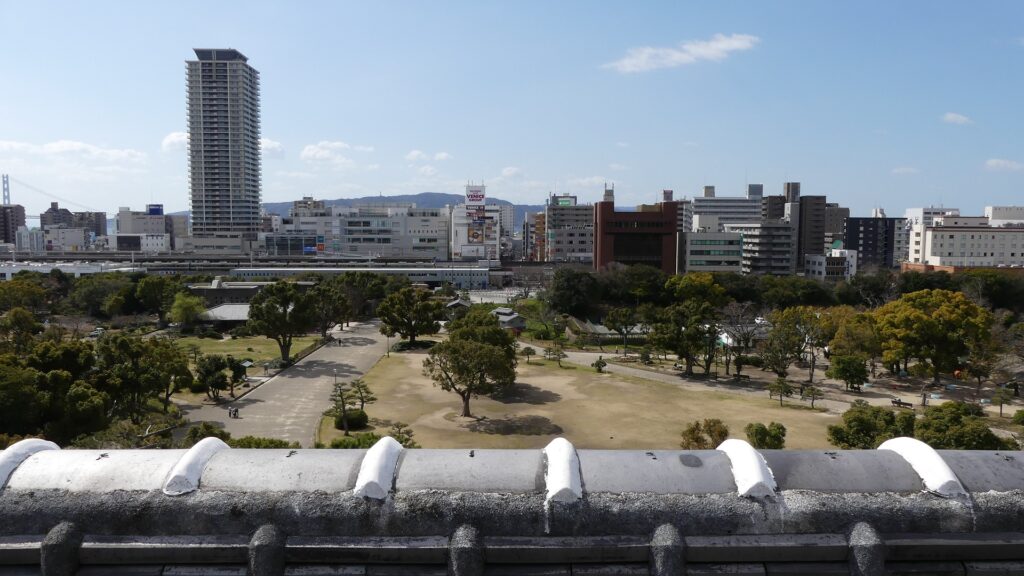
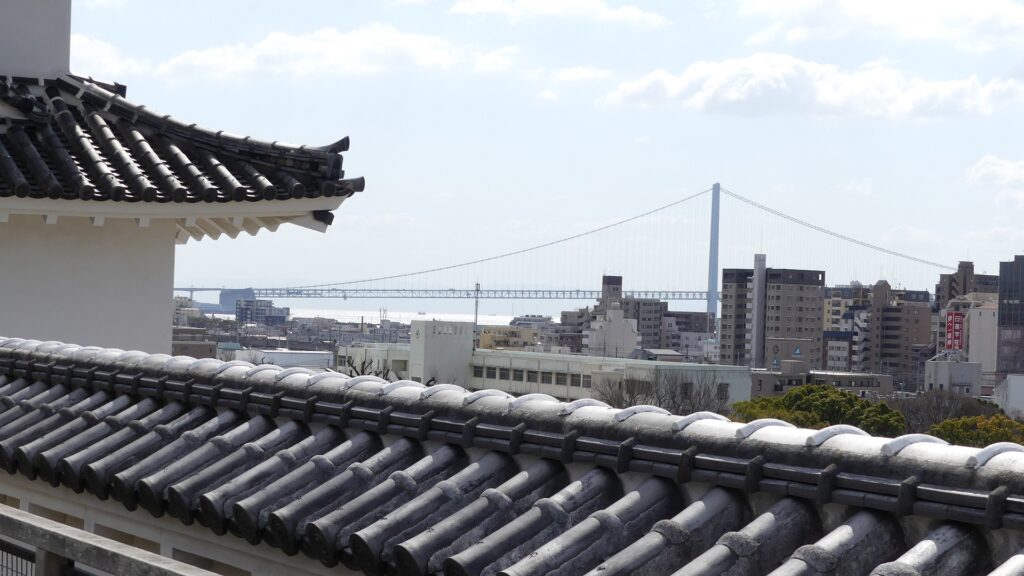
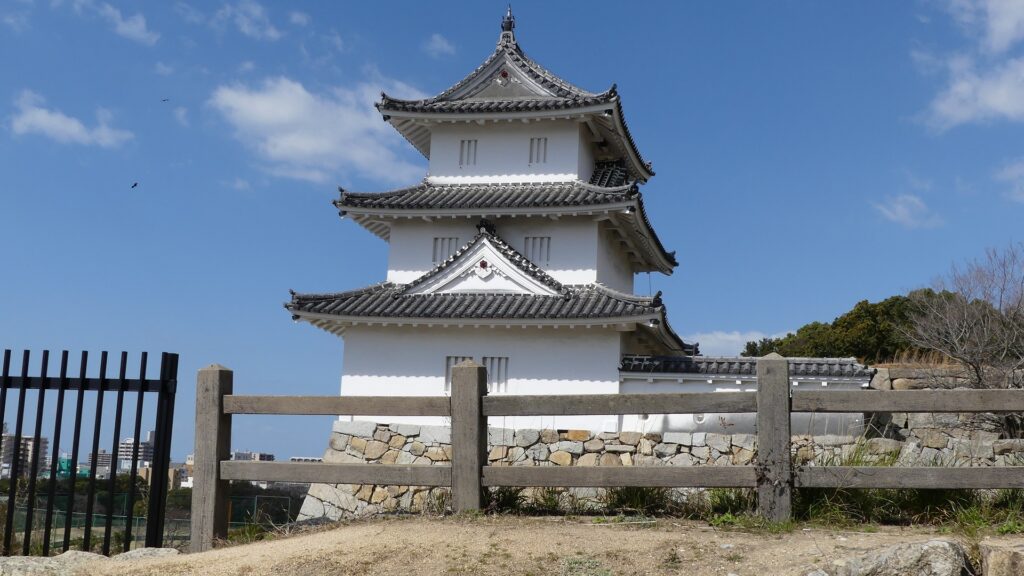
Inside of Main Enclosure

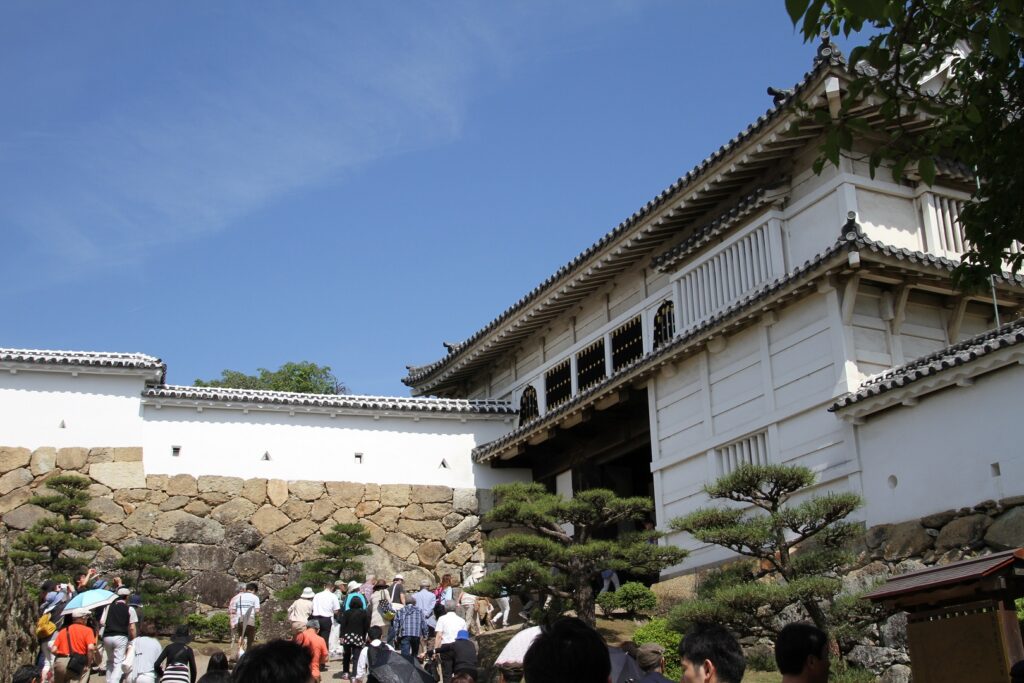
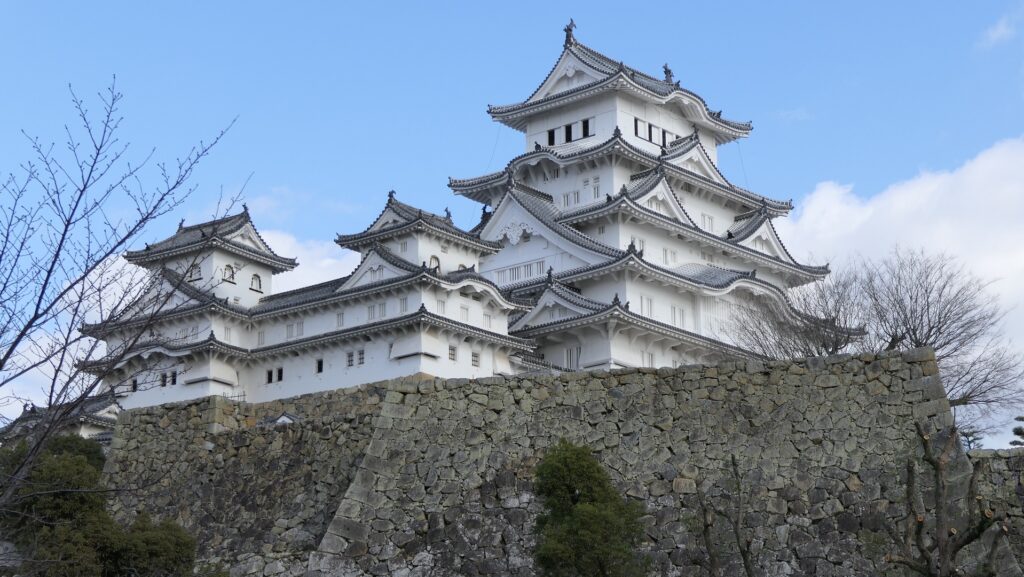
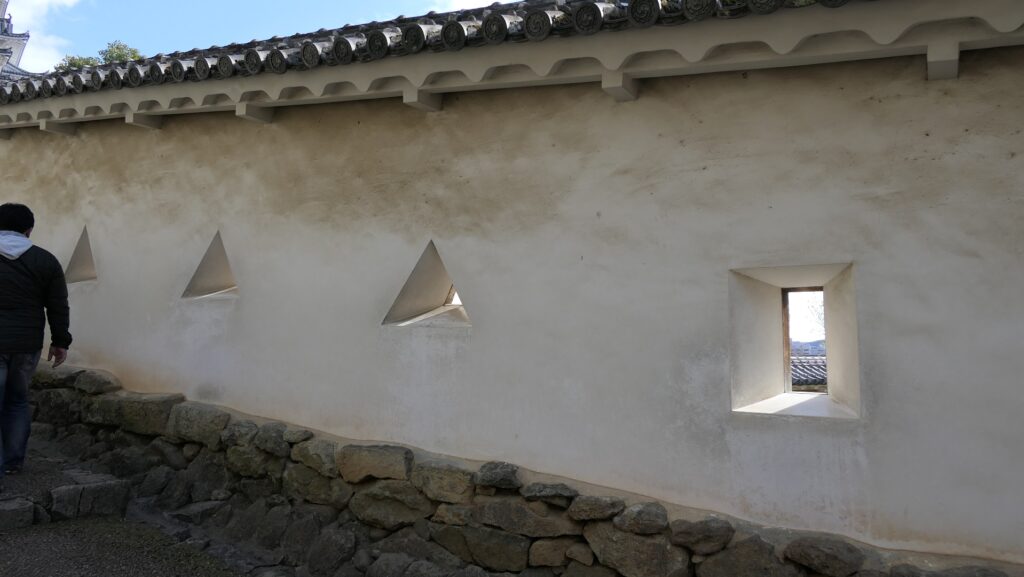
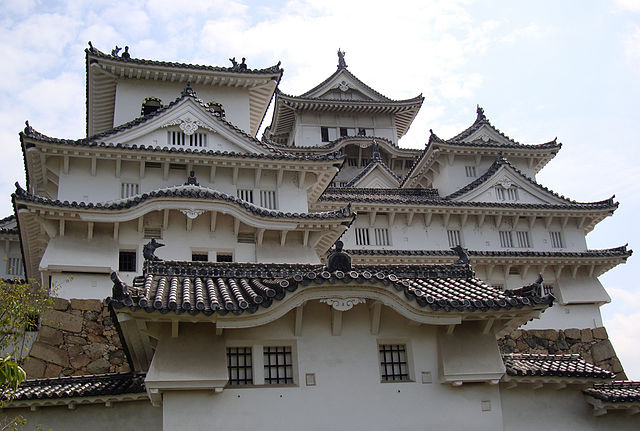
Inside the Main Enclosure, you can see the two remaining turrets close by. They are two out of the twelve remaining three-story turrets in the castles of Japan. The plaster wall between the turrets was restored recently. You can also see a great city view from the observation platform at the middle of the wall. The Akashi-Kaikyo Bridge can also be seen over Tatsumi Turret.

Hitsujisaru Turret you can see close by
The restored plaster wall
A view from the Main Enclosure
You can also see Akashi-Kaikyo Bridge

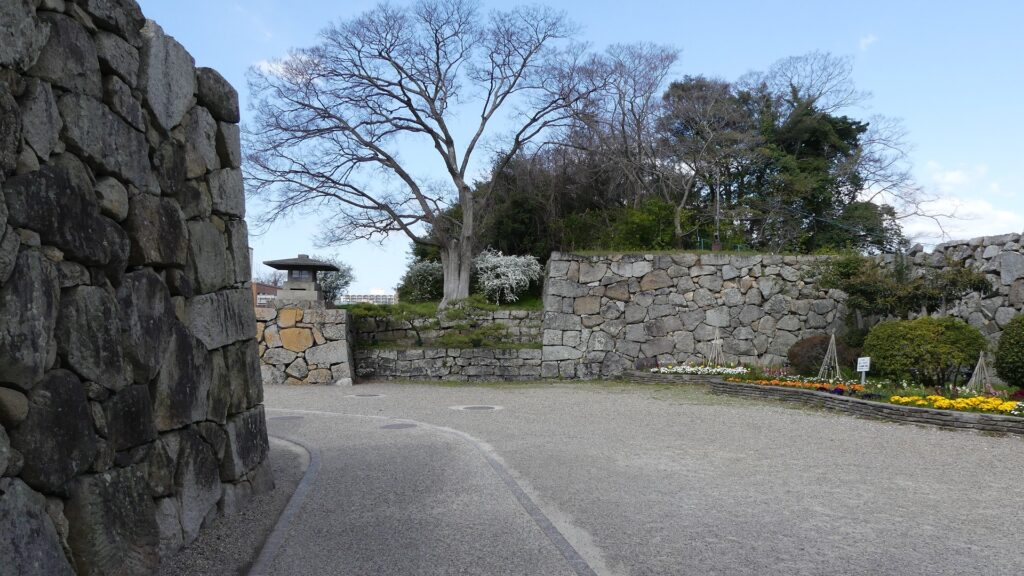
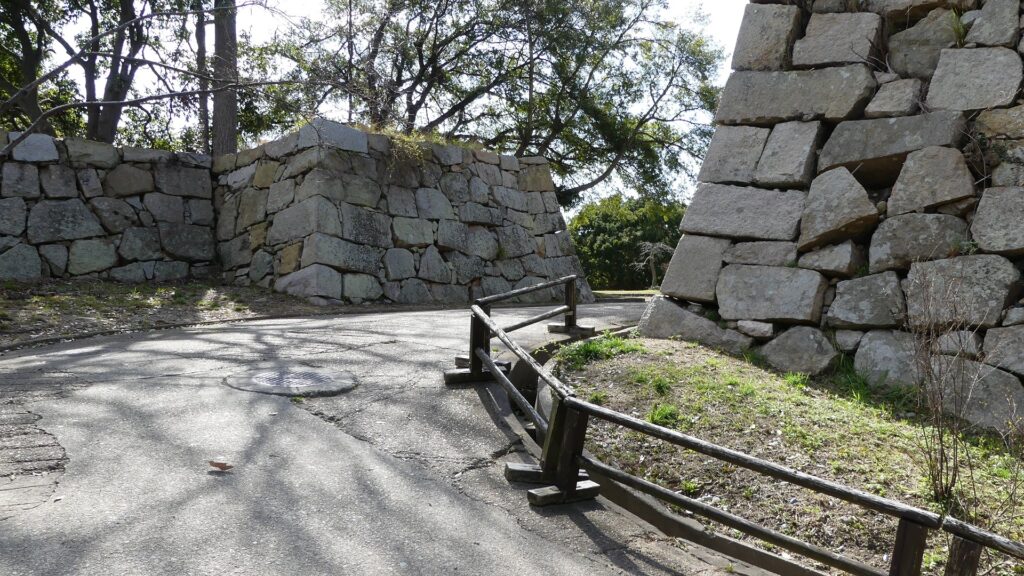
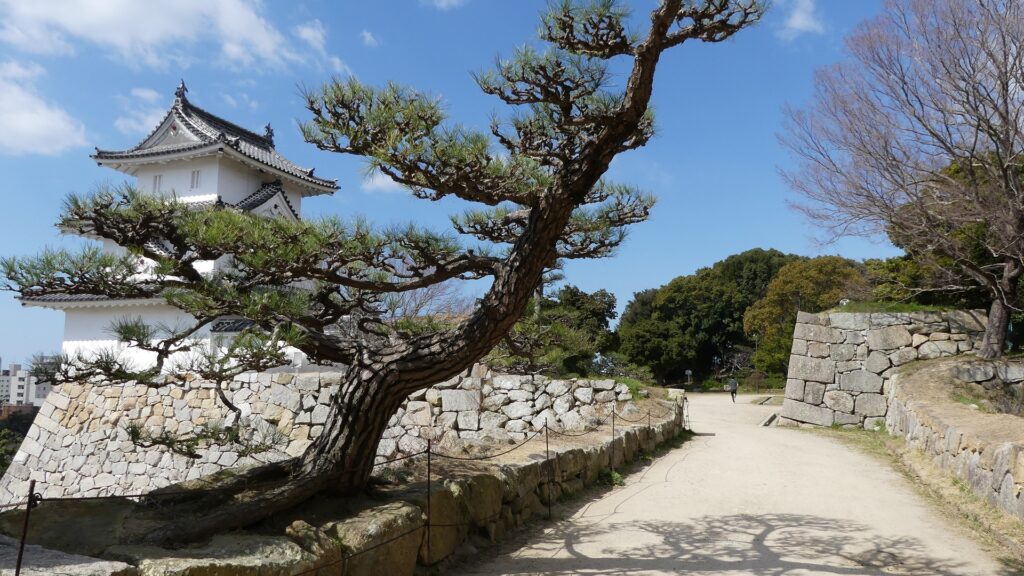
Second and East Enclosures to support Main Enclosure

The Second Enclosure is the other connecting point to the Main Enclosure. It now has no buildings, but its stone walls and its entrance surrounded by the walls remain in good condition. You can see the good looking Tatsumi Turret in the Main Enclosure from the Second Enclosure. The East Enclosure is next to the Second Enclosure and another entrance of the park.

The entrance the Main Enclosure from the Second Enclosure
Tatsumi Turret that can be seen from the Second Enclosure
The stone walls and stairways of the Second Enclosure
The East Enclosure

To be continued in “Akashi Castle Part3”
Back to “Akashi Castle Part1”

59.Himeji Castle Part2

The castle and the town are united as one.

Features (From Himeji Station to the Main Towers)

When you go out of the north (Himeji-jo) exit of Himeji Stataion, you can see the Main Towers towards the main street in front of the station in the distance. You get the feeling that the castle and the town are united as one. The Outer Moat was built around this area. The Main Towers are still over 1.5 km away. On the way to the castle along the street, you will see the stone walls of Nakanomon Gate Ruins on the left, where the Middle Moat existed. The area around there has become the city area now, but the street looks like the approach to the castle.

The aerial photo around the castle

Himeji Castle that can be seen from Himeji Station
The ruins of Nakanomon Gate

Soon, you will reach the front of the Inner Moat. The inside of the moat is the main portion of the castle called “Naikaku”. The Main Gate called Sakura-mon is the entrance of Naikaku, which is accessible after walking across the bridge. The gate was once demolished but was restored. You can see a large empty square called the Third Enclosure where many halls once stood. You can now get to see the Main Towers on Himeyama mountain up close.

The restored Sakura-mon Gate (the Main Gate)
The Third Enclosure Square
The Main Tower on Himeyama Mountain

The ticket office is at the back of the square. After buying the ticket, you will enter Hishinomon Gate, the entrance of the Second Enclosure. You can go to both the Main Towers on Himeyama mountain and Nishinomaru Enclosure on Sagiyama mountain from the gate because it is located in the valley between the mountains. Inside the gate, you can also see Sangokubori Moat which is said to once be a water reservoir. The Main Towers start to look bigger.

Hishinomon Gate
Sangokubori Moat  (taken by わゆすけ from photoAC)
The Main Tower is looking bigger

To reach the Main Towers, you will need to go through many gates in front of you. In fact, the shortcuts to the Main Towers are set on the right of Sangokubori Moat, but the routes can be hard to find for visitors. That meant enemies could be led to the difficult route easily. You can see a lot of loopholes on the plaster walls along the route. The loopholes have several interesting shapes, but they were also a threat to enemies.

The map around the castle

The route to the Main Tower
The loopholes on the plaster walls

The farther you go, the closer the Main Towers get; however, the route suddenly changes direction before the Ninomon Gate. In addition, the entrance of the gate is very low and narrow under the turret building for the gate. Enemies would have been very confused to see such a defense system. You will enter the Main Tower Enclosure after passing the next gate called Honomon. You can see a mud wall on the right, which looks different from the castle’s other white plaster walls. It is called “Abura-kabe” or the Oil Wall and said to derive from Hideyoshi’s period. The wall actually hid other gates to the Large Main Tower. You will need to go through five more gates to reach the tower! The three Small Main Towers are along the route to protect the Large Main Tower.

Ninomon Gate  (licensed by そらみみ via Wikimedia Commons)
The Oil Wall (licensed by 663highland via Wikimedia Commons)
The Small Main Towers protecting the Large Main Tower

To be continued in “Himeji Castle Part3”
Back to “Himeji Castle Part1”