139.Sagaki-Kuniyoshi Castle Part2

You can experience the strength of the castle.

Features

Castle Ruins you can access easily

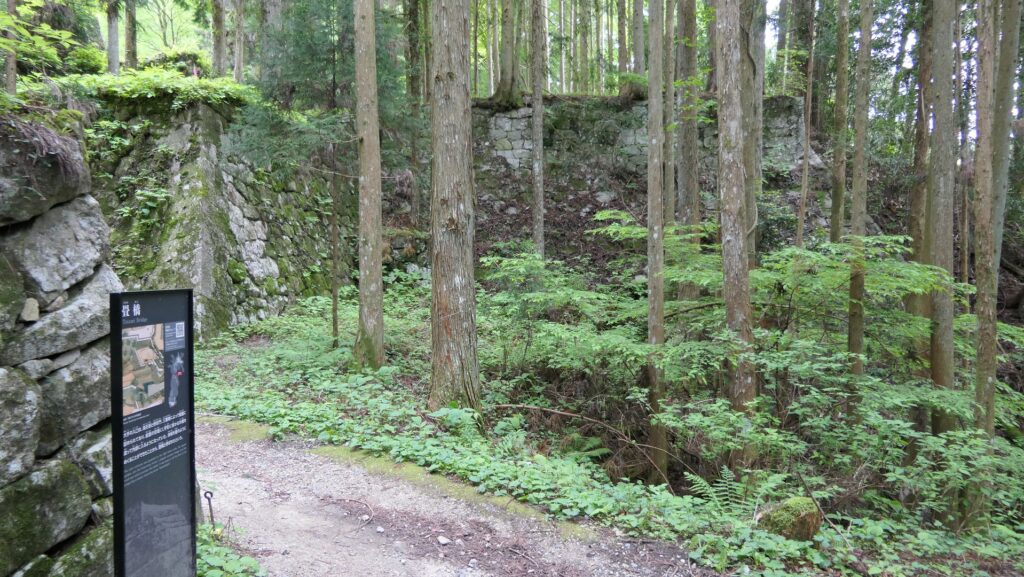
Today, the ruins of Sagaki-Kuniyoshi Castle are very easy to access for visitors. If you drive to the ruins from the former Echizen Province, you can access them just by going through the tunnel in the mountain where the castle was built. It may be difficult for us to imagine how tough it was to attack from the province in the past. The ruins have also been well developed for visitors. There are no castle buildings, but the foundations, some excavated stone walls, and some relics remain at the site.
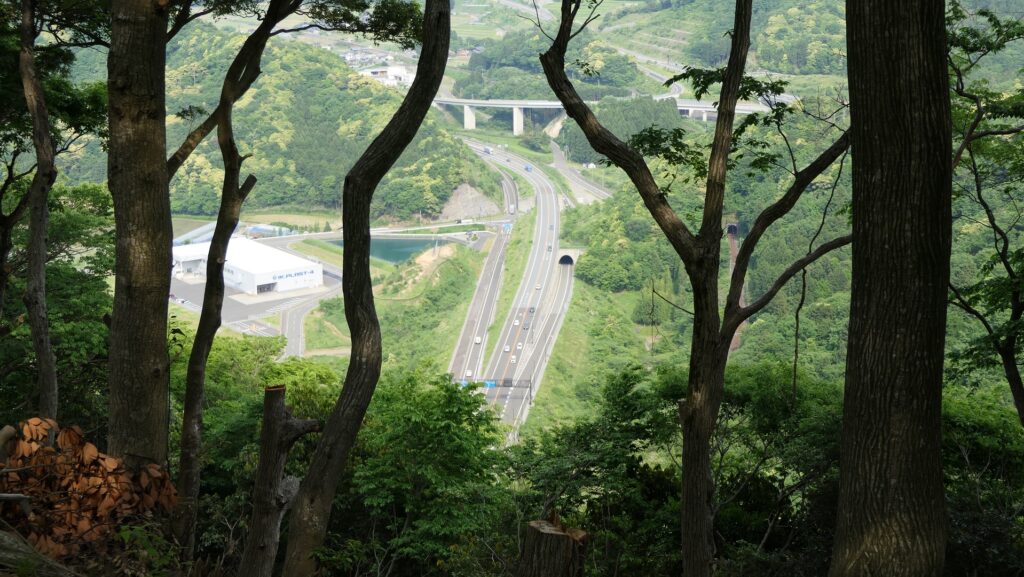
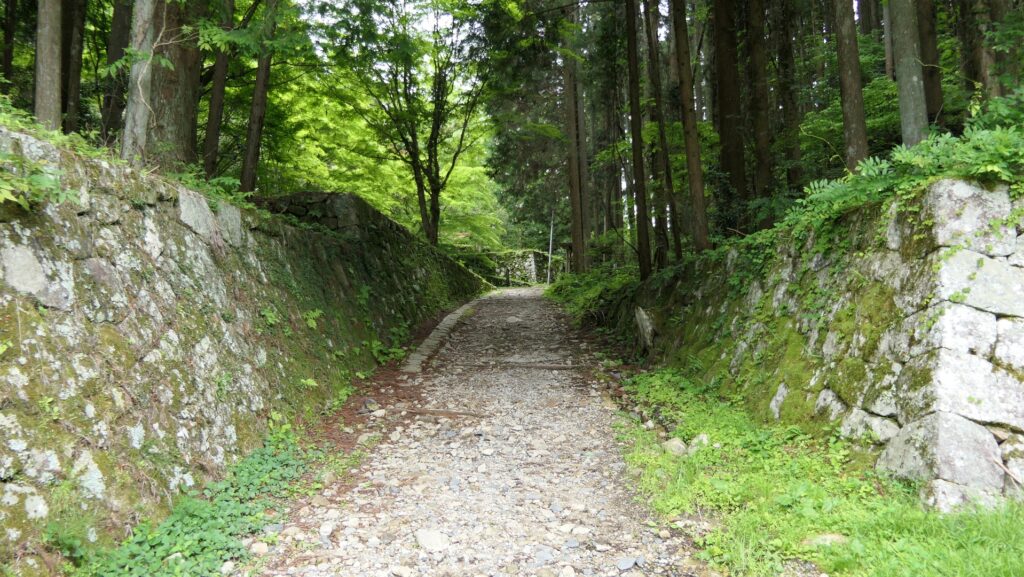
The route coming to the ruins, seen from the top of the mountain
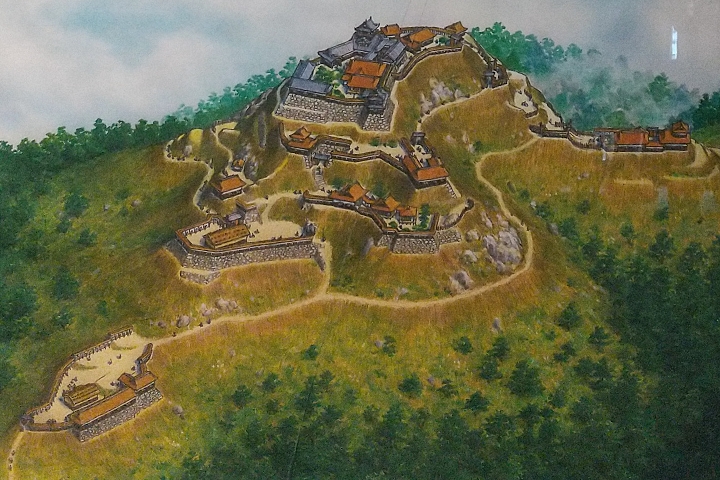
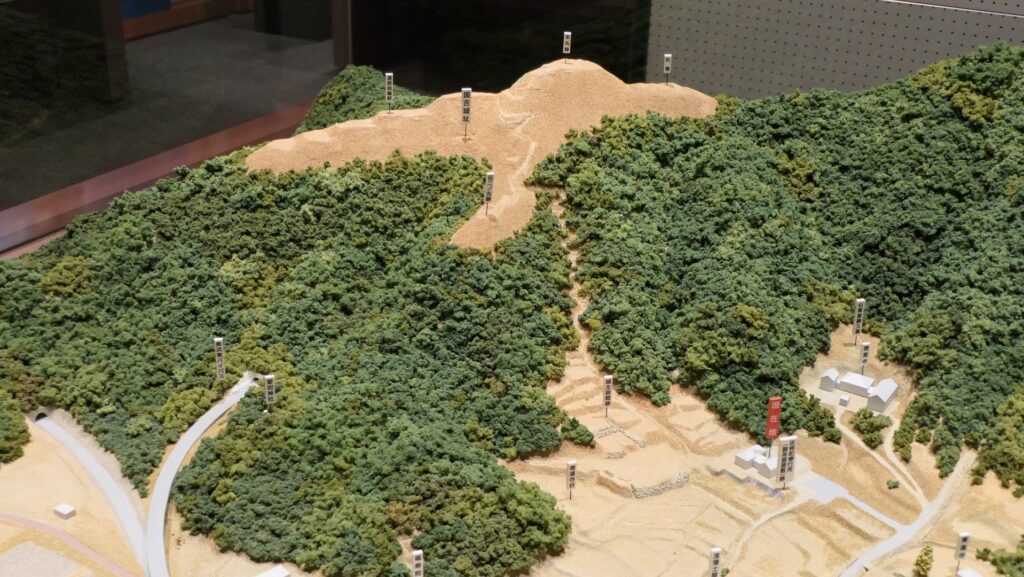
The miniature model of the castle ruins, exhibited by the Wakasa Kuniyoshi Castle Historical Museum

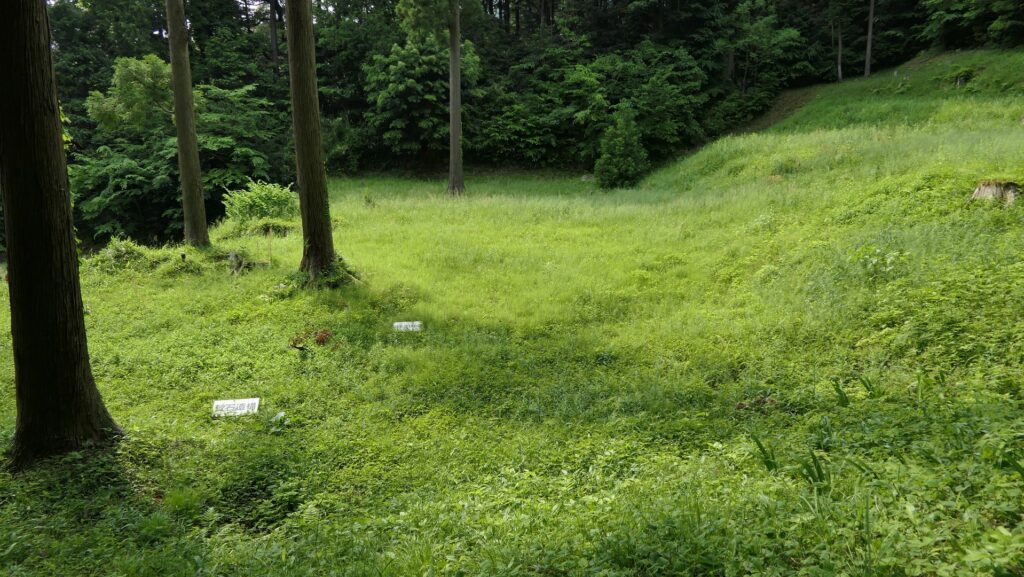
You will first see the Wakasa Kuniyoshi Castle Historical Museum at the foot of the mountain. This is where the Sagaki magistrate’s office was built in the past. You can learn a lot about the history of the castle including the reason for why the castle was so strong. You can next go to the valley below the mountain where the Main Hall was built when the castle was active. There are tiered foundations where some advanced stone walls were discovered, which shows they were used until the final stages of the castle.

The aerial photo around the castle
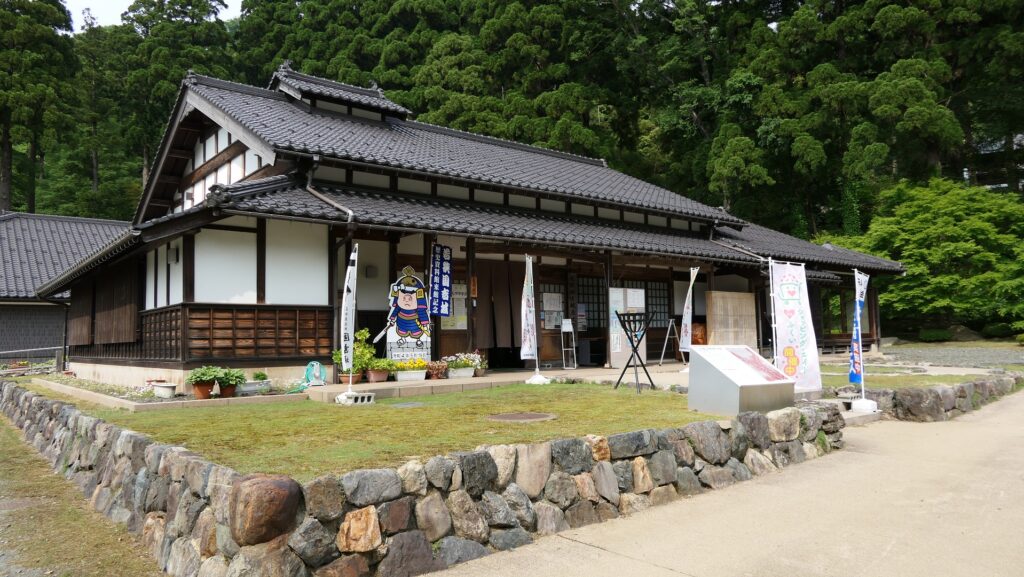
The Wakasa Kuniyoshi Castle Historical Museum
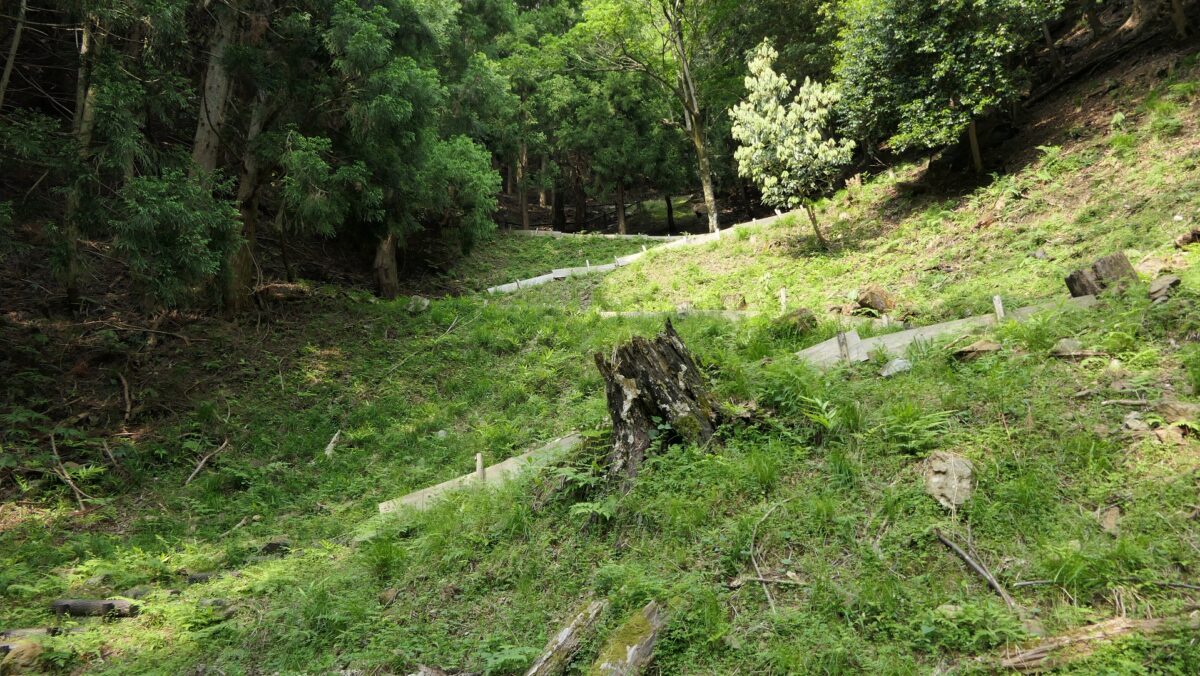
The ruins of the Main Hall

Climbing steep slope to Top of Mountain

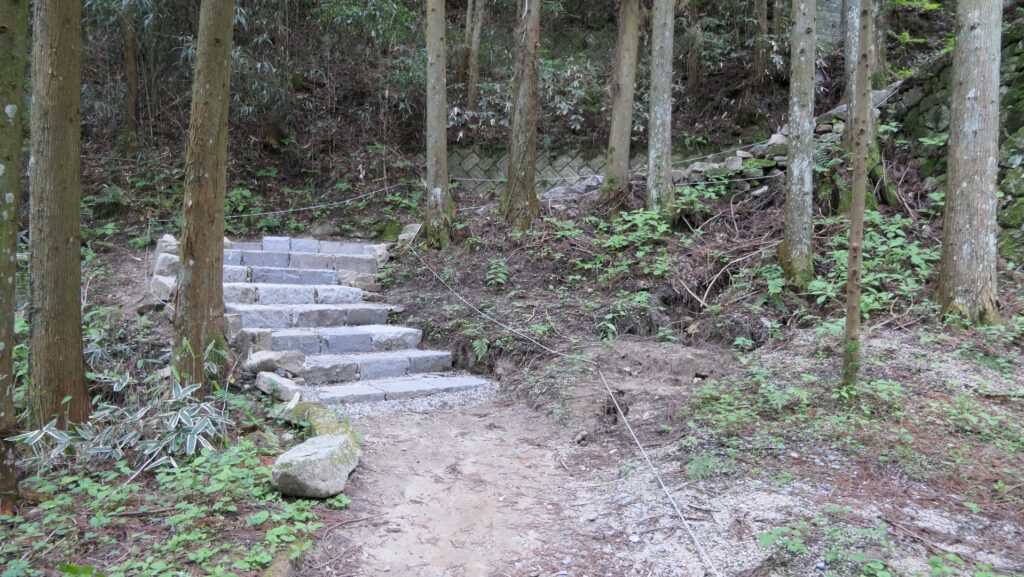
The next, will be the trail to the top, where you can experience the strength of the castle. This trail is not original, but good enough for us to imagine what it was like. The top is about 140m from the foot, but you may feel too high for the actual height. You have to climb the very steep zigzagged trail for a very long time.
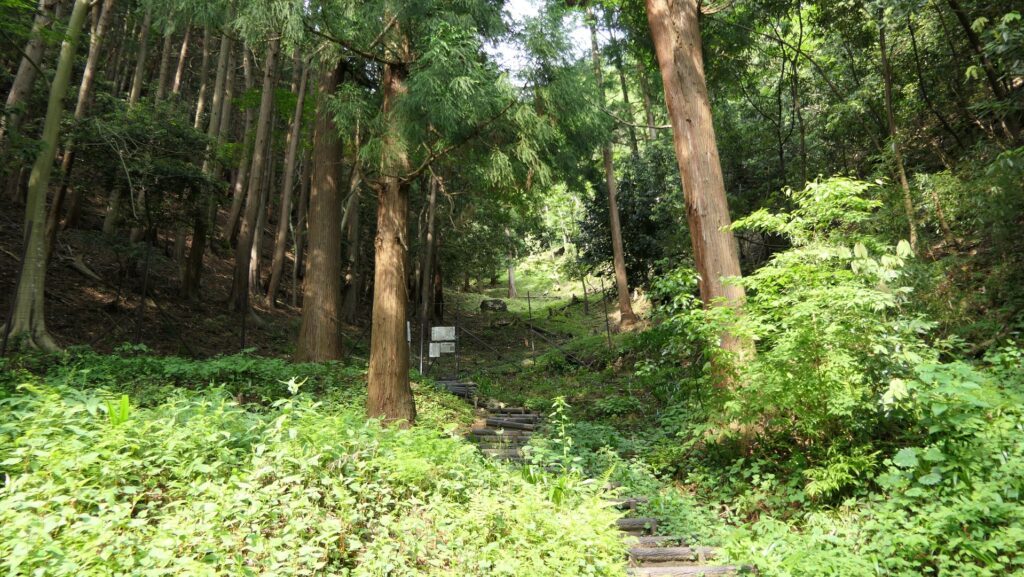
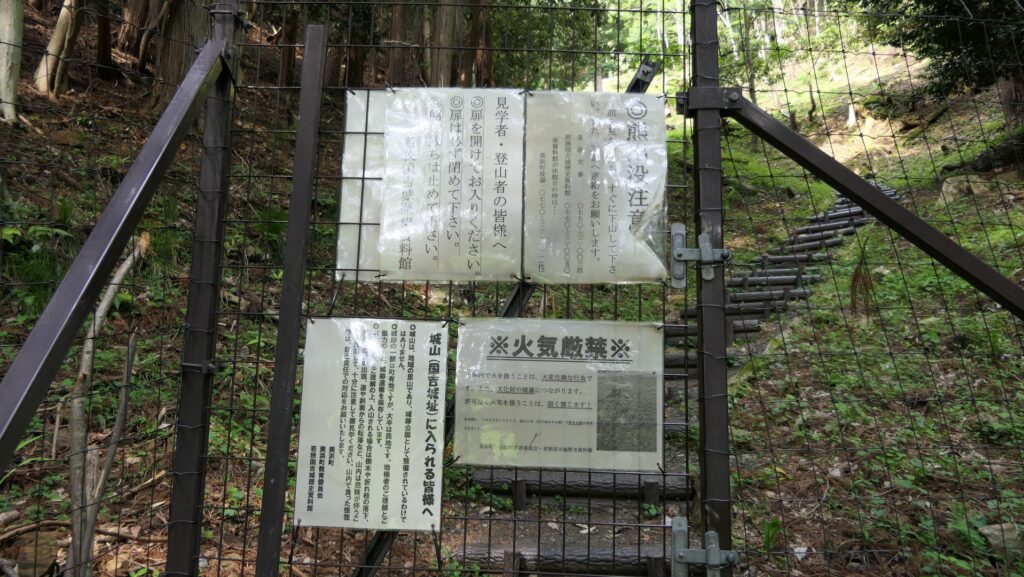
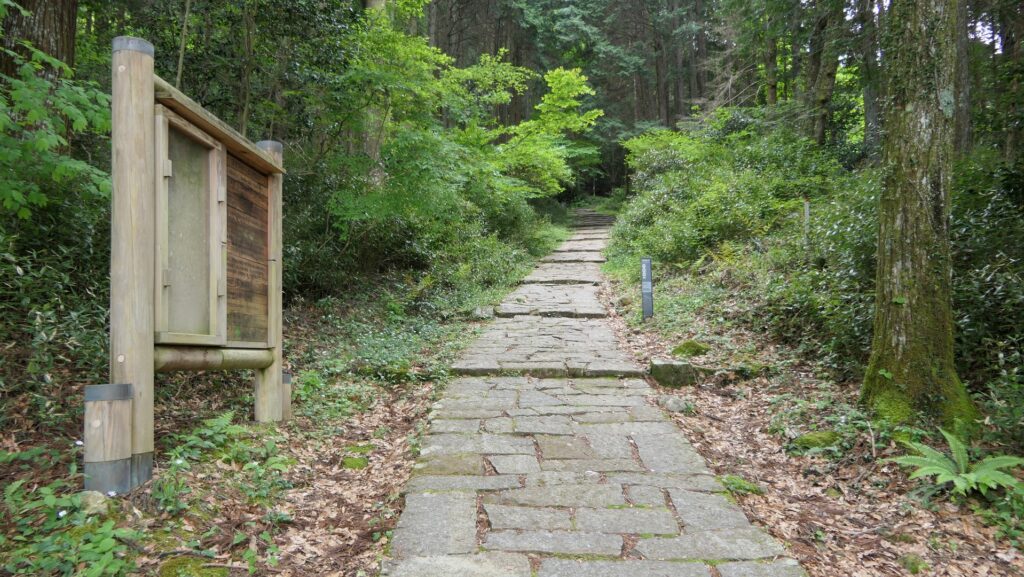
The entrance of the trail
You need to pass a wire netting gate in order to shut animals
Climbing the steep zigzagging trail
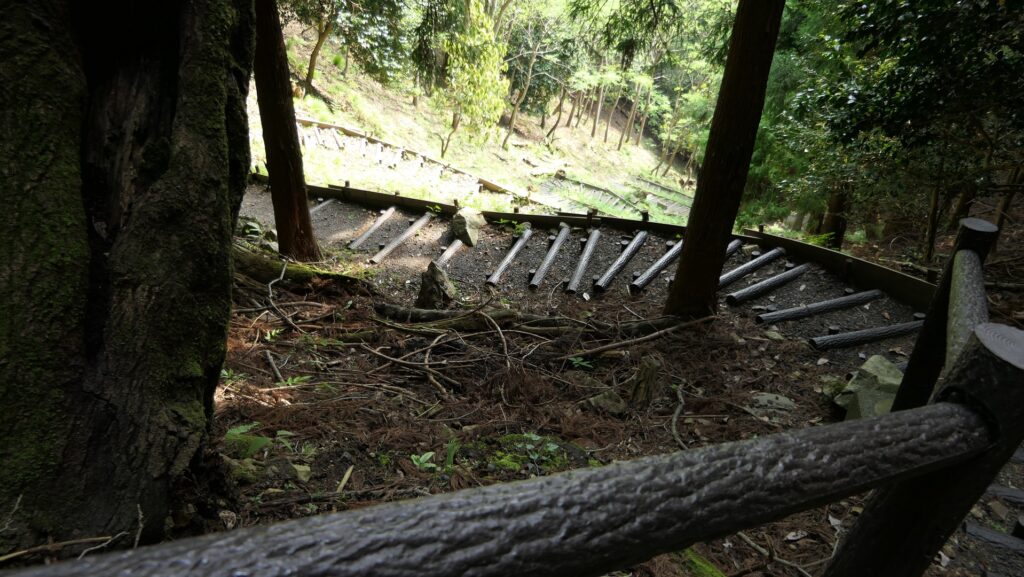
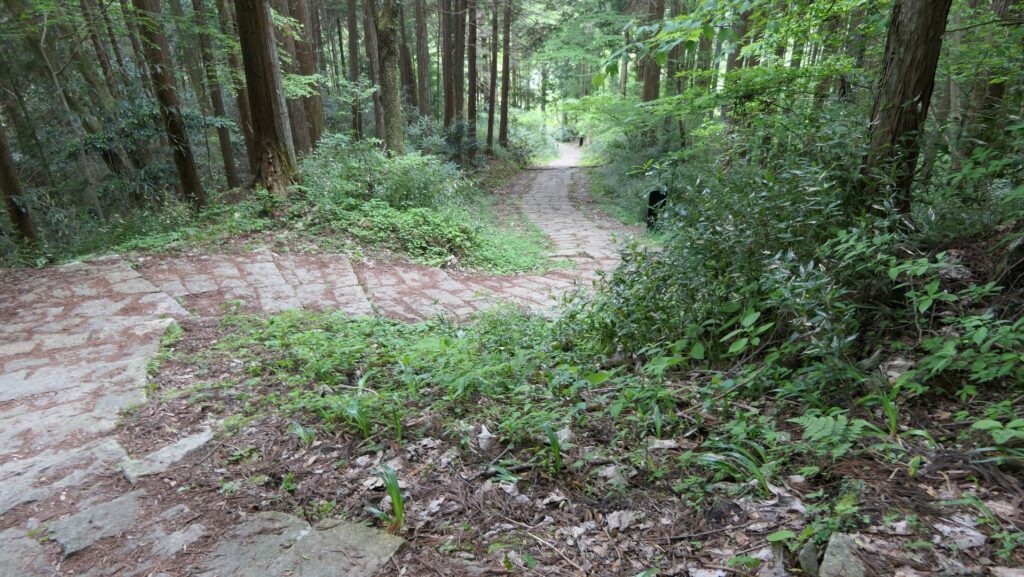
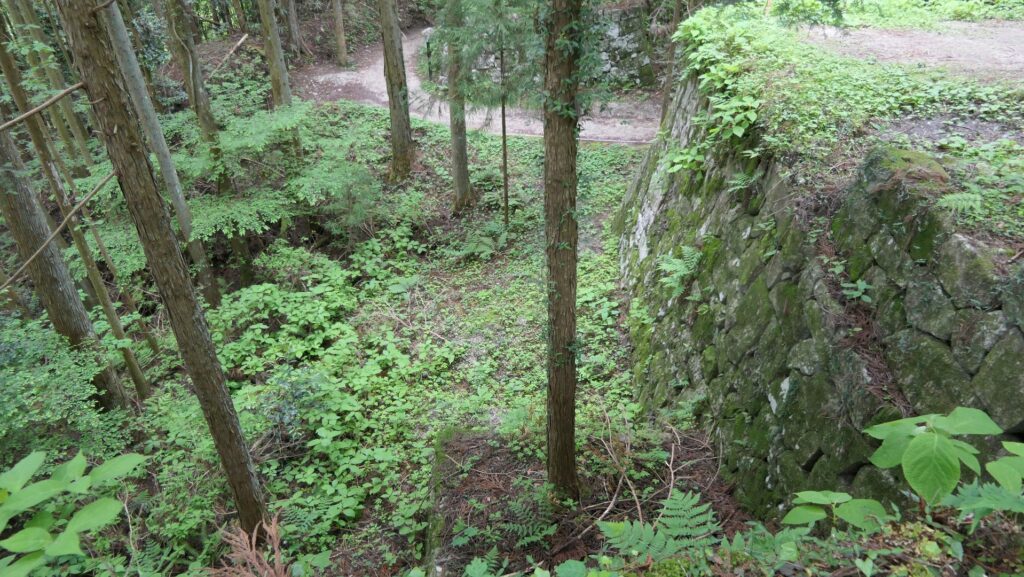
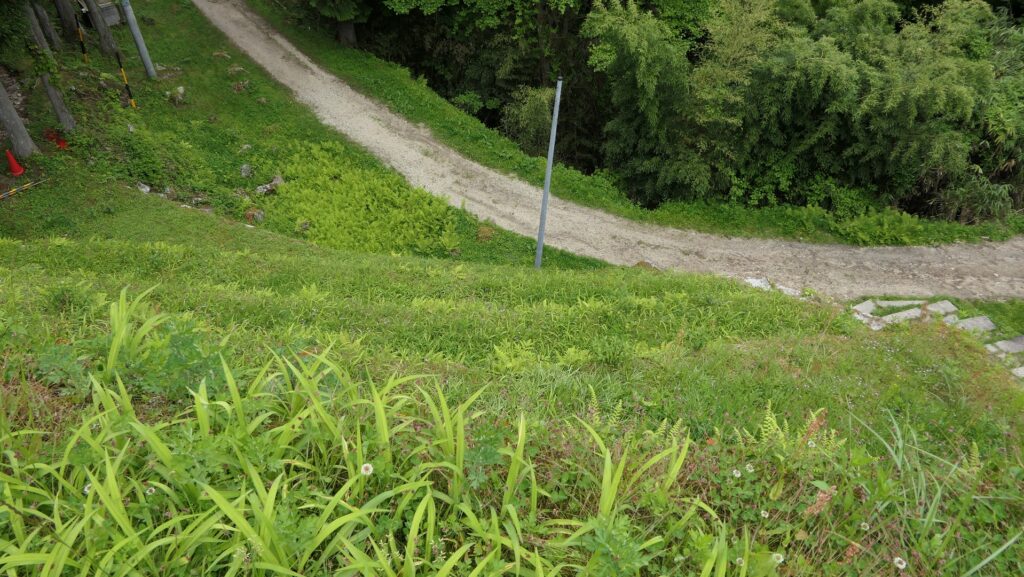
Looking down the steep slope

From Second Enclosure to Ditch

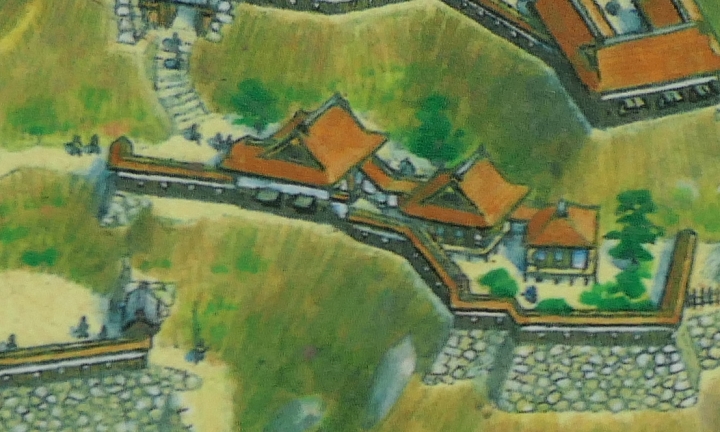
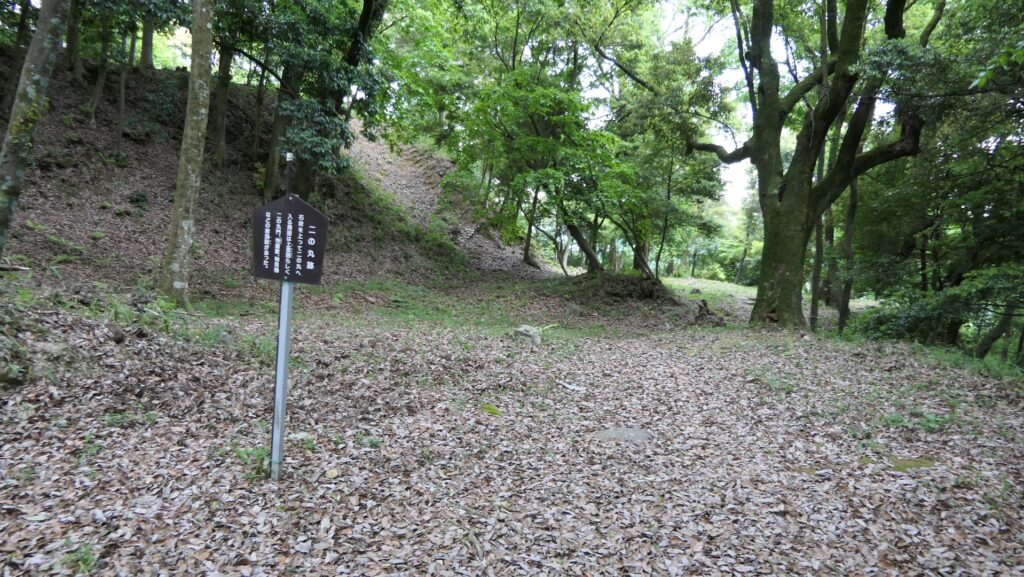
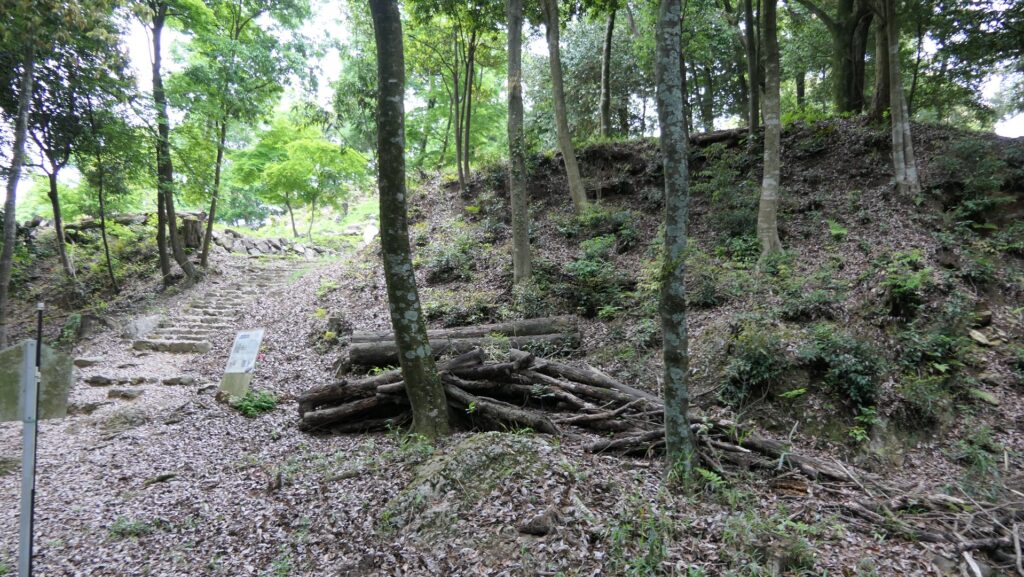
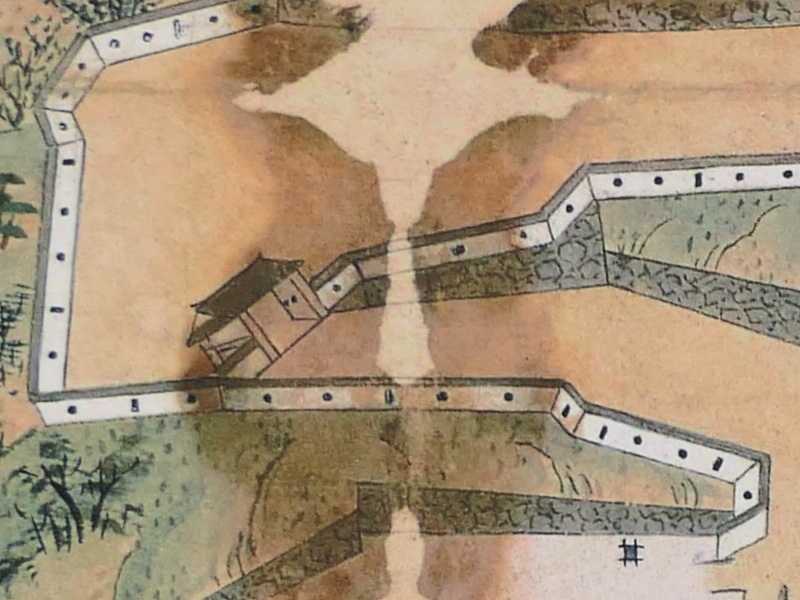
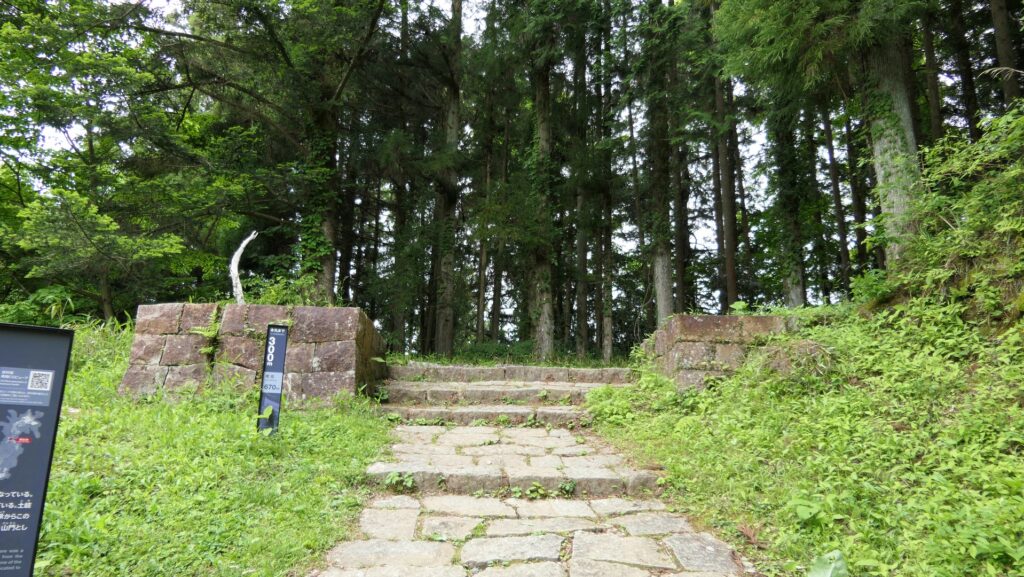
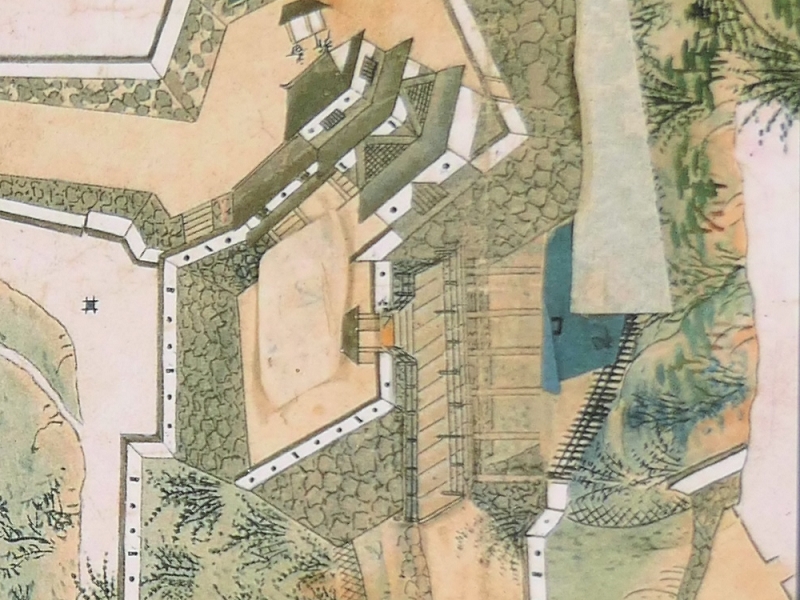
You will eventually reach the area beside the ruins of the Second Enclosure, at around half of the trail. You can take a rest and see the ruins. The enclosure is still surrounded by the thick earthen walls forming a gate of the castle. The original trail came to the gate and went to the top. Historians speculate not using stone walls at the enclosure means it was abandoned earlier.
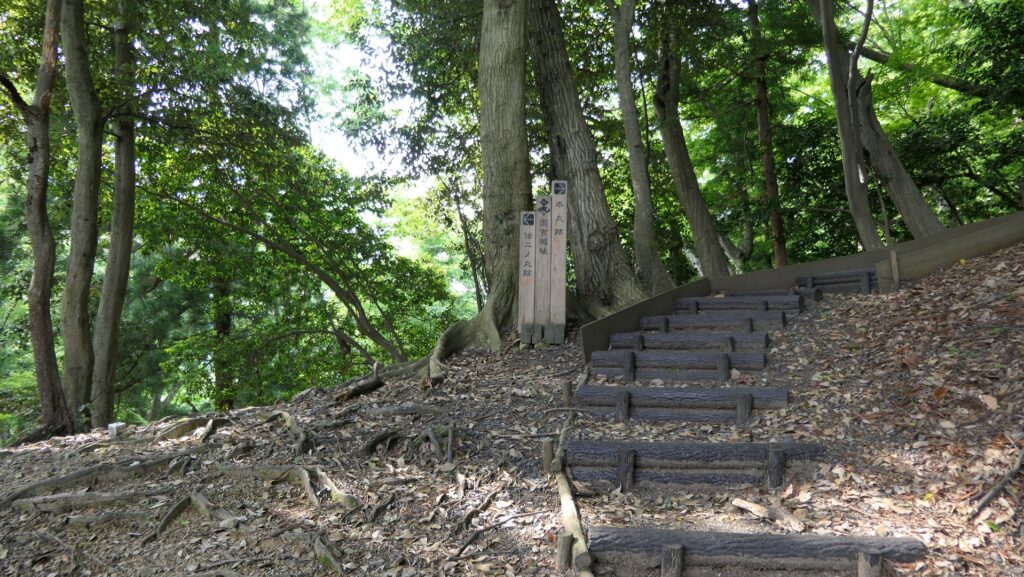
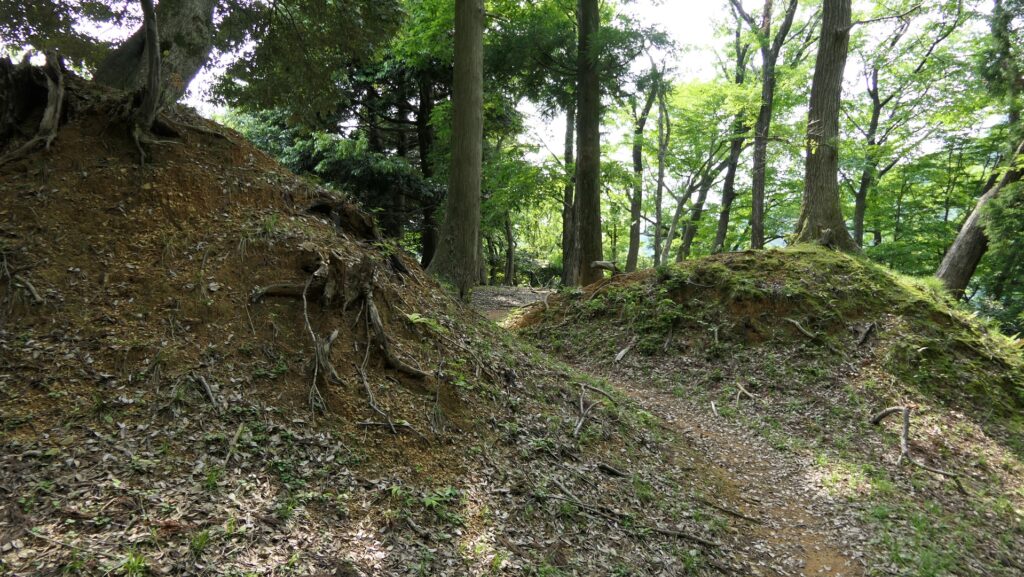
Around the Second Enclosure
The ruins of the Second Enclosure Gate
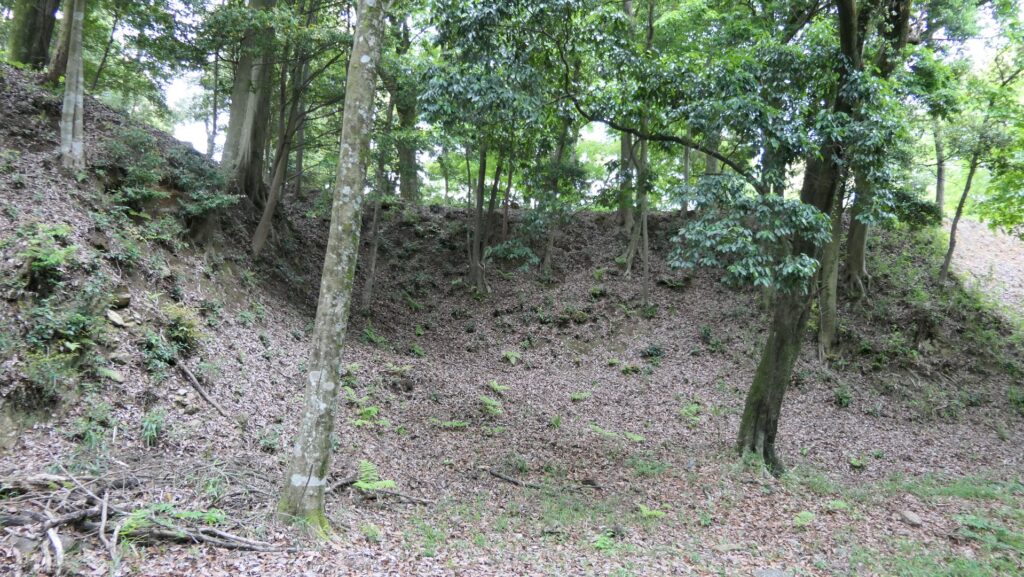
The inside of the Second Enclosure

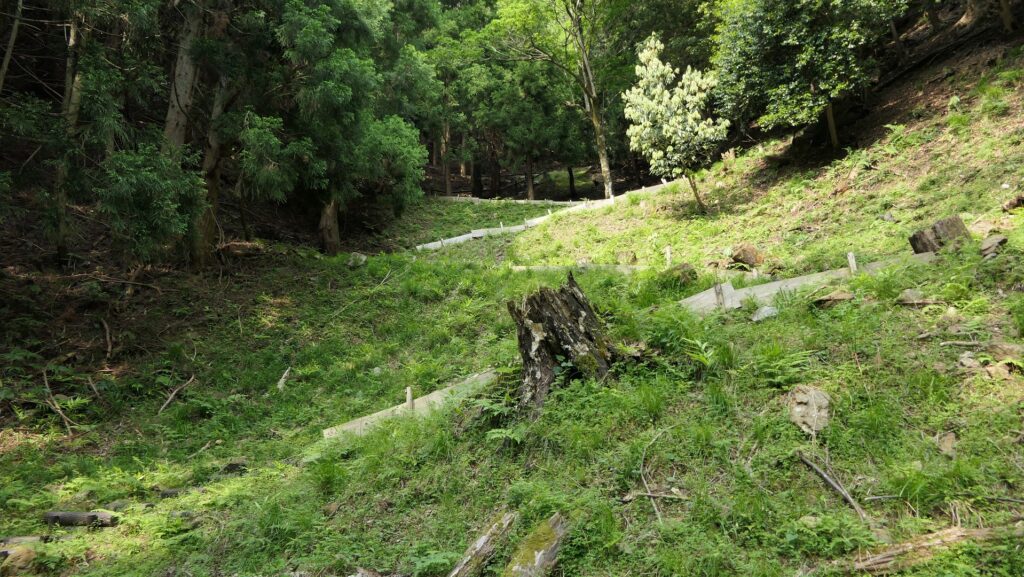
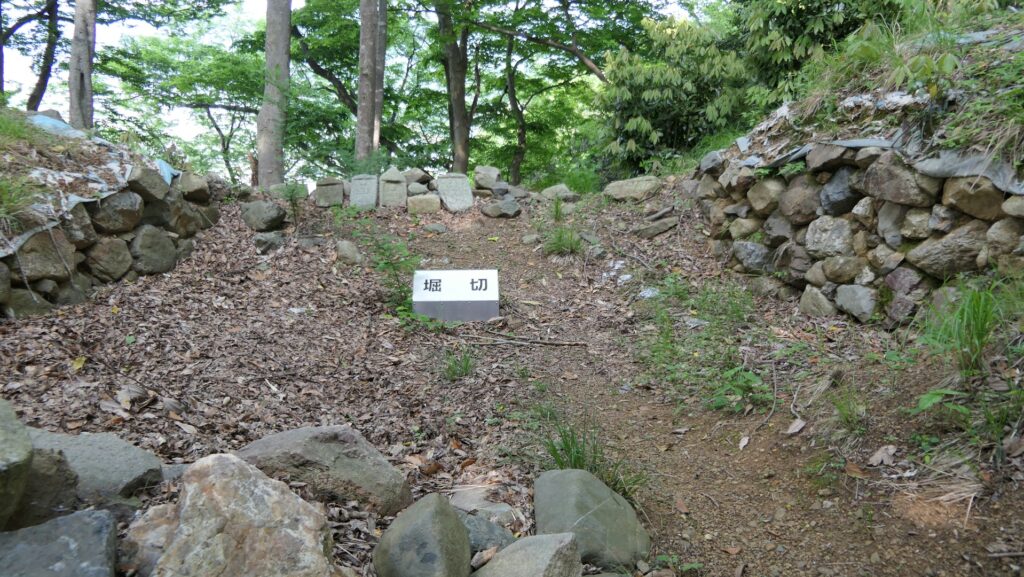
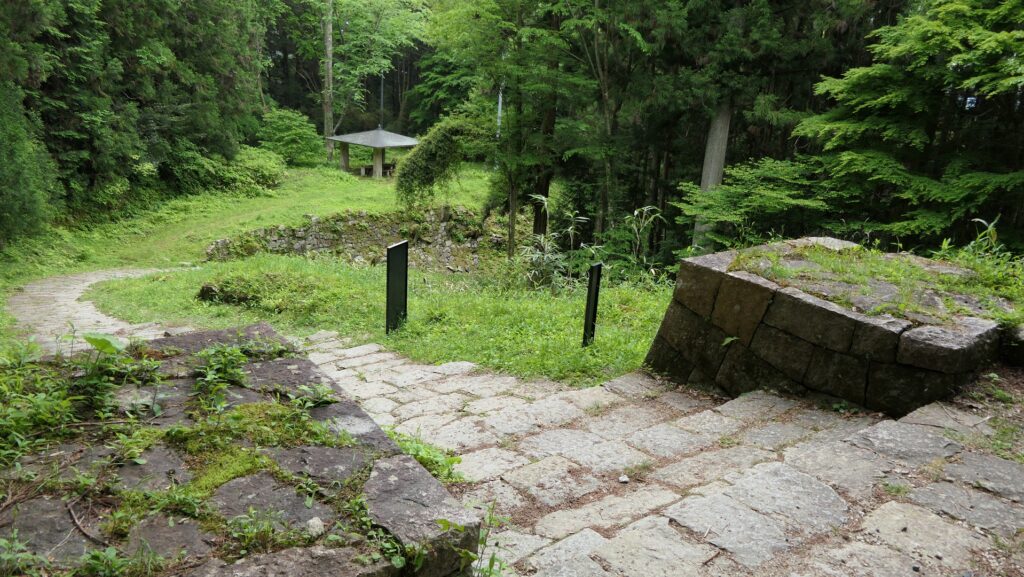
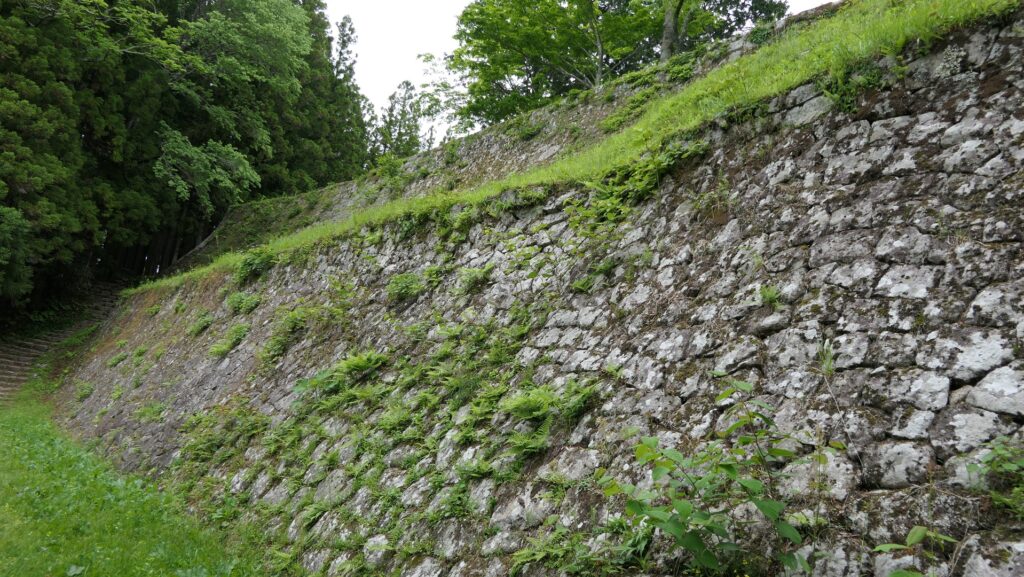
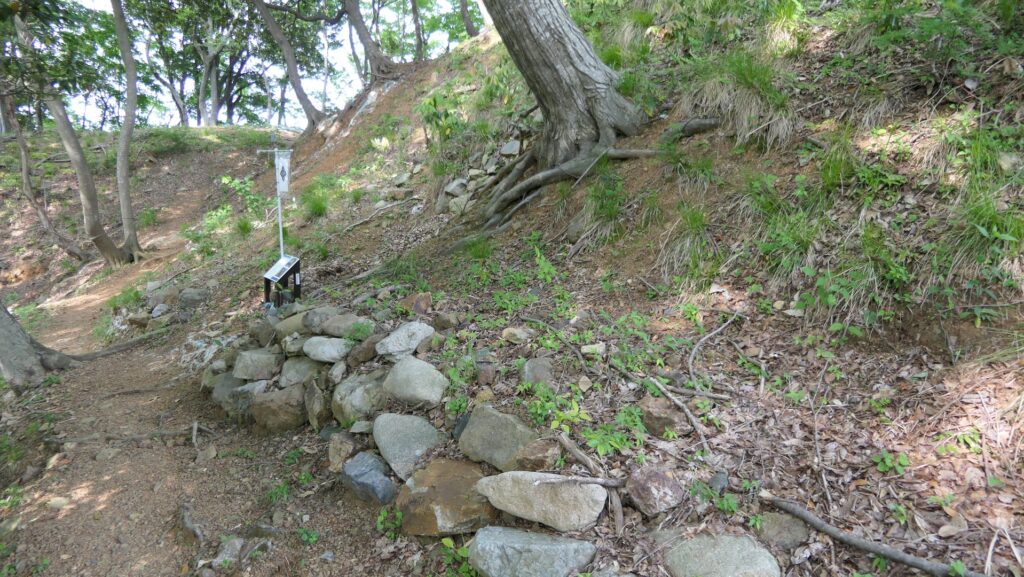
Going back to the trail, you have to try to climb it again. If you were an enemy, the defenders could shoot guns and arrows, and throw the stones and wood, so you would not stand a chance. However, you will eventually reach the ditch in front of the top, seeing some remaining stone walls covering it. These stone walls were destroyed in the upper part when the castle was abandoned, were buried naturally, and excavated recently. You can also see many Stone Buddha Statues gathered which may have been left for throwing when enemies actually attacked.
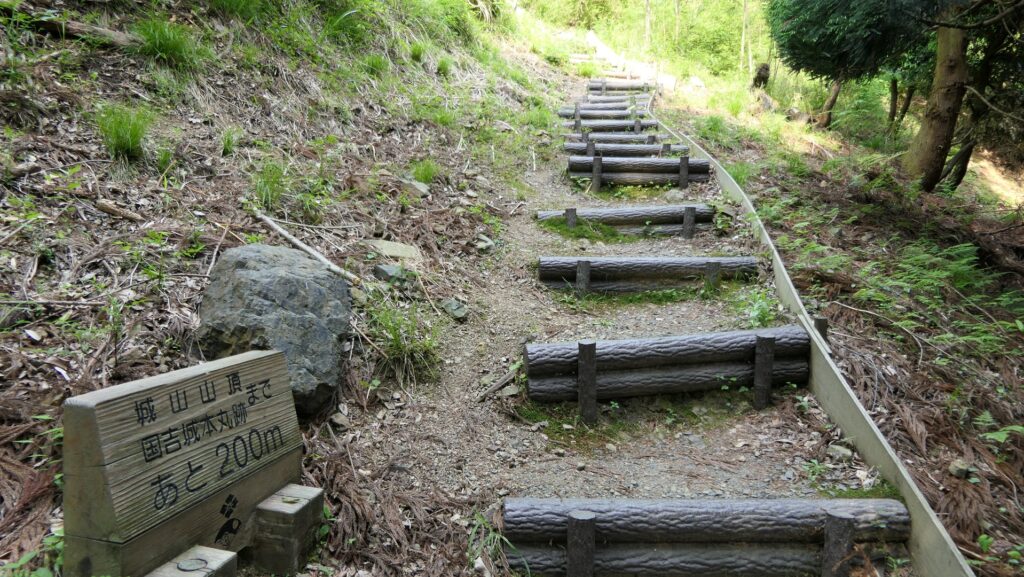
Going back to the trail
Arriving at the ditch in front of the top of the mountain
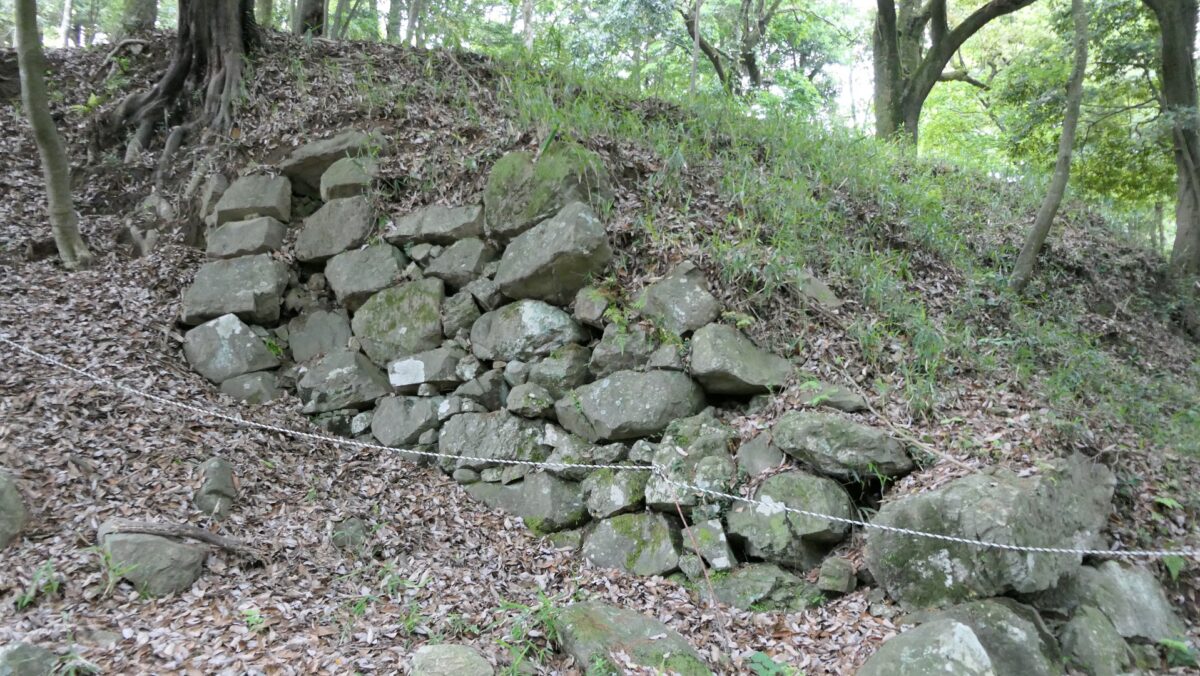
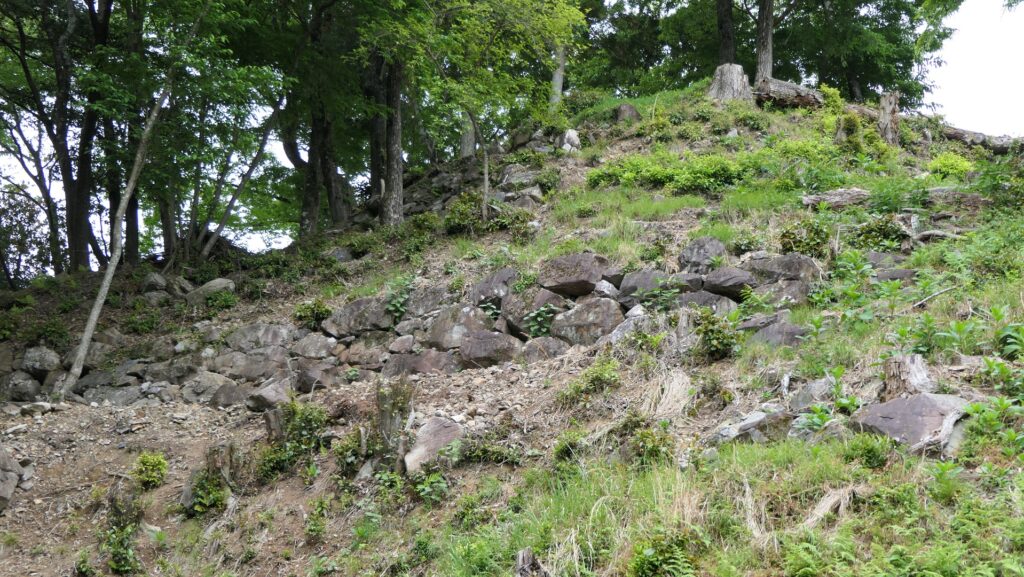
The stone walls were partially excavated
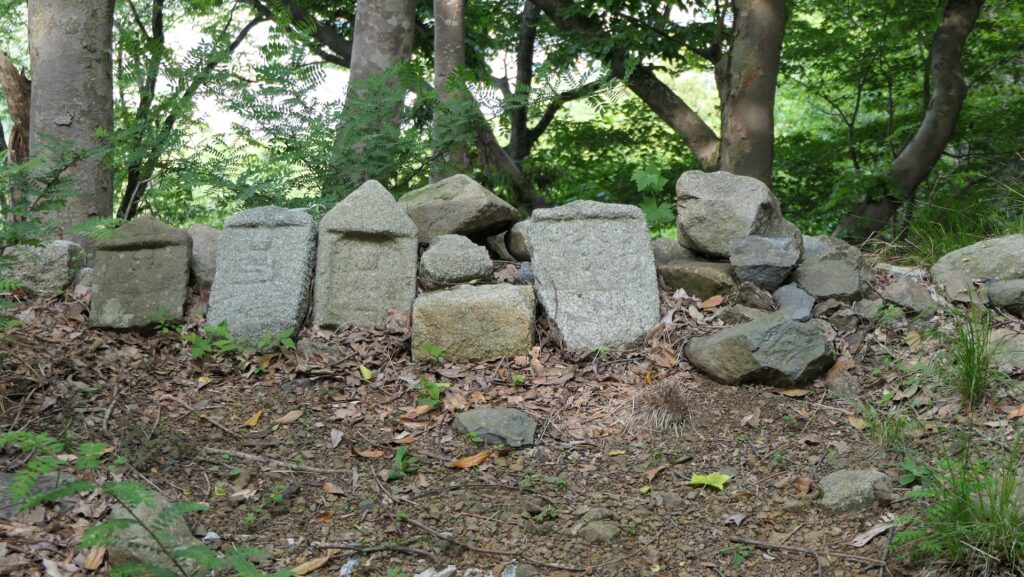
Stone Buddha Statues gathered in one place

To be continued in “Sagaki-Kuniyoshi Castle Part3”
Back to “Sagaki-Kuniyoshi Castle Part1”
143.Mino-Kaneyama Castle Part2

The castle ruins in a natural park

Features

Berbican Enclosure with well remaining Stone Walls

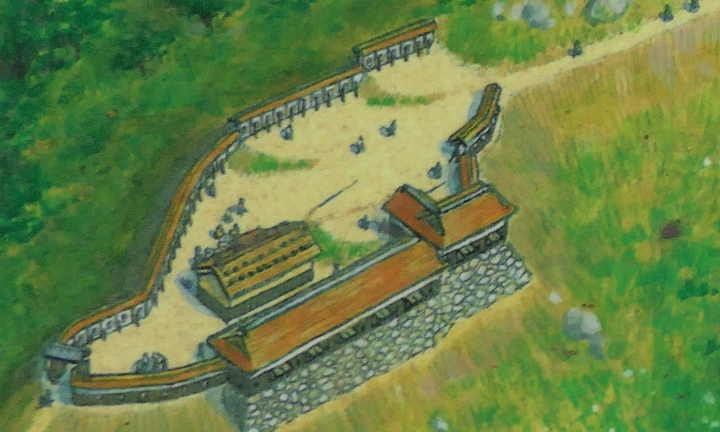
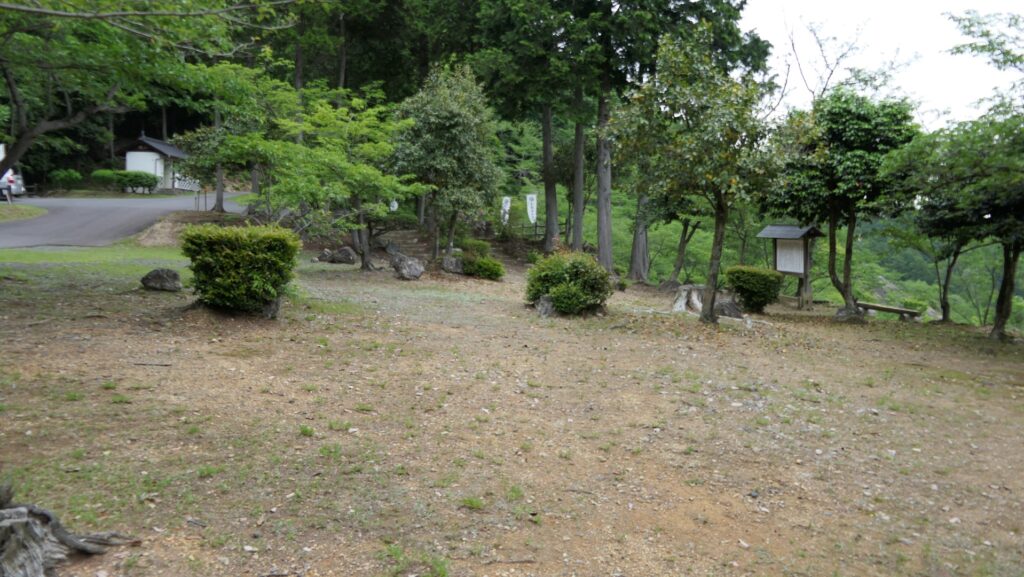
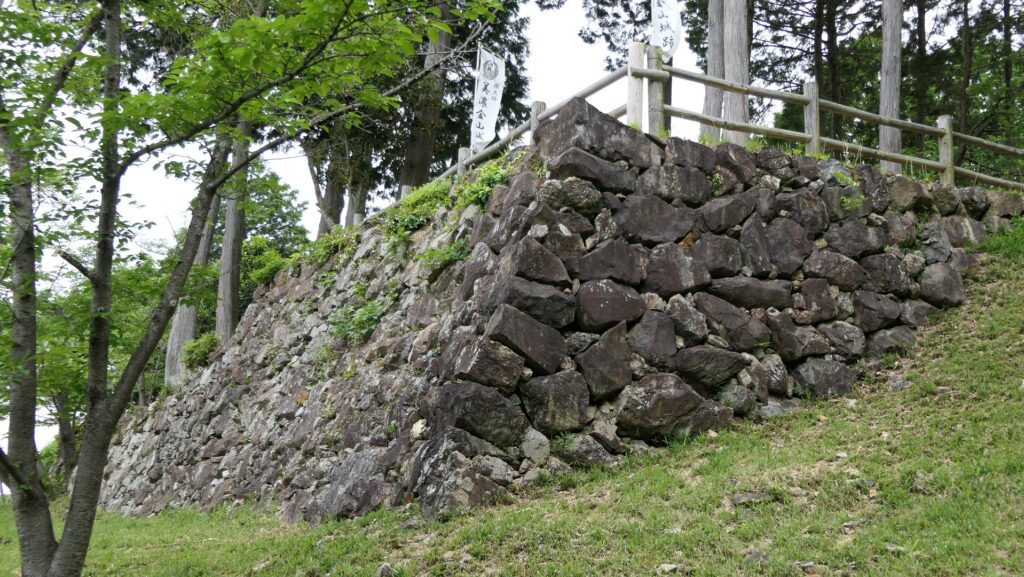
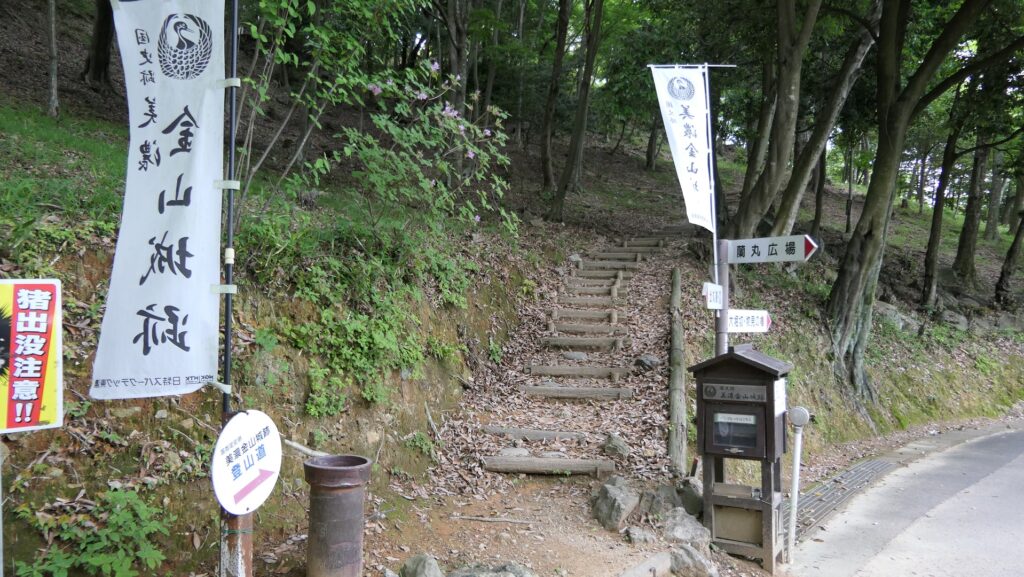
Today, the ruins of Mino-Kaneyama Castle have been well developed as part of a natural park though no castle buildings remain. Many people visit the park to relax. If you visit there by car, you can park at the Berbican Enclosure on the mid slope of the mountain. Don’t forget to see the stone walls around the enclosure as they are only walls still intact in this castle. You will understand its reason once you climb up to the Main Enclosure.

The imaginary drawing of the whole Mino-Kaneyama Castle, exhibited by Sengoku Yamashiro Museum

the map around the castle

The imaginary drawing of the Barbican Enclosure in the past, from the signboard at the site
The present Barbican Enclosure
The remaining stone walls of the Barbican Enclosure

Third Enclosure with trace of Castle destroyed

From the parking lot, you can first enter the Third Enclosure where you will see its stone walls partially collapsed. This is the trace of the castle being intentionally destroyed. No one would be able to build another castle on it and it could also be the sign that the castle had been abandoned. This enclosure has another entrance on the opposite side, which leads to the castle town, however, the route can’t be used now.

The entrance to the Third Enclosure
The imaginary drawing of the Third Enclosure in the past, from the signboard at the site
The present Third Enclosure (gate ruins)
The partially destroyed stone walls
The other gate ruins

You can also see the partially remaining stone walls of the Second Enclosure above the Third Enclosure.

The imaginary drawing of the Second Enclosure in the past, from the signboard at the site
The partially remaining stone walls of the Second Enclosure, seen from the Third Enclosure
The present Second Enclosure

Masugata, Important point for Defense

You can go further to the Belt Enclosure surrounding the Main Enclosure by passing the Second Enclosure. You will see many collapsed stones from past stone walls on the way there.

Going to the Belt Enclosure
The slopes of the Belt Enclosure, seen from the Second Enclosure
Many collapsed stones on the way

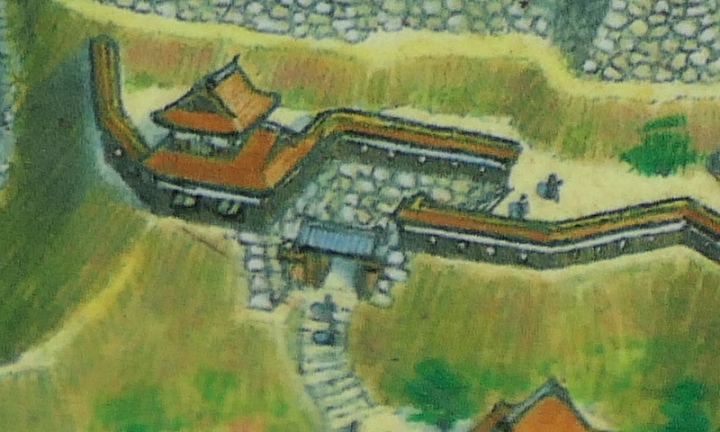
The Belt Enclosure had a square defensive entrance called Masugata, with the Main Gate standing in front of it. That meant it was an important point for the castle to protect. You can now see the ruins of it with the front stone steps and some stone walls surrounding the square space. The ruins of the Second Gate are on the right side of the space and lead to the Main Enclosure.

The imaginary drawing of the Masugata Entrance in the past, from the signboard at the site
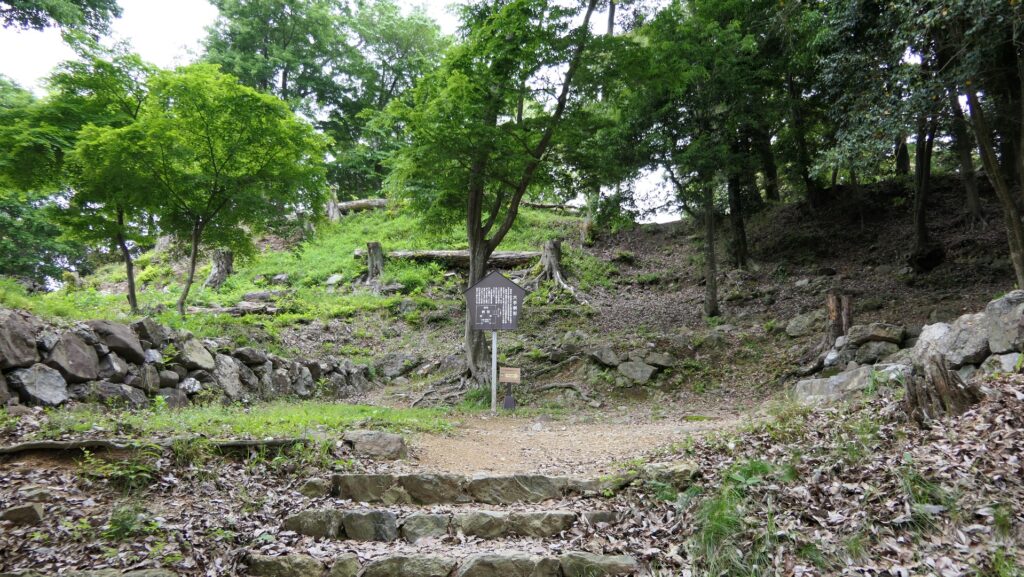
The present Masugata Entrance
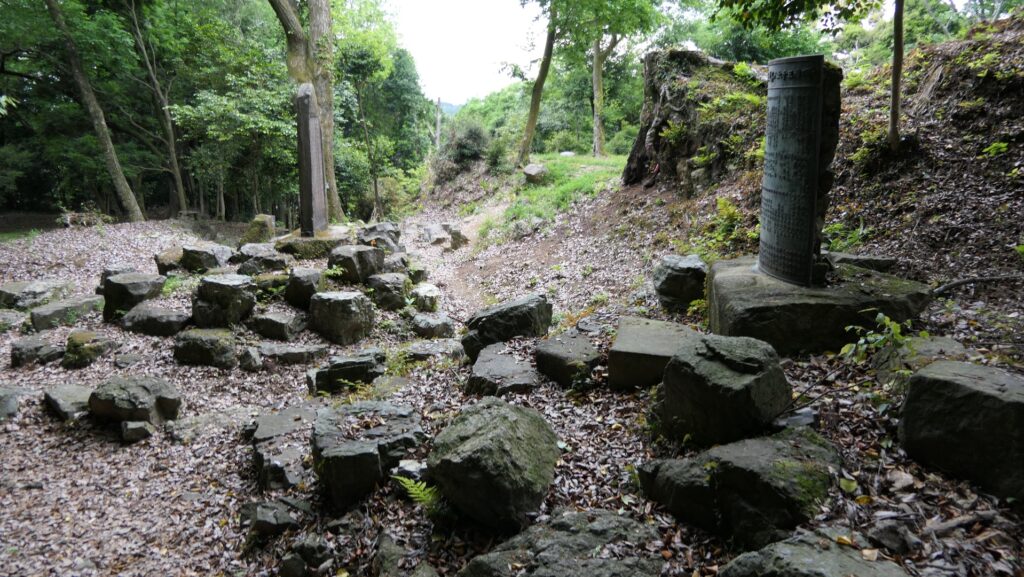
The ruins of the Second Gate

To be continued in “Mino-Kaneyama Castle Part3”
Back to “Mino-Kaneyama Castle Part1”
38.Iwamura Castle Part2

The castle ruins are worth to climb

Features

Long Trail to Top of Mountain

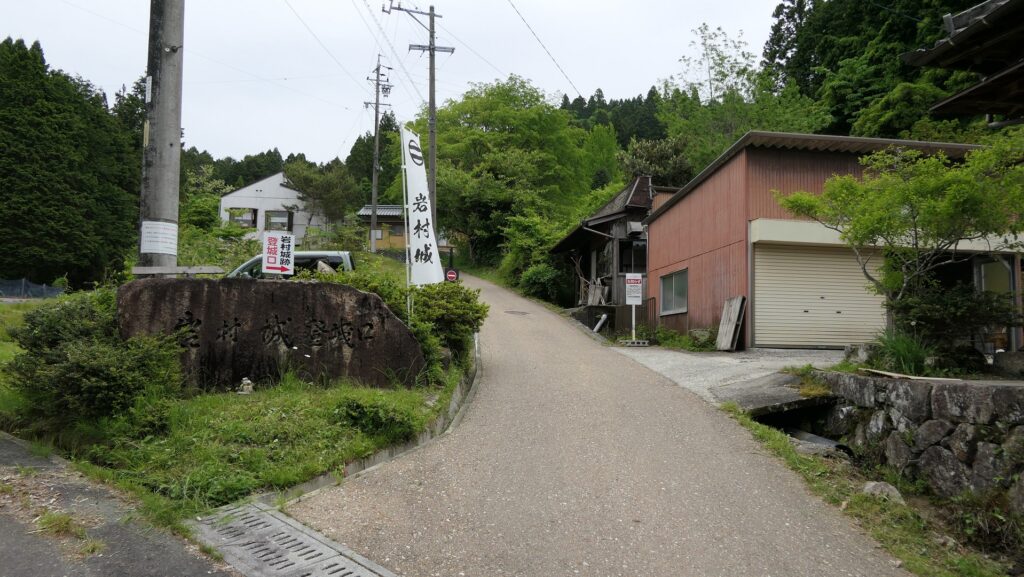
Today, the ruins of Iwamura Castle have been well developed for visitors. If you climb up from the foot to the top of the mountain, you can understand how strong the castle was. There is the partly restored Main Hall for the lord with the Drum Turret on the foot. From the foot, you will need to climb to the top for about 800 m long and about 170 meters high. Only stone walls and foundations of the castle remain on the mountain. However, if you have a smartphone, you can see the re-produced image using CG and hear the explanation (however only available in Japanese) at each signboard by scanning the QR code on it.

The starting point to the castle ruins

The map around the castle

An example of the re-produced images (around the Main Gate)

Lots of Gateway to protect Castle

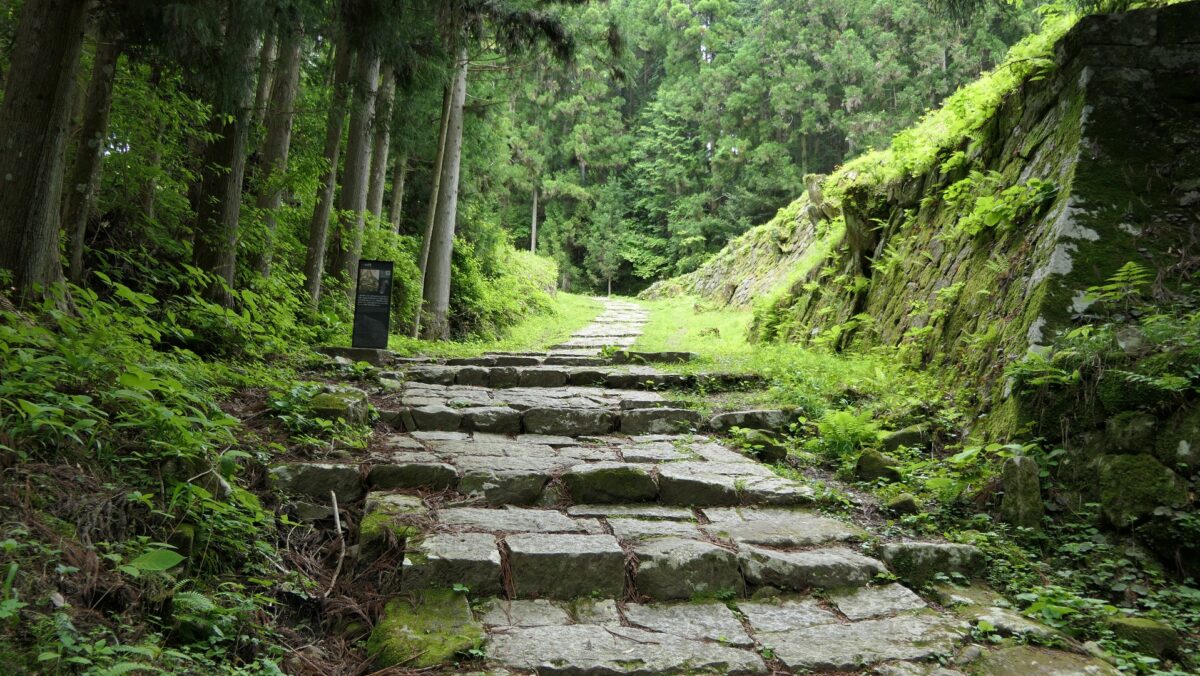
The first part of your climb may be very tough because the trail is steep and it’s on a winding road which is as long as 500m, which is called Fijisaka. You will pass three defense points called Hatsu-mon Gate, Ichi-no-mon Gate and Toki-mon Gate before reaching the Main Gate Ruins. Enemies in the past must have also found it tough when they attacked the castle through the same route.

The long Fujisaka road
The past Hatsu-mon Gate drawn in the signboard at the site
The present Hatsu-mon Gate Ruins seen from above
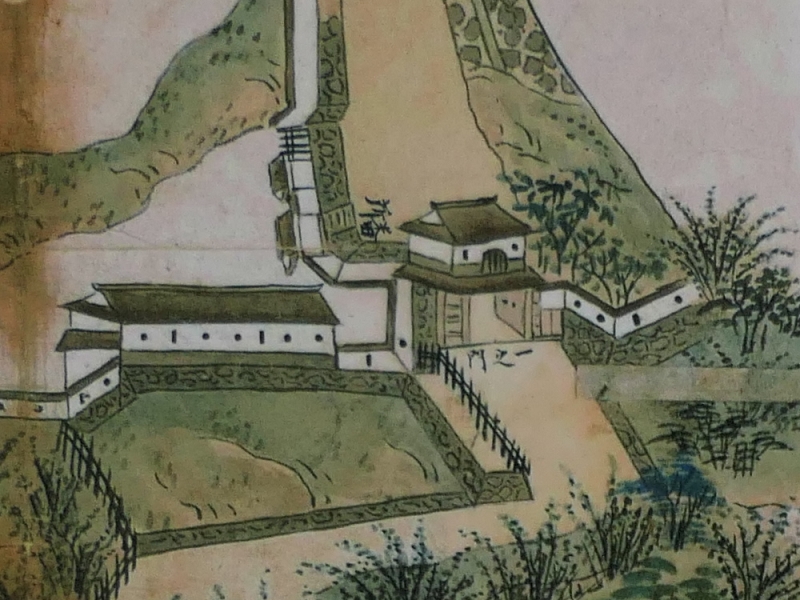
The past Ichi-no-mon Gate drawn in the signboard at the site
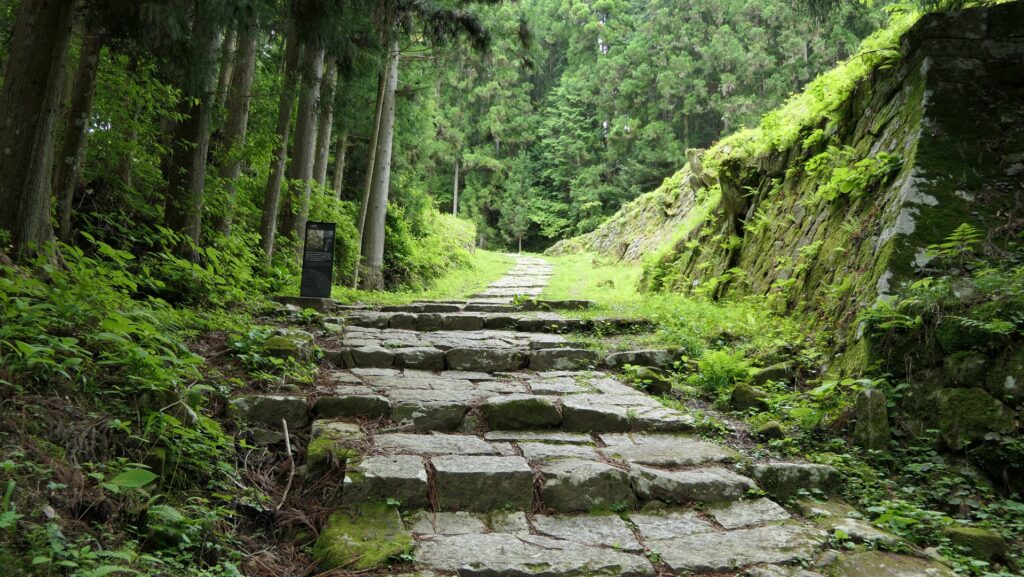
The present Ichi-no-mon Gate Ruins
The past Toki-mon Gate drawn in the signboard at the site
The present Toki-mon Gate Ruins
The Toki-mon Gate Ruins seen from above

Main Gate, Pivot for Defense

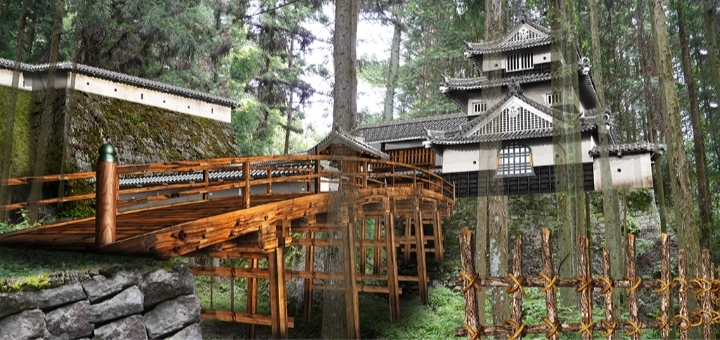
The Main Gate was the pivot for the defense, which had a complex system protecting the castle. The Three-level Turret was built beside the gate, which was also the symbol of the castle. The current trail goes around to the left, but visitors in the past had to go across a bridge called the Tatami-bashi which went straight to the gate. The floor boards of the bridge could be removed like tatami mats (traditional mats in Japanese homes) if enemies were to attack. Moreover, visitors had to turn left on the bridge when they entered the gate. If visitors were enemies, they would have been stuck and counterattacked from the turret and gate.

The past around the Main Gate drawn in the signboard at the site
The present around the Main Gate Ruins
The current trail goes around to the left
The Tatami-bashi Bridge was built here

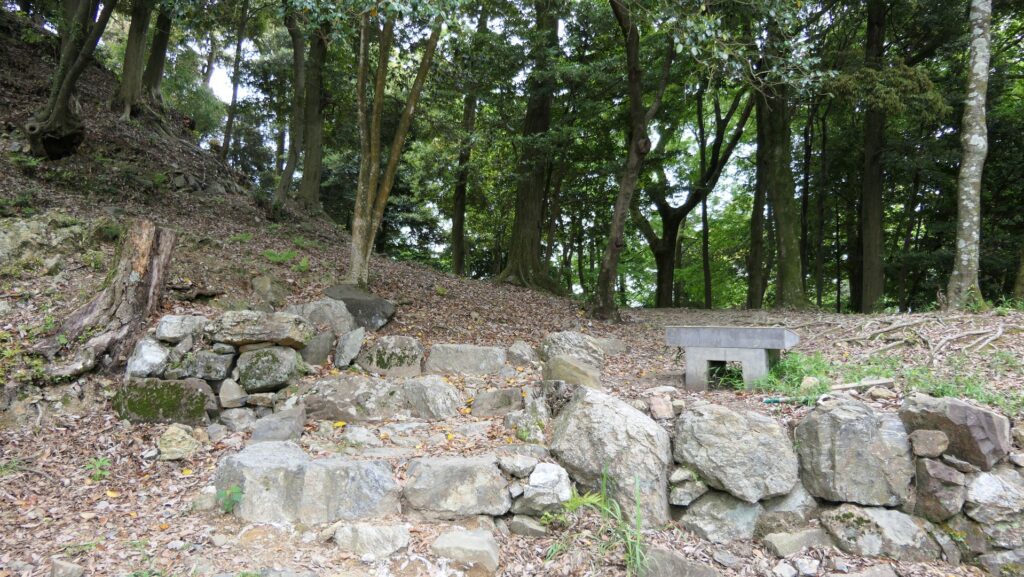
After passing the Main Gate Ruins, the trail becomes easier, and the area around it is relatively spacious. There used to be some warriors’ houses in the past. You will go though the area seeing the Hachiman Shrine Ruins on the left and the Kirigai Well which was said to never run out of water on the right. There were two routes in the past to reach the Main Enclosure on the top, the one from the Second Enclosure and the other from the Eastern Enclosure. However, the Second Enclosure is not well developed for visitors now, so most visitors usually go towards the Eastern Enclosure instead.

The ruins of the warriors’ houses
The Hachiman Shrine Ruins
The Kirigai Well
The Second Enclosure on the right

Six Tier Stone Walls, Highlight of Castle

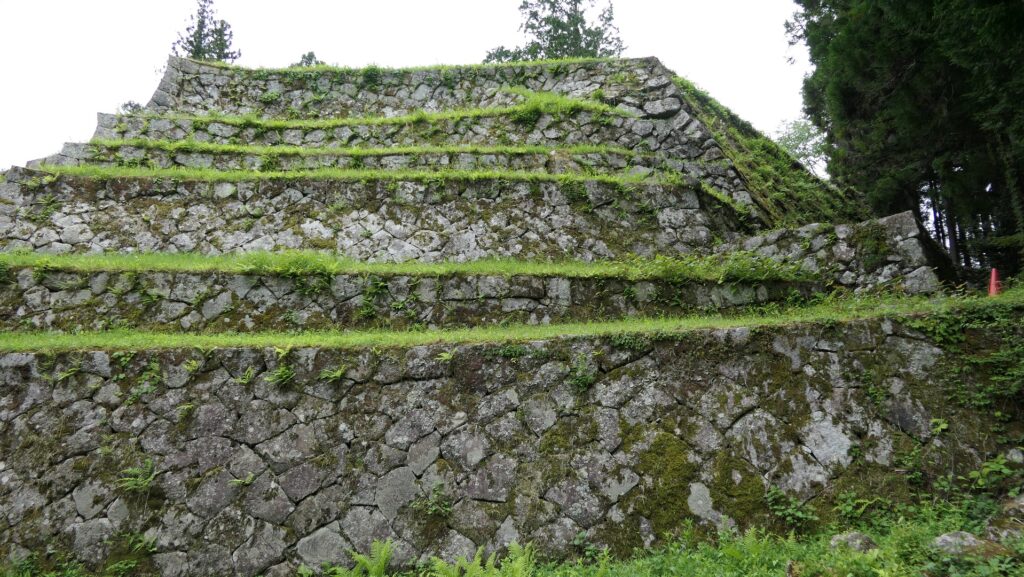
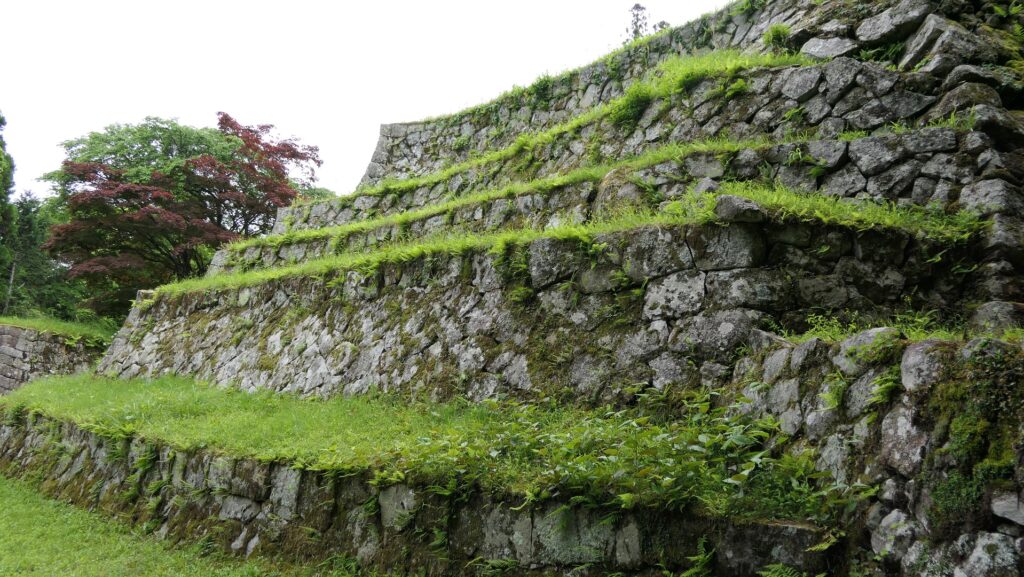
One of the highlights of the castle is the Six Tier Stone Walls of the Main Enclosure beside the Eastern Enclosure. They look so great. In fact, these stone walls had originally been a single high stone walls, but the other tiers were added later to prevent them from collapsing. Other than that, the Main Enclosure is all surrounded by great stone walls, especially, the high stone walls on the western side are also so nice.

A front view of the Six Tier Stone Walls
A view of the Six Tier Stone Walls from the right side
A view from the top of the Six Tier Stone Walls
The high stone walls on the western side of the Main Enclosure

To be continued in “Iwamura Castle Part3”
Back to “Iwamura Castle Part1”