14.Mito Castle Part3

After seeing the restored Main Gate and Corner Turret, I would like the city to restore the Three-level Turret as the Main Tower of the castle as well.

Features

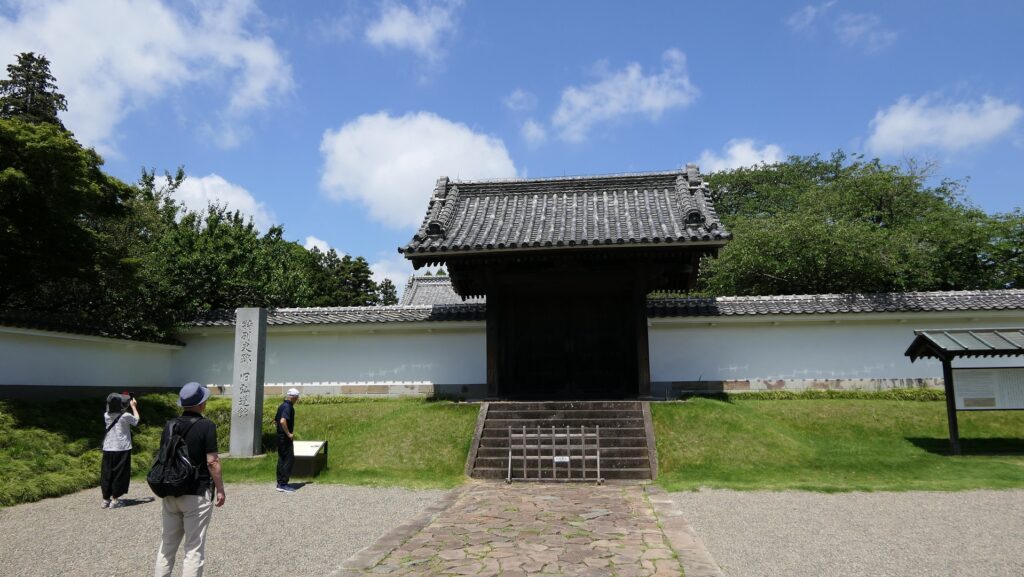
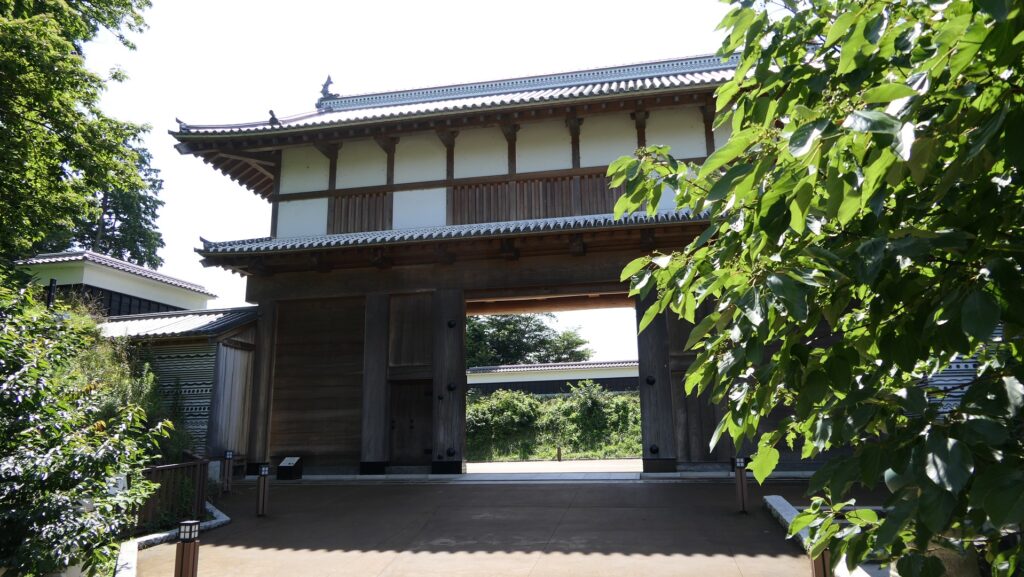
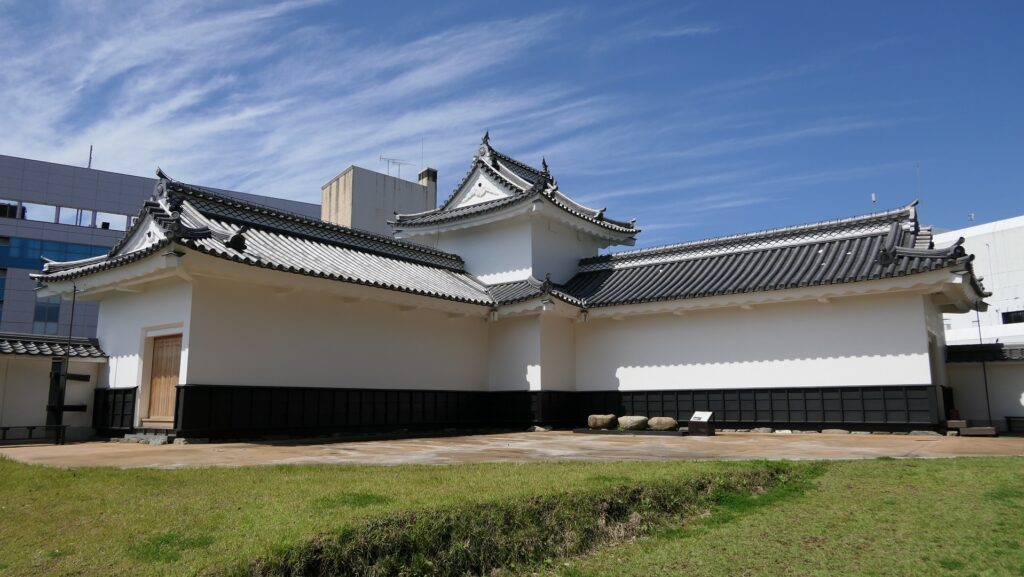
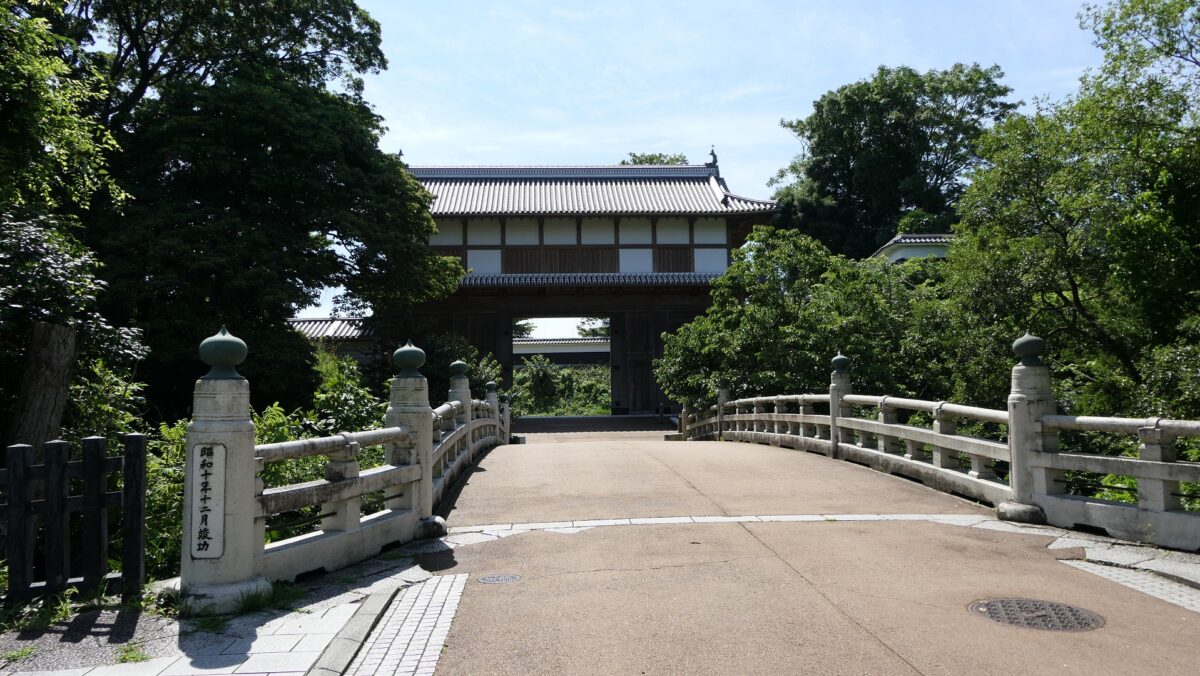
Only Remaining building in Castle

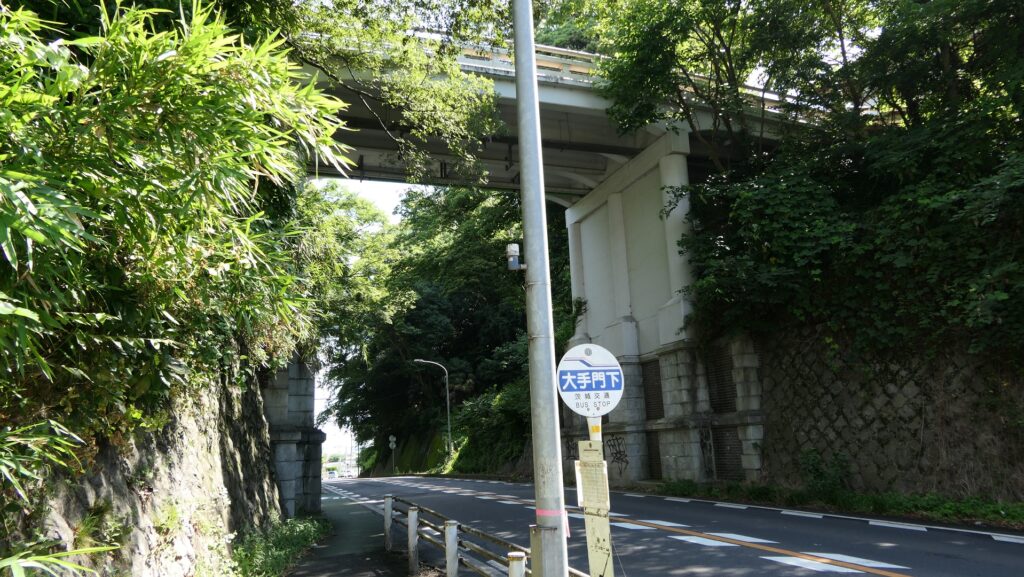
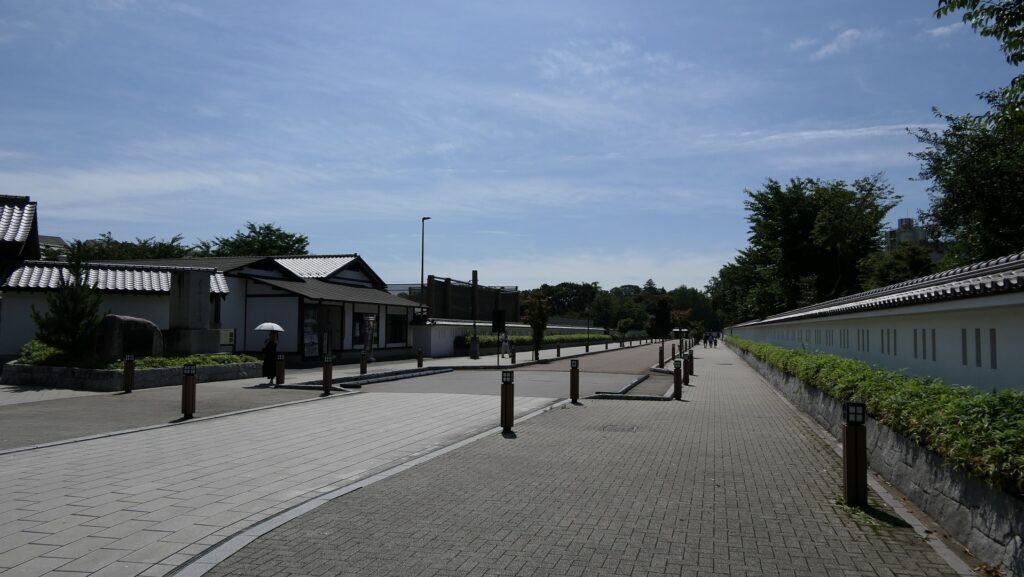
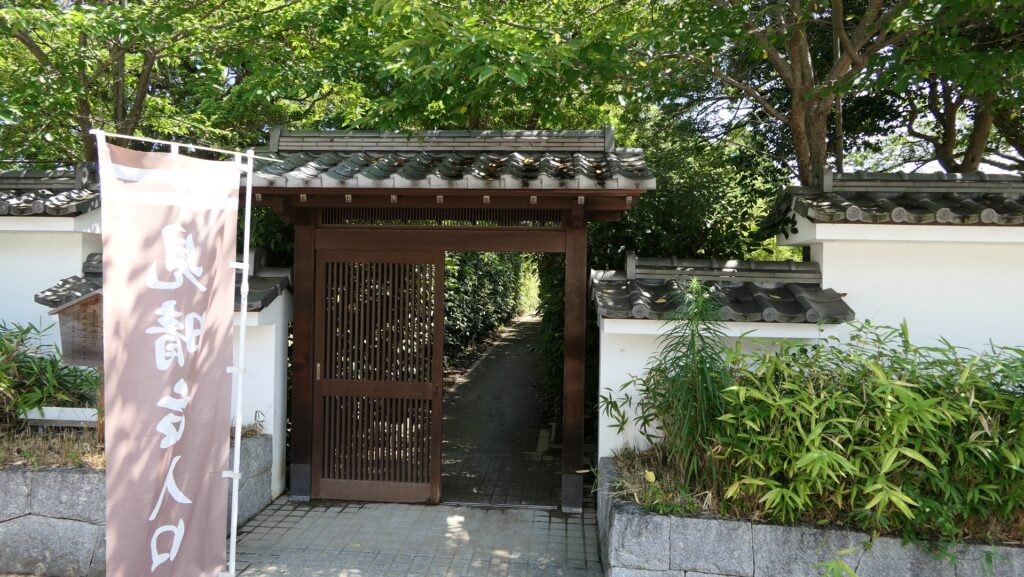
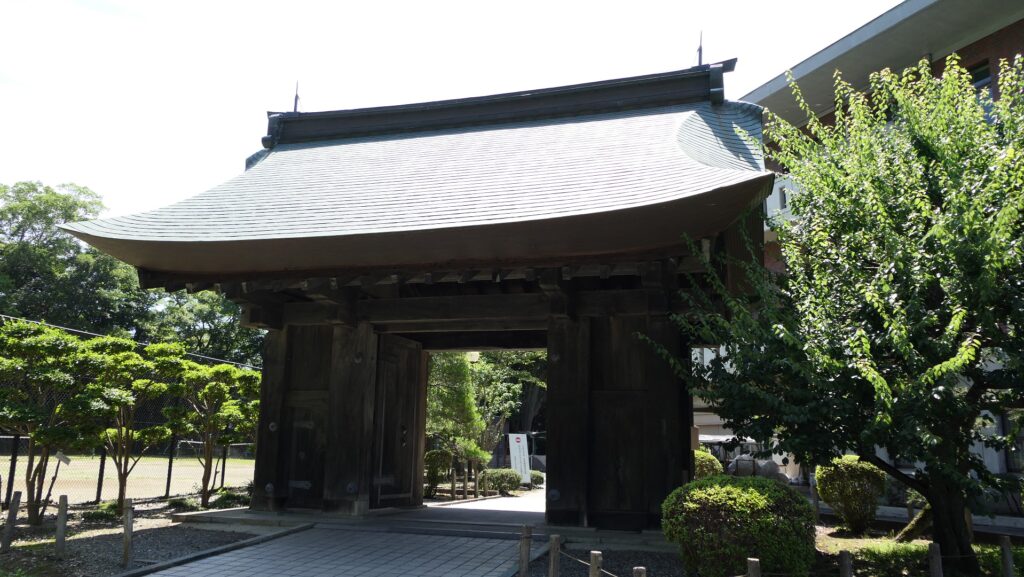
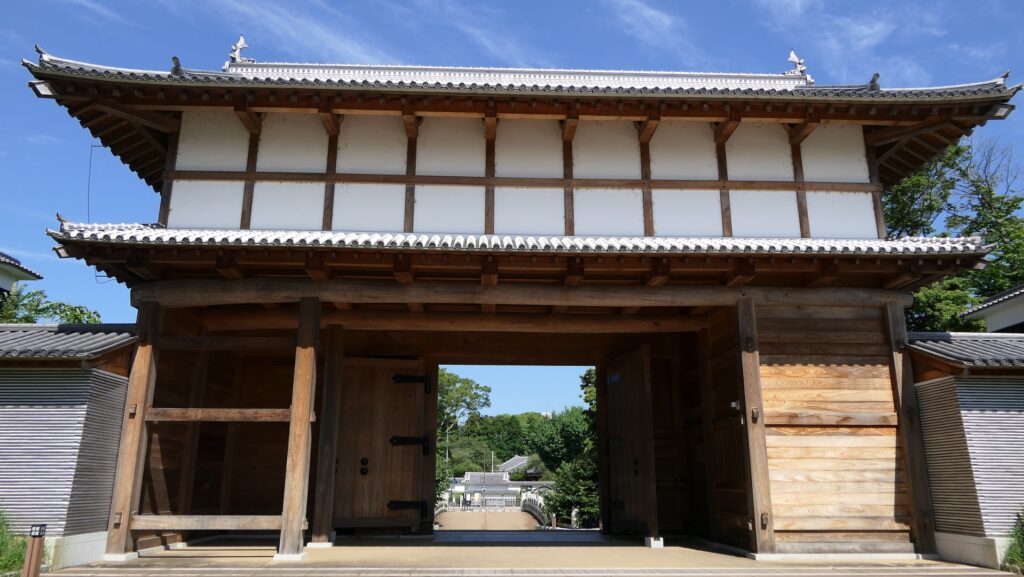
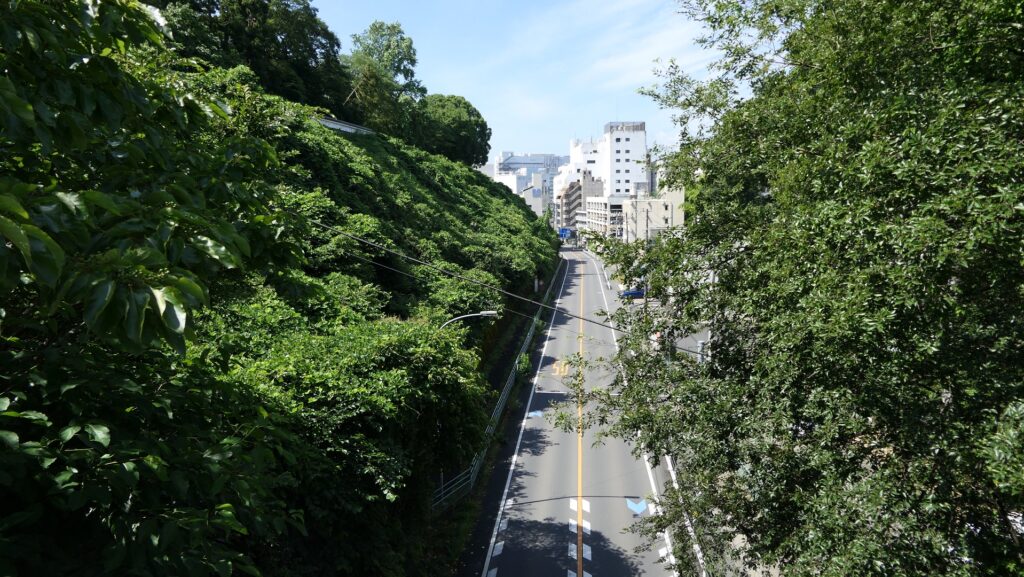
Back to the central street, you can go further to the Main Enclosure. You may be surprised to see, in front of the enclosure, another but much deeper (22m) dry moat. It is now used as a ground for the Suigun Railway Line. Of course, it is the castle’s original. The enclosure has the only remaining building of the castle, Yakui-mon Gate which was said the Satake Clan had built. If it’s true, the gate might have been used as their Main Gate. Please make sure you don’t enter the school to stay where you are allowed to see it on the designated area around after crossing the Honjo-bashi Bridge over the moat.

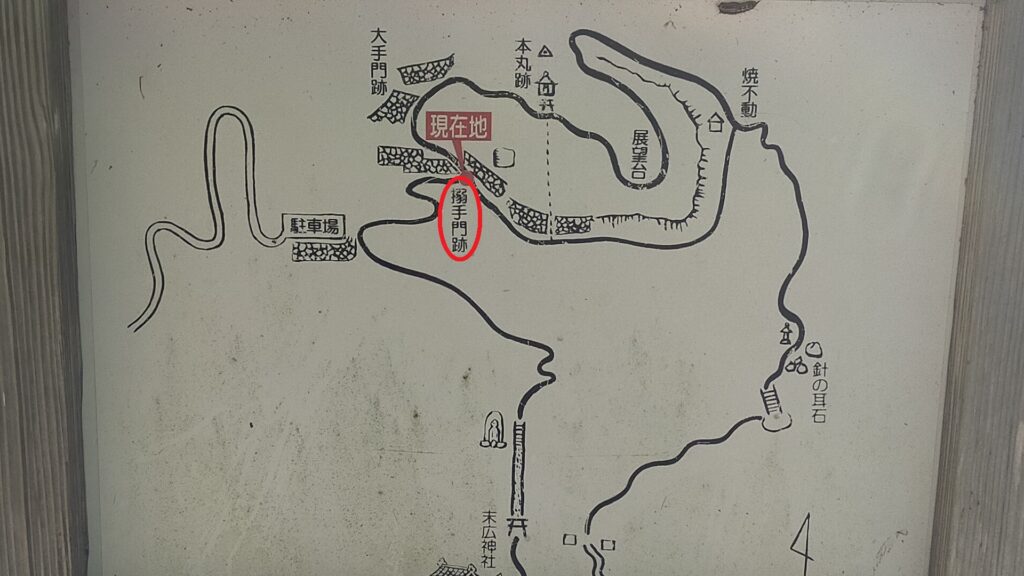
The map around the castle, the broken red line shows the Sugiyama Slope and the broken blue line shows the Sakumachi Route

The large dry moat in front of the Main Enclosure
Its bottom has become a ground for the Suigun Railway Line
Going to the Main Enclosure over the bridge
The Yakui-mon Gate, the only remaining building of Mito Castle

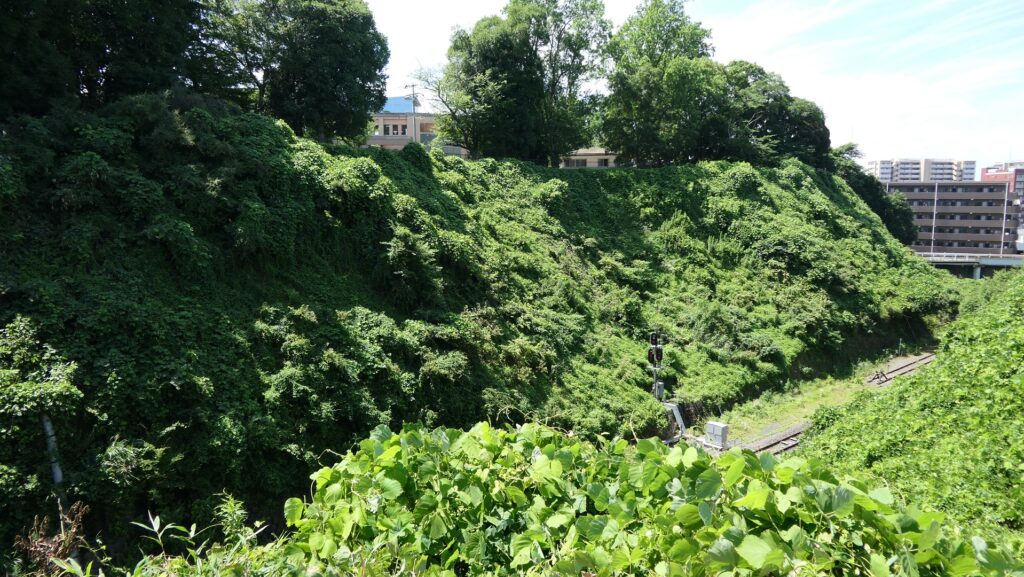
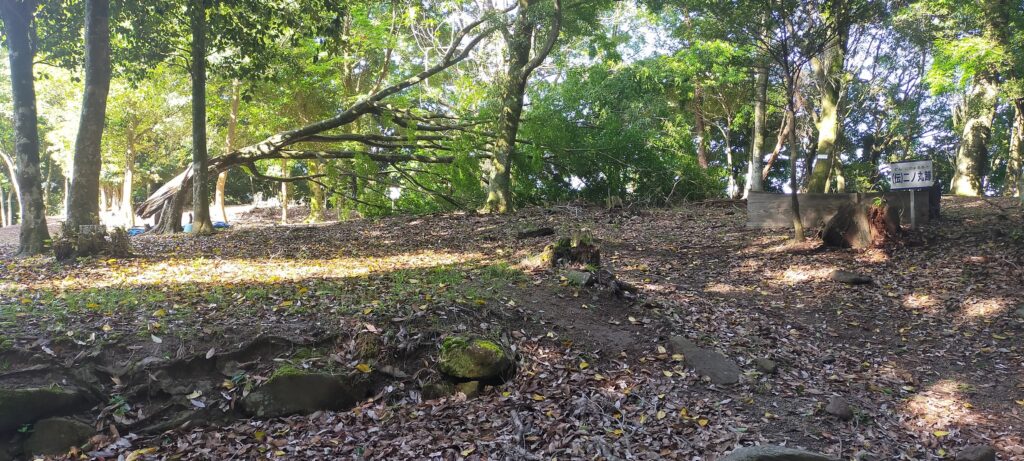
Other Attractions in Second and Third Enclosures

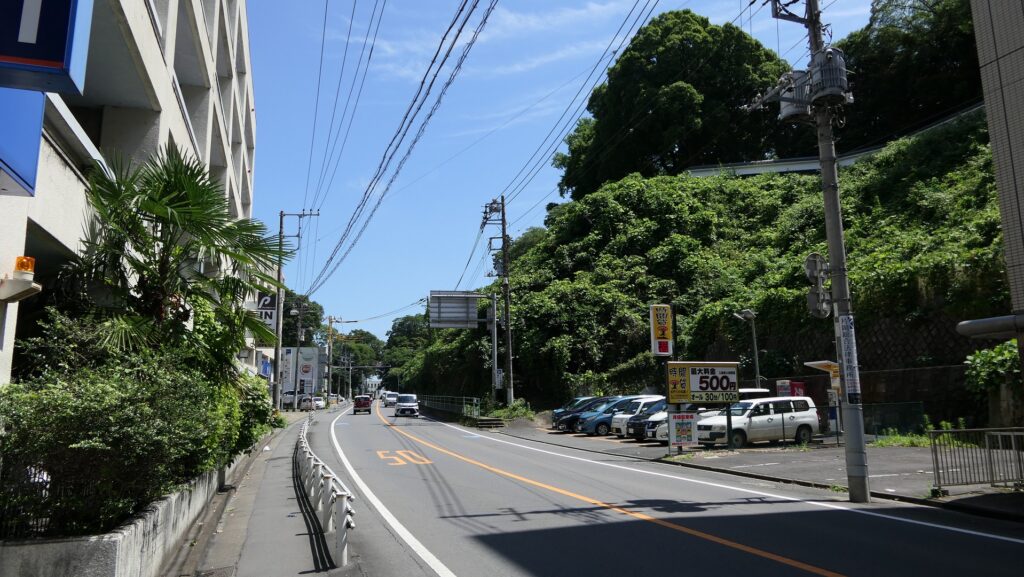
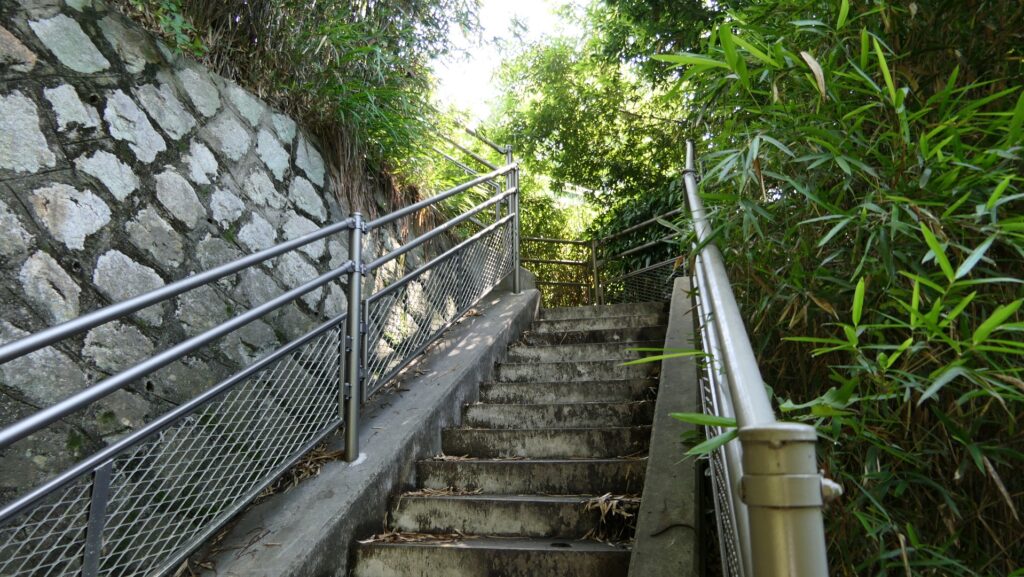
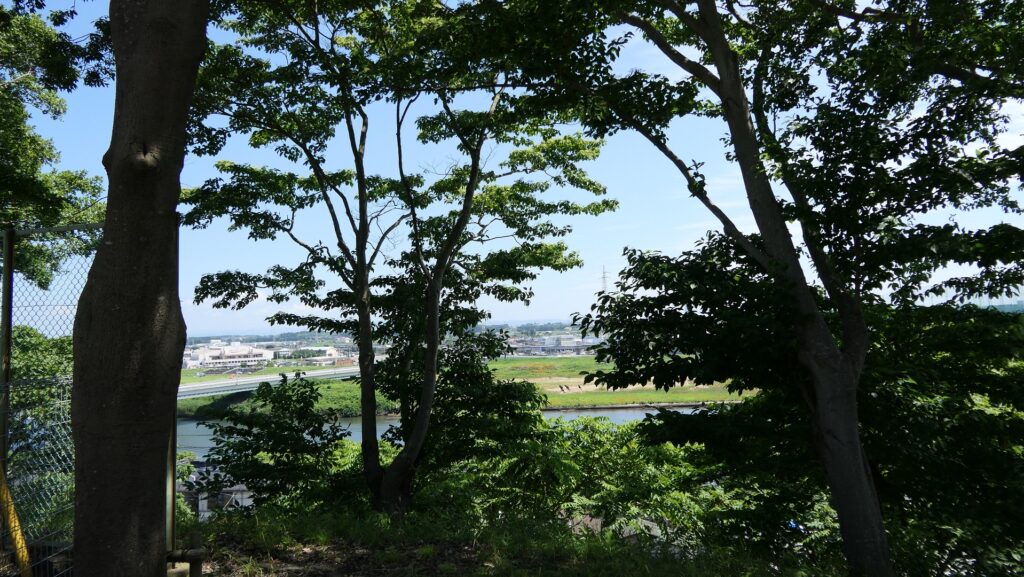
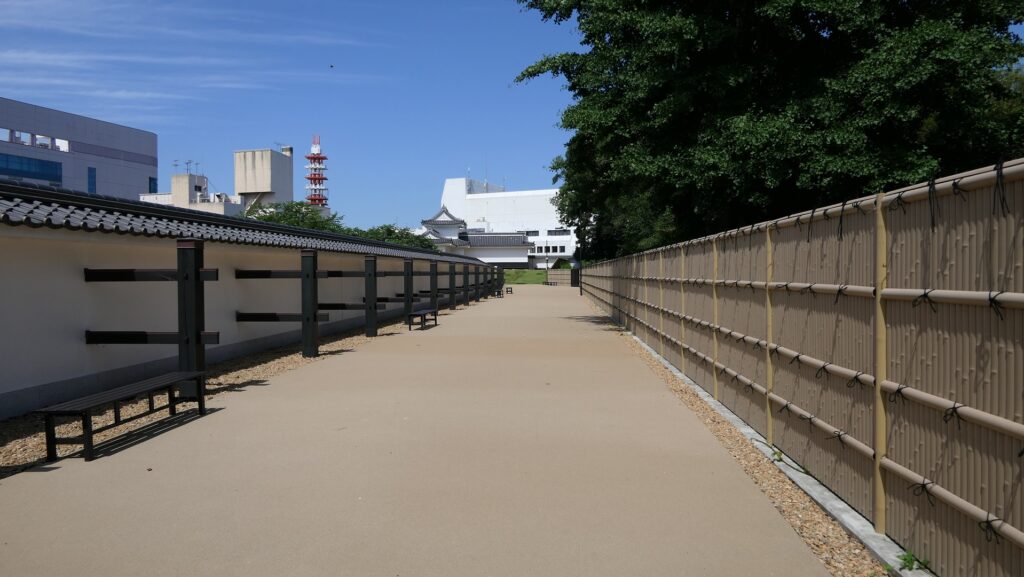
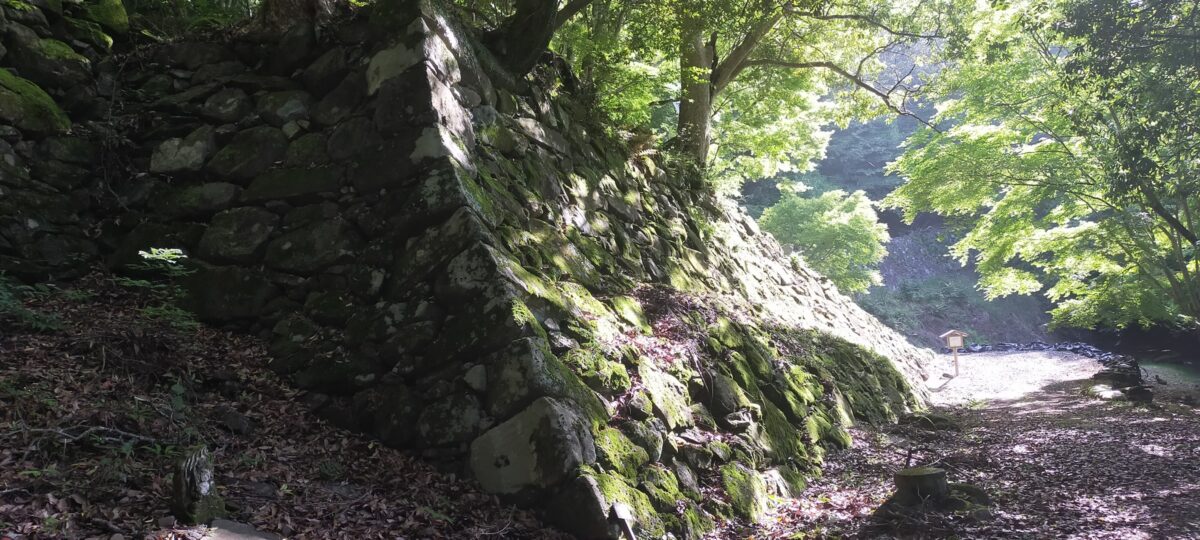
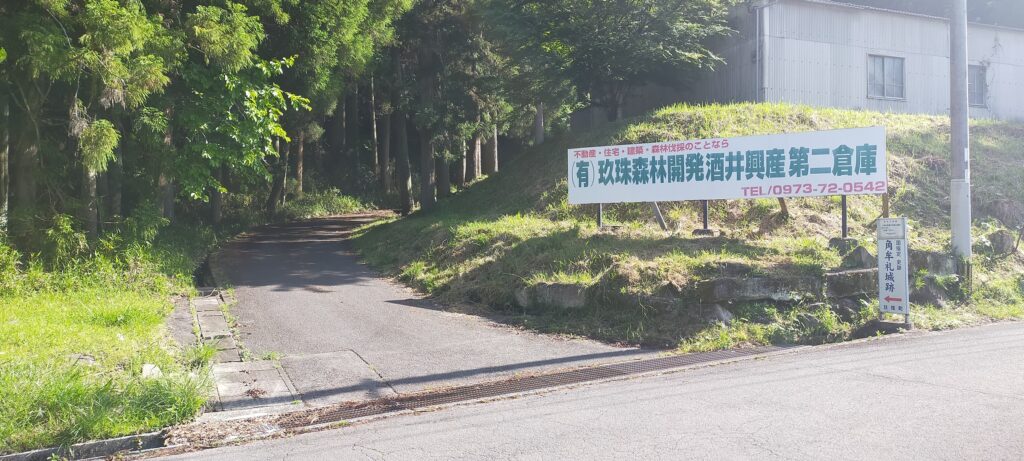
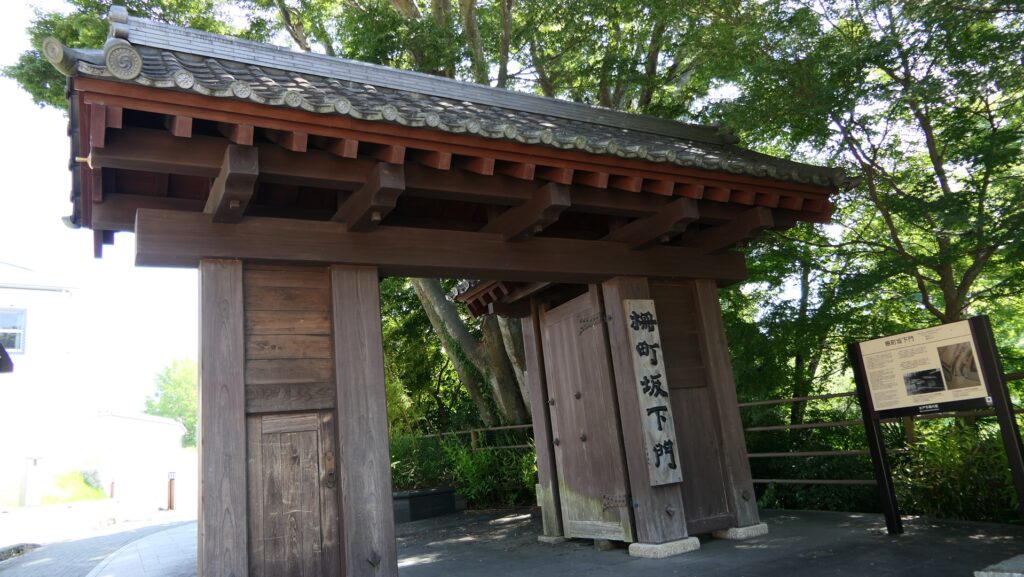
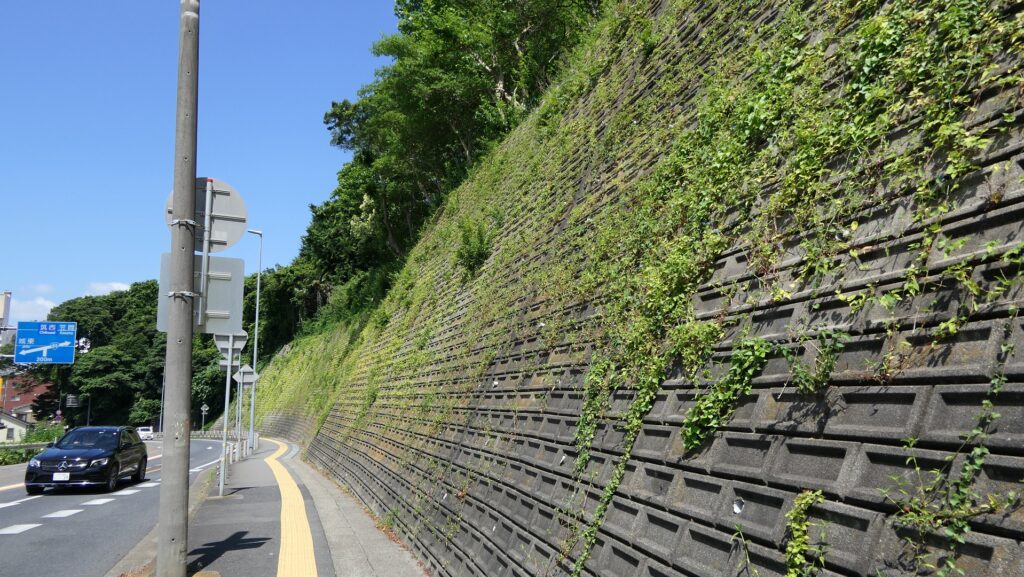
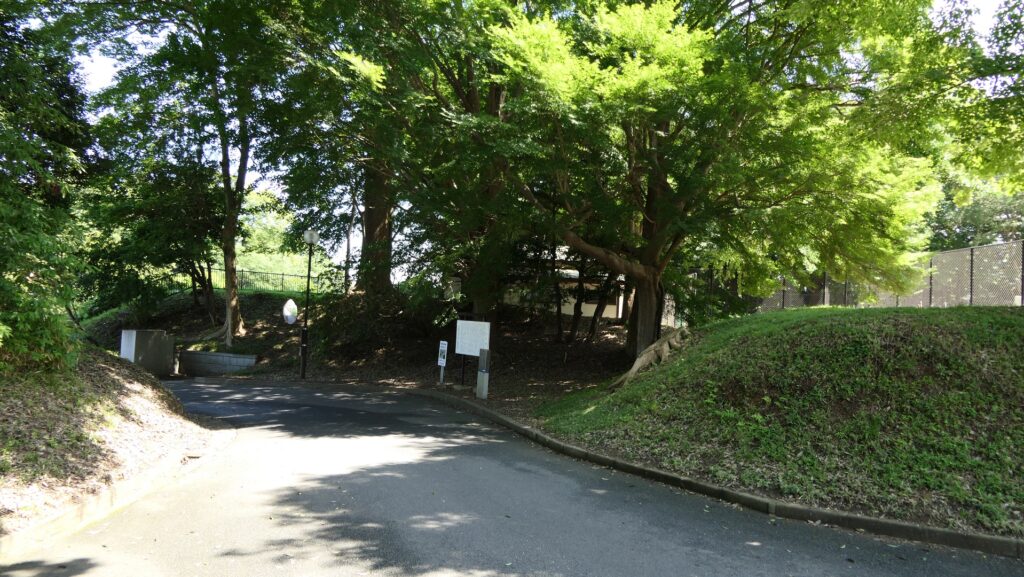
There are two original back routes from the Second Enclosure, which we can still use, the Sugiyama-zaka Slope in the north and the Sakumachi Route in the south. Both routes have restored gates called Sugiyama-mon and Sakumachi-Sakashita-mon. If you walk down on the southern route to go back to Mito Station, you will see the large scale plateau on your right side, which is covered by concrete panels today. There was also the large Senba Lake on the left in the past, but it was reclaimed and reduced to the original western part around the Kairakuen Garden.

The restored Sugiyama-mon Gate
The restored Sakumachi-Sakashita-mon Gate
The southern side of the huge plateau

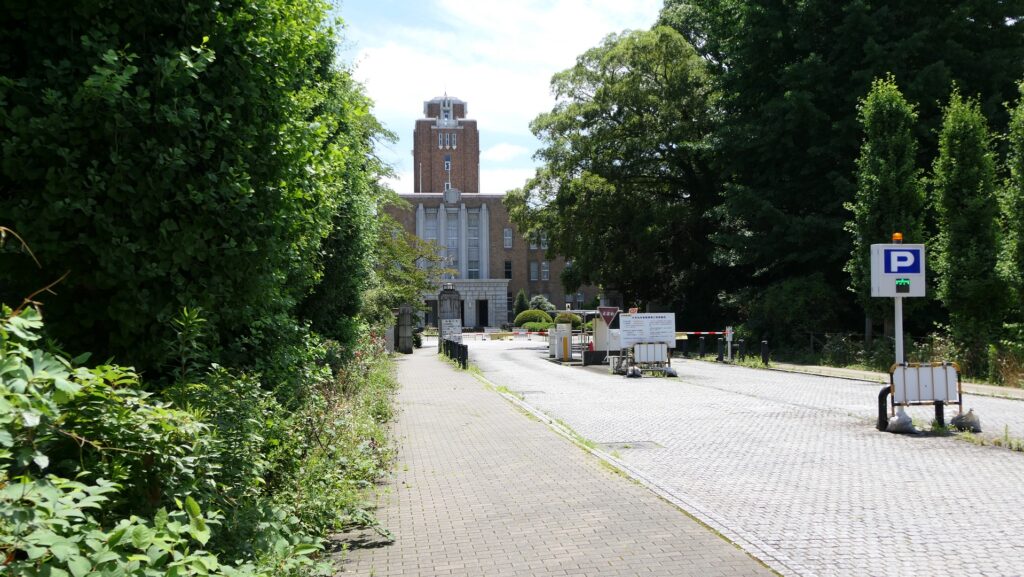
If you have time, you should consider visiting the large outer dry moat of the Third Enclosure, at the root of the plateau. It remains as it was and only the earthen walls go across the moat to the prefectural office which was the senior vassals’ residences. Overall, the castle was protected by the three huge moats.

The aerial photo of around the castle

The large outer dry moat of the Third Enclosure
The earthen bridge has become the entrance of the prefectural office

Later History

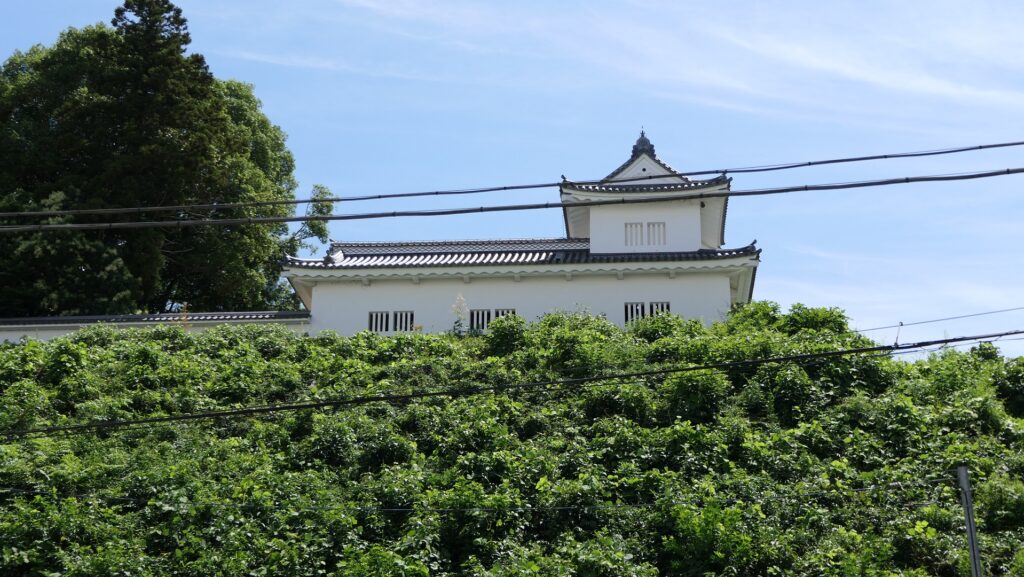
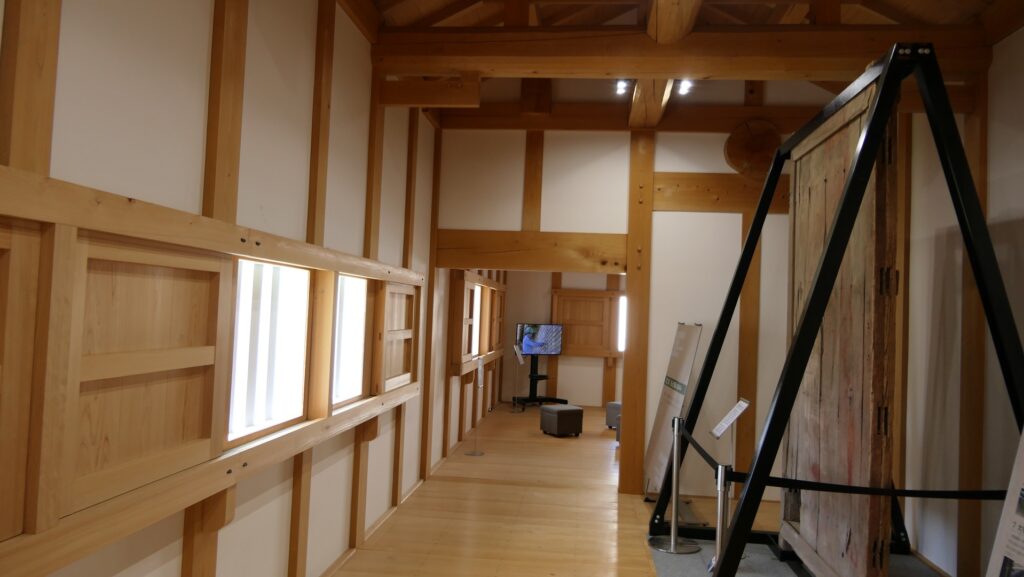
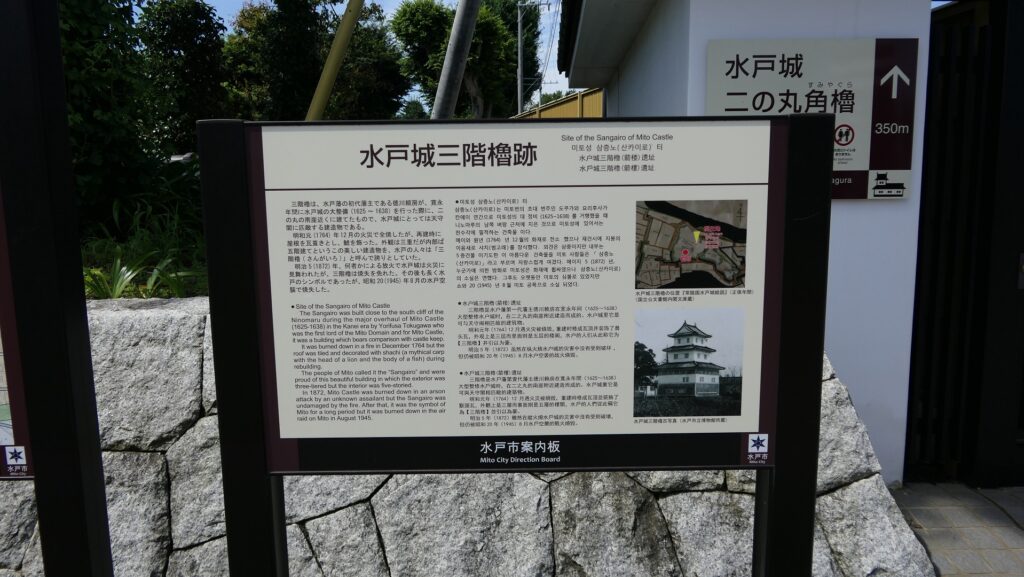
Even after the severe events in the early Meinji Era, the Three-level Turret in the Second Enclosure of Mito Castle, which was so great that it was once called “One of the 20 remaining main towers in Japan”, had still remained until World War II, but it was burned down by the Mito air raids in 1945. After World War II, the Kodokan area was designated as a Special National Historic Site in 1952. The other items, the earthen walls, dry moats, and Yakui-mon Gate has been designated as historic sites of Ibaraki Prefecture. Mito City has recently restored some castle buildings as we can see now.

The remaining earthen walls around the Yakui-mon Gate at the Main Enclosure
A inside view of the Main Gate

My Impression

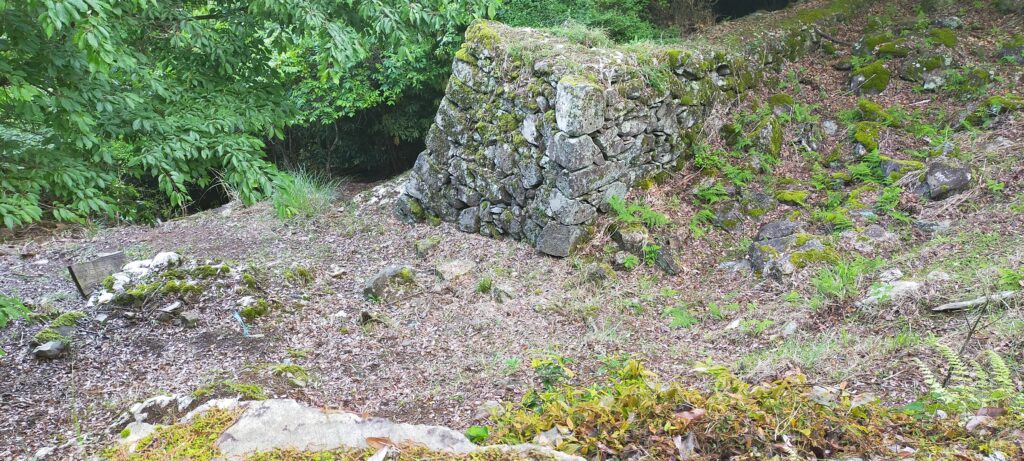
After visiting the ruins of Mito Castle, I realized that strong castles don’t always need stone walls. This was proven not only by the past battles, but also by the two dry moats being used for the current transportation. In addition, seeing the restored Main Gate and Corner Turret, I would like the city to restore the Three-level Turret as the Main Tower of the castle as well. This is because the 8 Main Towers, which had been burned down mostly during World War II, were restored except for that of Mito Castle. However, there is no plan for it yet.

A view of the earthen walls and the dry moat in front of the Second Enclosure from the Main Bridge
The explanation board of the Three-level Turret is at a different place from its original position

How to get There

If you want to visit there by car, it is about a 15 minutes drive away from Minami-Mito IC on the Kitakando Expressway or a 30 minutes drive away from Mito IC on the Joban Expressway. There is a parking lot beside the Main Gate.
By public transportation, it takes about 10 minutes on foot to get there from JR Mito Station.
From Tokyo to Mito Station: Take the Hitachi limited express at Tokyo Station.

The parking lot beside the Main Gate

That’s all. Thank you.
Back to “Mito Castle Part1”
Back to “Mito Castle Part2”

14.Mito Castle Part2

You can visit the castle ruins from Mito Station through the road which goes on the big valley between the left and right hills. Surprisingly, it is artificial.

Features

Dry Mort becomes Car Road

Today, the ruins of Mito Castle are easy to go to because JR Mito Station is nearby. There are roughly two routes from the station to the castle ruins. One is the path that involves climbing the slope to the Third Enclosure on the left hill and the other is the road which goes on the big valley between the left and right hills. Surprisingly, it is artificial. If you choose the latter one, you can see the scale of one of the former dry moats of the castle. You can also see the restored Corner Turret on firm earthen walls of the Second Enclosure on the right. You will eventually reach under the Main Bridge between these enclosures.

The aerial photo of the castle, the broken red line shows the route through the dry moat from Mito Station

The road through the valley which was the dry moat between the Second and Third Enclosures
The restored Corner Turret of the Second Enclosure
The spot under the Main Bridge

This is where Battle happened

You can climb the steep stairways from the bottom to the tops of the enclosures on both sides, which are about 12m high. In fact, this area is where the second battle between the Shosei and Tengu Parties happened. The Shosei Party tried to break the Main Gate but failed, so they stayed in the Kodokan domain school. The Tengu attacked and destroyed them. However, that resulted in most of the domain school’s buildings being burned down. Only its front gate and the other few buildings remain as a historical site and museum.

Climbing the steep stairway
The area around the Main Bridge
The front gate of the Kodokan domain school

Restored Main Gate

The Main Gate survived in the battle but was also burned down by an arson in the early Meiji Era. The current Main Gate was just restored back in 2020 as the same as it was in the traditional method. It is very large, which is about 10m high and 20m wide, and suitable for the front of the castle. One of its original features was to use tile walls which refer to being piled by roof tiles and clay alternating. This was completely restored in the current gate, which look very beautiful. In addition, some of the excavated original ones can be seen in the window below on the left side of the gate.

The restored Main Gate
The restored tile walls of the Main Gate
The excavated original tile walls can also be seen

Second Enclosure becomes School areas

The inside of the Second Enclosure had the Main Hall, the Three-level Turret and the Shokokan institute but has become school areas, which may follow the educational policy of the Mito Domain. The street going through the enclosure is along the white mud walls on both sides, which look as if castle buildings are still there. However, visitors are available to enter only the designated areas. For example, if you want to see a view of Nakagawa River to the north of the hill, you need to go and return to the same path. the view itself is good and you can understand the river was a natural hazard of the castle.

The map around the Second Enclosure, the broken red line shows the route to the observation platform and the broken blue line shows the route to the Corner Turret of the Second Enclosure

The central street of the Second Enclosure
The route to the observation platform in the north
A view of the Nakagawa River in the north

Similarly, you can see the interior of the Corner Turret by going through another but much longer single path.

The route to the Corner Turret
The Corner Turret seen from the inside of the Second Enclosure
The interior of the turret

To be continued in “Mito Castle Part3”
Back to “Miro Castle Part1”

192.Tsunomure Castle Part2

The path to the top becomes zigzagging and the highlight of the castle, the great Ano-zumi high stone walls appear soon.

Features

Third Enclosure as Parking lot

Today, the ruins of Tsunomure Castle have been developed by Kusu Town since they were designated as a National Historic Site in 2005. If you drive to the ruins, you can go from the foot of the mountain to the Third Enclosure at the middle of the slope through the paved forest road. However, please be careful when passing each other as the road is narrow. The Third Enclosure has become a parking lot which is still surrounded by stone walls. You can also see some collapsed stones lying around the enclosure. Some historians speculate that they came from the Climbing Stone Walls which the builder, Takamasa Mori might have brought and built from his experience of the invasion of Korea.

The map around the castle

The entrance of the forest road
The Third Enclosure became a parking lot
Some of the lying stones around the enclosure

Great Ano-zumi High Stone Walls

You will walk from the Third Enclosure to the center of the ruins above. You will also see some Vertical Moats made of soil on the slopes to prevent enemies from moving freely, which had been built before Takamasa came. That’s why the final version of the castle was mixed with the older and newer items. The path to the top becomes zigzagging and the highlight of the castle, the great Ano-zumi high stone walls appear soon. These stone walls made of natural stones and rubble, which remain for about 100m long by over 7m high, may look rough but were actually piled elaborately. You can feel the unique techniques of the past stone guild.

The vertical dry moats
Climbing the zigzagging path
The high stone walls
The stone walls, built in the Ano-zumi way, look so great

Going to Second Enclosure after passing Main Gate Ruins

You will next pass the Main Gate Ruins beside the current path, which had the defensive Koguchi entrance and its turret gate. The gate was also the entrance of the Well Enclosure, a lifeline of the castle. In fact, the gate was once called “the Back Gate” by local people and historians according to traditions, however, it is now considered “the Main Gate” as the studies about the castle improve. Please make sure that some of the official pamphlets and signboards still say it is the Back Gate. In that case, you need to understand it is actually the Main Gate.

The ruins of the Main Gate
A signboard still says it is the Back Gate Ruins, inside the red circle in Japanese

You will eventually walk up to the Second Enclosure, which is also surrounded by stone walls. The excavation team found stone foundations for some buildings in the enclosure. The enclosure also had the Western Gate Ruins, which had a gate with roof tiles and entrance, similar to the Main Gate. In addition, the gate was once called “the Main Gate”. Overall, the area above the Ano-zumi stone walls below the second enclosure was certainly modernized by Takamasa Mori.

Going to the Second Enclosure
The stone walls of the Second Enclosure
The inside of the Second Enclosure
The ruins of the Western Gate

To be continued in “Tsunomure Castle Part3”
Back to “Tsunomure Castle Part1”