17.Kanayama Castle Part3

This castle might have become more popular.

Features

Living and Religious places in Castle

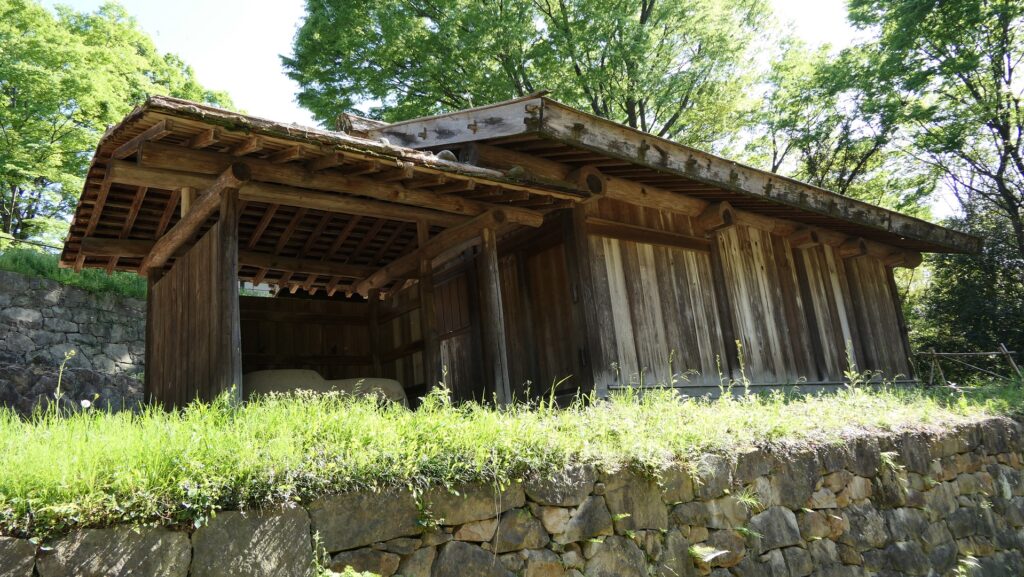
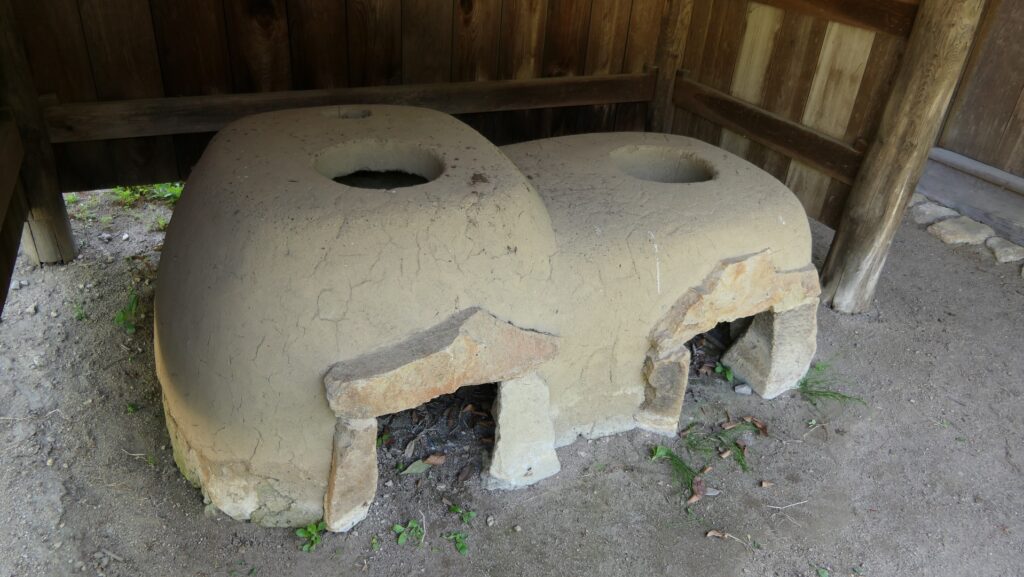
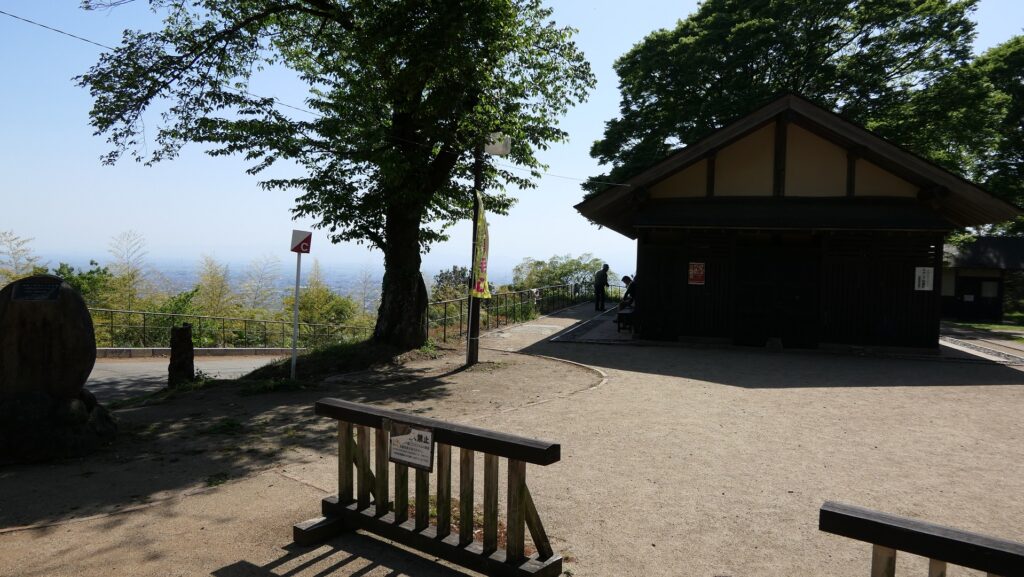
The enclosures on the upper tiers were used as another pivot point as well as a place for living. The team found traces of kitchen stoves and a well, which were restored with a hut on the Southern Upper Tier Enclosure at the same time as the stone walls. The Southern Enclosure on the top of the tiers is used as the rest house, which is another viewing spot.

The map of the main portion of the castle

The restored hut on the Southern Upper Tier Enclosure
The restored kitchen stoves in the hut
The Southern Enclosure and the rest house on it
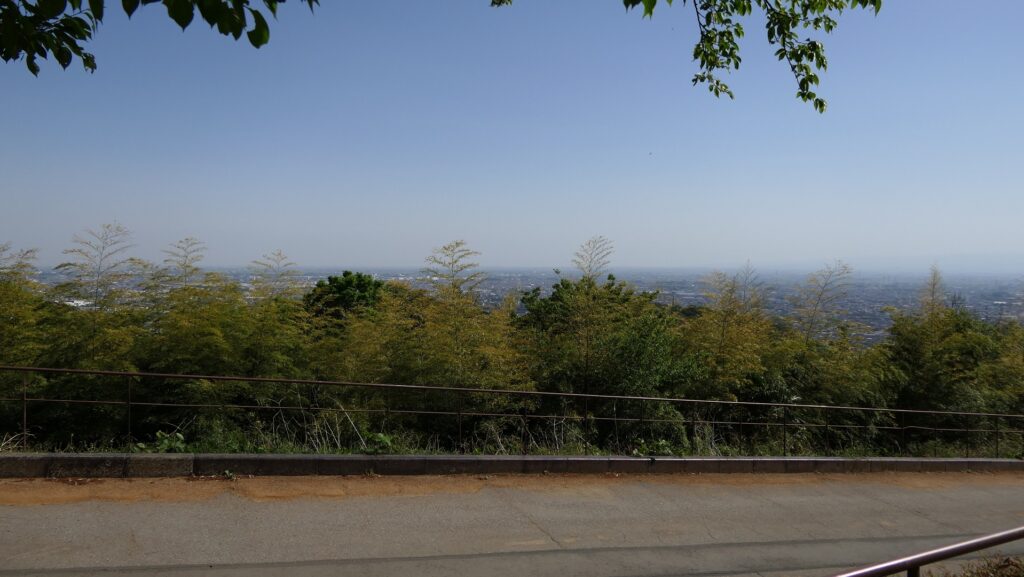
A view from the Southern Enclosure

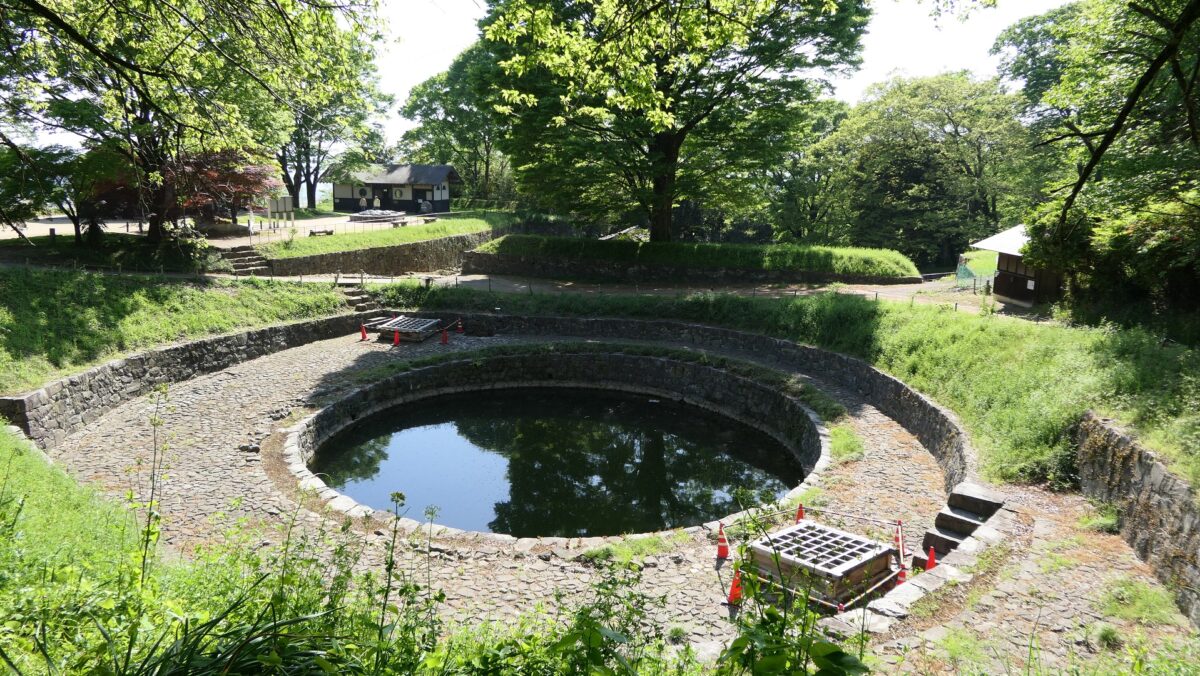
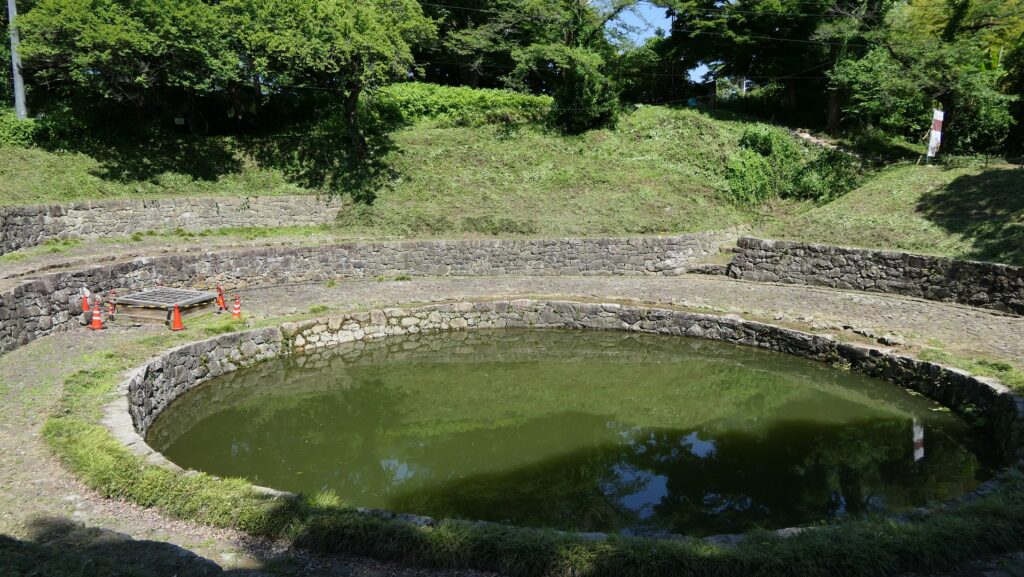
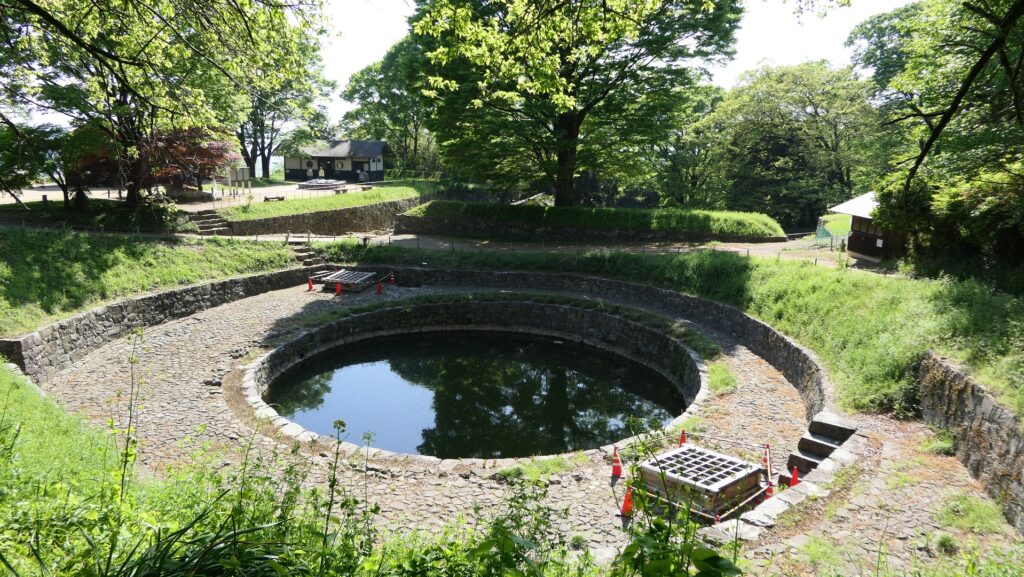
To reach the Main Enclosure on the top of the mountain, you will pass and see a larger pond being covered with stone mounds as well, called Hi-no-ike or the Sun Pond. This is actually not a reservoir but a well, which had been famous as a holy place since the Ancient Times before the castle was built. That’s why people in the castle used it for religious services.

The Sun Pond
The Sun Pond viewed from above

Main Enclosure is used as Shrine

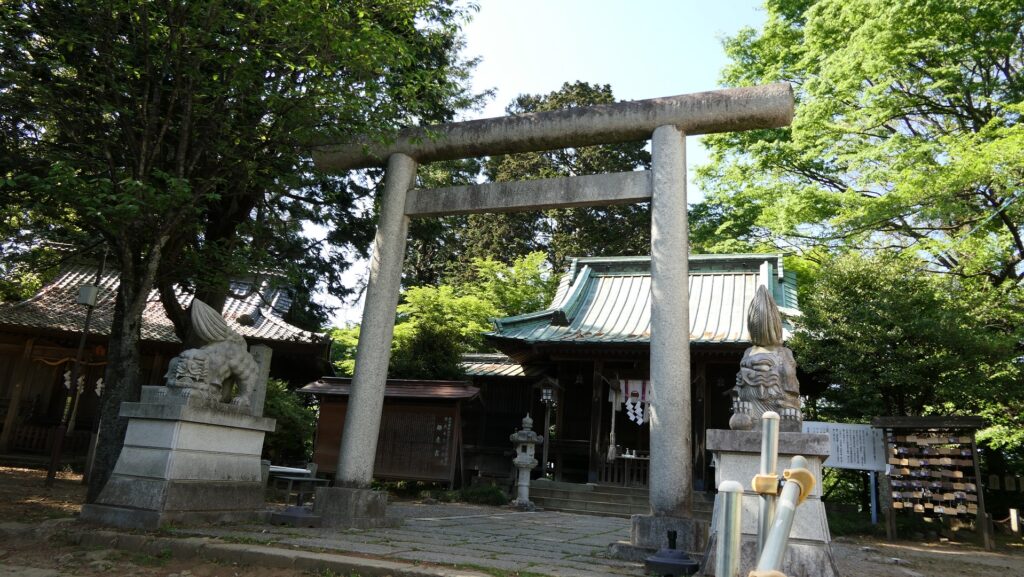
Around the top of the mountain is the Main, Second, Third Enclosures, but you can not access the two of the latter because they are privately owned. You will eventually go to the Main Enclosure on the top, which is now used as Nitta Shrine. As for the castle ruins, you can walk around the enclosure, called Musha-bashiri or the Defense Passage, and see the partially remaining original stone walls which are also uncertain as to who first built them.

The Second Enclosure is not allowed to enter
Nitta Shrine in the Main Enclosure
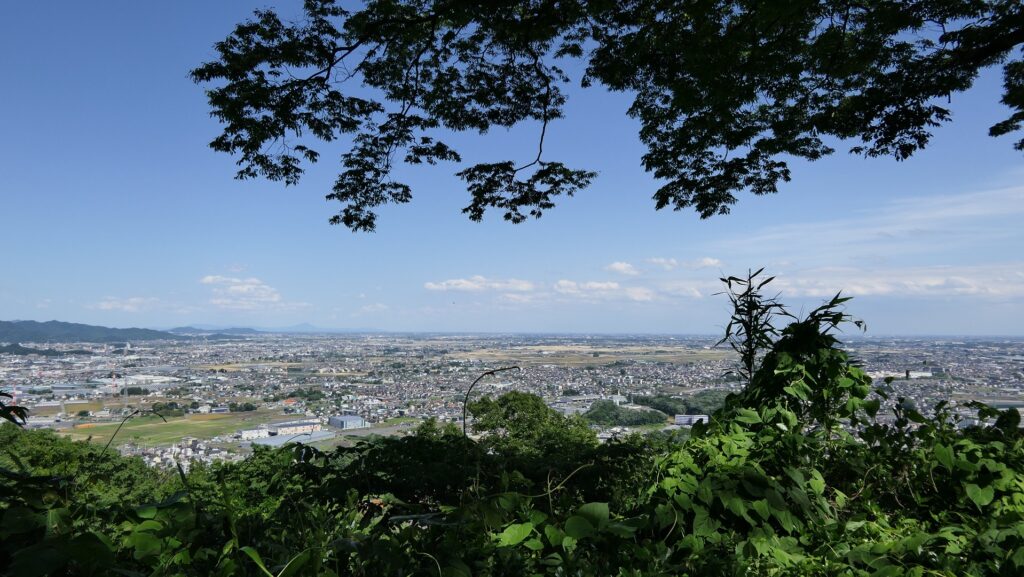
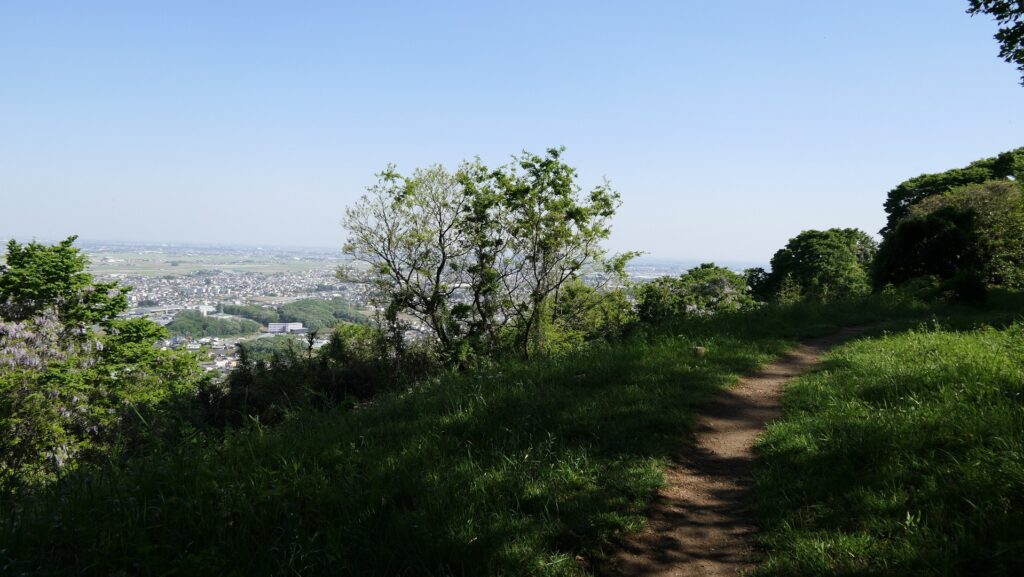
A view from the Main Enclosure
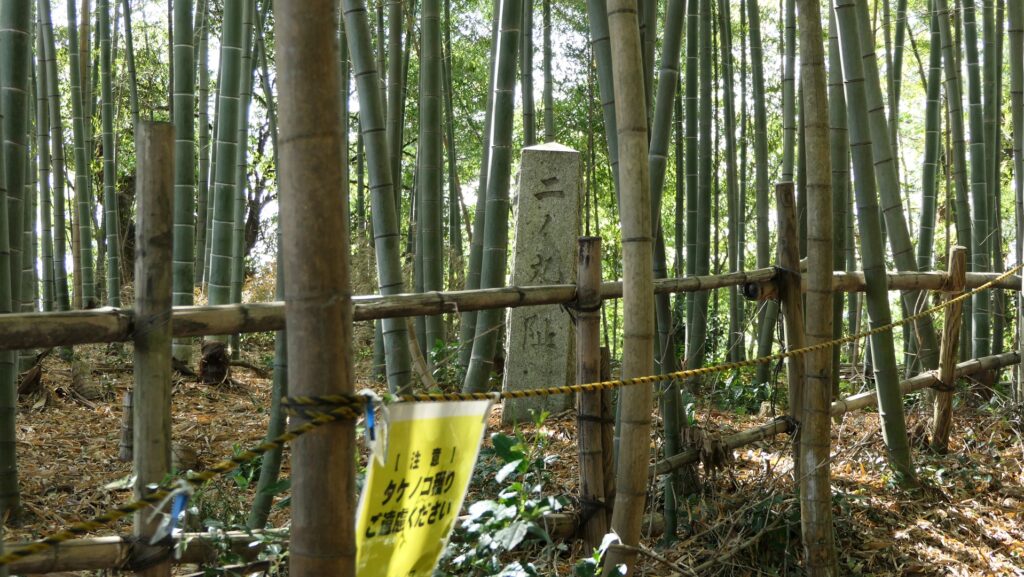
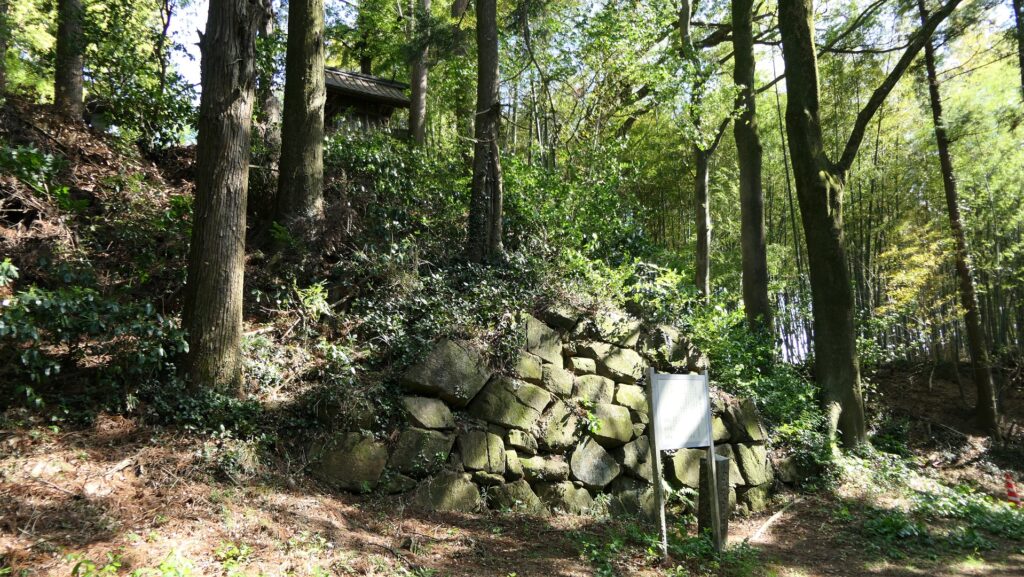
The remaining stone walls behind the Main Enclosure
The Defense Passage around the Main Enclosure

Later History

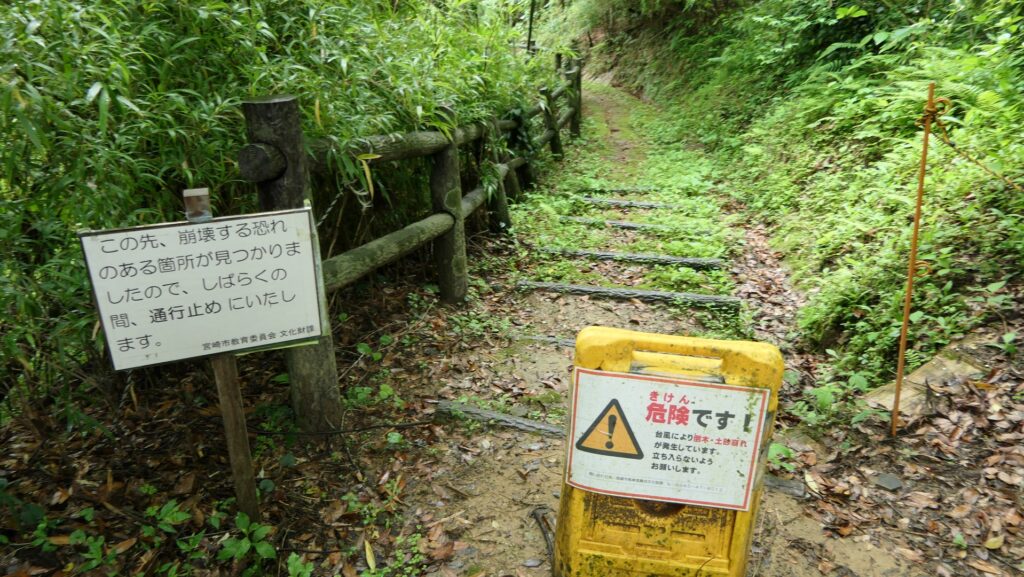
After Kanayama Castle was abandoned, the Tokugawa Shogunate banned people from entering its mountain area to provide Matsutake mushroom to the shoguns during the Edo period. In fact, the Matsutake produced at the mountain was served to the Imperial Families until 1964.

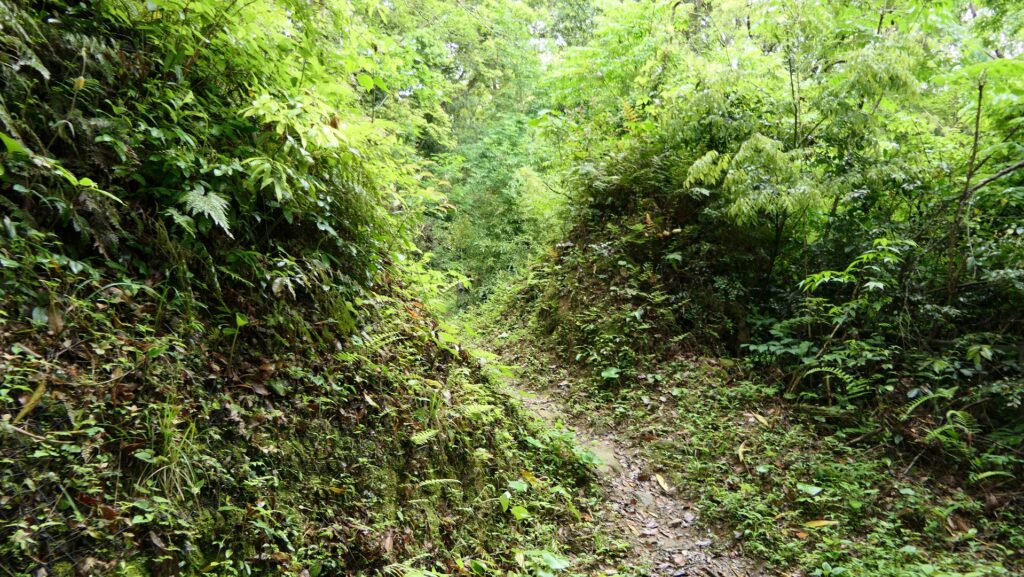
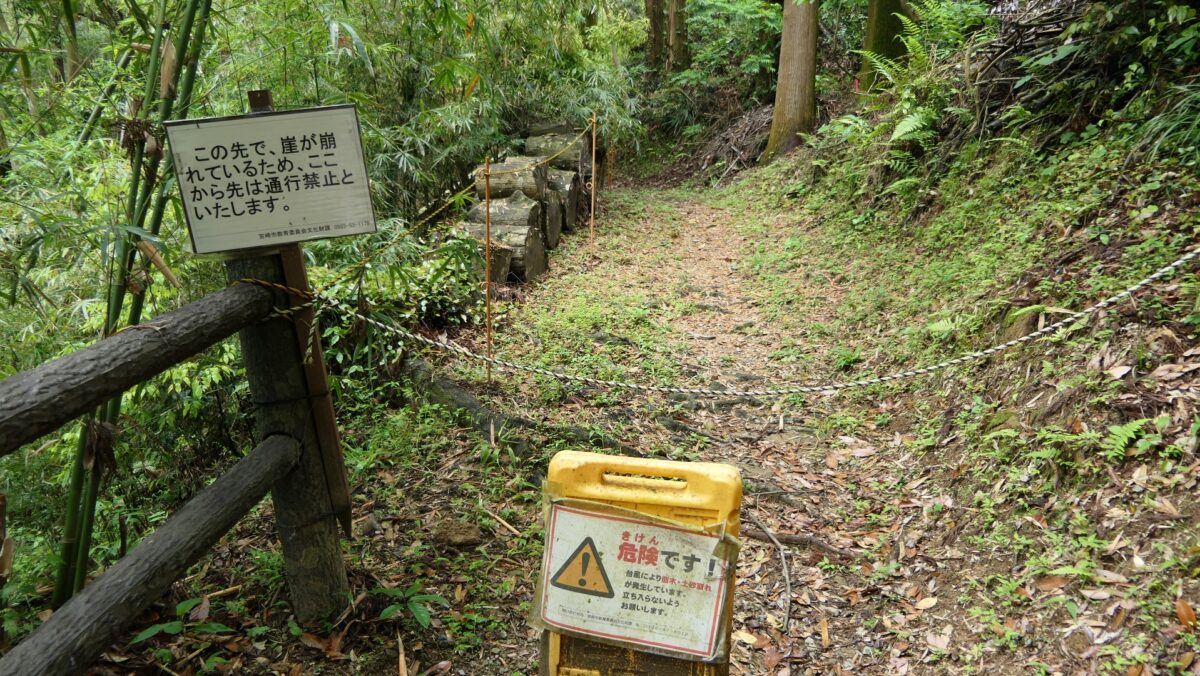
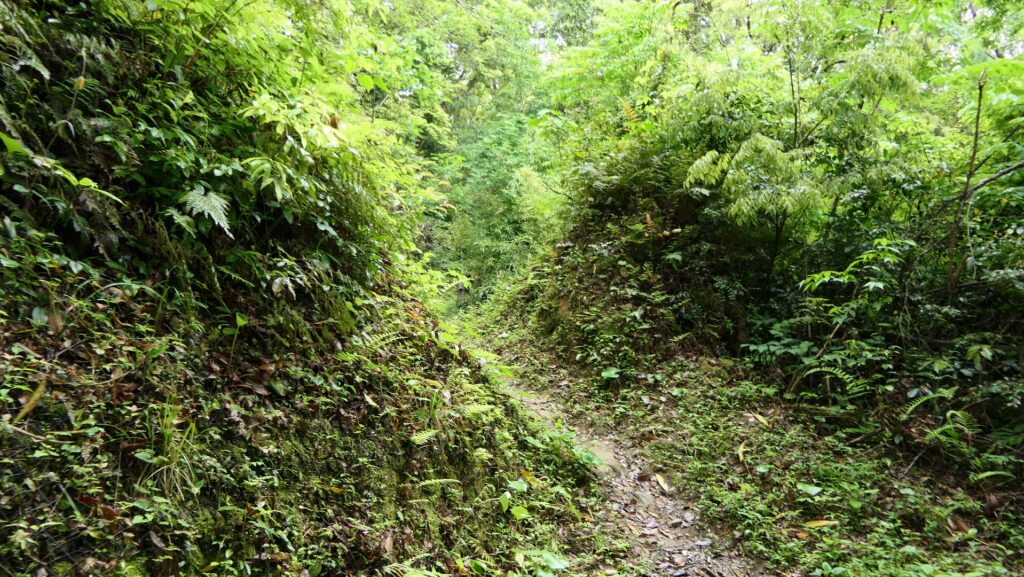
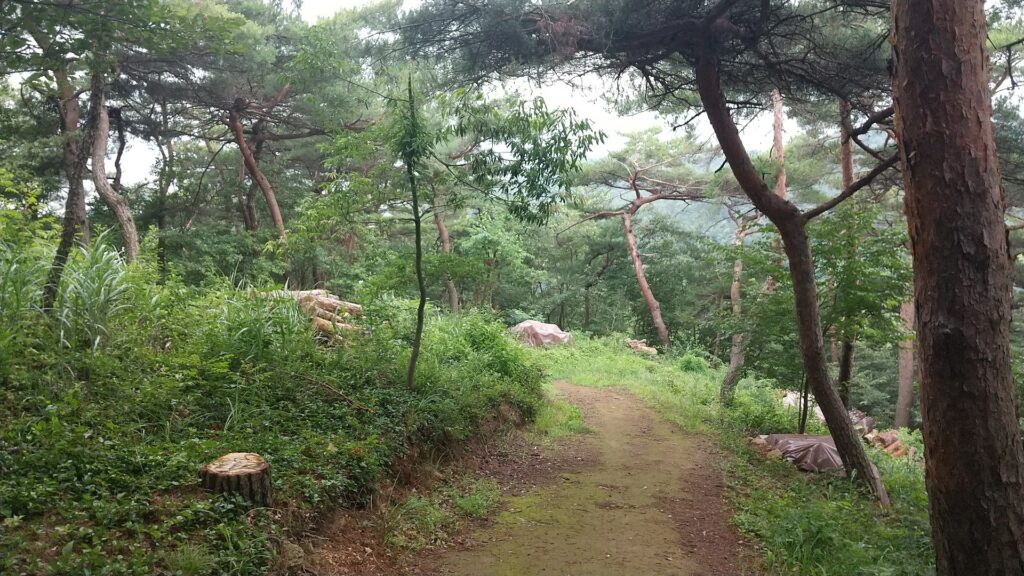
A view of the Eastern hiking course, there are still Japanese red pines that could provide Matsutake mushroom, but they can’t produce it now because of aging

The shogunate also conserved the former area of the Nitta Manor by building religious facilities such as Serada Toshogu Shrine, Kinryuji and Daikoin Temples as they had declared the shoguns were a branch of the Nita Clan, which meant they were descendants of the Minamoto Clan. Even the shogunate needed the authority to govern the whole country. As for castle ruins, Kanayama Castle ruins were designated as a National Historic Site in 1934. Ota City has been excavating and developing them as a historical site since 1995.

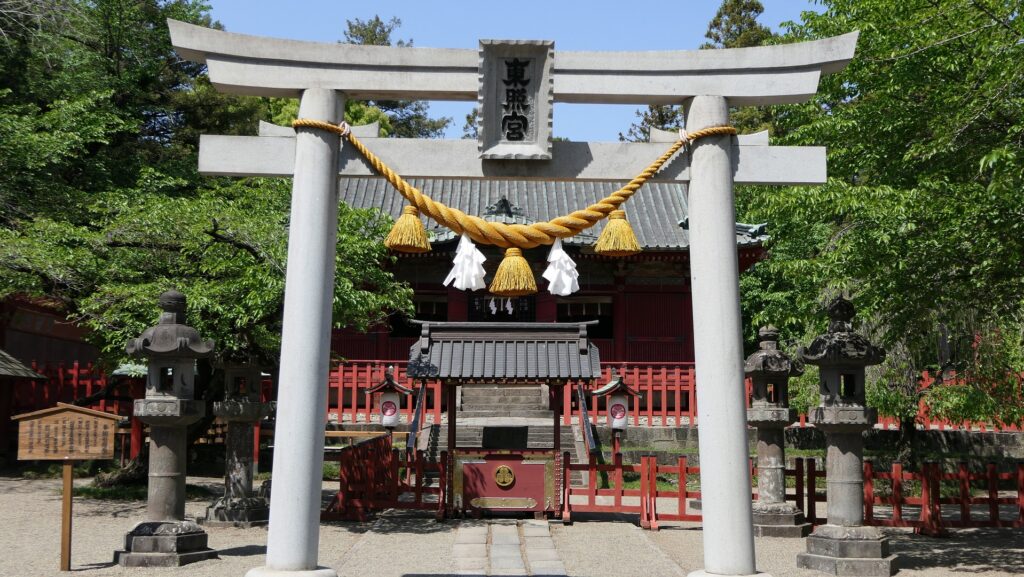
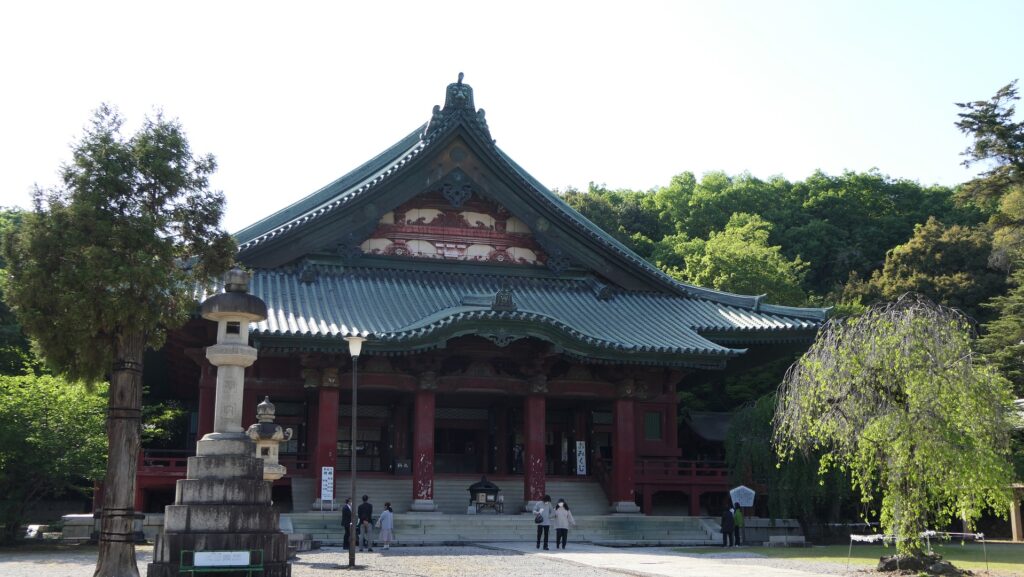
Serada Toshogu Shrine
Kinryuji Temple
Daikoin Temple

My Impression

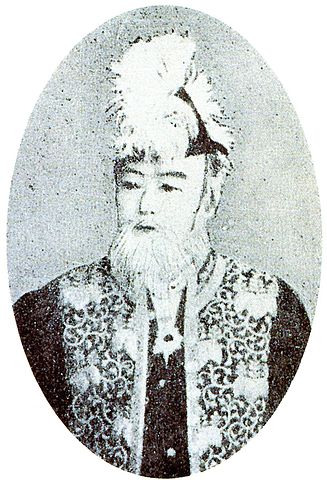
When the Yura Clan was banished from Kanayama Castle, only the lord’s mother, Myoinni was against the idea of Hojo Clan keeping the castle. Even after she gave it up, she joined Maeda’s troops to attack the Hojo Clan in 1590 when she was already 77 years old. That caused the Yura Clan to survive while the Hojo Clan to decline in the end. I guess if she and the Yura Clan could still stay in the strong Kanayama Castle even with only a few defenders, there might have been a dramatic event at the castle when Hideyoshi invaded the Kanto Region like Nagachika Narita fought with Mitsunari Ishida at Oshi Castle.

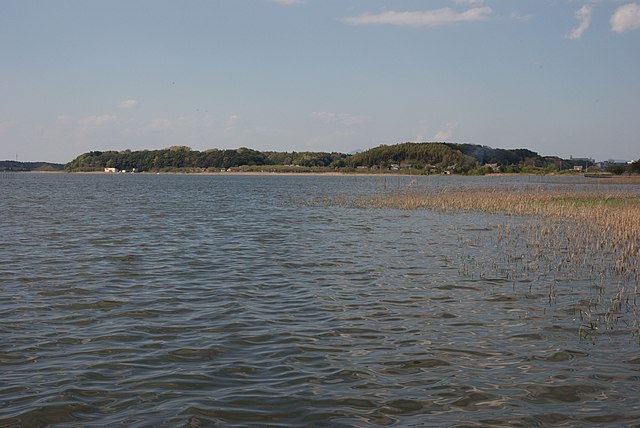
The ruins of Ushiku Castle  (licensed by Monado via Wikimedia Commons)
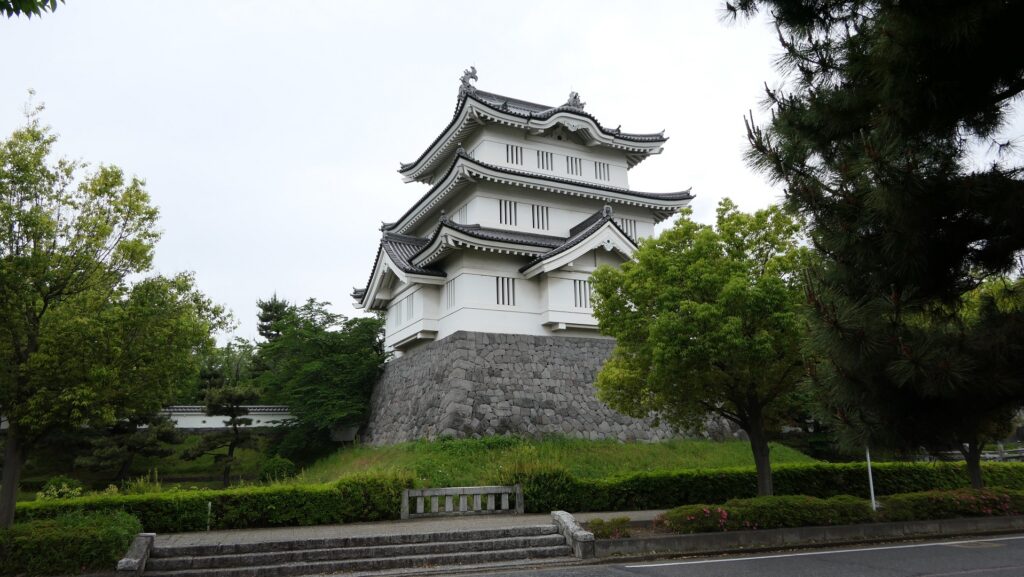
The ruins of Oshi Castle

How to get There

I recommend using a car when you visit the castle ruins because there are no buses that go directly to the ruins available. It is about a 10-minute drive away from Ota-Kiryu IC on the Kita-Kanto Expressway. There are several parking lots at the foot, halfway up, and at the top of the mountain.
If you want to use public transportation, it takes around 1 hour from Ota Station. It would be better to take a taxi from the station.
From Tokyo to Ota Station: Take the JR Ueno-Tokyo Line from Tokyo Station and transfer to the Ryomo limited express on the Tobu Isesaki Line at Kitasenju Station.

That’s all. Thank you.
Back to “Kanayama Castle Part1”
Back to “Kanayama Castle Part2”

198.Chiran Castle Part3

Very impressive castle to me

Features

Stronger Defense of Main Enclosure

The group of the Main and Kuranjo Enclosures on the right are even more defensive. If you want to go there, you will find the group has two tiers. You will need to pass the first Masugata entrance and reach the first tier before going to the two tops of these enclosures. Each enclosure also has the same defense system as the Imanjo Enclosure mentioned above, which meant enemies had to break the double Masugata entrances.

The layout drawing of Chiran Castle, quoted by Minami-Kyushu City, the route to the Main and Imanjo Enclosures (the red arrows)

The inside of the Main Enclosure is also empty where only the stone monument of the castle stands. The Kuranjo Enclosure is the place where the excavation for the castle was mainly done recently. The excavation team found earthen foundations of some buildings and lots of relics such as pottery and porcelain imported from China and Thailand, and used when the castle was active. That’s why partially restored columns of the buildings are exhibited on the ground there. Unfortunately, views from the enclosures are not good because of the trees and bushes around. It may be difficult for the officials to develop them as a view spot due to the fragile natural terrain.

The inside of the Main Enclosure  (licensed by Mizushimasea via Wikimedia Commons)
The inside of Kuranjo Enclosure, quoted from the website of Minami-Kyushu City
Some of the excavated relics of Chinese ceramic-ware, from the signboard at the site

Later History

During World War II, Chiran Castle Ruins were used for air-raid shelters by digging into their cliffs. As for the castle ruins, the excavation started in 1992, which found the original moats, the Masugata entrances, some building foundations, and lots of relics. As a result, the ruins were designated as a National Historic Site in 1993. In addition, the excavation re-started again in 1998 before the Kuranjo Enclosure was developed for preservation and exhibition in 2005.

The signboard at the entrance of the castle ruins

My Impression

I didn’t know about Chiran Castle at all before my visit to the ruins. I was really surprised to see that the castle had been built using the special conditions the area had. I think this is one of ancestors’ wisdom we should respect. This is also one of the reasons that I love visiting castles and ruins. In addition, I have actually deleted all my photos of the ruins in my camera accidentally except for few ones in my smartphone. I usually write my castle-visiting articles based on my photos. However, this time, I managed to write my article of Chiran Castle using my strong impressions from some books, leaflets and other website articles.

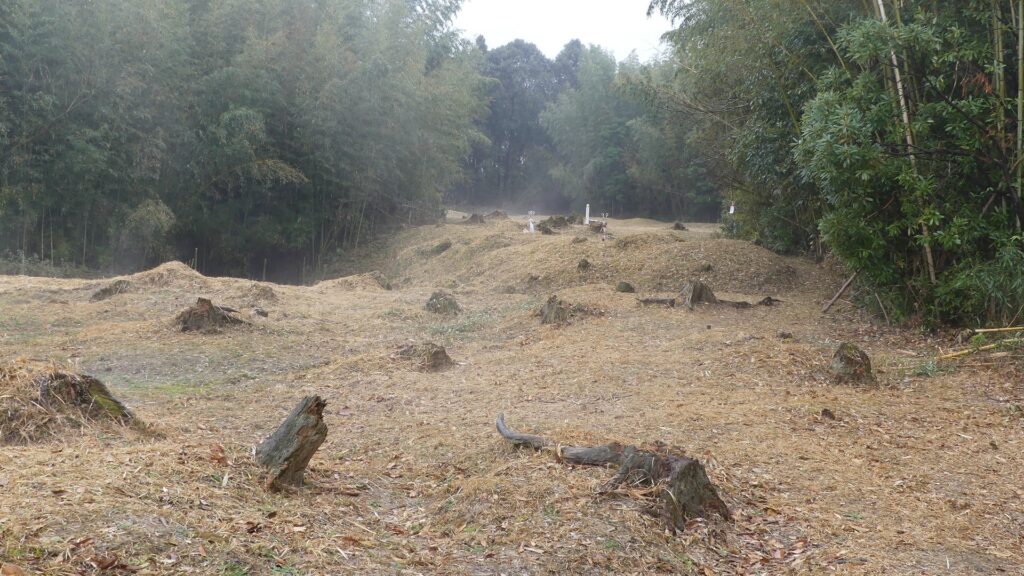
The ruins of Chiran Castle
The ruins of Sadowara Castle, another example of castles which were built on the Shirasu Plateau

How to get There

If you want to visit the castle ruins by car, it is about a 20 minute drive away from Chiran IC on the Ibusuki Sky Line. There is a parking lot around the ruins’ entrance.
If you want to use public transportation, you can take the Kagoshima Kotsu Bus bound for Chiran at the East No.16 platform in front of Kagoshima-chuo Station and get off at the Nakagori bus stop (for those who visit the ruins from the Chiran Samurai Residences side) or the Tokko-Kannnon-Iriguchi bus stop (for visiting them from the former Chiran Airport side). It takes about 20 minutes on foot to get there either form these bus stops.
From Fukuoka to Kagoshima-chuo Station: Take the Kyushu Shinkansen super express.
From Tokyo to Kagoshima-chuo Station: Take the express bus from Kagoshima Airport after using a plane.

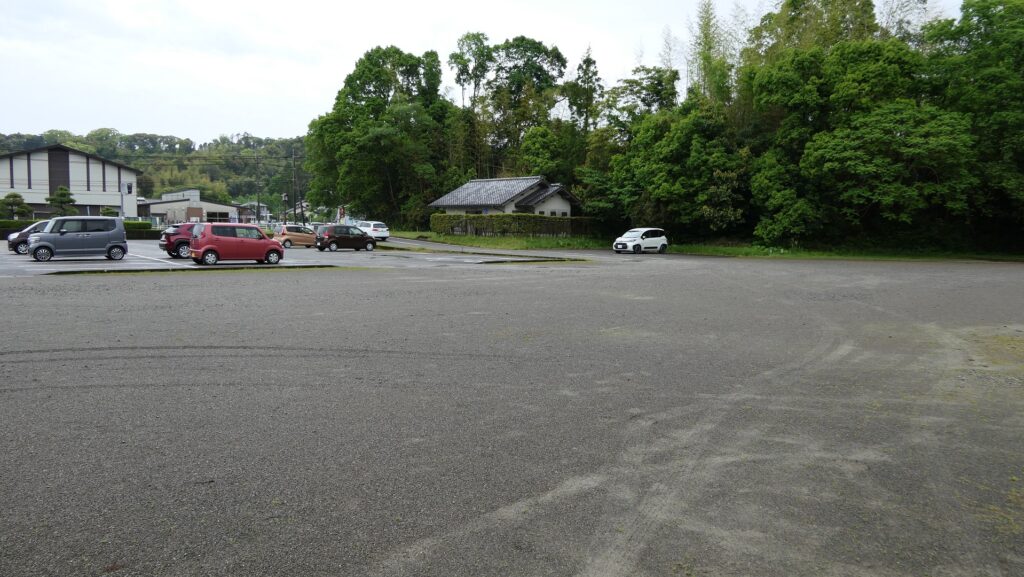
The parking lot at the castle ruins
The Nakagori bus stop

That’s all. Thank you.
Back to “Chiran Castle Part1”
Back to “Chiran Castle Part2”

198.知覧城 その3

この城から強い印象を受けました。

特徴、見どころ

より強力な本丸の防御力

右側の本丸と蔵ノ城のグループは更に防御が強力でした。そこに行ってみると、この曲輪群は2段構成になっていることがわかります。まず、第1の桝形を通り過ぎ、下段部分に着きます。そこから2つの曲輪の頂上部分に進んでいきます。それぞれの曲輪は、前段落で述べたような、今城と同じ防御の仕組みになっていました。敵は、2つの桝形の入口を突破しなければなりません。

南九州市ホームページの知覧城縄張り図に、本丸、蔵ノ城へのルート(赤矢印)を追記

本丸の内部は、同じように空地になっていて、知覧城の石碑が立っているだけです。蔵ノ城は、城に関する最近の発掘調査が主に行われた場所です。発掘の結果、何らかの建物の土造りの基礎と、中国やタイから輸入された陶磁器の大量の破片が見つかっています。そのために、地面の上に建物の柱が部分的に復元展示されています。木々や茂みのため、残念ながら曲輪からの視界はよくありません。この城のもろい地盤からなる自然条件を考えると、景観を改善するための整備は難しいかもしれません。

本丸の内部  (licensed by Mizushimasea via Wikimedia Commons)
蔵ノ城の内部、南九州市ホームページより引用
現地で発掘された中国製陶磁器の破片、現地説明版より

その後

第二次世界大戦の間、知覧城跡は崖に穴を掘ることにより防空壕として使われていました。城跡としては、1992年に発掘調査が始まりました。それにより、元からあった空堀、桝形、建物の基礎、その他多くの遺物が見つかりました。その結果、1993年には国の史跡に指定されました。更には1998年に発掘が再開され、2005年には蔵ノ城で、遺跡保存と現地展示のための整備が行われました。

城跡入口にある案内板

私の感想

この城跡に行く前には、知覧城のことは全く知りませんでした。行ってみると、この地域特有の自然条件を生かしてこのような城が築かれたことに大変驚きました。これは先人の知恵であり、尊敬すべきことです。こういうことに出会えることが、城巡りの醍醐味の一つでもあります。蛇足ですが帰ってきてから、スマホで撮っていた僅かの分を残し、カメラで撮った全ての写真を誤って消去してしまいました。通常私は自分で撮った写真を見ながら城の記事を書くのですが、今回はこの知覧城の記事を、本、パンフレット、他のウェブサイトを見ながらなんとか仕上げることができました。それはこの城から受けた強い印象が残っていたからです。

知覧城跡
佐土原城跡、シラス台地に築かれた城の一例

ここに行くには

車で行く場合:指宿スカイラインの知覧ICから約20分かかります。
城跡の入口周辺に駐車場があります。
公共交通機関を使う場合は、鹿児島中央駅前の東16番バス乗り場から、知覧行きの鹿児島交通バスに乗り、知覧武家屋敷側から城跡に行かれる方は中郡バス停で、旧知覧飛行場側から行かれる方は特攻観音入口バス停で降りてください。それぞれのバス停から歩いて約20分かかります。
福岡から鹿児島中央駅まで:九州新幹線に乗ってください。
東京から鹿児島中央駅まで:飛行機で鹿児島空港に行き、高速バスに乗ってください。

城跡にある駐車場
中郡バス停

リンク、参考情報

国指定史跡 知覧城跡、鹿児島県南九州市
・「戦国の山城を極める 厳選22城/加藤理文 中井均著」学研プラス
・「よみがえる日本の城18」学研

これで終わります。ありがとうございました。
「知覧城その1」に戻ります。
「知覧城その2」に戻ります。