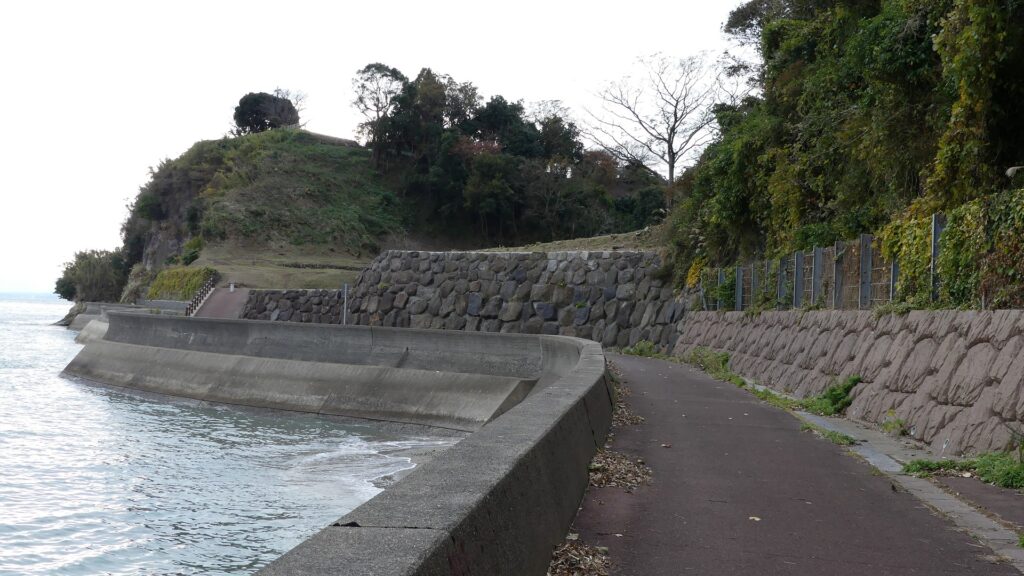
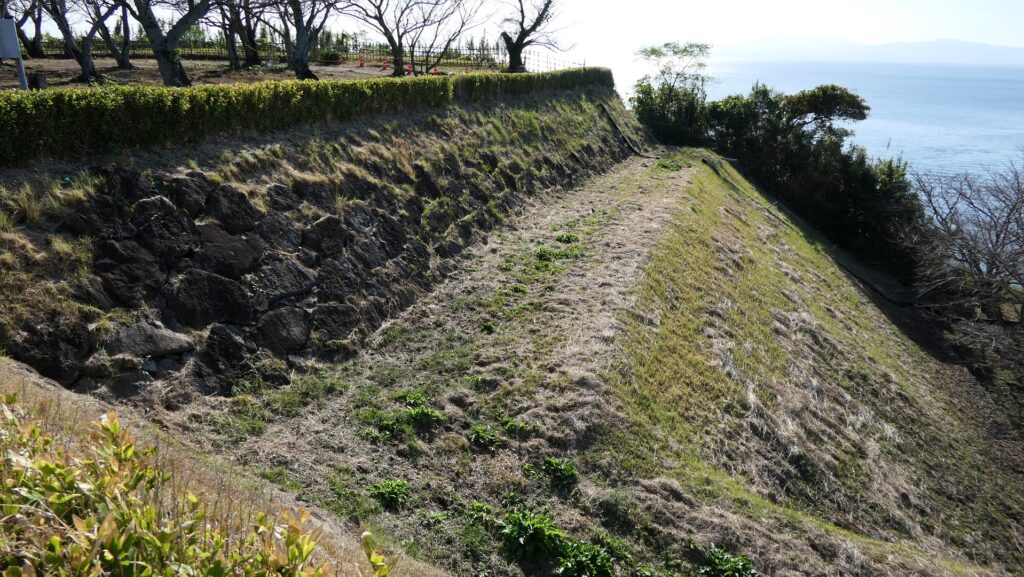
You can also walk on the promenade along the seaside from the parking lot and look up at the steep natural cliff under the Second Enclosure. Surprisingly, this cliff was created by the great pyroclastic flow from Mt. Aso over Ariake Sea about 90,000 years ago.
The promenade along the seasideThe steep cliff under the Second EnclosureThe cliff of the Main Enclosure
Later History
After the Shimabara Rebellion, the shogunate settled Buddhist farmers in the Shimabara Peninsula. That’s why there have been very few Christians in the area until now. The ruins of Hara Castle were designated as a National Historic Site in 1938. However, the details of the castle have recently been revealed since the excavation started in 1990. As a result, they have been on the World Heritage List as Hidden Christian Sites in the Nagasaki Region since 2018.
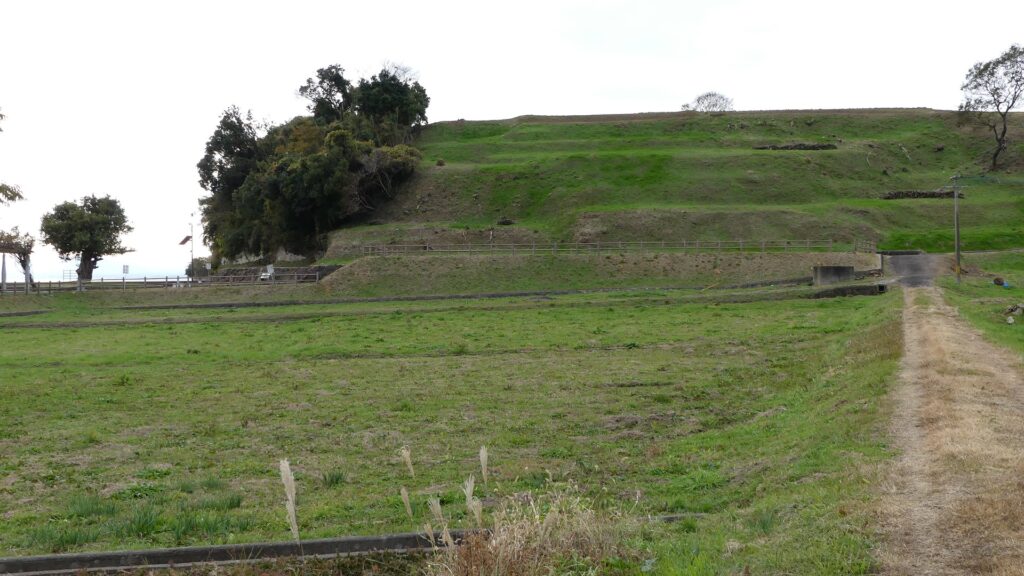
The stone walls of the Main EnclosureThe Second Enclosure on the hill
My Impression
After the Shimabara Rebellion, it is said that the governance of the lords under the shogunate became relatively gentle and they sometimes overlook underground Christians who were harmless. I think the precious sacrifice of the uprising people in the Shimabara Rebellion was not for nothing. Many details about the rebellion and Hara Castle are still unknown, so I hope that the facts of them will become clearer little by little in the future.
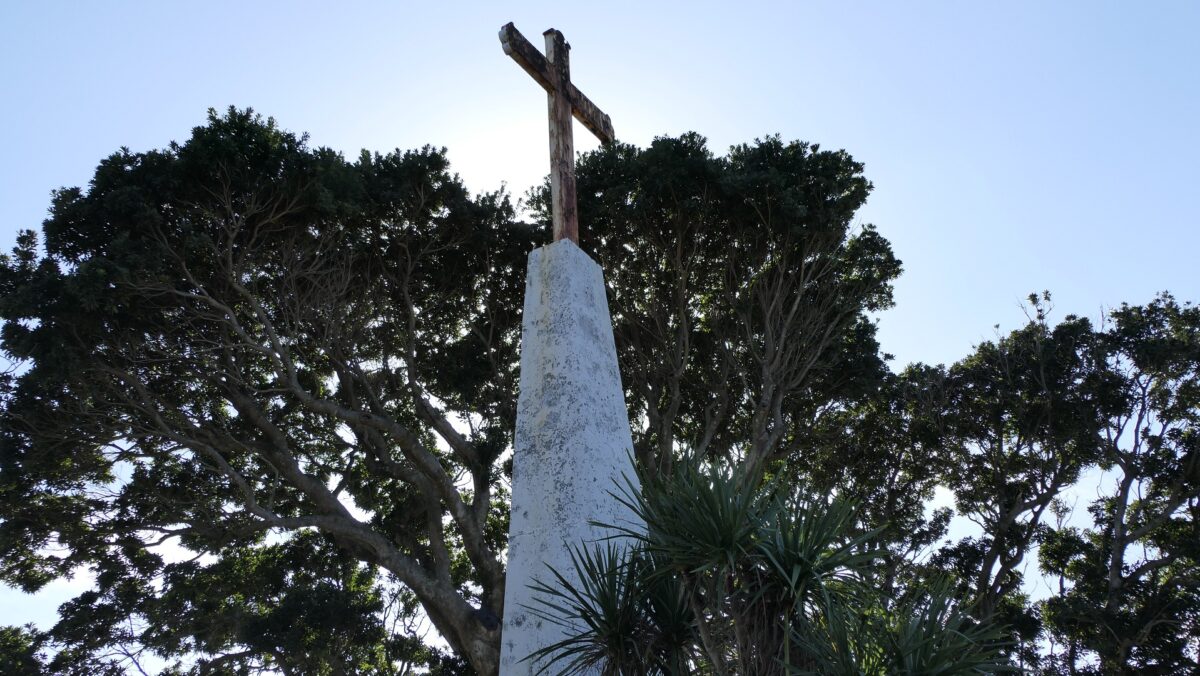
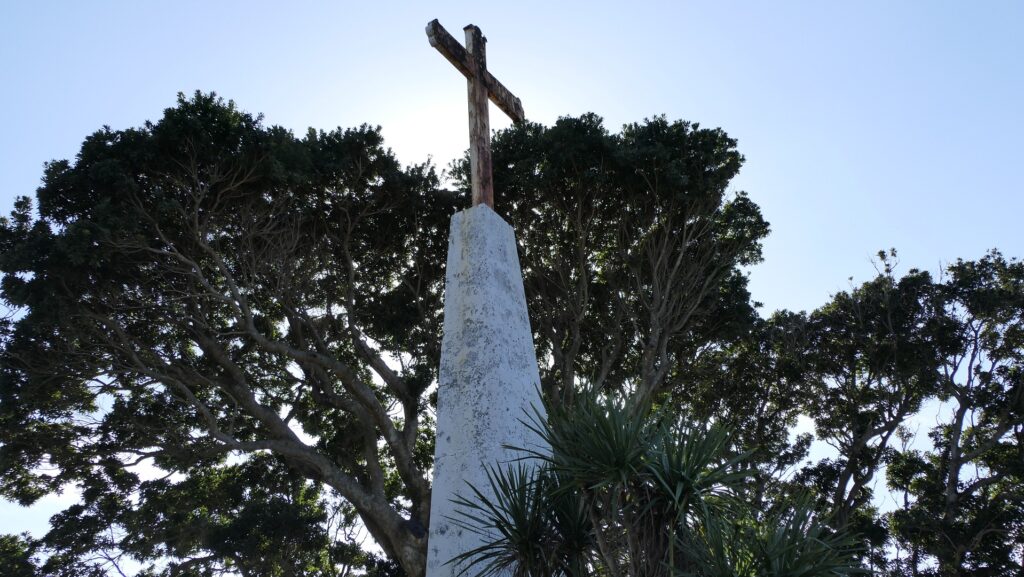
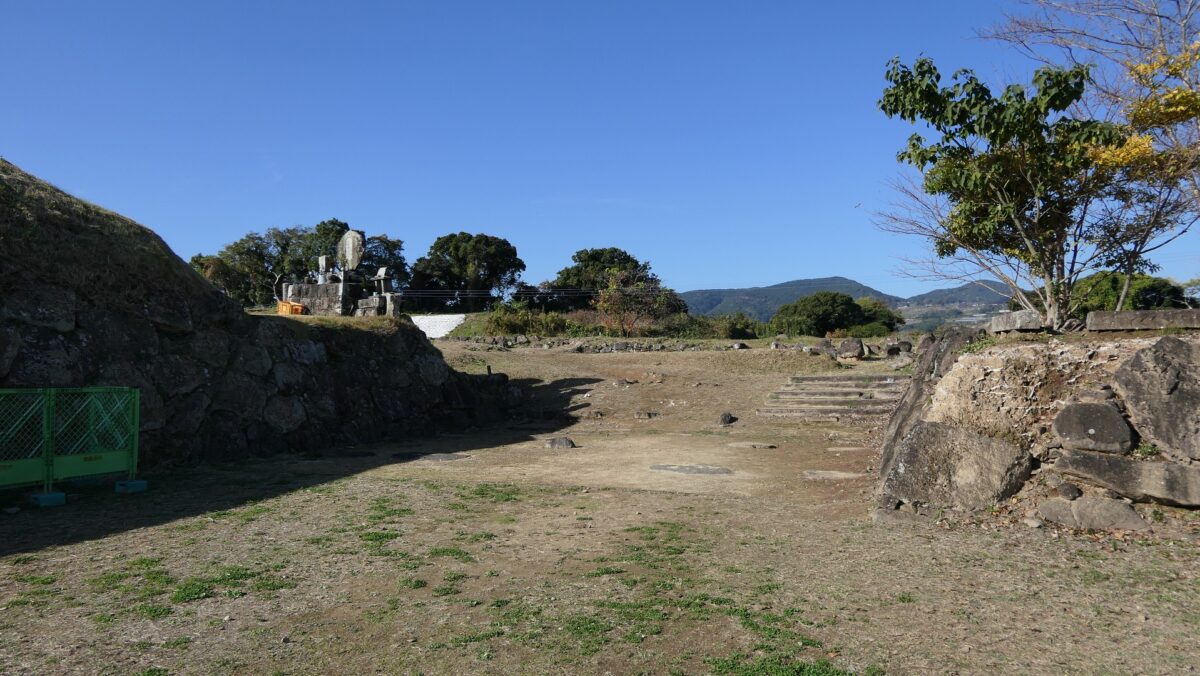
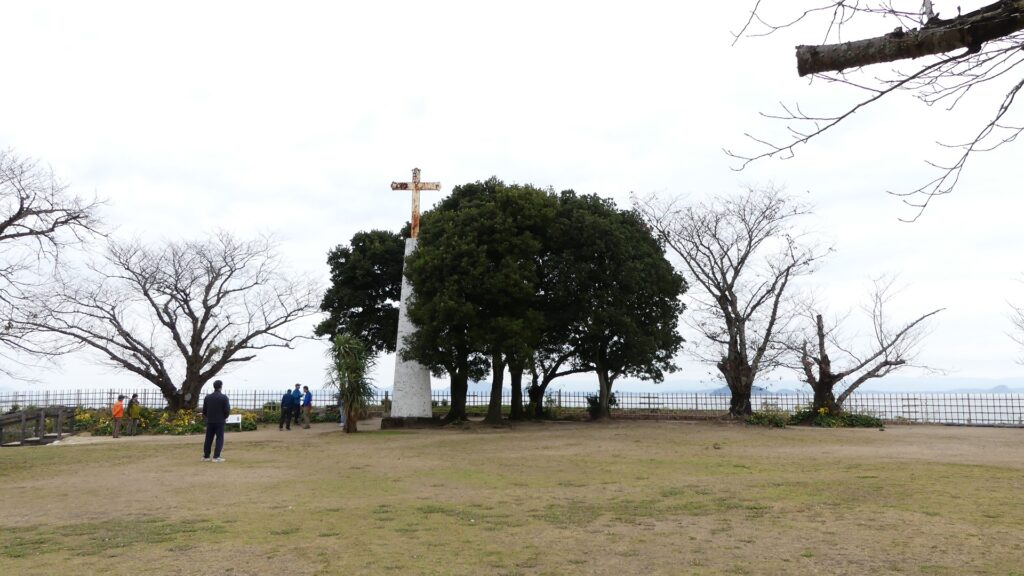
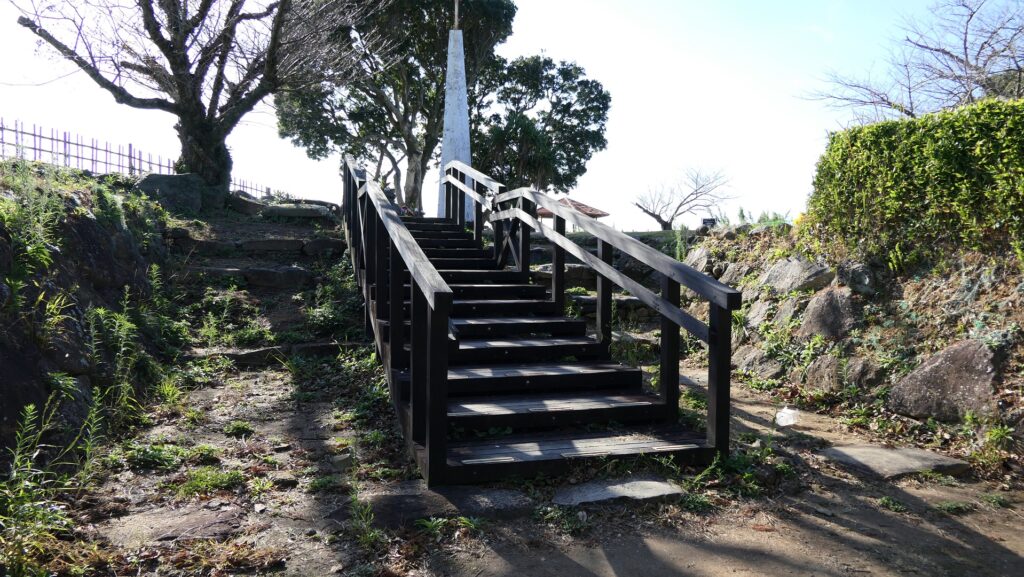
The ruins of the Turret base at the Main EnclosureThe cross-shaped monument at the Main Enclosure
How to get There
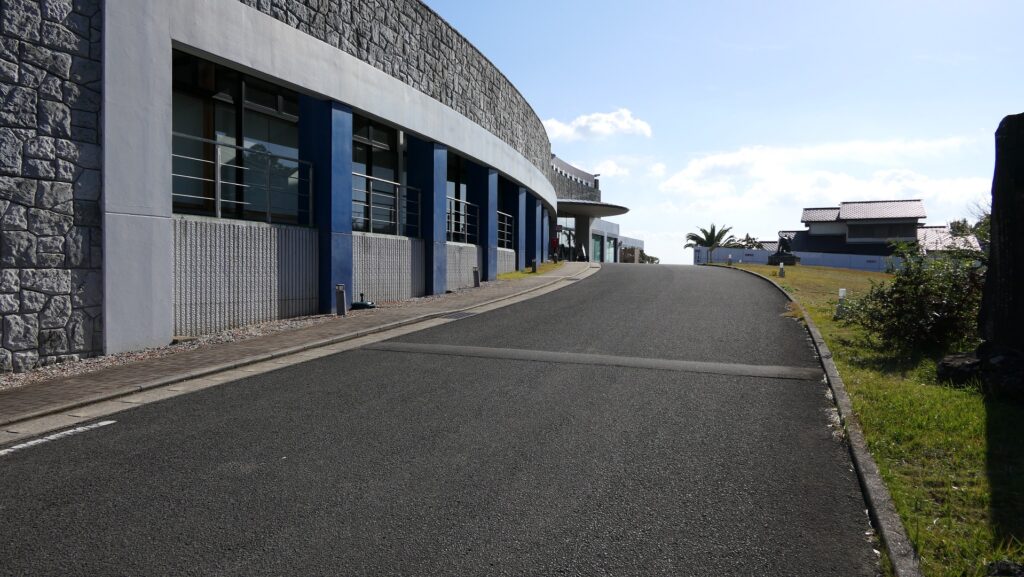
If you want to visit the ruins by car, it is about 75 minutes away from Nagasaki IC on the Nagasaki Expressway. You can park in the parking lots for visitors beside a spa facility called Harajo Onsen Masago. If you want to use public transportation, you can take the Shimatetsu Bus from Shimabara Station on the Shimabara Railway and get off at the Harajo-mae bus stop. If you go there from Tokyo or Osaka, I recommend going to Nagasaki Airport by plane. After that, you can take the shuttle bus to Isahaya Station and transfer to the Shimabara Railway at the station.
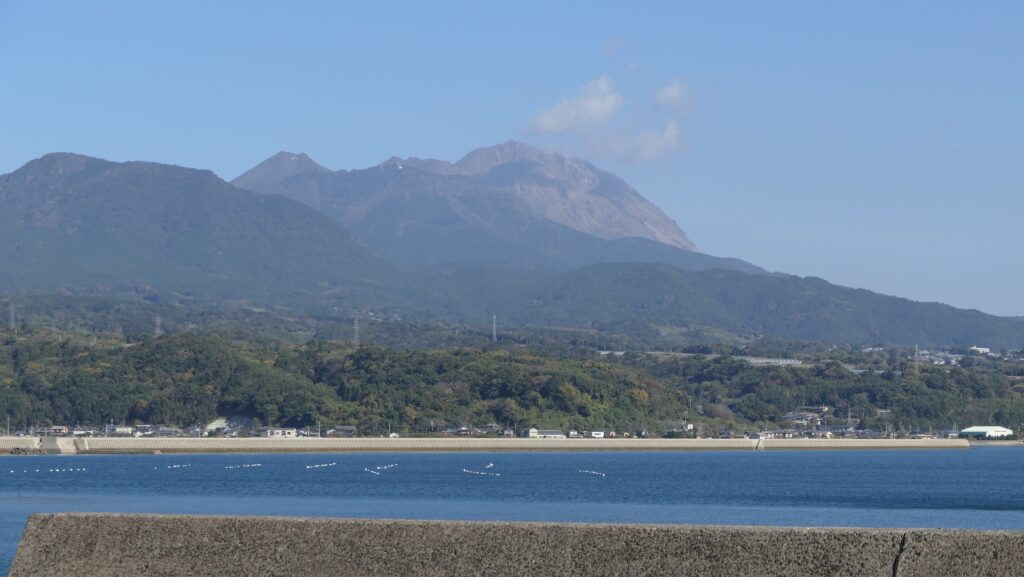
The spa facility called Harajo Onsen MasagoA view of Mt. Unzen from around the parking lot
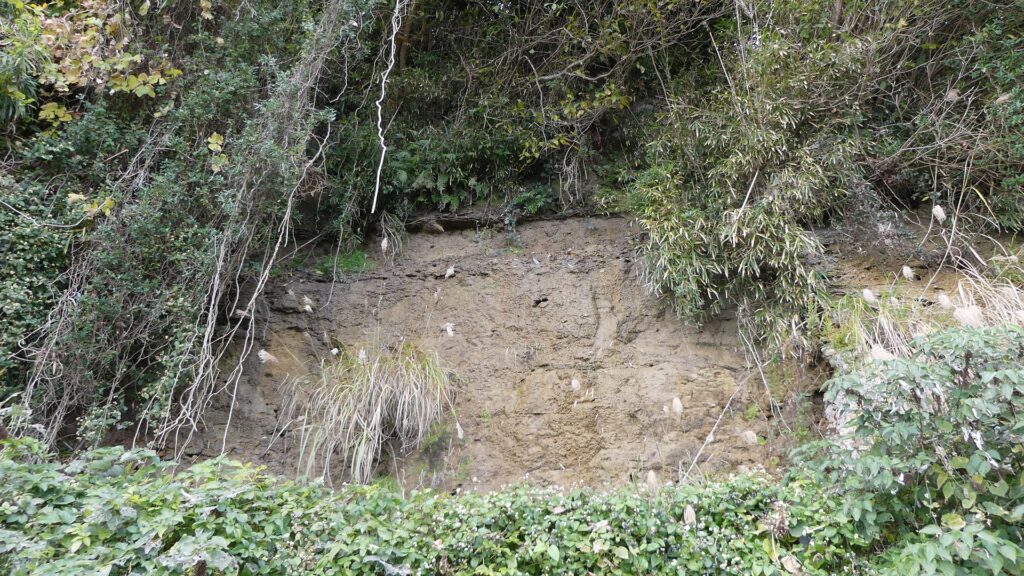
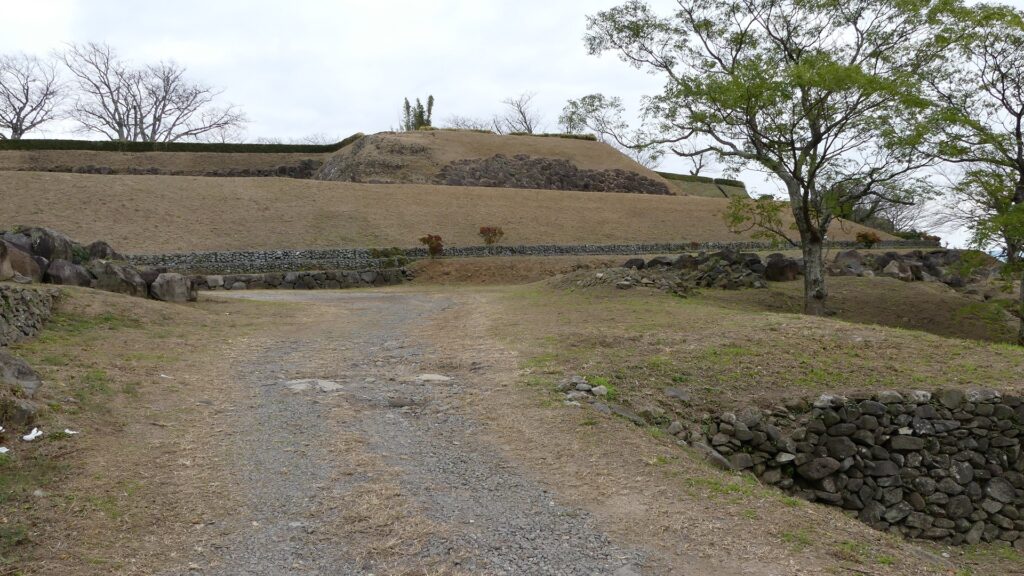
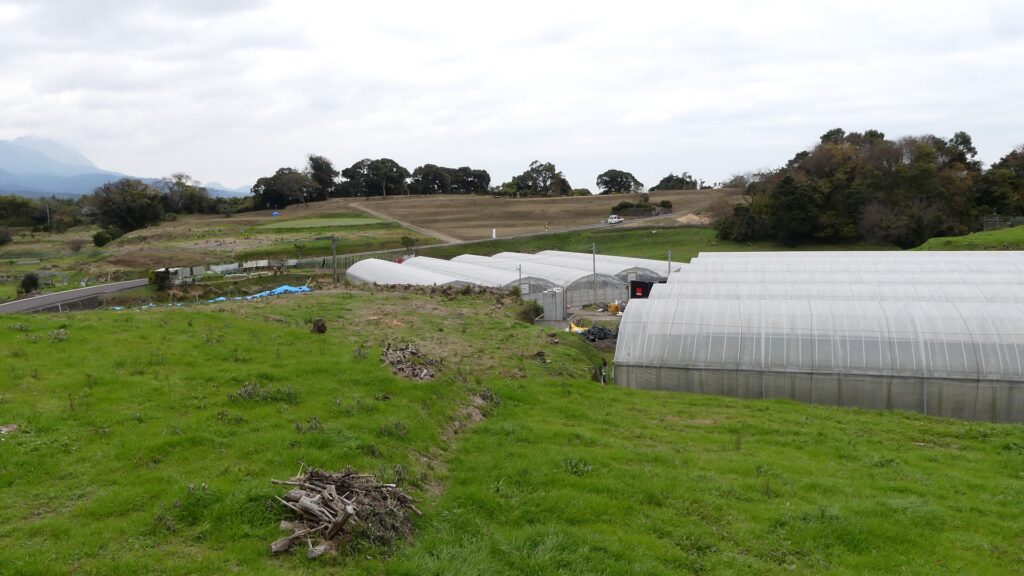
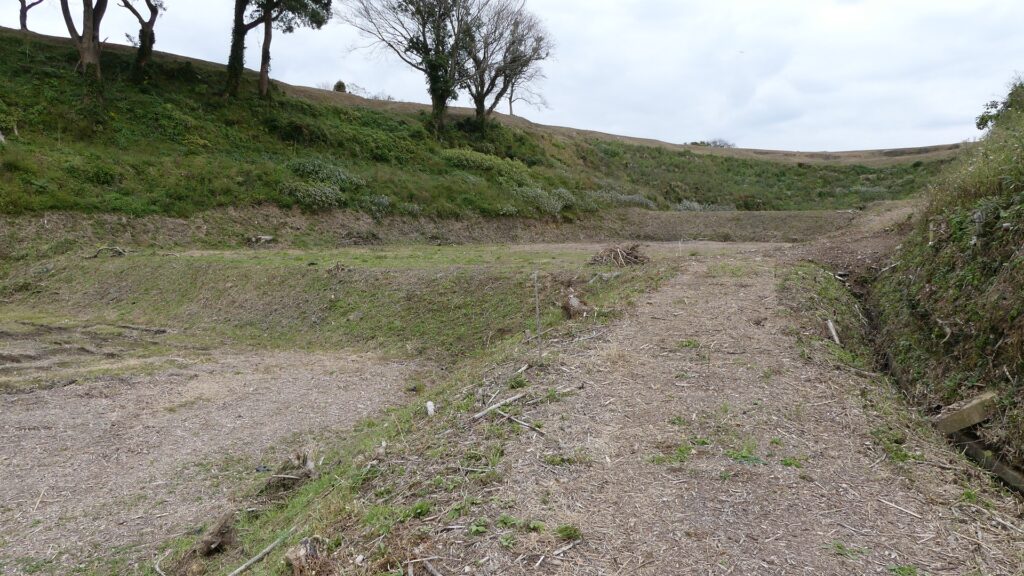
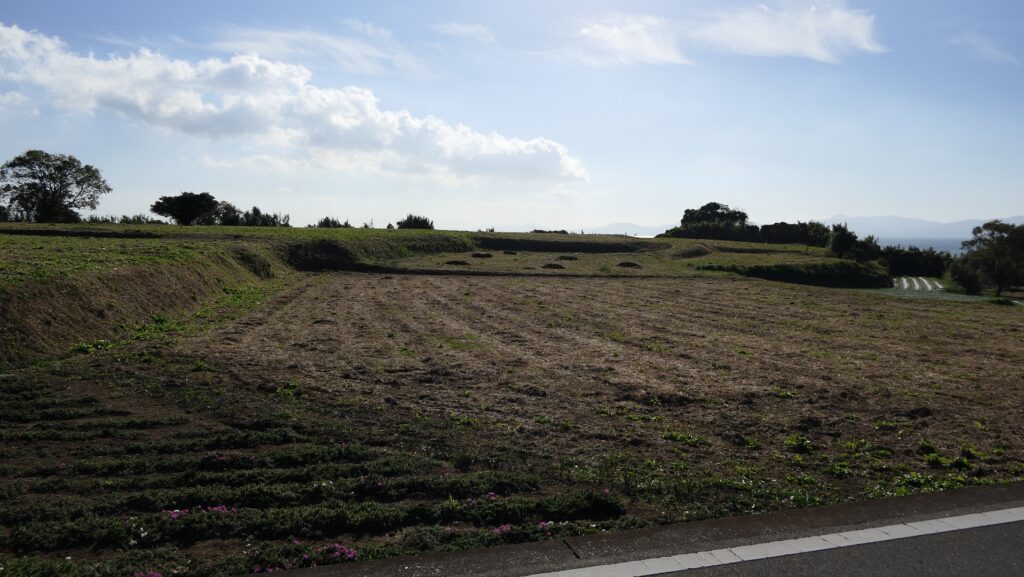
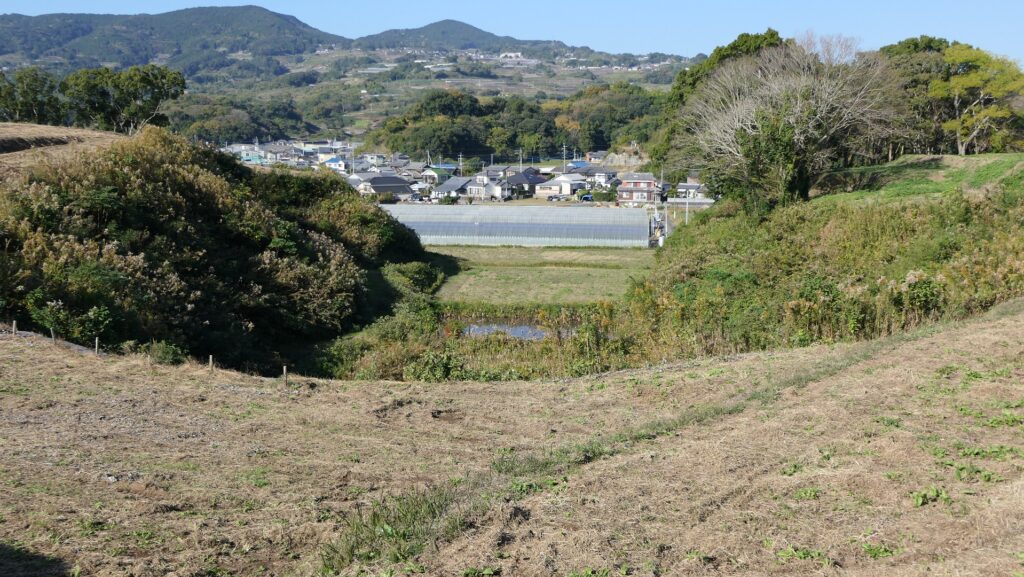
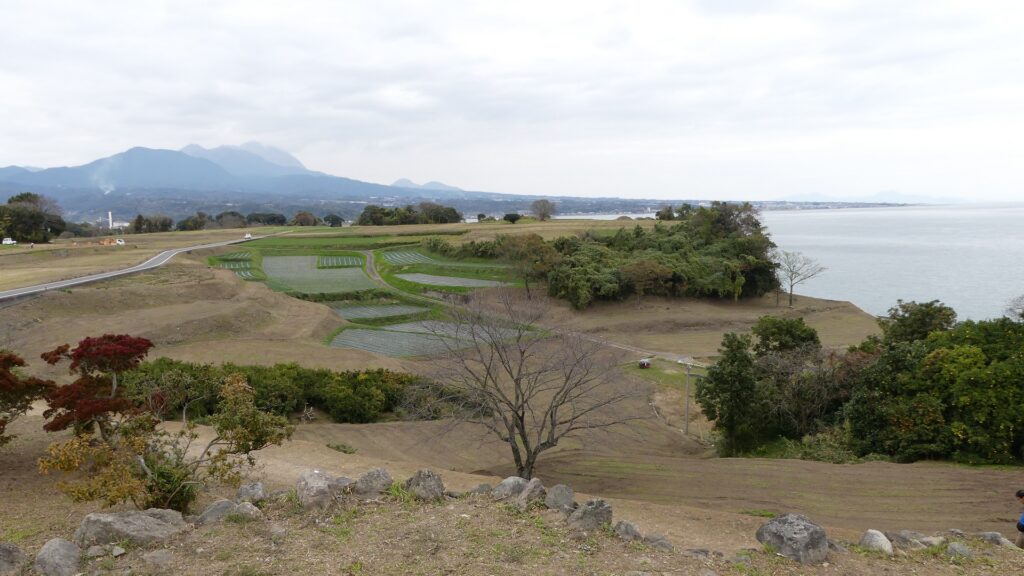
Today, the ruins of Hara Castle are still large with a perimeter of about 4km. The Main Enclosure has mainly been public owned and developed for visitors. The many other areas of the ruins, including the Second and Third Enclosures, are private owned and used as fields. If you walk around and look over the ruins, you can find the large hills and valleys and picture the castle remains. Generally, enclosures of many castles in Japan usually worked closely with each other. However, looking at the enclosures of Hara Castle, they seemed to work independently like a modern fortress. This may be the reason why that the uprising army fought had as equals with the shogunate.
The Main Enclosure has been developed as a historic siteThe Second and Third Enclosures have become fieldsThe extensive castle ruinsLooking up the ruins from the bottom of a valley
Walking around Second and Third Enclosures
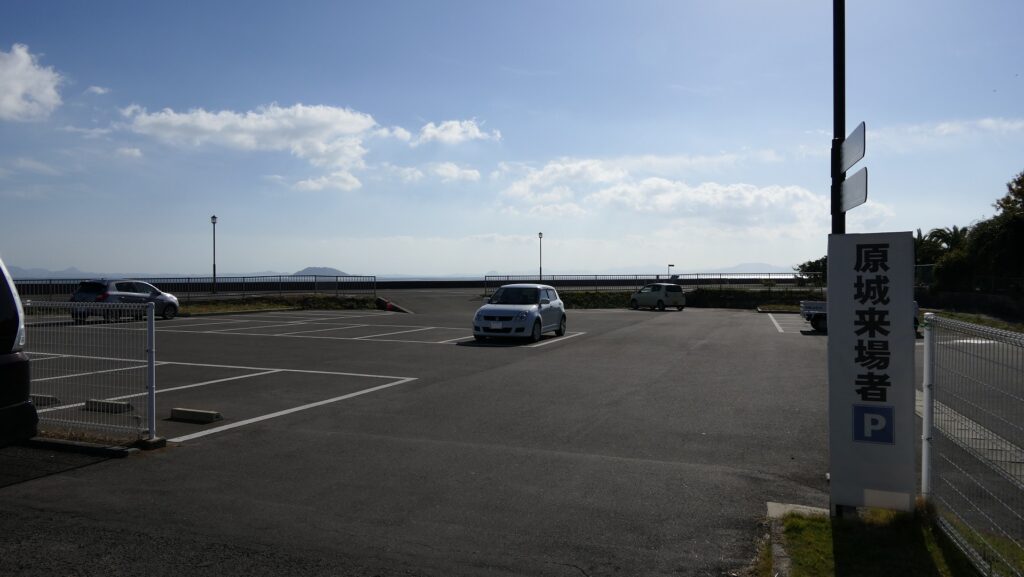
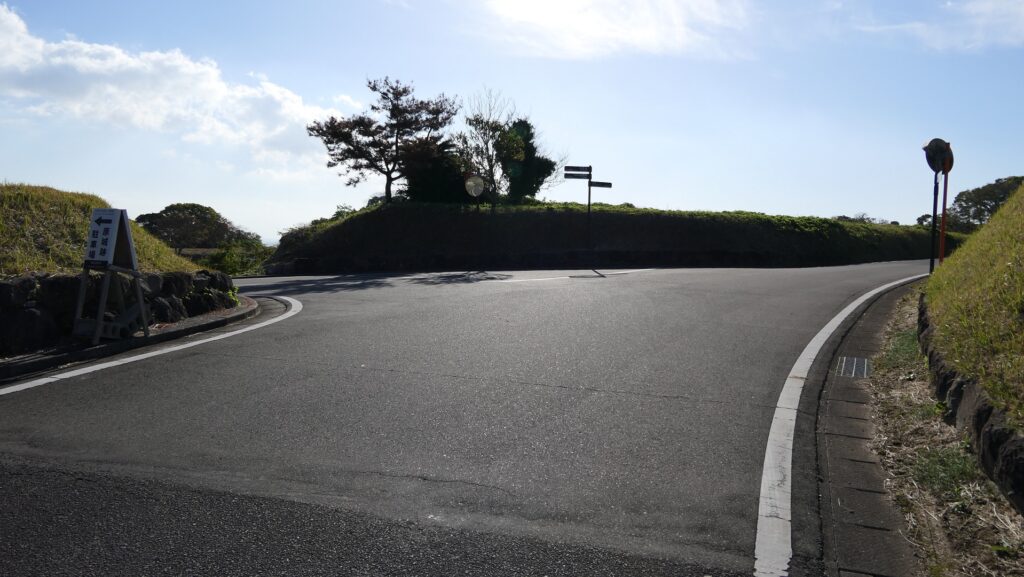
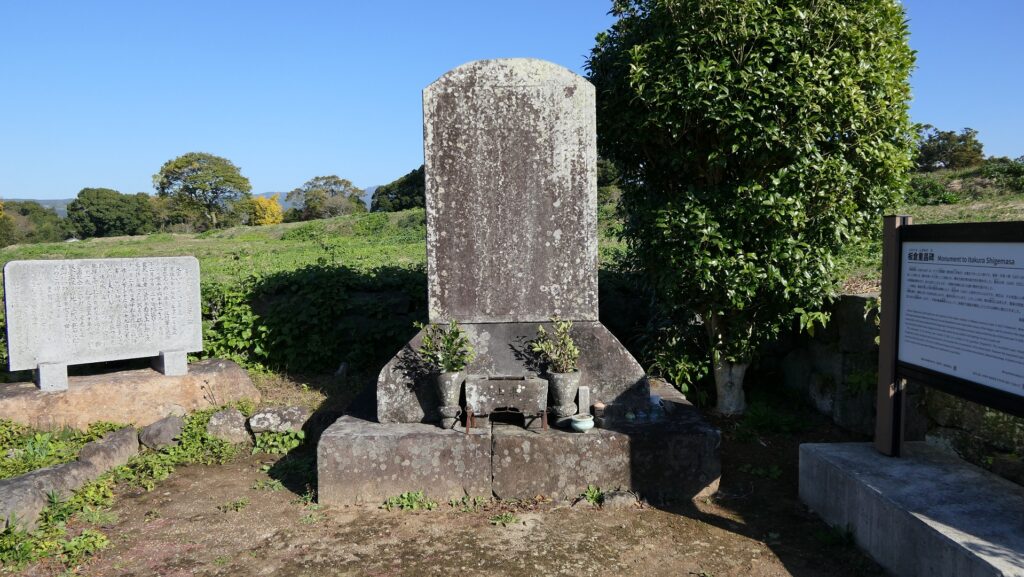
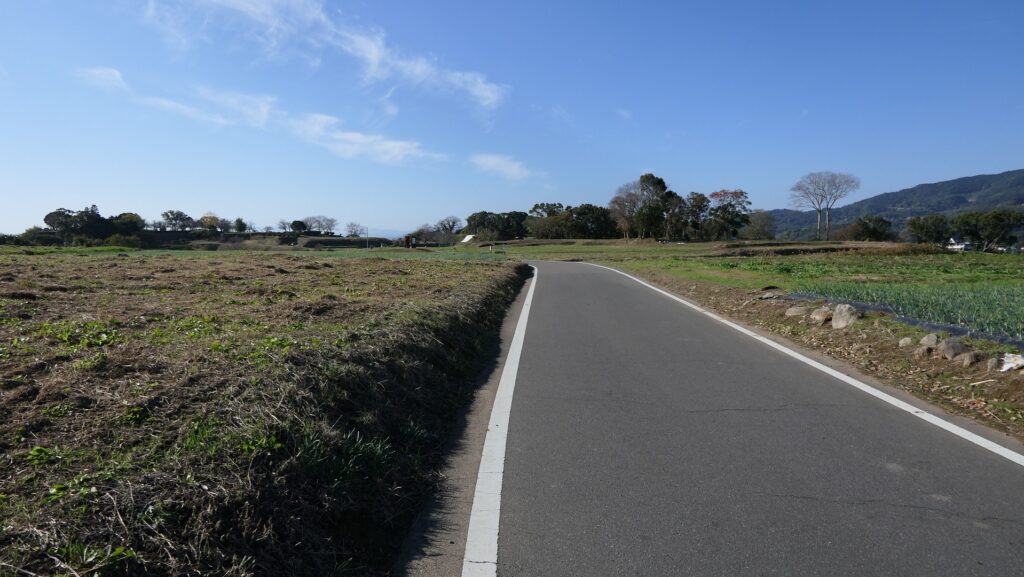
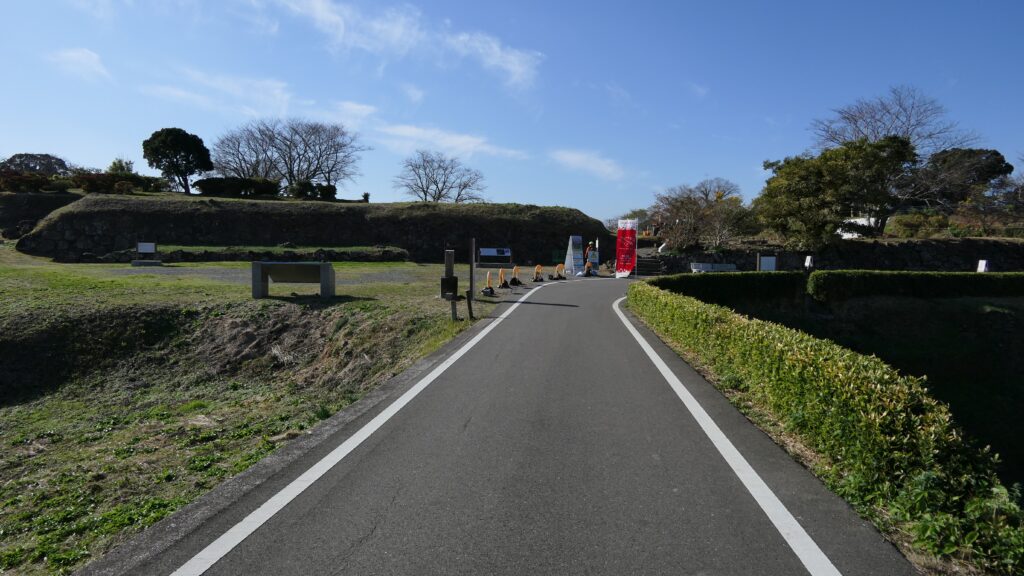
If you drive to the ruins, you will park at the parking lot between the Second and Third Enclosures beside the sea. You will have to walk for about 800m from the parking lot to the Main Enclosure. During the walk, you can see how large the castle was. If you turn right at the first intersection after passing the ruins of the Main Gate, you will reach the monument of Shigemasa Itakura at the Third Enclosure. He was shot and killed here in the first phase of the Shimabara Rebellion.
The map around the castle
The parking lot for visitorsThe ruins of the Main GateThe first intersection from the parking lot to the Main EnclosureThe Third EnclosureThe monument of Shigemasa Itakura
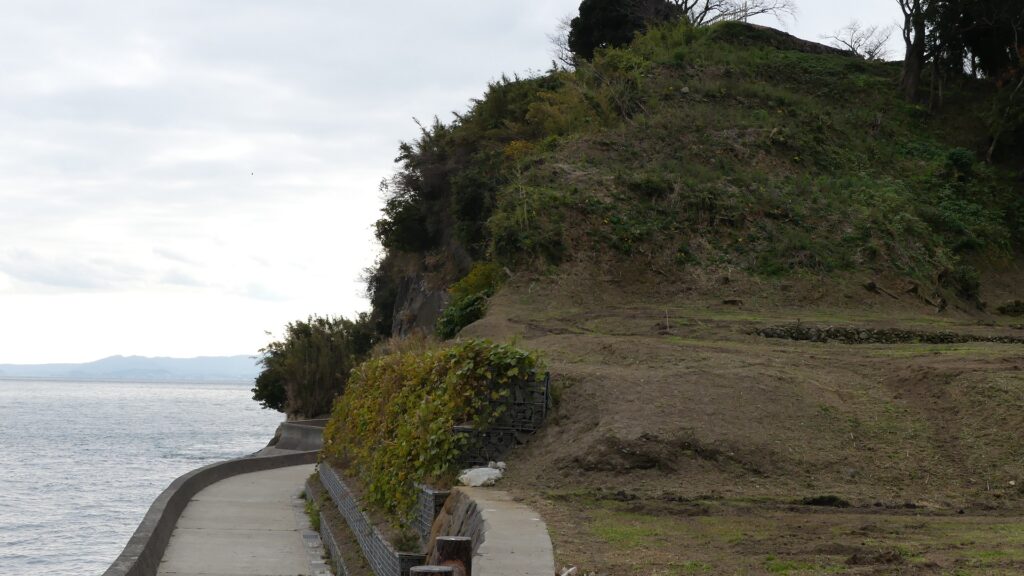
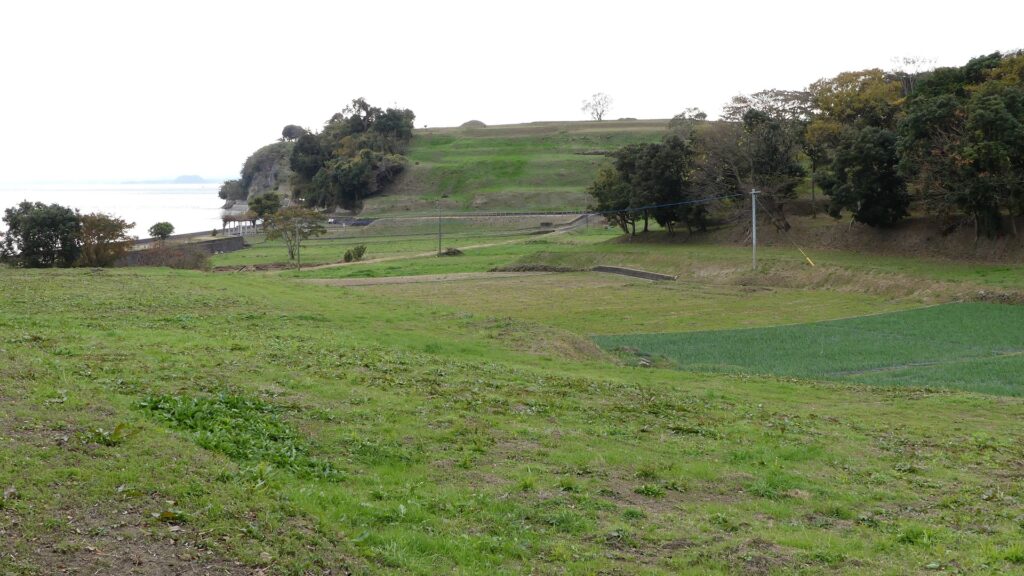
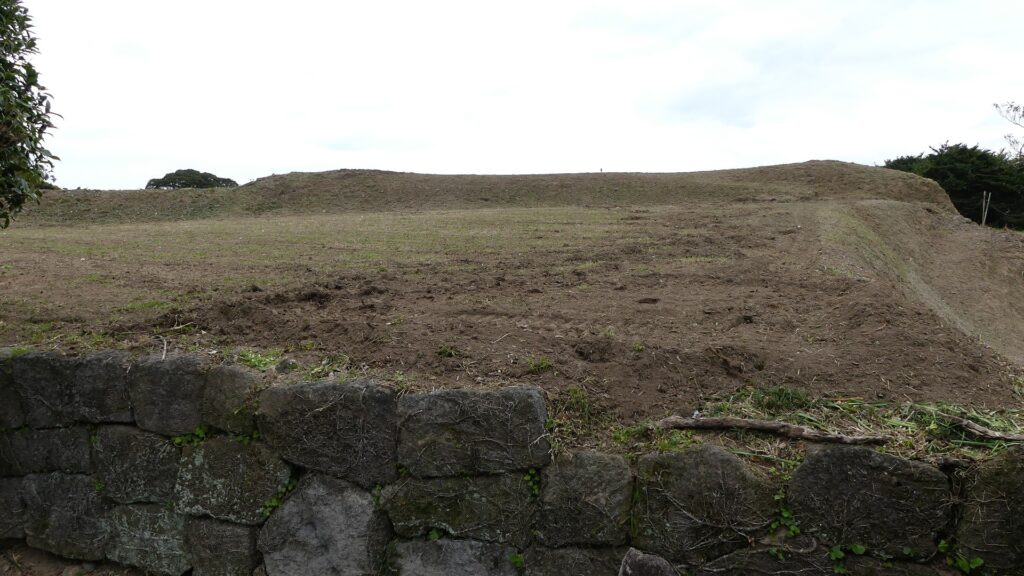
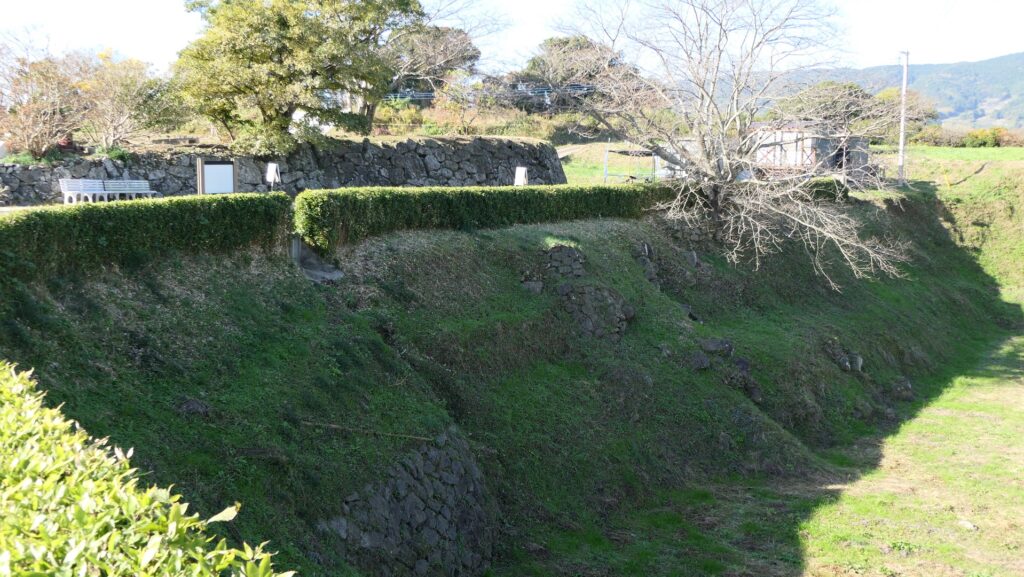
Going back to the route leading to the Main Enclosure, you will see the spacious Second Enclosure on the left and its Barbican on the right. Locals say the bones of as many as 20,000 uprising people are still buried under the fields.
The route around the Second EnclosureThe Second EnclosureThe Second Enclosure Barbican is the right side of the valley
One of the Greatest Main Enclosure Entrances
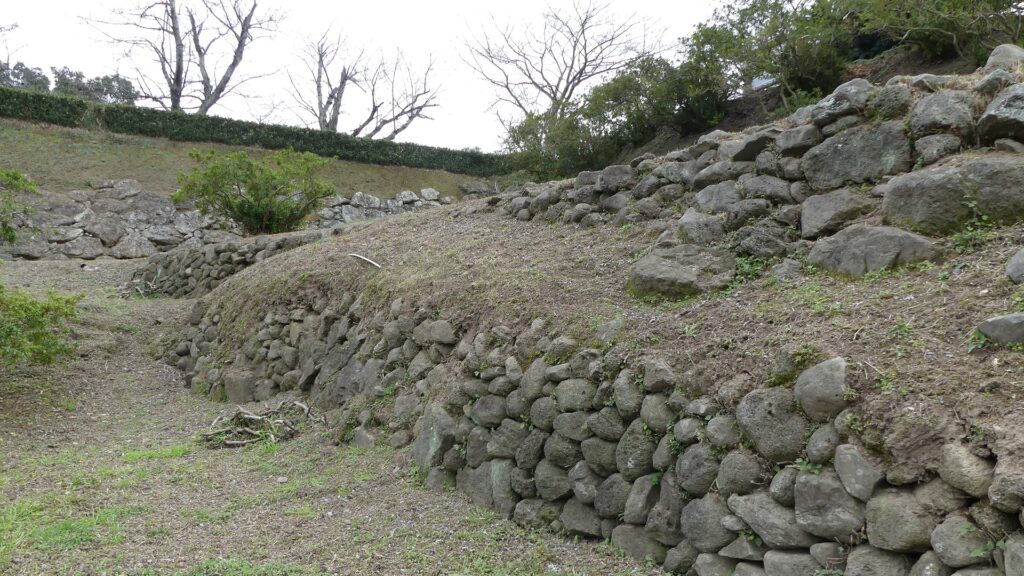
As you approach the Main Enclosure, you will see its great stone walls still surrounding it. However, they were to be excavated after being almost buried by the shogunate. Even historians did not expect the castle had to have such great stone walls. Of course, the stone walls were much higher before the destruction.
The map around the Main Enclosure, the red line shows the estimated route in the entrance
Approaching the Main EnclosureThe stone walls of the Main Enclosure, which were discovered by the excavation
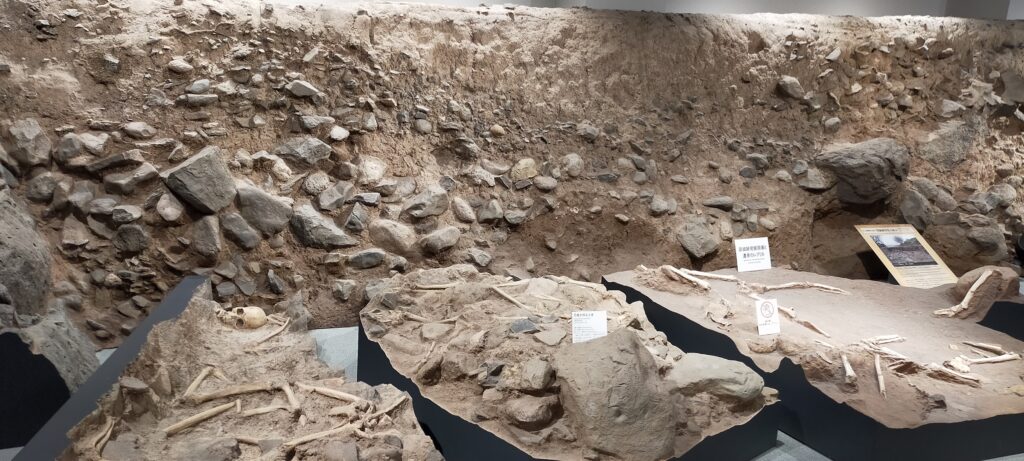
Its entrance, called Koguchi, was also excavated and has been developed for visitors. In fact, this is where the bones of the killed uprising people, which were buried with the stone walls, were found. It had large connected square spaces, called Masugata, forming a maze protecting the entrance. Historians speculate that visitors in the past had to turn 5 to 10 times in the entrance to enter the enclosure. The excavation discovered that the Koguchi entrance of Hara Castle was one of the largest examples of those ever found in Japan.
The excavated Koguchi entranceThe replica of the excavation site, exhibited by Arima Christian Heritage MuseumThe ruins of the Uzumi-mon Gate inside the entrance
Inside of Main Enclosure has become Square
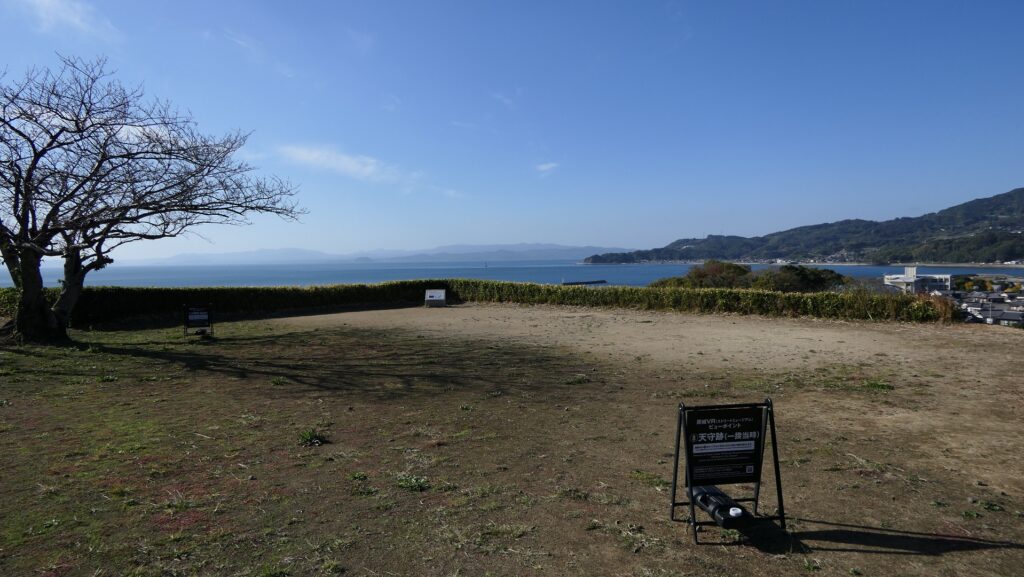
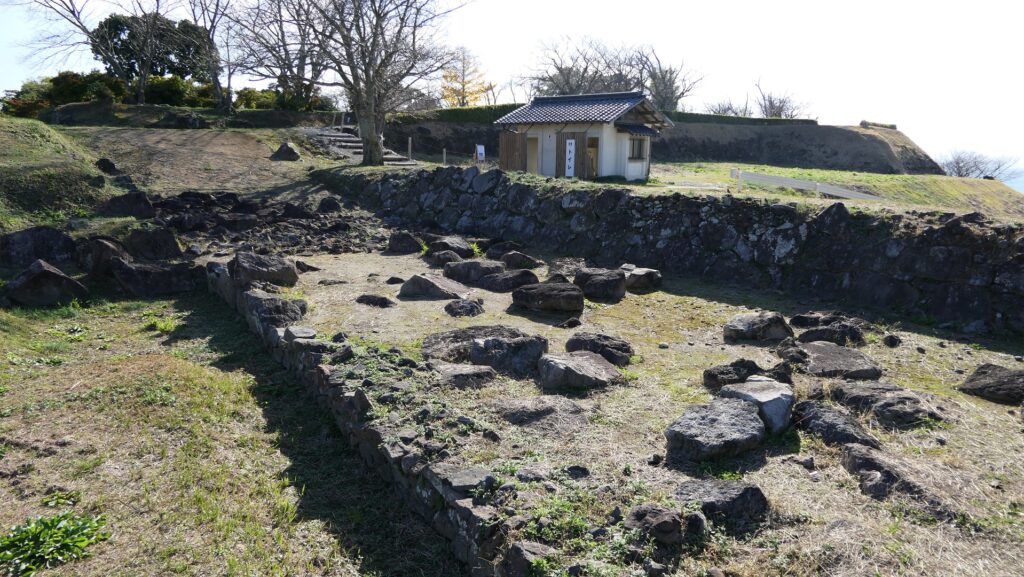
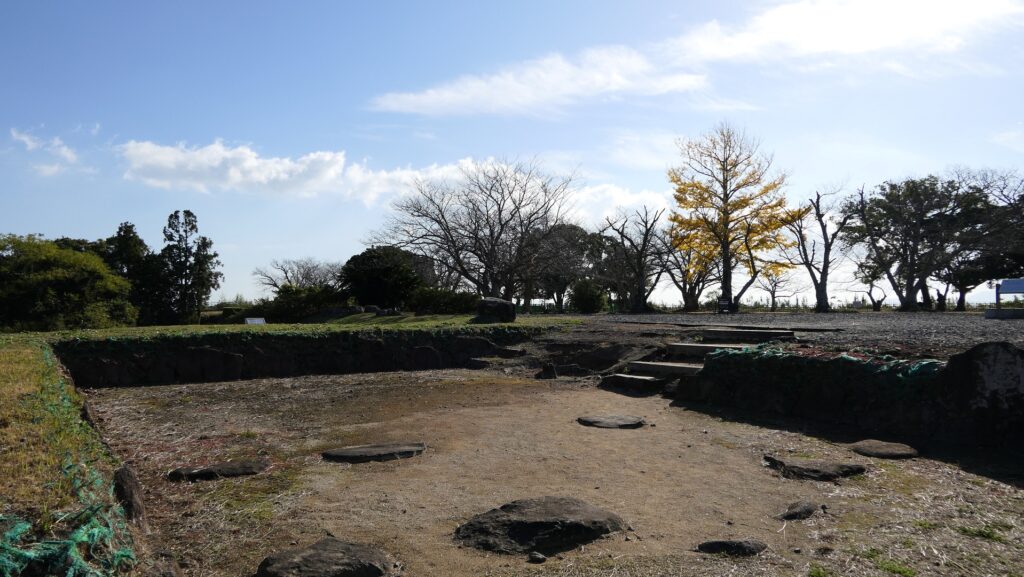
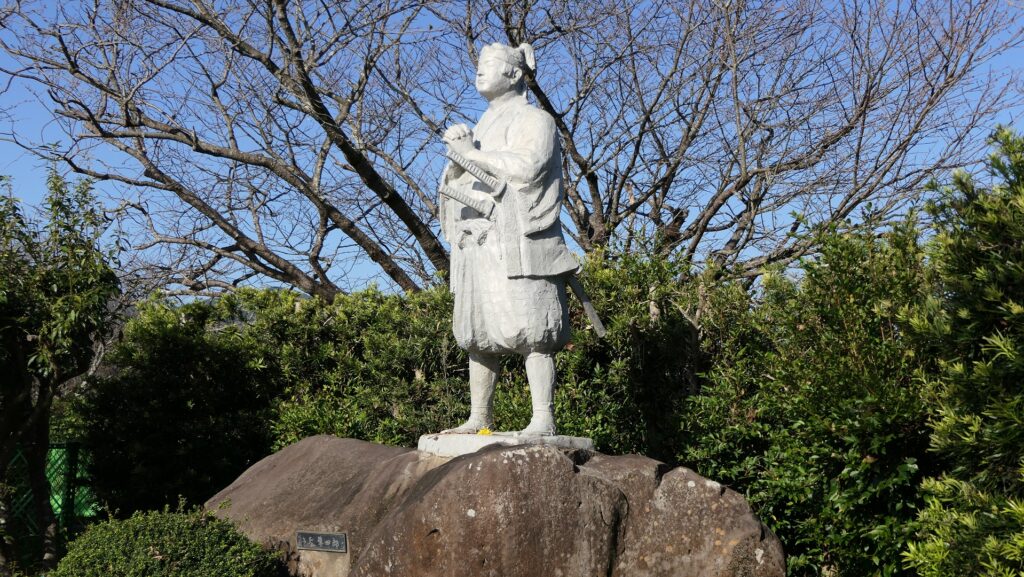
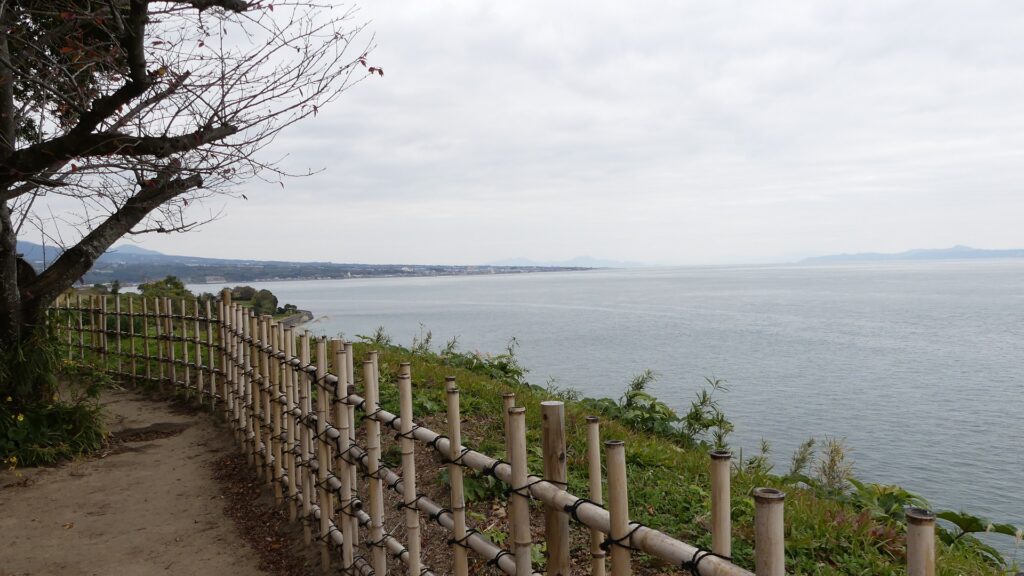
The inside of the Main Enclosure is basically a square now. There are the ruins of the Main Enclosure Gate, the Turret base, and the Ikejiri-guchi Gate along the perimeter. There are also the monument of the Shimabara Rebellion, the statue of Shiro Amakusa, and so on. This enclosure stands on the steep cliff by the sea, so you can enjoy a great view of Ariake Sea, and Mt. Unzen in the distance.
The ruins of the Main Enclosure GateThe inside of the Main EnclosureThe Turret baseThe ruins of the Ikejiri-guchi GateThe statue of Shiro AmakusaA view of Ariake Sea from the Main EnclosureA view of the ruins and Mt. Unzen from the Main Enclosure