153.Kitabatake Clan Hall Part3

The enclosures on the northern ridge of Kiriyama Castle look isolated from the other mountains around, so it must have been the real final stronghold.

Features

Route to Kiriyama Castle

The route to Kiriyama Castle is much longer than that from the foot to the final castle. You have to climb ridges and valleys of the mountain for over 30 minutes. The castle was built on the northern and southern peaks of the mountain.

The map around the castle

Going on a ridge
Going on a valley
Arriving the ruins soon
The location map of the castle at the site, adding the red English letters

Bell Tower Ruins on Southern Ridge

You will eventually arrive at the southern one which is called the Bell Tower Ruins. As its name suggests, there was a bell tower, but there are no buildings now. The view of the area around is very good, so it might have had a lookout tower as well.

The aerial photo around the castle

The Bell Tower Ruins
A view from the enclosure

There are also two other ridges (in the north and southernwest, or right and left from the southern ridge from where you came). You should choose the northern or right one to reach the northern peak which were the Main Enclosures. Please don’t go to the southwestern or left one, or you will be stuck at much harder mountain areas. You can see some artificial ditches in the direction to prevent enemies from even attacking under the severe conditions.

You should choose this path to the northern ridge
You shouldn’t choose this direction (southernwest)
The ditch for preventing the enemies from the southernwest

Main Enclosures on Northern Ridge

If you go on the northern ridge, which goes up and down steeply, you will finally arrive at the Main Enclosures on the top. The enclosures are divided by ditches into the Rice-granary ruins in the southwest, the Main Enclosure in the center on the top, and the Turret ruins in the northeast. They are all still surrounded by thick earthen walls.

Arriving at the Main Enclosures
the Rice-granary Ruins
The Main Enclosure
The stone monument of the castle ruins at the Main Enclosure
The ditch between the Main Enclosure and the Turret Ruins
The Turret Ruins

The Main Enclosure, in particular, looks like a bowl probably because the walls collapsed and the ground inside was filled with soil, which made their shape becomes round. These enclosures on the northern ridge look isolated from the other mountains around, so it must have been the real final stronghold.

The Main Enclosure looks like a bowl
A view from the Main Enclosures

Later History

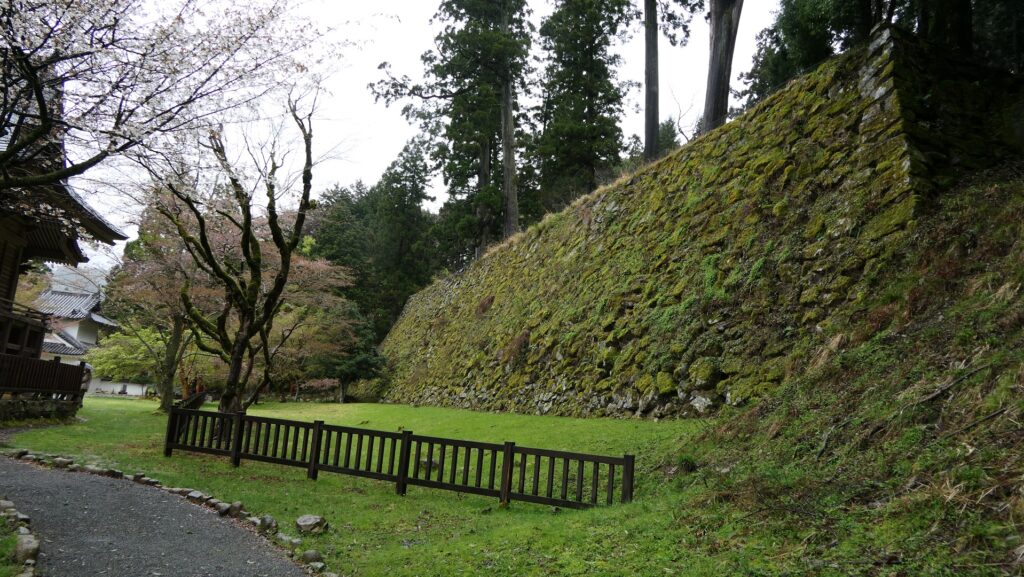
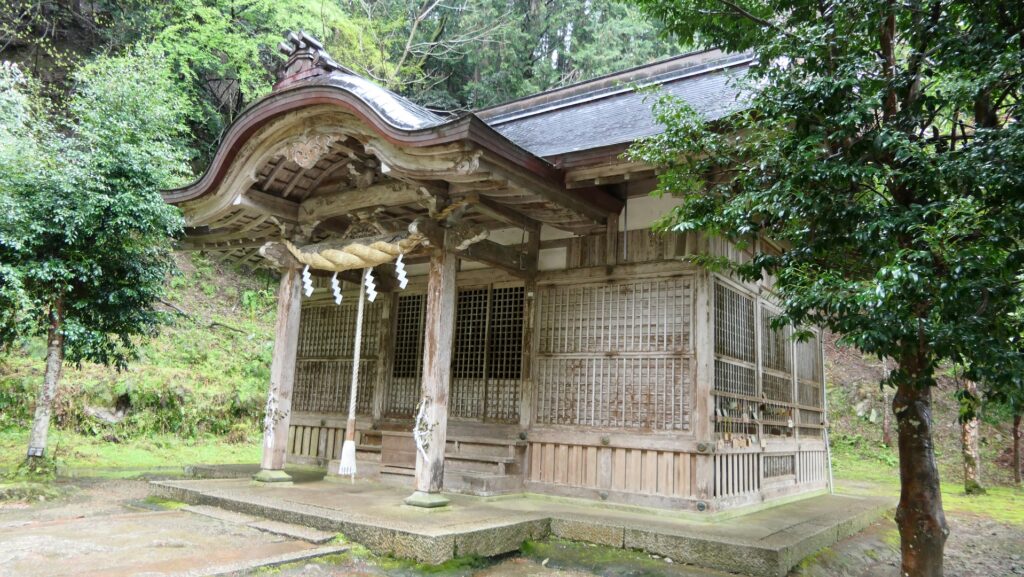
After the invasion by the Oda Clan, Kitabatake Clan Hall, plus the final castle and Kiriyama Castle, were abandoned. A descendant of the Kitabatake Clan built a small shrine in the hall ruins, which worshiped his ancestors during the Edo Period, which is the origin of the current shrine. After the Meiji Restoration, the situation changed as the government decided that the Southern Court has been orthodox. Since then, the warriors and lords who had supported the Southern Court were focused on, one of which was the Kitabatake Clan. The shrine was developed being named The Kitabatake Shrine, and finally designated as an Imperial Shrine of Special Status in 1928, which worships loyal vassals. Similarly, the Kitabatake Clan Hall Ruins Garden and Kiriyama Castle Ruins were designated as a National Historic Site in 1936. This was probably reflected by the contributions of the clan. After the discovery of the old stone walls of the original hall, the hall ruins were added to the National Historic Site in 2006.

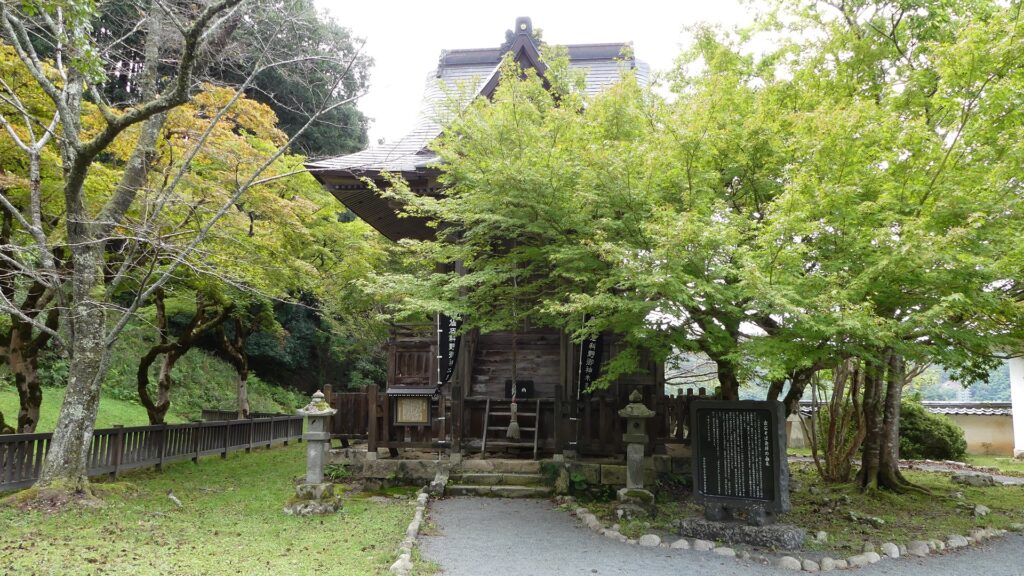
The approach of Kitabatake Shrine
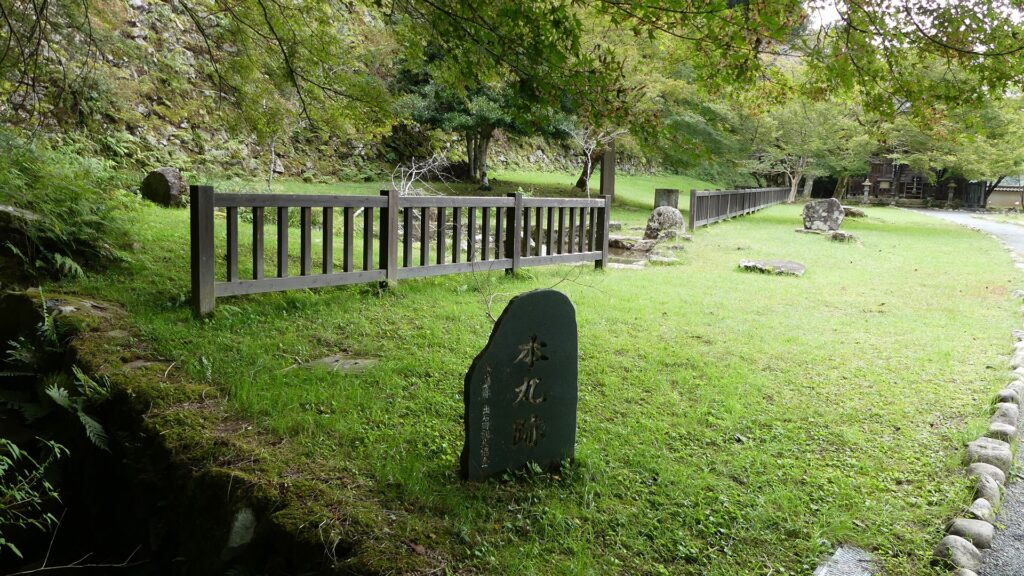
Kitabatake Clan Hall Ruis Garden

My Impression

When I first visited the Kitabatake Clan Hall Ruins as the current Kitabatake Shrine, I was honestly disappointed with them. This was because there were few castle-like items. I also found the introduction of Kiriyama Castle at that time, but I decided not to go there as I thought I didn’t have enough time to complete it. That’s why I tried to go to the castle ruins on another day and was satisfied. However, I can now say that if you don’t have enough time to see both ruins of Kitabatake Clan Hall and Kiriyama Castle, you can at least go to the final castle of the hall on the way to Kiriyama Castle in a short time.

The ruins of Kiriyama Castle
The ruins of the final castle

That’s all. Thank you.
Back to “Kitabatake Clan Hall Part1”
Back to “Kitabatake Clan Hall Part2”

153.北畠氏館 その3

霧山城跡の北峰曲輪群は、周辺の山々から隔絶しているように見えます。そこは本当に最後の陣地として築かれたのでしょう。

特徴、見どころ

霧山城への道のり

霧山城への道のりは、麓から詰めの城までのものよりずっと長いです。山の峰筋や谷筋を進むこと30分以上かかります。霧山城は、山の北峰と南峰のそれぞれ頂点の場所に築かれました。

城周辺の地図

峰上を進みます
谷底を進みます
もうすぐ城跡です
現地案内板にある霧山城のレイアウト

鐘楼があった南峰

まず着くのは南峰の方で、鐘撞堂跡と呼ばれています。その名前が示す通り、かつては鐘楼がありましたが、今は建物はありません。そこから周りの眺めはとても良いです。物見台のようなものもあったかもしれません。

城周辺の航空写真

鐘撞堂跡
鐘撞堂跡からの眺め

そこからもう2つの峰が伸びています(南峰から見て、右側の北方向にあるものと、左側の南西方向にあるもの)。ここでは、主郭群があった北峰の頂上に行くために、右側の北方向に選ぶべきで、決して左側の南西方向には行かないようにしてください。もっと険しい山地帯にはまり込んでしまいます。そのような厳しい状況の場所でさえ、人工的な堀切が設けられていて、南西方向から攻めてくる敵を防げるようになっていました。

北峰に向かう道
こちら(南西方向)には行かない方がいいです
南西方向にある堀切

北峰にある主郭群

北峰の方に進んでいくと、峰は上下しながら、ついには頂上の主郭群に到着します。主郭群は堀切により区切られ、南西部の米倉跡、中心部の本丸、北東部の矢倉跡に分かれています。これらの曲輪は今でも厚い土塁に囲まれています。

主郭群に到着します
米倉跡
本丸
本丸にある城跡の石碑
本丸と矢倉跡の間にある堀切
矢倉跡

特に、本丸はお椀のようになっていて、恐らく周りの土塁が崩れて、中の平らな部分を埋めたことで、丸みを帯びた形になったのでしょう。北峰の曲輪群は、周辺の山々から隔絶しているように見えます。そこは本当に最後の陣地として築かれたのでしょう。

本丸はお椀のような形をしています
北峰からの眺め

その後

織田氏による侵攻があった後、北畠氏館、及び詰めの城と霧山城は廃城となりました。江戸時代になって、北畠氏の子孫の一人が館跡に先祖を祀るために小さな神社を建てました。それが現在の神社の起源となりました。明治維新後にその状況が変化します。政府が南朝を正統な皇統であると宣言したのです。それ以来、南朝を支えた武士や領主たちが脚光を浴び、その一つが北畠氏でした。神社は拡張され北畠神社となり、ついには1928年に、忠臣を祀る別格官幣社の一つに指定されました。同じように、北畠氏館跡庭園と霧山城跡が1936年に国の史跡に指定されました。これもまた、北畠氏の貢献が影響したのでしょう。オリジナルの館の古い石垣が発見された後は、2006年に館跡が国の史跡に追加指定されました。

北畠神社参道
北畠氏館跡庭園

私の感想

最初に、現在は北畠神社になっている北畠氏館跡を訪れたときは、正直がっかりしました。城らしいものがほとんどなかったからです。そのとき、霧山城への案内も見つけたのですが、そこに行って帰ってくる十分な時間がなかったため断念しました。その後、別の日にもう一度行って城跡を訪れ、それで満足しました。しかし今から考えると、北畠氏館跡と霧山城跡両方を見学する時間がない場合でも、少なくとも霧山城に行く途中の詰めの城までは、短時間で行って来られると思います。

霧山城跡
詰めの城跡

リンク、参考情報

多気北畠氏遺跡の概要、津市
・「伊勢国司北畠氏の研究/藤田達生編」吉川弘文館

これで終わります。ありがとうございました。
「北畠氏館その1」に戻ります。
「北畠氏館その2」に戻ります。

111.Mukai-Haguroyama Castle Patr3

The trail to the Main Enclosure turns left or right, and then, a horizontal moat goes along it on the left. The other right side are vertical cliffs. That means the enemies were able to attack the enclosure only on this trail and the defenders would be able to focus on the spot.

Features

Main Enclosure is protected by Moats and Cliffs

Going back to the forest road, you can also climb to the Main Enclosure on the top of Iwasaki Mountain. If you walk straight up on the trail, you will see a huge scale of vertical moat designed to avoid enemies from moving freely parallel to the right.

The map around the castle

The trail to the Main Enclosure
The trail on the left and the vertical moat on the right
The vertical moat beside the trail

The trail turns left or right, and then, a horizontal moat goes along it on the left. The other right side are vertical cliffs. That means the enemies were able to attack the enclosure only on this trail and the defenders would be able to focus on the spot.

The layout of the Main Enclosure, the white part is the trail, the yellow part shows enclosures or bottoms of the moats, and the orange part is cliffs, exhibited by the Mukai-Haguro Gallery
The trail goes up while curving
The horizontal moat left of the trail
The vertical cliffs right of the trail

Final place of Final Castle

The trail goes in a zigzagged pattern and reaches the Main Enclosure. It is also protected by other alternating gate, earthen walls and dry moats like the Second Enclosure, but smaller and had steeper terrain, so it can be seen as the final place of the final castle.

The zigzagged trail
The entrance ruins of the Main Enclosure
The Main Enclosure is surrounded by dry moats and earthen walls as well
Going to the top
The top of the Main Enclosure
A view from the enclosure

Later History

The mountain, where Mukai-Haguroyama Castle was built, was first designated as a natural park in 1953 and the forest road was developed on the mountain in 1964. As for the castle ruins, they were first designated as a historic site of Hongo Town (at that time) in 1974. The excavations of the ruins have been done since 1982. As a result, they were finally designated as a National Historic Site in 2001.

There is a huge rock on the Main Enclosure, which was partially cut to provide stone materials

My Impression

I visited the ruins of Mukai-Haguroyama Castle twice. During my first visit, I just found the castle ruins simply becoming the natural park. However, in my second visit, I was advised at the Mukai-Haguro Gallery in advance, so that I was able to see the major spots of the castle easily. In my experiences, I would like Aizu-Misato Town, the current owner of the ruins to install a streamline path for walking from the foot to the top which would make visitors better understand what the castle looked like.

there are many paths in the Third Enclosure, like a maze

How to get There

If you want to visit there by car, it is about a 15-minute drive away from Nitsuru smart IC or a 20-minute drive away from Aizuwakamatsu IC on the Banetsu Expressway. There are several parking lots for each spot of the ruins.
By public transportation, it takes about 20 minutes on foot to get the northern entrance of the park from JR Aizu-Hongo Station.
From Tokyo to the station: take the Tohoku Shinkansen super express, transfer to the Banetsu-sai Line at Koriyama Station, and transfer to the Tadami Line at Aizuwakamatsu Station.

The parking lot beside the Second Enclosure

That’s all. Thank you.
Back to “Mukai-Haguroyama Part1”
Back to “Mukai-Haguroyama Part2”