特徴、見どころ
ハイキングコース上にある城跡
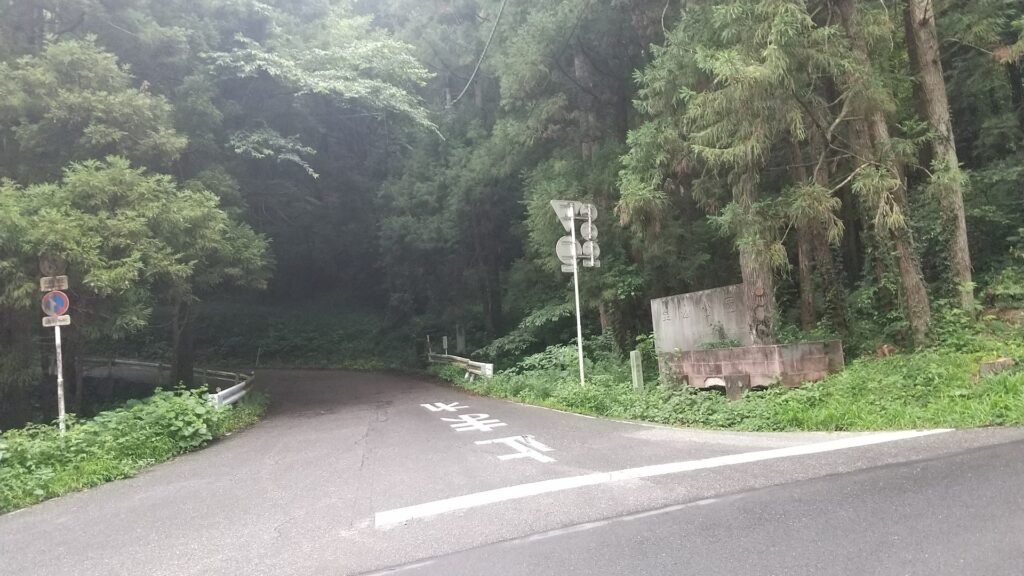
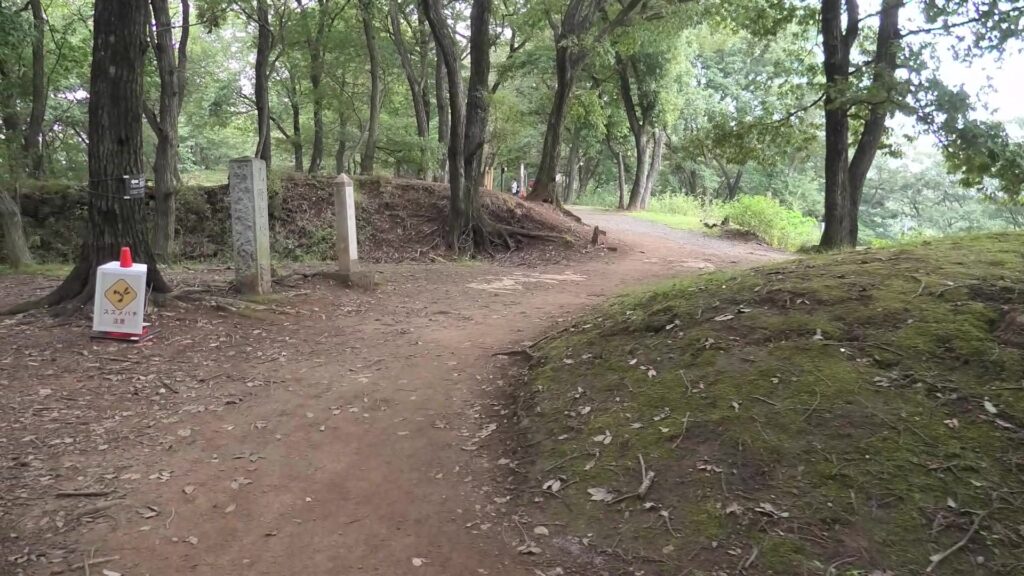
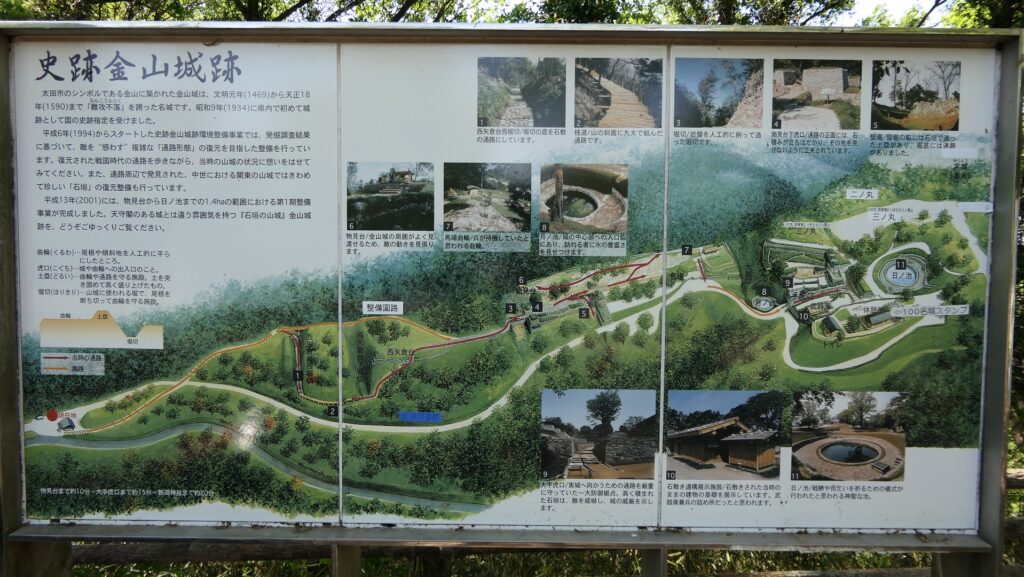
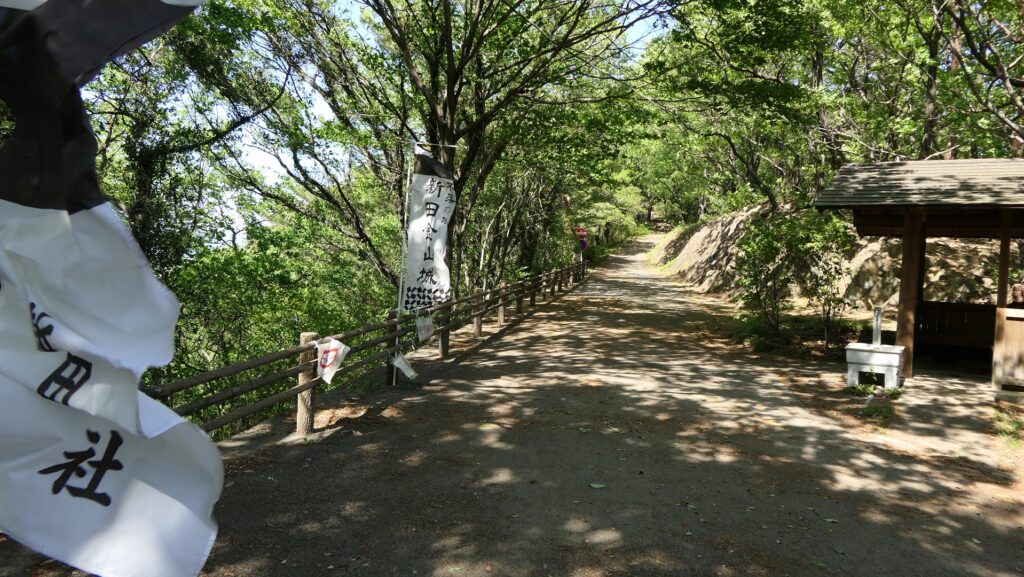
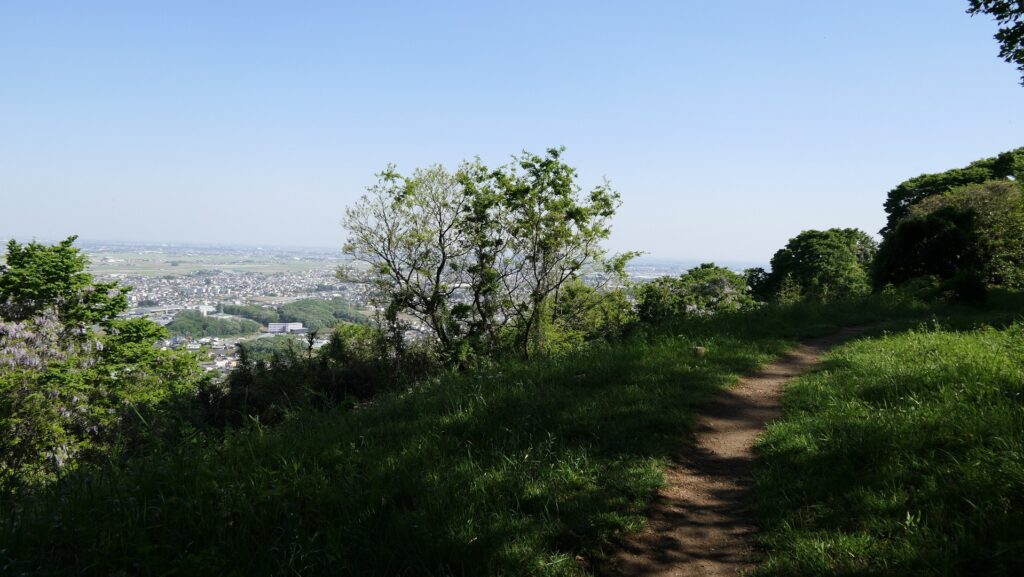
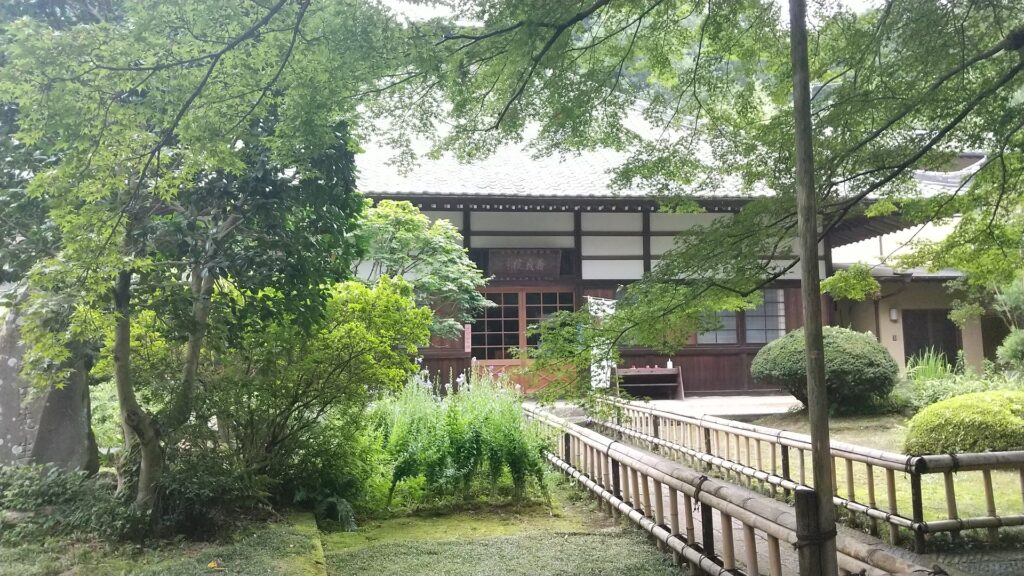
現在、金山城跡は太田市によってよく整備されています。城跡がある山には、城跡へ行くものも含めていくつものハイキングコースが設定されています。多くの人たちがハイキングコースを歩いて、楽しんだりくつろいだりしています。城跡に行ってみようとする歴史ファンであれば、例えば史跡金山城ガイダンス施設から西山コースを歩いてみてはいかかでしょう。
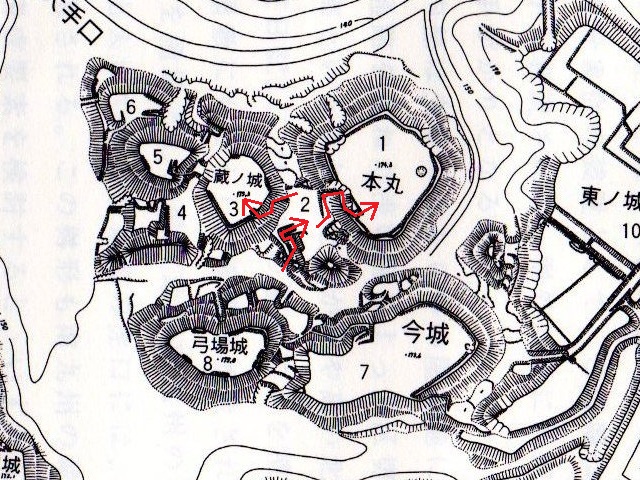
城周辺の地図

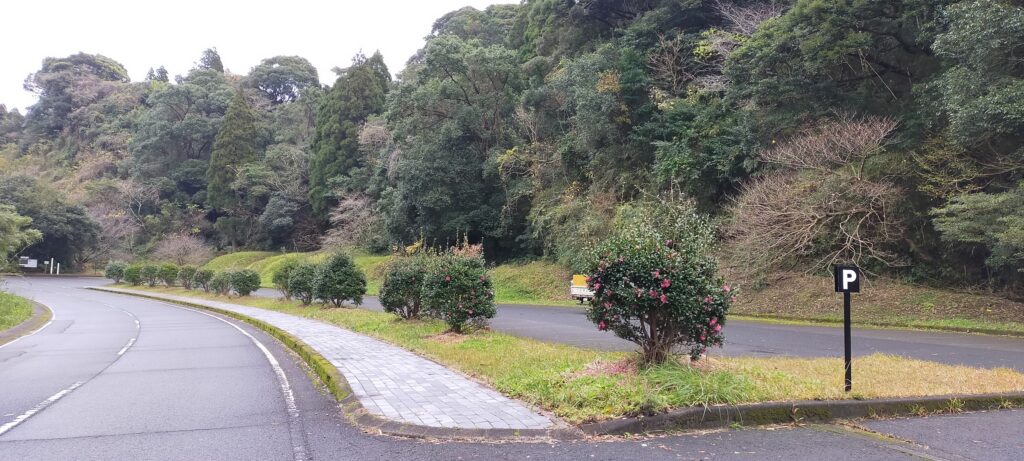
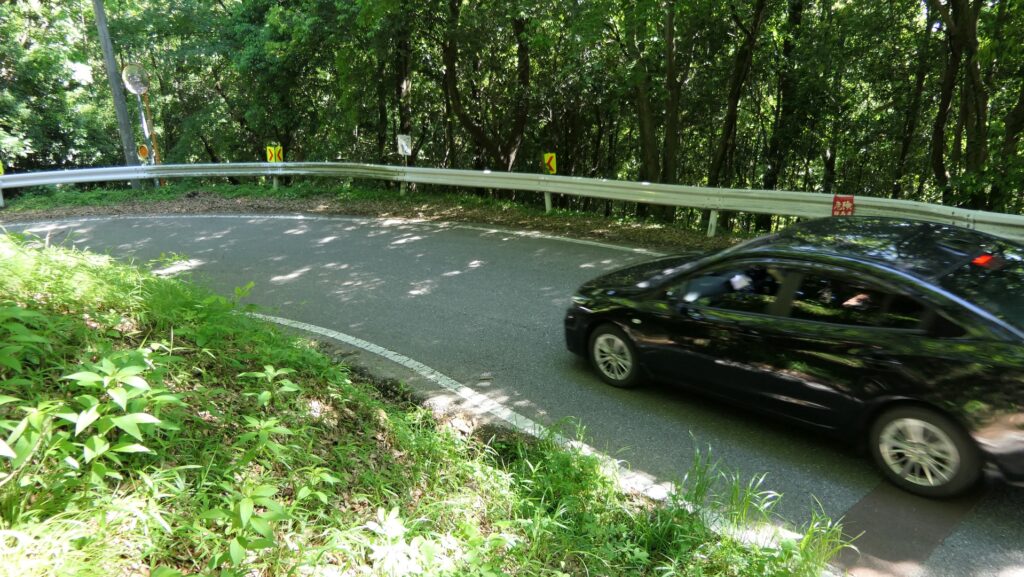
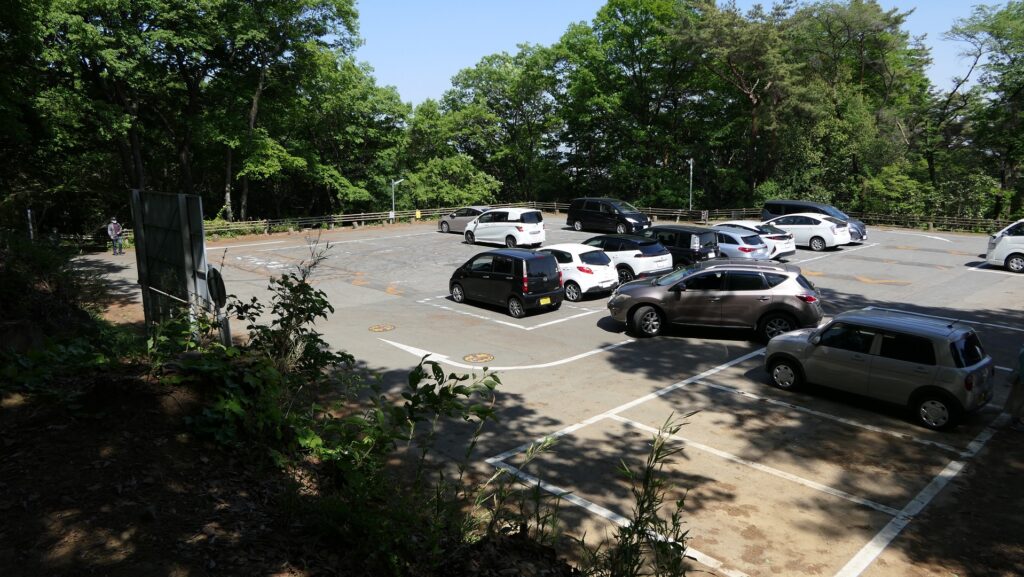
車でなるべく近くまで行ってみたいのであれば、金山ドライブウェイを登って山頂から700m程離れた駐車場まで行くことができます。そこは城でいえば西城の辺りです。西山ハイキングコースも駐車場がある場所に合流するので、城跡への道のりはどちらの場合でも通常そこからスタートします。
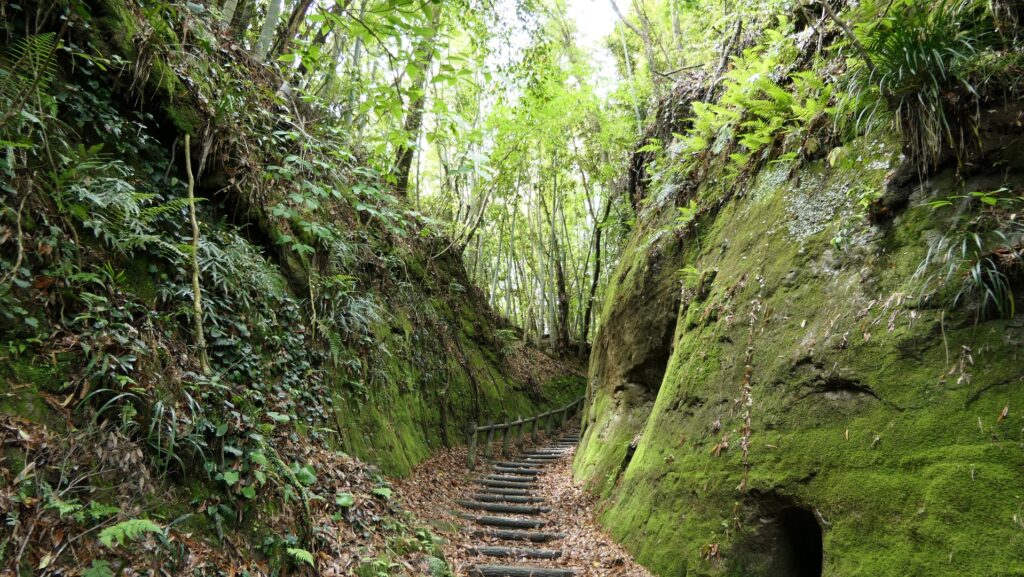
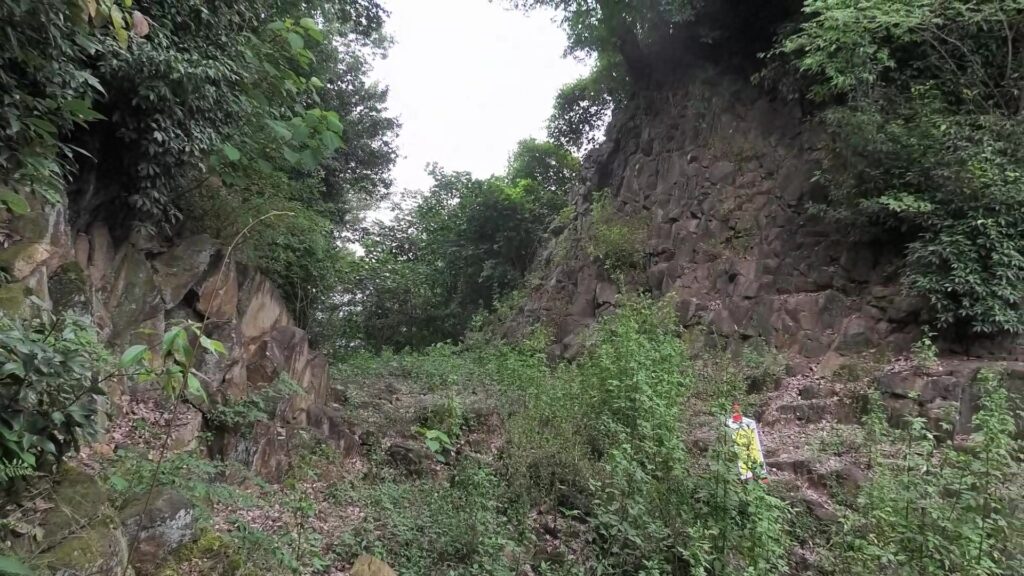
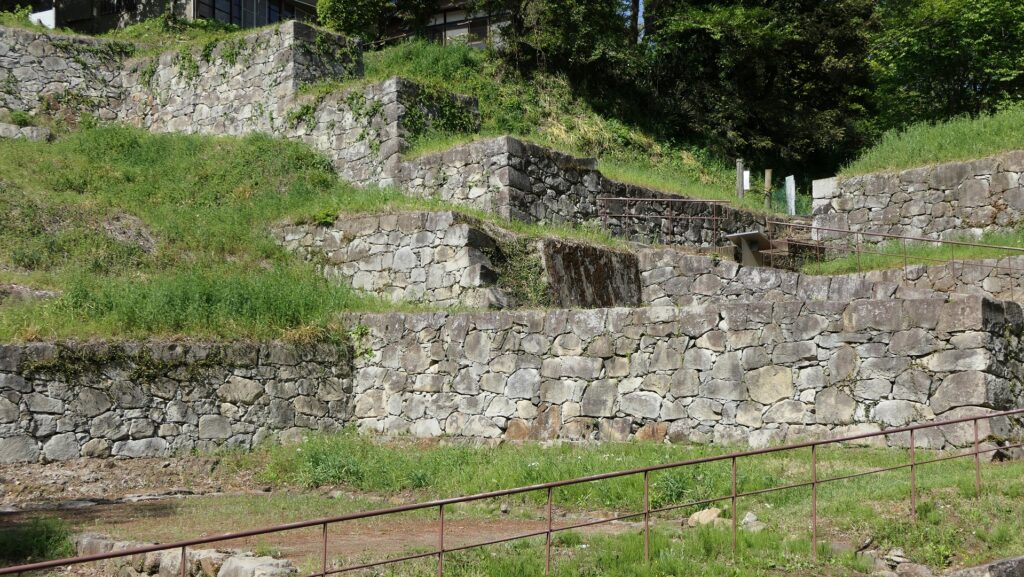
敵が簡単に近づけない仕掛け
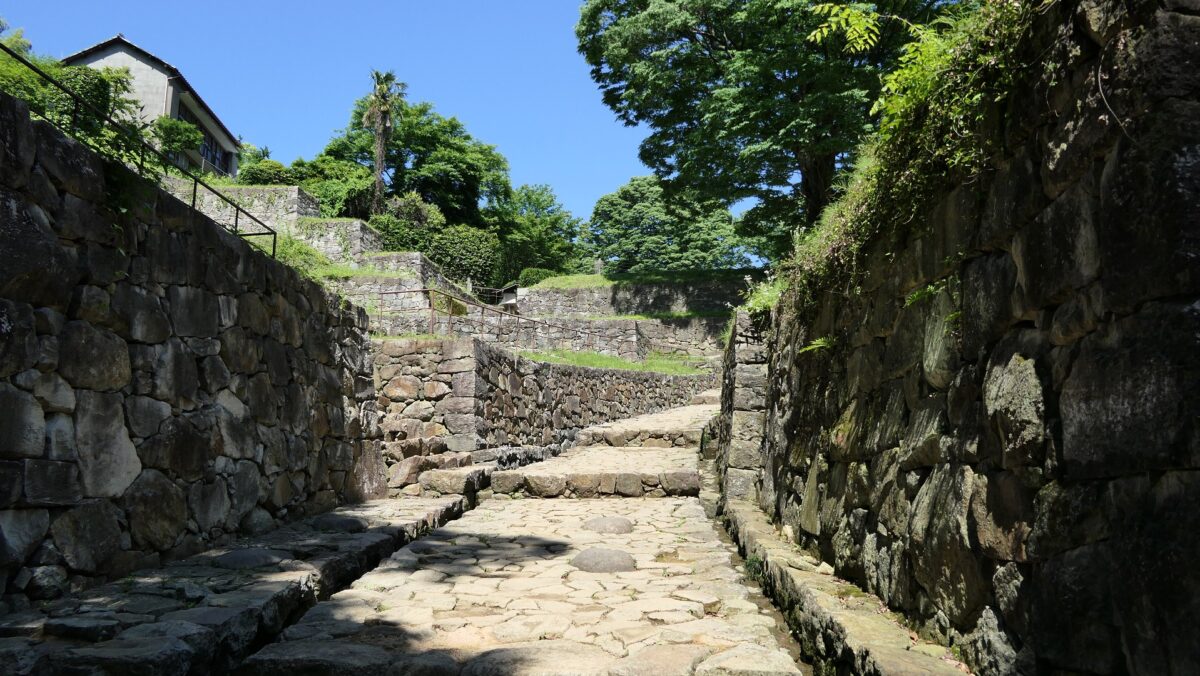
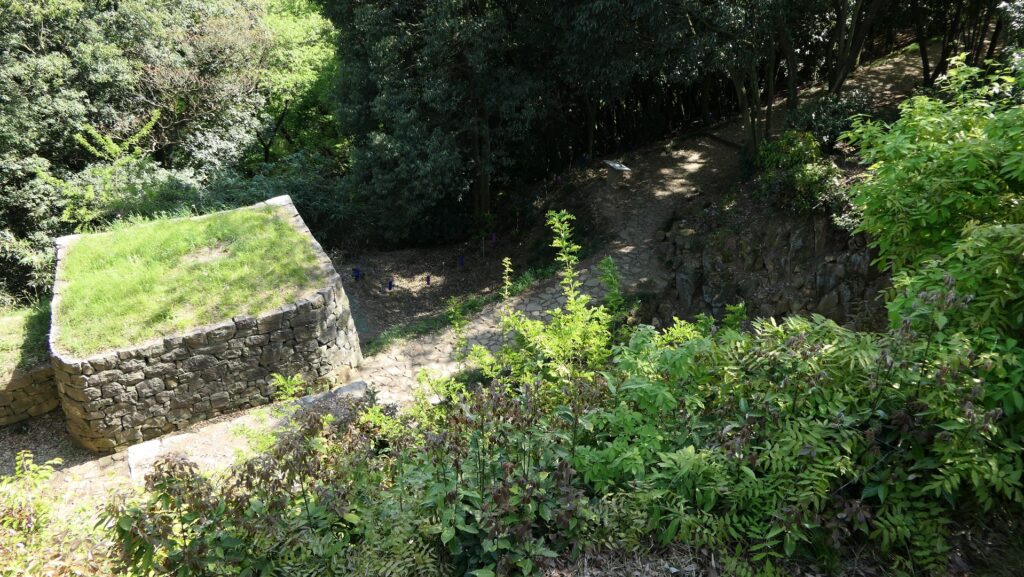
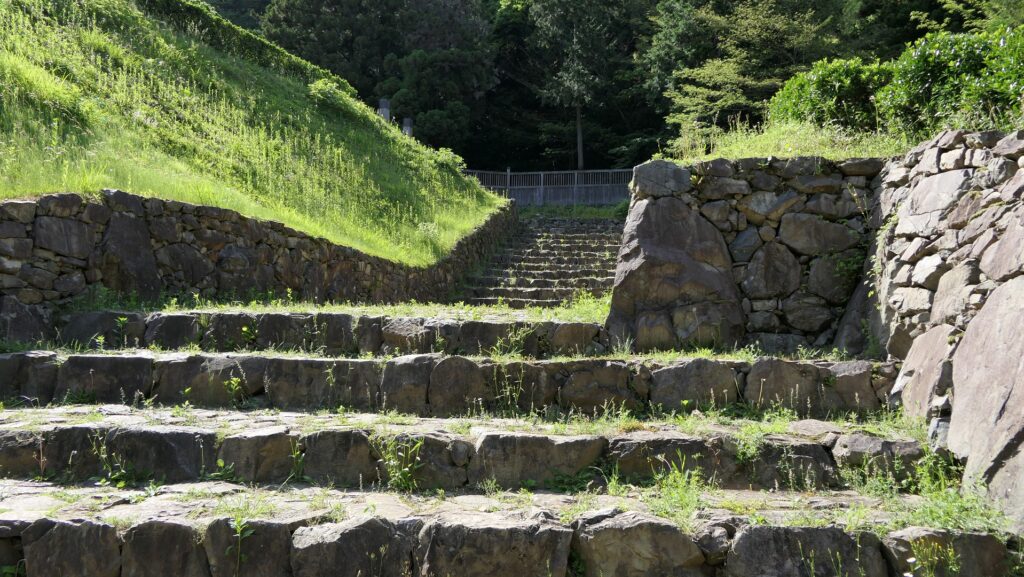
城跡の中心部分に行くには、東に向かって伸びる通路を通っていきます。その途中では、いくつもの堀切を見ることができます。これらは、敵が簡単に城を攻撃できないように作られたものです。
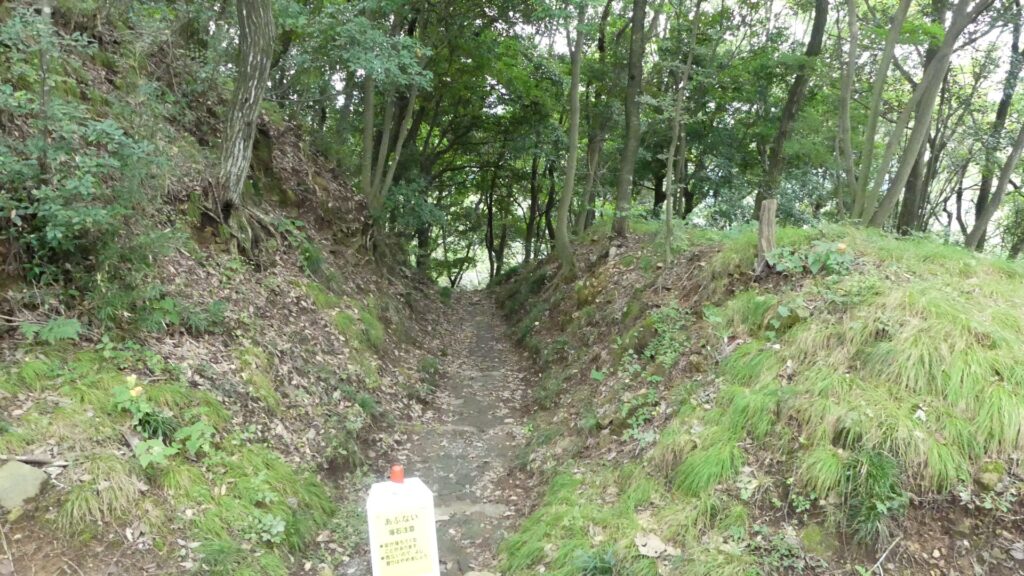
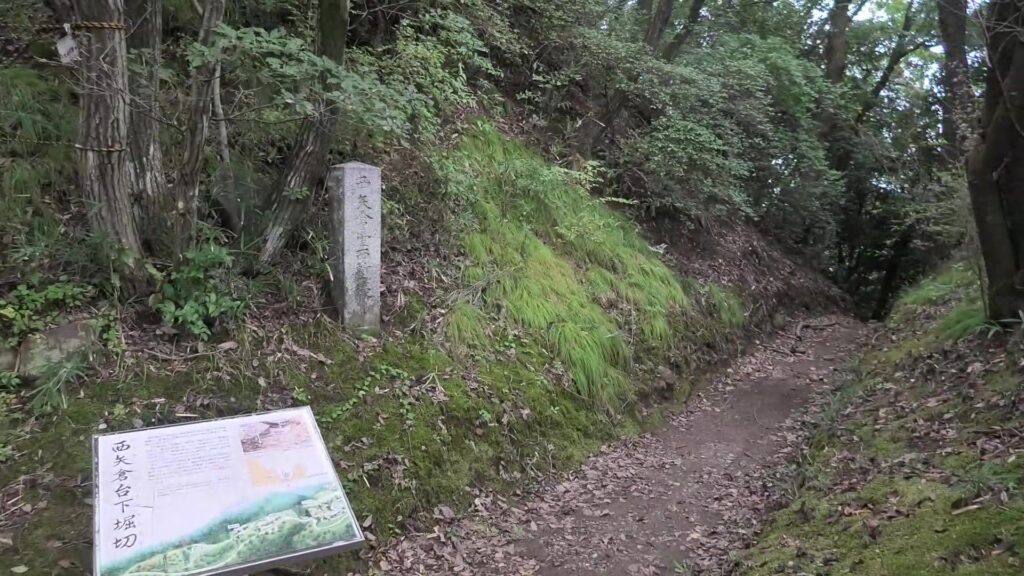
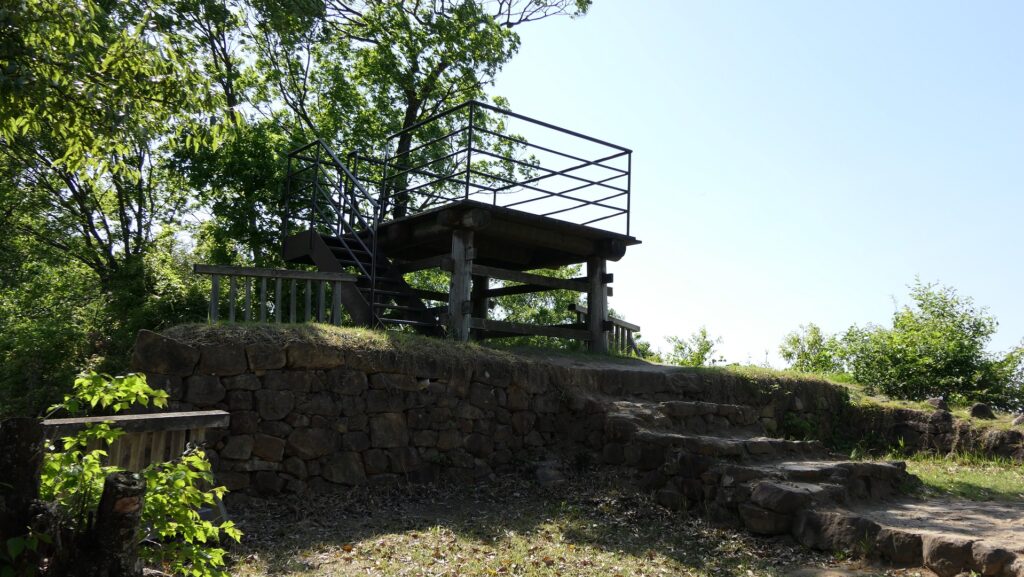
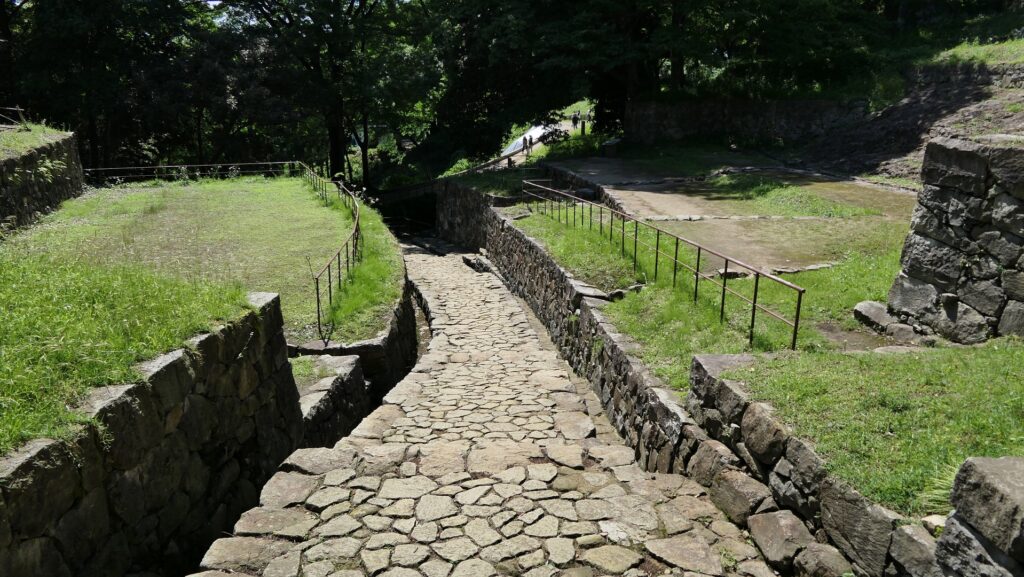
特に物見台の前にある堀切は、岩場を深く削り取って作られたものであり、大変印象的です。更には堀切の背後には、二重の関門があって復元された石垣によって囲まれています。この関門へは、堀切にかかった土橋を渡って入っていきます。
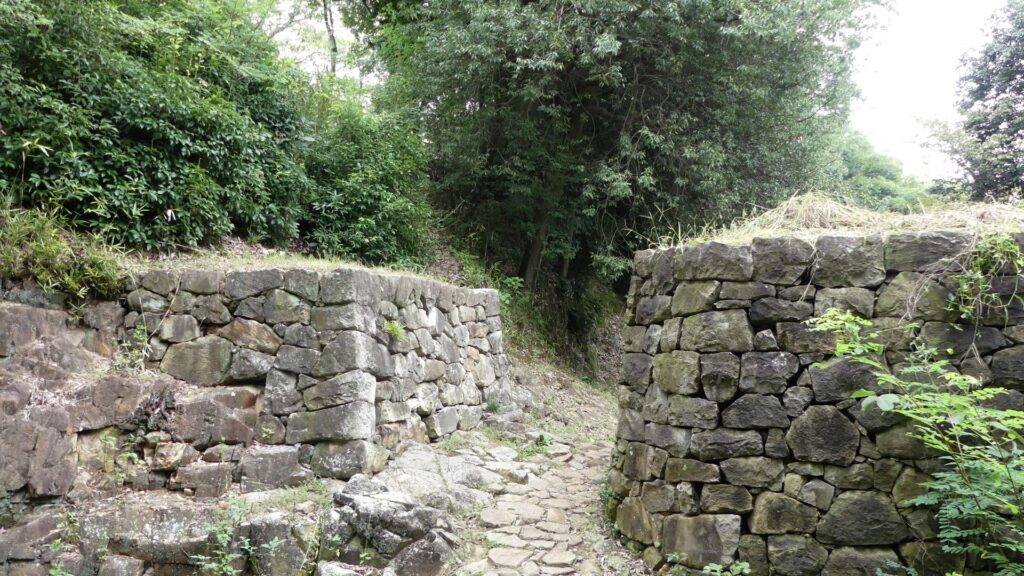
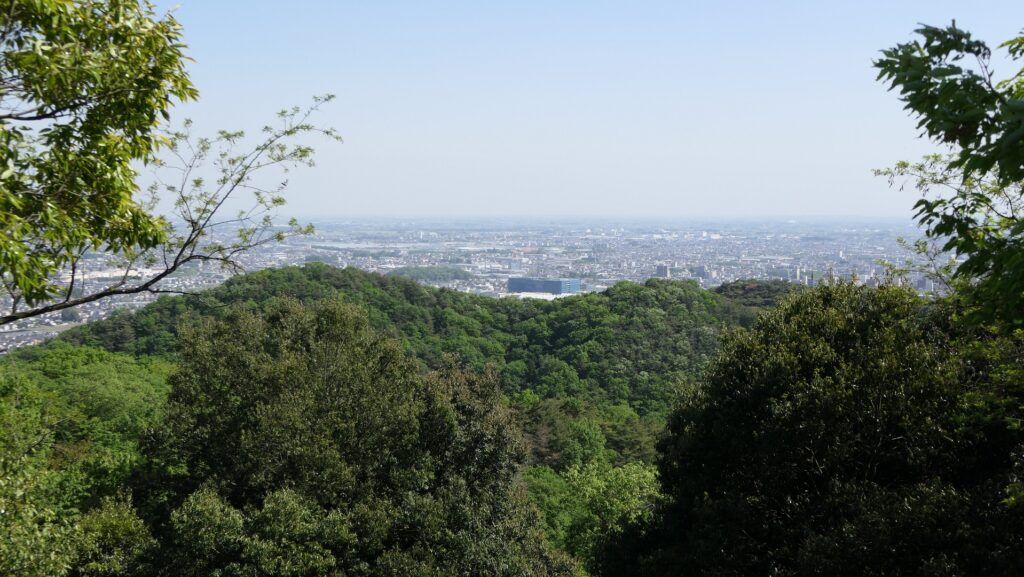
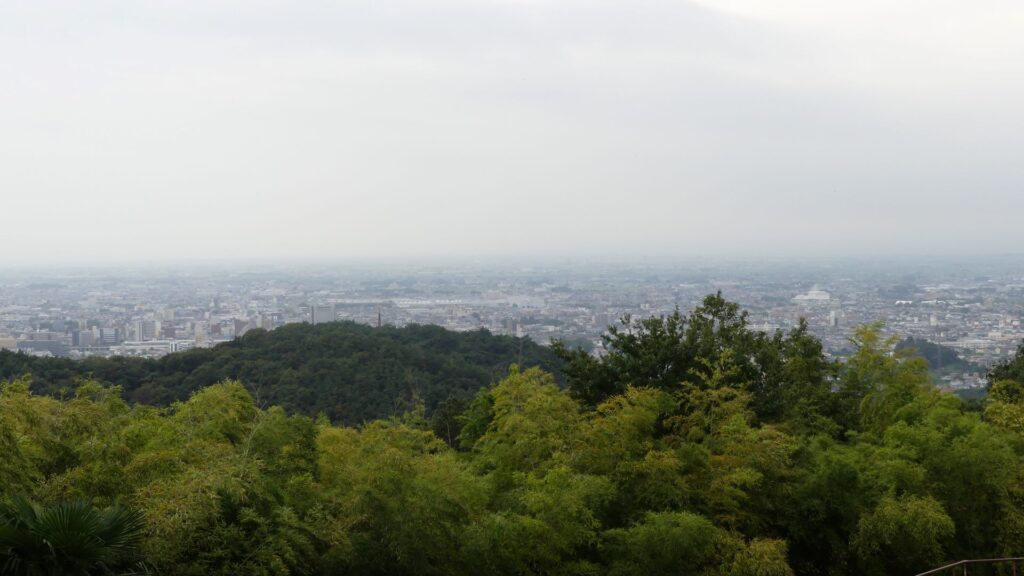
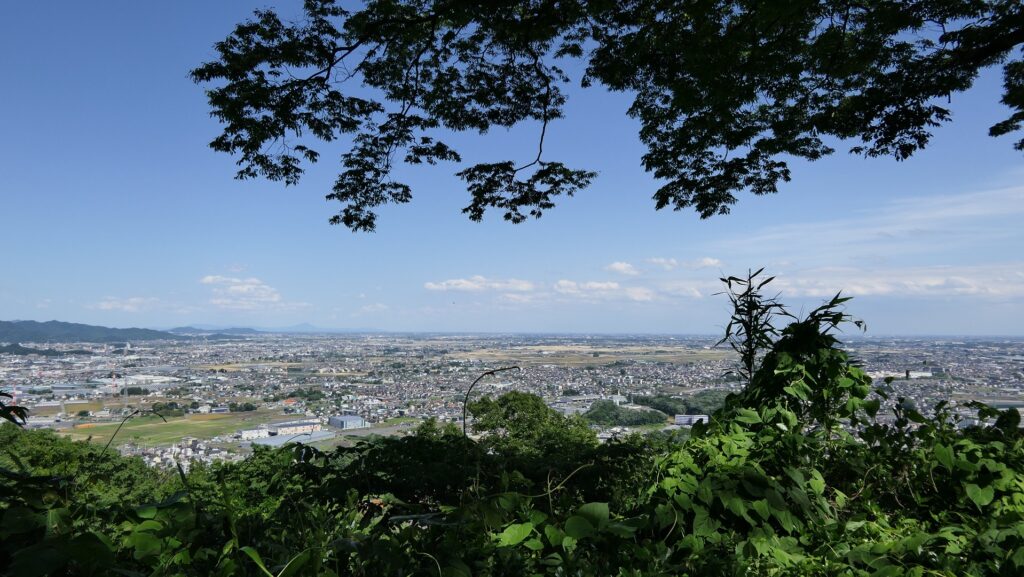
関門の頭上の物見台があったとこところには、展望台が再建されていて、その上からは市街地やその周りの山々が見渡せて素晴らしい景色です。このエリアは城防衛の要の地点だったに違いありません。
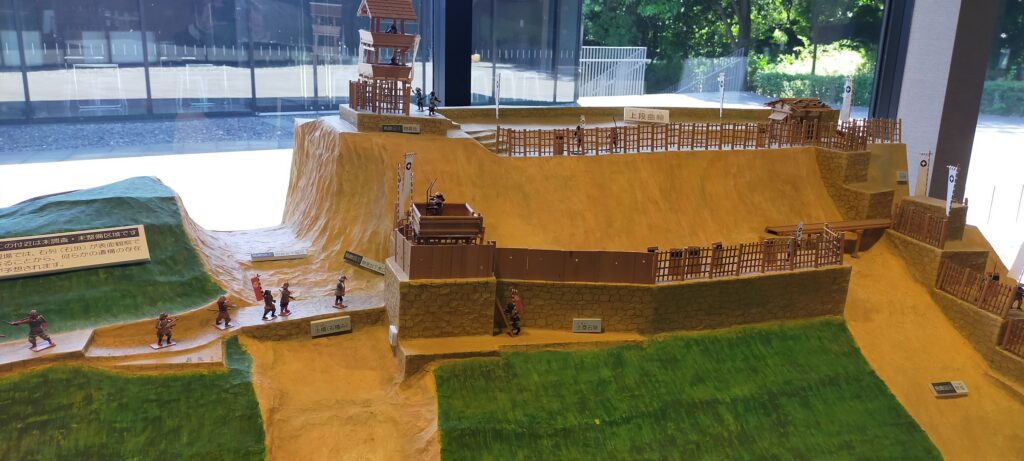
石垣・石敷で復元された大手虎口
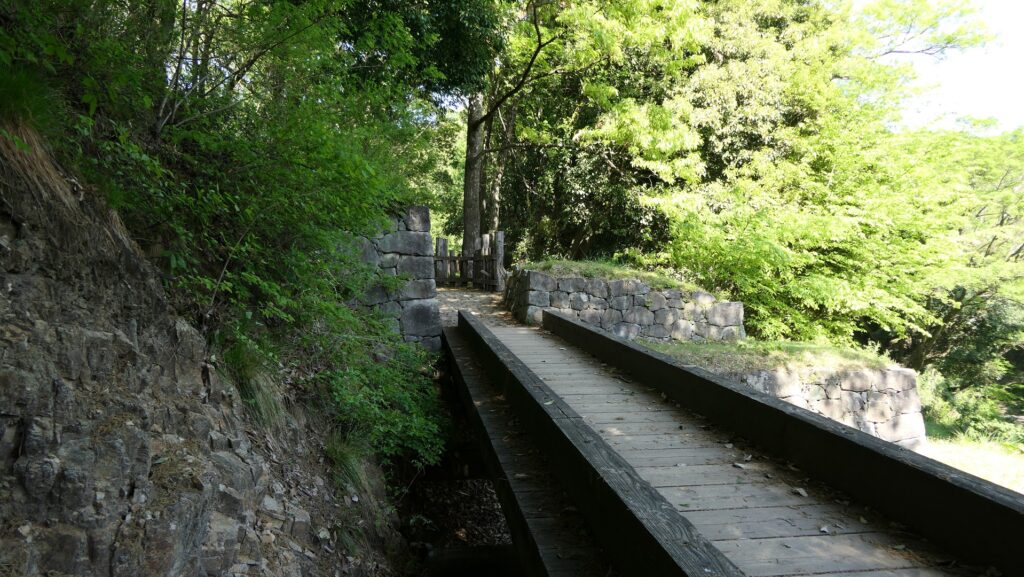
次に来るのは、城の主要部分で、城で最も大きな「大堀切」と「月ノ池」と呼ばれている石垣で覆われた小さな貯水池によって他と隔てられています。
城主要部の地図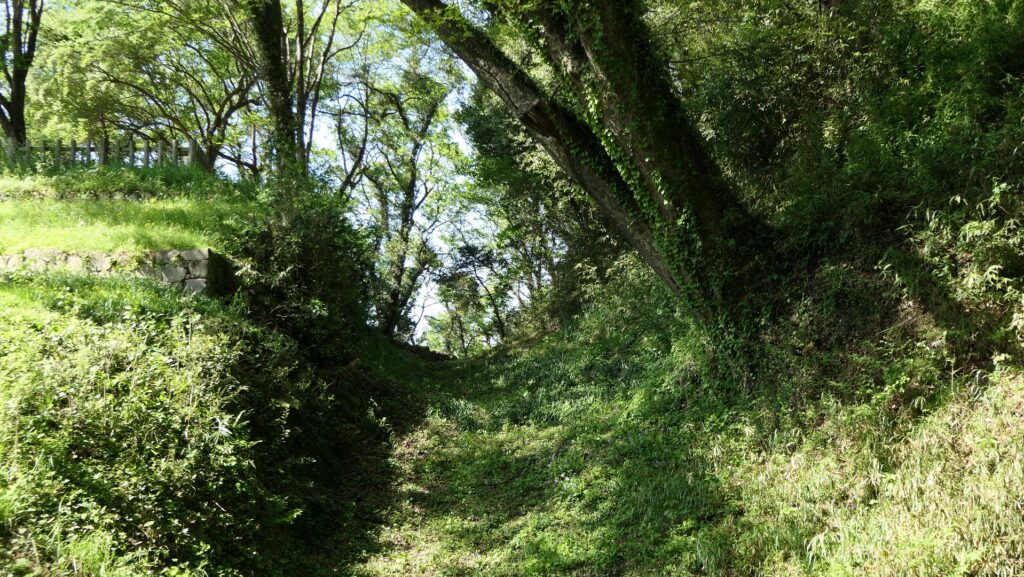

その池を越えていくと、谷の中で際立って見える大手虎口が見えてきます。谷の両側を素晴らしい多段階の石垣が覆っています。この虎口はまた、排水路を伴った石が敷かれたいて、まるでヨーロッパの城のようにも見えます。これらの石垣・石敷は、現代になって発掘調査の成果とその後の研究に基づき、一部はオリジナルの石を使って復元されたものです。

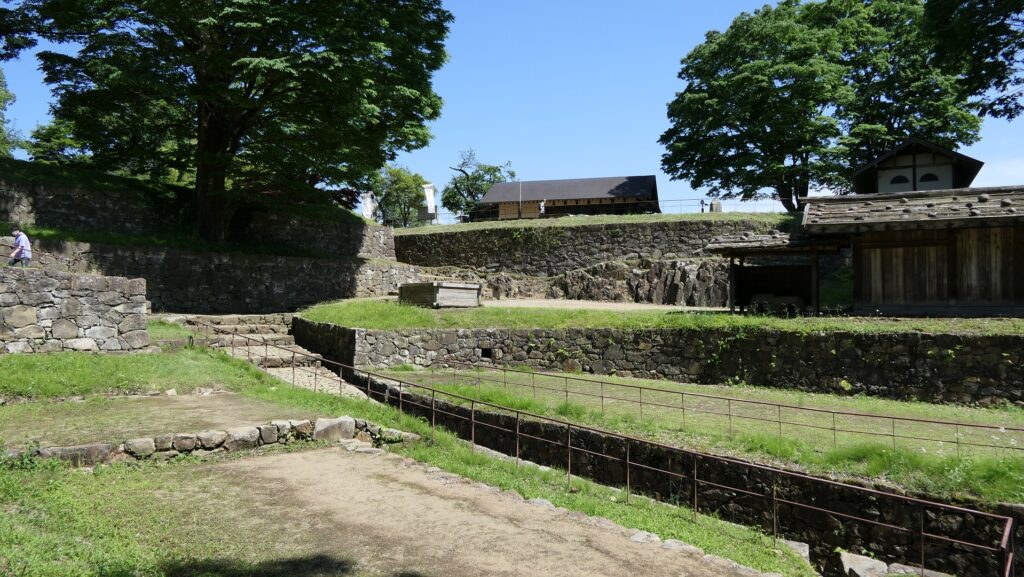
これらは最後の城主であった北条氏によって完成されたと考えられています。その理由は石垣を積むのに、アゴ止めという技法が使われており(石垣の一番下の段の石が大きくはみ出していて、石垣の崩壊を防ぐようになっています)、この技法は北条氏の他の支城である八王子城でも使われているからです。しかし発掘により、石垣は何度も改修されたことがわかっていて、北条氏より前の由良氏が石垣を作り始めたと考えられています。

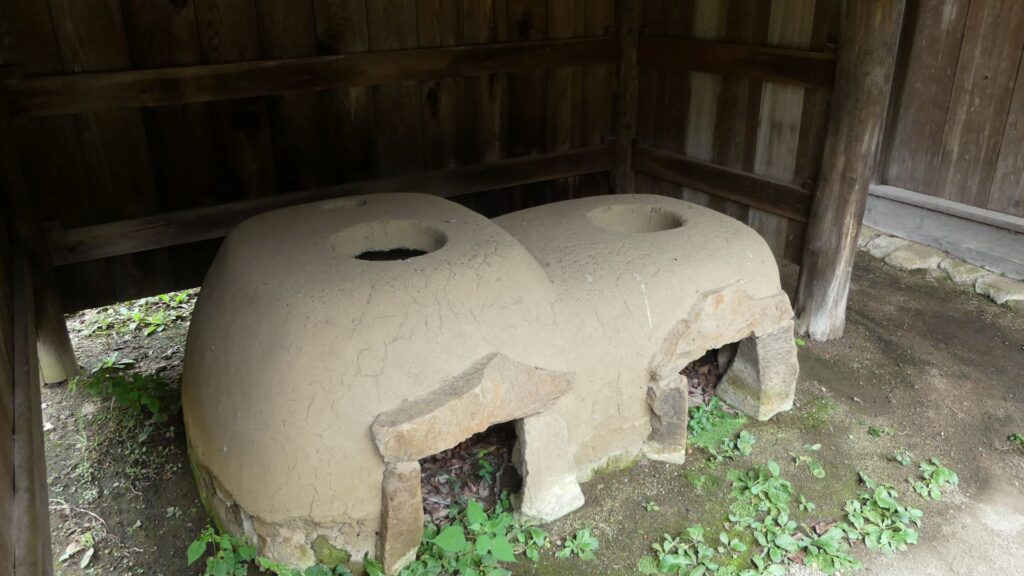
城の生活の場と聖地
谷の上段の方の曲輪群は、防衛の拠点であるとともに生活の場としても使われました。発掘によって、カマドや井戸の跡が発見されています。これらは、石垣の上(大手虎口南上段曲輪)に、小屋とともに復元されています。最上段のところにある南曲輪は、現在休憩所として使われていて、ここも景色がよい場所です。
城主要部の地図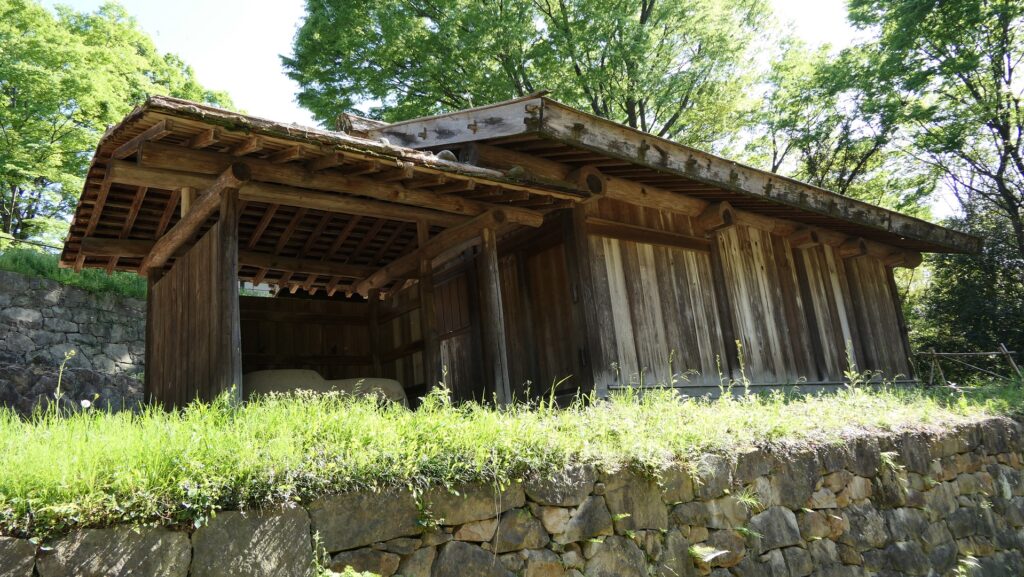
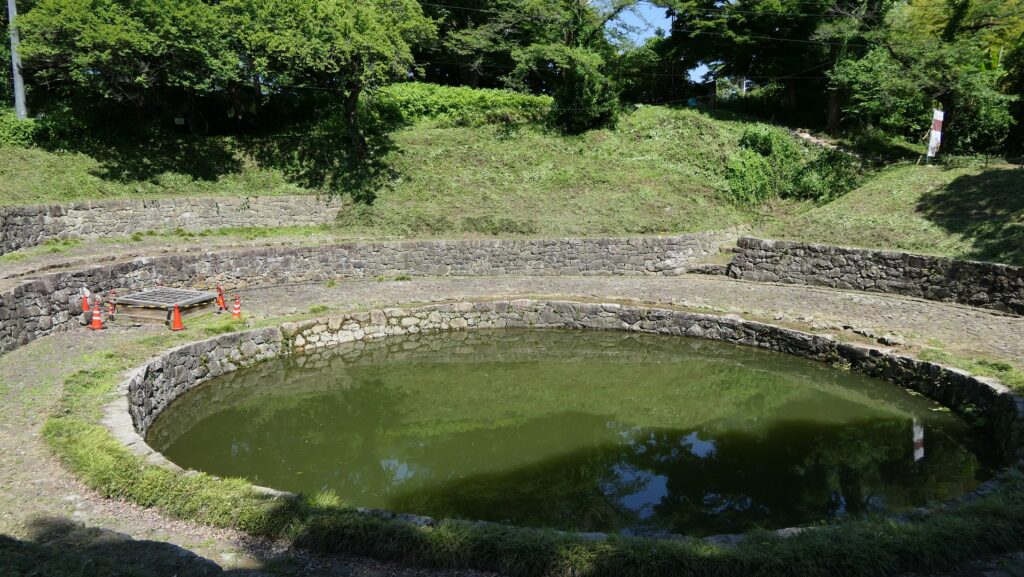
山の頂上にある本丸に行くには、「日ノ池」と呼ばれる、これも石垣によって覆われていますが、月ノ池よりもっと大きな池を通り過ぎていきます。これは貯水池ではなく、湧水池であるとされています。この城が築かれるよりずっと前の古代のときから聖地として人々の間で知られていました。よって、城にいた人たちもこの池を宗教的な儀式のためにも使っていたと考えられています。
神社になっている実城
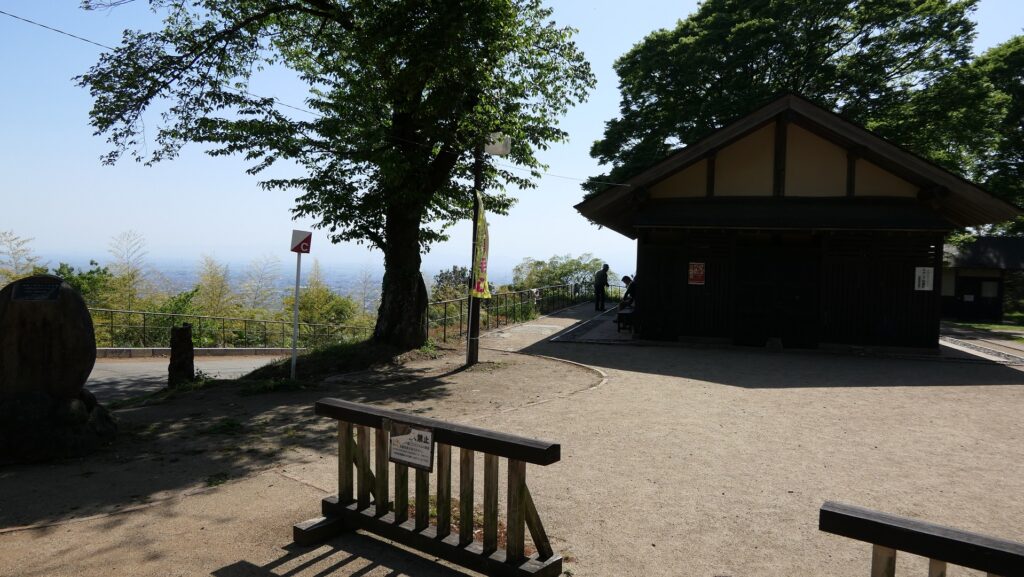
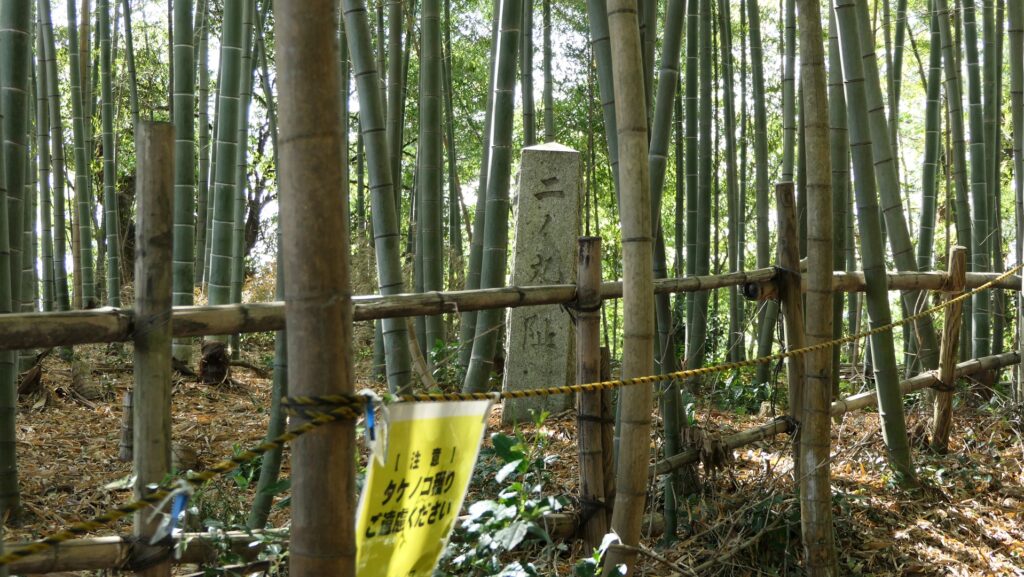
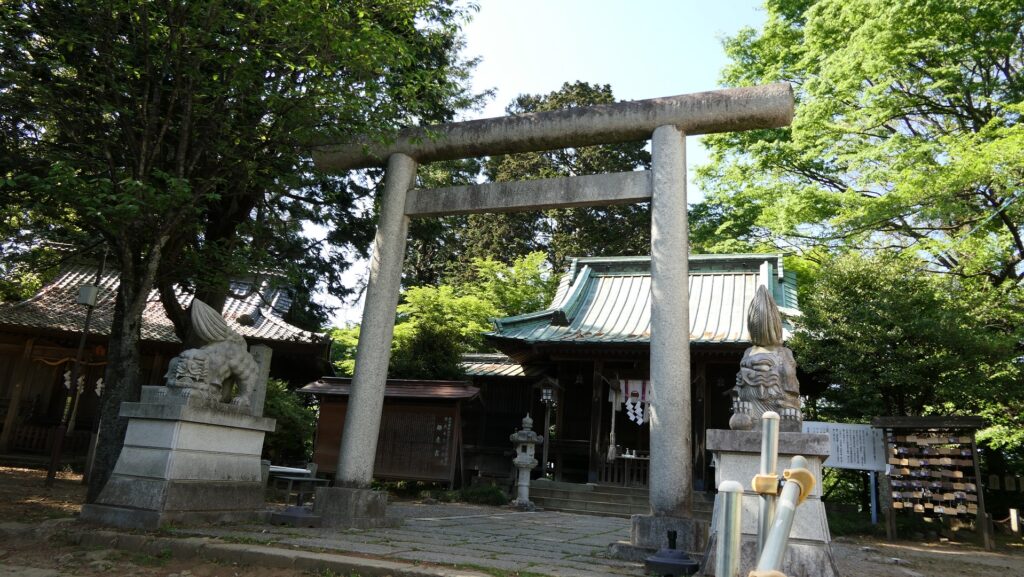
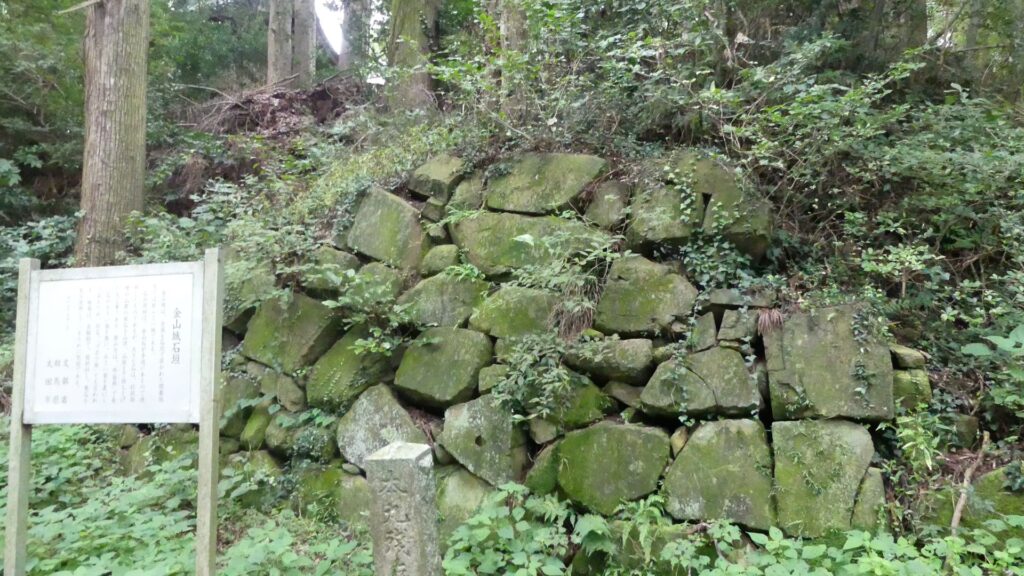
山の頂上周辺には、実城(本丸)、二の丸、三の丸があります。しかし後者の二つの曲輪は私有地となっているので立ち入りはできません。よって、頂上の本丸に行くしかありませんが、そこは現在は新田神社になっています。城跡としては、実城の周りの武者走りを呼ばれるところを歩いてみると、部分的に城のオリジナルの石垣が残っています。しかし、これを誰が築いたかは不明とのことです。
その後
金山城が廃城となった後、徳川幕府は庶民を山域に立ち入ることを禁じ、江戸時代の間、そこで採れる松茸は将軍に献上されていました。実は、金山で採れた松茸は1964年まで皇室に納められていたそうです。
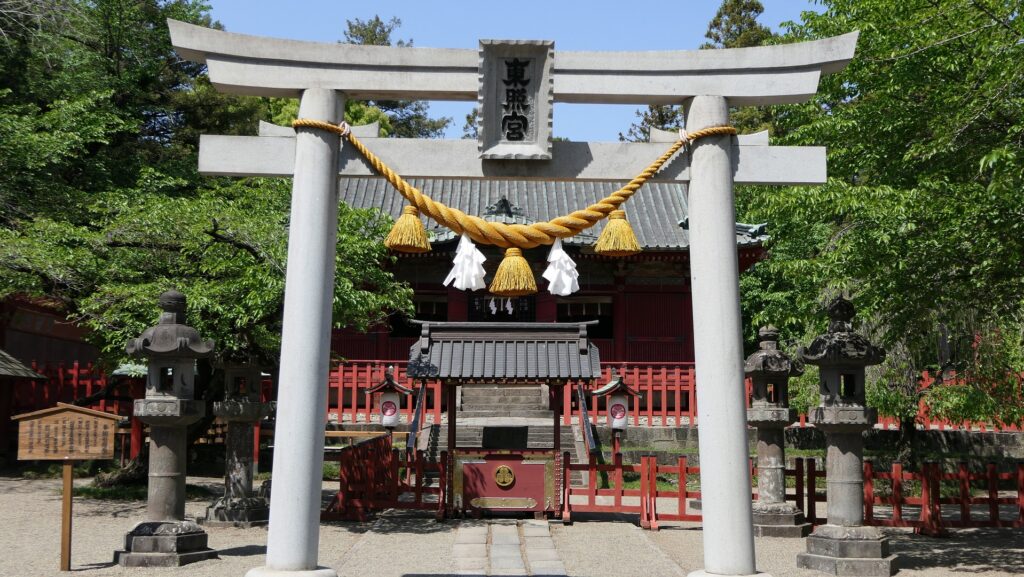
幕府はまた、以前新田荘だった地域を保護し、世良田東照宮(せらだとうしょうぐう)、金龍寺(きんりゅうじ)、大光院(だいこういん)などの寺社仏閣を建設しました。幕府は、徳川将軍家も新田氏の支族であると称しました。つまり皇室の子孫ということになります。幕府でさえも全国を治めるのにそれ相応の権威を必要としたのです。城跡としては、金山城跡は1934年に国の史跡に指定されました。太田市は1995年以来、史跡として調査発掘や整備を続けています。
これで終わります。ありがとうございました。
今回の内容を趣向を変えて、Youtube にも投稿しました。よろしかったらご覧ください。