You can walk to the hall ruins from Hakodate Airport.
Later History
Shinori Tate site was owned by a school or the Japanese Army in the Meiji Era. However, when it got private-owned, some local schoolteachers were worried about the future of the ruins. That’s why they suggested the owner to donate the land of the ruins to the public. As a result, they were succeeded and built the remaining monuments in the ruins in the Taisho Era. That also resulted in the ruins being designated as a National Historic Site in 1934.
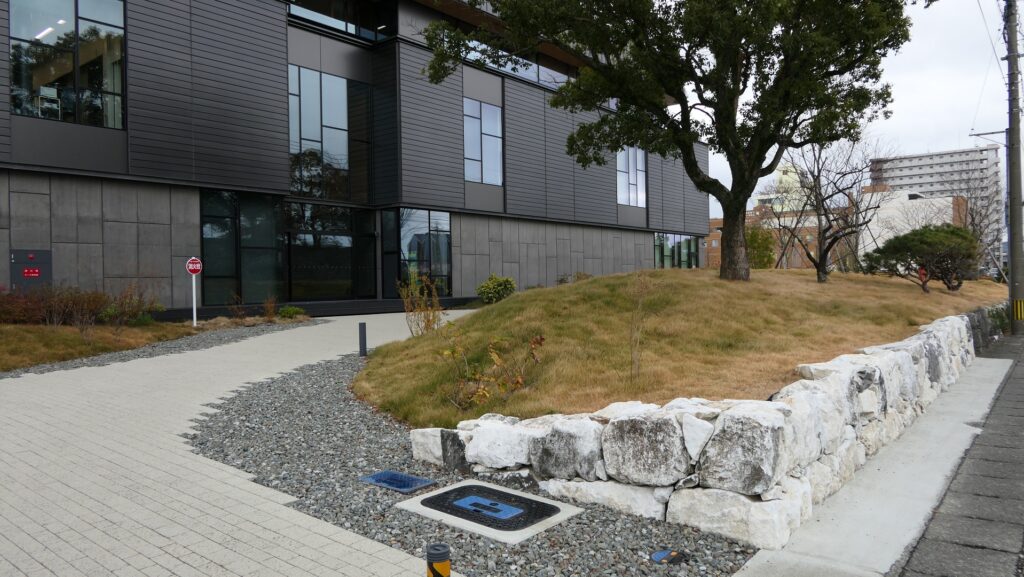
The signpost of Shinori-Tate Ruins
My Impression
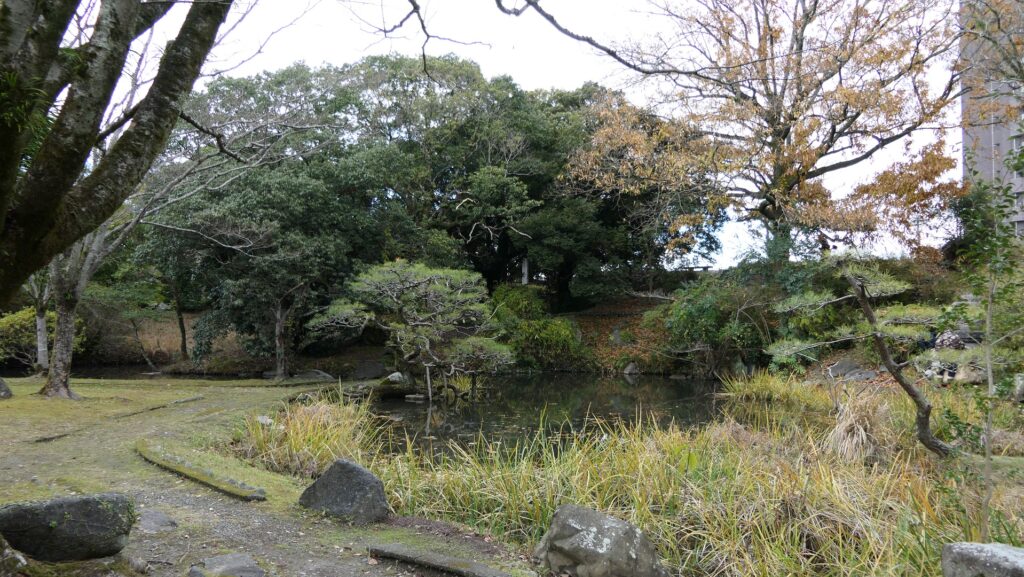
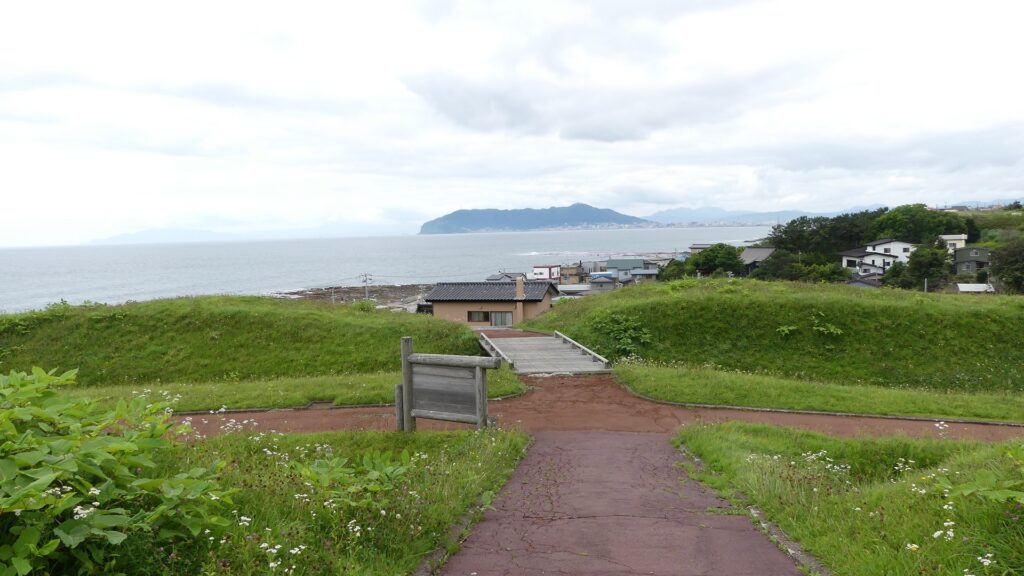
Maybe Shinori Tate was not strong to fight against the Ainu people because it was captured by them twice. However, it was enough if the “Japanese” and Ainu people lived together peacefully in Shinori. I like the Shinori Tate Ruins very much because I can always enjoy relaxing at the site and access there very easily from Hakodate Airport like I will mention in the next section.
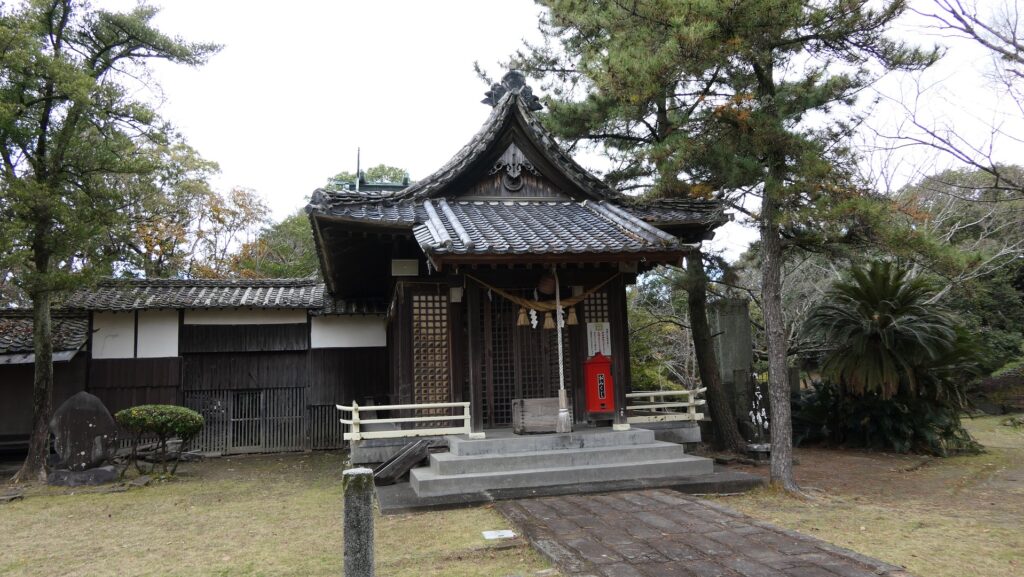
Shinori-Tate Ruins in the front and a view of Hakodate Mountain in the back
How to get There
Let me tell you how to access the ruins of Shinori Tate by walk (or car) from Hakodate Airport.
The map around Hakodate Airport, the red broken line is the route to Shinori-Tate
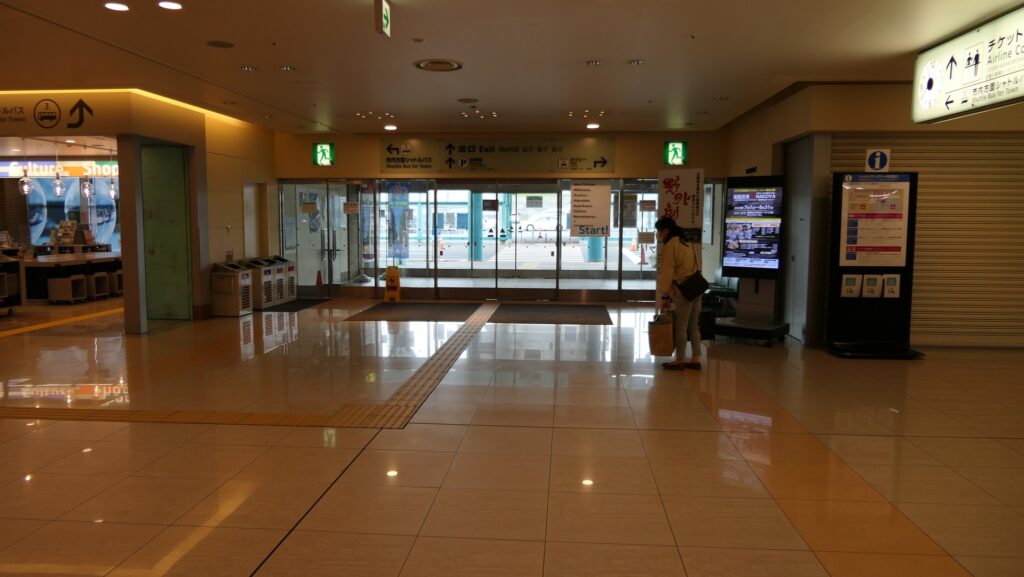
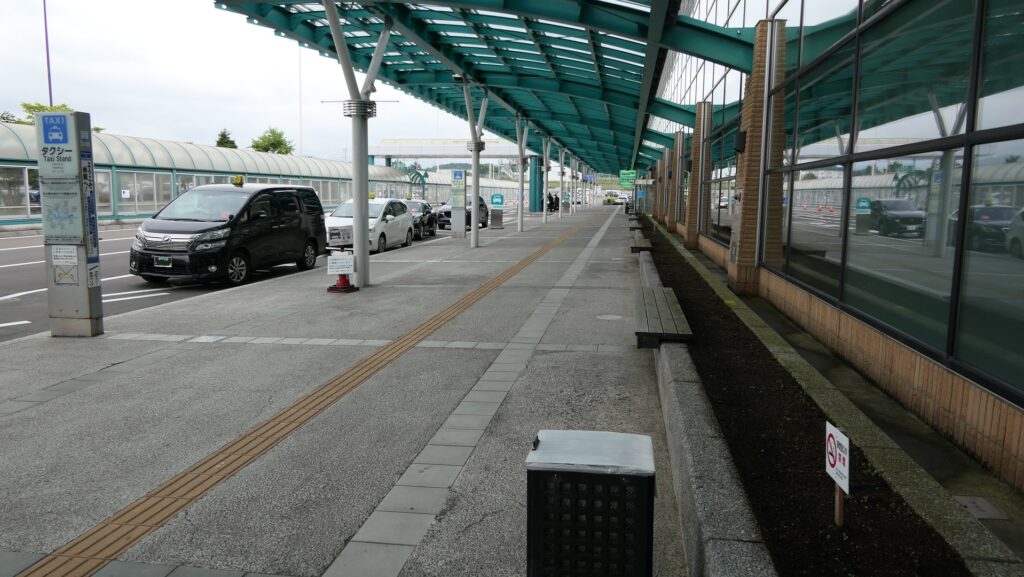
When you exit the airport, turn right and walk along the taxi stand.
Going to the exit of the airportWalking along the taxi stand
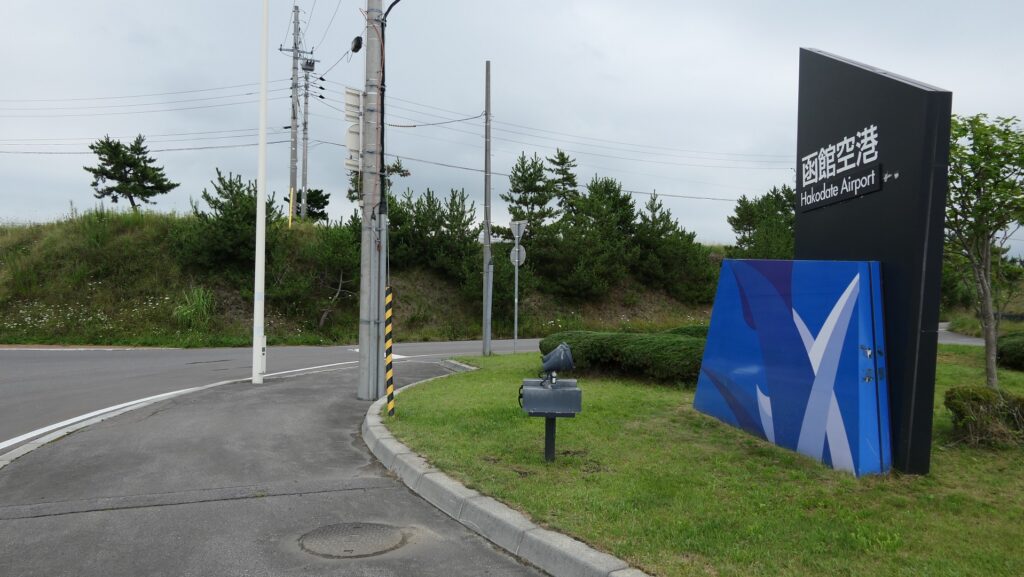
Then, you will reach the edge of the motor pool with the signpost of Hakodate Airport standing. Turn right on the road in front of the airport and turn right again at the first intersection.
Turn right at the signpost of Hakodate AirportTurn right at the first intersection
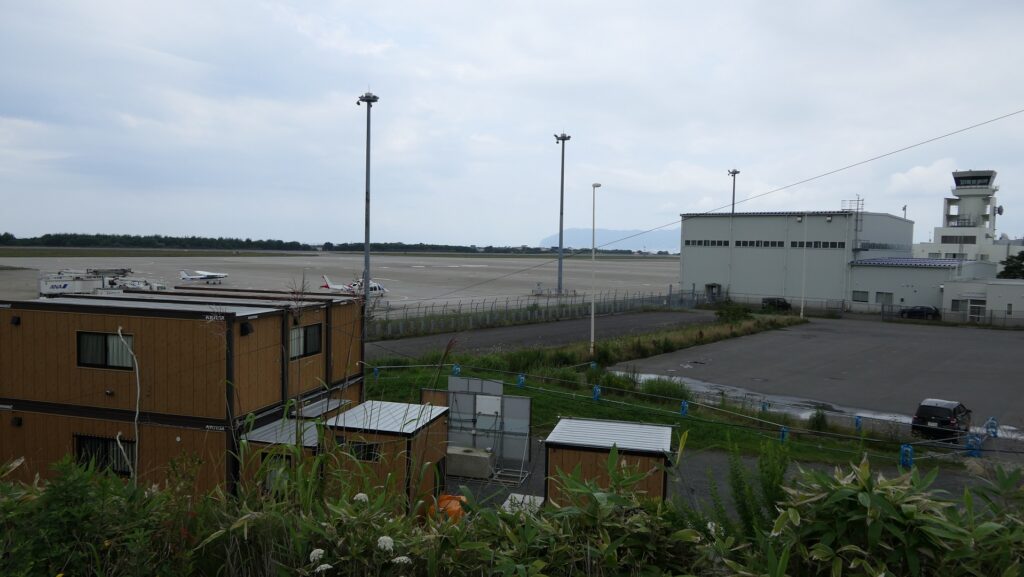
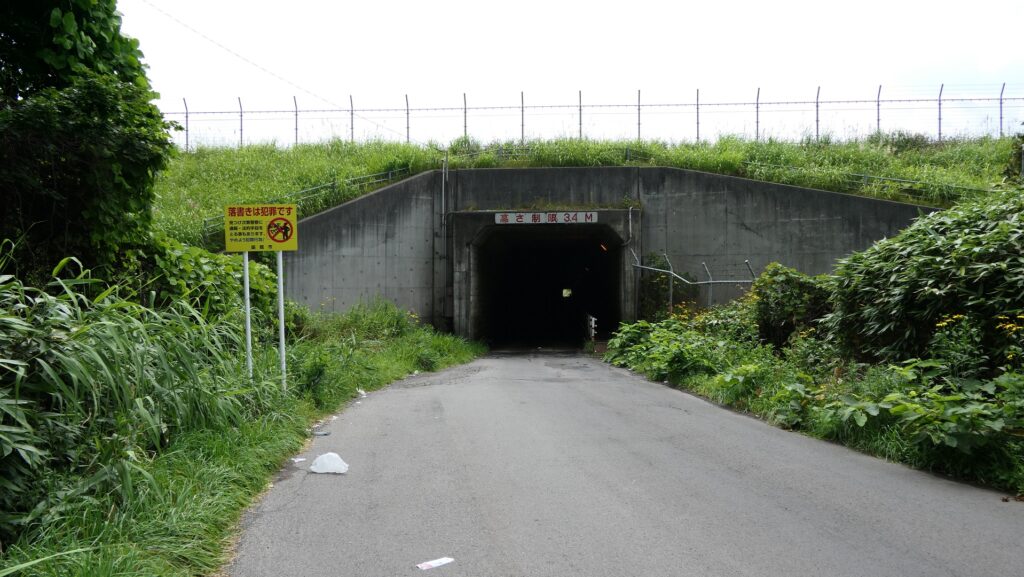
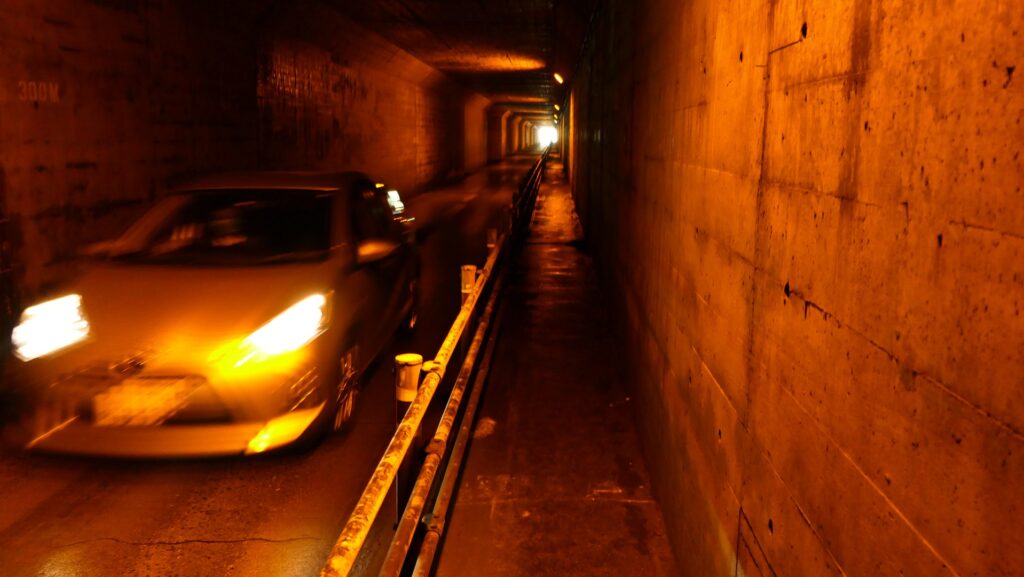
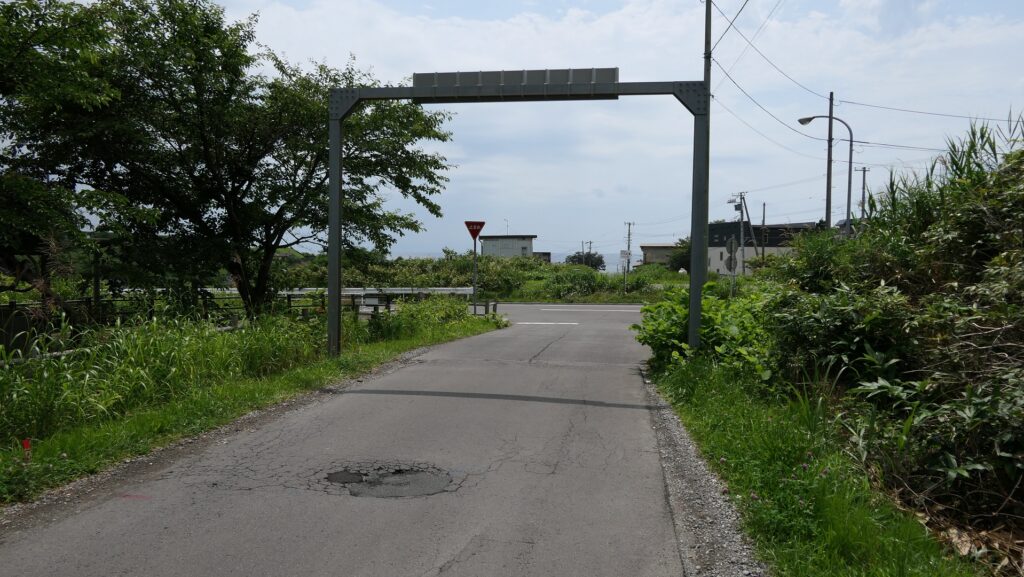
Go along the road with seeing the airport on the right, then you will see the tunnel under the runway of the airport. The tunnel road has the sideway for walkers but be careful when you drive as it has only single lane for cars.
You can see the runway of the airportThe entrance of the tunnel under the runwayThe sideway of the tunnel
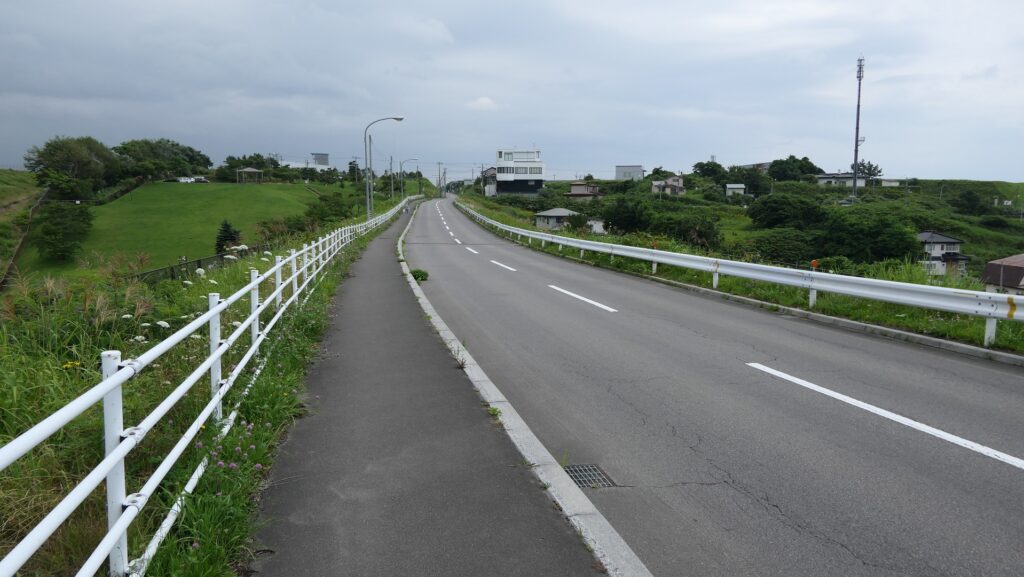
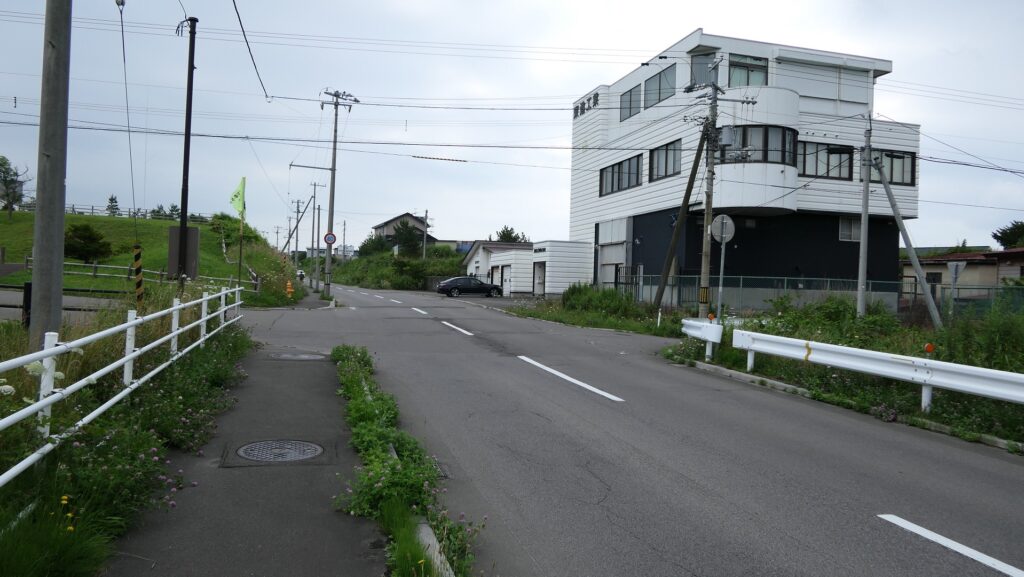
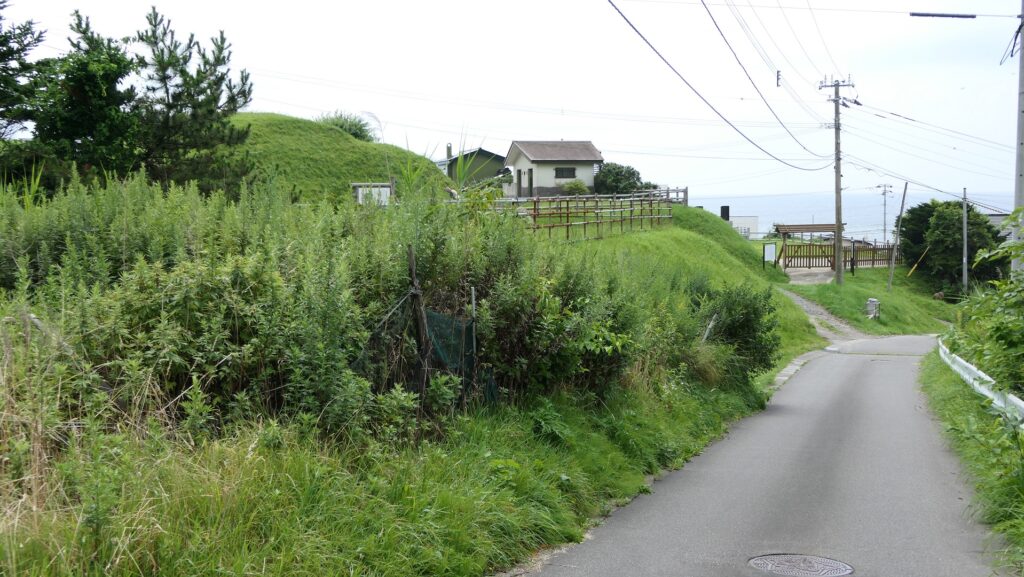
After exiting tunnel, turn left at the next intersection. You will see the ruins on the right, so turn right at the next intersection, and you will soon arrive at the ruins.
Turn left after exiting the tunnelGetting close to the hall ruinsYou can see the hall ruins on the rightTurn right at this intersectionArriving at the ruins soon
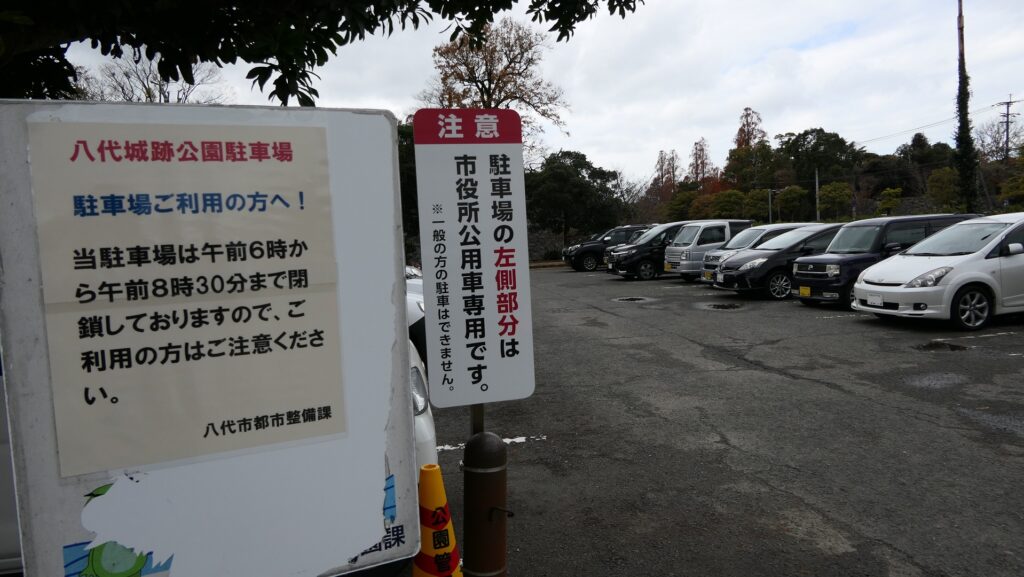
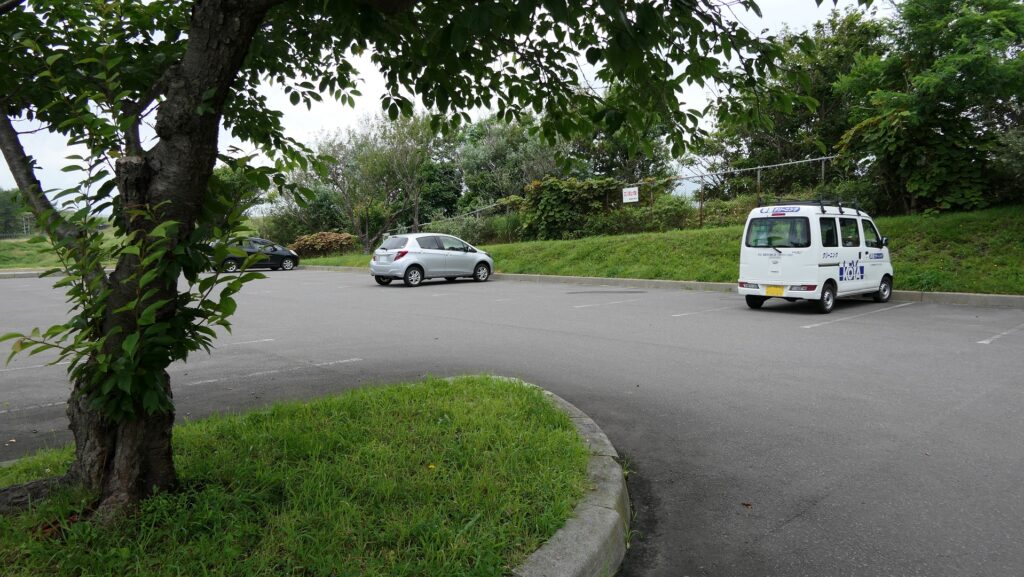
It takes about 20 minutes on foot to get there. If you drive, turn to the left at the last intersection as the ruins have no parking area. You can use a parking lot at a park nearby.
The parking lot at the park nearby
If you want to use a bus, take the Hakodate Bus on No.91 line from Hakodate Station and get off at the Shinori bus stop. It takes few minutes from the bus stop to get there.