立地と歴史
松倉氏が本拠地として築城
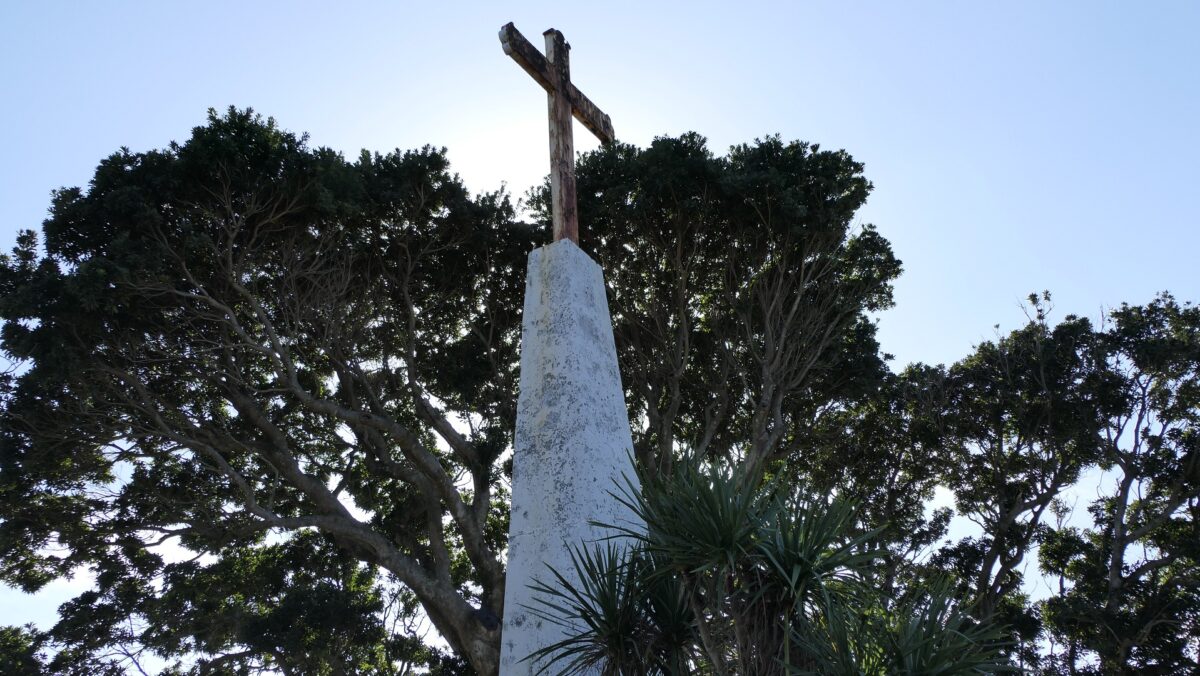
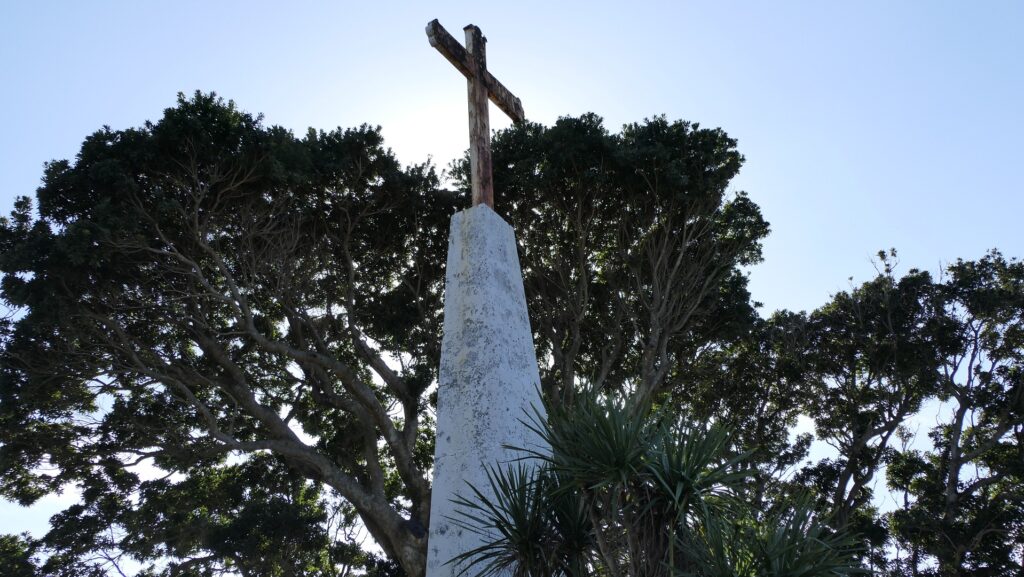
島原城は、九州地方の西部分に位置する島原半島にある城です。中世の期間、この半島の周辺地は、基本的には有馬氏が支配していました。16世紀後半の有馬氏の当主であった有馬晴信は、キリシタン大名として知られていました。そのため、キリスト教はこの半島周辺に急速に広まったのです。ところが、彼は1612年に徳川幕府により罰せられてしまいます。彼の息子も1614年に他の地に移されました。その後、松倉重政が1616年に徳川幕府により島原藩主として宛がわれました。彼は最初は有馬氏が居城としていた日野江城に住んでいましたが、すぐに自身の本拠地として新しい城を築くことを決めました。これが島原城で、1624年に完成しました。
城の位置
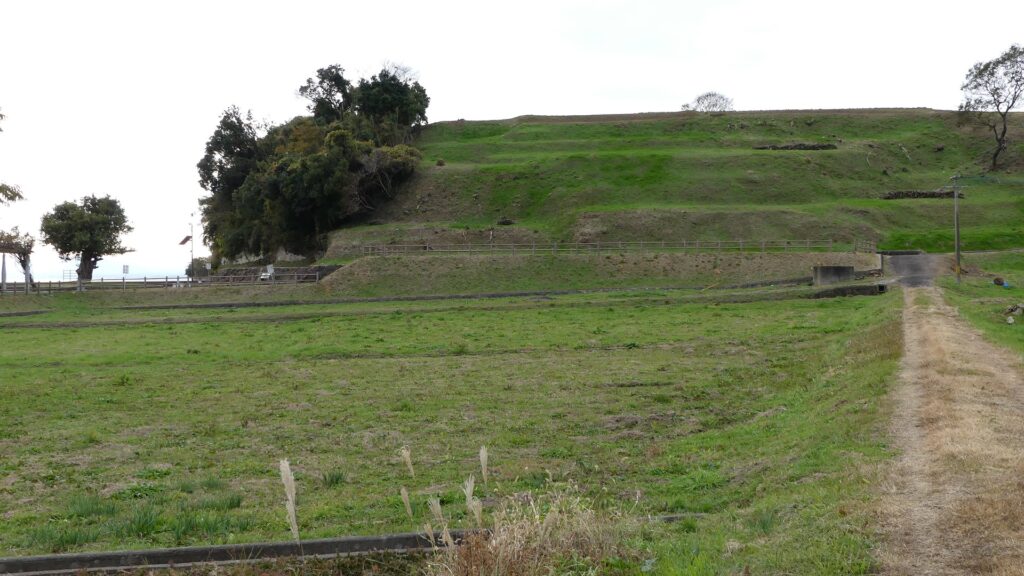
島原藩は比較的小規模の藩であり、4万3千石の石高を有していました。ところが、この城は10万石の規模の藩の城に値すると言われていました。このことは、島原藩の領民が高い年貢に苦しみ、城の建設にも多くの労役に駆り出されていたことを意味します。この城には3つの曲輪があり、南から北に向かって一列に並んでいました。本丸と二の丸は内堀に囲まれており、廊下橋によってのみつながっていました。城の外から敵が本丸を攻めようとしても、まず二の丸の入口を攻撃する必要があったのです。

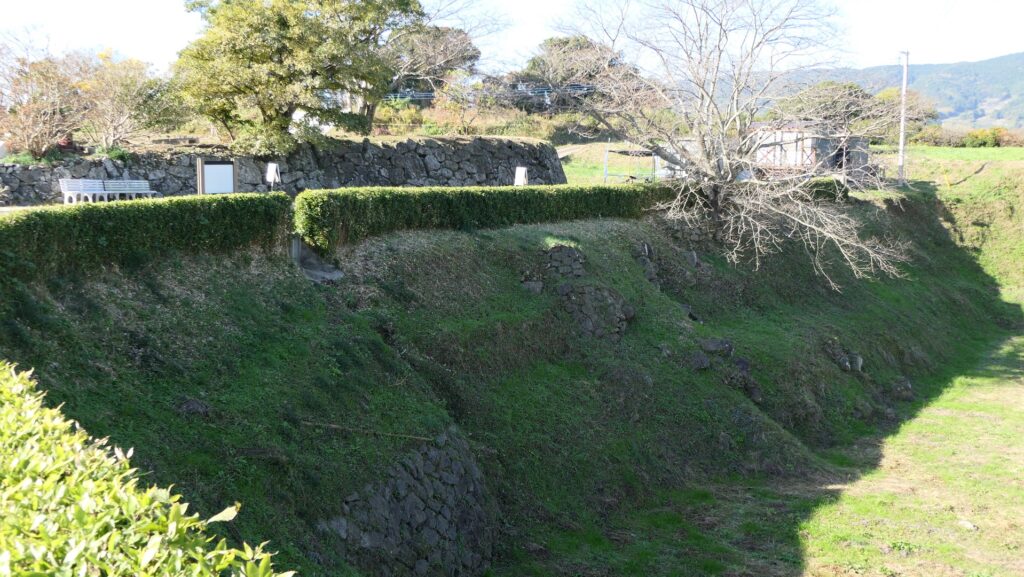
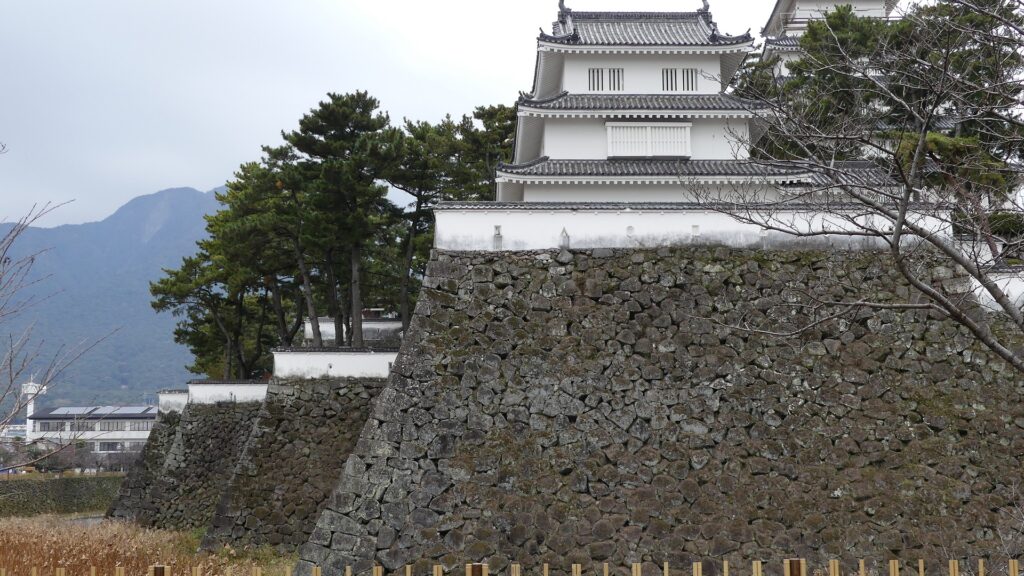
高石垣と5層の天守
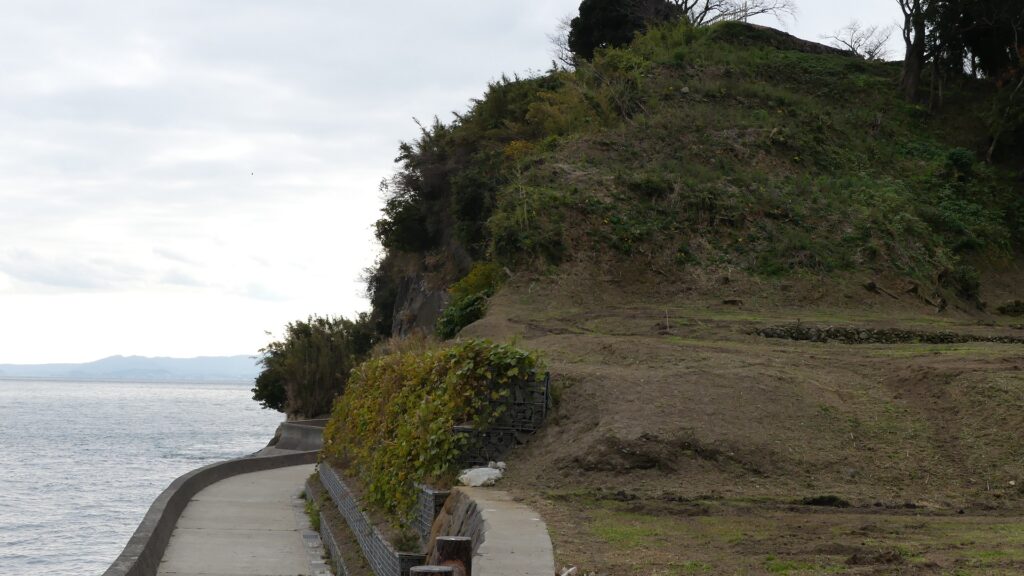
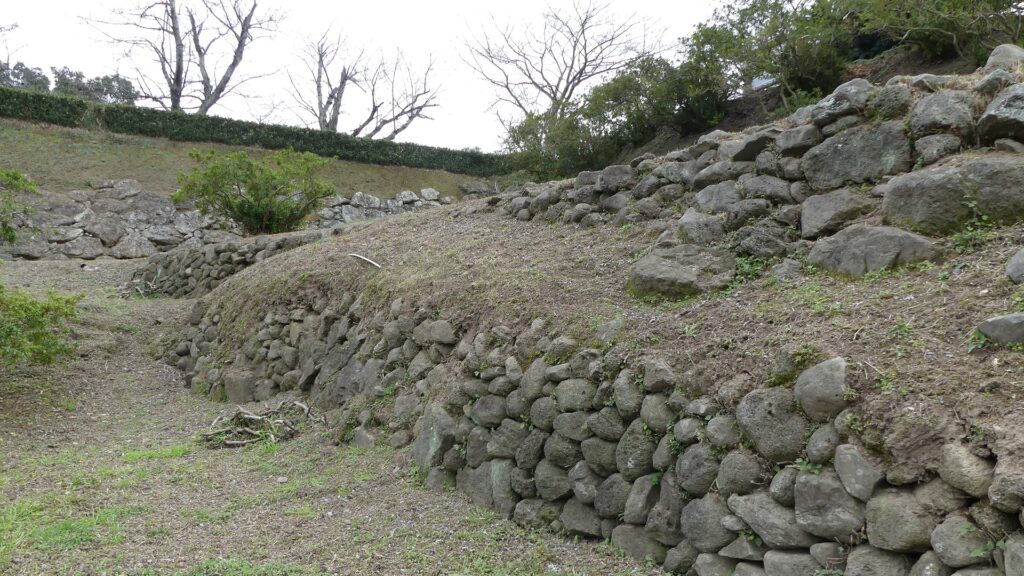
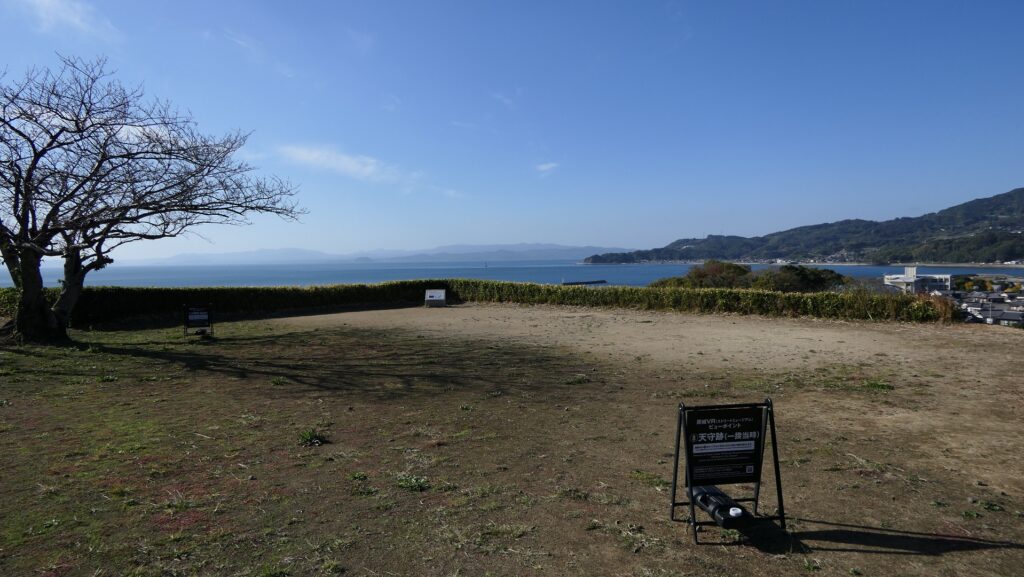
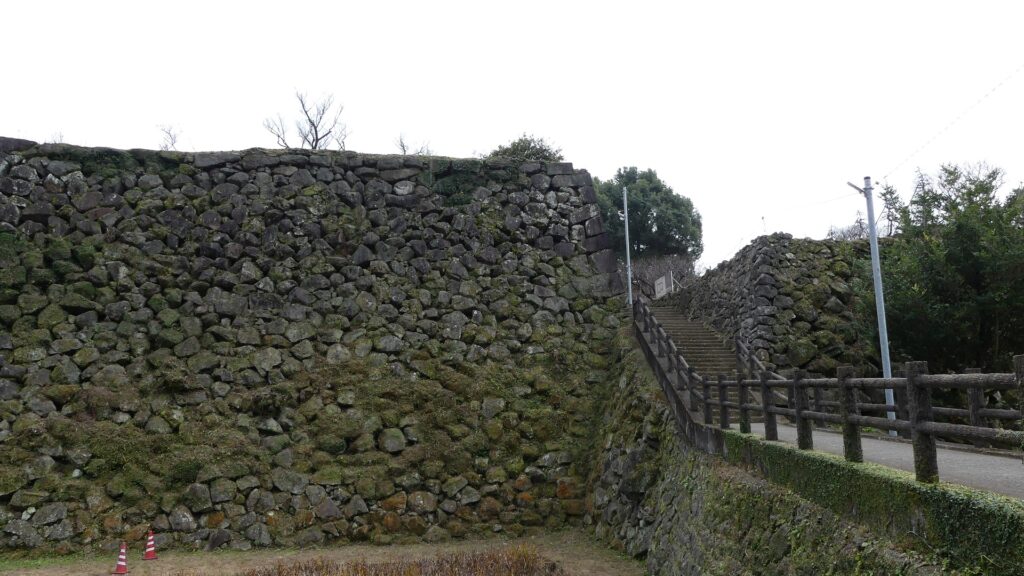
また、全ての曲輪は屏風折れの高石垣に囲まれており、守備兵から見て死角をなくし、敵に対して側面攻撃を可能としていました。特に本丸には、天守と11もの櫓がありました。天守は5層で、典型的な層塔型に作られていました。他の城にある天守は通常、破風や火灯窓などの装飾がありました。島原城の天守は単純に四角いフロアが、上階に向かって逓減して積まれており、屋根も最小限のものでした。この方式により、天守の建設がより効率的になり、防衛にも適していました。

松倉氏の圧政により島原の乱が勃発
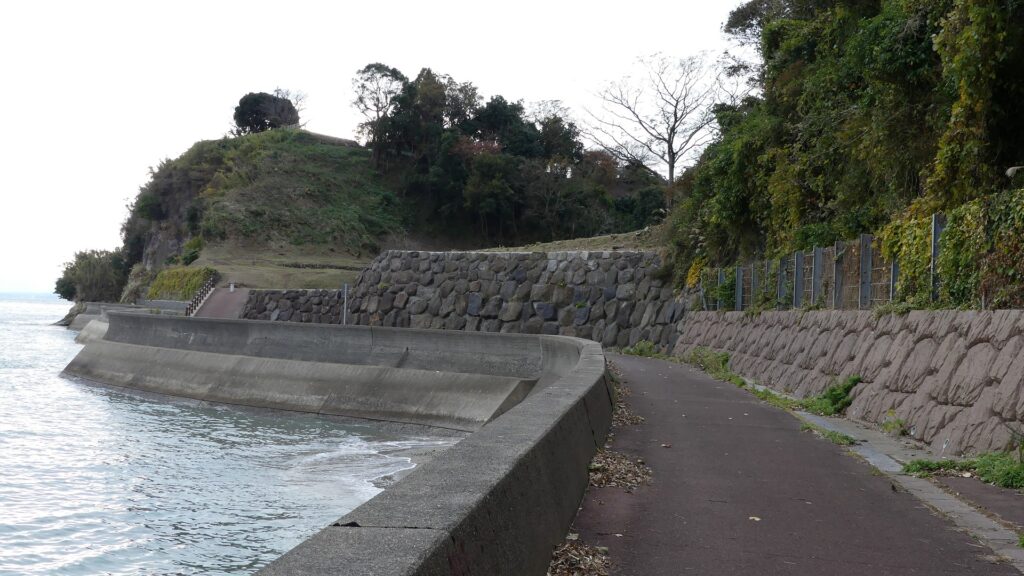
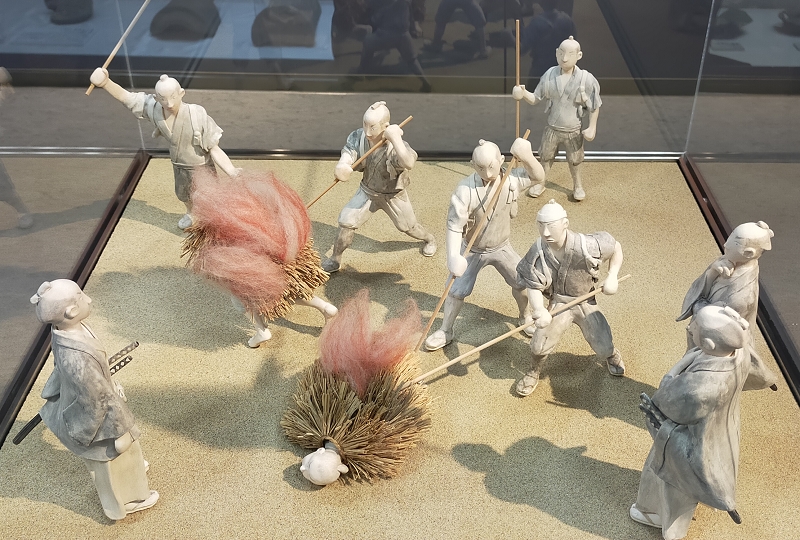
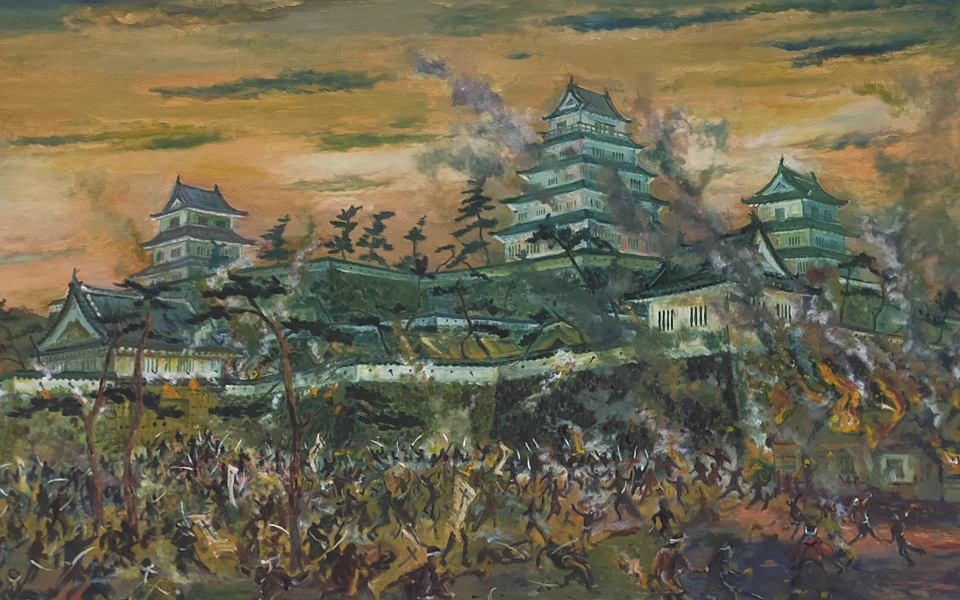
重政は、領民に圧政を加え、より多くの収入を得るために重税を課しました。徳川幕府がキリスト教を禁じた後は、改宗しないキリシタンを拷問しました。これは、幕府に忠誠を誓う彼なりのやり方だったようです。重政が亡くなった後、彼の息子、勝家は父親のやり方を踏襲し、更にエスカレートしました。クリスチャンを含む島原半島の人々は憤激し、1637年に島原の乱を起こしました。彼らはまず島原城を攻撃しました。反乱軍は、以前有馬氏に仕えていた浪人たちによって相当高いレベルまで訓練されていました。勝家はそのとき、城ではなく江戸に滞在していました。しかし、彼の部下たちが反乱軍を撃退しました。島原城は皮肉にも、住民たちと戦うことでその強さを証明したのです。
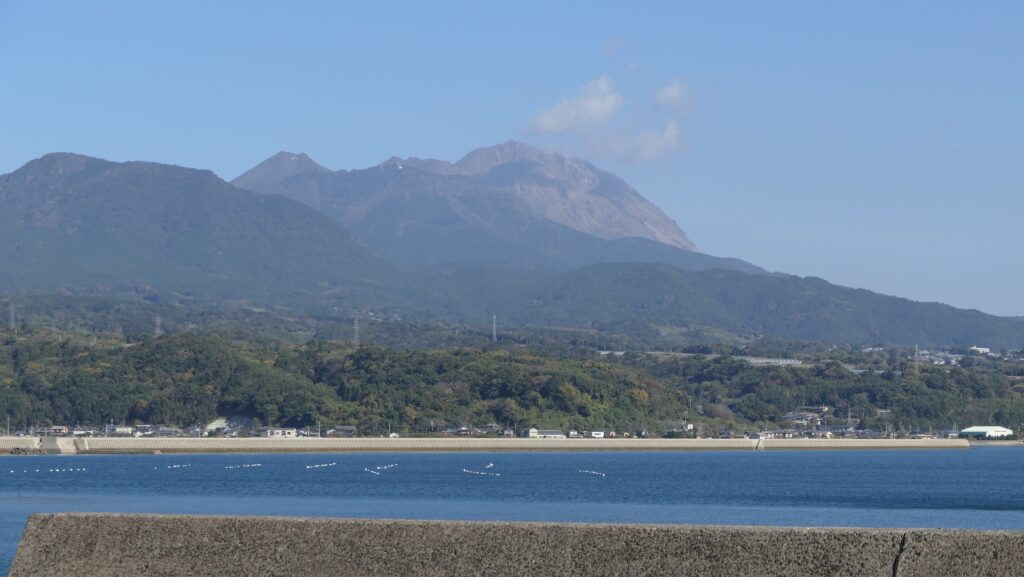
反乱軍の人たちは、原城に3ヶ月籠城した後鎮圧されました。幕府は松倉氏に対して、島原藩の藩主から改易処分を言い渡しました。松倉勝家は、失政のかどで処刑されました。その後、いくつかの大名家が島原藩と島原城を江戸時代末まで統治しました。1792年、松平氏の施政下において、島原大変と呼ばれる大規模な天災が発生しました。雲仙岳で発生した噴火と地震が、その手前にある眉山の崩壊を引き起こしたのです。山からの土石流により、多くの人々が亡くなりました。島原城もこの災害により一部が破壊されました。