122.Otaki Castle Part2

Was there the Main Tower in the castle?

Features

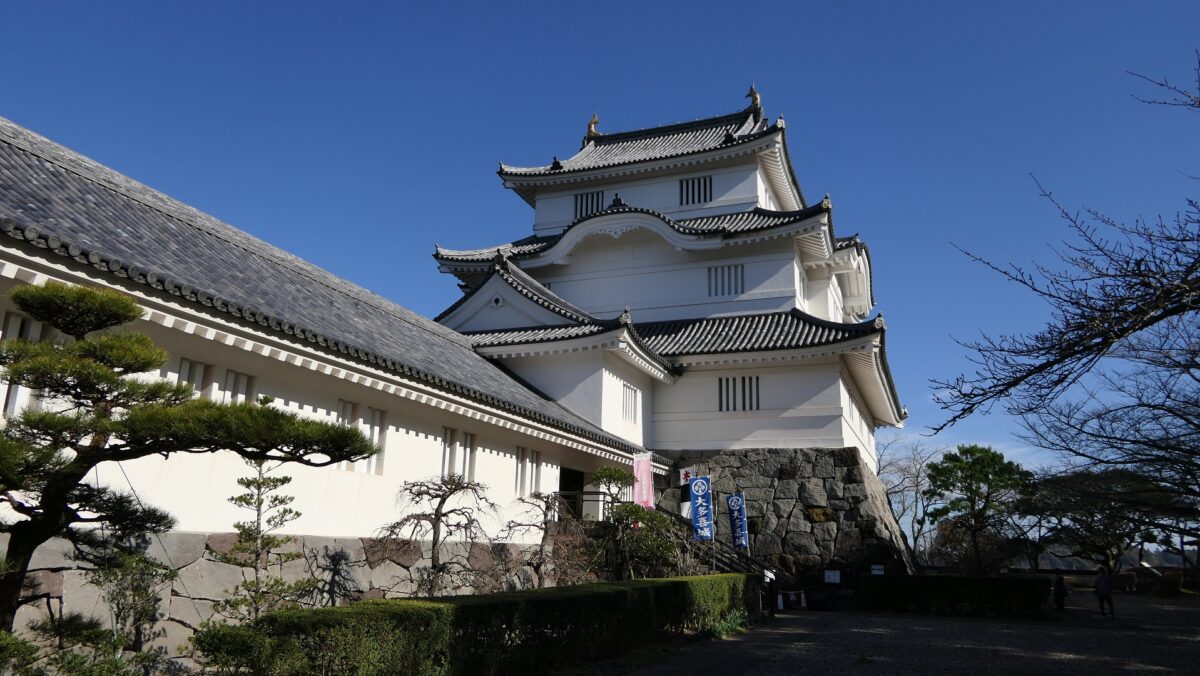
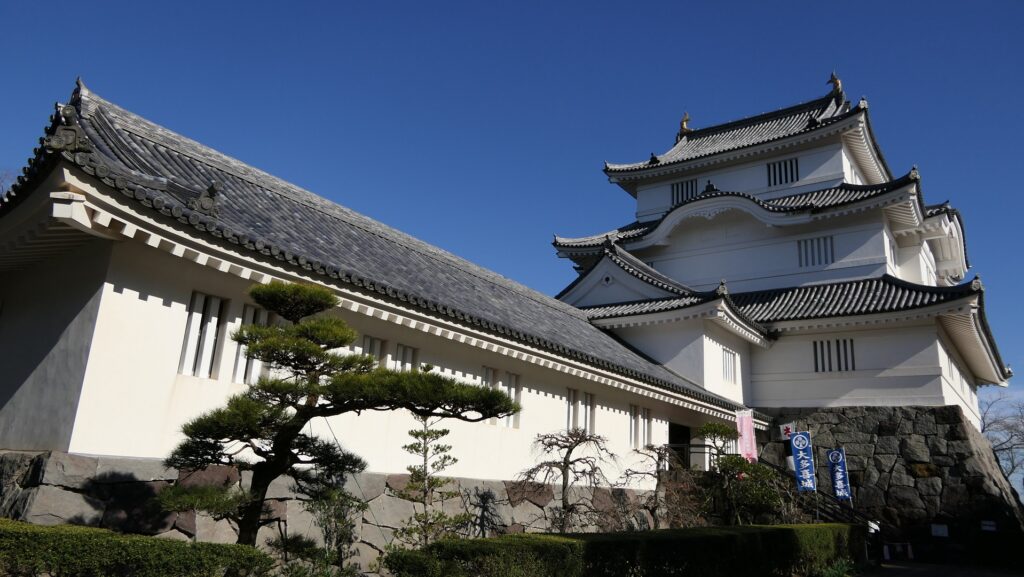
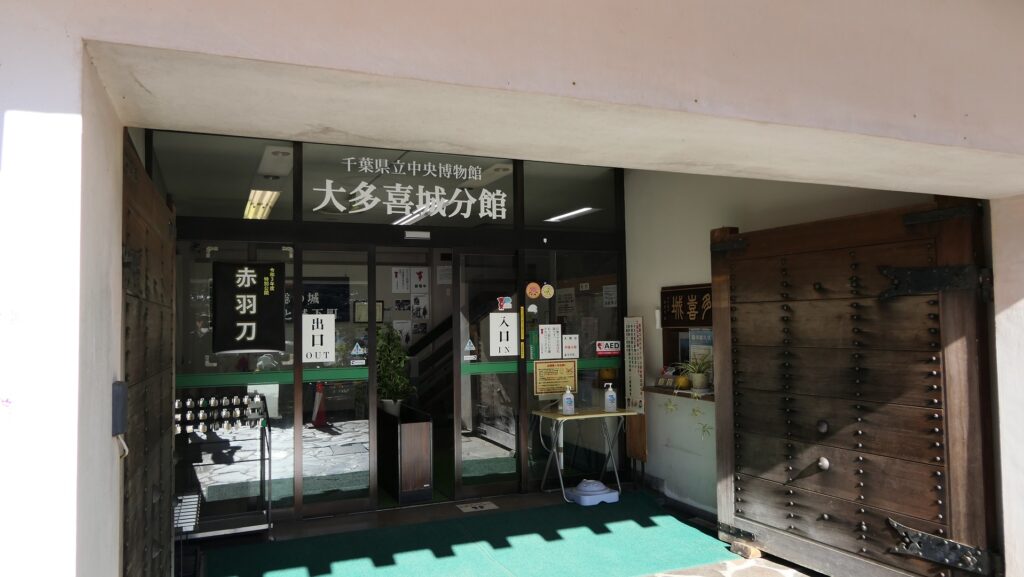
Main Tower as Museum
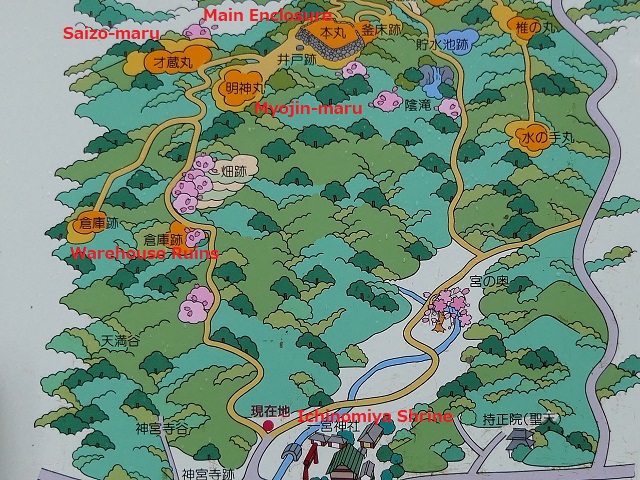
The map around the castle

Today, there are a few remaining items of the original Otaki Castle. However, Chiba Prefecture rebuilt a historical museum that looks like the Main Tower called Otaki Castle on the Main Enclosure.

Otaki Castle Museum
The entrance of the museum

Going to Main Enclosure along Isumi-gawa River

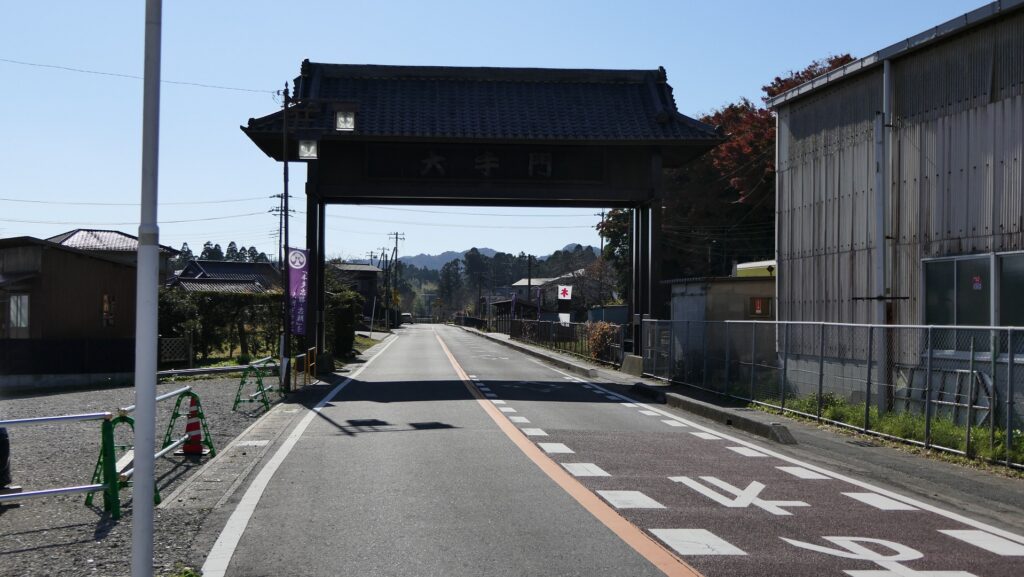
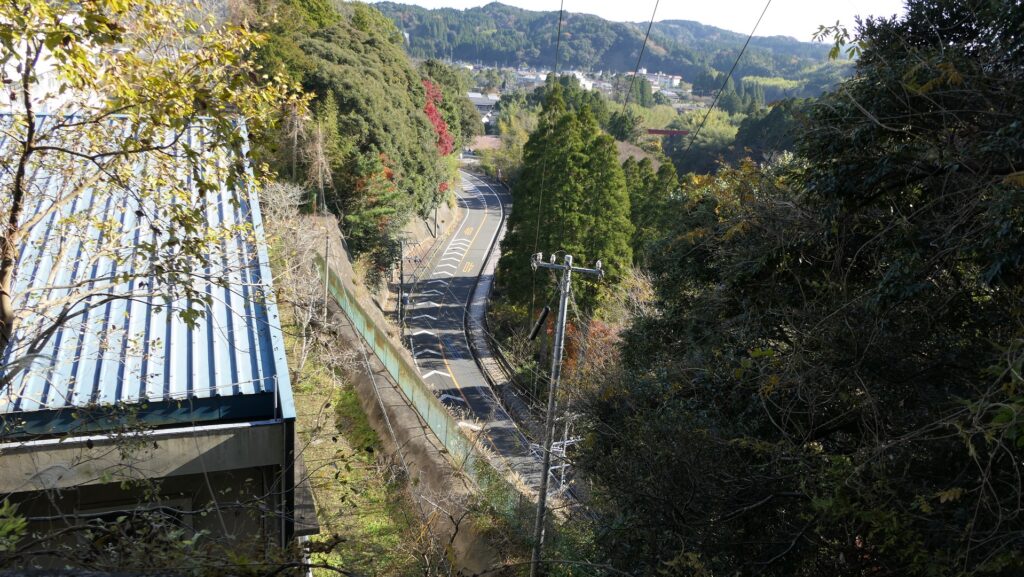
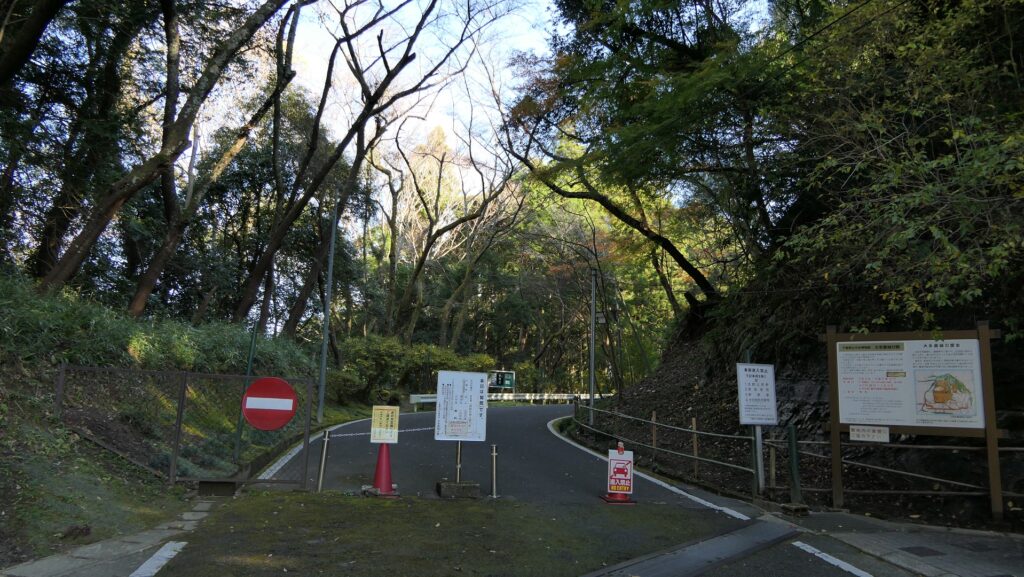
If you want to visit the current Otaki Castle, there are two main routes you can take to visit from Otaki Station. One is for drivers, which starts from the front of the station to the south through the Imitation Main Gate. The route turns right to the west along the Isumi-gawa River. This part is named Mexico Street from the relationship with the country, which was derived from the episode of Rodrigo de Vivero.

The Imitation Main Gate near the station
The Mexico Street

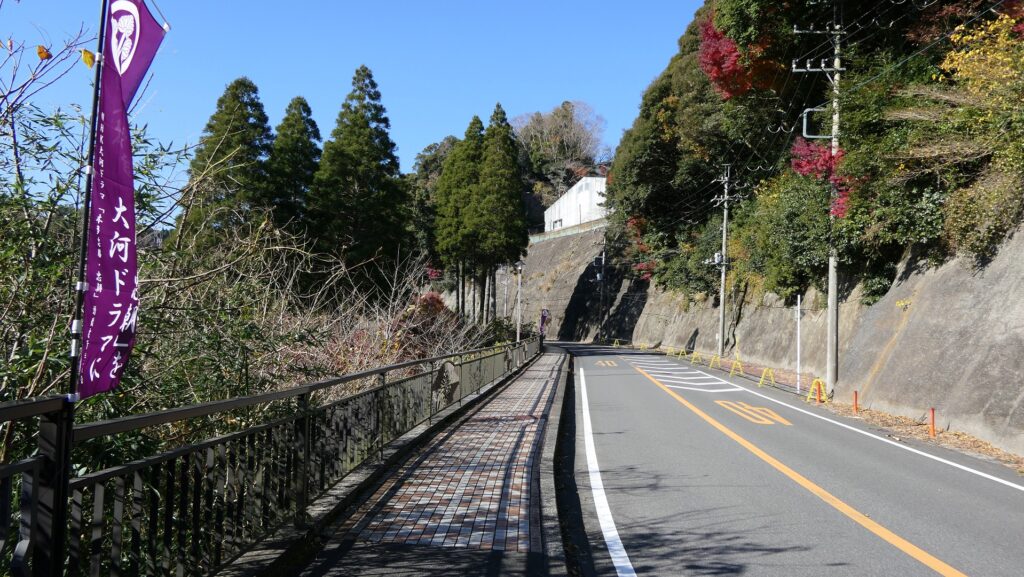
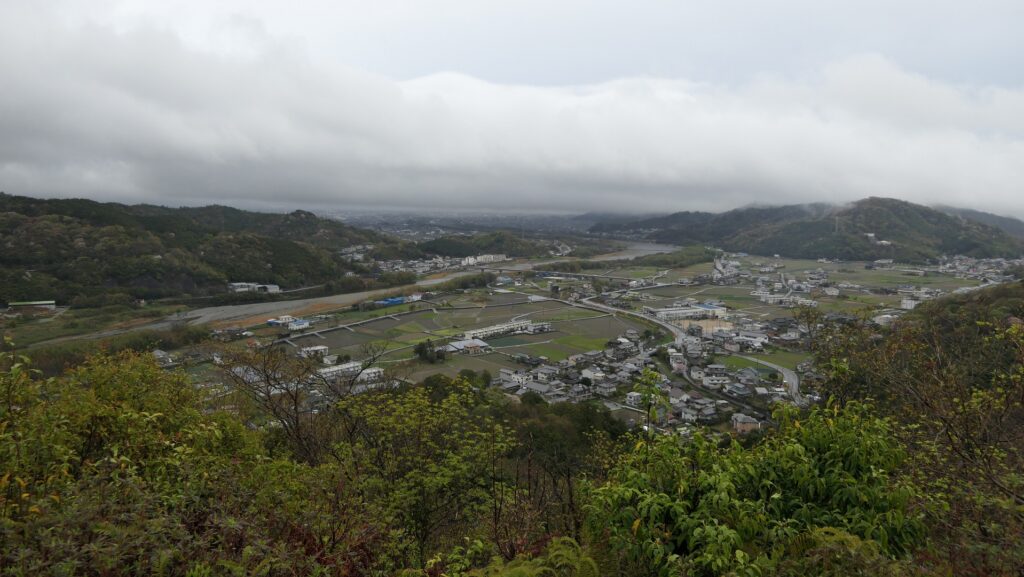
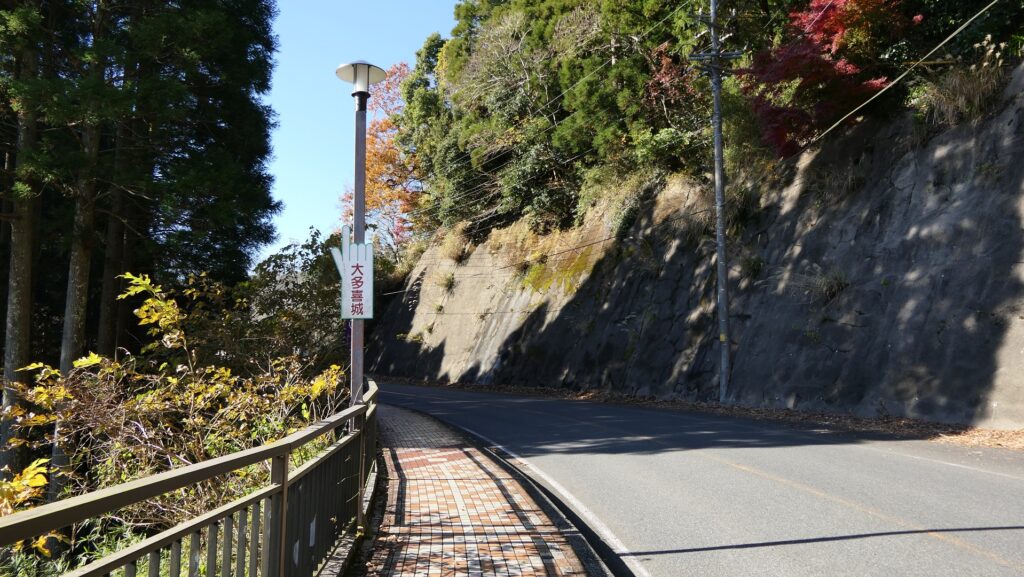
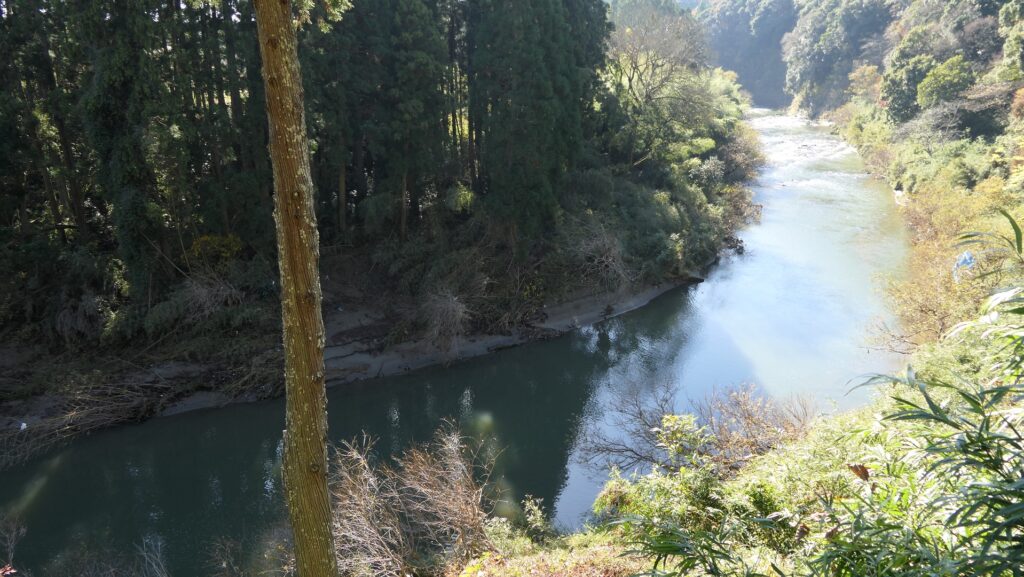
You can see the route was built on the mid slope of the steep cliff with the hill on the right and the river on the left, which were a natural hazard for the castle. The parking lot is located under the Main Enclosure.

The steep cliff of the hill where the castle was built
Looking down the Isumi-gawa River
Looking down the Mexico Street from the Main Enclosure

Going to Main Enclosure through Second Enclosure

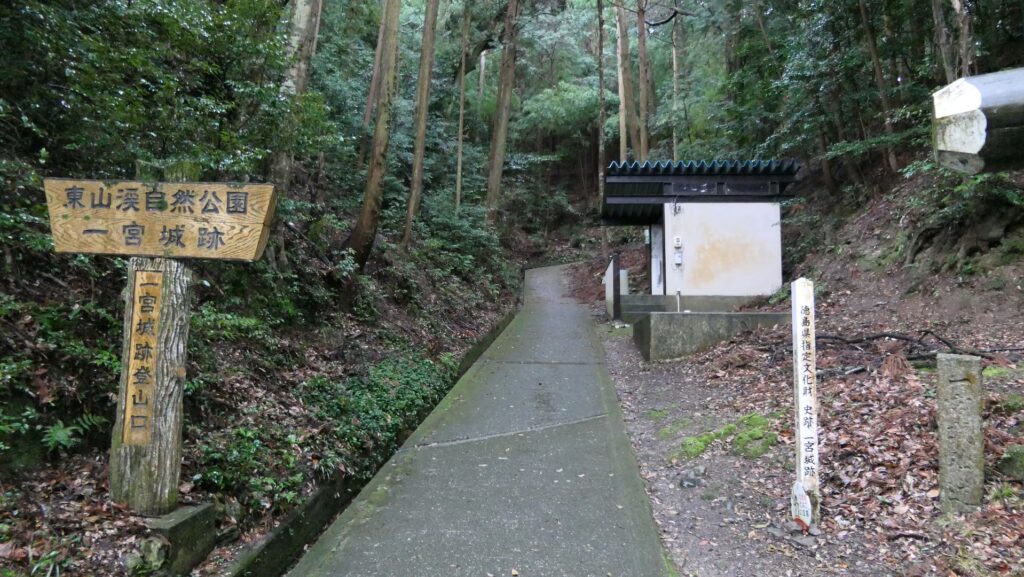
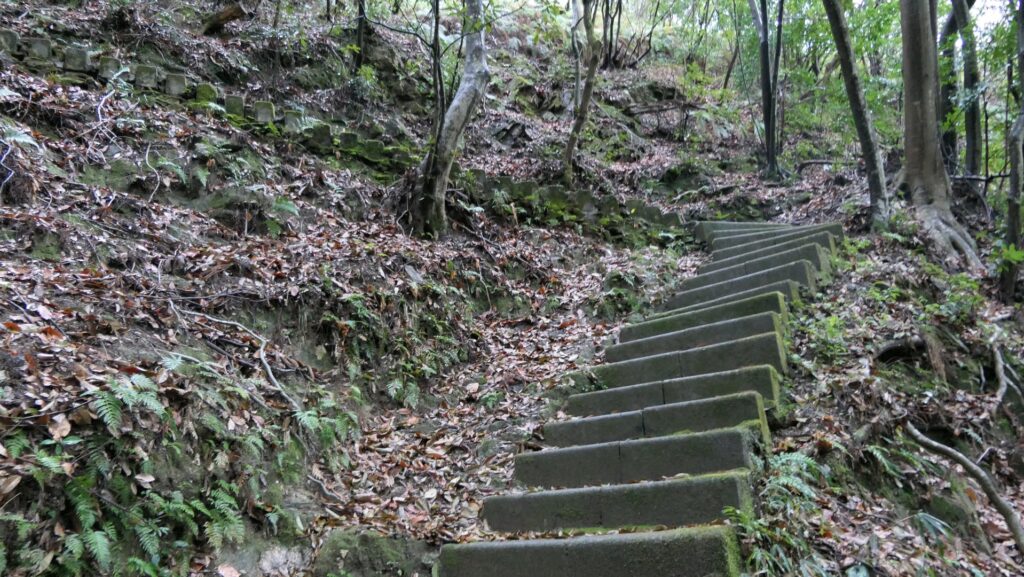
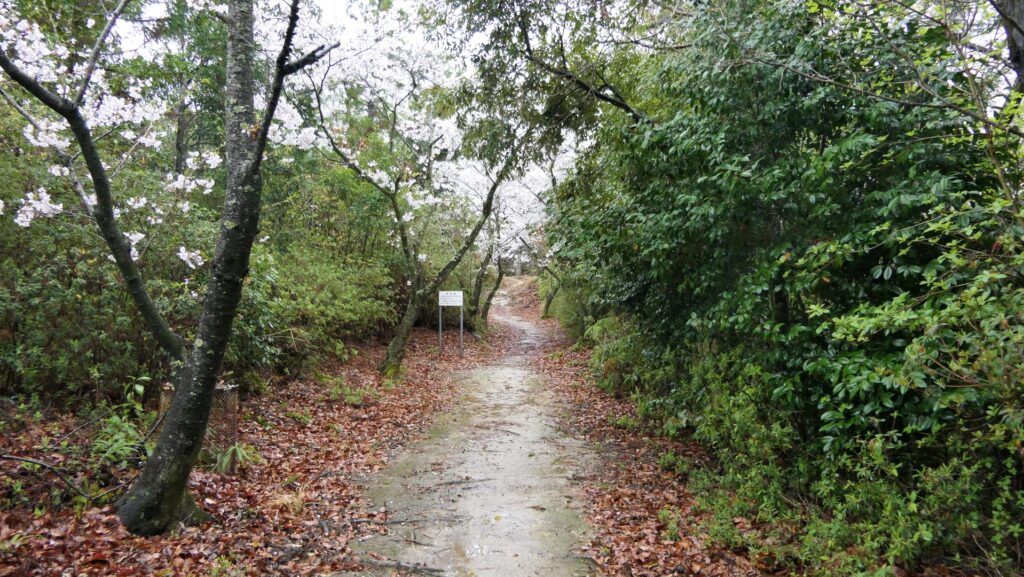
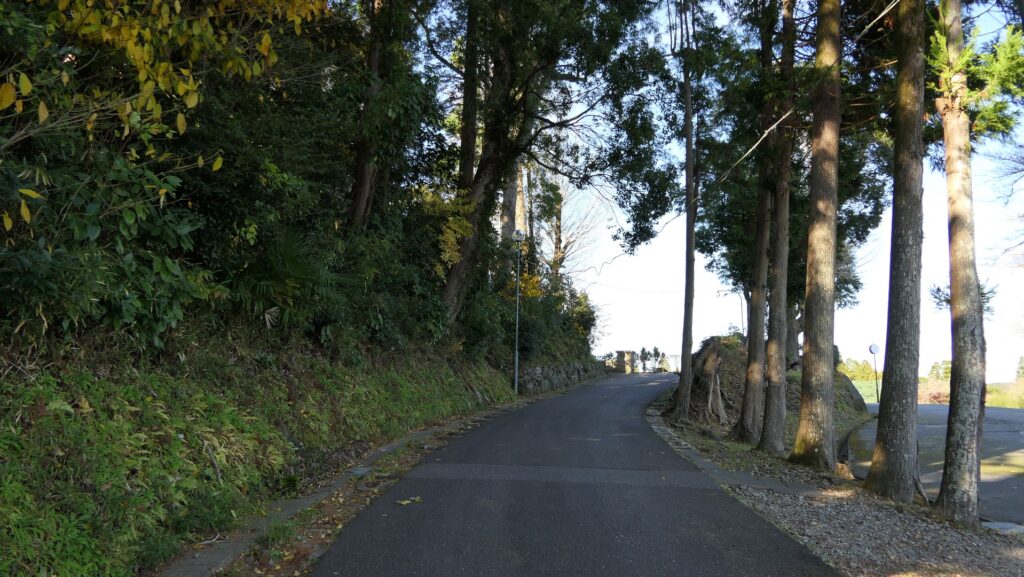
The other route is for people on foot, which starts from the back of the station. The ruins of the real Main Gate is nearby. However, there is only one signpost because the area around has become a residential area. After going along the route, you will reach the second enclosure which is now used as a high school. The route goes up on the earthen walls to the enclosure where the Main Hall for the lord was built in the past.

The route going to the Second Enclosure
The Second Enclosure

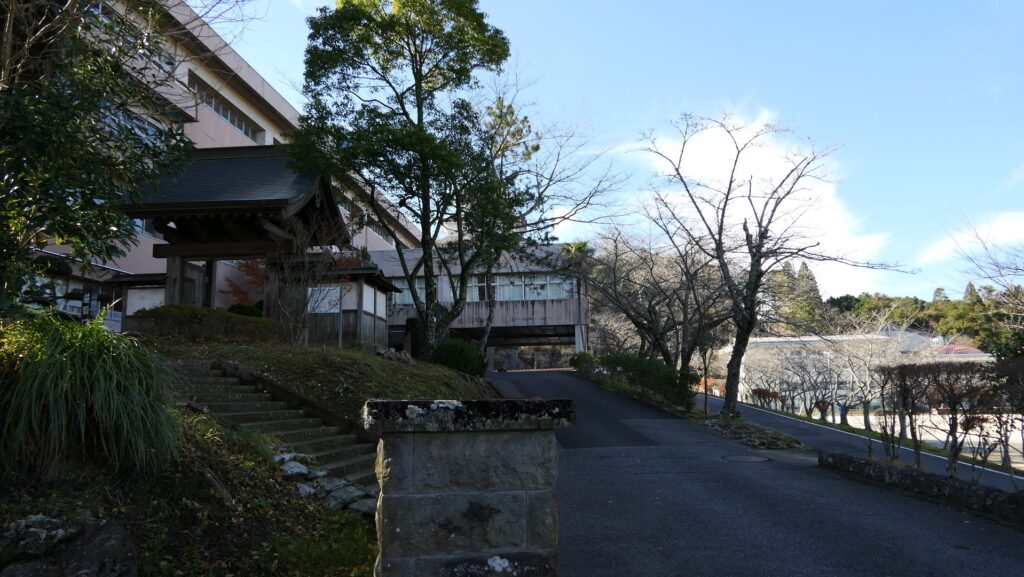
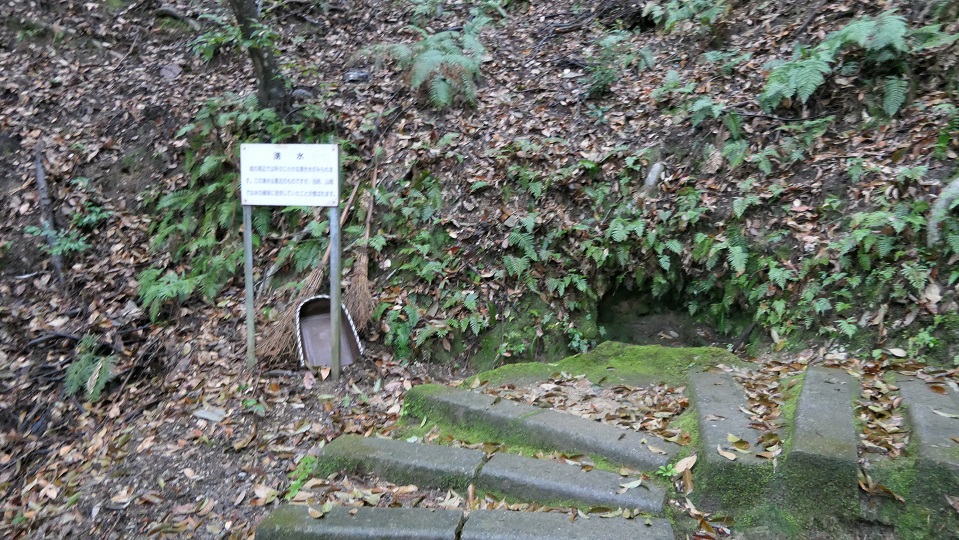
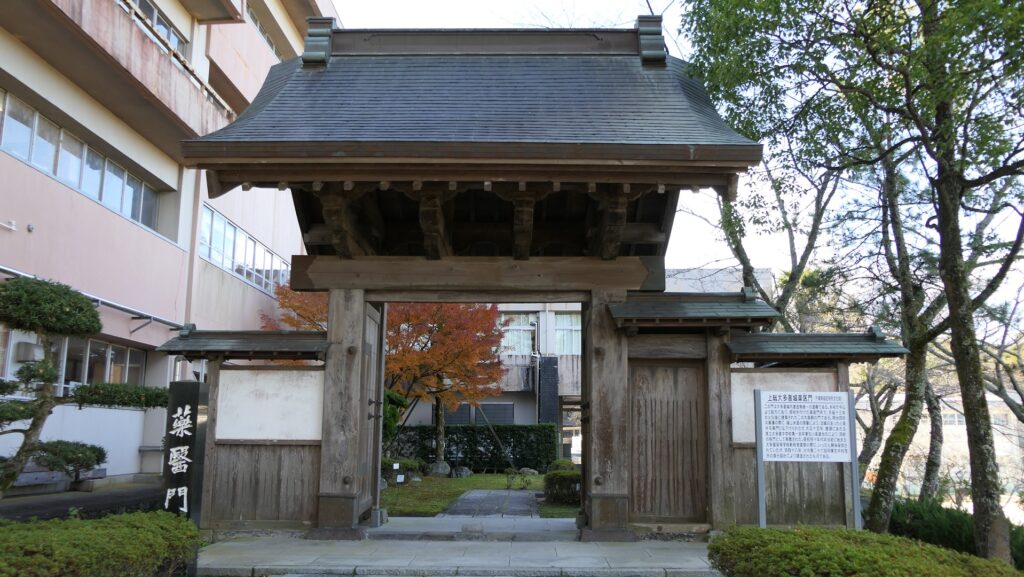
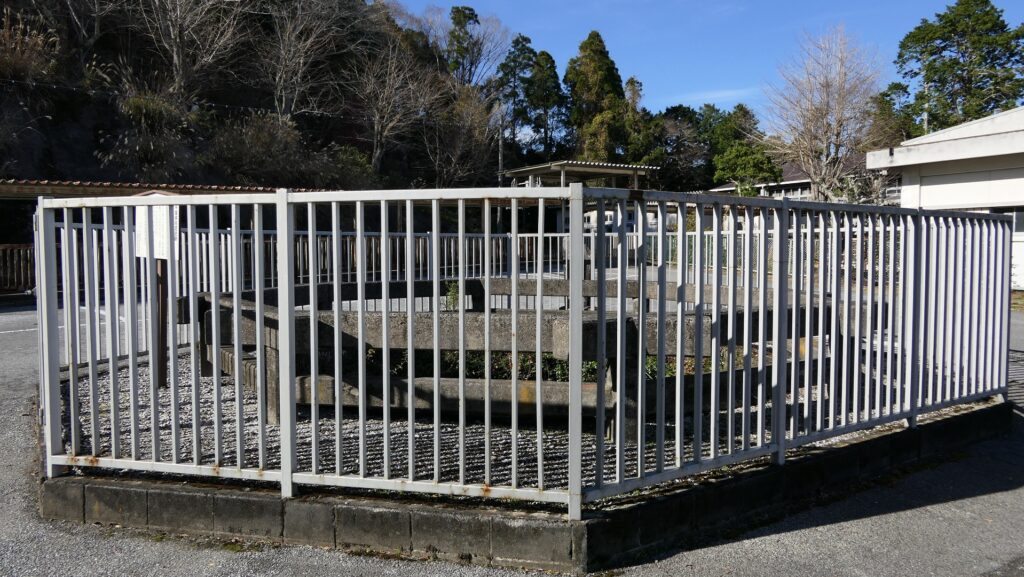
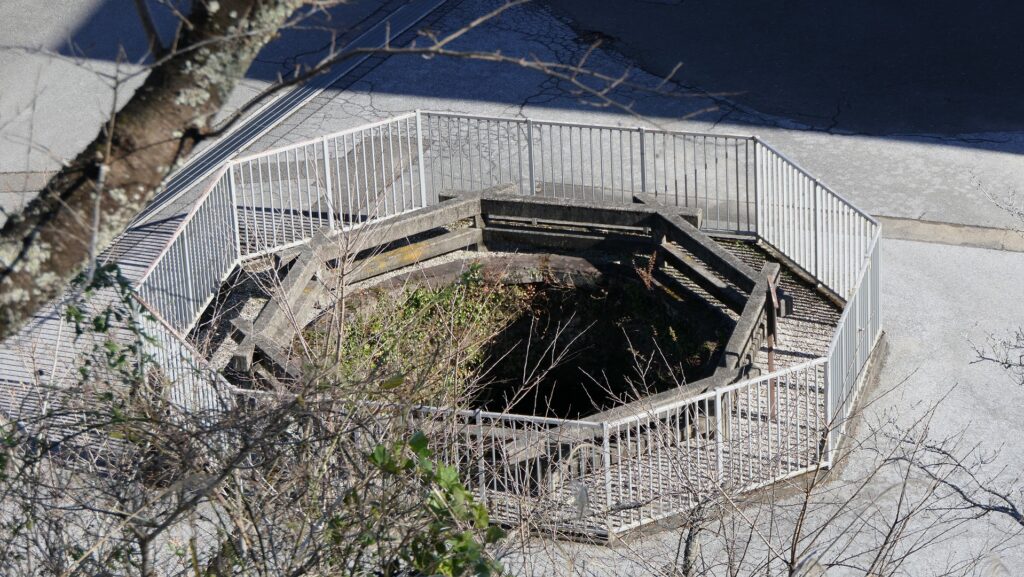
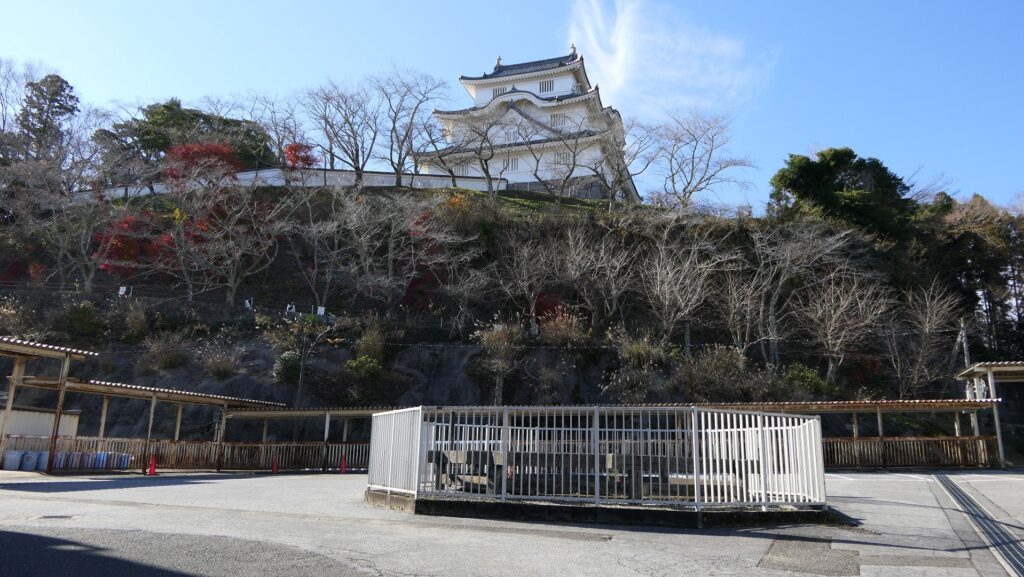
There are two remaining items of the castle. One of them is the Back Gate of the hall, which was once sold, but later restored at its present location. The other is the Large Well which has a perimeter of 17meters. you can see the Main Tower at the highest point on the Main Enclosure from there.

The former Back Gate of the Main Hall called Yakui-mon
The Large Well
The Large Well seen from the Main Enclosure
The Main Tower on the Main Enclosure seen from the Second Enclosure

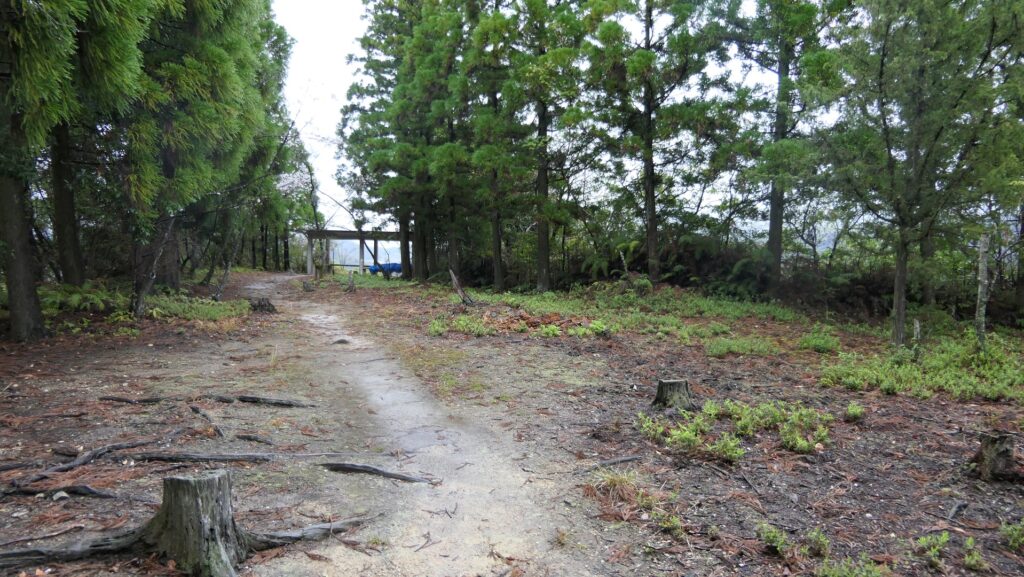
Old castle traces and New Imitation Main Tower on the Main Enclosure

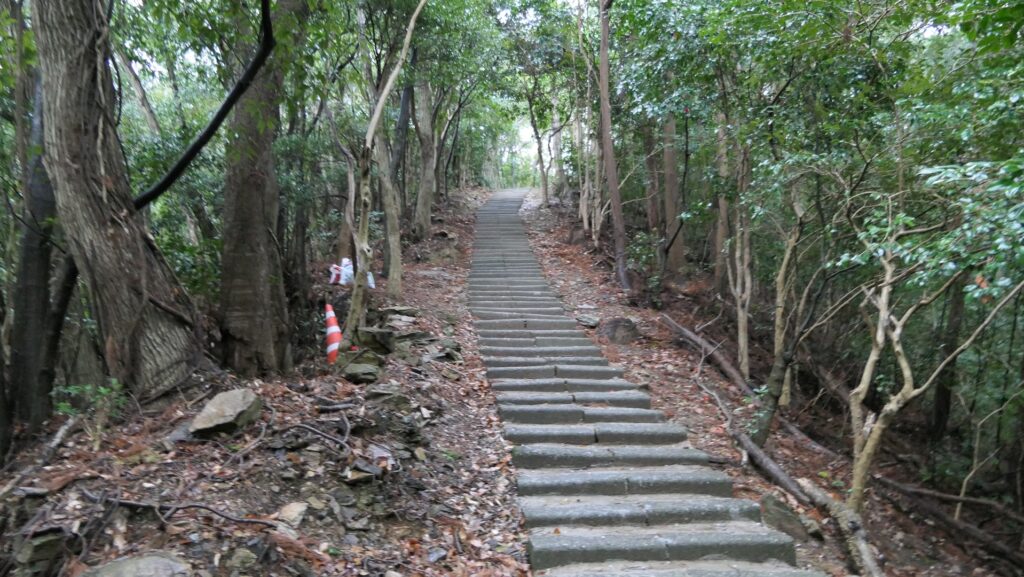
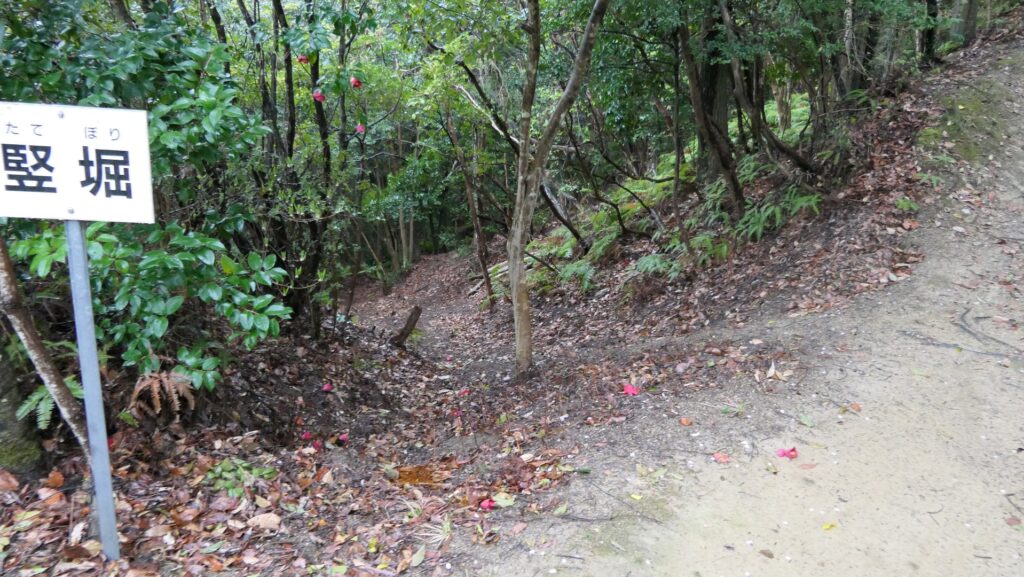
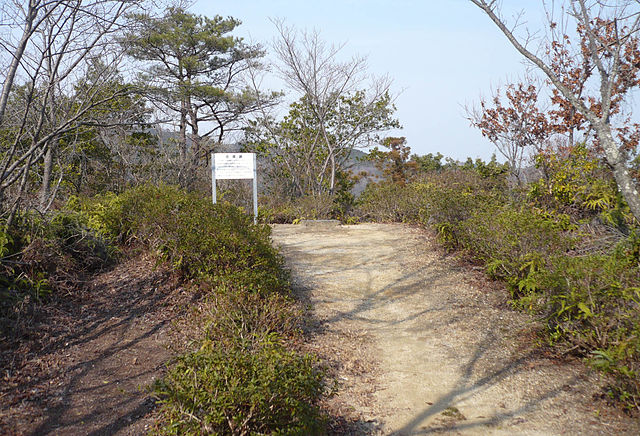
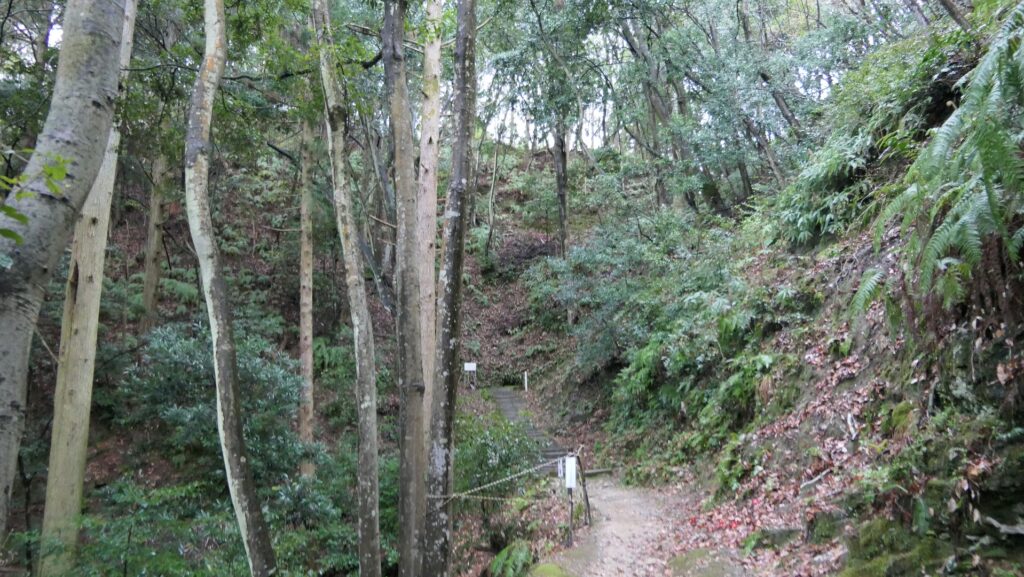
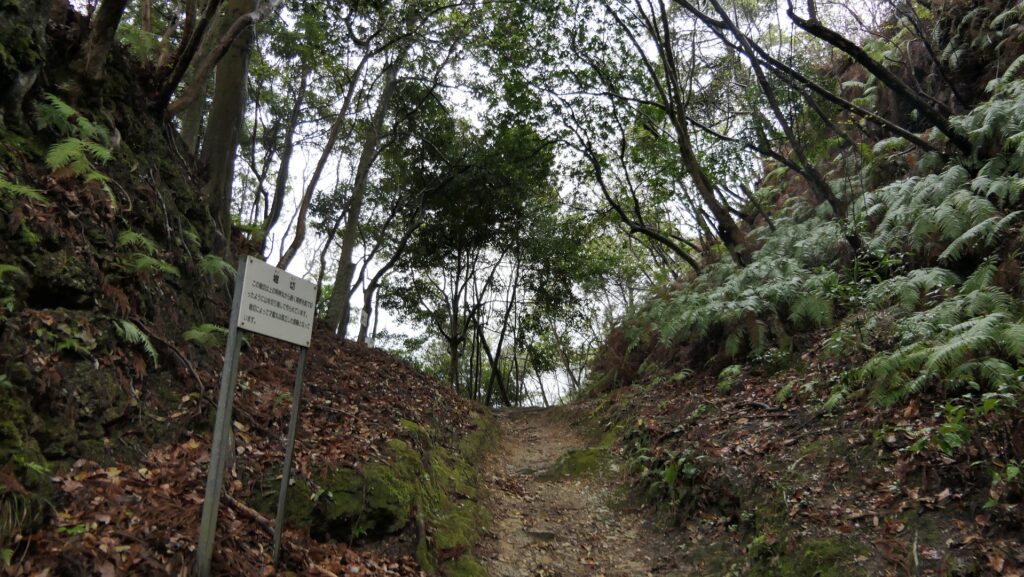
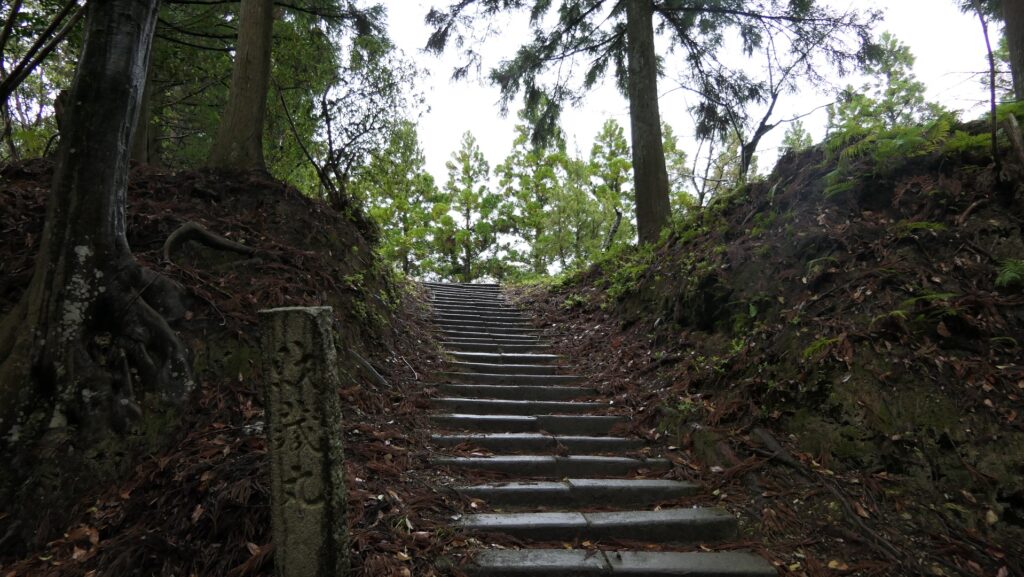
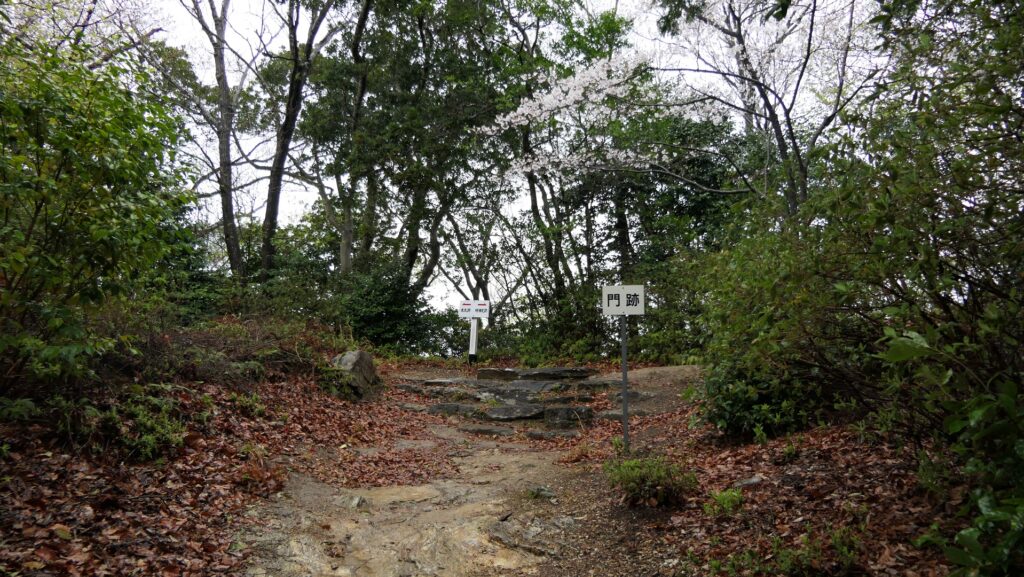
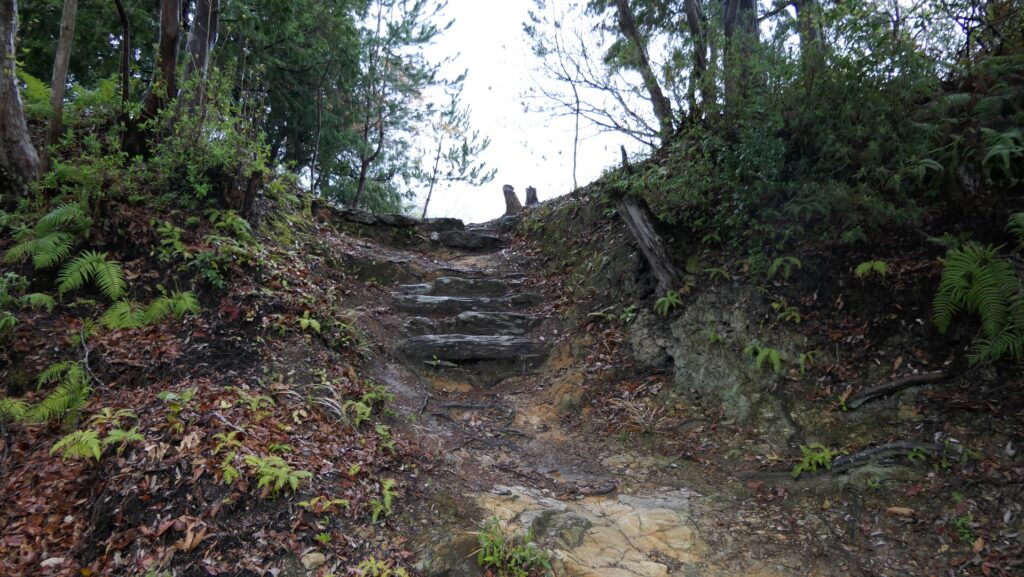
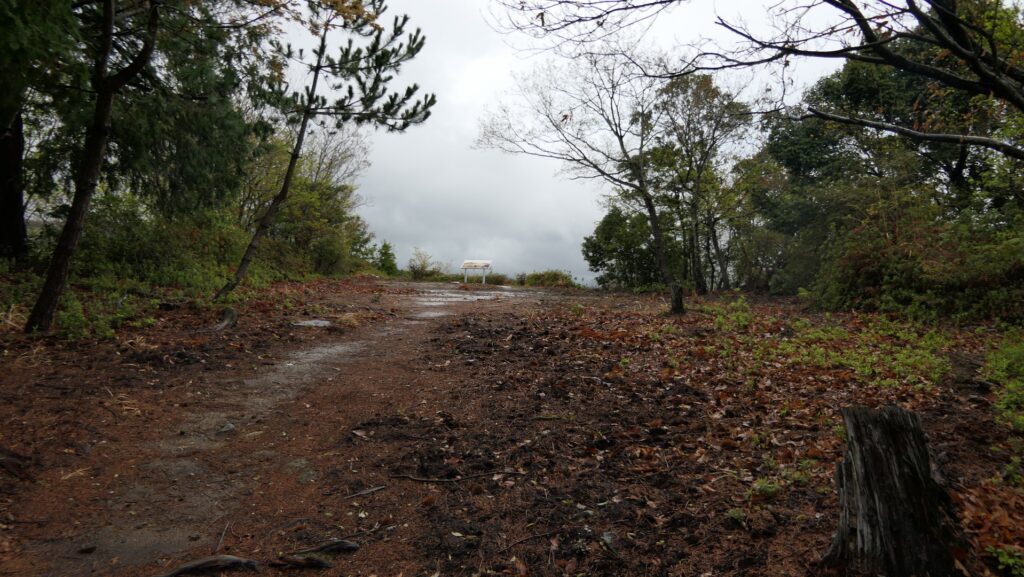
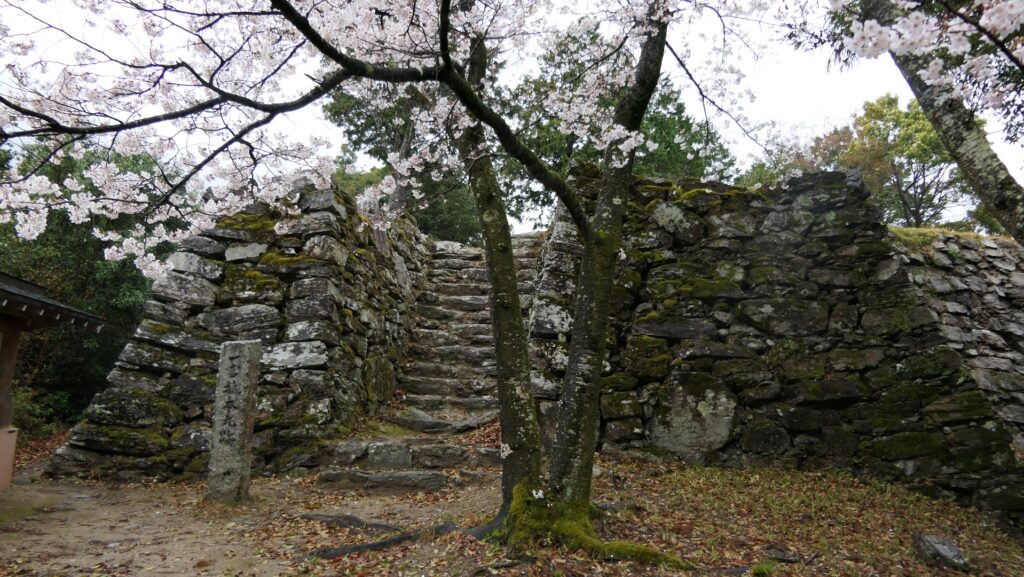
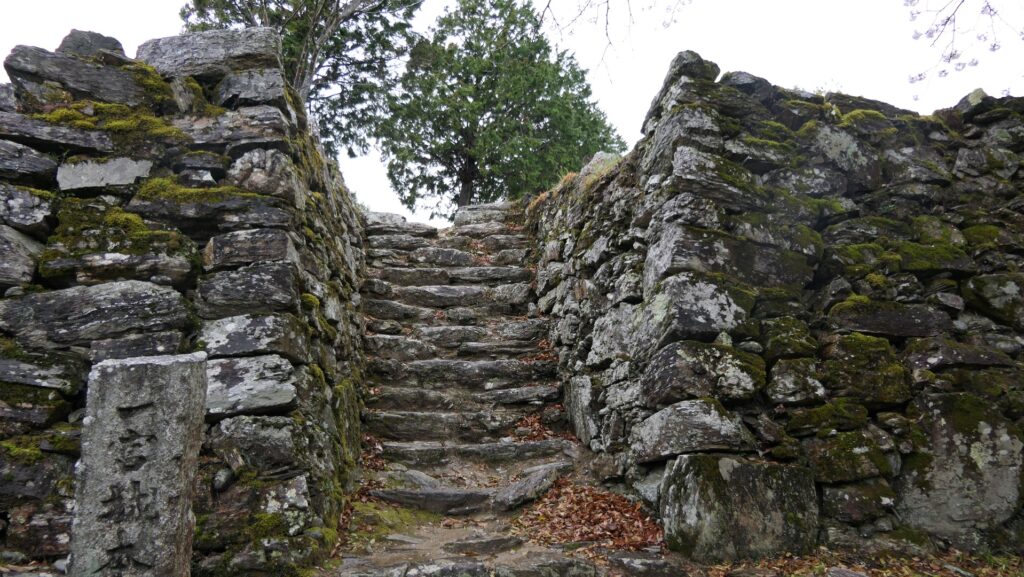
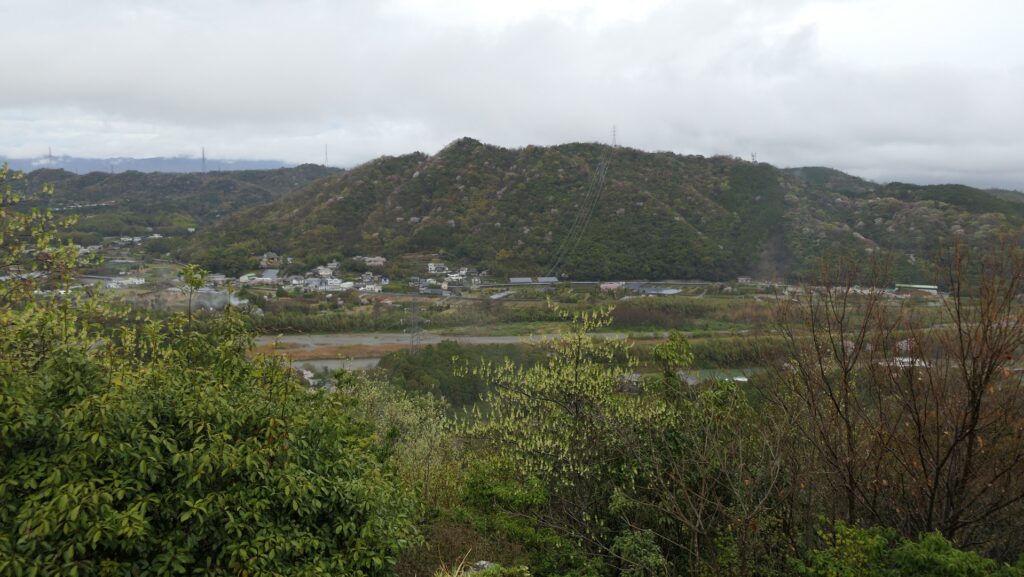
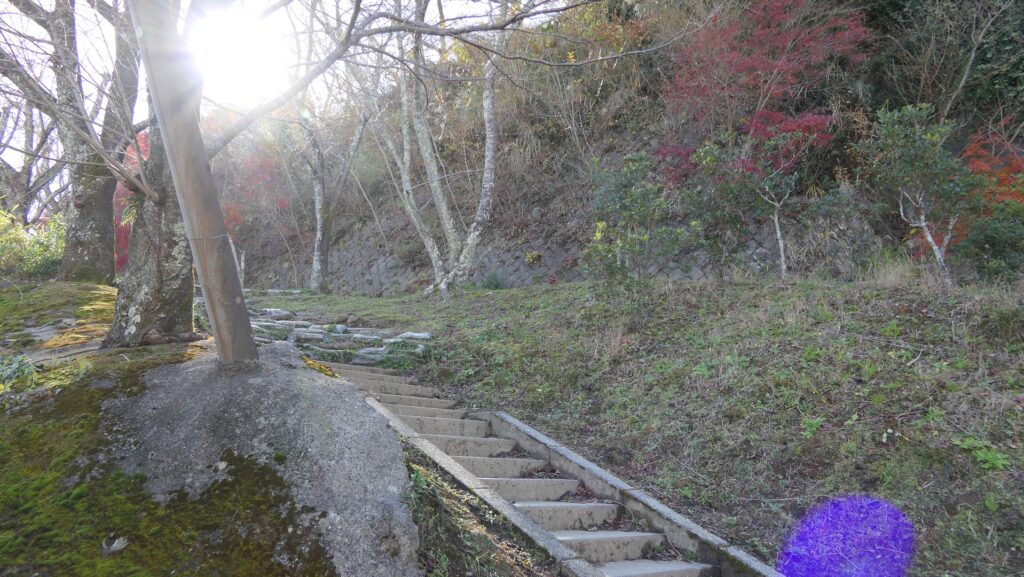
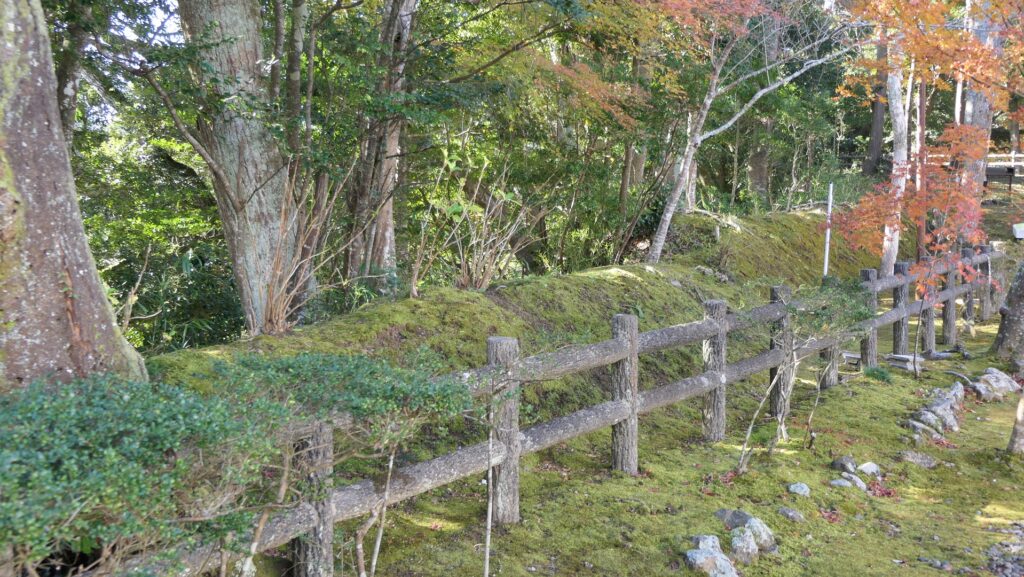
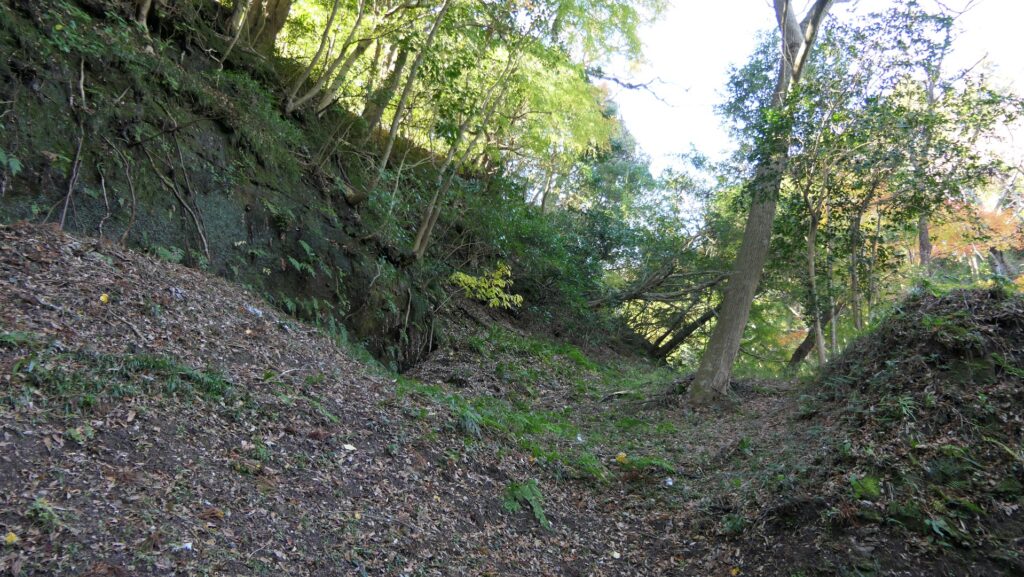
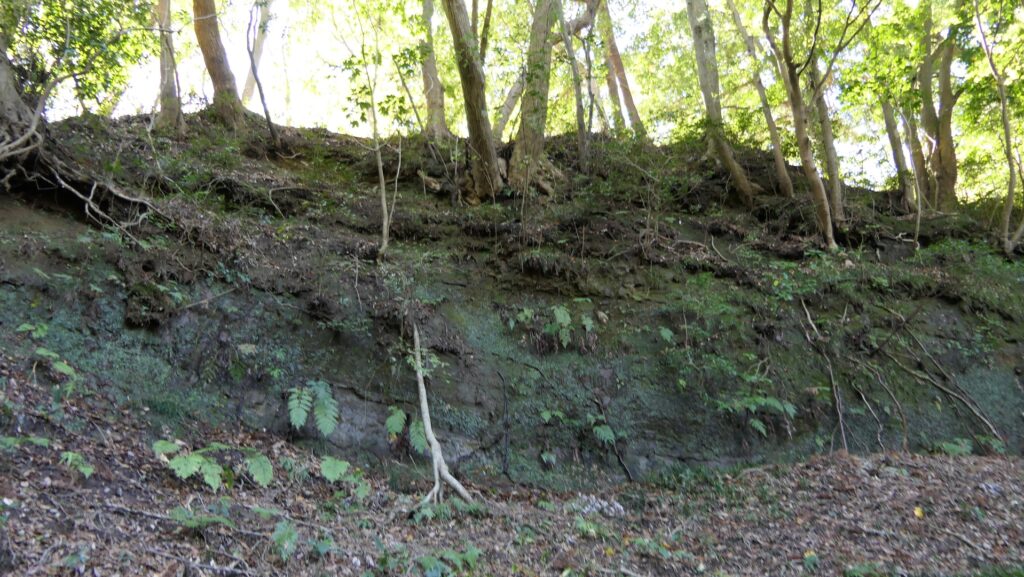
You can climb up to the Main Enclosure from the front (the Second Enclosure) or the back (the parking lot). On the way to the enclosure, you can see old earthen walls, dry moats, and artificial steep cliffs which probably originated from the first stage of the castle. Indeed, the traces of the castle being called Odaki Castle were discovered during the excavation.

The route to the Main Enclosure from the Second Enclosure
The remaining earthen walls at the Main Enclosure
The route to the Main Enclosure from the parking lot
A dry moat can be seen on the way
The artificial steep cliff of an enclosure in the back of the Main Enclosure

However, those of the original Main Tower or its stone wall base have not been found at all. The present Main Tower and its stone wall base were built in the present time, based on a drawing of the original three-level Main Tower which was found at an old merchant house in the castle town. However, since the only item can not be seen as real evidence. It can only be called the Imitation Main Tower.

The Imitation Tower on the Main Enclosure
The stone wall base for the Main Tower, built in the present time

To be continued in “Otaki Castle Part3”
Back to “Otaki Castle Part1”

176.Ichinomiya Castle Part2

Unexpected stone walls on the mountain

Features

Well-developed Trail to Castle Ruins

If you drive to the ruins of Ichinomiya Castle, you will go through the route on the narrow area sandwiched by Akui-gawa River and mountains. You can see that it is a good location for defending the castle. The entrance of the trail to the ruins is opposite of the Ichinomiya Shrine. You will need to climb to the top of the 144m high mountain, but the trail is well developed with stone steps.

The location map at the site, adding English names

The map around the castle

The entrance of the trail
The well-developed trail with stone steps

After climbing for a while, you will see a Vertical Moat or Tate-bori on the slope along the trail to prevent enemies from attacking. If you go to the branch nearby, you can see the ruins of the Warehouses.

The Vertical Moat
The ruins of the Warehouses (licensed by ブレイズマン via Wikimedia Commons)

Defense System using Natural Terrain

Going back to the main trail, you will reach an artificial steep cliff called Kiri-gishi under several enclosures. You can also see a fountain at the foot of the cliff. You will need to climb a zigzagged trail on the cliff to go further.

The artificial steep cliff
The fountain under the cliff
Climbing on the cliff

Even after climbing, you will still be under the bottom of an artificial valley called Hori-kiri. Enemies could have been counterattacked from the enclosures above. The valley divides the main portion of the castle and the Saizo-maru Enclosure. If you turn left at the valley, you will reach the Saizo-maru Enclosure. This enclosure is also called the Third Enclosure. “Saizo” originates from the name of the retainer who was responsible for the enclosure.

Being under the bottom of the valley even after climbing
The entrance of Saizo-maru Enclosure
The inside of Saizo-maru Enclosure

Going to Center of Castle

If you turn right at the valley, you will reach the ruins of the gate for the main portion which have two main enclosures – the Myojin-maru Enclosure and the Main Enclosure. These enclosures are connected by a long and narrow enclosure called the Belt Enclosure or Koshi-guruwa

The ruins of the gate for the main portion
The Belt Enclosure

If you turn right again at the gate ruins, you will be in the Myojin-maru Enclosure. This enclosure is also called the Second Enclosure and the spot where the ruins of the building with veranda, maybe for sightseeing, was found. You can even now see a good view of the center of Tokushima Prefecture to the east.

The entrance of Myojin-maru Enclosure
The inside of Myojin-maru Enclosure
A view from Myojin-maru Enclosure

Great Stone Walls of Main Enclosure

If you go back to the gate ruins and go left from the front of it, you will finally reach the Main Enclosure on the top of the mountain. You may be surprised to suddenly see the great stone walls which were built by the Hachisuka Clan. The stone walls of this castle are very rare and beautiful because they were piled up using stones with a dark-green striped pattern called chlorite-schist. These stones are also known as Green Stones of Awa. The same pattern of stone walls can also be seen at Tokushima Castle that the Hachisuka Clan built after they used Ichinomiya Castle.

The stone walls of the Main Enclosure
They were built using chlorite-schist
The stone walls of Tokushima Castle

There is only the small building of Wakamiya Shrine. The stone foundations of the Main Hall for the lord were found recently, which were also built by the Hachisuka Clan. You can also see a good view of the area around, including Akui-gawa River.

The inside of the Main Enclosure
The small building of Wakamiya Shrine
A view from the Main Enclosure

To be continued in “Ichinomiya Castle Part3”
Back to “Ichinomiya Castle Part1”