162.Izushi Castle/Arikoyama Castle Part2

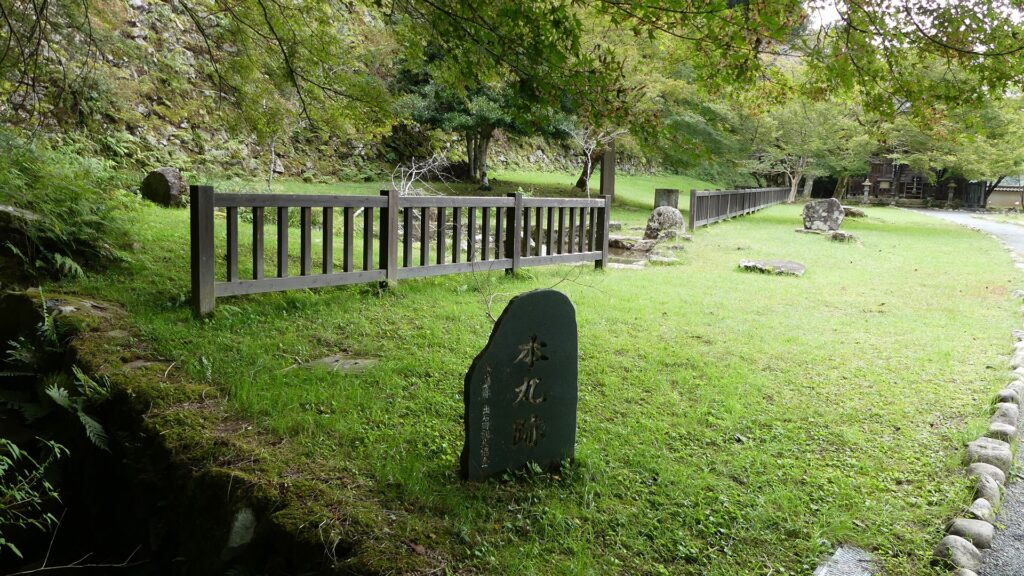
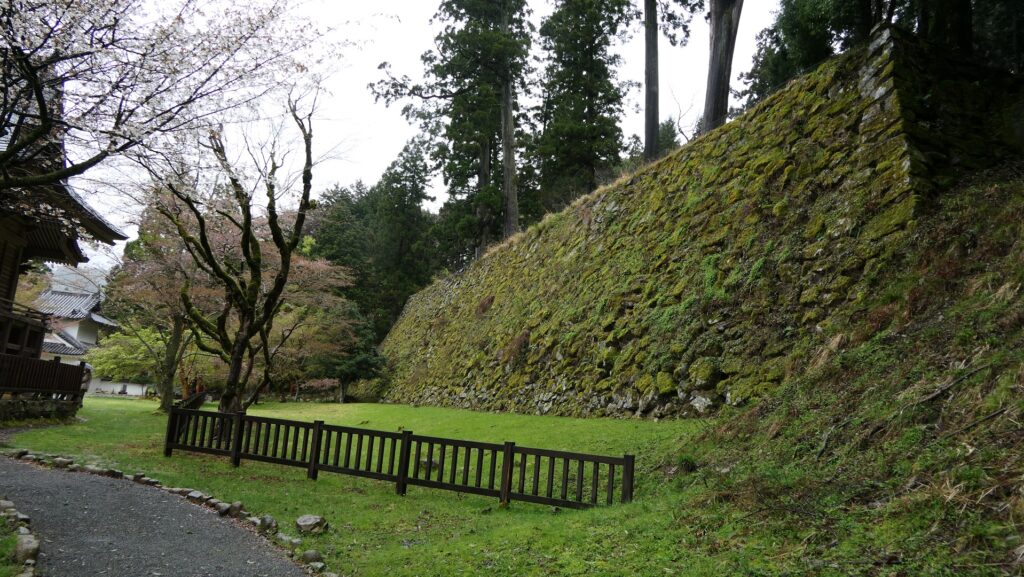
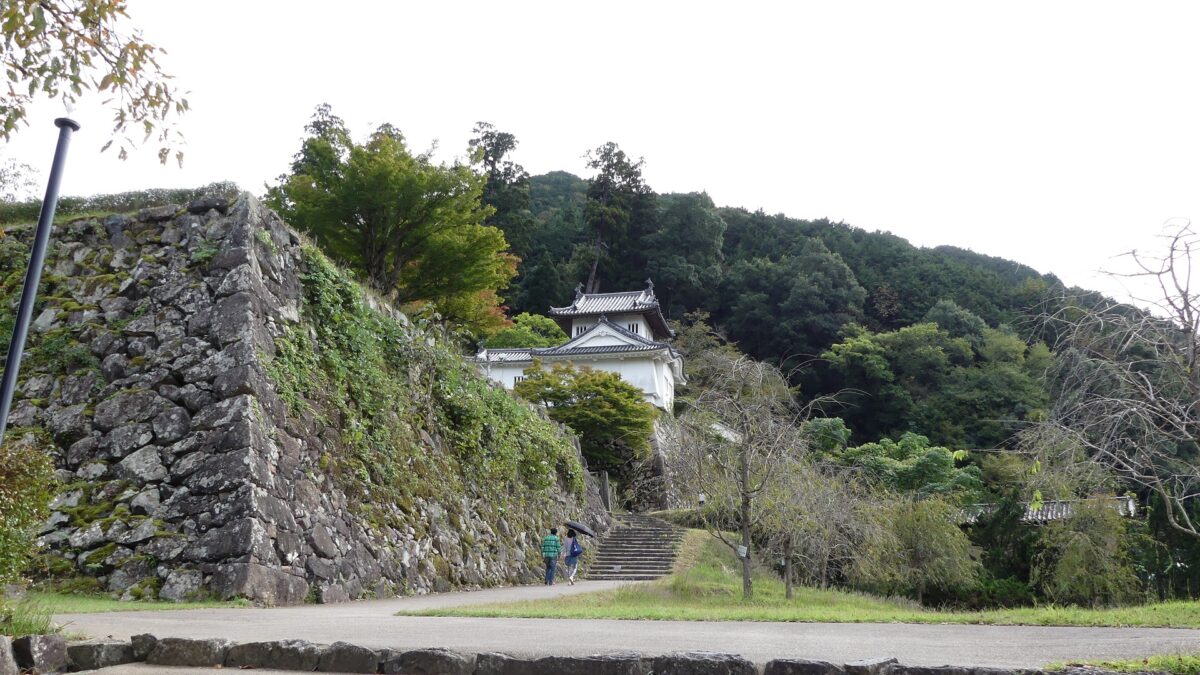
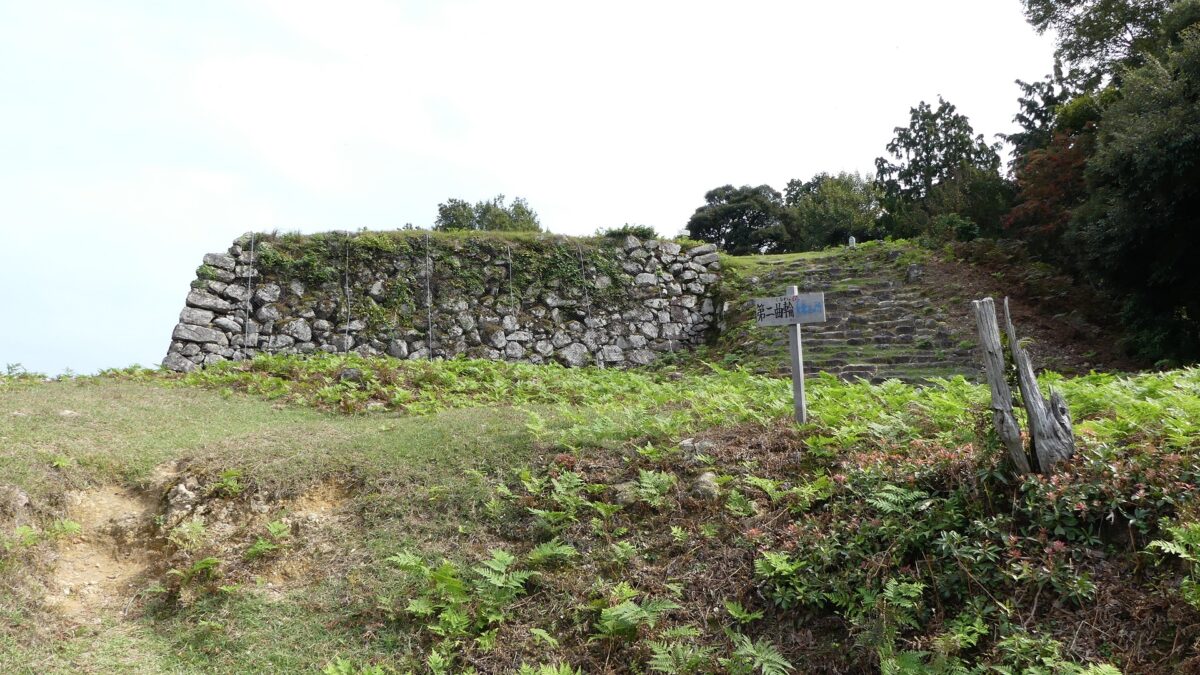
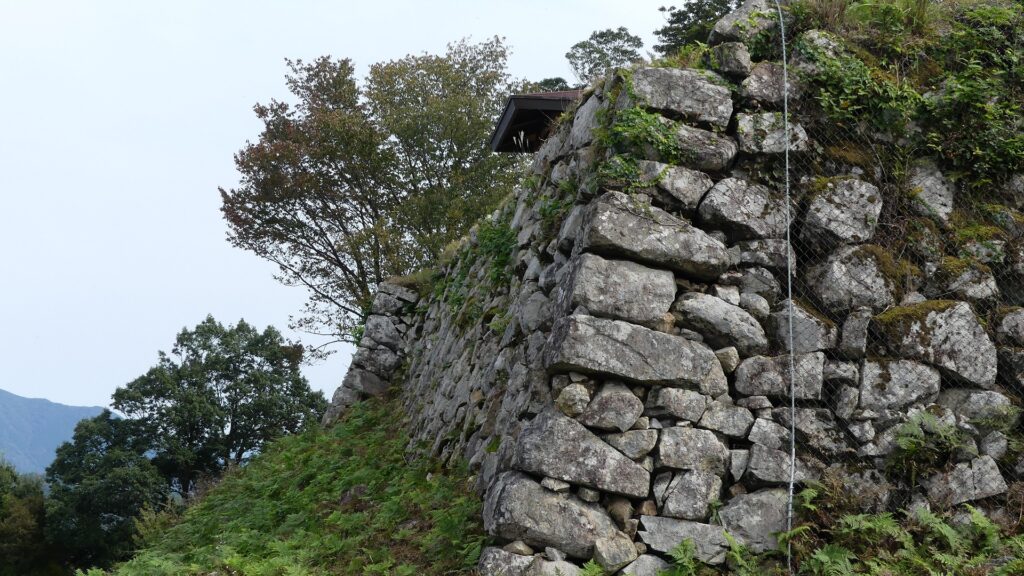
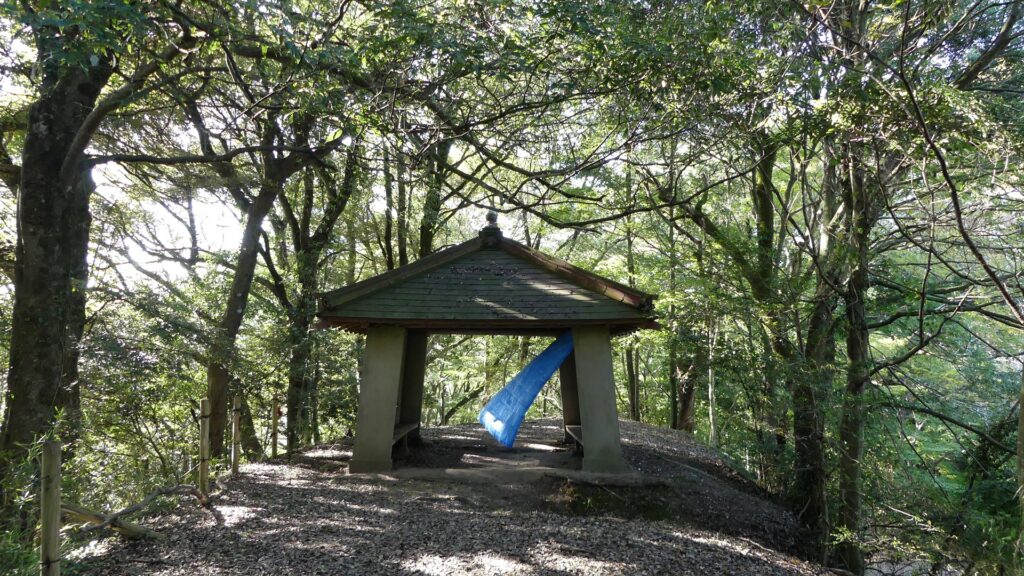
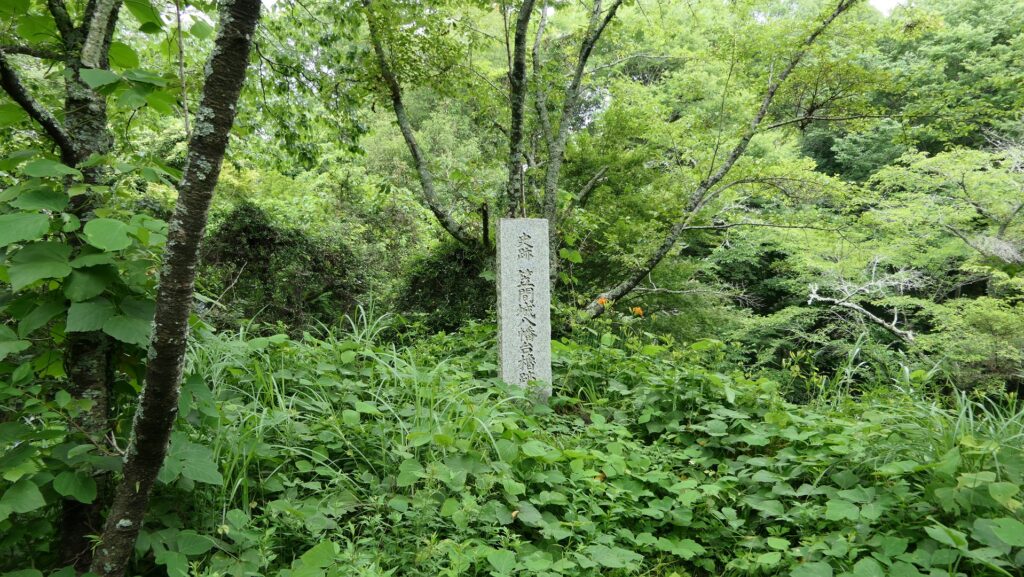
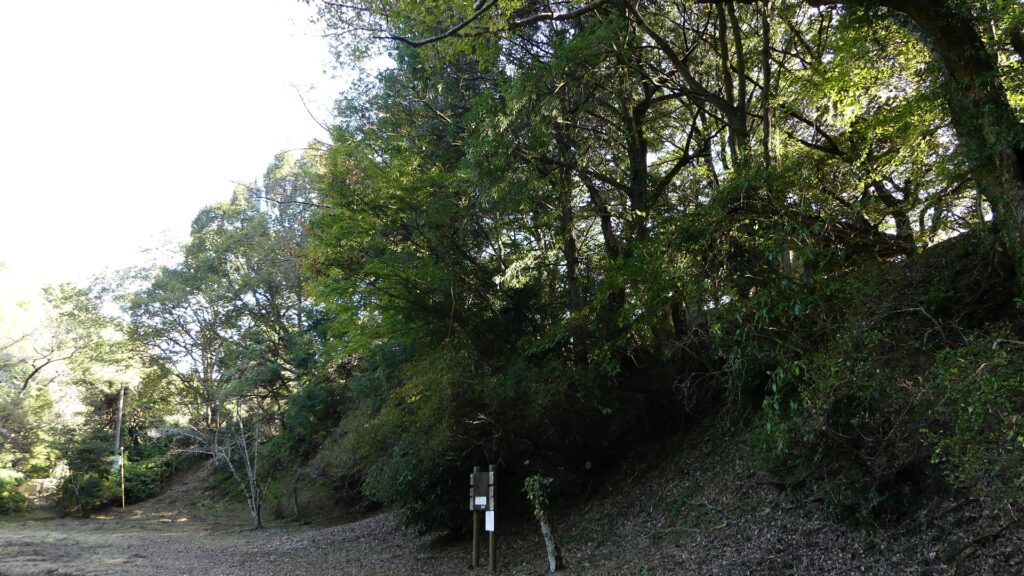
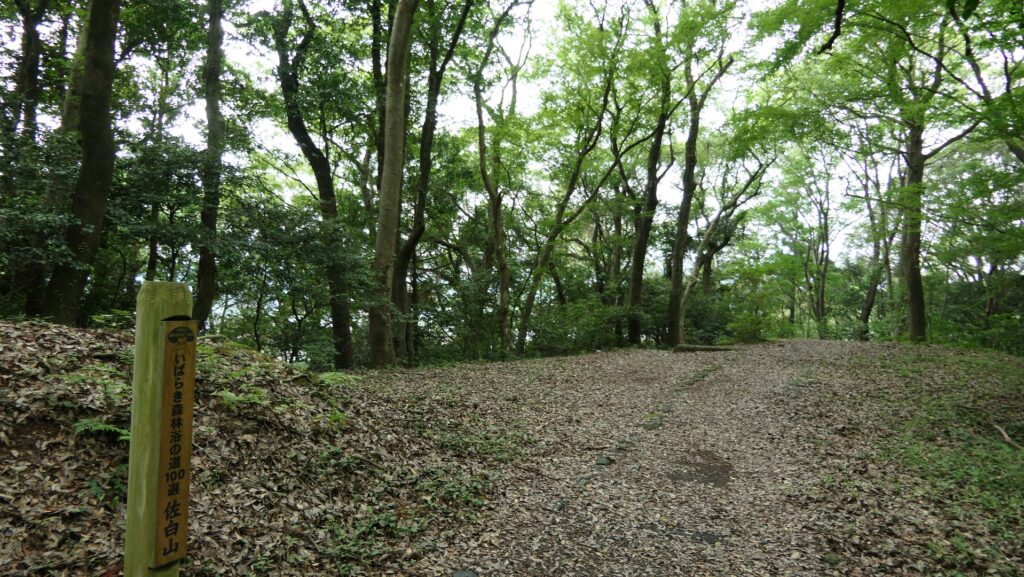
There is only the rest station and the signboard on the main enclosure of Arikoyama Castle. However, the view from the top, about 300m above from the foot, is really breath taking view! The stone walls of the enclosure are what you saw from the foot.

Features

Going to Arikoyama Castle Ruins through Shrine Approach

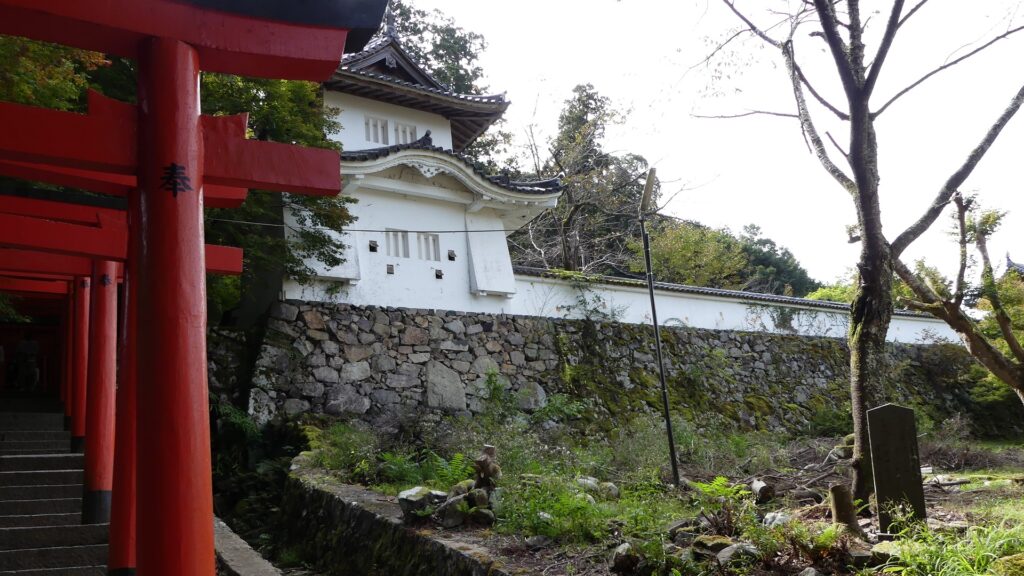
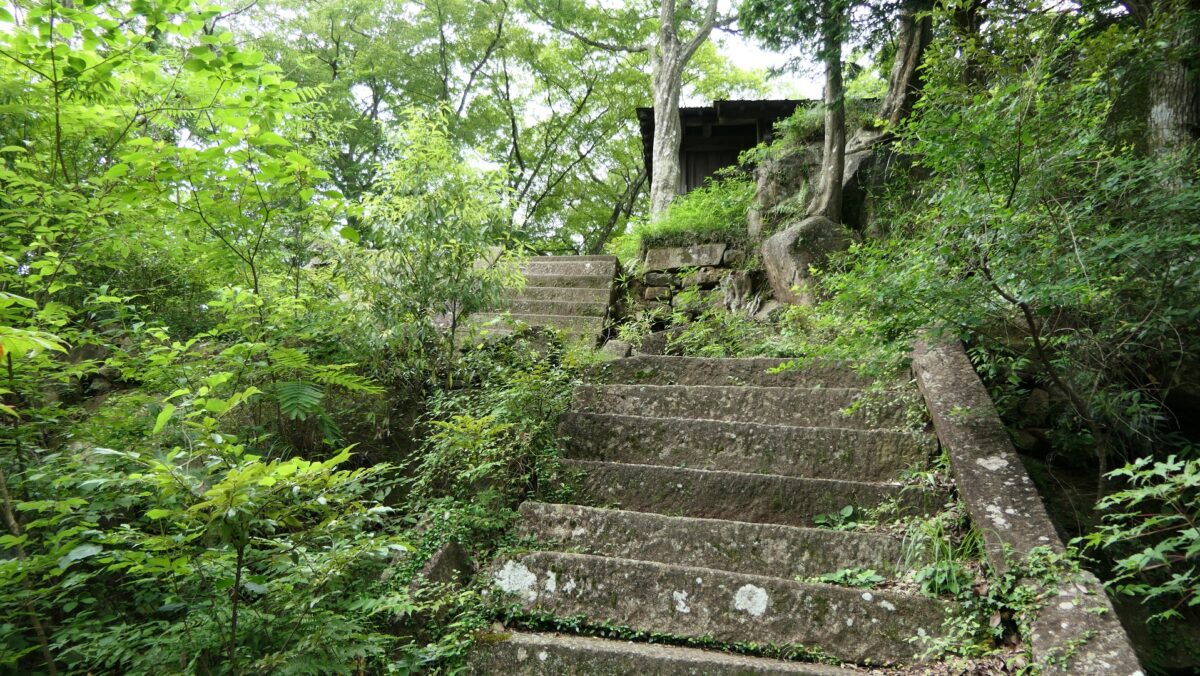
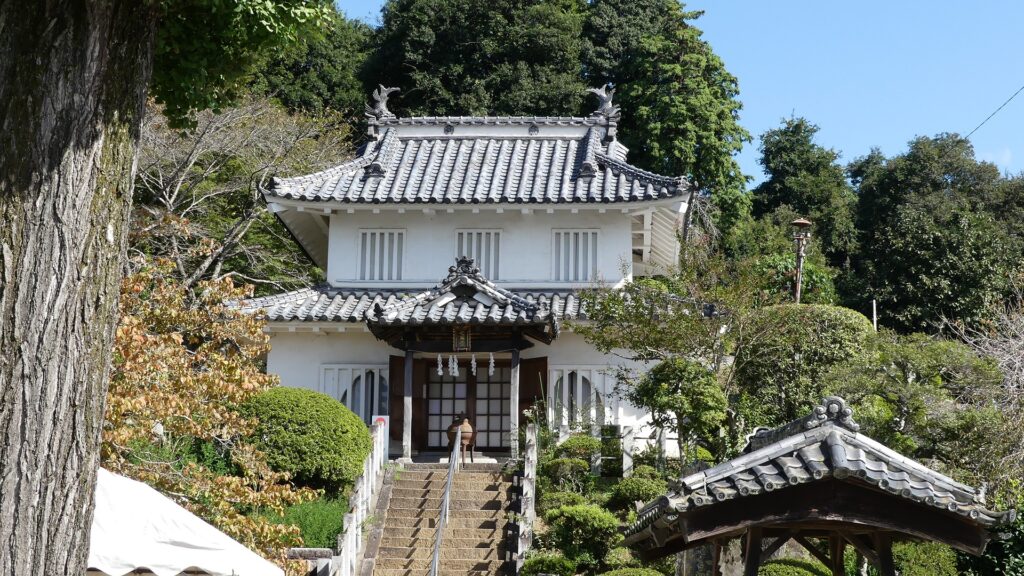
There are two castle ruins in the Izushi area as mentioned in the previous section, which are Izushi and Arikoyama Castles. The latter is older than the former, so I will first describe how to visit Arikoyama Castle Ruins in this article. The entrance to the ruins is now also that to Arikoyama Inari Shrine which is located at the highest of Izushi Castle Ruins. Therefore, you will climb the stone steps of the approach from the foot of the mountain to the shrine though many of its red shrine gates.

The approach to Arikoyama Inari Shrine

The map around the castle

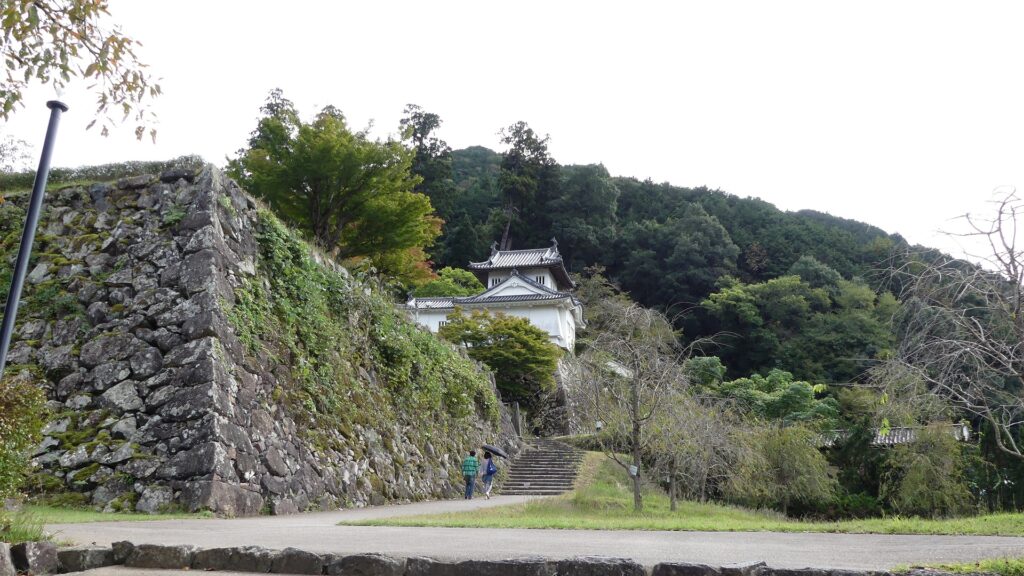
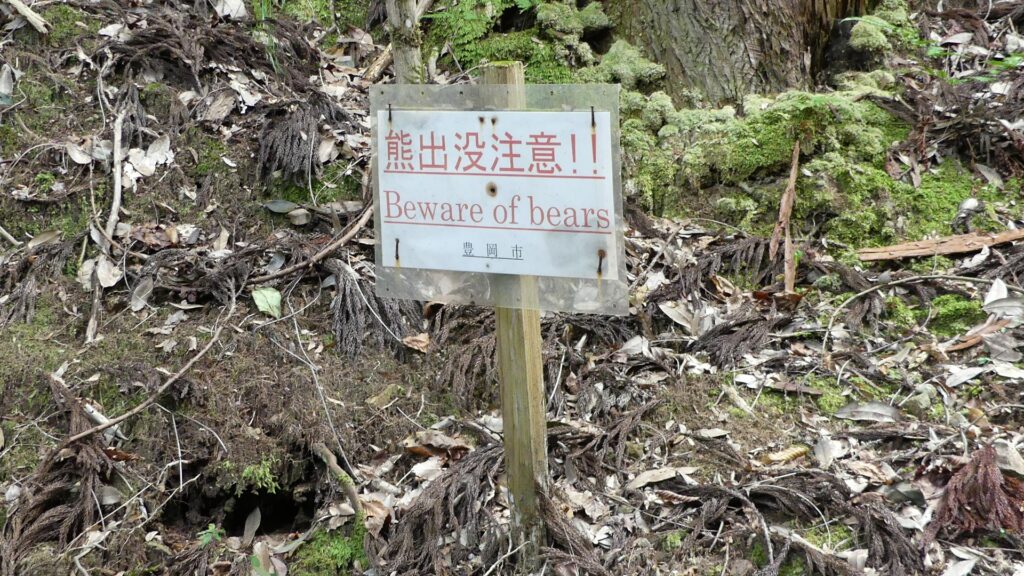
You will also see several tiered enclosures of Izushi Castle with great stone walls and some restored buildings. The trail to the top starts from the point above the shrine building, so you need to prepare for hiking and something to keep you safe from wild animals (a bear bell or radio).

You can cee the Main Enclosure in the back and the Second Enclosure of Izushi Castle on the right
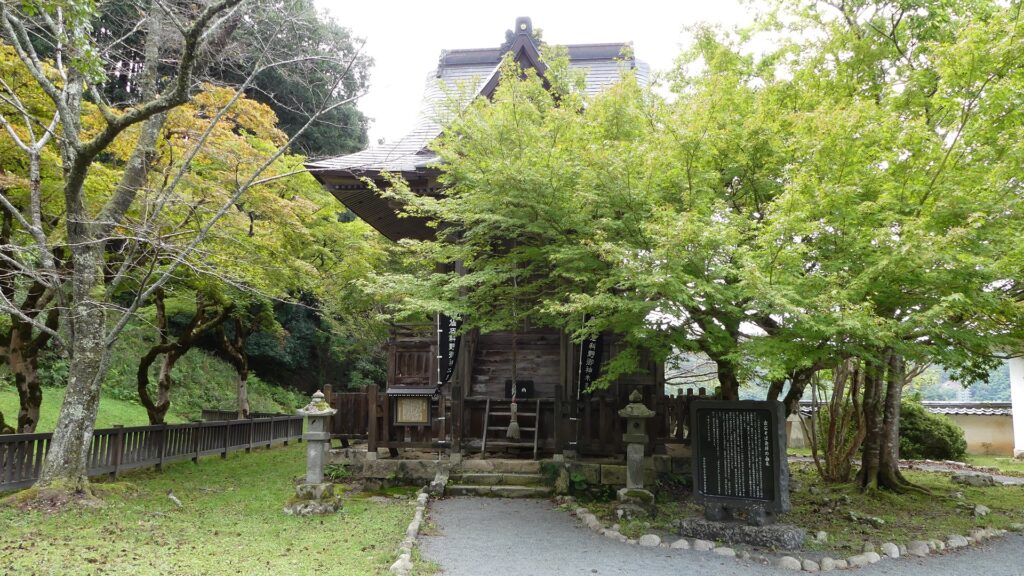
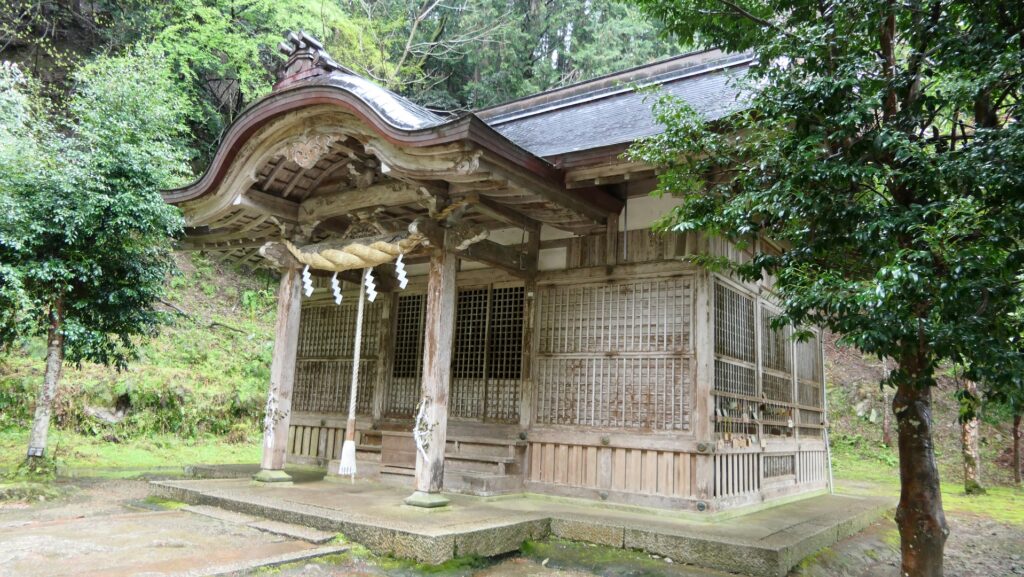
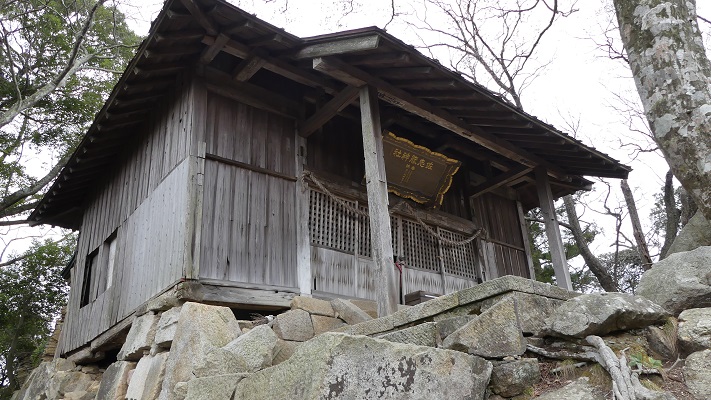
Arikoyama Inari Shrine
The starting poing ot the trail
Please beware of wild animals

Steep Slopes as Natural Hazzard

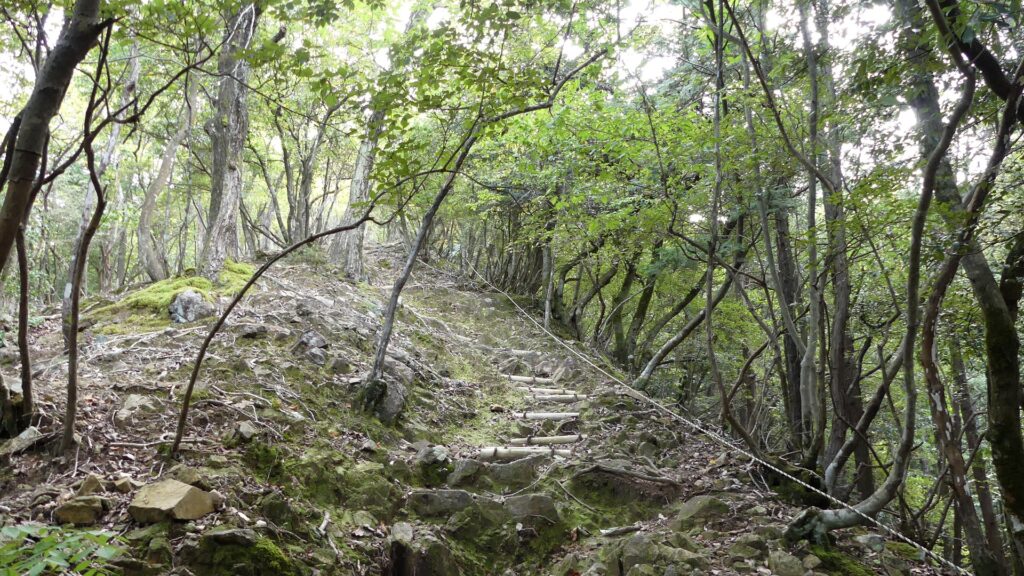
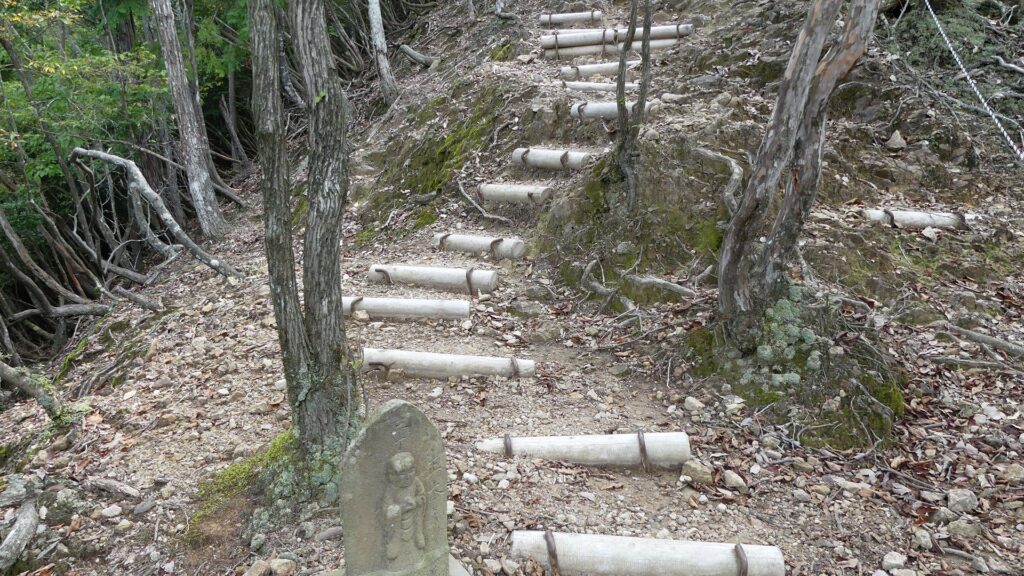
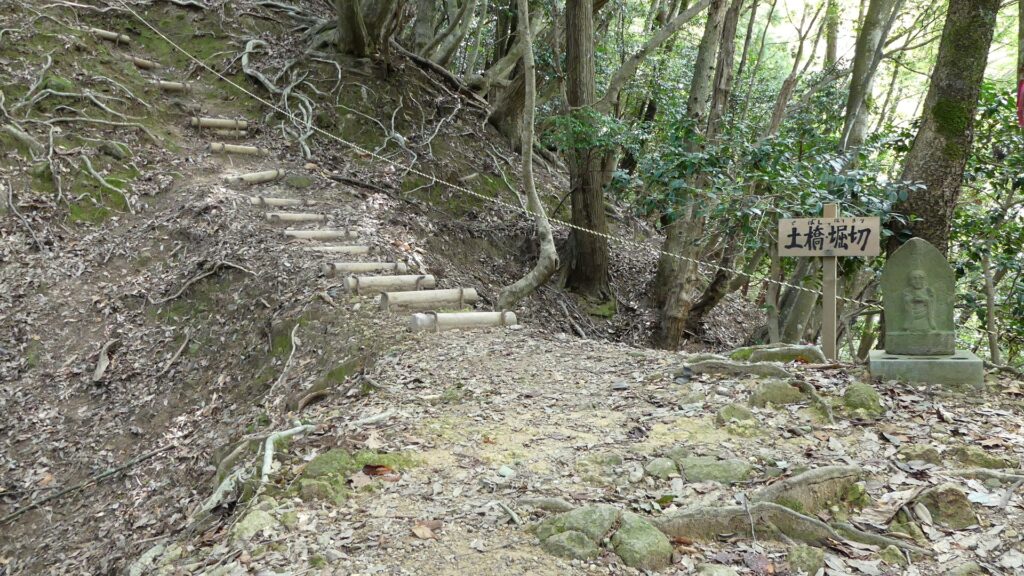
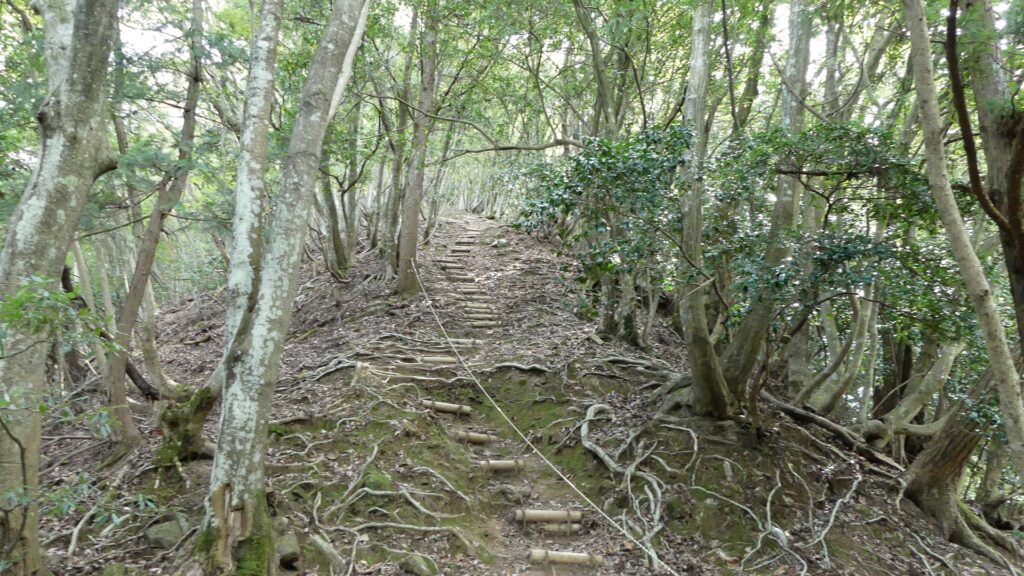
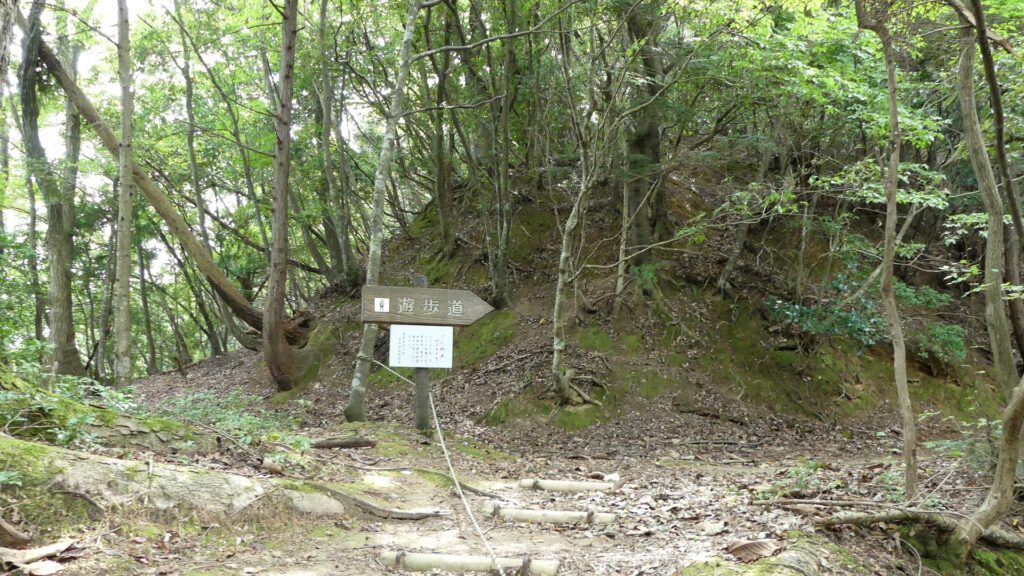
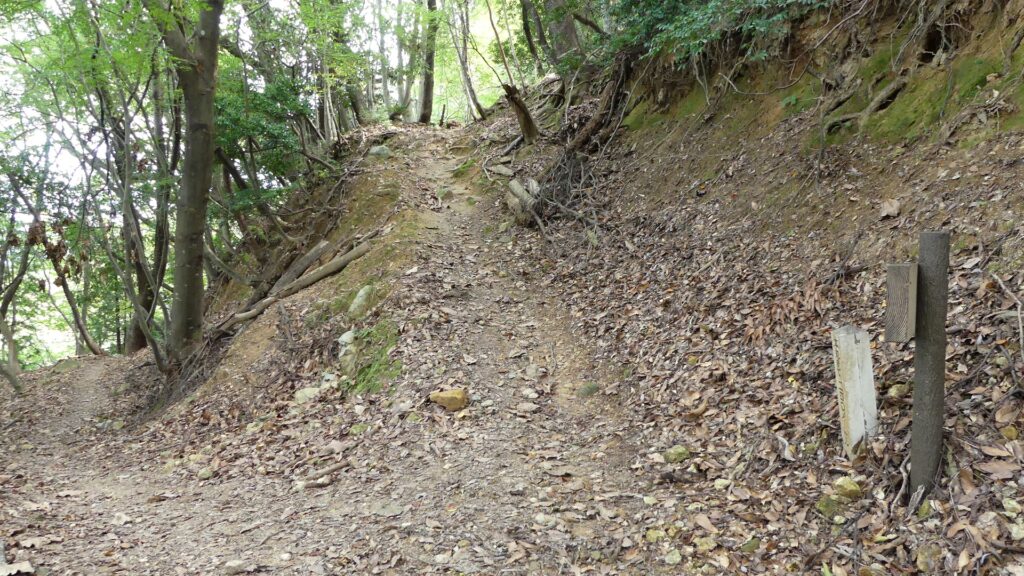
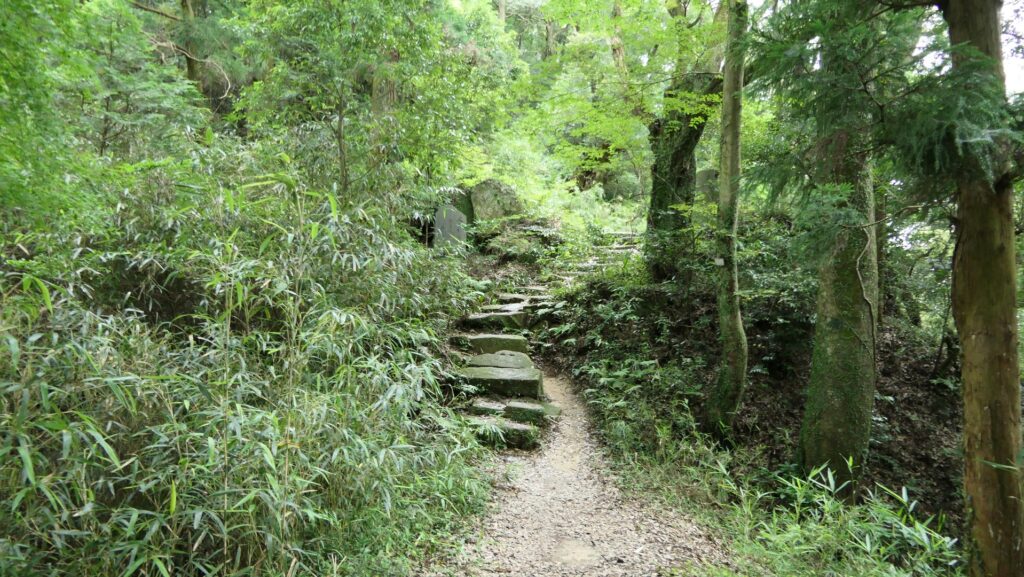
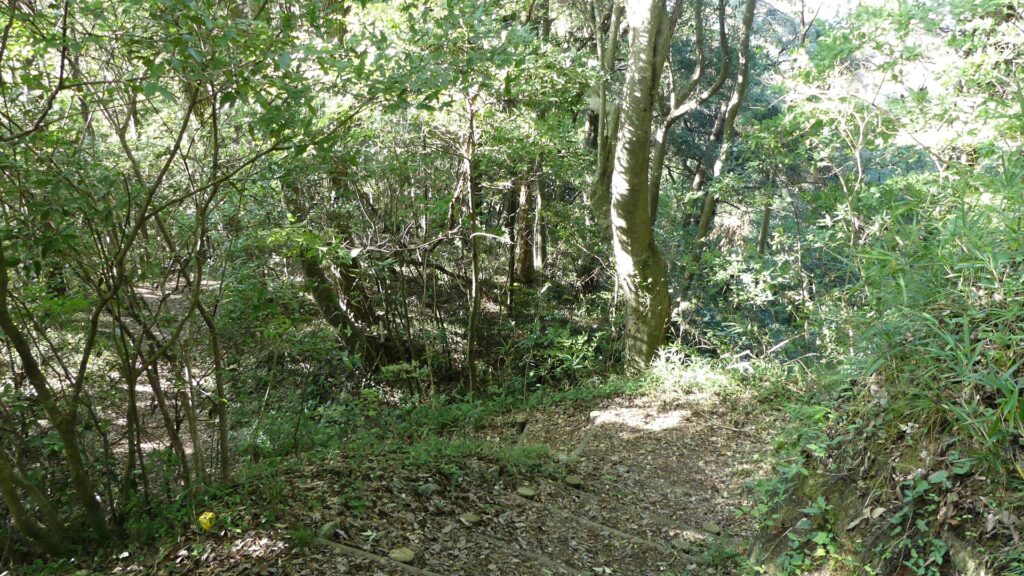
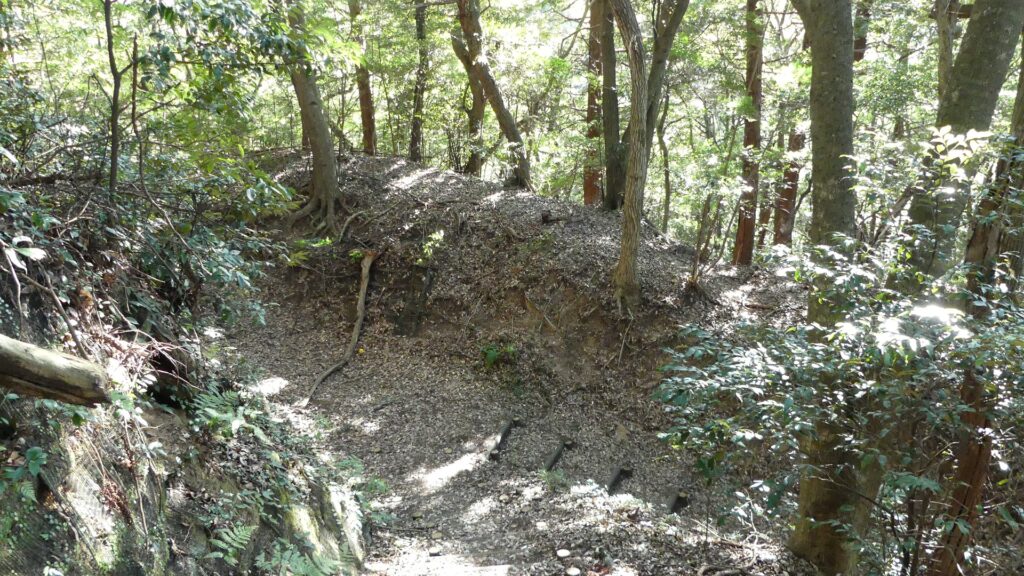
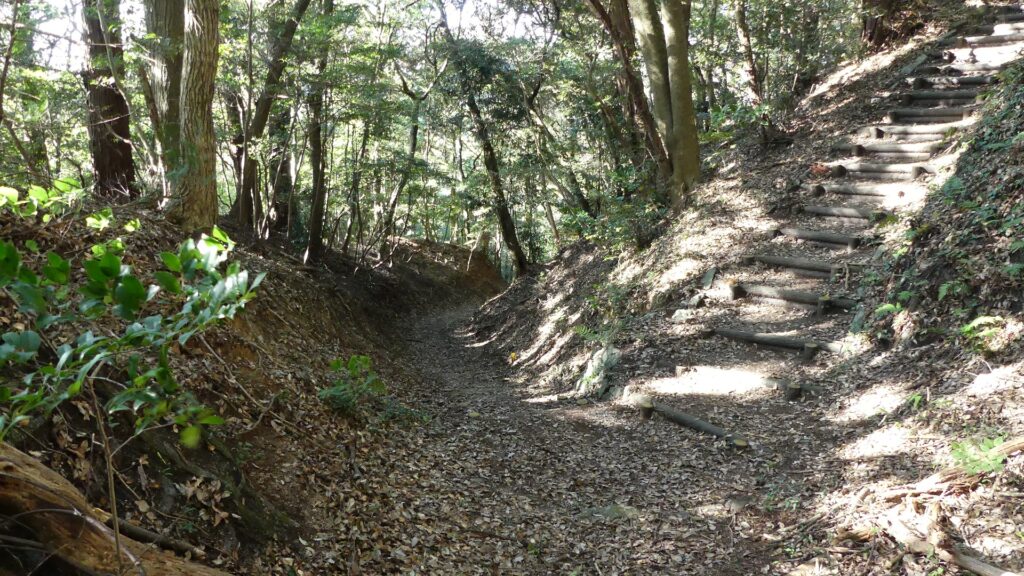
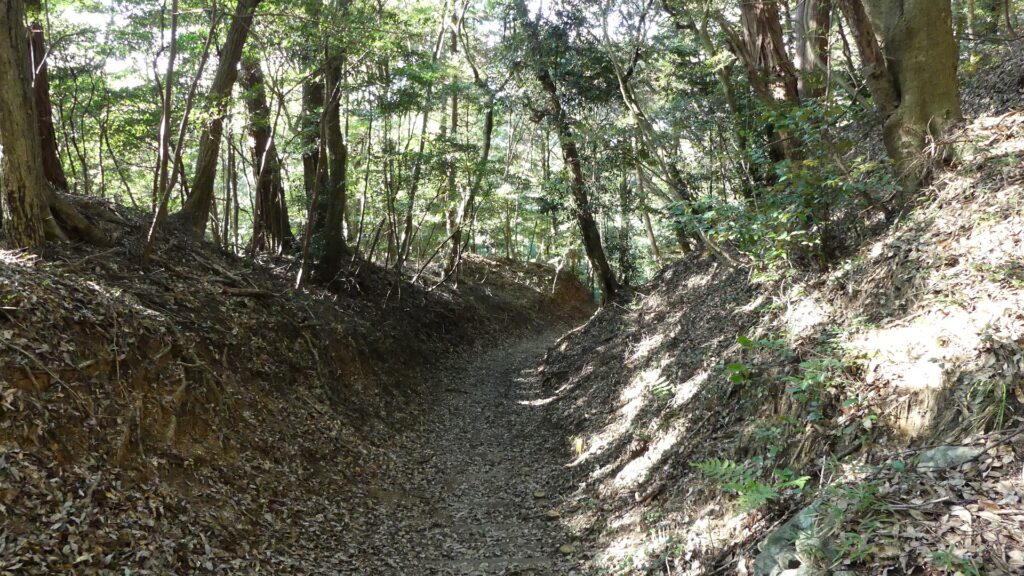
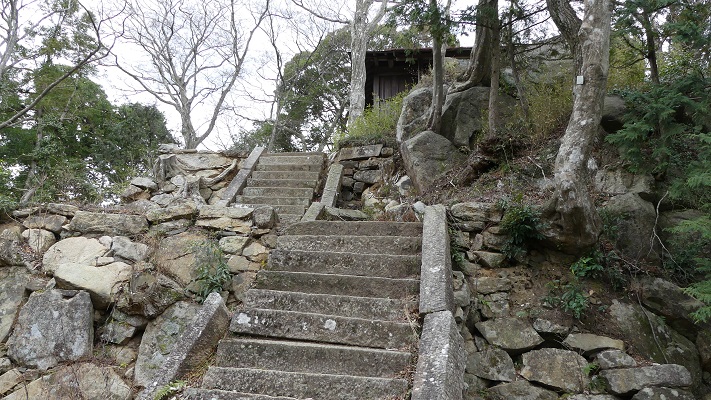
The trail is very steep and goes straight on a ridge of the mountain, which was a natural hazard of the castle. It gets a little flatter on the way, but zigzags and then becomes narrow over an earthen ditch instead. They are perhaps ruins of an artificial defensive gateway.

The steep slopes on the ridge
The spot where the trail is zigzagging
The narrow earthen bridge crossing the ditch
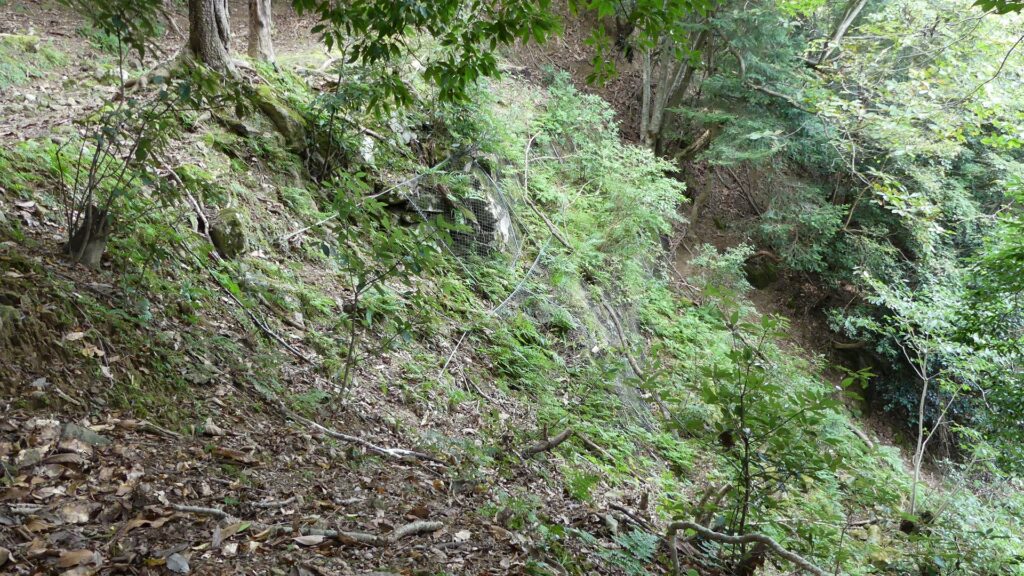
The ditch seen from above

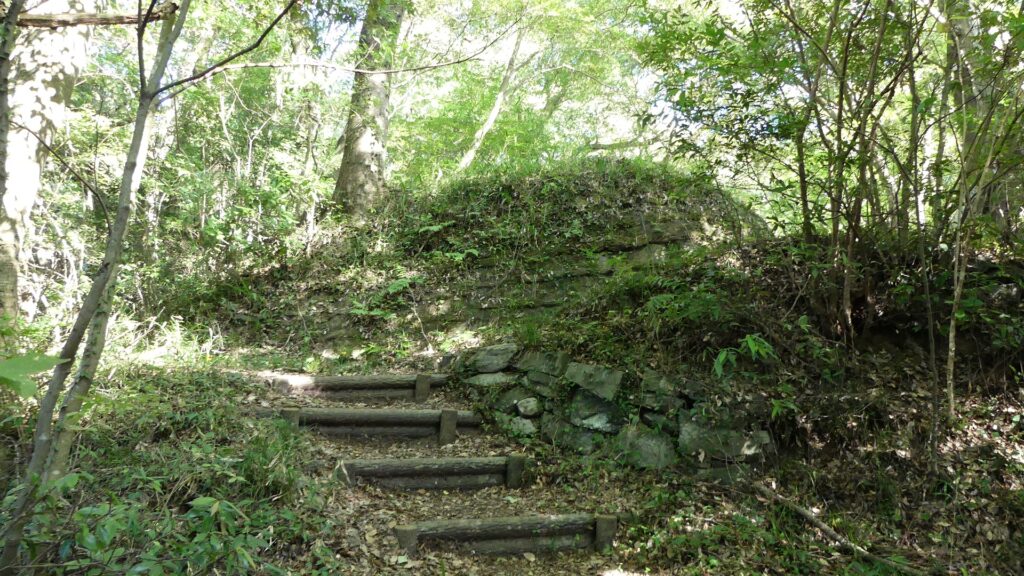
After that, you will go on the steep trail again, which may be too tough for some castle visitors. However, you will eventually reach around the top area and the route turns right to go around. The castle ruins are made of soil so far, but you will see some remaining stone walls around. This is probably because there is the Well Enclosure below the trail, so the walls were built to protect the well from collapsing or being buried.

The trail becomes very steep again
The trail turns right and becomes flat
There is the Well Enclosure below the trail
The remaining stone walls above the well

Six tiered Enclosures on Top

The trail turns left and go up again to the main portion of the castle on the top. The portion has six tiered enclosures which are all surrounded by stone walls using natural or roughly processed stones. That means, these stone walls are an early example of those for castles, which were probably built by Takatora Todo.

The map of the main portion

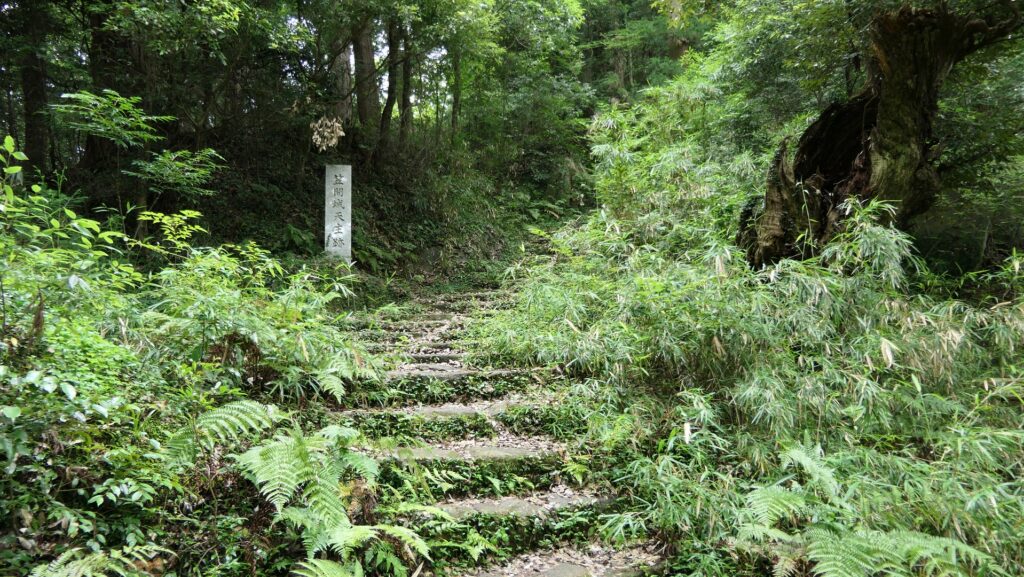
Climbing to the main portion of the castle
You can see the stone walls of the main portion

In addition, if you go straight on the branched trail, you will get to the quarry for the stones.

You can get to the quarry of you go straight at division point
The ruins of the quarry

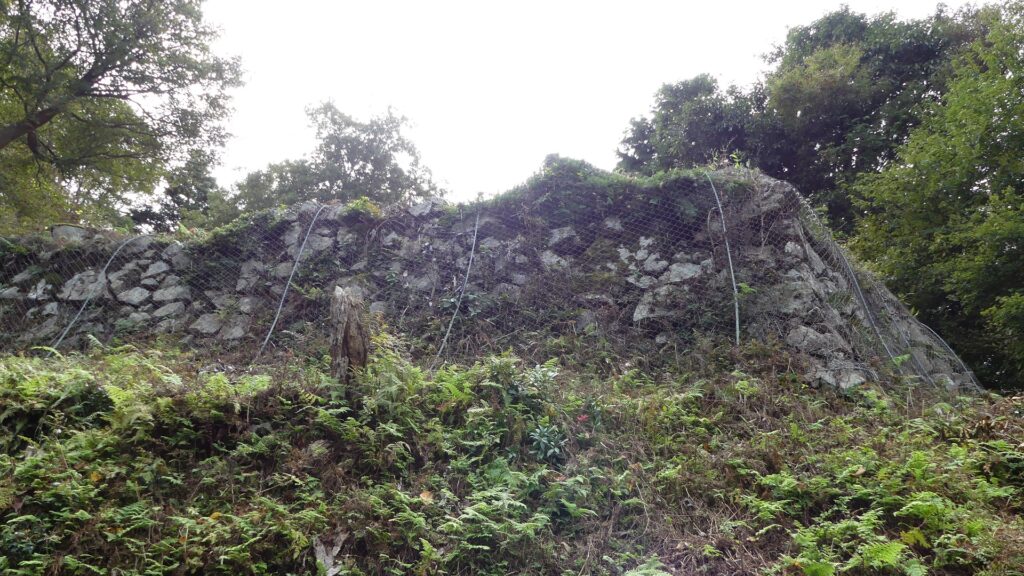
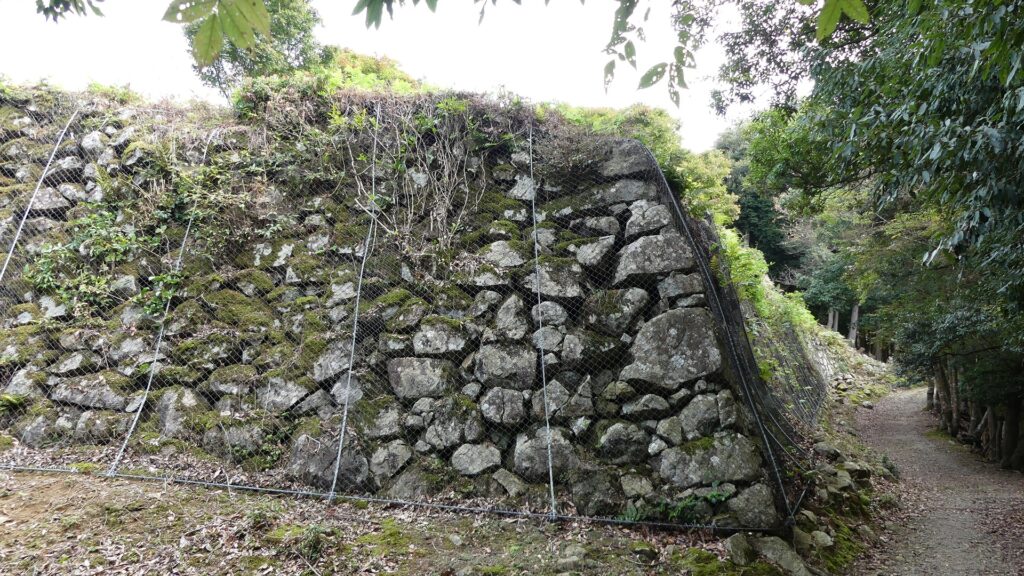
The enclosures are in line from the sixth enclosure on the bottom to the main enclosure on the top. Many of their stone walls were covered by wire nets to avoid from collapsing.

The stone walls of the sixth enclosure
The fifth enclosure on the left and the sixth enclosure on the right

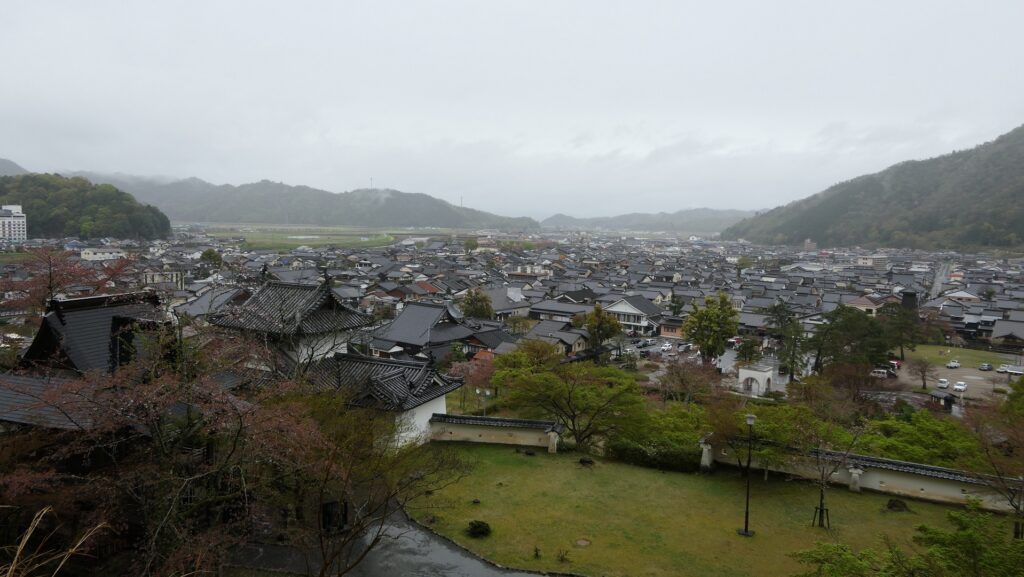
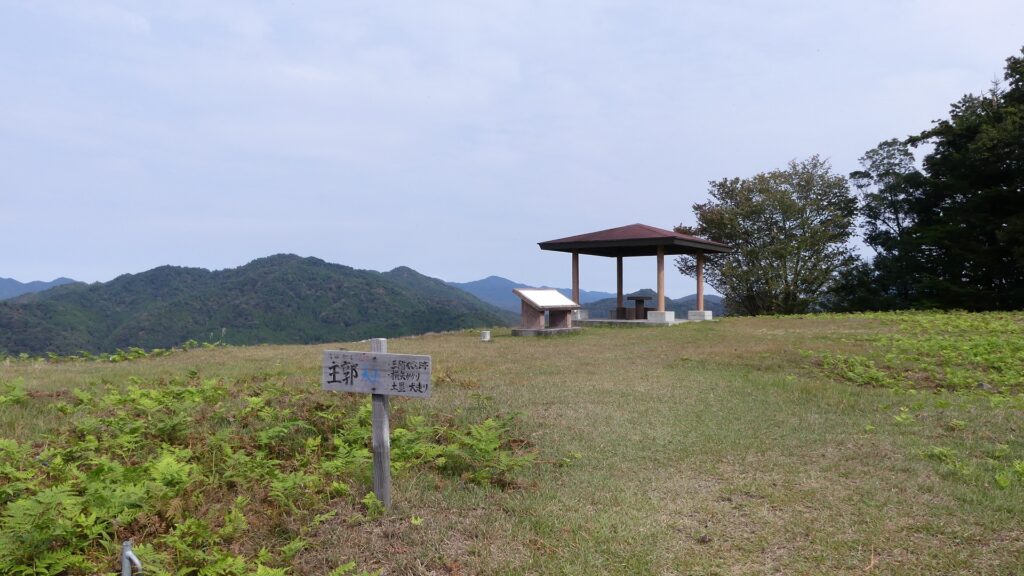
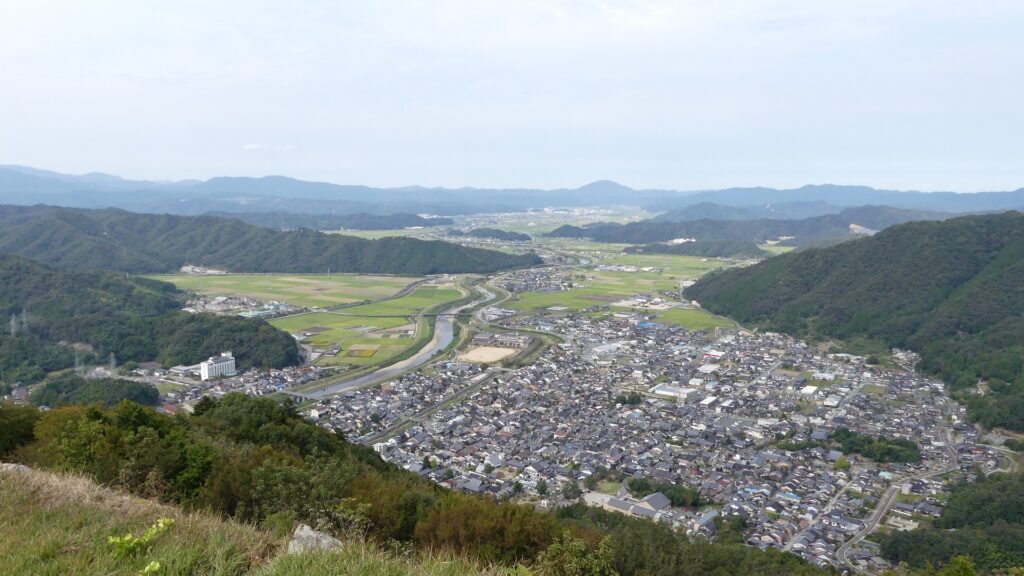
There is only the rest station and the signboard on the main enclosure. However, the view of the Izushi area from the top, about 300m above from the foot, is really breath-taking view! The stone walls of the enclosure are what you saw from the foot.

Going from the second enclosure to the main enclosure
The top of the enclosure
A view from the enclosure
The stone walls of the enclosure

Very spacious Senjousiki Enclosure for top area

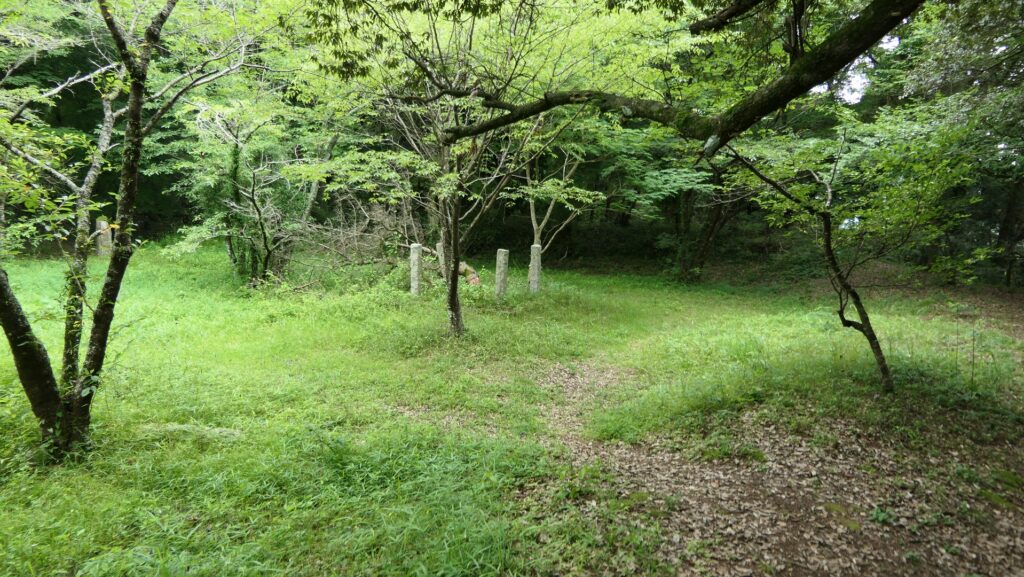
The Senjoshiki Enclosure is next to the main portion, which is separated by a huge artificial ditch. You can go there by passing the top of the forth enclosure. The enclosure is mostly made of soil, but very spacious for the top area of the mountain which was used as the lord’s residence or a station for large troops.

The path to the Senjoshiki Enclosure goes from the top of the fourth enclosure, the stone walls beide the path are the third enclosure’s
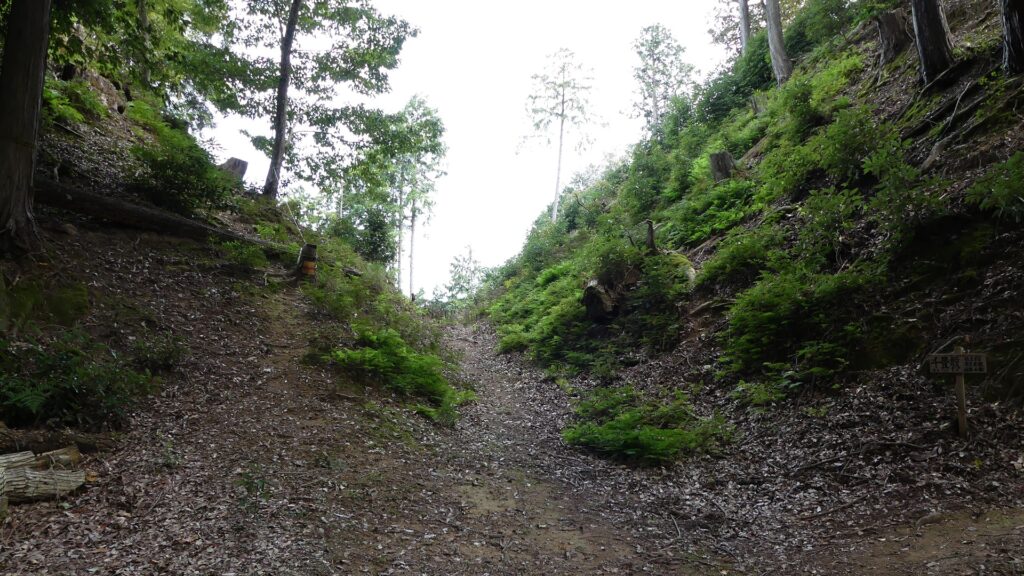
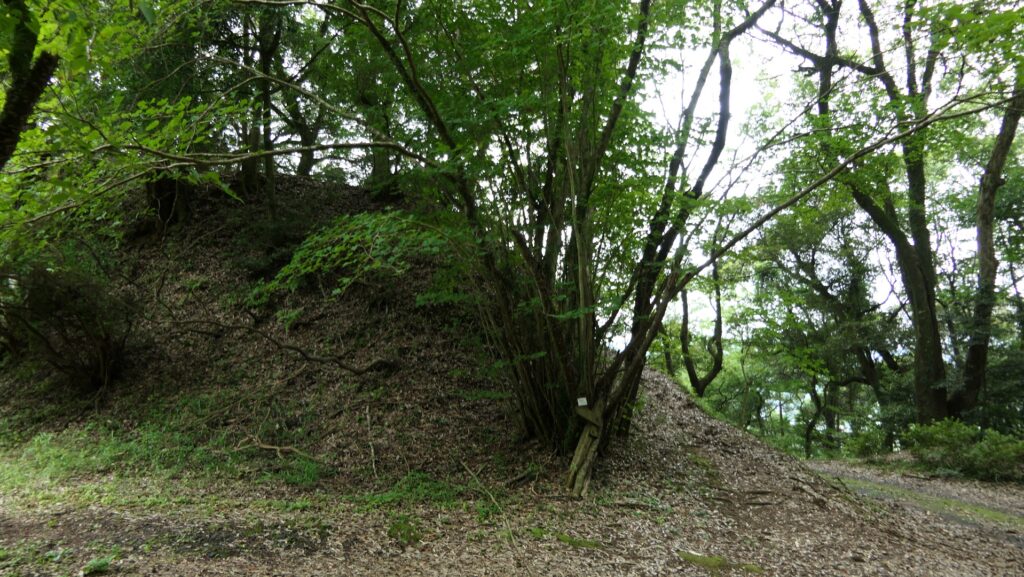
The huge ditch dividing the main and the Senjoshiki Enclosures
The top of the Senjoshiki Enclosure
The main enclosure seen from the Senjoshiki Enclosure

To be continued in “Izushi Castle/Arikoyama Castle Part3”
Back to “Izushi Castle/Arikoyama Castle Part1”

112.Kasama Castle Part3

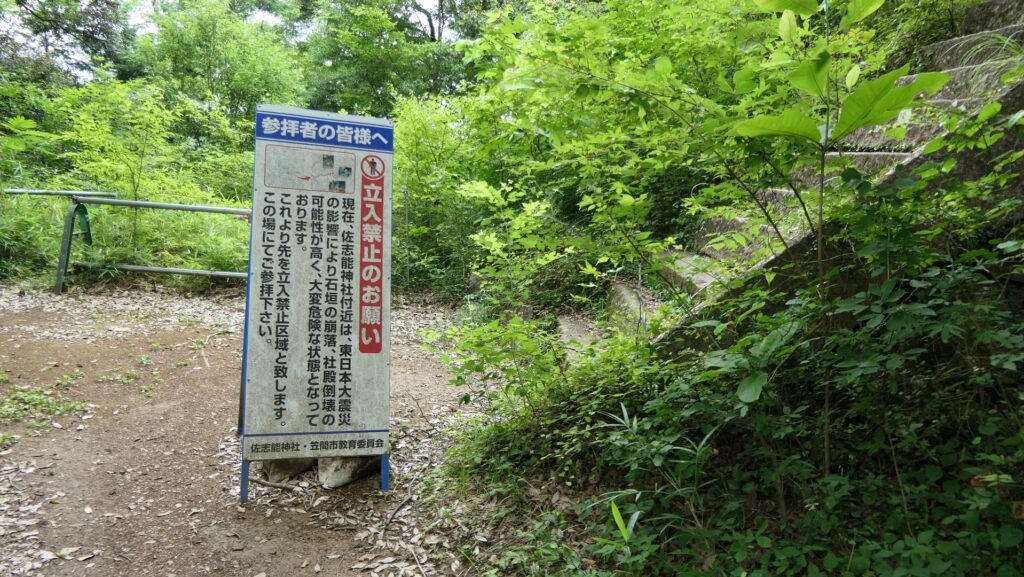
Due to the damage from the Great East Japan Earthquake back in 2011, it is prohibited to enter the top of the ruins as of November 2023. The city is considering how to repair it to open it to the public again.

Features

Main and Main Tower Enclosures as Center of Castle

The Main Enclosure is an empty space now, where the Main Hall was built in the past. Instead, long and high earthen walls at the southwestern side stands out, which are called Hachiman-dai(base). There was Hachiman-dai Turret on it as a lookout tower or a warehouse. The turret was moved to Shinjoji Temple at the foot after the castle was abandoned, which is consider the only remaining building of the castle. The view from the base or the enclosure is not so good because of the trees surrounding, but you can see the mountains or hills around.

The map of the main portion of the castle

The inside of the Main Enclosure
The Hachiman-dai Base
The top of the base
The ruins of the Hachiman-dai Turret
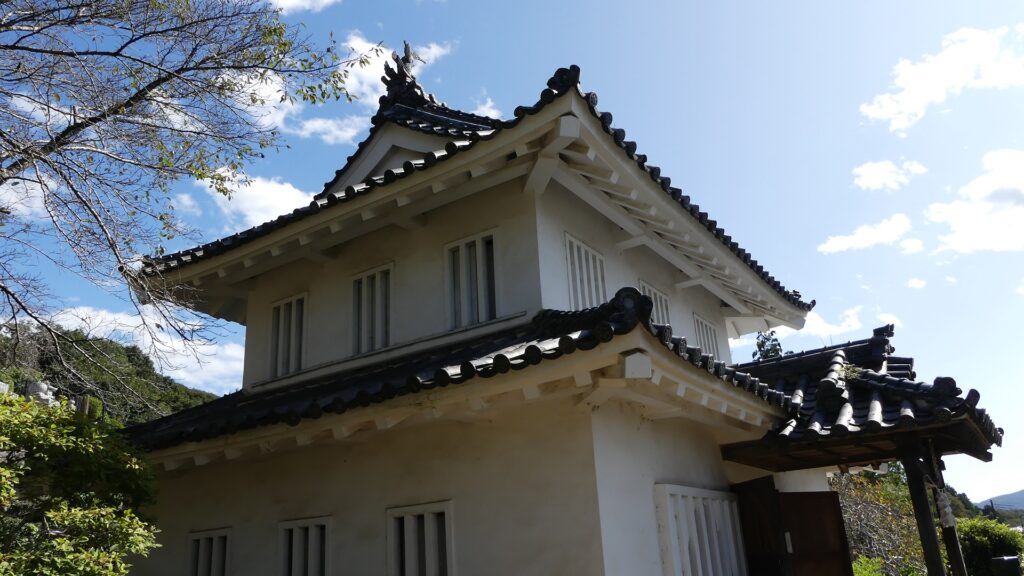
The turret was moved from the original position to the temple

The final place of the castle is the Main Tower Enclosure on the top over the edge of the earthen wall base to the northeast. You can go on the narrow earthen bridge over the ditch in front of the enclosure and reach the foot of the three-tier stone walls of it. The original Main Tower, which had been built on it, was replaced with the Sashino Shrine building during the Meiji Era. It was said that the waste materials of the tower were used for the construction of the shrine. The stone walls seem to partially use large natural rocks, which look rough and wild. However, visitors are unfortunately not allowed to climb the walls to see the top because the walls might collapse as of November 2023. You can only see a glimpse of the shrine building on the stone walls from the foot.

The earthen bridge in front of the Main Tower Enclosure
Going to the enclosure
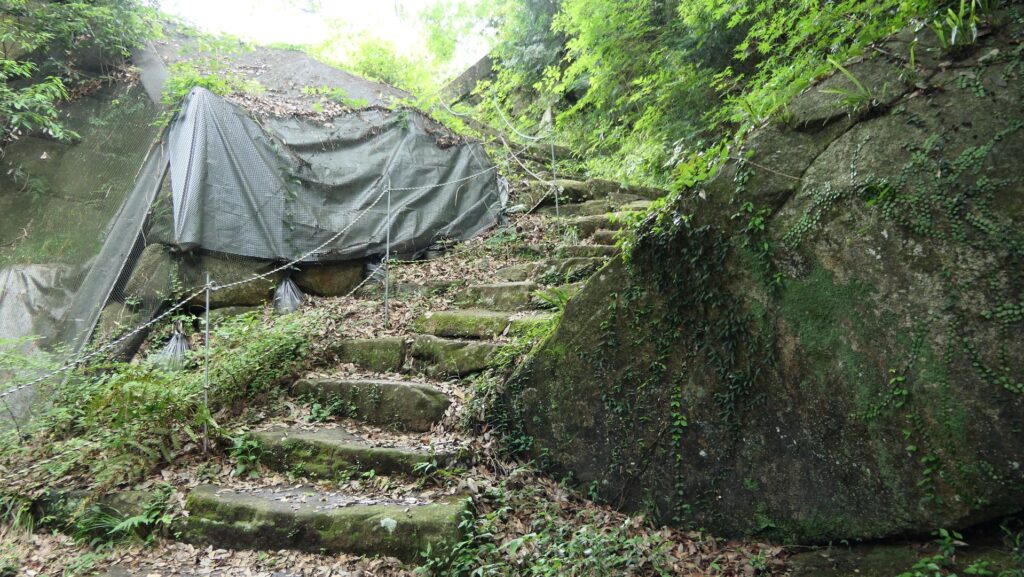
The stone walls of the enclosure partially collapsed
You can not enter from here
The glimpse of the shrine building

Returning to Foot by taking another route

You can return to the parking lot at the foot of the mountain going the same way as you took, but there is another route you can try as well but it’s challenging. You can take a trail on the ridge over the earthen wall base opposite the Main Tower Enclosure. The ridge was a defensive point of the castle, where another turret, called Anagasaki Yagura, was built. If you climb down on the trail for a while, the return route goes the bottom of a deep dry moat. This is part of the outer dry moat surrounding the whole castle area, which Satonari Gamo built. You can feel how large it was by walking through it.

The map around the castle

The Hachiman-dai Base
The ruins of the Anagasaki Turret
Climbing down other entrance ruins
Looking back at the ruins
Here comes the outer dry moats
The trail meets the dry moats
The inside of the dry moats

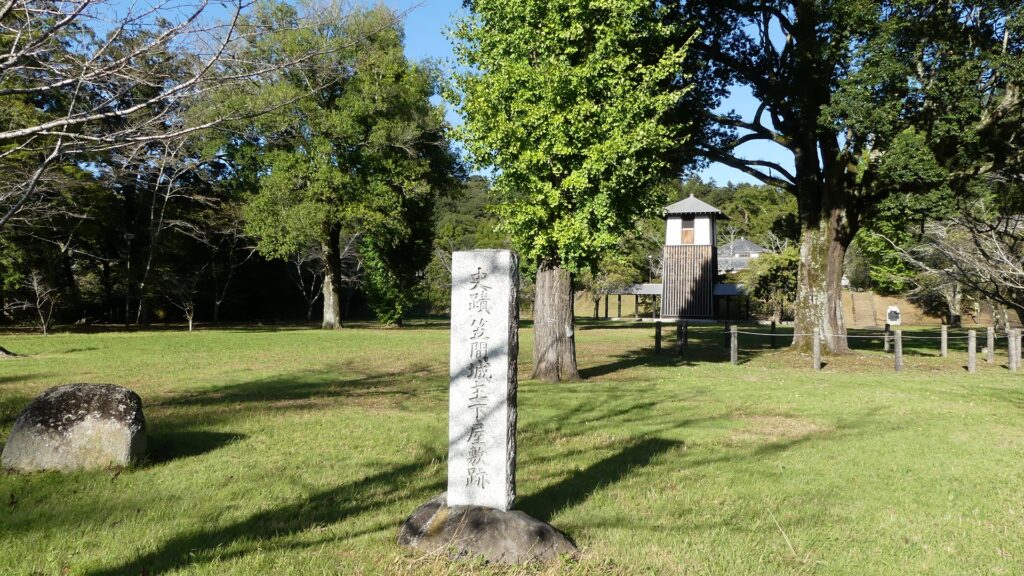
You will finally arrive at the ruins of the suburban residences at the foot, which Naganao Asano built. They have become the Sashiro Sanroku(foot of the mountain) Park which has the Bell Tower including an old bell made at the end of the Edo Period. The parking lot as is your starting point just below the park.

The ruins of the suburban residences (Sashiro Sanroku Park)
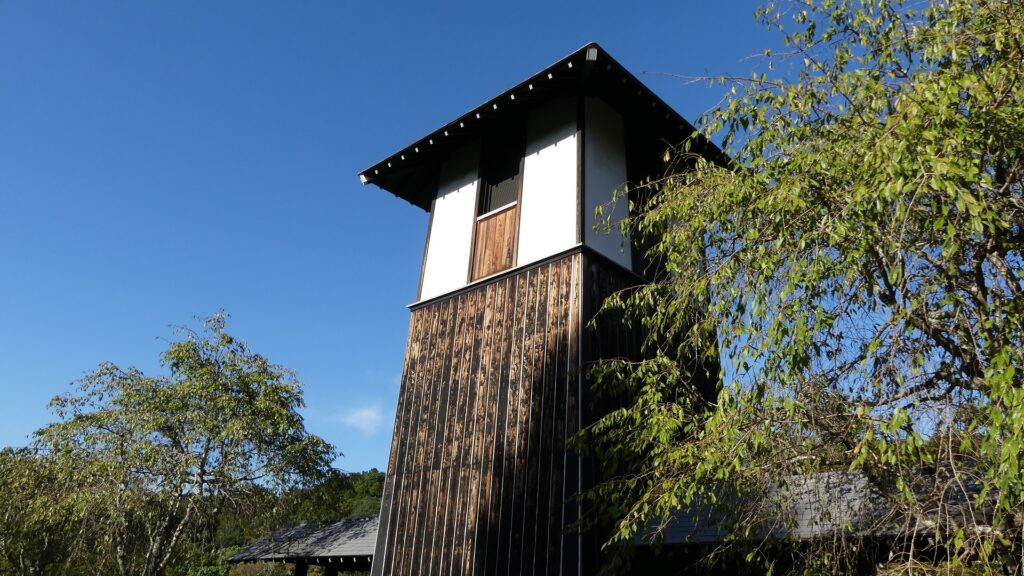
The Bell Tower
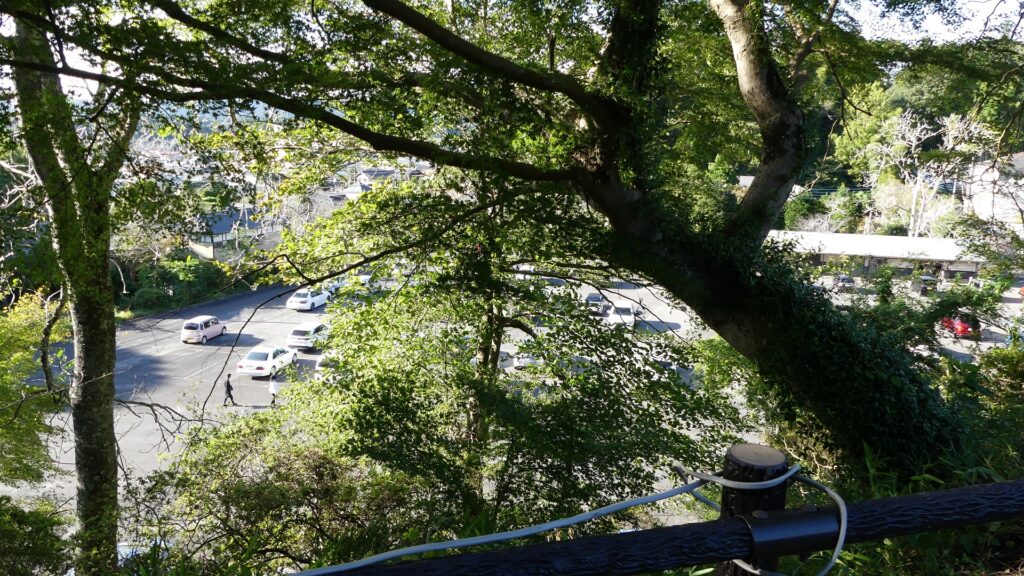
You can see the parking lot at the foot below

Later History

After the Meiji Restoration, Kasama Castle was abandoned and all the castle buildings were demolished or moved like the Hachiman-dai Turret. The mountain area became part of Kasama Prefectural Natural Park and the foot area became the Sashiro Sanroku Park. Kasama City has been researching the castle ruins since 2013 to preserve and to be designated as a national or other historical site in the near future. However, due to the damage from the Great East Japan Earthquake back in 2011, it is prohibited to enter the top of the ruins. The city is also considering how to repair it to open it to the public again.

The current Hachiman-dai Turret
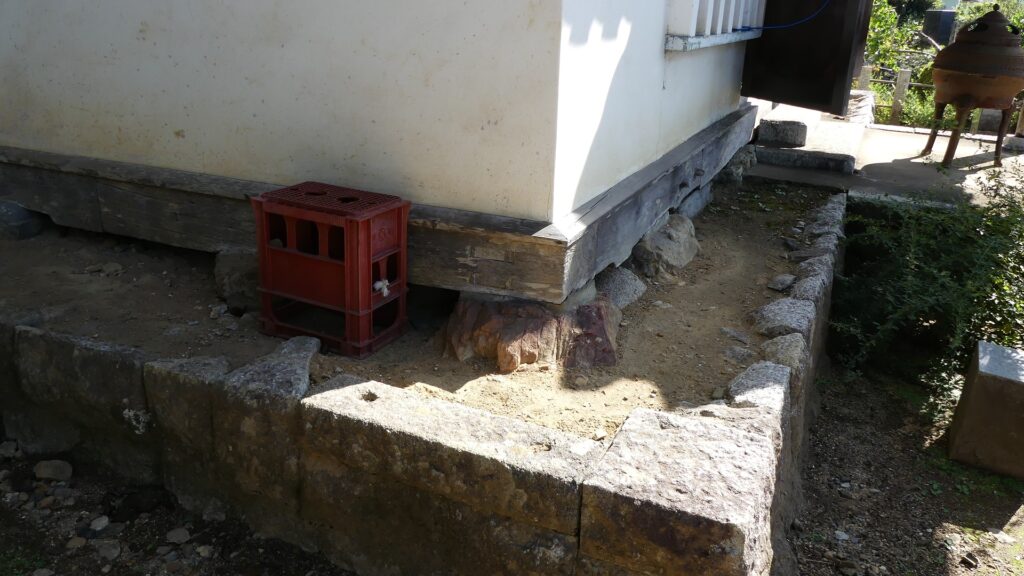
It looks like just being placed on the newer base

My Impression

There are many attractions of Kasama Castle and the city. In my cases, once I visited and learned about the castle, I wanted to go there again to try seeing what I had missed or other ways to visit. When I first visited the ruins, I got to the great stone walls on top but they partially collapsed. In my recent visit, they were finally covered with sheets and kept out for visitors. I was very sorry about it and hope it will be repaired to open to the public soon.

The Main Tower Enclosure as of 2019
The Sashino Shrine building on the enclosure as of 2019

How to get There

If you want to visit the castle ruins by car, it is about a 20-minute drive away from Tomobe IC on the Kitakanto Expressway.
There are parking lots at foot and the mid slope of the mountain as mentioned above.
By public transportation, you can take the sightseeing tour bus from JR Tomobe Station and get off at the Nichido-bijutsukan bus stop near the park.
From Tokyo to Tomobe Station: take the Tokiwa limited express from Tokyo or Ueno Stations.

That’s all. Thank you.
Back to “Kasama Castle Part1”
Back to “Kasama Castle Part2”

112.Kasama Castle Part2

Today, the ruins of Kasama Castle have been convenient for both drivers and hikers. For example, if you drive to the ruins, you can choose either parking at the foot of the mountain before a long walk or parking at the mid slope near the top.

Features

Walking from Foot is recommended

Today, the ruins of Kasama Castle have been convenient for both drivers and hikers. For example, if you drive to the ruins, you can choose either parking at the foot of the mountain before a long walk or parking at the mid slope near the top. However, if you have enough time to visit there, it may be better to take the former route because there are many more attractions of the castle widely spread throughout.

The map around the castle

Therefore, let us start from the parking lot at the foot to reach the top via the forest road to the mid slope for visiting the ruins by walk mentioned earlier in this article. Please be careful of the many cars that might pass your side. There are several hills around the castle ruins, so you will go on the winding road among the hills. The road eventually turns right at a right angle, which is the entrance to the castle ruins. In addition, if you go straight passing though the spot on the narrow path, you will get to the ruins of the northern gateway called Sakao-no-dorui (meaning the earthen walls of Sakao).

The parking lot at the foot of the mountain
The forest road to the castle ruins
If you turn right, you will get to the castle ruins, or you will be at the earthen walls of Sakao if you go straight
The earthen walls of Sakao

Looking at Mysterious Huge Rock and Outer Dry Moats

Going back to the forest road to the castle, you will see a huge rock which partially blocks the road on the left. It is called Daikokuseki (meaning the Rock of Mahakala) which has an interesting folklore as the following. When Shofukuji Temple fought against Tokuzoji Temple but was outnumbered and was at disadvantage, the huge rock near the top suddenly collapsed. The rock crushed the monk soldiers of Tokuzoji side on the narrow path, which resulted in their withdrawal. Since then, the rock has been called the Rock of Mahakala because it looks like the sack Mahalaka has and brought a fortune to the Shofukuji side which was located on the mountain (Mahalaka is the god of wealth in Japan).

Getting close to the rock
Be careful when you pass through the rock

You will next see a large ditch on the left, which is part of the outer dry moats surrounding the whole castle area. That means this is where the entrance of the castle is. You will then walk on the road with a hill on the left and another hill over the valley on the right. They are all the ruins of the forts, so if you were an enemy, you would be attacked from both sides.

The Outer Dry Moats
There was a fort on the hill on the left of the road
There was another fort on the right of the road across the valley

Sennin-Damari Enclosure and One Hundred Quarters Ruins at Mid Slope

You will eventually turn right and go across an earthen bridge over the valley before arriving at the parking lot at the mid slope. It was actually a large enclosure called Sennin-Damari (meaning Accommodating Ten Thousand Soldiers), which was probably used as a military post or barracks.

If you turn right, you will get to Sennin-Damari Enclosure, and there are the ruins of the One Hundred Quarters on the left
The Sennin-Damari Enclosure, seen from the ruins of the One Hundred Quarters
The Sennin-Damari Enclosure (the parking lot at mid slope)

There is also the ruin of the One Hundred Quarters of Shofukuji Temple opposite the enclosure across the forest road, where the temple prospered. However, there are no buildings and structures, but only the signboard and leveled ground with few graves, so it may look like another ruins of the castle’s fort.

The ruin of the One Hundred Quarters
There are few graves remaining

From Main Gate to Main Enclosure

All visitors have to walk from the Sennin-Damari Enclosure to the center after passing a gate built by alternating stone walls. However, you can easily go on the restricted road to the top beside some castle items such as the Main Gate Ruins and partially remaining stone walls.

Every visitor has to walk from the Sennin-Damari Enclosure
The ruins of the Main Gate
You can easily get to the Main Enclosure along the restricted road
The remaining stone walls on the way

You actually have another option to get to the top by walking on a rough path through the original gates. You can first take the stone steps of the Main Gate and pass its Masugata system. Then, you will once meet the restricted road, but you can find other stone steps to the path on the right.

The map around the castle, the red broken line indicates the route through the original gates

Climbing the stone steps of the Main Gate
You will once meet the restricted road
You will find other stone steps to the path on the right

If you go on the path crossing the slope, you will pass beside the Second Enclosure and reach the ruins of the Main Enclosure Gate which are similar to the Main Gate. No matter which way you choose, you will arrive at the same place, the Main Enclosure.

Going on the path crossing the slope
There is the Main Enclosure ahead and the Second Enclosure on the right
Arriving at the ruins of the Main Enclosure Gate
The Masugata system of the Main Enclosure Gate remains maybe better than the Main Gate
In the miniature model of Kasama Castle, the gate in the red circle is the Main Gate and that in the blue circle is the Main Enclosure Gate, I think

To be continued in “Kasama Castle Part3”
Back to “Kasama Castle Part1”