56.Takeda Castle Part2

The current tourist route is very similar to the bypass route the castle originally had. Hence, the route for the defenders of the castle in the past makes it possible for current visitors of the ruins to move smoothly as well.

Features

Well-developed Castle Ruins

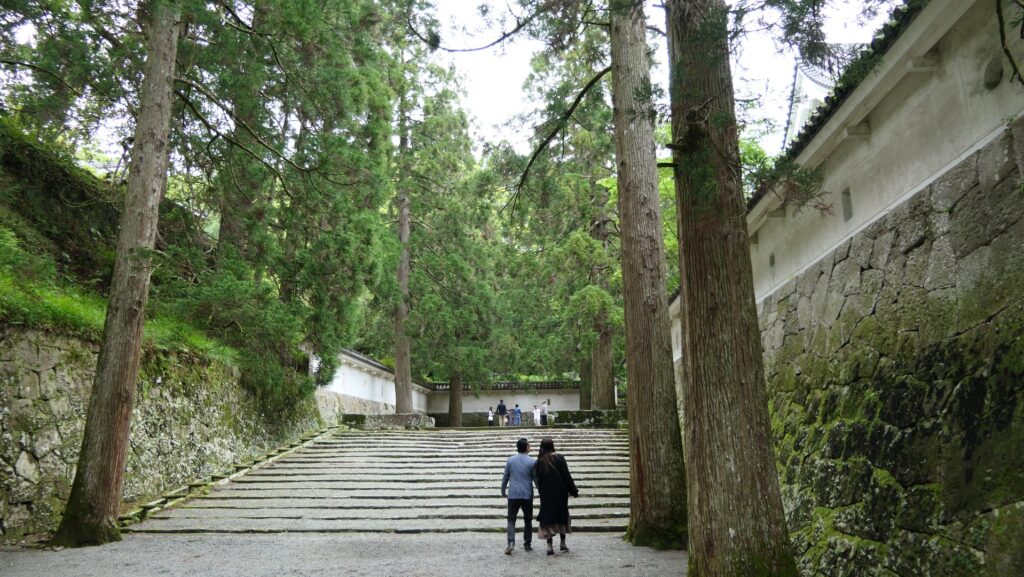
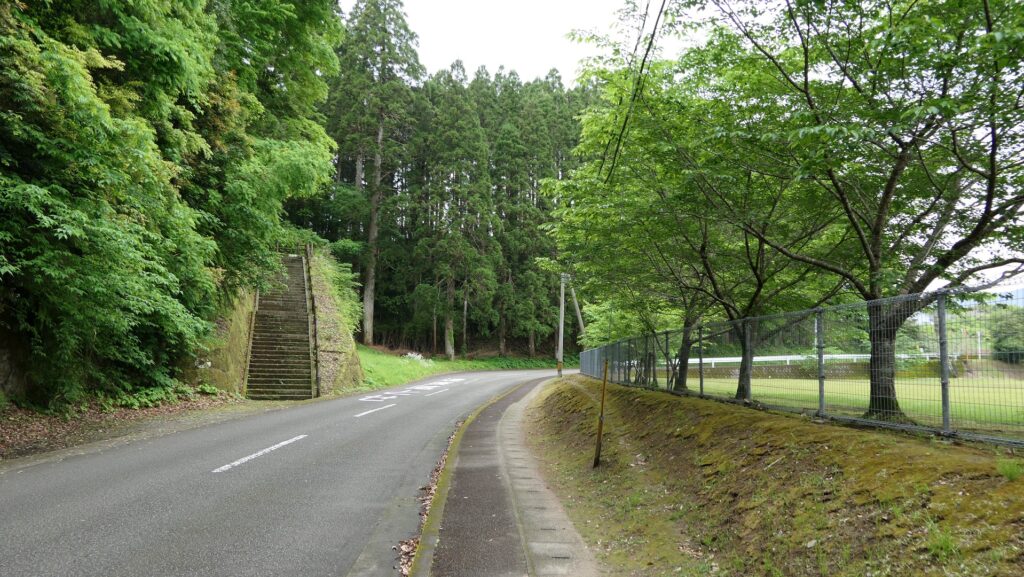
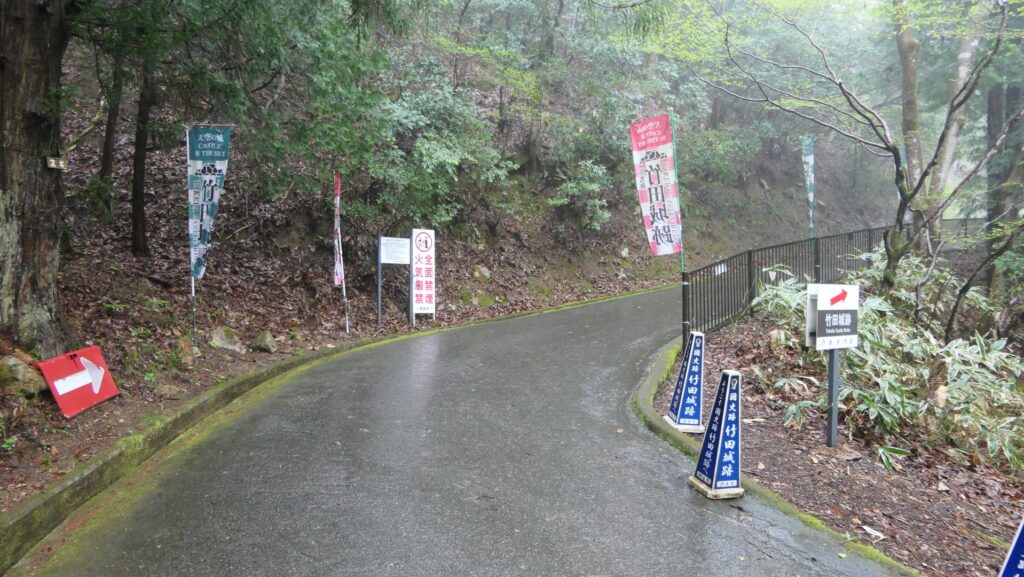
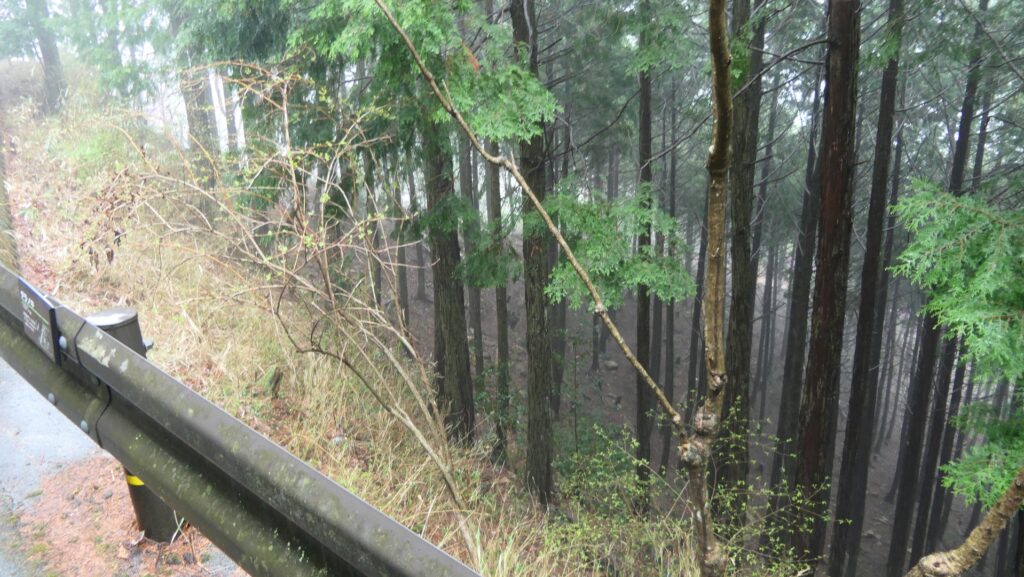
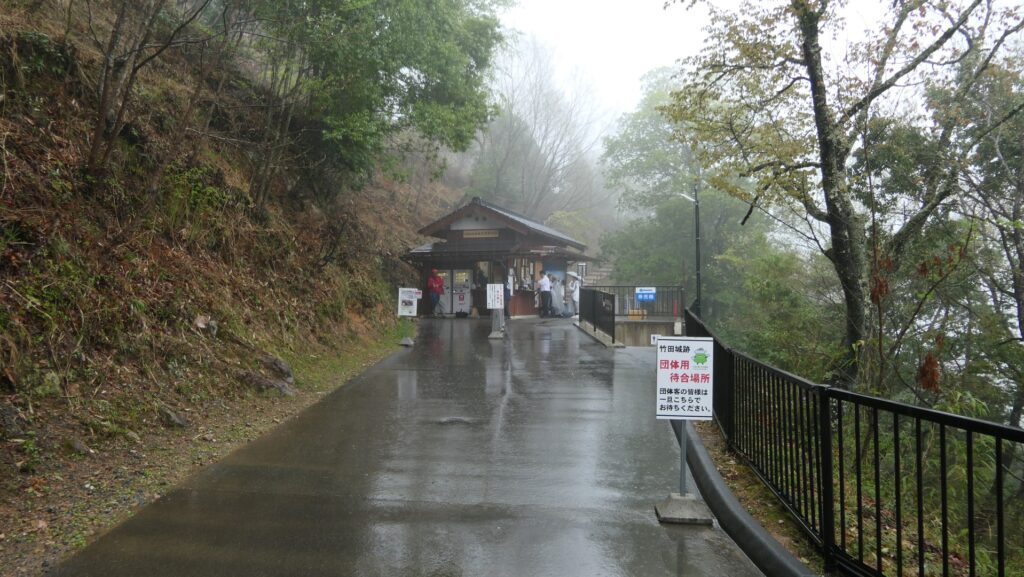
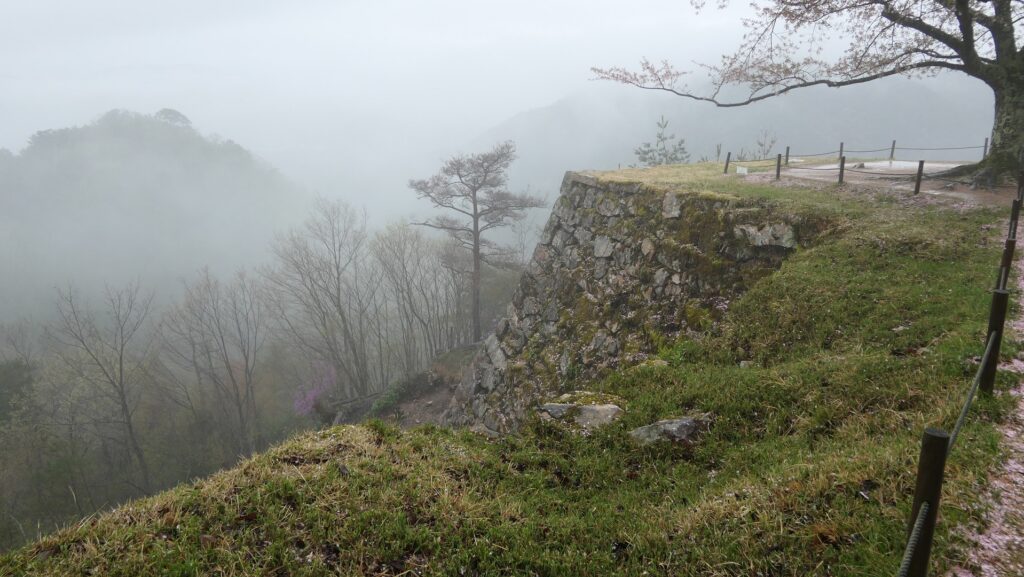
Today, the ruins of Takeda Castle have been well developed to maintain them and control many visitors. If you want to drive to the ruins, you need to park at a tourist facility called “Yamajiro-no-sato” (or “the Village of the Mountain Castle”) and get to the ruins by a taxi, a bus, or walking. Even if you use a taxi, you will still need to walk the last kilometer from where you are dropped off to the ticket office, the entrance of the ruins. The path to the entrance is paved, but the terrain of the mountain is steep and rough when you walk along this path. You may wonder why and how the builders built a castle with great stone walls on such a mountain.

The map around the castle

The tourist facility
Everyone must walk from here
You can see very steep and rough slopes beside the path
Arriving at the ticket office

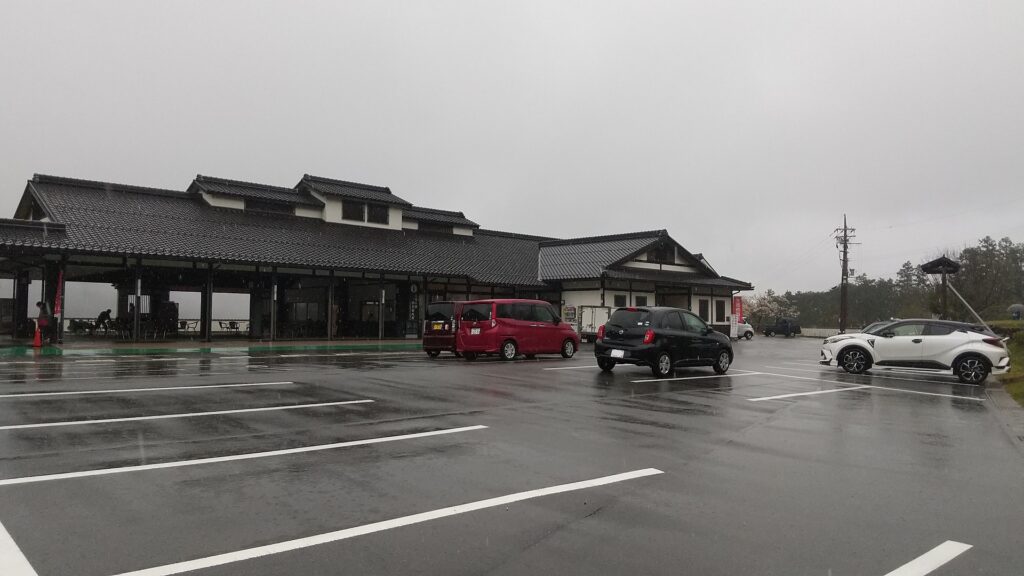
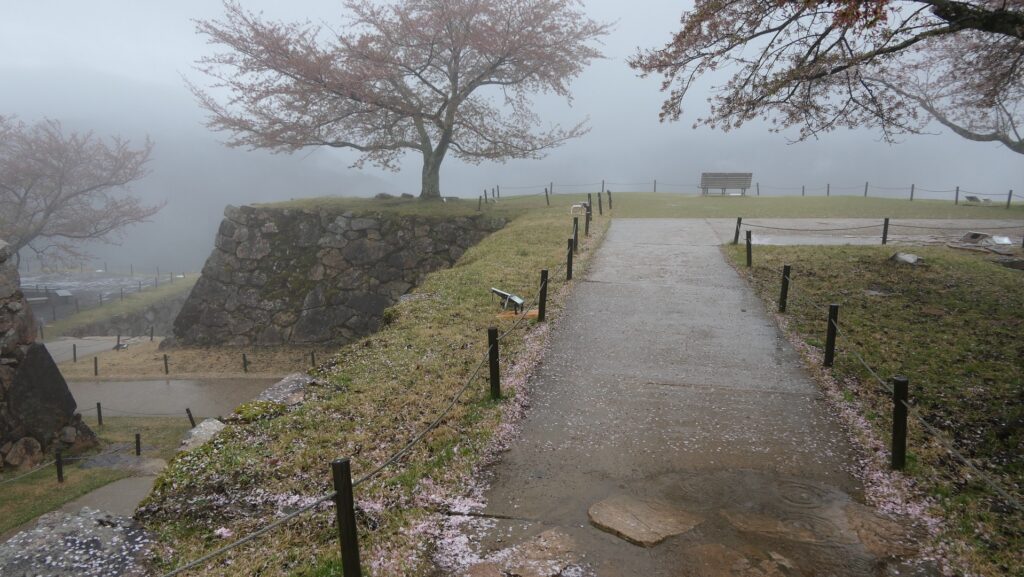
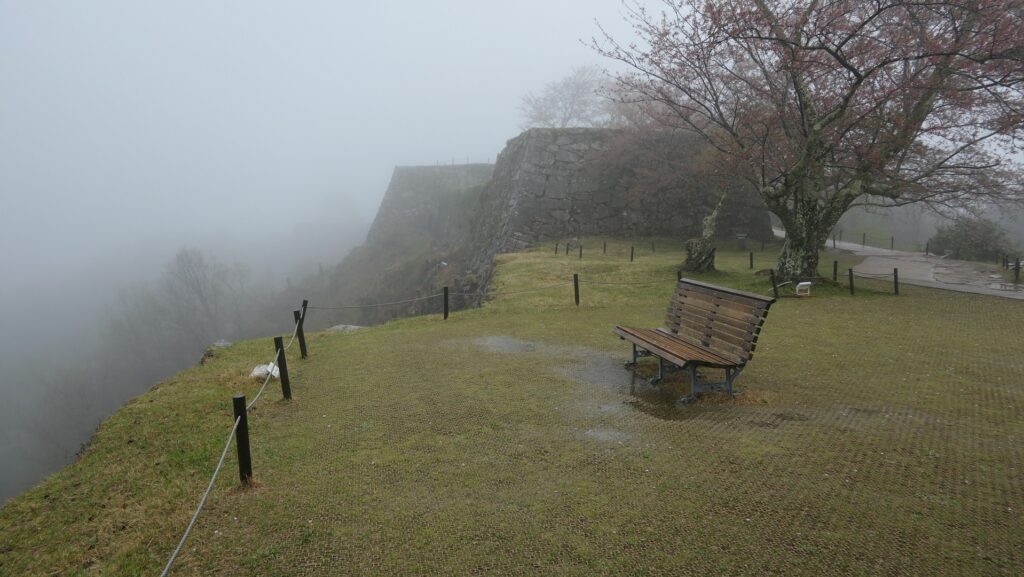
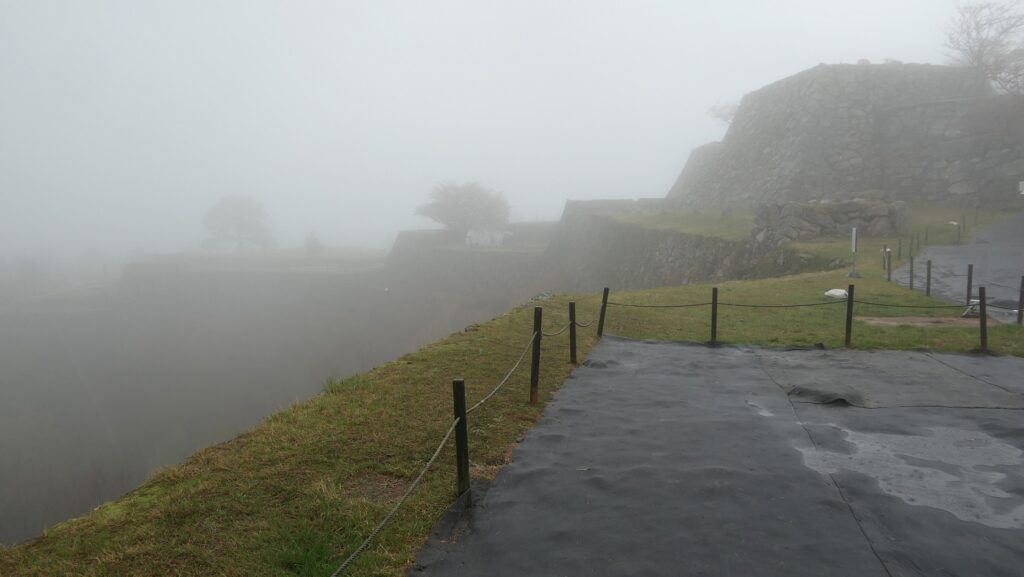
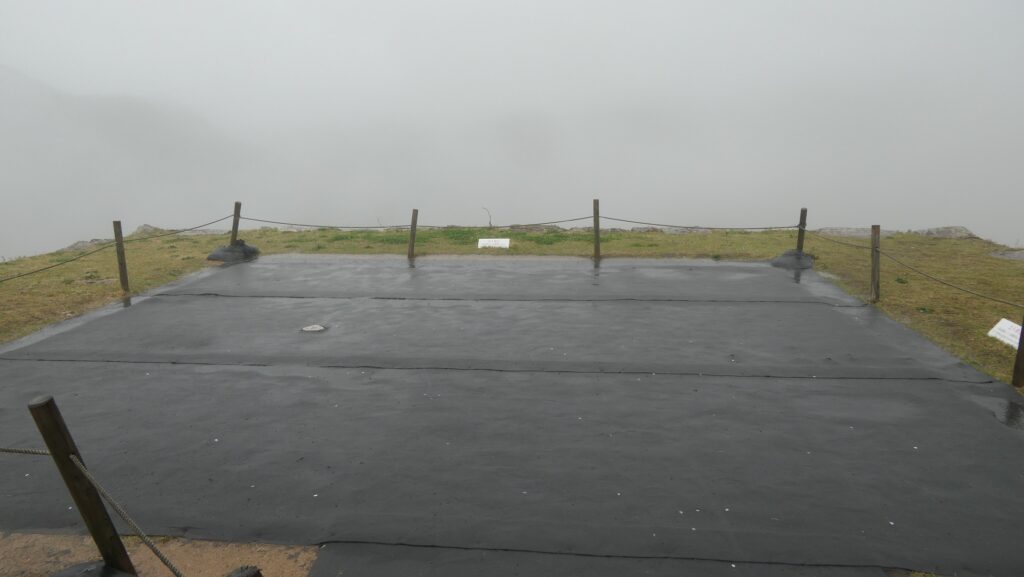
In the ruins, the tour routes are set one way and the range for visitors to walk around is also limited by poles and ropes. The stone walls and the foundations of the castle look well maintained. This is done by officials closing the ruins for a certain period of time to repair them every year. These activities contribute to keep the ruins in a good condition as well as securing the safety of visitors. For instance, visitors first enter the entrance of Kita-Senjo (meaning Northern 1,000 mat Enclosure in Japanese) at the edge of the northern ridge, then, walk on the ridge, pass the side of the stone wall base for the Main Tower at the Main Enclosure, walk on the southern ridge, and finally get out from the edge of it. This route is very similar to the bypass route the castle originally had. Hence, the route for the defenders of the castle in the past makes it possible for current visitors of the ruins to move smoothly as well.

The map around the castle

You can’t access the edge of an enclosure at the site

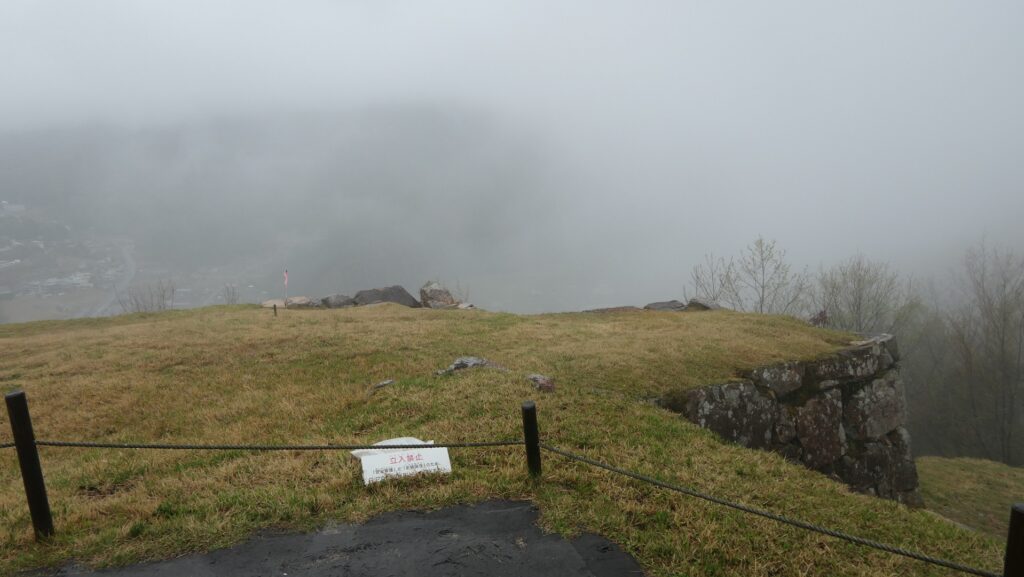
Entrances and routes are strictly protected

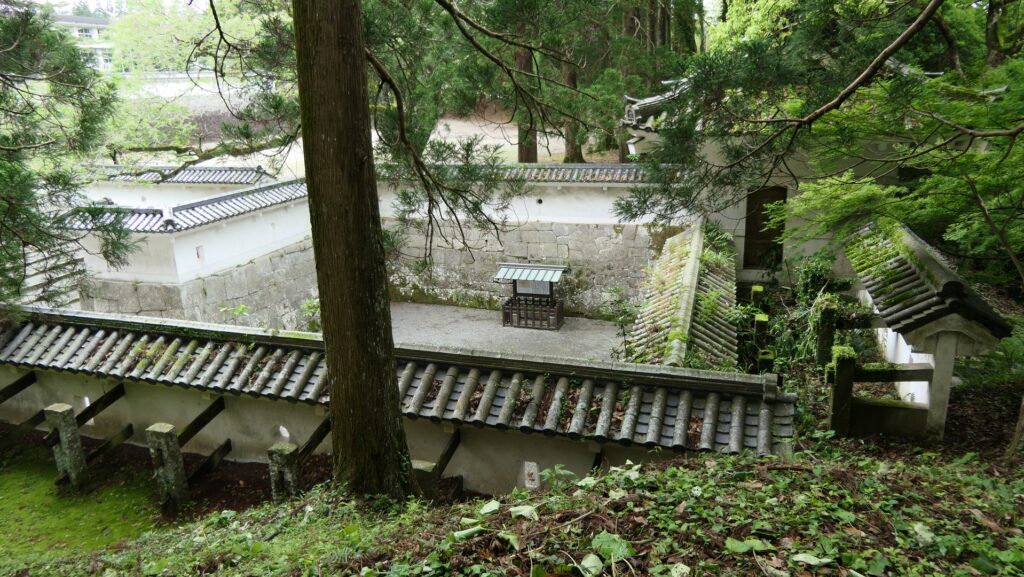
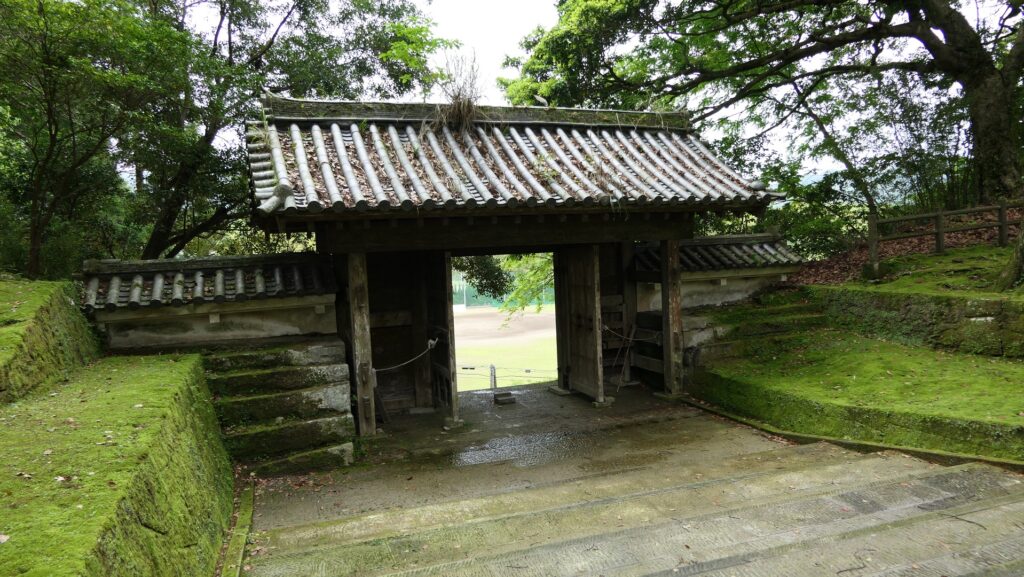
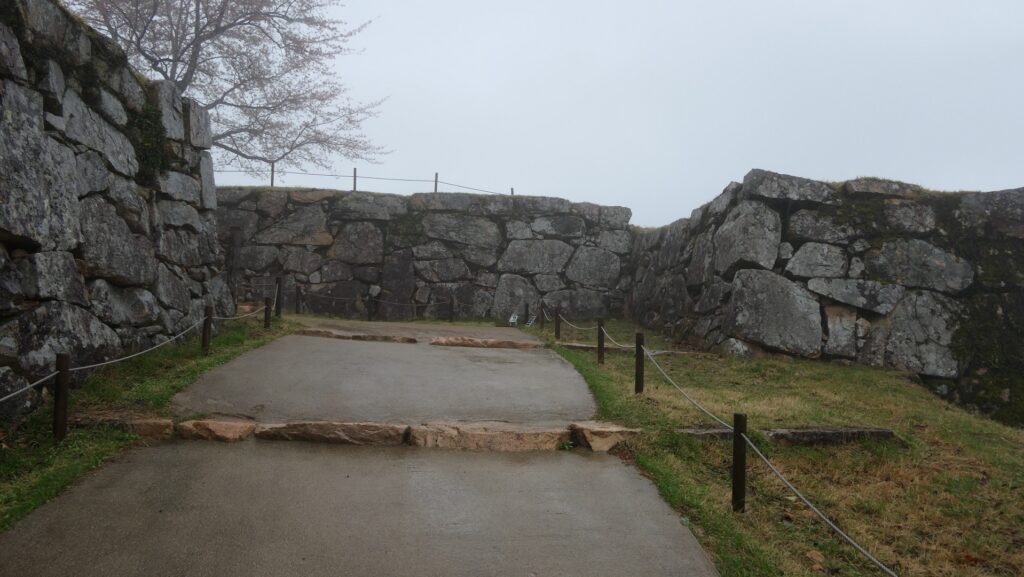
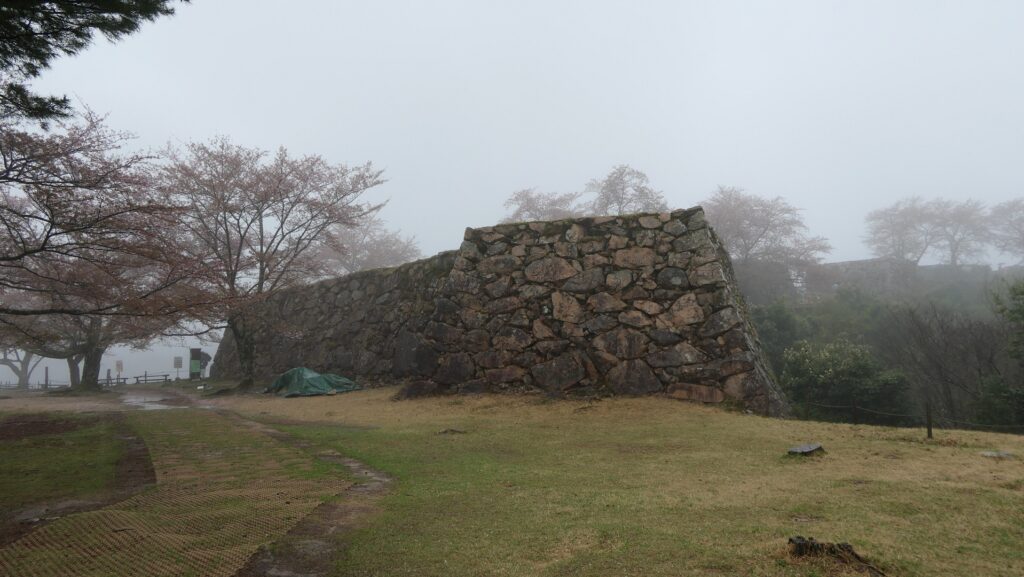
To get back to the entrance at the edge of the northern ridge, it has a defensive square space surrounded by high stone walls, called “Masugata”. It also had gate buildings on it, where the defenders would attack enemies outside by using guns and arrows. If the enemies reached the gate, they would be locked in the Masugata system.

The entrance of the castle ruins
The Masugata system at the edge of the northern ridge (called the Main Gate at the site)
The Masugata system seen from the inside

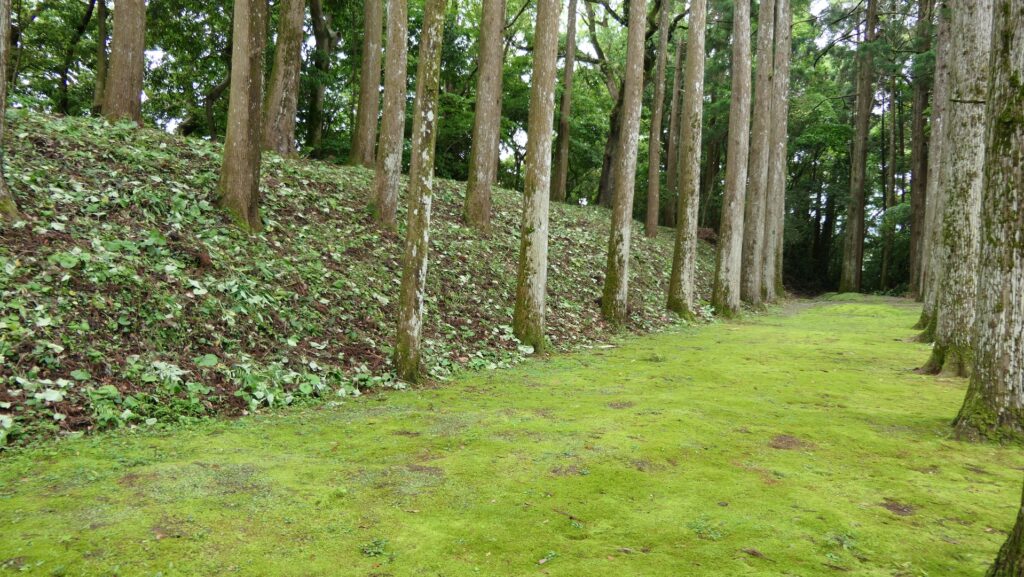
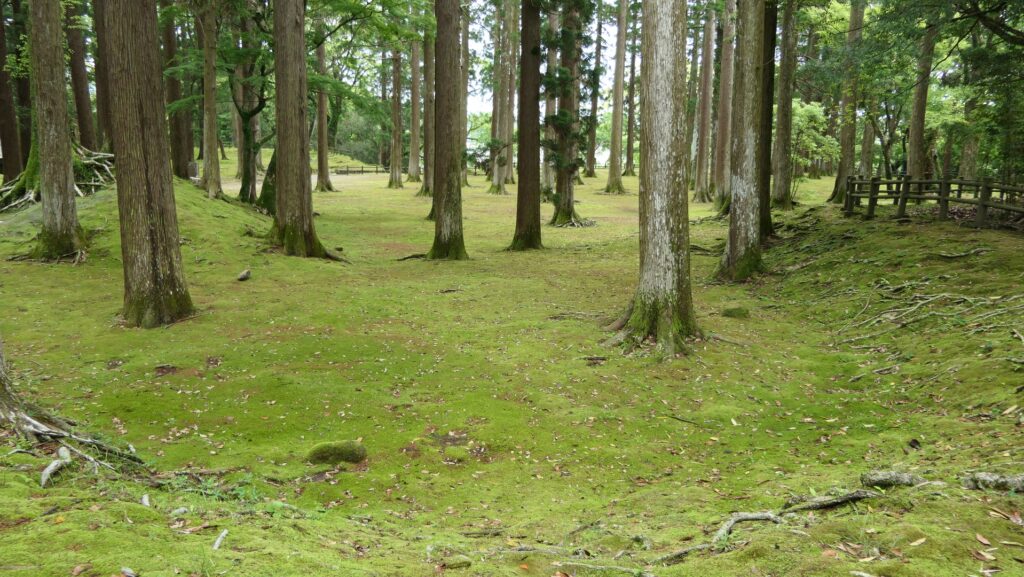
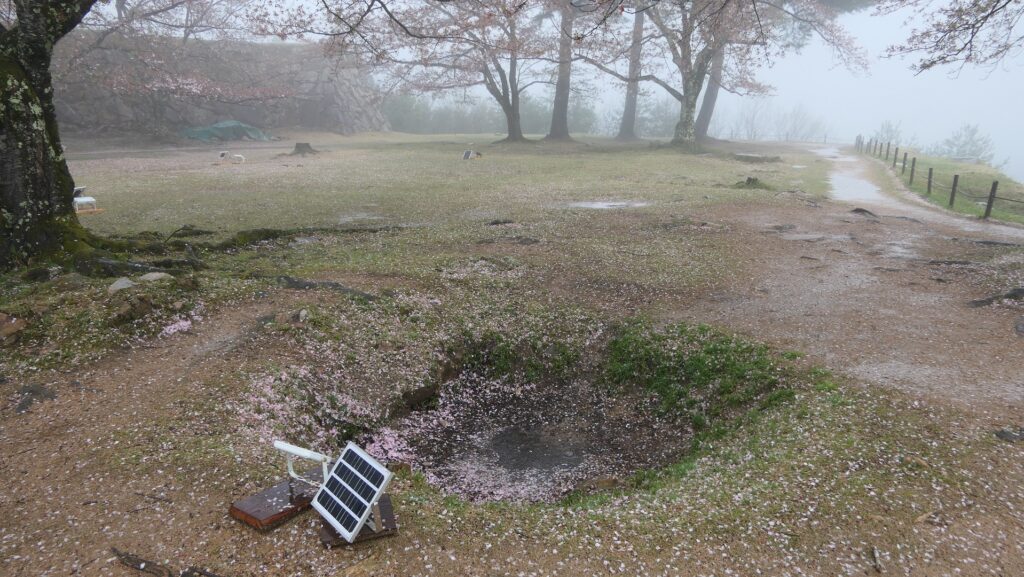
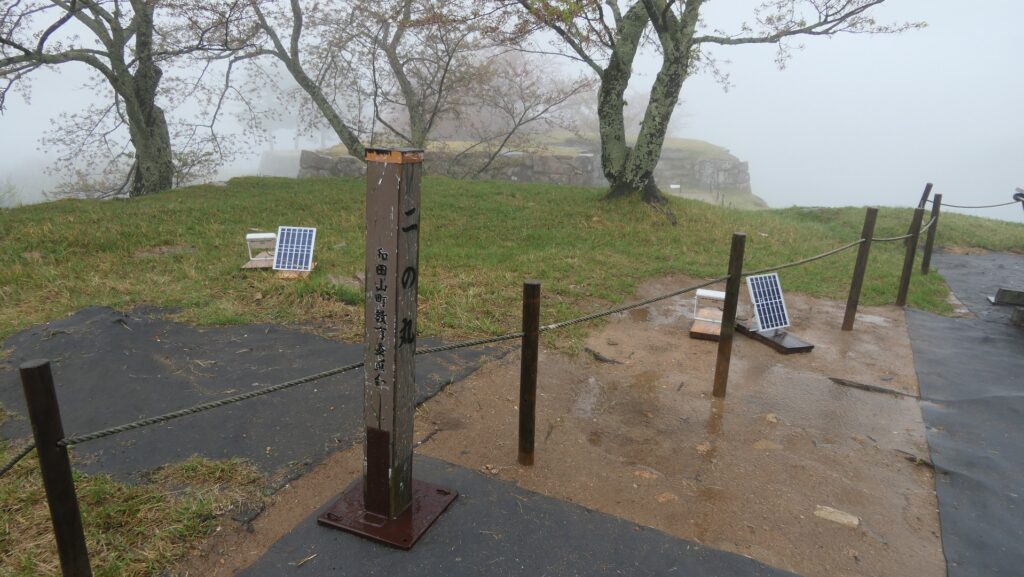
Inside the entrance, there is the extensive Kita-Senjo Enclosure, where as the name suggests, could accommodate lots of soldiers and supplies in the past, or tourist groups and events in the present.

The Kita-senjo Enclosure
A view around the enclosure
The Third Enclosure seen from the Kita-senjo Enclosure

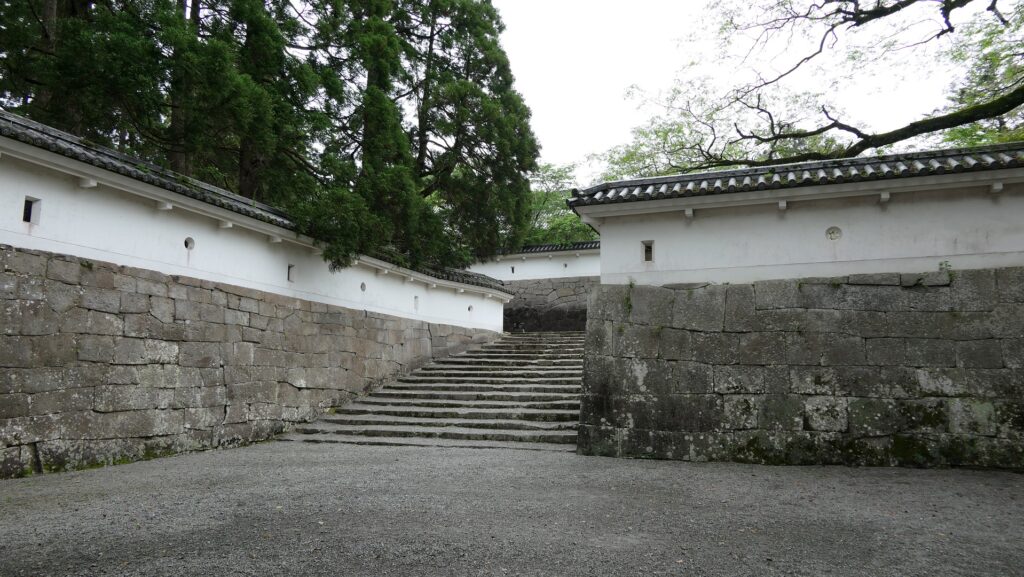
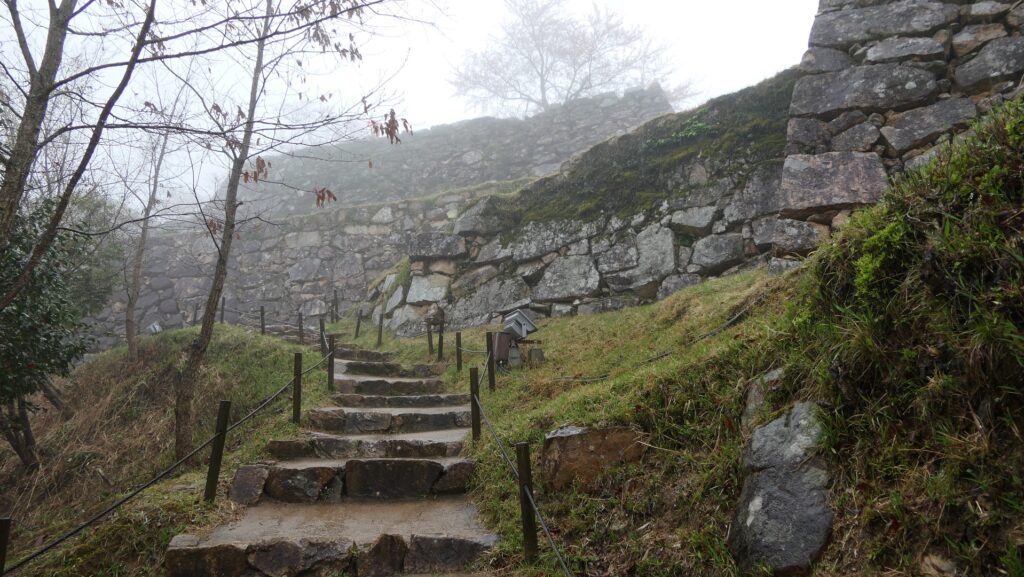
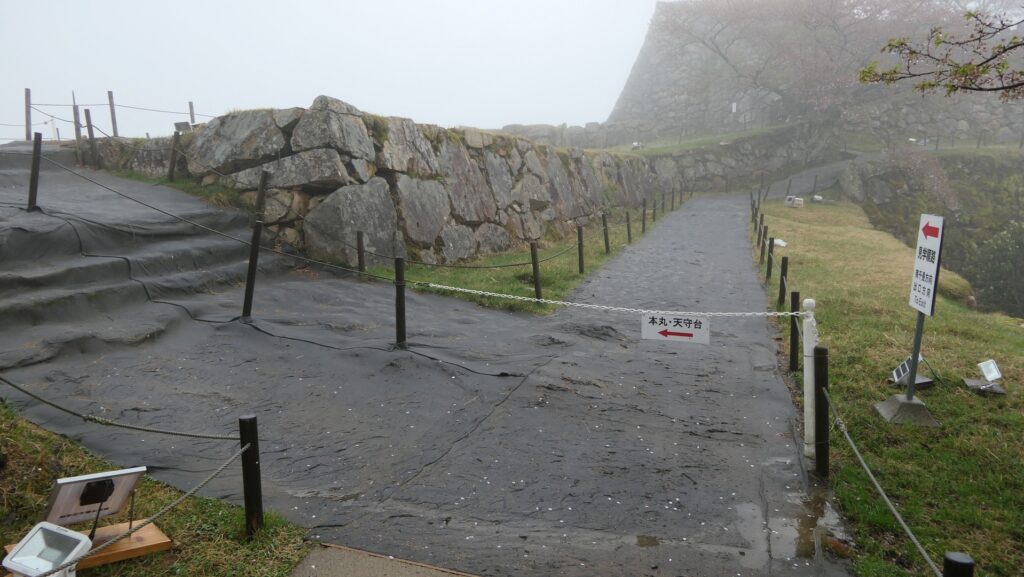
If you want to go to the center of the ruins, you will pass another Masugata system to the Third Enclosure and an altered gate built with stone walls to the Second Enclosure through the zigzagging path.

The Masugata system in front of the Third Enclosure
Entering the Third Enclosure
The Third Enclosure
Going to the Second Enclosure

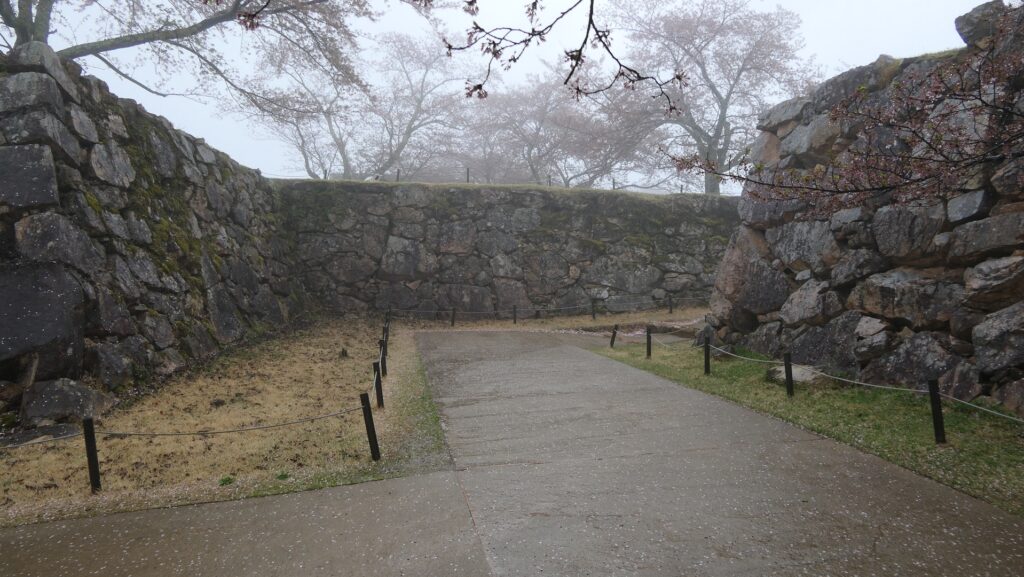
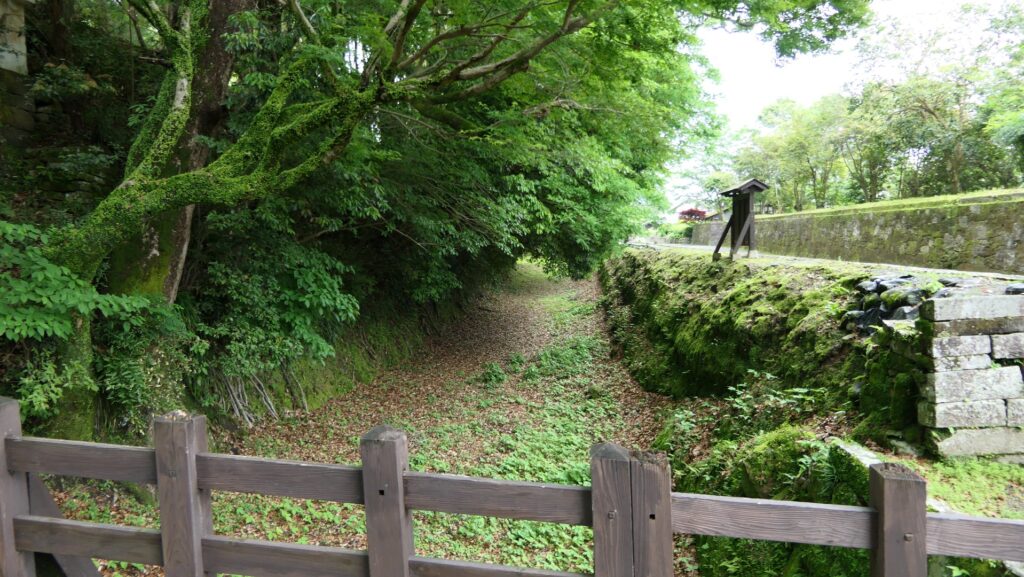
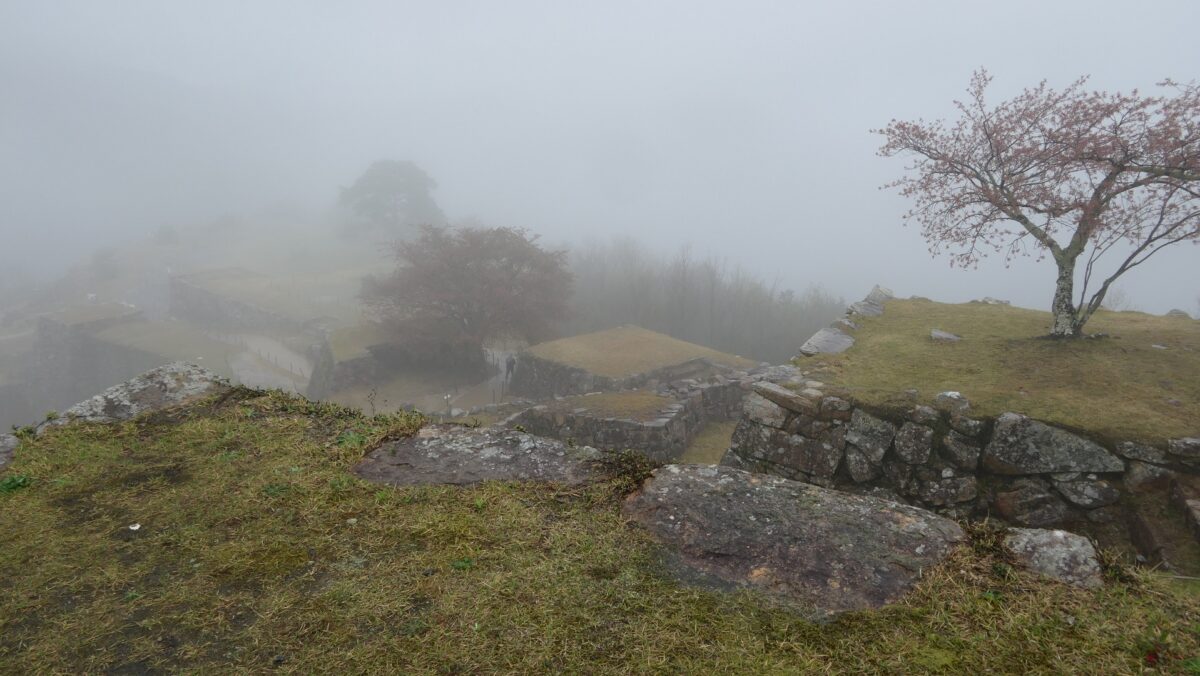
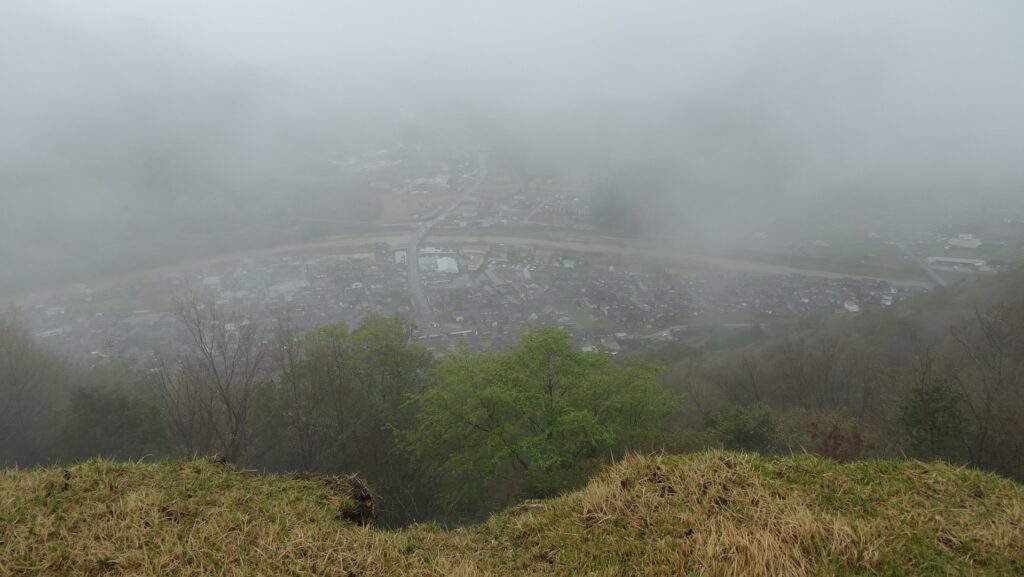
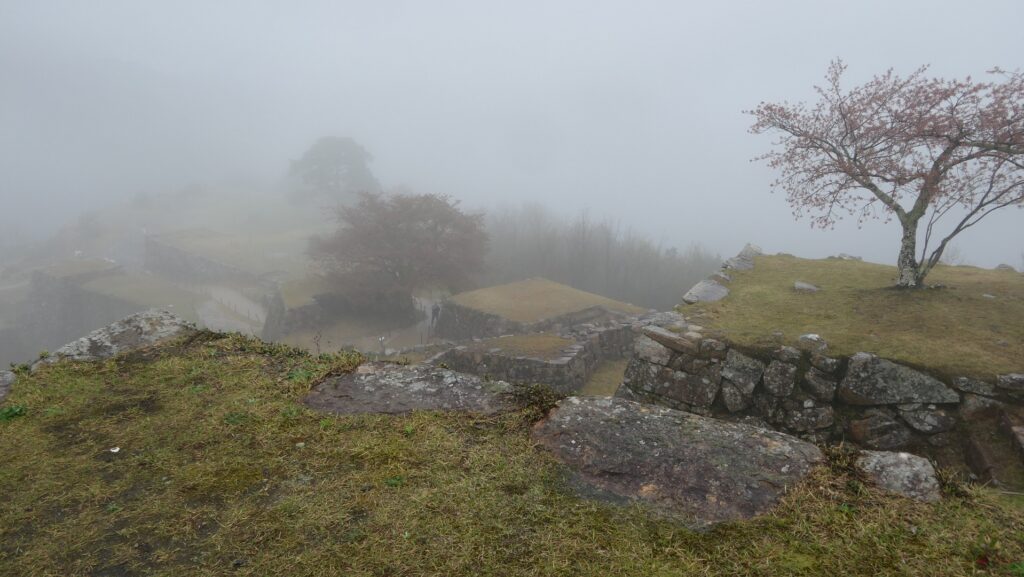
You will next walk on a narrow northern ridge through the Third and Second Enclosures, looking at the center of the castle with lots of stone walls and a view of the area around below. The route is guided by the official instructions to walk around safely in the narrow area.

The tourist routes are guided by the official instructions
The Second Enclosure
The lots of stone walls in the center, seen from the Second Enclosure
A view from the Takeda city area below

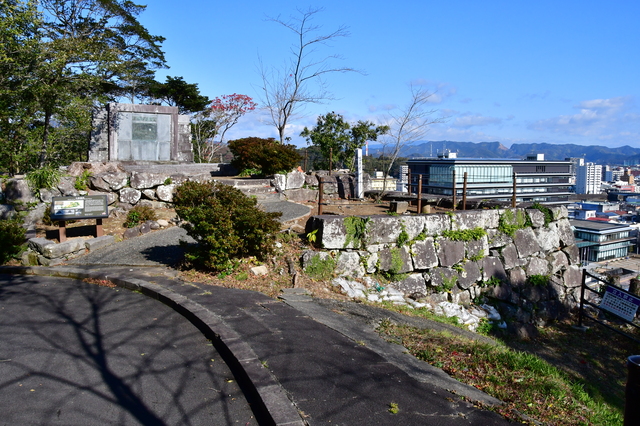
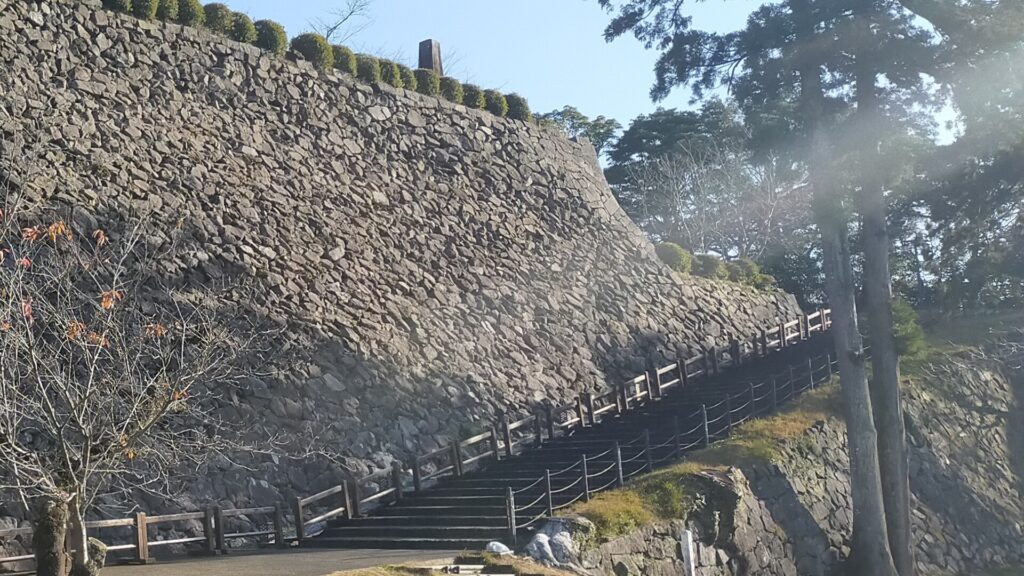
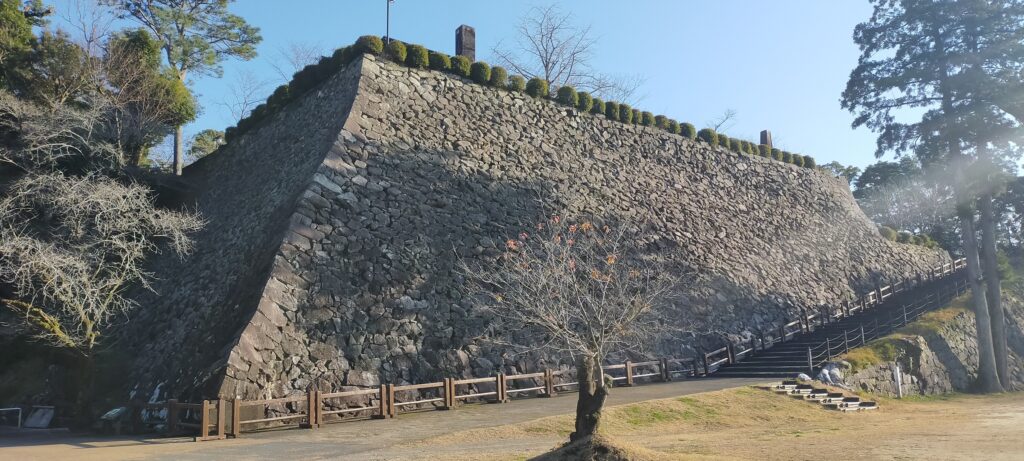
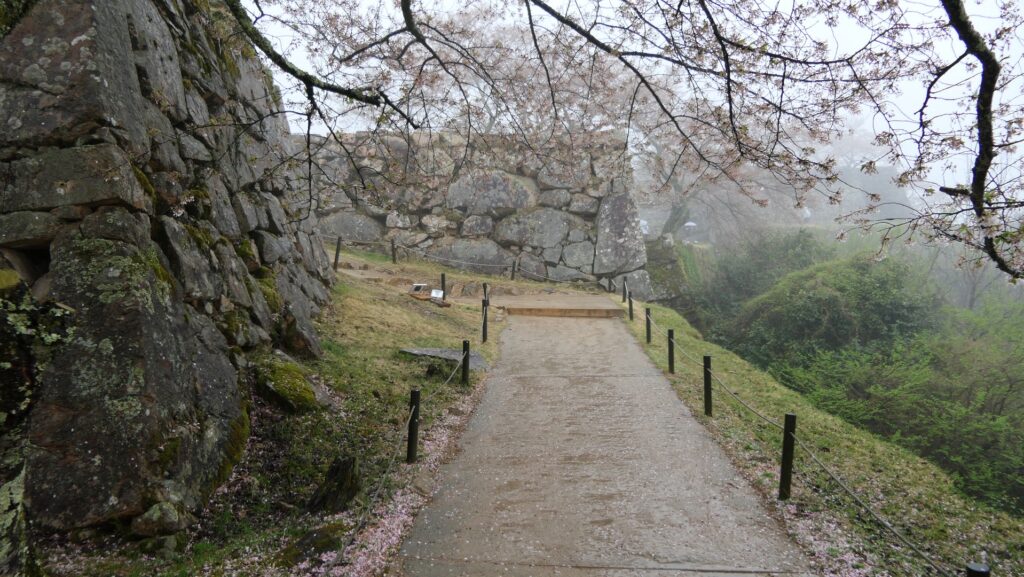
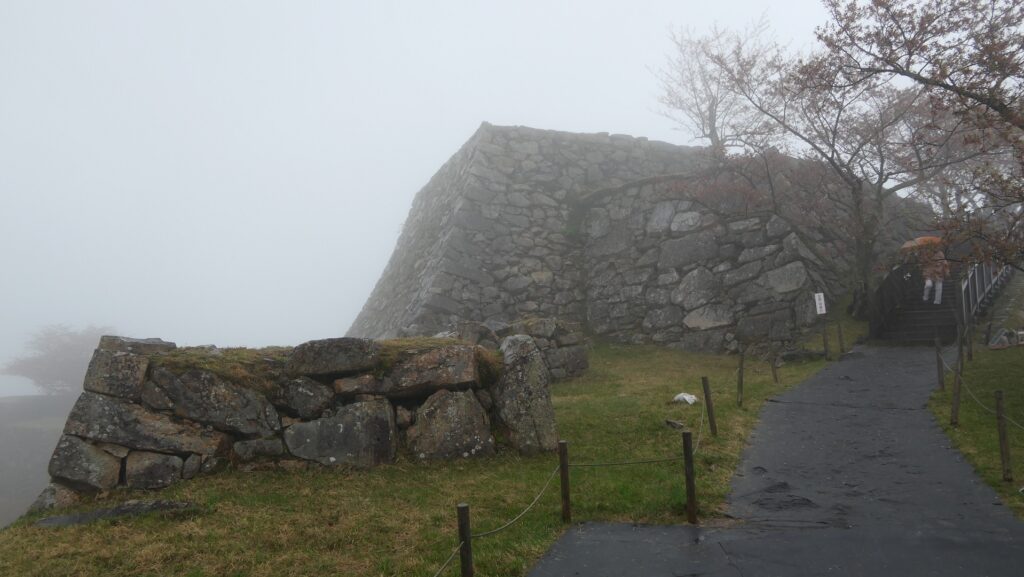
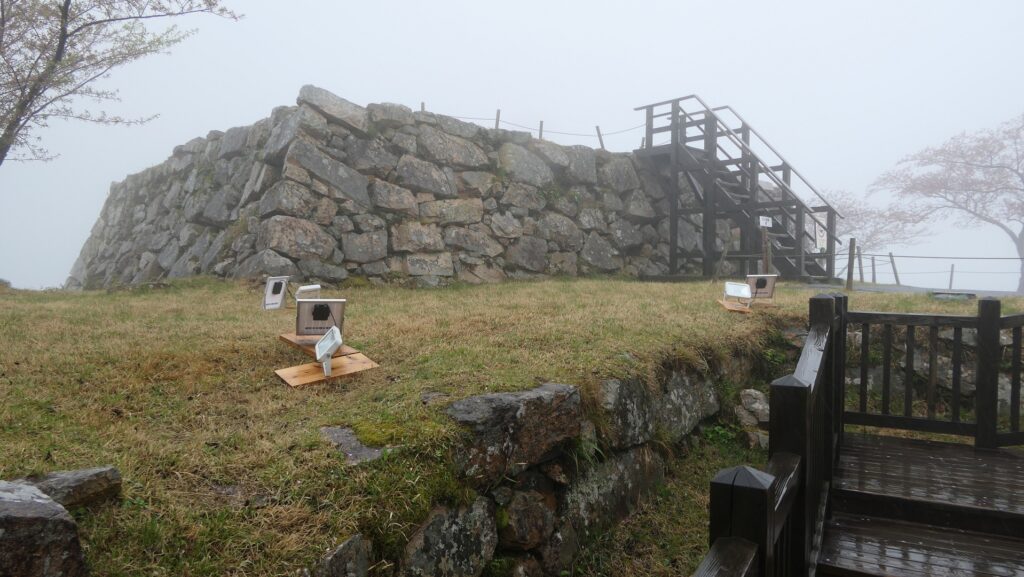
Main Enclosure with remaining Stone Wall Base for Main Tower

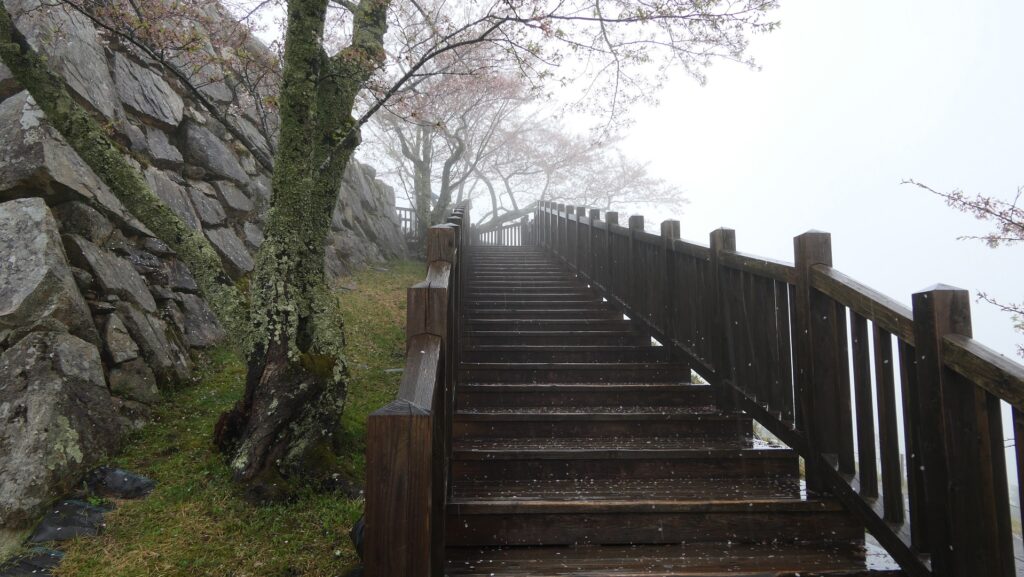
You will eventually reach the center, the Main Enclosure with the stone wall base for the Main Tower. The route goes beside the base on wooden steps and there are other wooden steps to the base. The base was built using natural or roughly processed stones in the Nozura-zumi method, which look really great. Some historians speculate that a three-level Main Tower might have been built on the base, according to the size of the base.

Arriving at the Main Enclosure
The route goes on the wooden steps beside the base
The stone wall base for Main Tower
The top of the base
A view from the base

To be continued in “Takeda Castle Part3”
Back to “Takeda Castle Part1”

96.Obi Castle Part2

A perfect harmony of artifacts and nature

Features

Main Gate, Face of Castle

Today, many tourists visit the Obi Castle ruins and the former castle town. Because of the nature of the Shirasu plateau, the enclosures of the castle were naturally made independently. Many of them were turned into a shrine, schools, playgrounds, and residential areas. The remaining enclosures, which were the main portion of the castle, are open to visitors.

The aerial photo around the castle

Tanoue Hachiman Shrine, the former Hachiman Shrine
A playground which was around the Middle Castle
Obi Second Primary School was the enclosures which were collectively called the Second Enclosure

Visitors usually first walk on the Main Route to the restored Main Gate on the original stone walls, which is a popular image for the ruins. In fact, the details of the original gate were unclear, but people restored it using a traditional method and Obi Cedar wooden materials. That’s why the gate matches the original items as if it is also original. The inside of the gate is a square defensible space surrounded by great stone walls, called Masugata, which builds up the gate’s character.

Going on the Main Route
The restored Main Gate
The Masugata system inside the Main Gate
The Masugata system of the Main Gate seen from the top of the earthen walls of the Third Enclosure

Third Enclosure, protected by Earthen walls and Dry moats

The Main Gate is the entrance of the very large third enclosure which is surrounded by earthen walls and dry moats except for the gate. If you enter the gate and go to the inside of the enclosure, you will see the 4m high earthen walls which are the older part of the castle. According to the signboard at the site, the walls were originally about 16m high, from the bottom of the dry moat in front of them.

Entering the Third Enclosure
The earthen walls of the Third Enclosure, seen from its inside
The dry moat of the Third Enclosure, seen from its outside (in front of the Main Gate)

Main Enclosure, surrounded by Stone walls

There are high and long mud walls on top of stone walls opposite the earthen walls, which surround the main enclosure. The enclosure also has long and wide stone steps and another Masugata system. Many tall Obi Cedar trees planted around make them look more majestic. Overall, you will understand that the castle was built by combining the older earthen walls and newer stone walls over time.

The stone walls surrounding the Main Enclosure
The stone steps to the Main Enclosure
The Obi Cedar trees around look majestic

The Main Enclosure includes the Obi Castle Historical Museum where you can learn the history of the castle, and Obi Primary School, which visitors can not enter. The Matsuo-no-maru Enclosure is next to and little above the Main Enclosure, which has a rebuilt traditional hall. The hall was not original for the castle, but was built using designs of other remaining halls including a traditional Japanese steam bath.

The Obi Castle Historical Museum (licensed by Kthrk25 via Wikimedia Commons)

Former Main Enclosure, with wonderful Obi Cedar trees

The former Main Enclosure is at the highest spot in the castle. You can walk up long stone steps and will see it is also surrounded by great stone walls and has another Masugata system. This enclosure had once been destroyed by the earthquakes in the early Edo Period, but the Obi Domain seem to have rebuilt this enclosure firmly. However, since then, the inside of it has been having no buildings as the Main Hall for the lord was moved from it to the new Main Enclosure.

Going to the former Main Enclousure
Entering the former Main Enclosure
The Masugata system of the former Main Enclosure

Instead, there are plenty of Obi Cedar trees growing on the ground with a moss-like carpet, which looks amazing! If they started to be planted when the enclosure was rebuilt, they may be nearly 350 year old.

The inside of the former Main Enclosure
The moss-like carpet
The Obi Cedar trees in the former Main Enclosure

The enclosure also has the restored back gate where you can go out from to visit other attractions of the castle.

The restored back gate
You can go out of the back gate to the Second Enclosure area

To be continued in “Obi Castle Part3”
Back to “Obi Castle Part1”

195.Nobeoka Castle Part3

A pleasure of visiting castle and castle ruins is …

Features

Main Enclosure, Final Strongpoint of Castle

You can next walk on the stone steps beside the stone walls to the Main Enclosure. The route turns left, enters a square space surrounded by other stone walls and turn left again to enter. This square space is called Masugata for protecting the entrance of the enclosure, where the gate buildings were also built on the walls. The inside of the Main Enclosure is an empty square now like the Second Enclosure, so it has a good view point of the city area. It must also have been the final strongpoint of the castle, which could use the 1,000 Murder Stone Walls to repel enemies.

Walking on the stone steps to the Main Enclosure

The map around the castle

The top of the hill next to the Main Enclosure is the Main Tower Enclosure or Base which actually didn’t have the Main Tower. The enclosure is small which could rather have been used as a lookout. There is a bell tower which the keeper still rings the bell 6 times a day at designated times. It has been done for over 140 years since 1878 after the former Drum Turret was burned down during the Seinan War in 1877. It is simple thing, but it is very rare to continue to do so without any holidays. The Three-level Turret was built below the enclosure probably as the substitute of the Main Tower. However, it unfortunately burned down in 1682 and only its stone wall base remains now.

Bell Tower still announces Time

The bell tower in the Main Enclosure, quoted from the Nobeoka City website
The ruins of the Three-level Turret  (licensed by PIXTA)

If you have time, I recommend visiting the western side of the Second Enclosure which was also surrounded by great stone walls. These stone walls were built for preventing enemies from attacking the castle and the Inner Moat was built outside of it as well. However, the outside area was turned into modern residences just across a narrow path. Therefore, you can see the great stone walls close by and an interesting contrast with many houses.

Stone Walls close to Residential Areas

The aerial photo around the castle, the stone walls of the Second Enclosure are close to residence areas

My Impression

I didn’t know about Mototane Takahashi who built the castle and the story of the 1,000 Murder Stone Walls at all before I visited the castle ruins. I think one of the pleasures of visiting castle ruins is that it will make you interested in what you really see and think much more than just reading about them or watching media.

The 1,000 Murder Stone Walls

How to get There

If you want to visit the castle ruins by car, it is about a 10 minute drive away from Nobeoka IC on the Higashi-Kyushu Expressway. There are several parking lots for visitors around the ruins.
If you want to use public transportation, it takes about 20 minutes on foot to get there form JR Nobeoka Station. You can also take the Miyazaki-kotsu bus bound for Kyushu-Hokenfukushi-Daigaku from the station and get off at the Shiyakusho-mae bus stop or take the Machinaka-junkan bus on the Uchimawari Line from the station and get off at the Kyuden-mae, Shiyakusho-nishi bus stop.
For visitors from Tokyo or Osaka: Get the JR Line at Miyazaki Airport after using a plane.

That’s all. Thank you.
Back to “Nobeoka Castle Part1”
Back to “Nobeoka Castle Part2”