Castles look very different depending on people’s perspectives.
Features for History Fans
From Approach Entrance to Nakanomon Gate Ruins
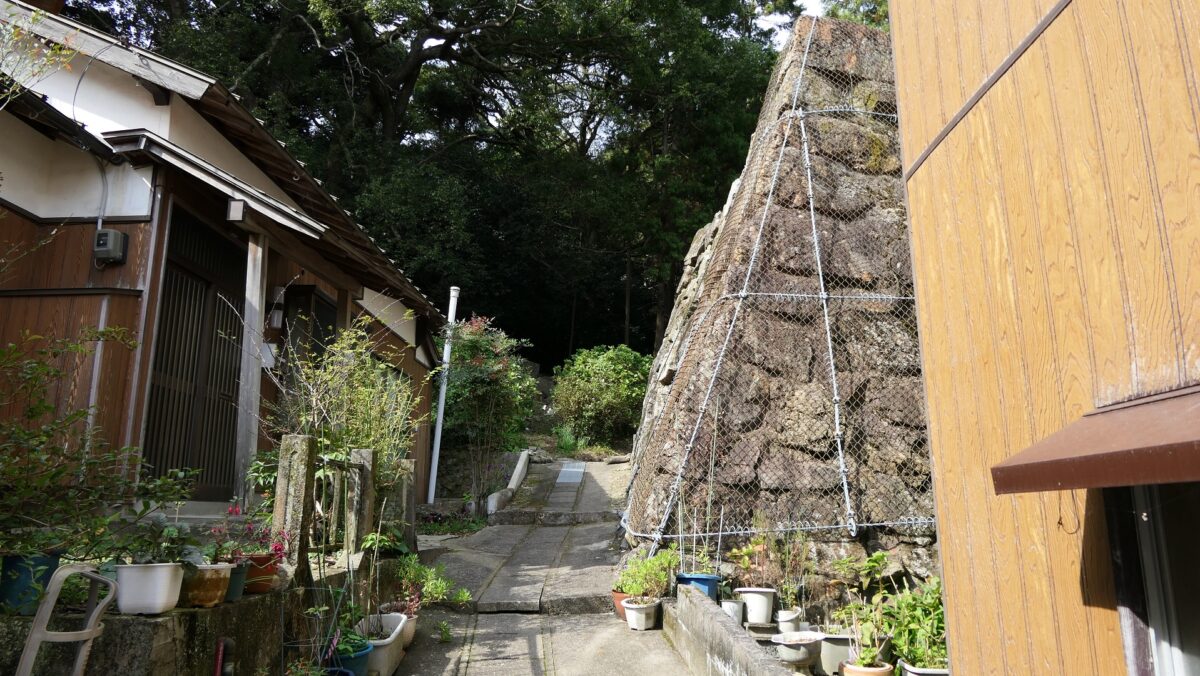
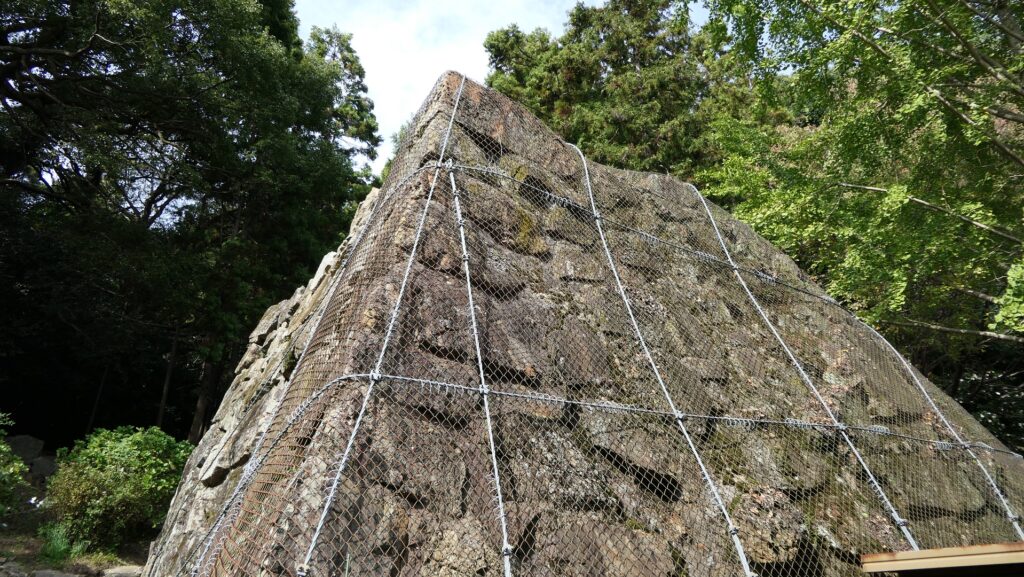
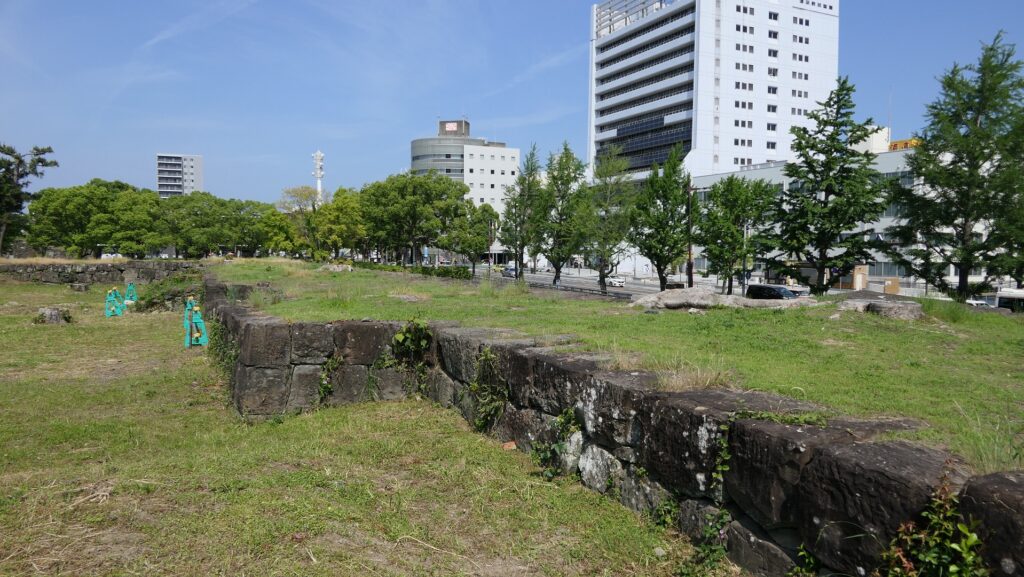
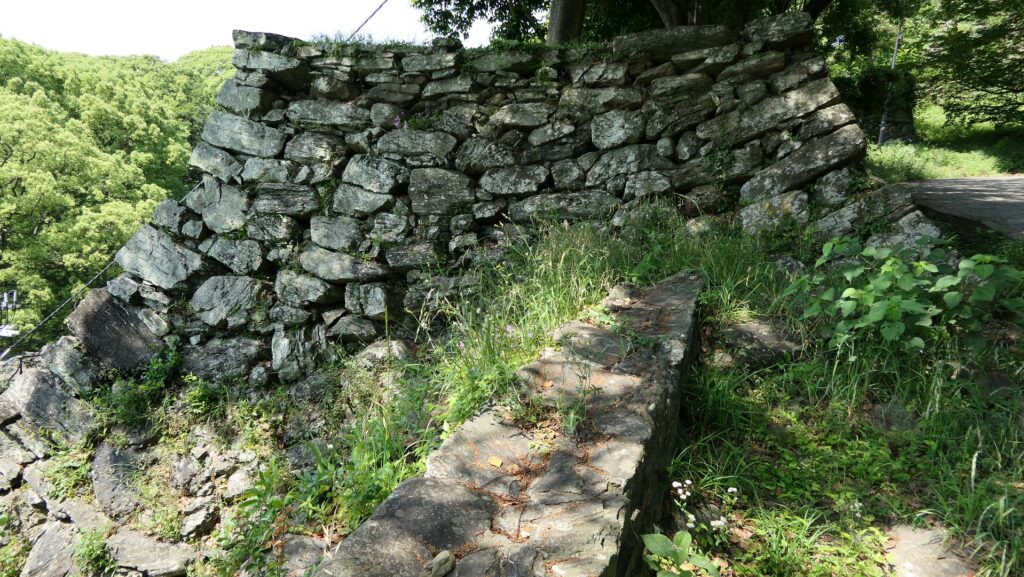
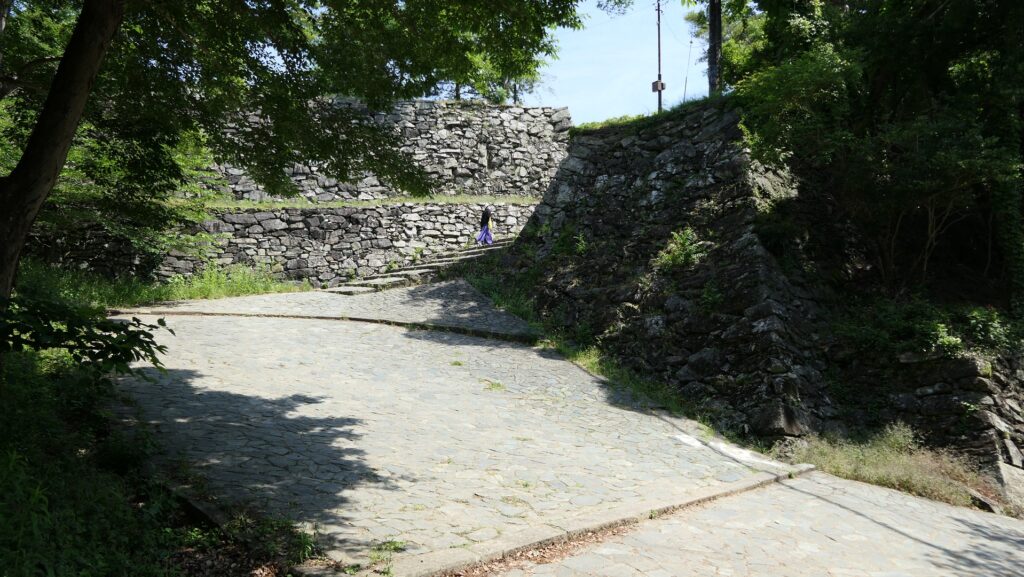
For serious history fans, consider getting back to the starting point of the shrine approach. Let us seek together the original route to the Nakanomon Gate Ruins which we talked about above. The foot had the Main Hall and warriors’ houses and turned into residential areas, so you will need to follow narrow paths among the modern houses. Then the large stone walls of the gate will suddenly appear. These walls are original and they look so great, but are partially covered with wiring nets to prevent them from collapsing.
The map around the casltle, the red broken line is the estimated original route
The shrine approach on the left and the residential area on the rightThe narrow path among the residential areathe stone walls of the gate suddenly appearsThe stone walls are partially covered with wiring nets
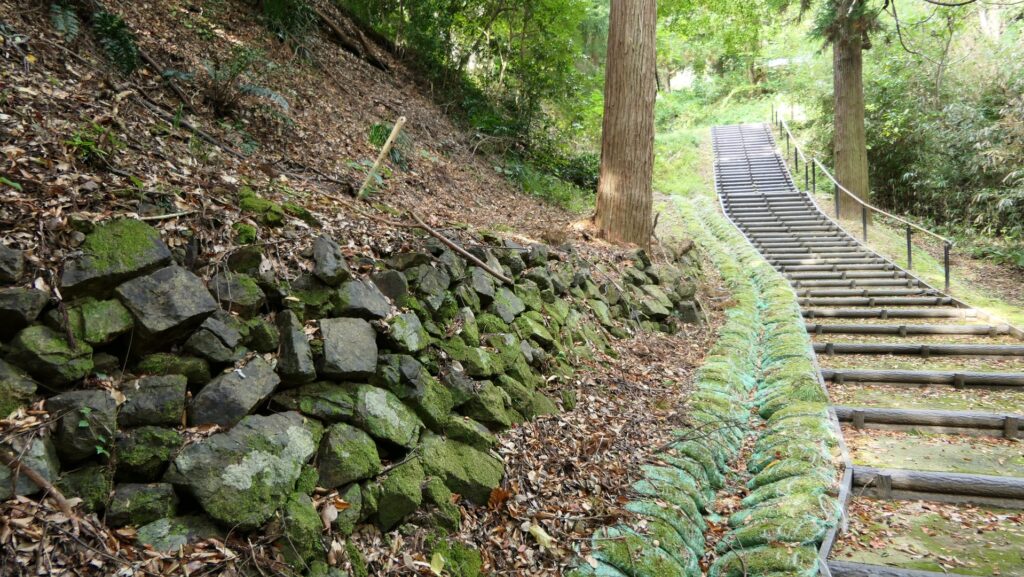
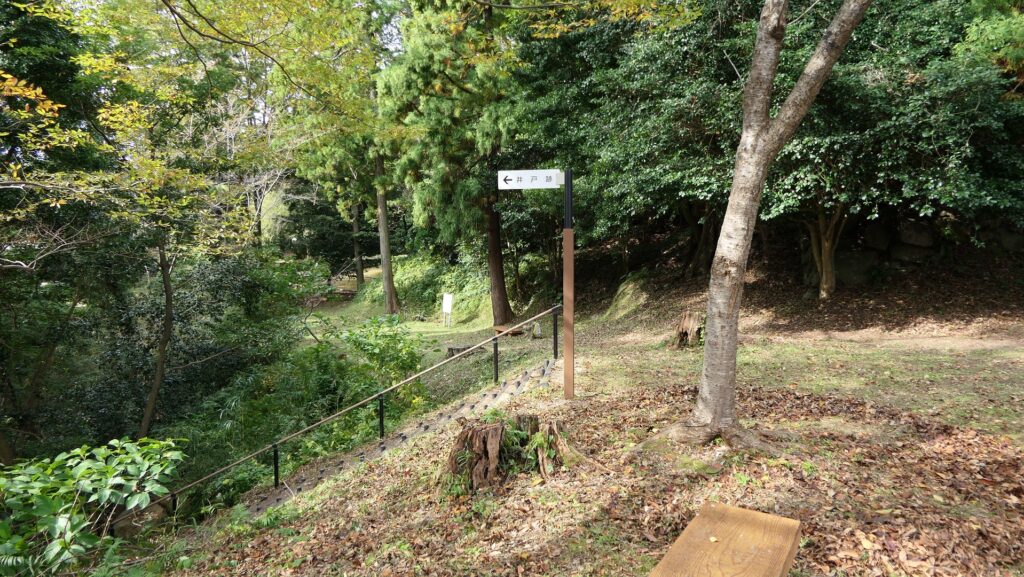
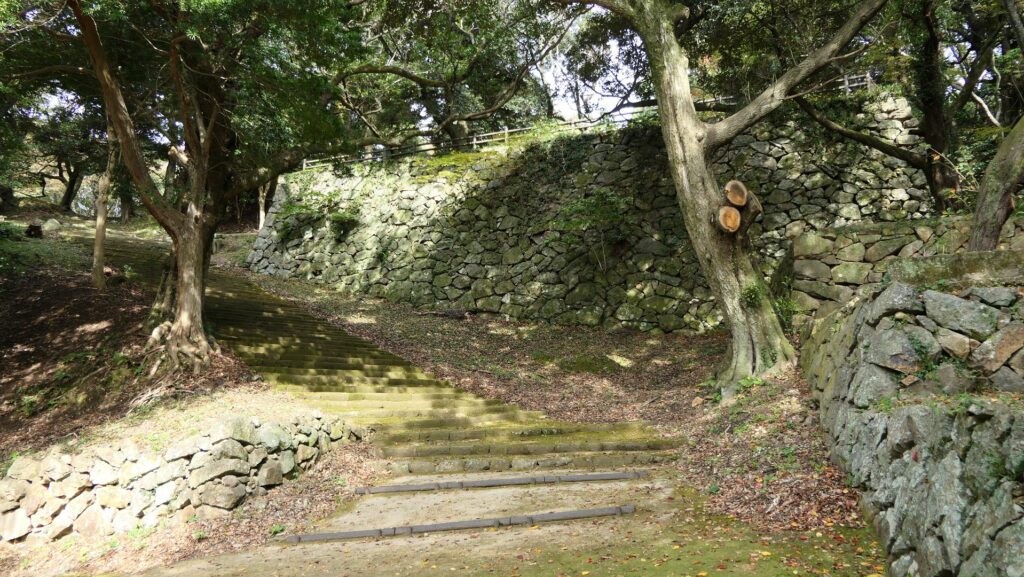
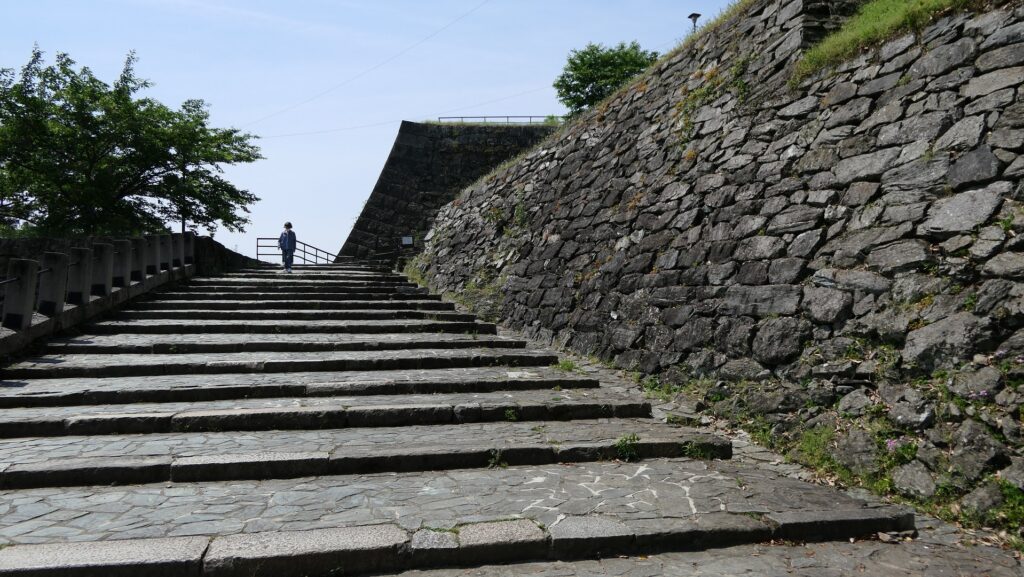
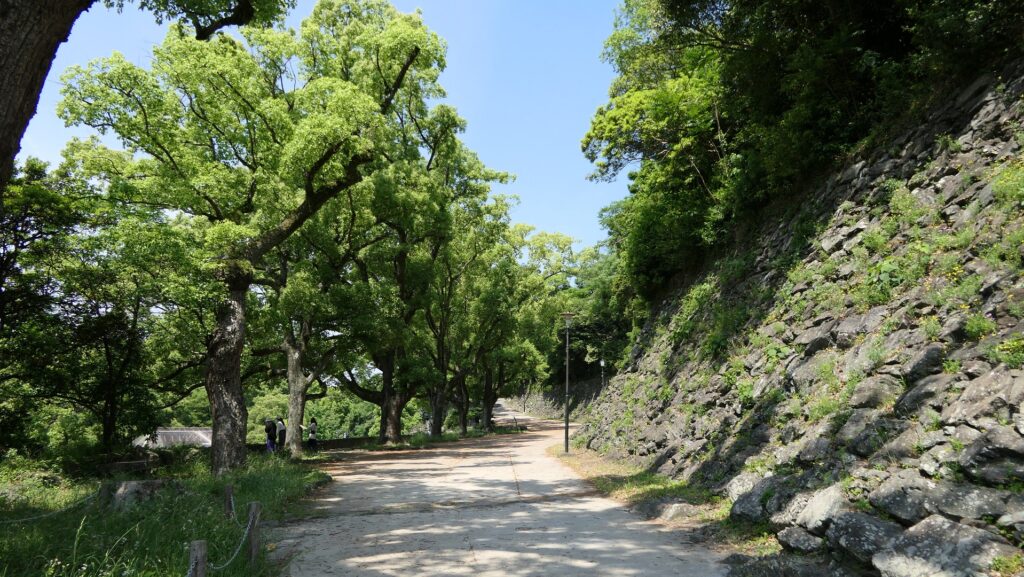
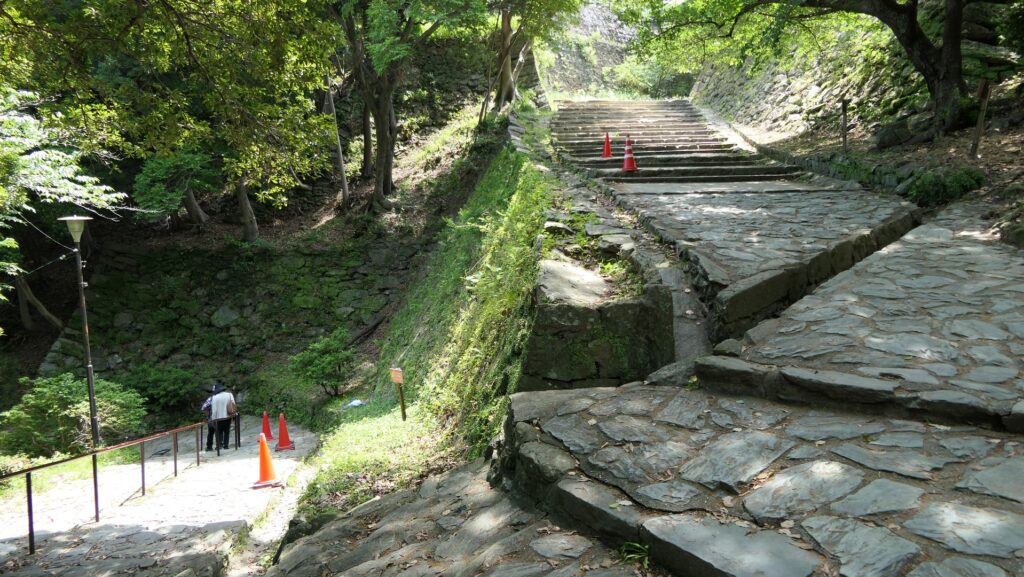
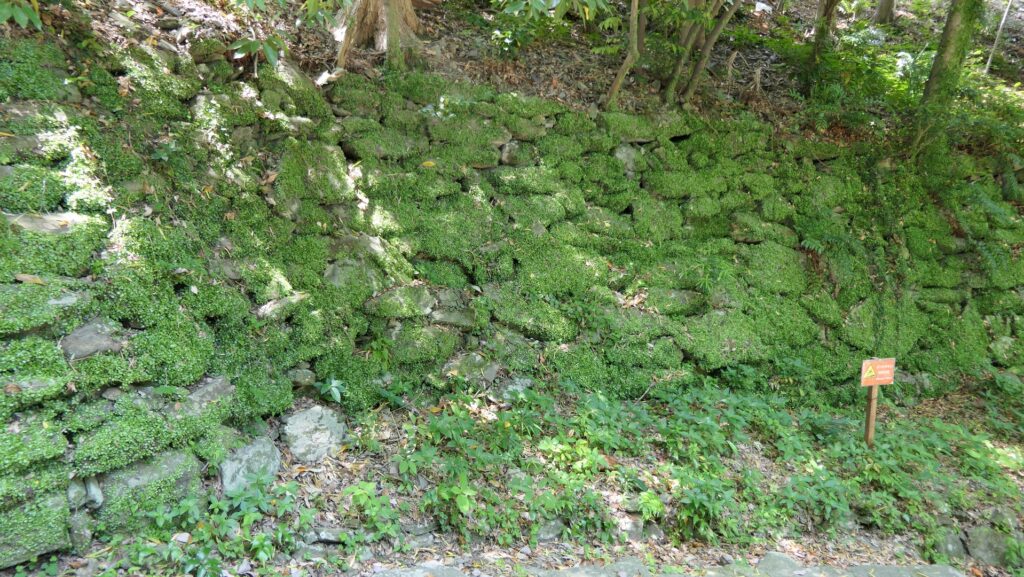
After passing the gate ruins, you will go on a promenade along the valley probably similar to the original route while seeing old stone walls around. You will eventually reach the mid slope beside the shrine.
The promenade which is nearly on the original routeYou can see some old stone walls beside the promenadeThe route arrives at a mid slope point
Going through Third and Second Enclosures
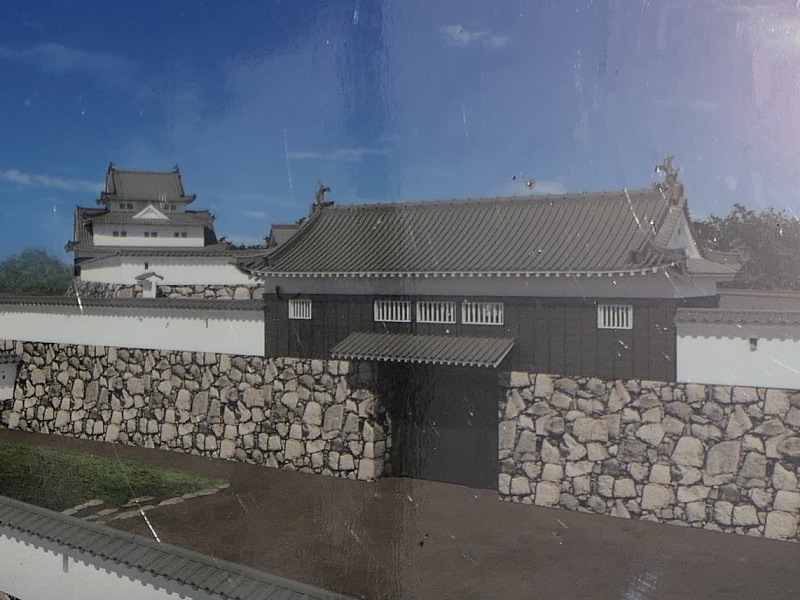
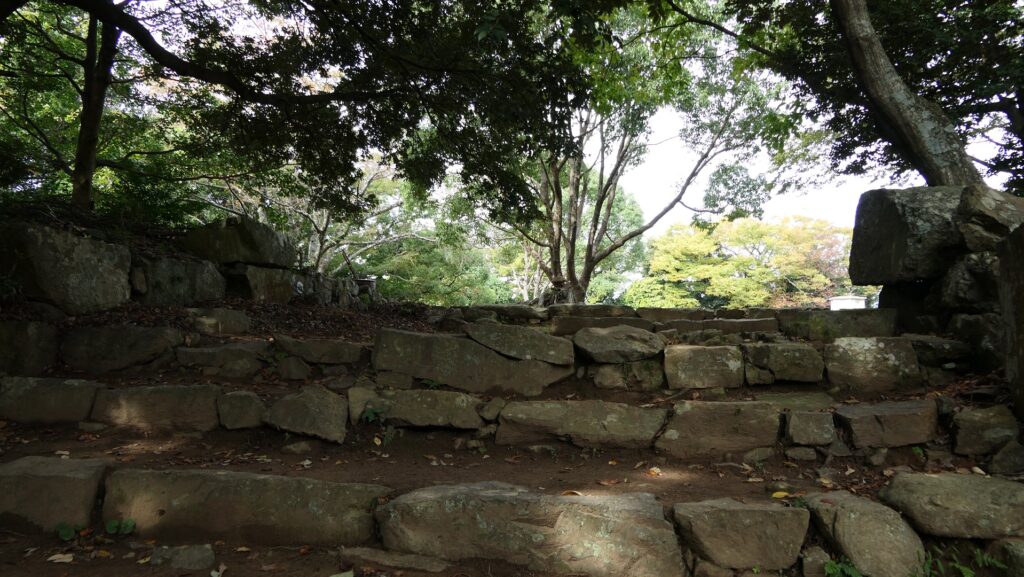
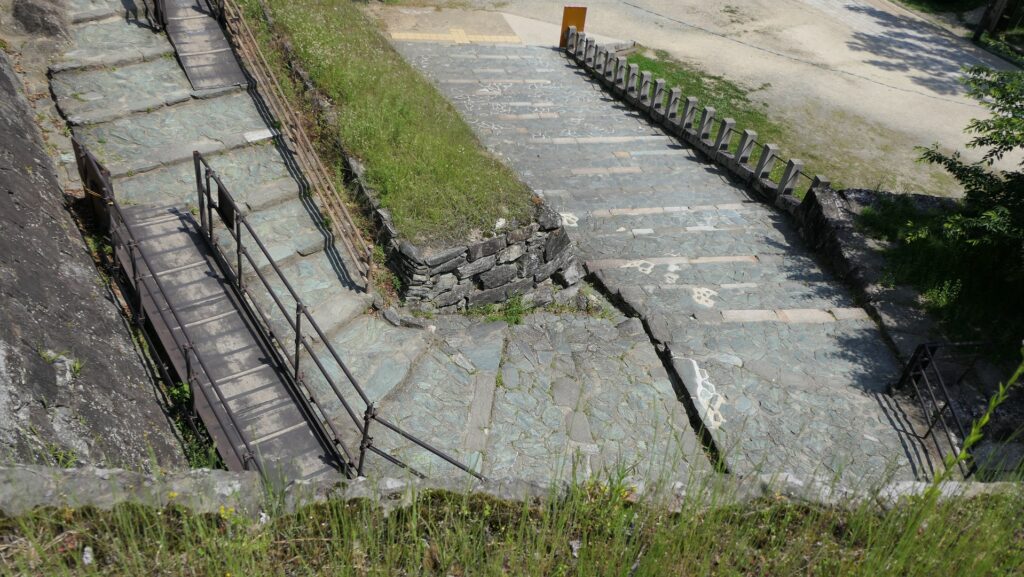
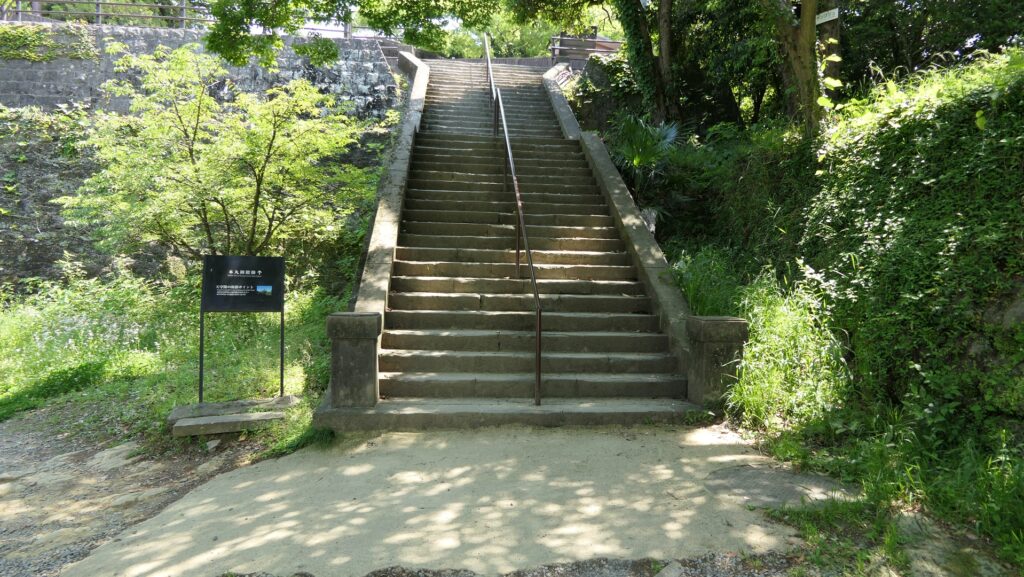
Let us pass the gate building and turn left again, but make sure not to go straight, instead, turn right this time. You can begin now to enter the two tiers of enclosures, surrounded by stone walls, which are original. However, these walls were piled up again during the Showa Era. It was said that the stones for the walls had collapsed before the repair. The lower tier is the Third Enclosure, and the upper is the Second Enclosure. The Second Gate was built between them. A square defensive space called Masugata which was also behind the gate where you can still see the same shape. You will finally reach the Main Enclosure as well from the Second Enclosure passing by the First Gate Ruins.
Turn right this timeEntering the Third EnclosureThe ruins of the Second GateThe restored image by CG of the Second Gate, from the signboard at the siteThe square defensive space behind the gateThe ruins of the First Gate to the Main Enclosure
My Impression
After visiting the ruins of Hamada Castle, I realized that people would have different impressions from the same place depending on their purposes such as relaxing or learning about history. I think this idea was similar to the people in the past. Records show that after the warriors in Hamada Castle had gone, children played in the remaining Main Tower until it finally collapsed during the earthquake. There were also very different impressions about the castle between the warriors (the high class) and local people (the low class).
The area around the Main Tower base ruinsThe restored image by CG of the Main Enclosure, from the signboard at the site
How to get There
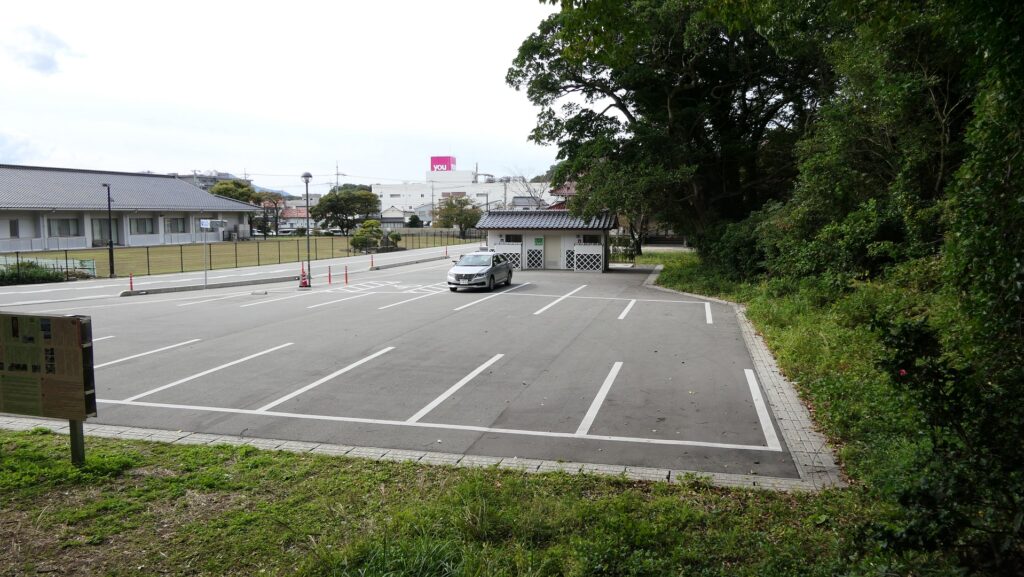
If you want to visit Hamada Castle Ruins by car, it is about a 15-minute drive away from Hamada IC on the Chugoku Expressway. There are parking lots in the western and southern sides of the ruins. By public transportation, it takes about 20 minutes on foot from JR Hamada Station to get there. If you go there from Tokyo or Osaka, I recommend traveling by plane, using an express bus or combining them with trains.
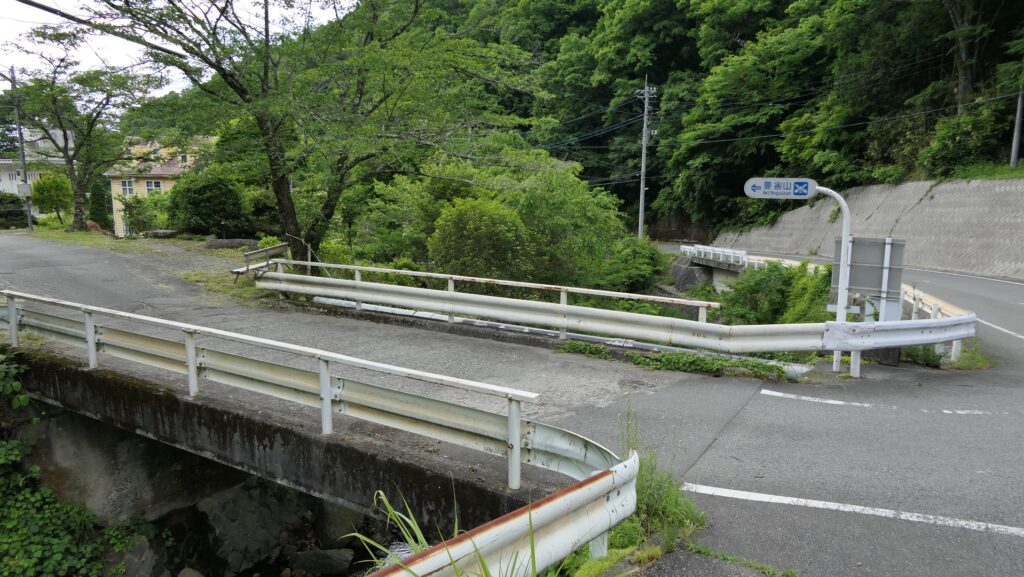
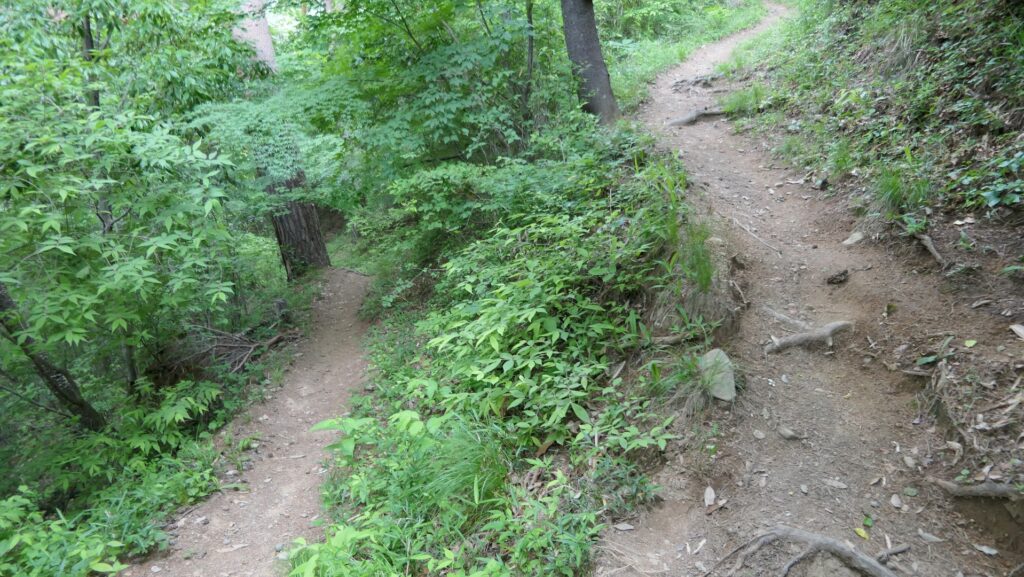
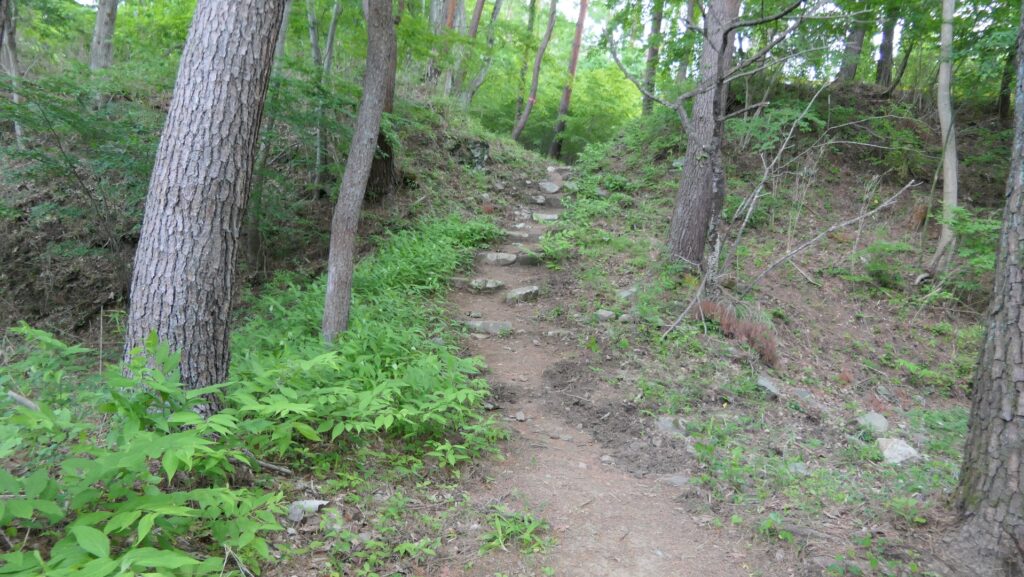
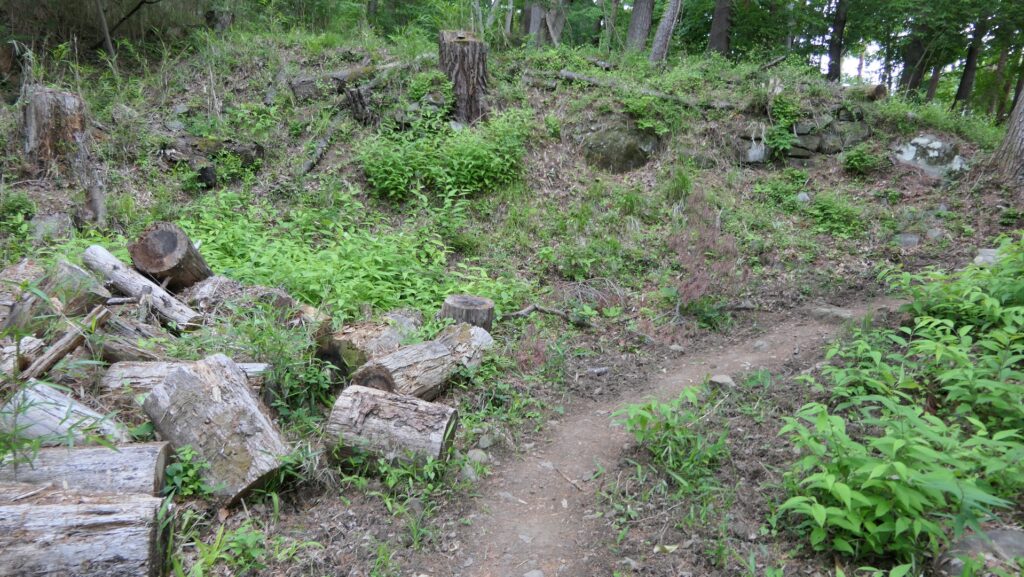
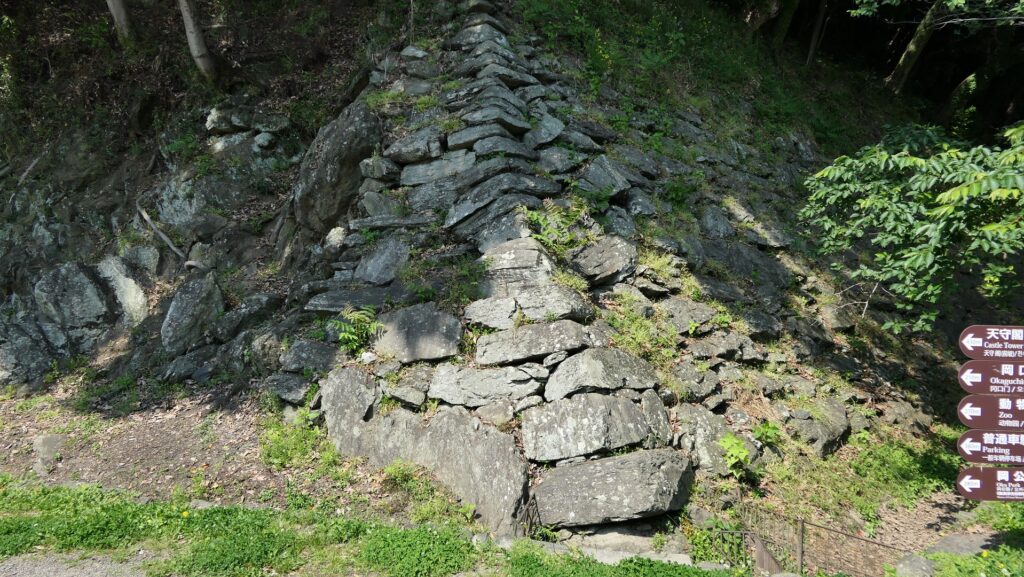
Today, the ruins of Yogaiyama Castle are on a hiking course as well as a historical site in Kofu City. The top of the ruins on the mountain is about 250m above the starting point of the trail at the foot. Therefore, you need to prepare for a long hike or a grueling climb to visit the ruins, which takes over 30 minutes to reach the top. The first half of your tour will be a pure hike by climbing a natural zigzagging trail. You may see some stone walls along the route, but they were probably built after the castle period.
The entrance to the castle ruinsWere these stone walls built after the castle period?The natural zigzagging trail
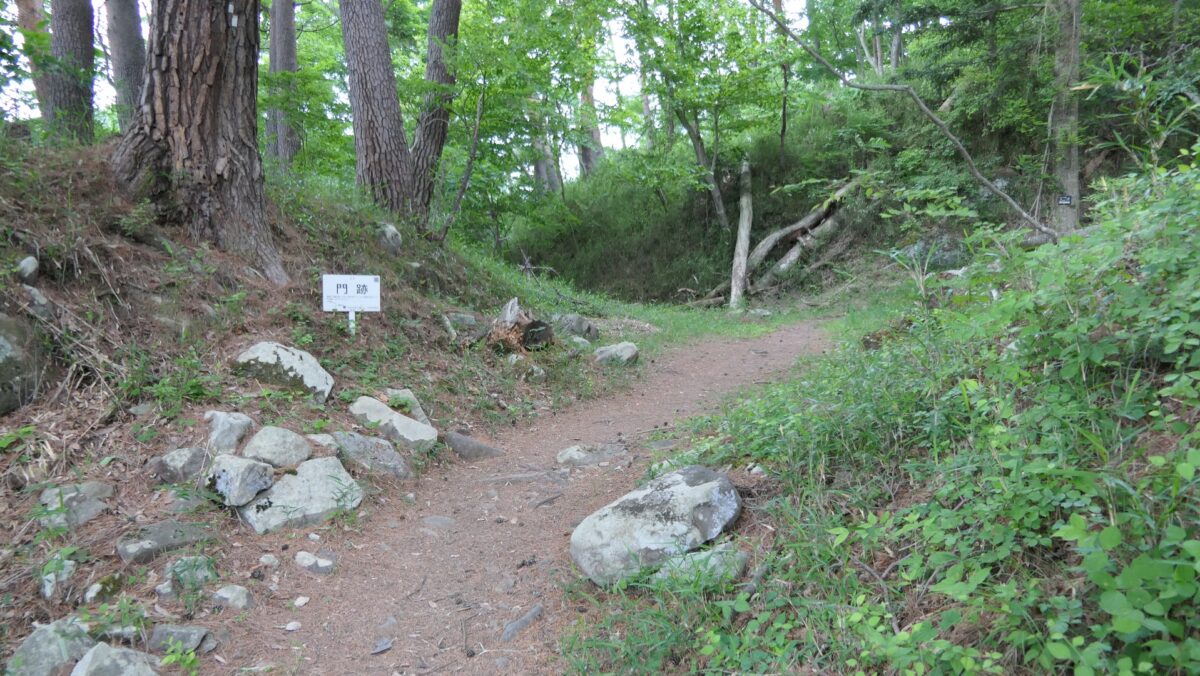
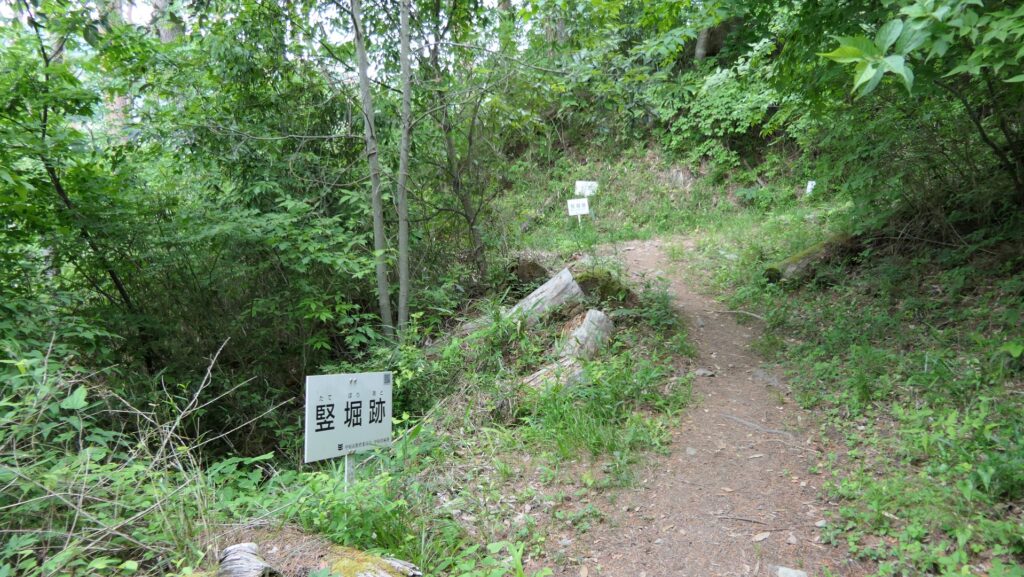
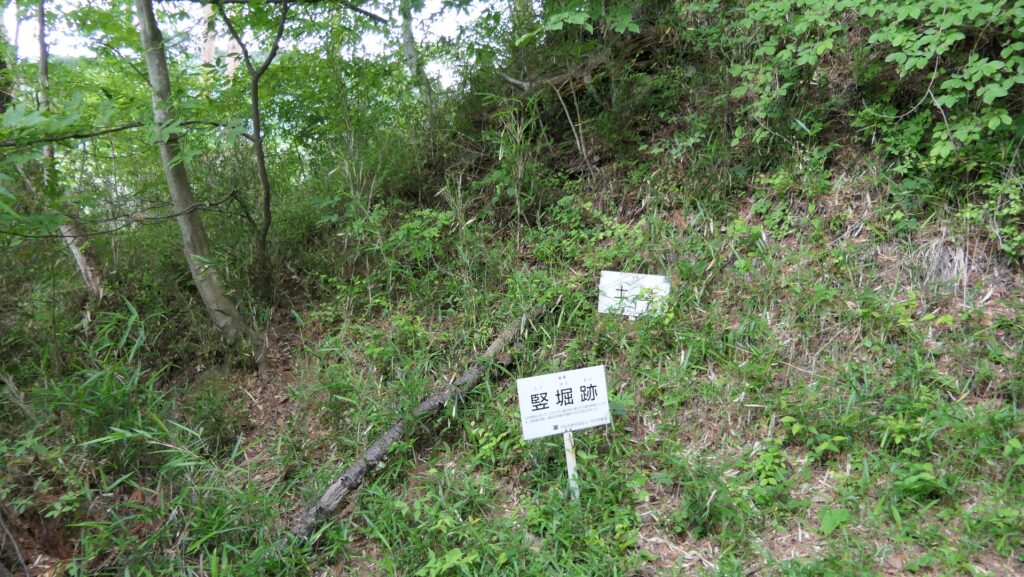
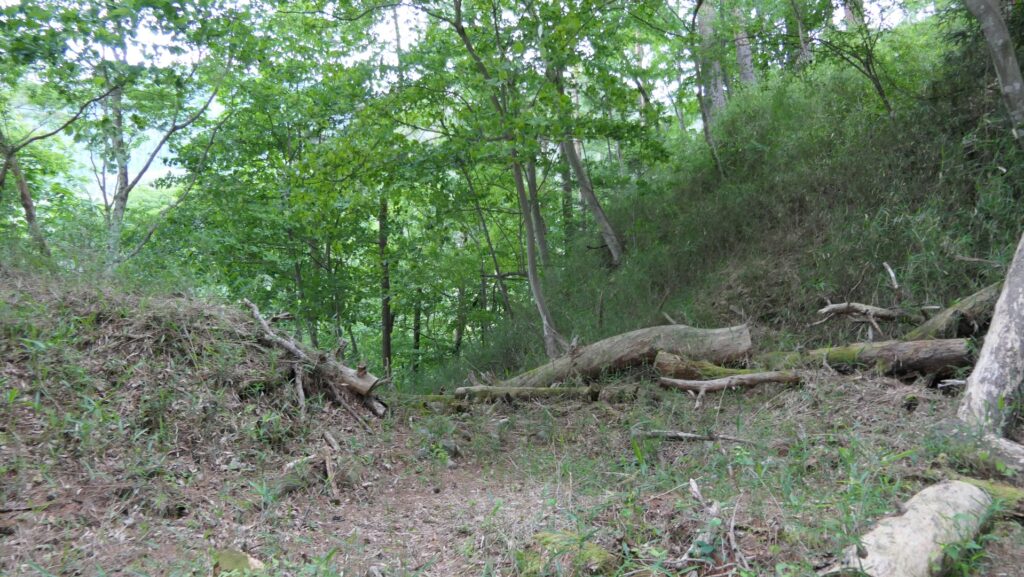
You will eventually find some signposts of Vertical Moat or Earthen Walls, which are around the entrance of the castle ruins. These actual ruins are partially covered with bushes, so you may not notice them without the signposts.
Around the entrance of the castle ruinsThese ruins are partially covered with bushes
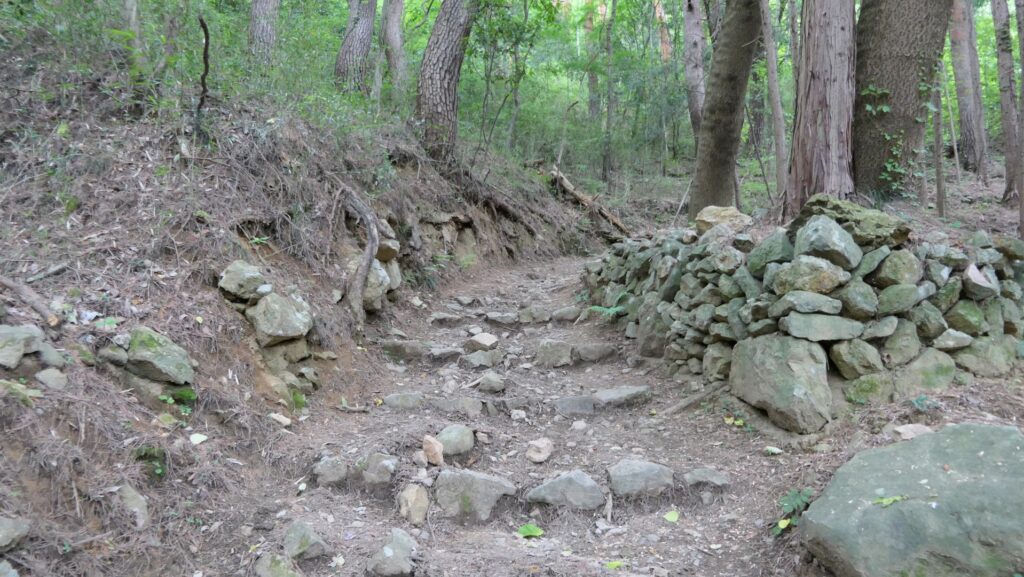
Original Gate Ruins along Trail
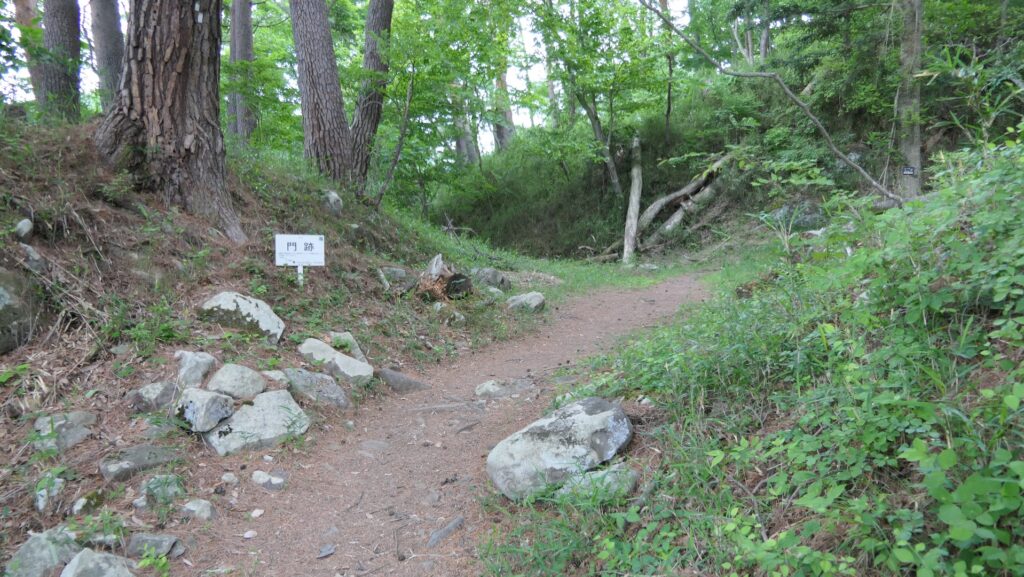
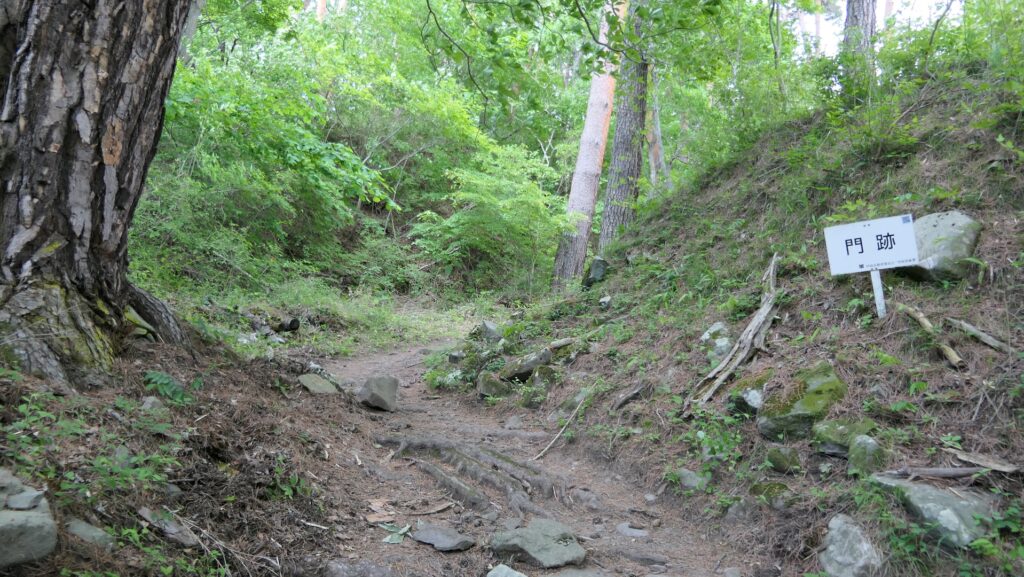
You will also find other ruins such as gates along the trail, however, the trail is not always on the original one. According to previous researches, the castle had 8 gates to reach the Main Enclosure on the top. As long as I checked, there are actually only 4 gate ruins with signposts along the current trail, which still look very defensive. I think they should be the original gates of No.2, No.3, No.6 and No.8.
The map around the castle
Getting close to the No.2 Gate RuinsHere are the No.6 Gate Ruins
On the other hand, there are also other entrances of enclosures, which look like gate ruins without signposts. They are set straight in front of the enclosures, which mean not defensive, so may not be original and built later for hikers. If so, some original gate ruins (probably No.4, No.5 and No.7) are not on the current route probably because they are inconvenient for hikers.
This entrance seems to be not original
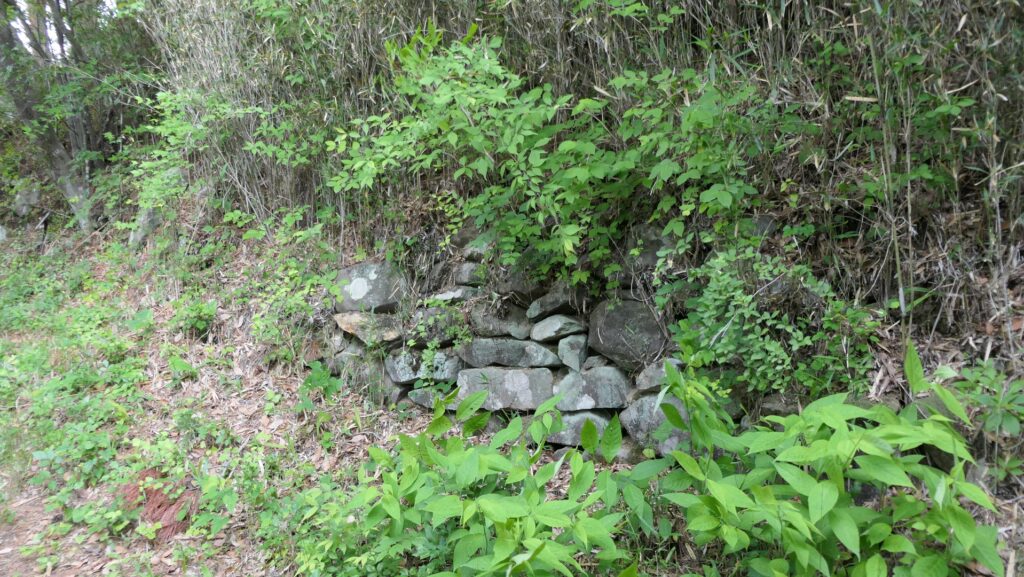
In addition, the No.1 gate ruins seem to be on the route, but without a signpost, which I didn’t notice.
I think this is around the N0.1 Gate Ruins as some stone walls remain
Who built Masugata System of this Castle?
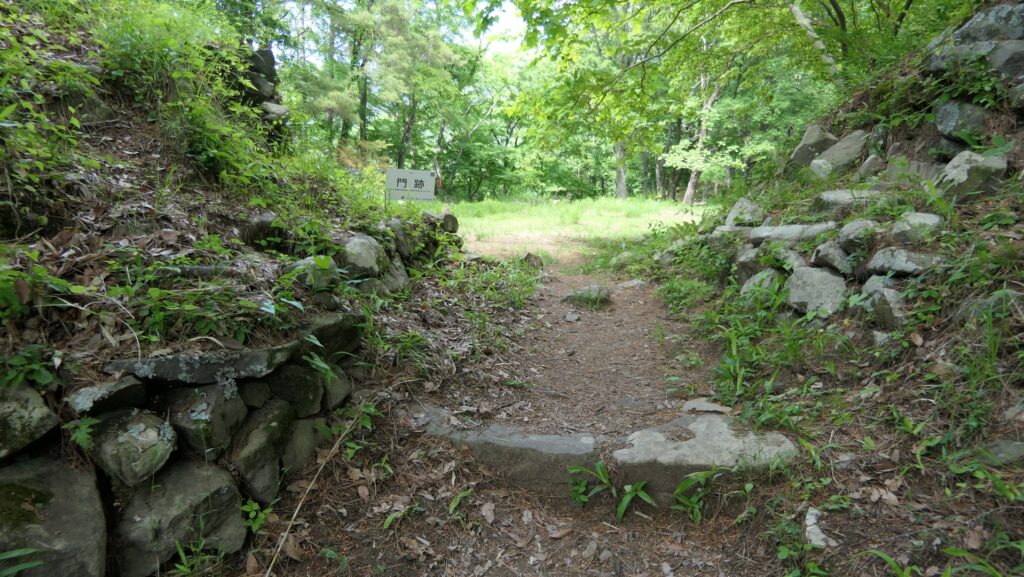
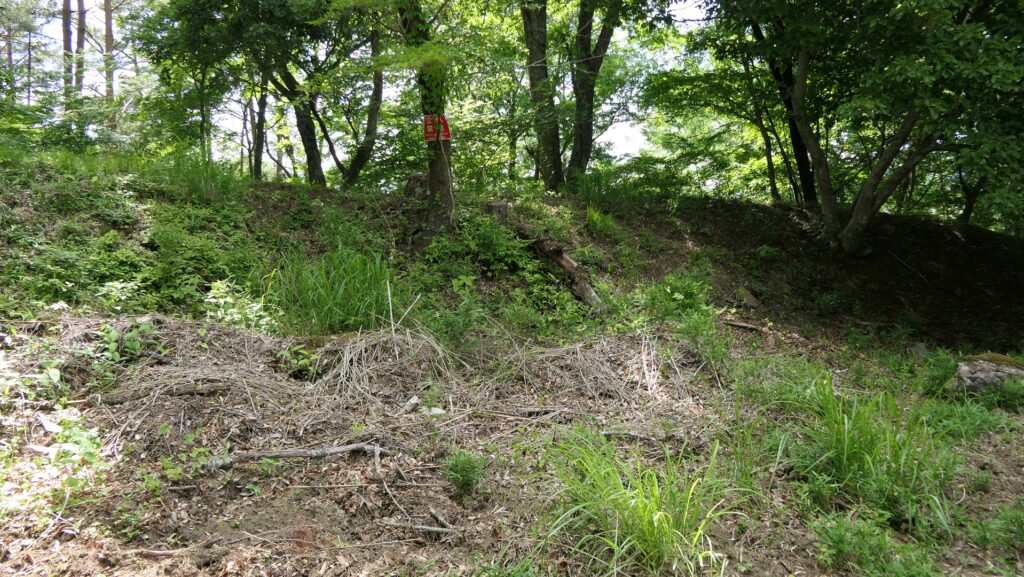
Out of the 4 original gate ruins with signposts, No.2 (with the first signpost of Gate Ruins) and No.3 (with the second one) are so great. They are surrounded by stone walls, forming a square space, called Masugata. The trail also turns right to exit the gate, plus, other enclosures are in the back of the gate and ahead of the route. That meant the defenders would counterattack the front and side of the enemies in the Masugata.
The No.2 Gate Ruins, the trail turns rightThe enclosure in the back of the gateThe enclosure ahead of the route.The No.3 Gate Ruins, similar to the No.2 Gate RuinsThe trail turns right again
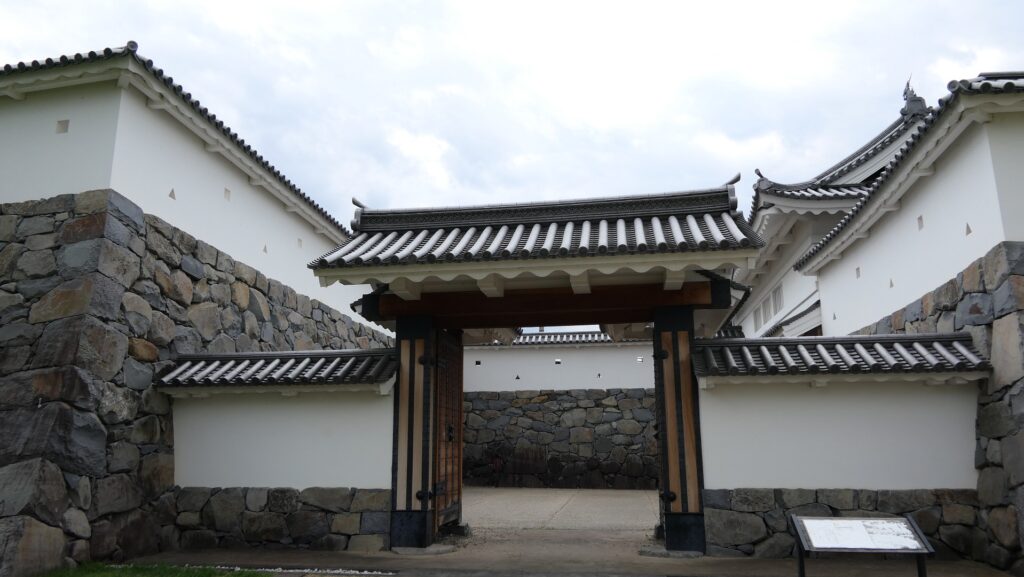
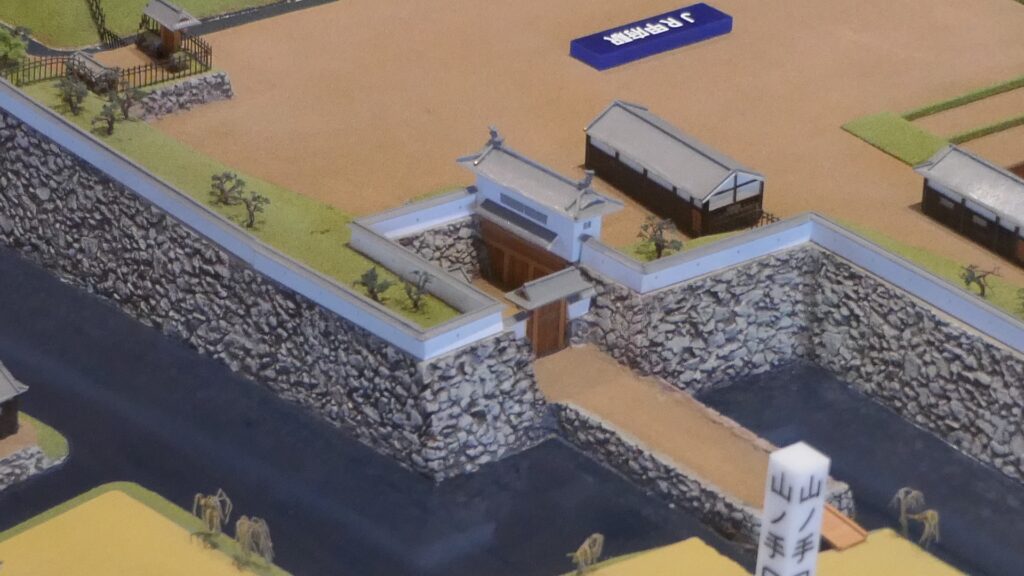
This structure is seen in other castles using high stone walls, which would be built much later than Yogaiyama Castle. However, it is not uncertain who built or improved this system. If the Takeda Clan built it, it would be very advanced, if Mitsuyasu Kato improved it, he would have applied it from other castles like Kofu Castle to Yogaiyama Castle.
The restored Yamanote-mon Gate of Kofu Castle which has the Masugata systemThe miniature model of the Yamanote-mon Gate, exhibited in the Inari Turret of Kofu Castle
Main Enclosure, Largest one in Castle
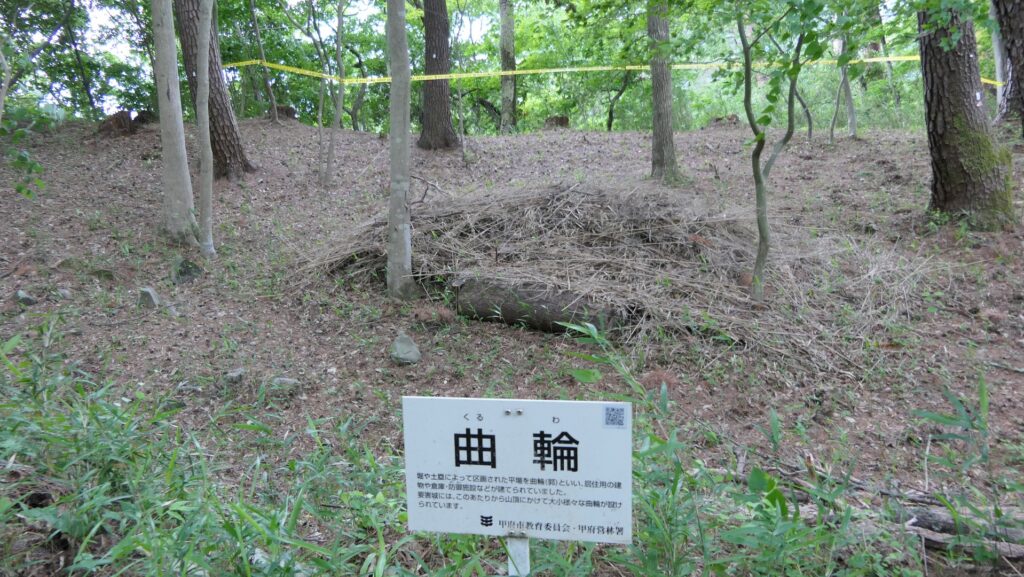
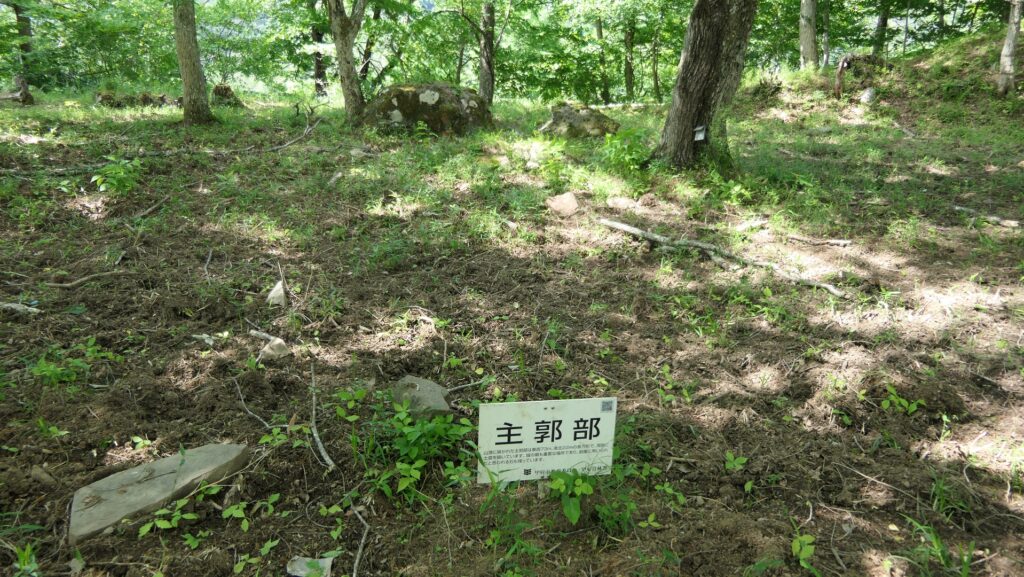
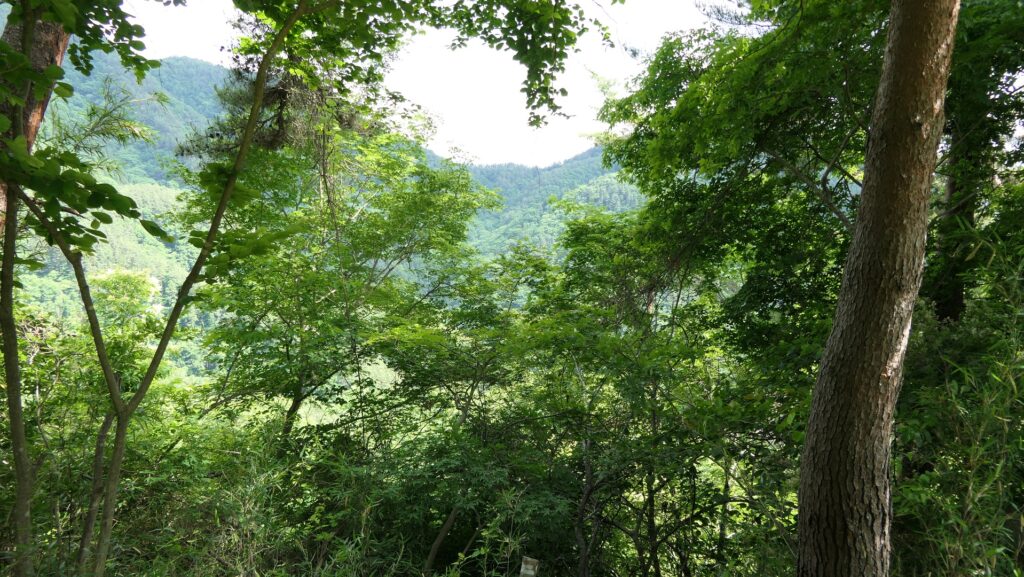
The No.8 Gate Ruins are the entrance of the Main Enclosure. It is the largest enclosure in the castle on the top of the mountain, surrounded by thick earthen walls. There is only the stone monument for the birthplace of Shingen Takeda in it. There should be a good view point of Kofu city area, but unfortunately trees shut out the view.
The No.8 Gate Rums, the entrance of the Main EnclosureThe inside of the Mai EnclosureThe earthen walls surrounding the enclosureThe stone monument for the birthplace of Shingen TakedaUnfortunately, this is not a good view point
There are so many attractions you should check out in the castle.
Features
From Main Gate to Nakagomon Gate Ruins
Today, Wakayama Castle site has been developed as Wakayama Castle Park by Wakayama City. It still includes the main portion of the original castle. It has five entrances same as the castle had, as the Main, Okaguchi, Oimawashi, former Akazuno, and former Fukiage Gates.
The map around the castle
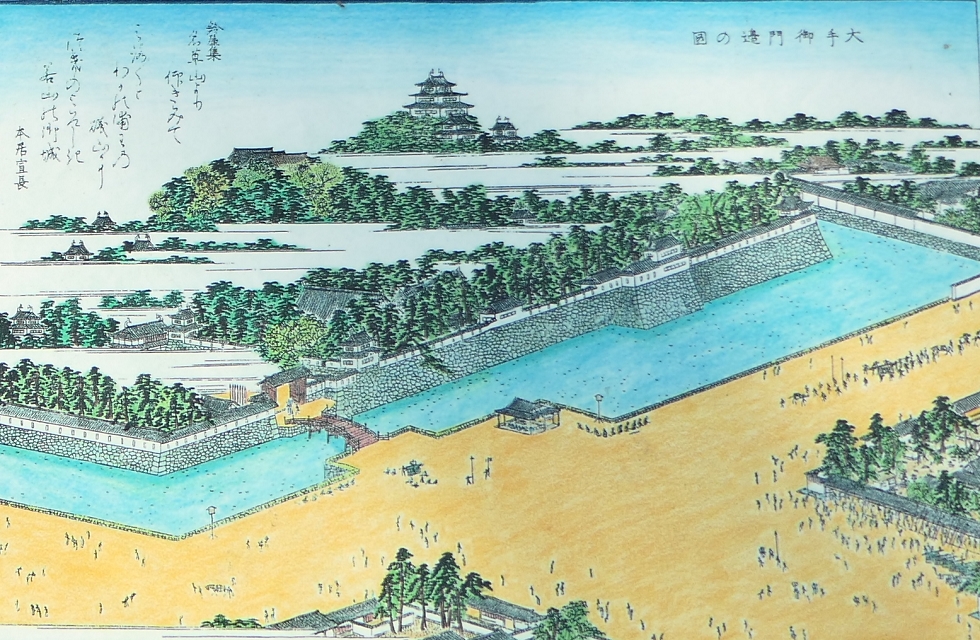
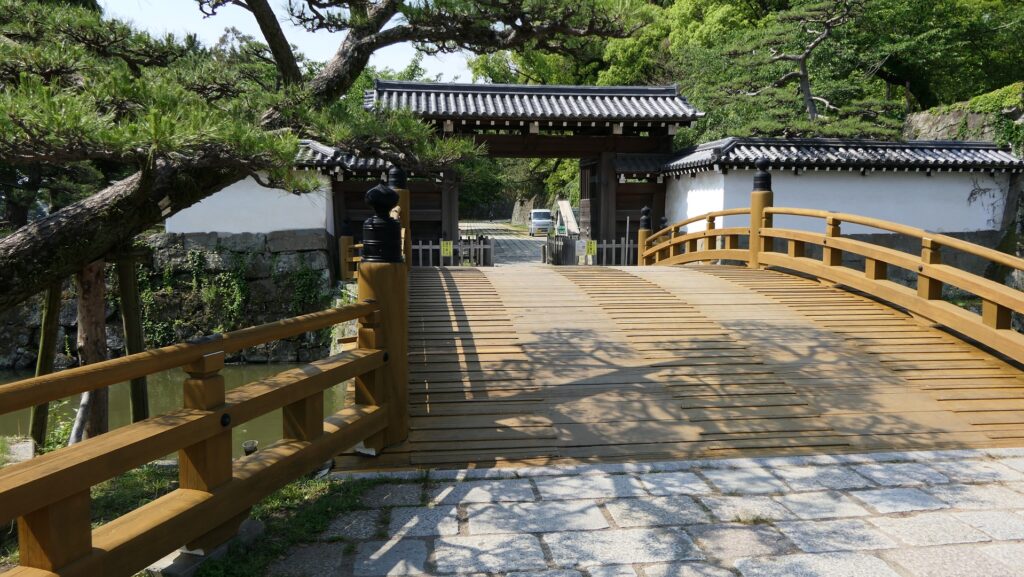
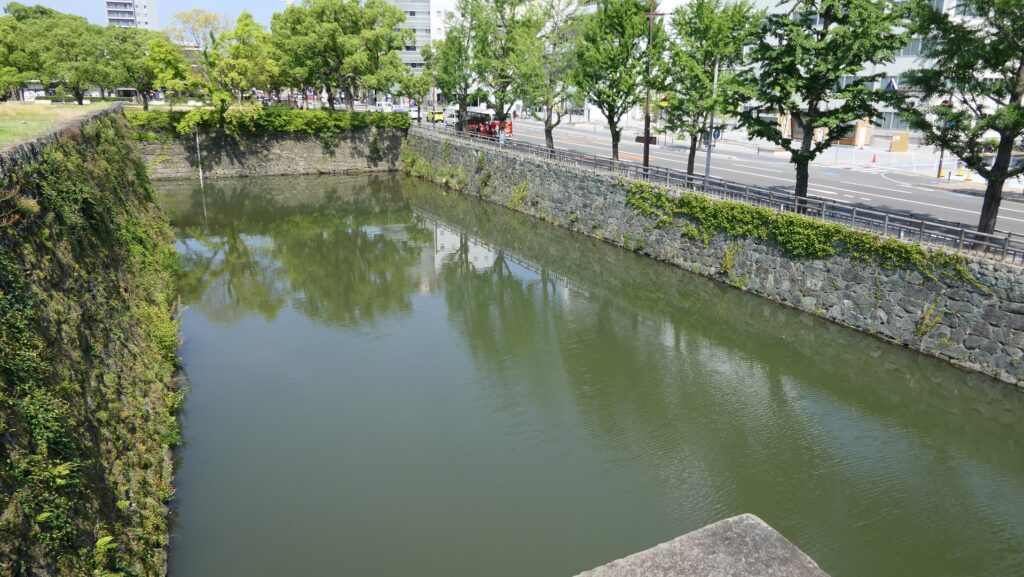
If you want to see what the castle was like, it may be better to enter the Main Gate at the northeastern part of the park. The gate and the bridge in front it over the Inner Moat were restored in the present time. Once you enter the gate, you will see how large the castle grounds and moats are.
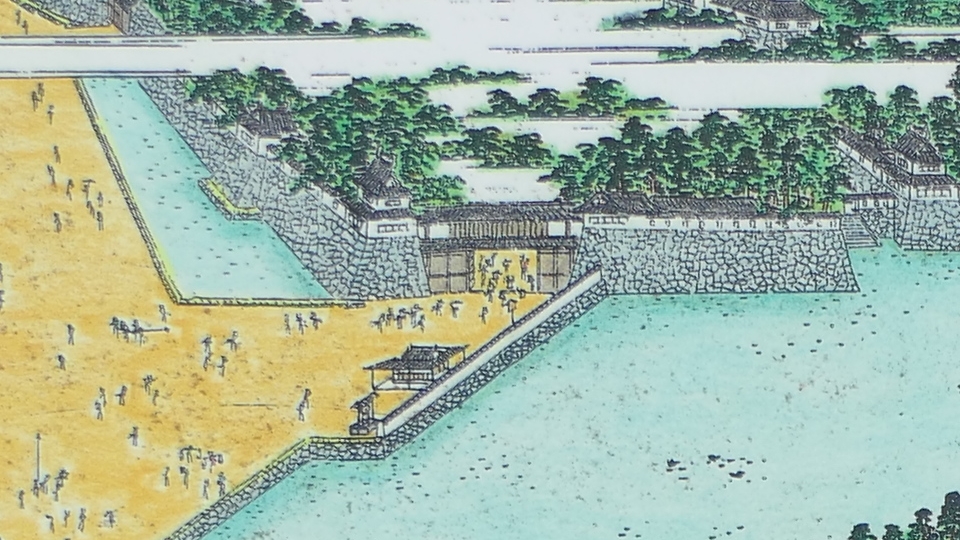
The Drawing of the Main Gate Area from the Illustrated collection of Famous Sites in Kii Province, from the signboard at the siteThe Main GateA view from the inside of the Main GateThe Inner Moat at the eastern side of the castle
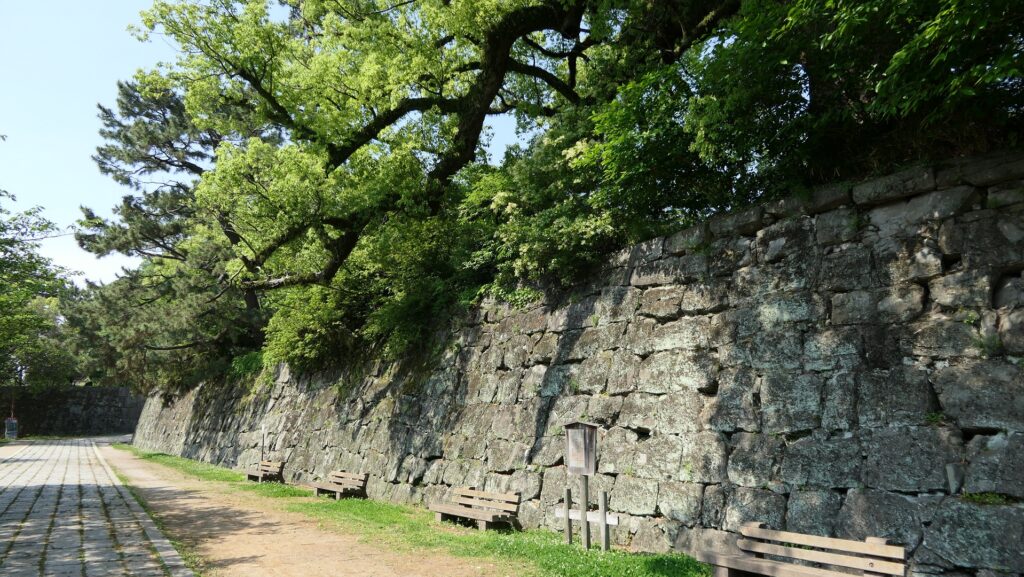
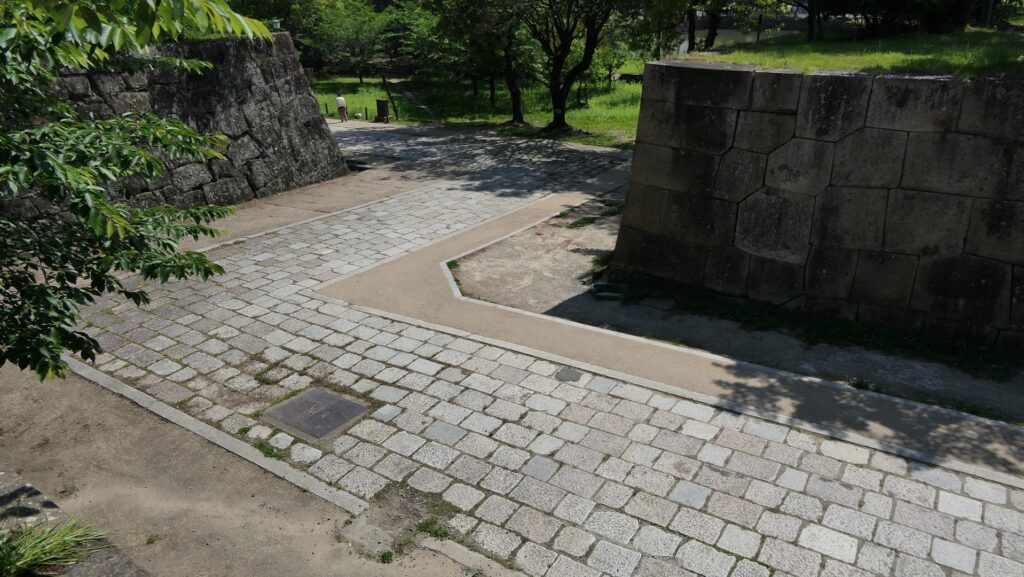
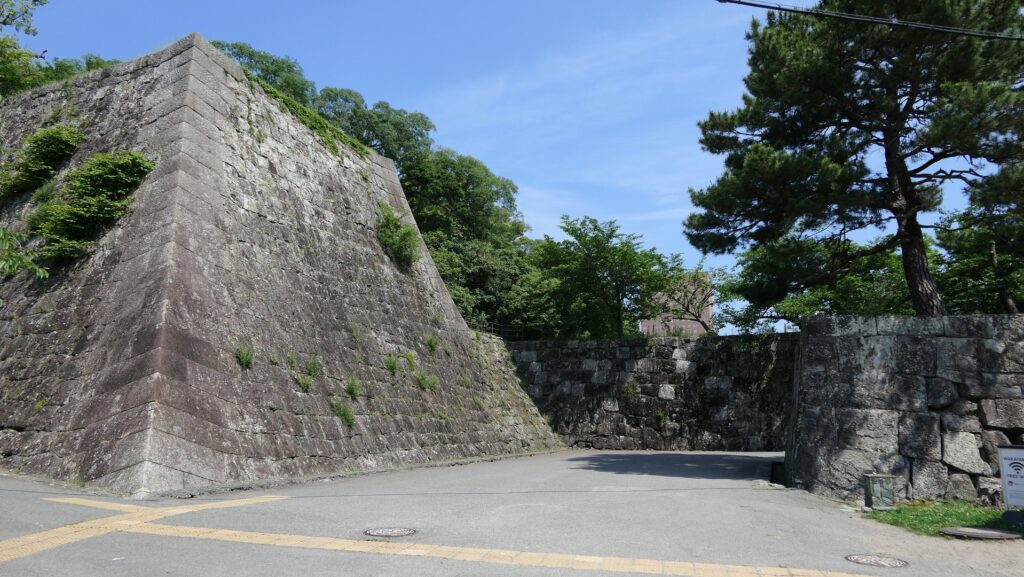
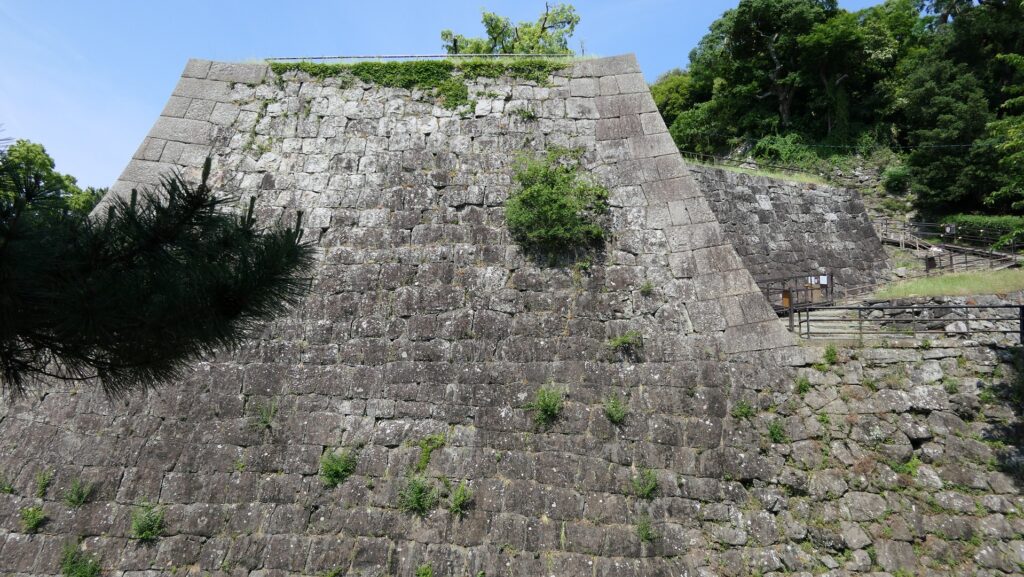
You will go to the ruins of Nakagomon, the second gateway, which still have alternating stone walls. This is an interesting spot where you can see two types of the gate stone walls using roughly and precisely processed stones. In addition, you can see the old stone walls surrounding the hill using natural greenschists ahead. These walls were built in different periods.
The ruins of Nakagomon GateLooking down the alternated part from the top of the stone wallsThe walls using granite porphyry stones on the left and the walls using sand stones on the rightThe walls using natural Greenschist stones
Second and Western Enclosures
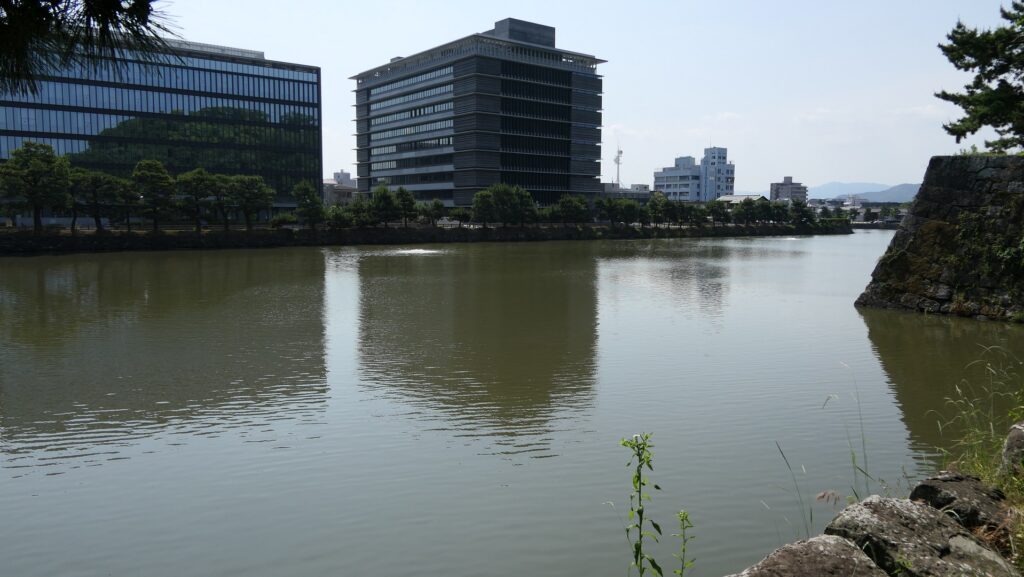
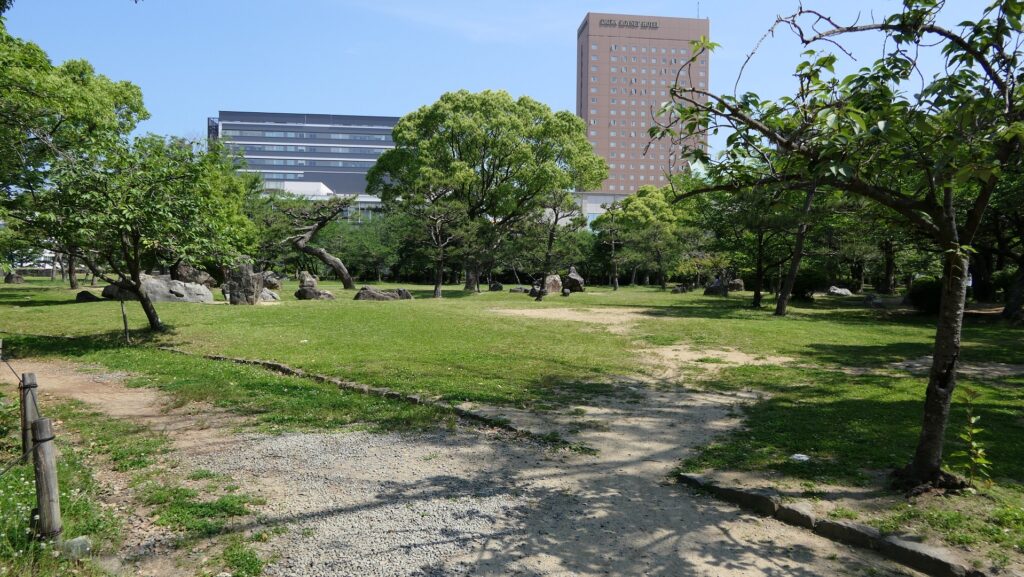
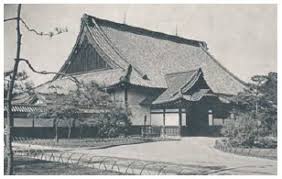
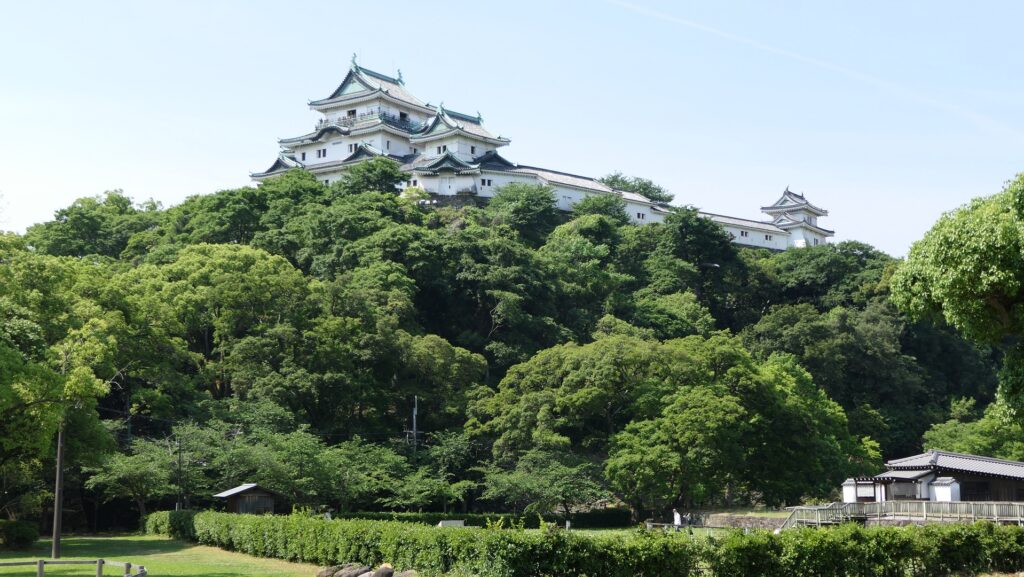
The Second Enclosure is the west of the Main Gate area. It has only a rock garden built in the present time, but it had the luxury Main Hall with turrets beside the Inner Moat. The Large Hall, part of the Main Hall, was moved to Osaka Castle and remained until 1947 when it was burned. Wakayama City is planning to restore the Large Hall at the original position with some turrets and the O-oku residence in a long term. The distant view of the Main Tower may be the best seen from the enclosure.
The map around the Second Enclosure
The inside of the Second EnclosureThe ruins of Monomi-Yagura Turret at the Second EnclosureThe Inner Moat at the northern side of the Second EnclosureThe Large Hall which was moved to Osaka Castle, quoted from the website of Wakayama CityA distant view of the Main Tower from the Second Enclosure
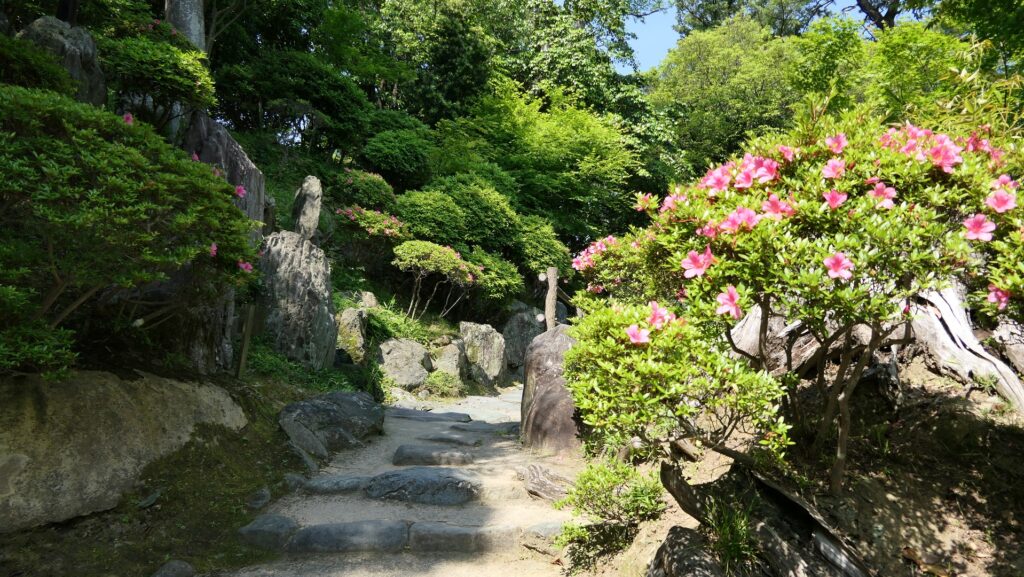
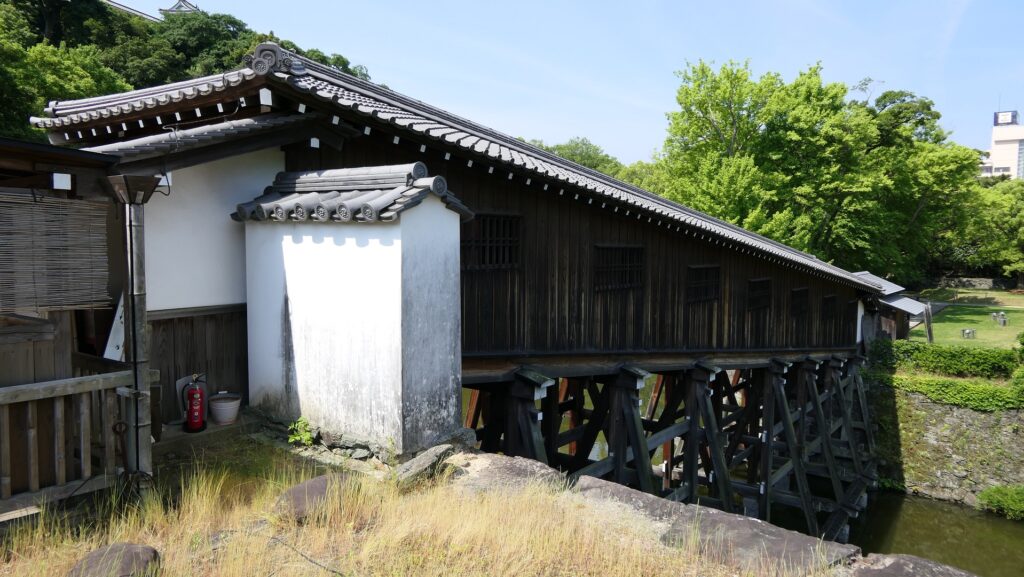
In the next Western Enclosure, the water garden, called Momijidani-teien or the Autumn Leave Valley Garden, was restored in the present time and designated as a National Scenic Beauty. the Passage Bridge between the Second and Western Enclosures was also restored in 2006. You can walk into the roofed and slanted bridge which is quite rare.
The Autumn Leave Valley Garden in the Western EnclosureThe Passage BridgeThe interior of the Passage Bridge
Remaining Okaguchi Gate
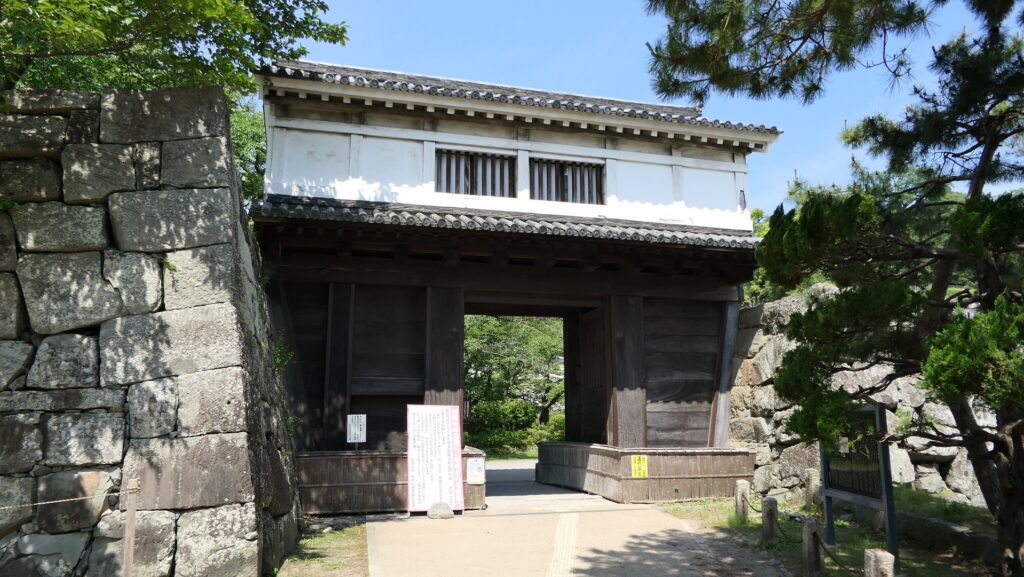
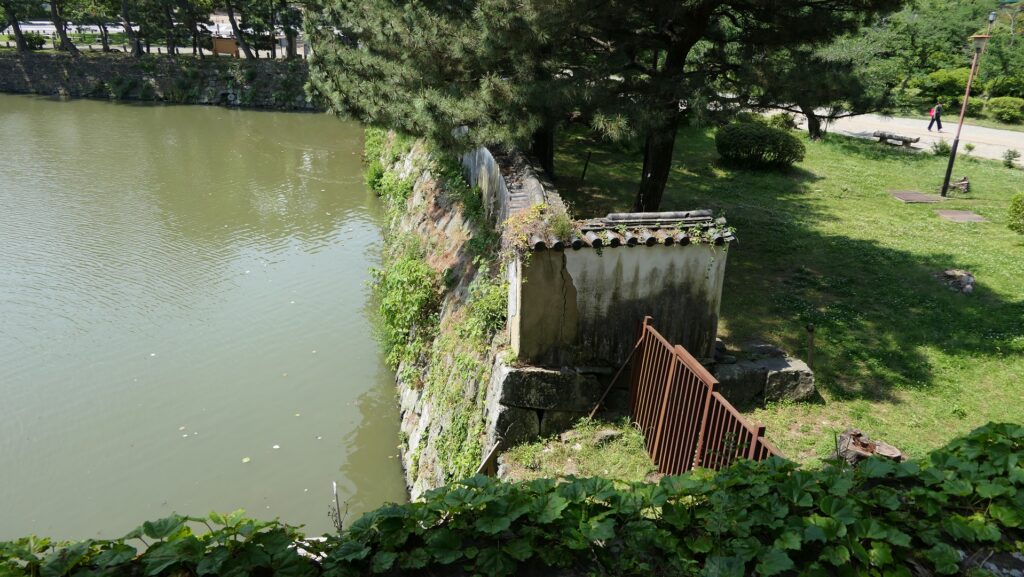
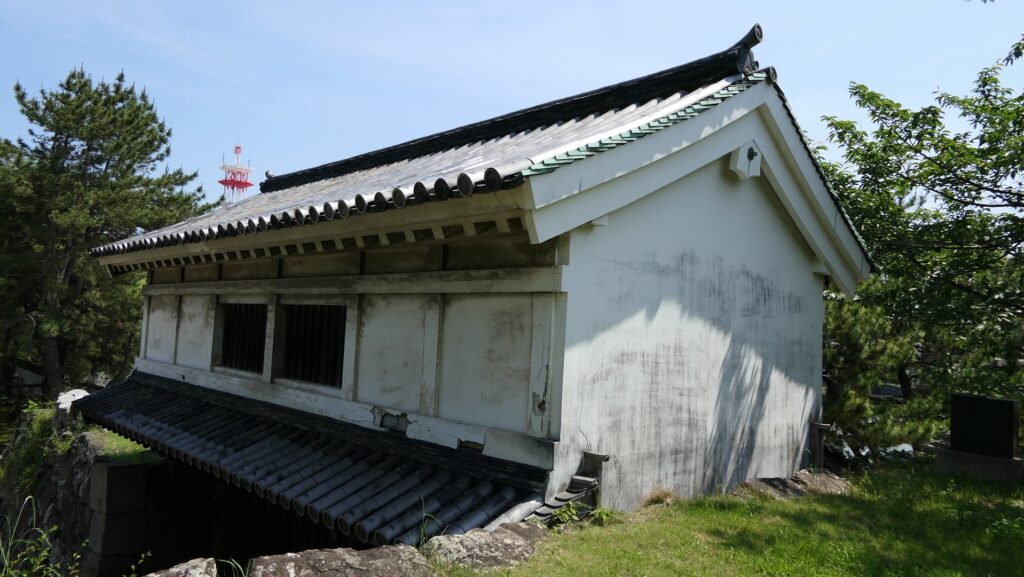
The area around the Okaguchi Gate at the southeastern part of the park is also great to visit. The gate building with the mud wall beside is one of the few remaining buildings of the castle and designated as an Important Cultural Property. It looks like a simple gate with a gabled roof, but it was sandwiched by turrets on both sides.
The map around the Okaguchi Gate
The Okaguchi GateThe remaining mud wallsThe top of the Okaguchi GatePart of the Drawing of the Okaguchi Gate Area from the Illustrated collection of Famous Sites in Kii Province, from the signboard at the site
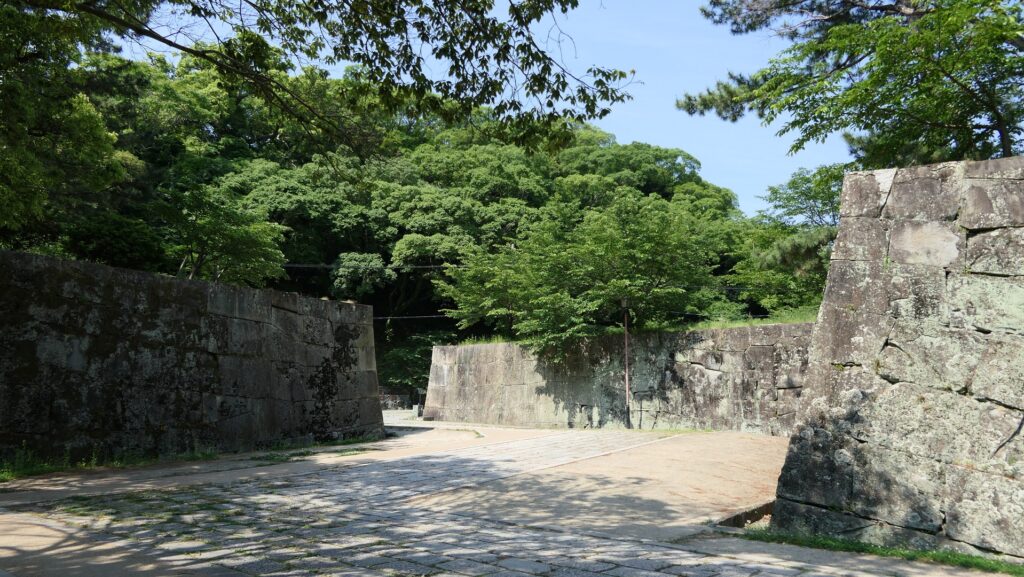
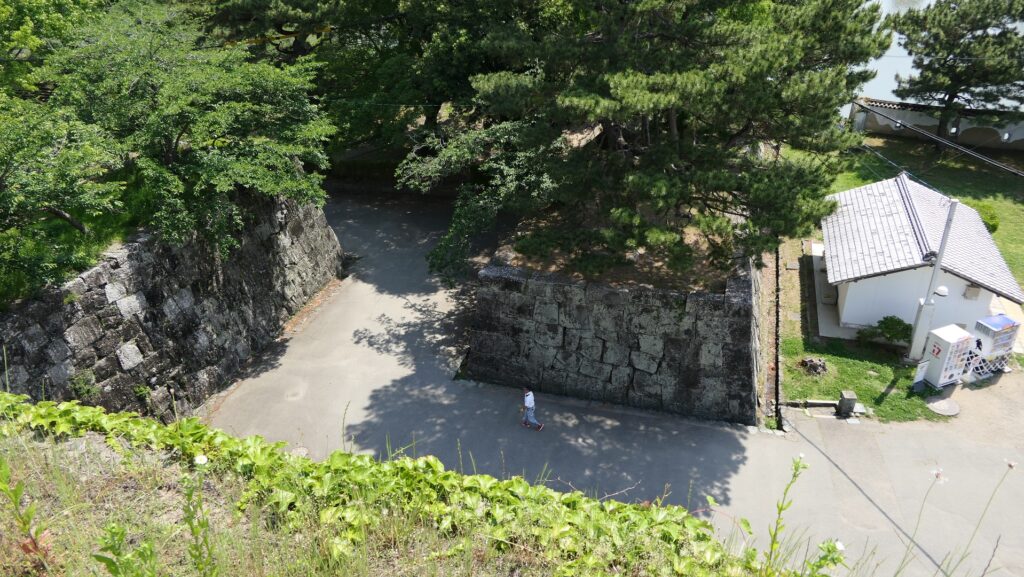
Inside the gate, there is the second gateway similar to the Main Gate area. You can see a great and high stone wall base for Matsunomaru Turret on the left. Other stone walls form a square space called Masugata to prevent their enemies from attacking them. No buildings remain on them, however, these newer stone walls are also worth seeing.
The second gateway from the Okaguchi GateThe stone wall base for Matsunomaru TurretThe square space seen from the top of the base
Going Main Enclosure and Main Tower climbing Slope
There are two routes to the Main Enclosure on the hill as the Front Slope and the Back Slope. The Front Slope is a gentler but longer route. The first part of it is wide and zigzagged, with beautiful paved Greenschist stones.
The map around the Main Enclosure
The Front SlopeThe beautiful paved Greenschist stones
The last part is long, with old stone walls on the right hill side and several turret stone wall bases on the left valley side. Currently, visitors can enjoy a relaxing walk on that route, but at that time, the enemies would have found the route troubling as they could be counter-attacked.
The last part the Front SlopeA turret stone wall base on the valley side
The Back Slope is steeper but shorter. This route is also made and surrounded by old stone walls, but has a different taste with the mossy stones.
The Back SlopeThe mossy stone walls
The top of the hill has two peaks, one was for another Main Hall, and the other is for the Main Tower. The Main Hall coexisted with that of the Second Enclosure, but it was not often used for its small size and inconvenient location. There is a water station now and it is a good view point of the Main Tower.
Going to the Main Enclosure from the Front SlopeThe Main Hall Ruins of the Main EnclosureA view of the Main Tower from the ruins
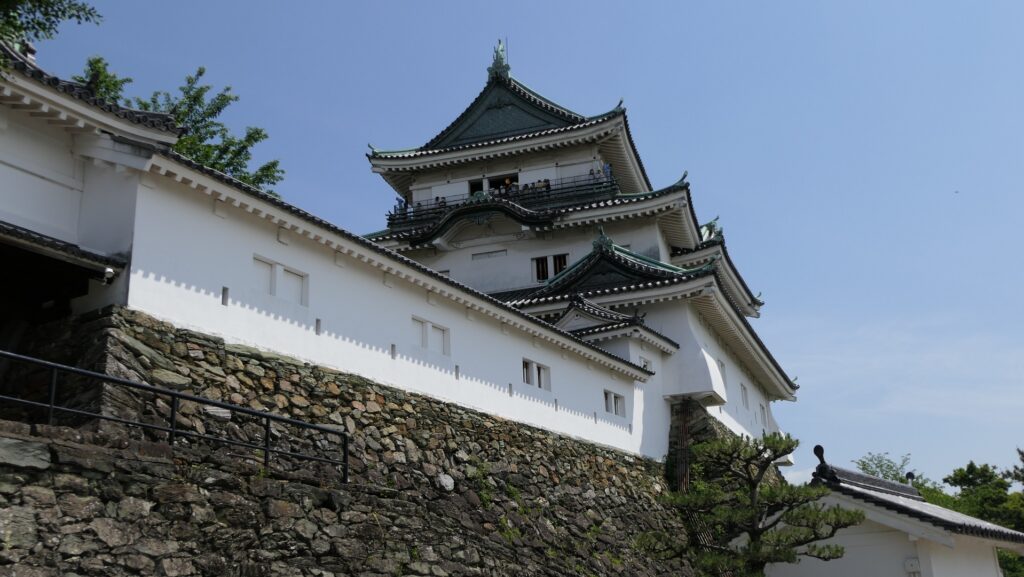
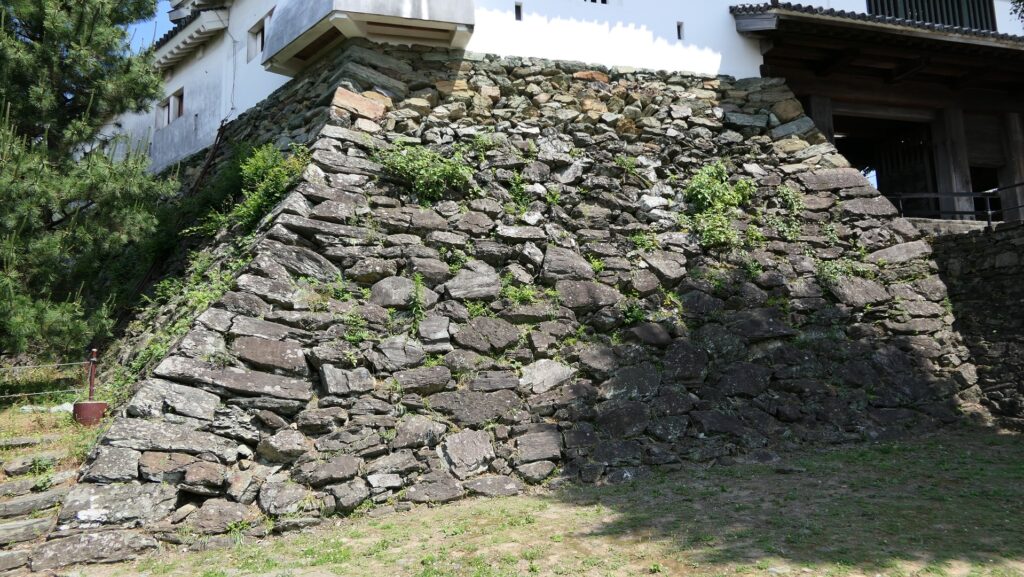
Most visitors’ destination is the Main Tower. It is actually a modern building, not original, but was apparently restored in 1958. Its stone wall base is original and thought that it is the oldest among the stone walls in the castle. A building like the Main Tower may have been built on it from the first stage.
A close view of the Main TowerThe stone wall base for the Main Tower
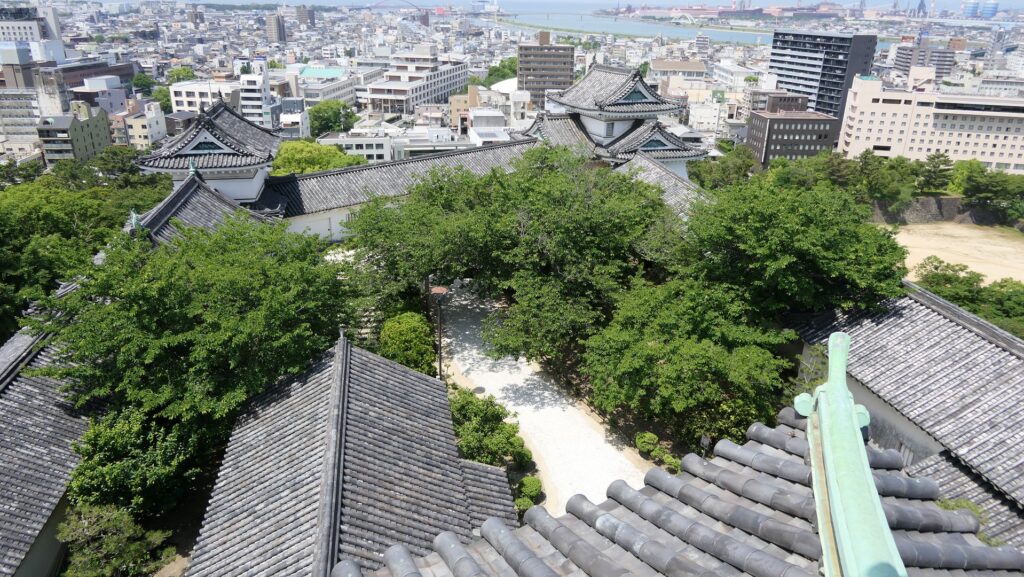
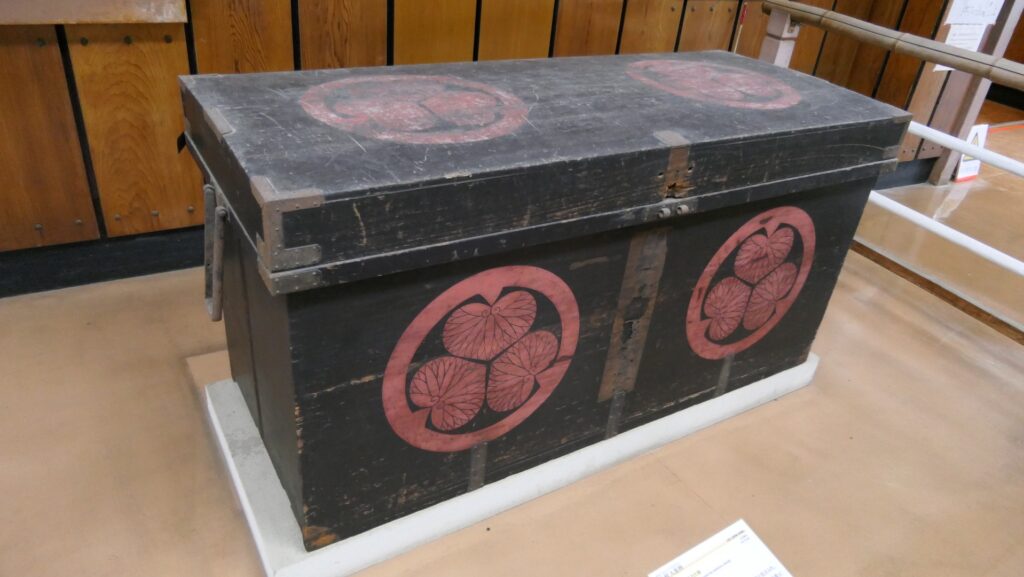
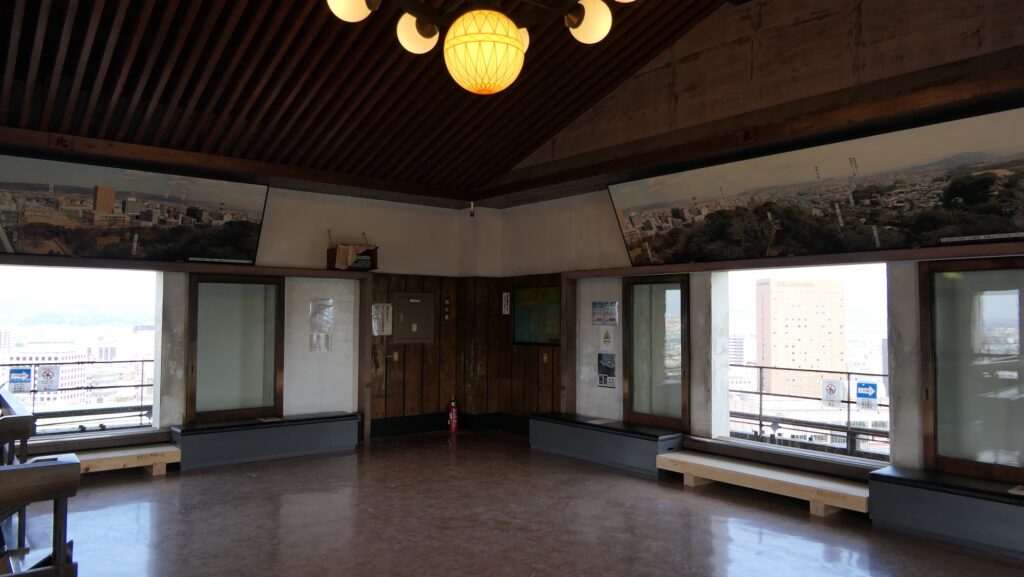
The style of the tower is called Renritsu-siki or the Tower Grouping, which refers to the Large and Small Main Towers and turrets being connected by Hall Turrets like a corridor. The interior of the tower is used as a historical museum and the top floor is used as the observation platform.
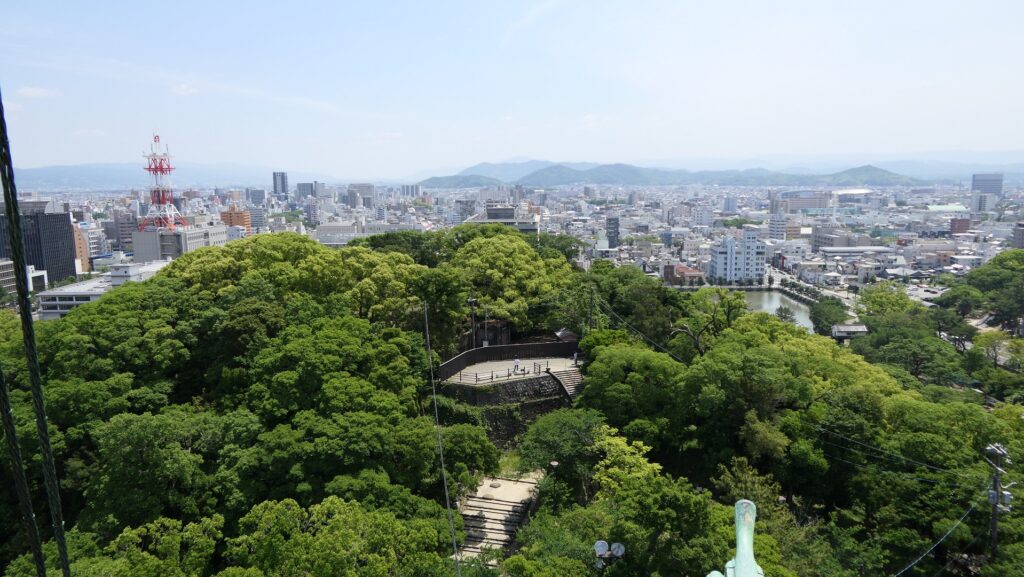
You can see the style of the Tower Grouping from the top floorA storage box for tea ceremony utensils, one of the exhibitions in the towerThe top floor of the Large Main Tower as the observation platformAn eastern view including the Main Hall Ruins from the platform