18.Hachigata Castle Part2

In this article, let us simulate walking from the outer southern edge of the castle through the center to the tip.

Features

Castle becomes Hachigata Castle Park

Today, the ruins of Hachigata Castle have widely been developed as Hachigata Castle Park of about 5 hectare.s Many people visit to see the historical artifacts on display in the castle, as well as enjoy walking and relaxing in a nature setting. For example, there is a big cherry blossom tree which has recently become popular, called “Ujikuni Sakura (Cherry Blossom)”, named after the lord of the castle, Ujikuni Hojo. I recommend you allow yourself enough time to walk around the park to check the important artifacts of the castle and hopefully discover more interesting things to you. In this article, let us simulate walking from the outer southern edge of the castle (the outside of the Third Enclosure) through the center (the Main Enclosure) to the tip (near the meeting point of the rivers).

The big cherry blossom tree, “Ujikuni Sakura”

The front of the castle is near the railway crossing between the path and the Hachiko Line. The path after the crossing will divide into three – the centeral paved one which visitors usually go, the right one which was the Main Route, and the left one which leads to the Third Enclosure. The first route is convenient for casual visitors, however, we will take the second and third this time, in order to follow the original routes as closely as possible.

The map around the castle, the red broken line shows the route similar to the original Main Route and the blue broken line shows the route to the Third Enclosure
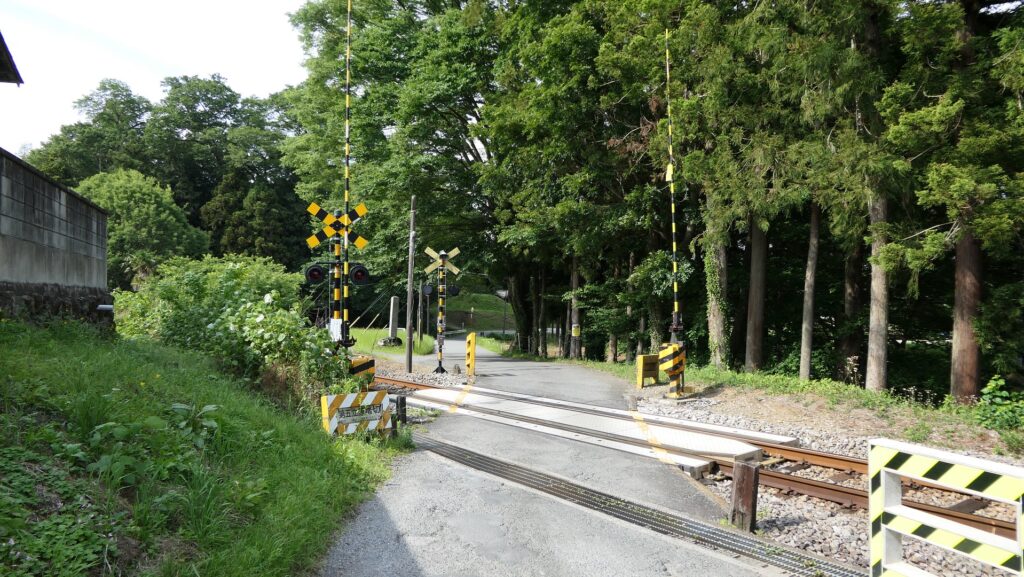
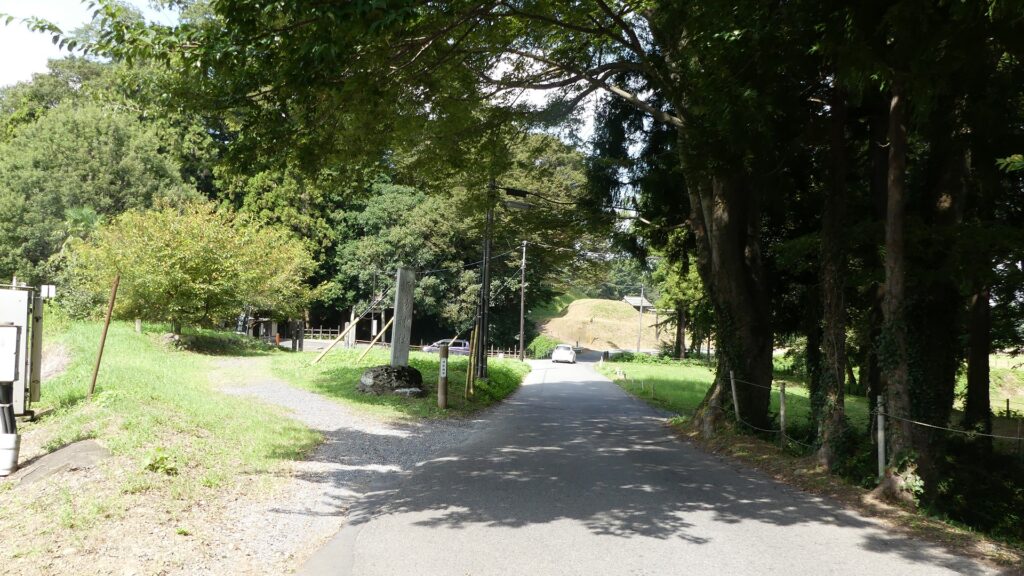
The railway crossing
The junction of the three routes

Going on Main Route

The right Main Route goes over some large deep moats beside the Main Route Enclosure, which could have been defensive.
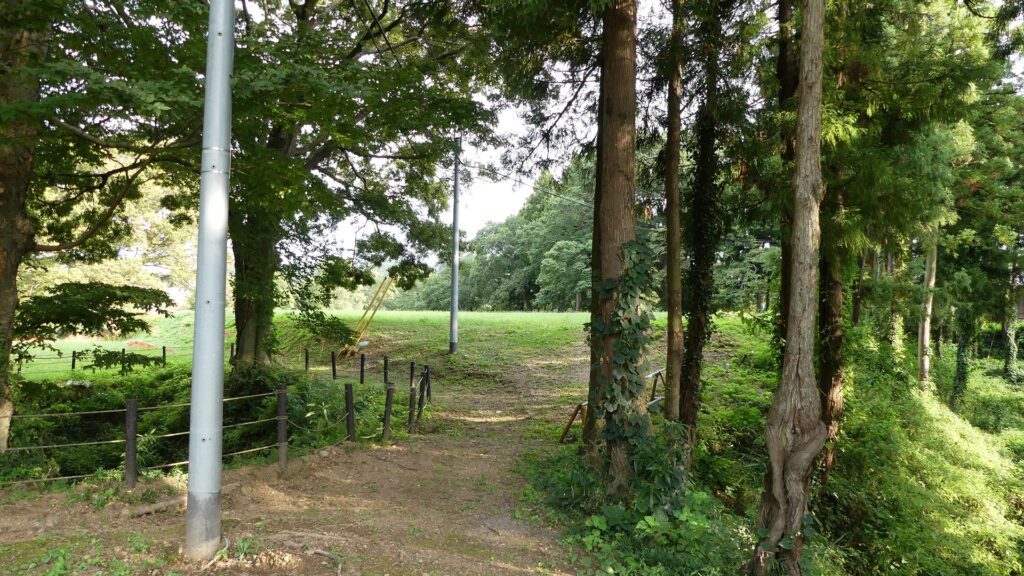
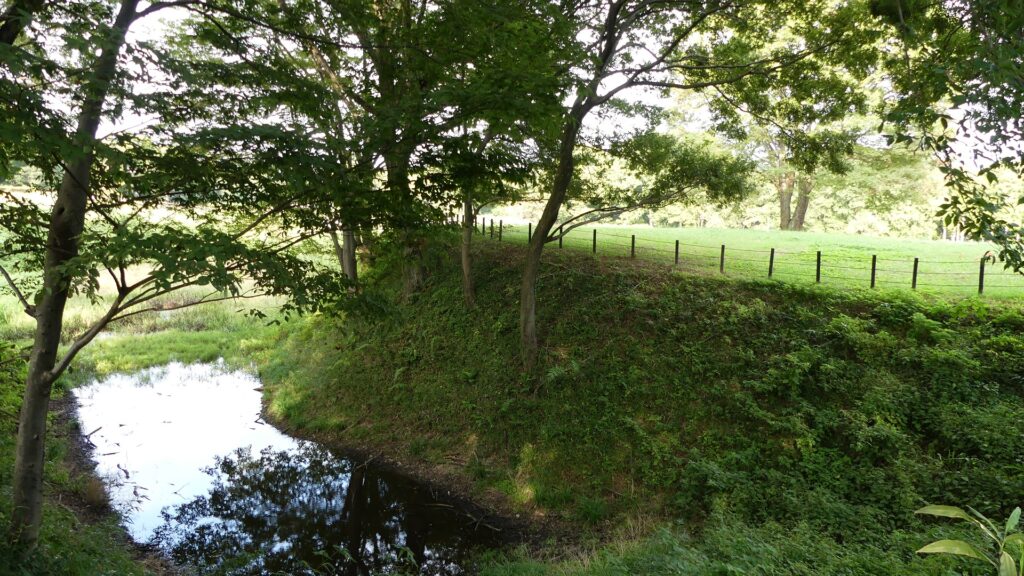
The right Main Route
The moat beside the entrance of the route (on the left)
The Main Route Enclosure on the right

The route next turns left at a square Umadashi enclosure, which was the key to the castle’s defenses. From there, it goes towards the center of the castle and finally reaches the border of the Third and then Second Enclosures.
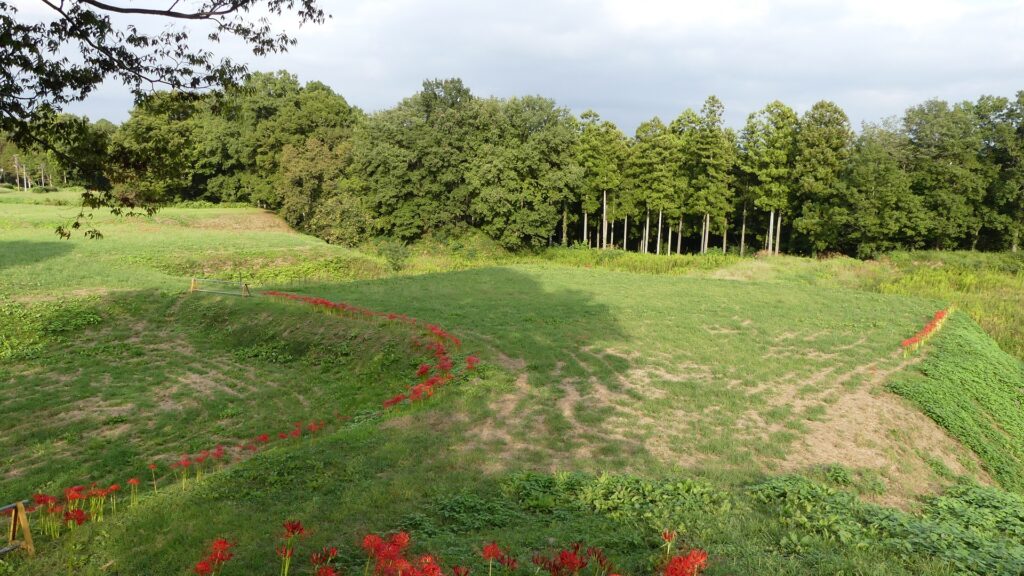
The route turns left at the Umadashi Enclosure
It goes to the Second Enclosure
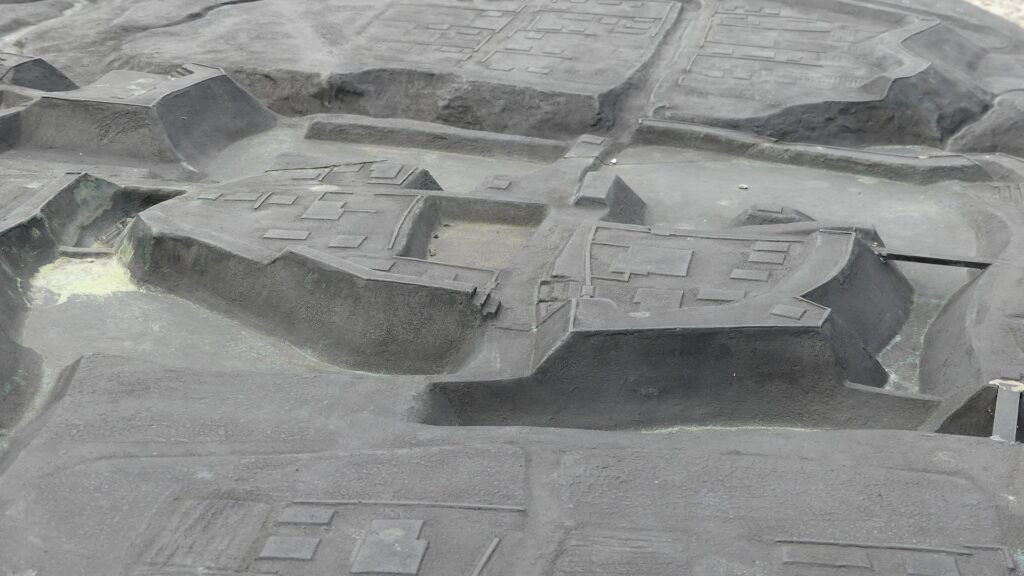
The part of the Main Route in the castle diorama

You can see another Umadashi enclosure from the outside at the point, but originally, the route would have passed through it.

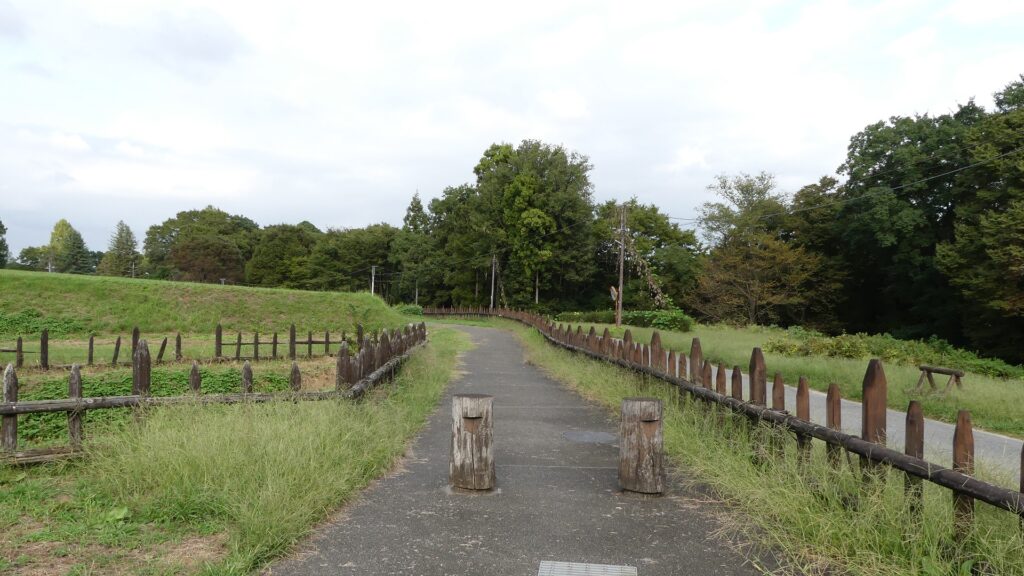
Another Umadashi is outside on the right
The route goes straight to the Second Enclosure, not thought the Umadashi
The route passed thought the Umadashi according to the diorama

Going to Third Enclosure via Suwa Enclosure

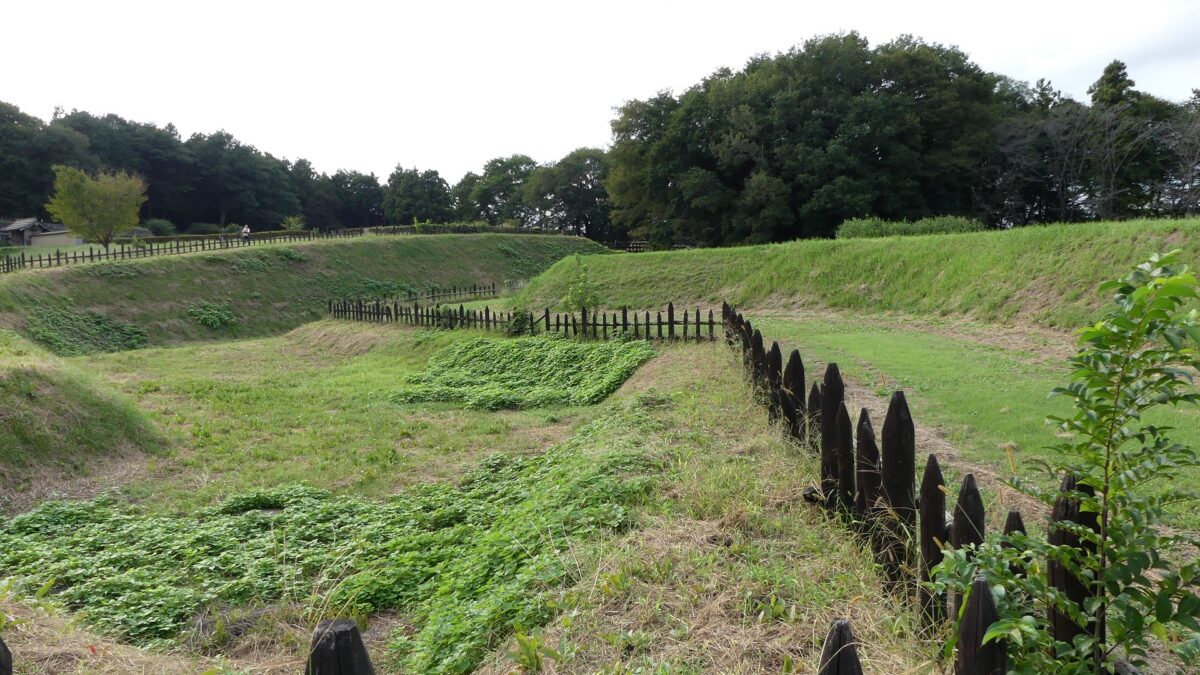
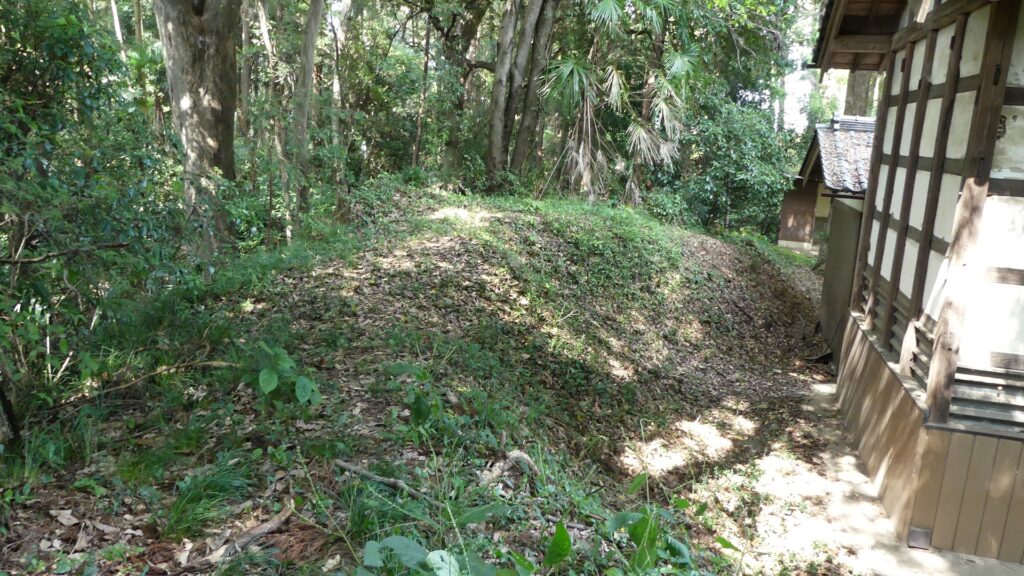
The left route is currently the approach to Suwa Shrine, also called the Suwa Enclosure. It is a square patch of land, still surrounded by earthen walls and deep dry moats, which are obviously a type of Umadashi system.
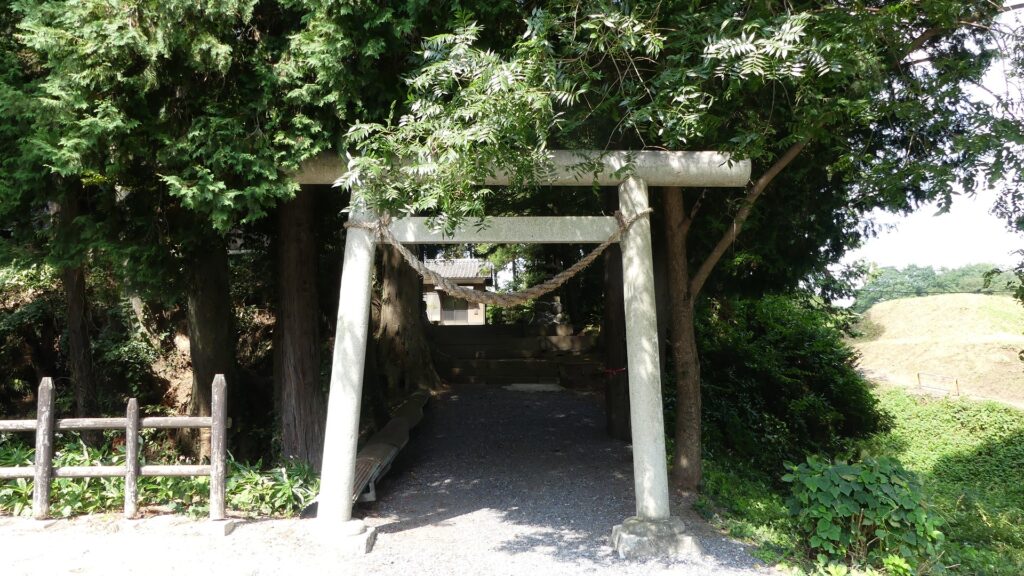
Entering the Suwa Enclosure
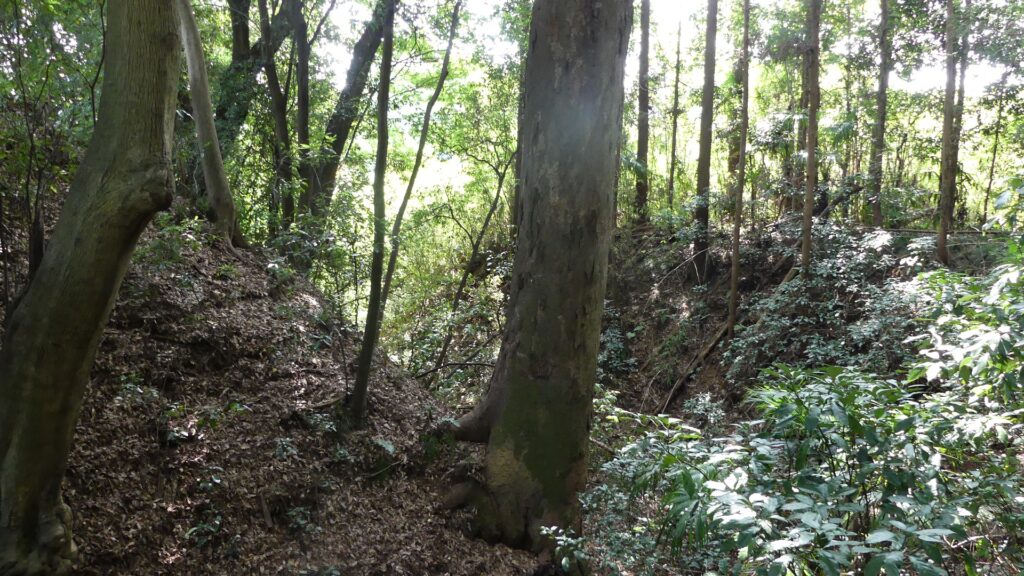
The earthen walls surrounding the enclosure
The dry moat outside the earthen walls

Another narrow path connects one side of the Umadashi to the entrance of the Third Enclosure, which looks very defensive. These are typical of the Hachigata Castle defense system.
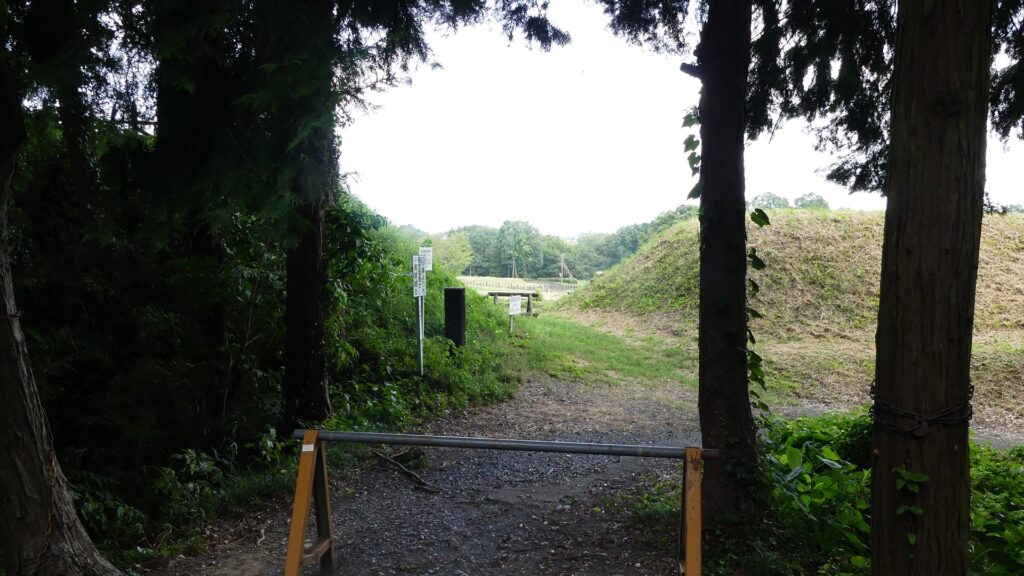
Going from Umadashi of the Suwa Enclosure to the Third Enclosure
The entrance of the Third Enclosure, viewed from inside
The part of the Suwa Enclosure, the red arrow indicates the direction of the current route

Third Enclosure as Important Site

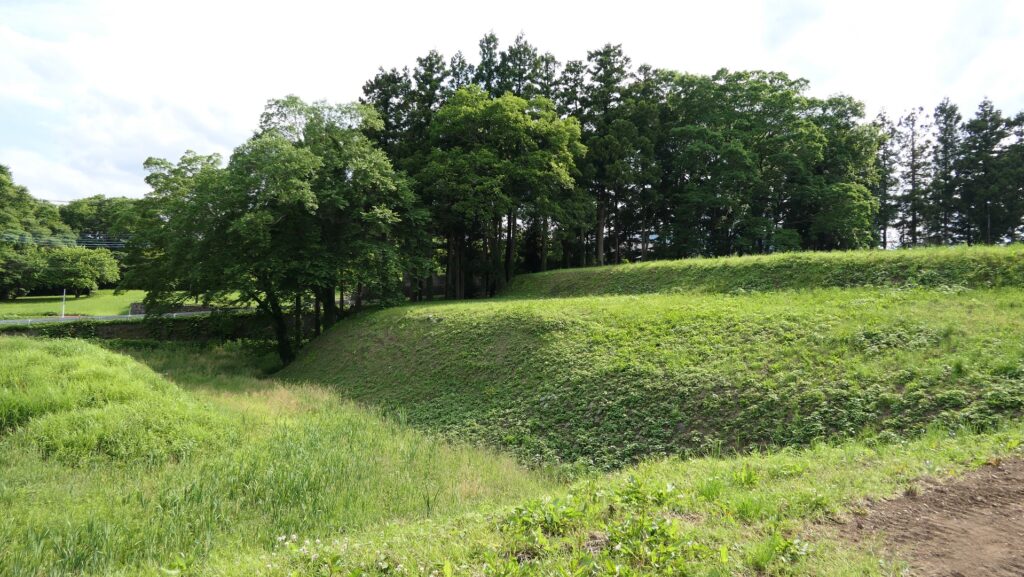
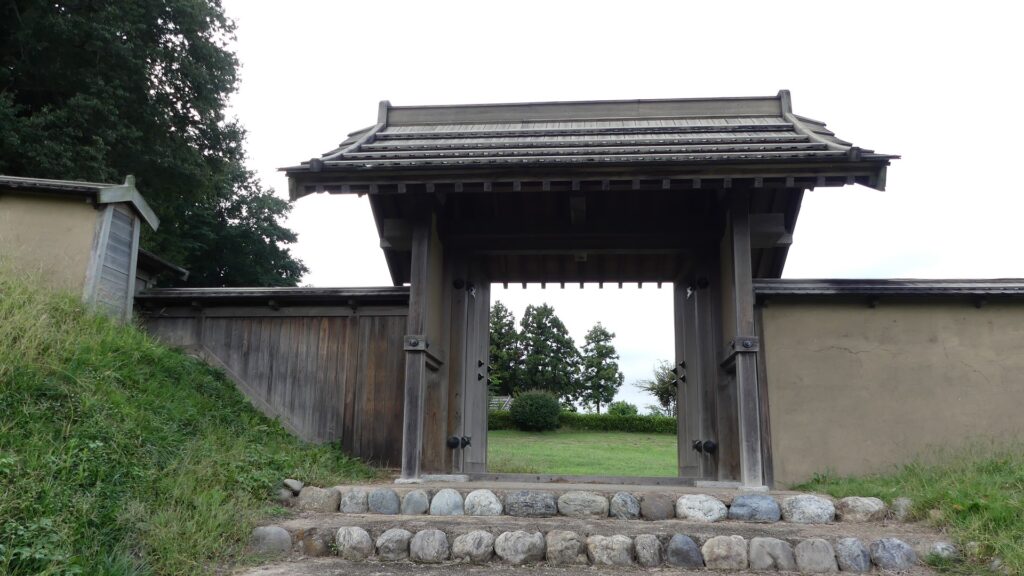
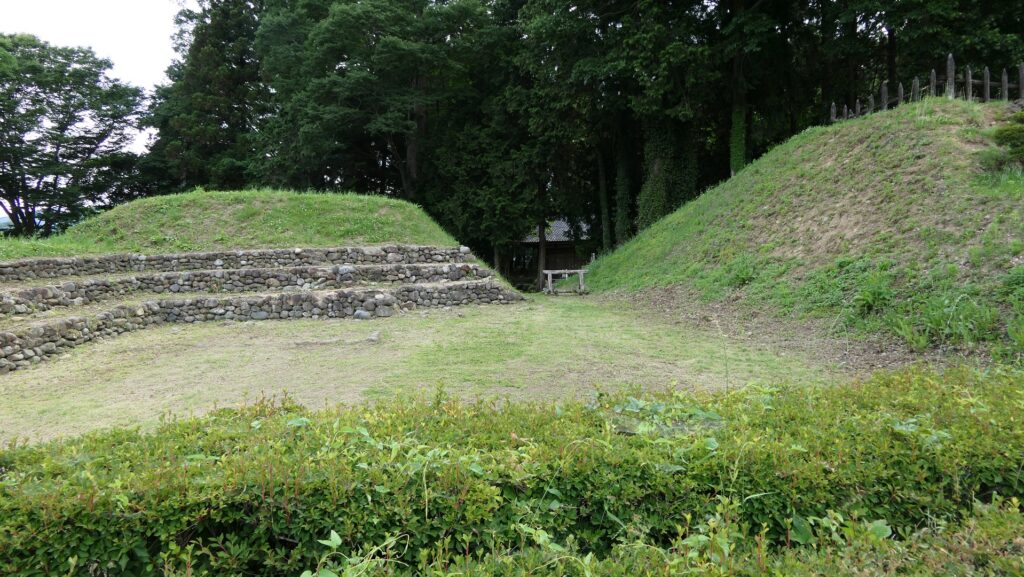
The Third Enclosure is the highest point of the castle. Tall, thick earthen walls, supported by stone mounds inside, (looking like stone walls), surround the enclosure. These structures were restored in the present time based on excavation records. A four-legged gate was also restored based on the research. Other evidence of buildings like halls has not been found so far, but the enclosure must have been important for the castle.
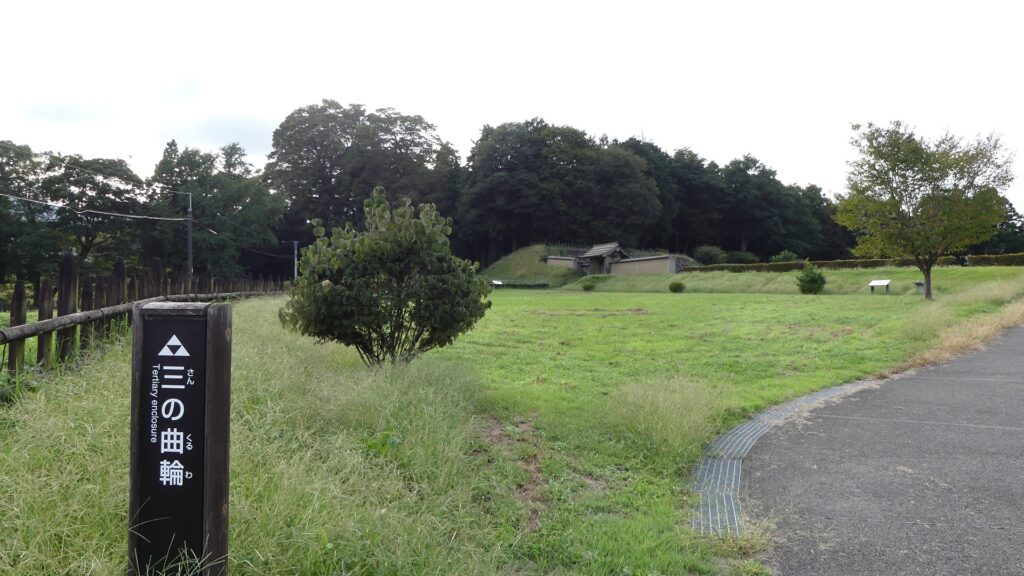
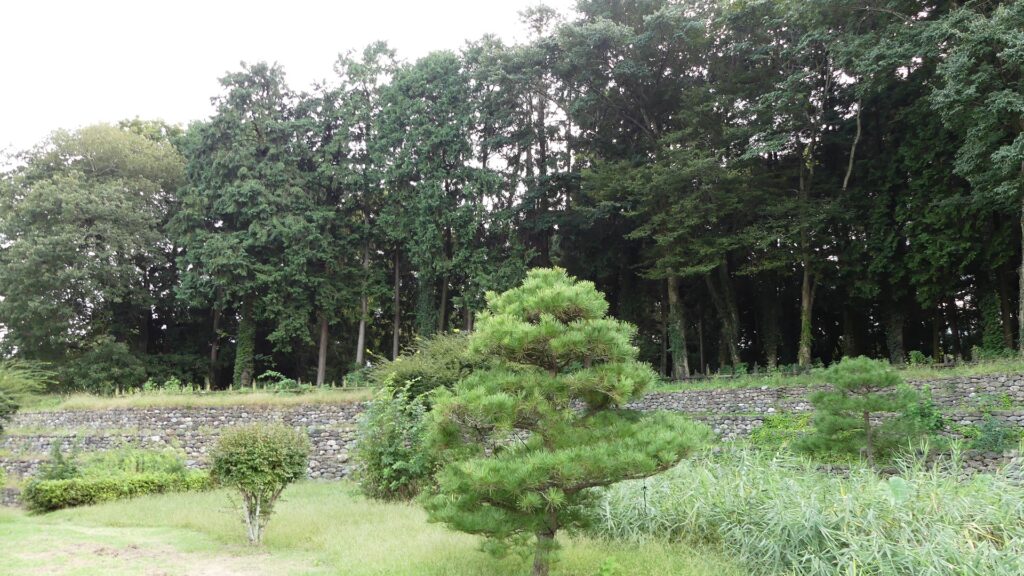
The Third Enclosure
The earthen walls, supported by stone mounds, surround the enclosure
The restored four-legged gate

To be continued in “Hachigata Castle Part3”
Back to “Hachigata Castle Part1”
111.Mukai-Haguroyama Castle Patr2

The ruins of Mukai-Haguroyama Castle have been developed as part of the expansive Hakuho-zan Park including three mountains. The ruins are on one of which, Iwasaki-yama Mountain, which is 50 hectares in size.

Features

Part of expansive Natural Park

Today, the ruins of Mukai-Haguroyama Castle have been developed as part of the Hakuho-zan Park. The park is an expansive natural park which is 112 hectares in size, including three mountains, Kannon-yama, Haguro-yama, and Iwasaki-yama. The castle ruins are on the Iwasaki-yama Mountain, which is 50 hectares in size. The ruins are also huge and mixed with the park’s other facilities like adventure playgrounds, promenades, and arbors.

The map around the Hakuho-zan Park

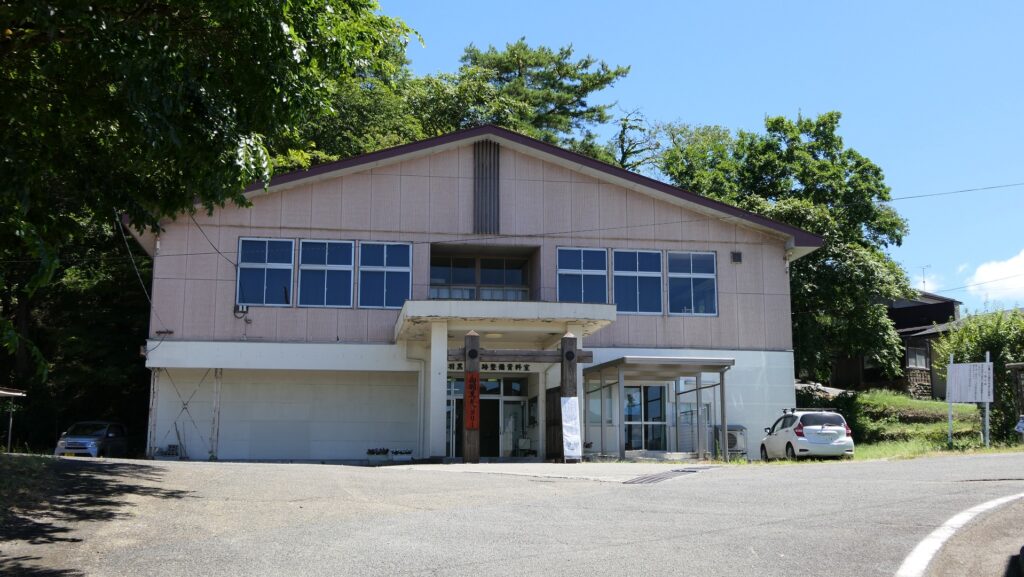
Therefore, it may be difficult for visitors to go around all of the ruins without proper instructions. It is recommended to visit the guidance facility called Mukai-Haguro Gallery in advance to get the information of the ruins. Please make sure that the facility is open only on weekends and holidays from mid-April to mid-December. In addition, please check if the ruins are open or not, for example, in cases of bears being found. Anyway, let me introduce the summary of the ruins.

The Mukai-Haguro Gallery

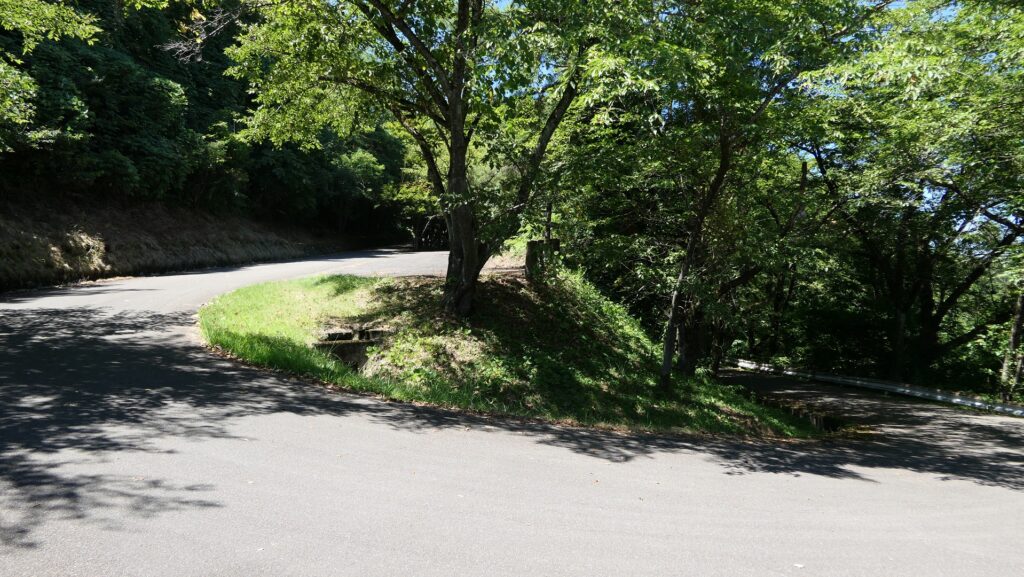
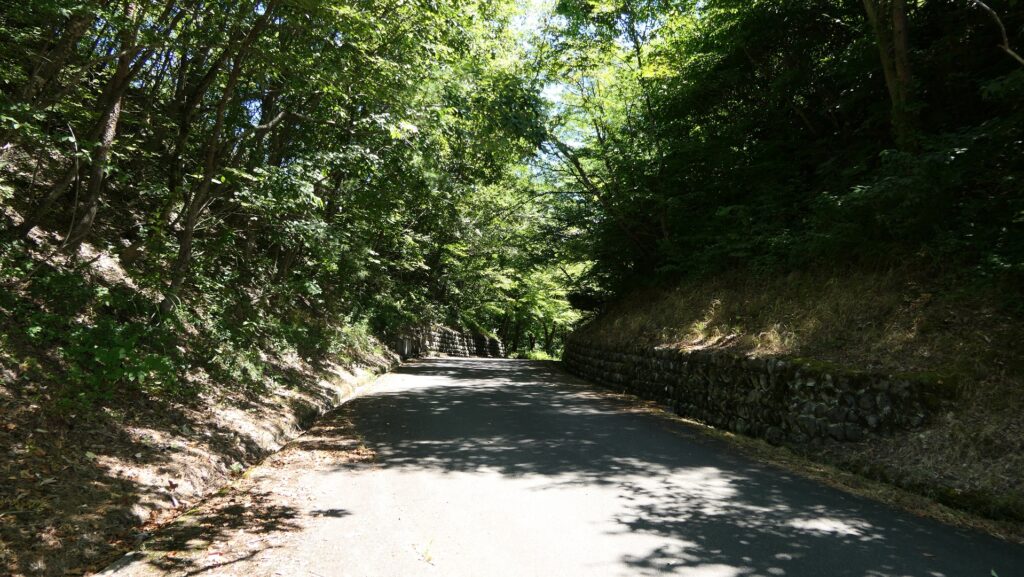
If you enter the park from the north beside the Mukai-Haguro Gallery, you can go on the paved forest road over Kannon-yama and Haguro-yama Mountains to the castle ruins on Iwasaki-yama Mountain in the back even by car. However, please be careful when passing each other because the road is very narrow.

The map around the castle

The forest roag though the park
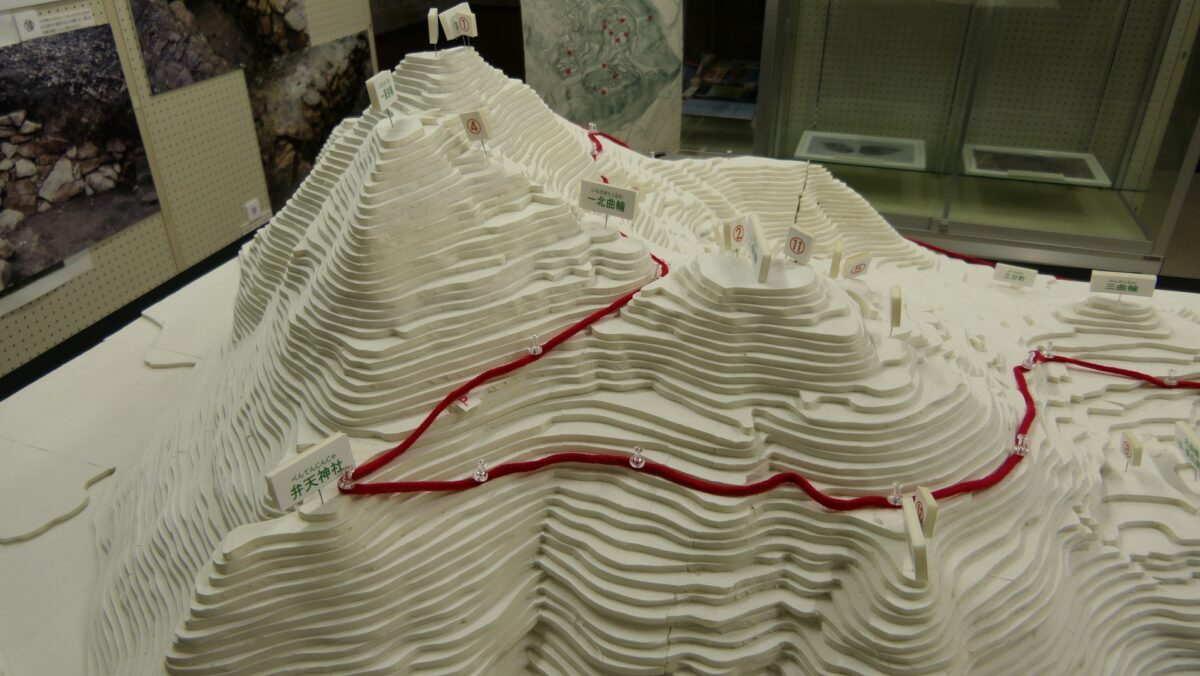
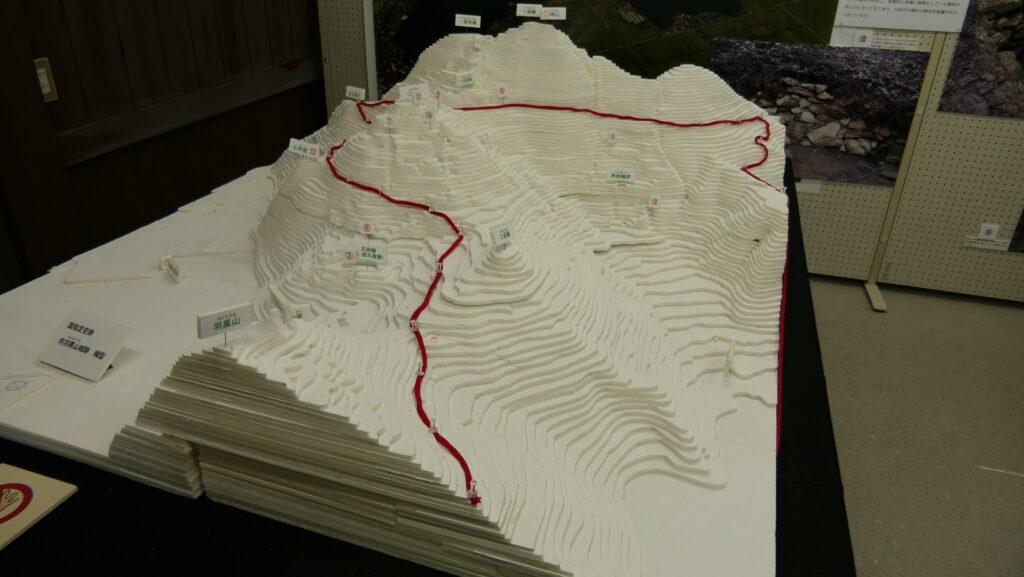
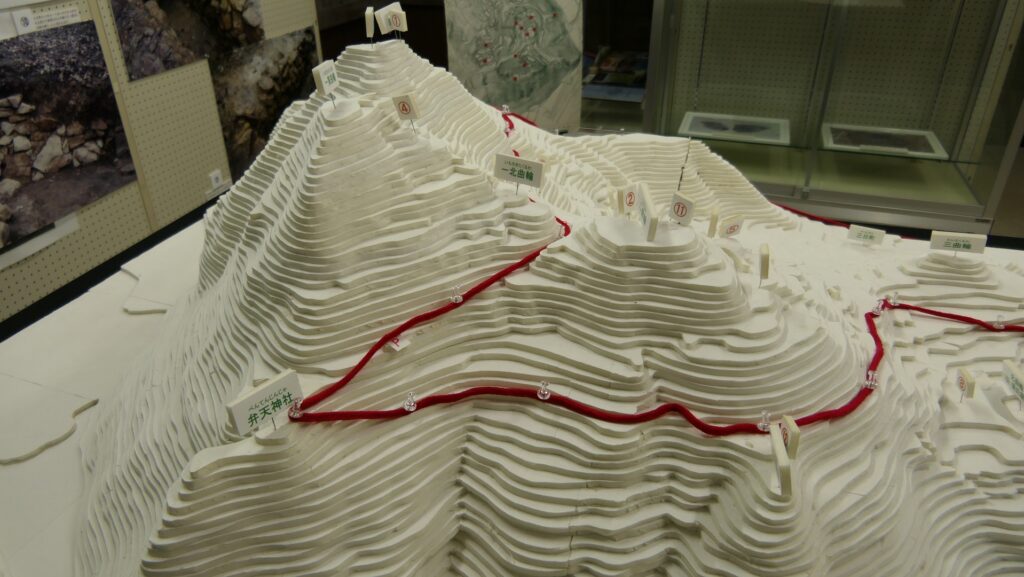
The diorama of the castle ruins, exhibited by the Mukai-Haguro Gallery, the red line shows the forest road

Large Third Enclosure

If you manage to find the administration building of the park on the right, it is around the Third Enclosure of the castle. The enclosure is spacious which was said to be used as a riding ground for horses. Its thick earthen walls and deep dry moats are still there. There are also the Northern Enclosure and the ruins of Moriuji Ashina’s residence across the road.

Around the administration building
The Third Enclosure
The earthen walls of the Third Enclosure
The dry moats of the Third Enclosure

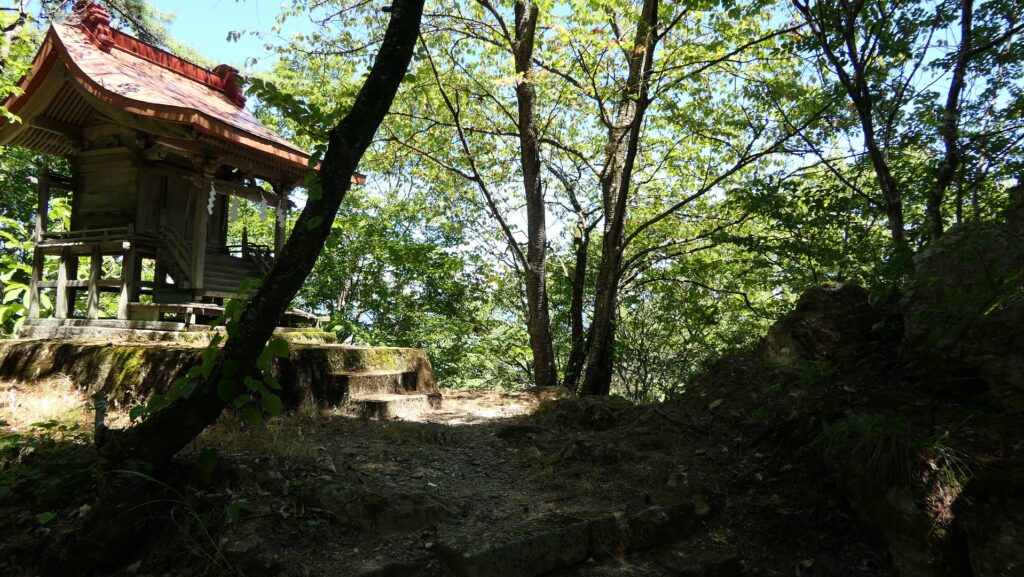
Next, you can go up the road and you will find Ochayaba (meaning the Tea House) Enclosure on the left, which is a viewing spot. It is said that Moriuji held tea ceremonies there.

The Tea House Enclosure
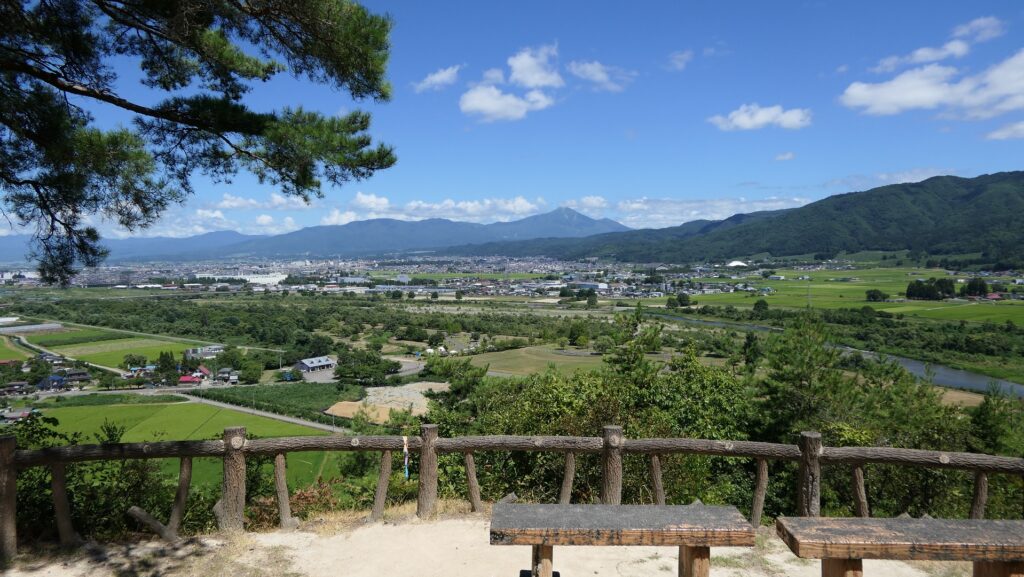
A view from the enclosure

Second Enclosure as Center of Castle

If you go further and turn right along the road, while seeing Benten Enclosure on the left, you will be between the Second Enclosure on the right and the Main Enclosure on the left. In fact, the road at the spot is the bottom of the former ditch dividing them.

Going on the forest road
The Benten Enclosure
The former ditch between the Main and Second Enclosures
The left ridge is the Main Enclosure and the right one is the Second Enclosure, according to the diorama

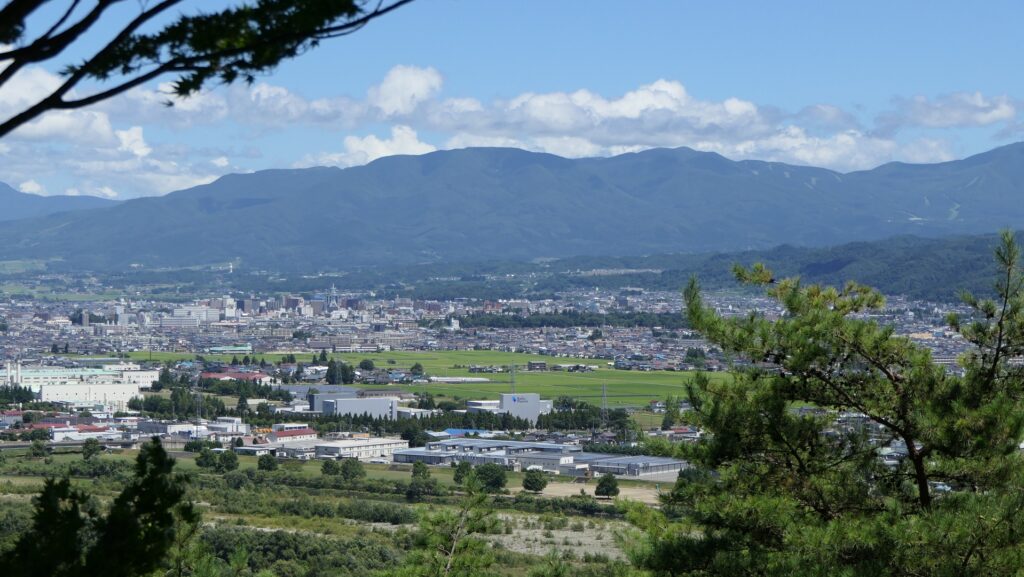
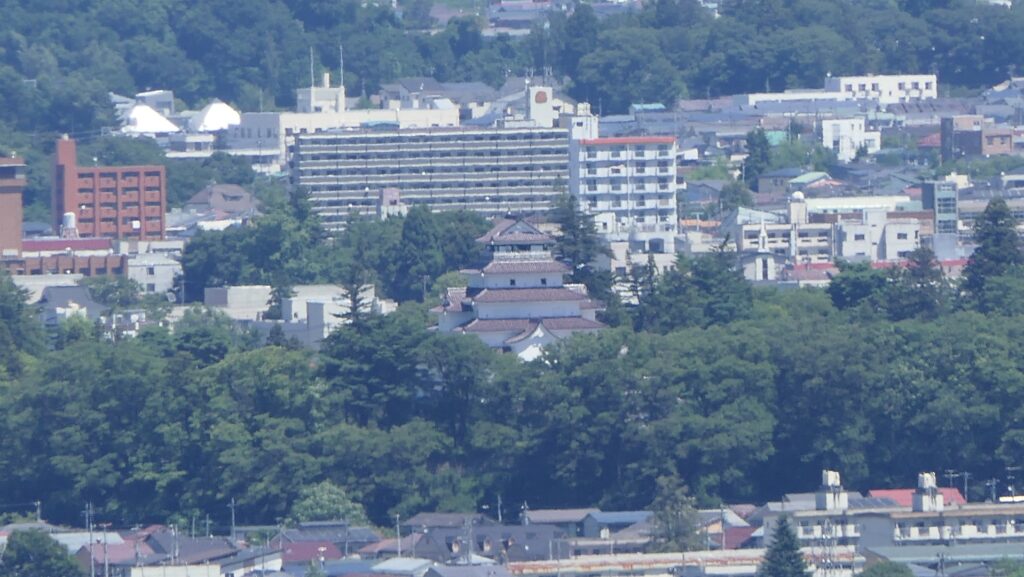
The Second Enclosure is on the top of a ridge which was thought to have been the center of the castle as it was larger and has a better view than the Main Enclosure. In addition, the Waterwell Enclosure is just below it. You can climb to the top and understand these points while seeing a great view of the Aizu Basin and Wakamatsu (the former Kurokawa) Castle

Climbing to the top of the Second Enclosure
The top of the Second Enclosure
A view from the enclosure
You can see Wakamatsu Castle in the view

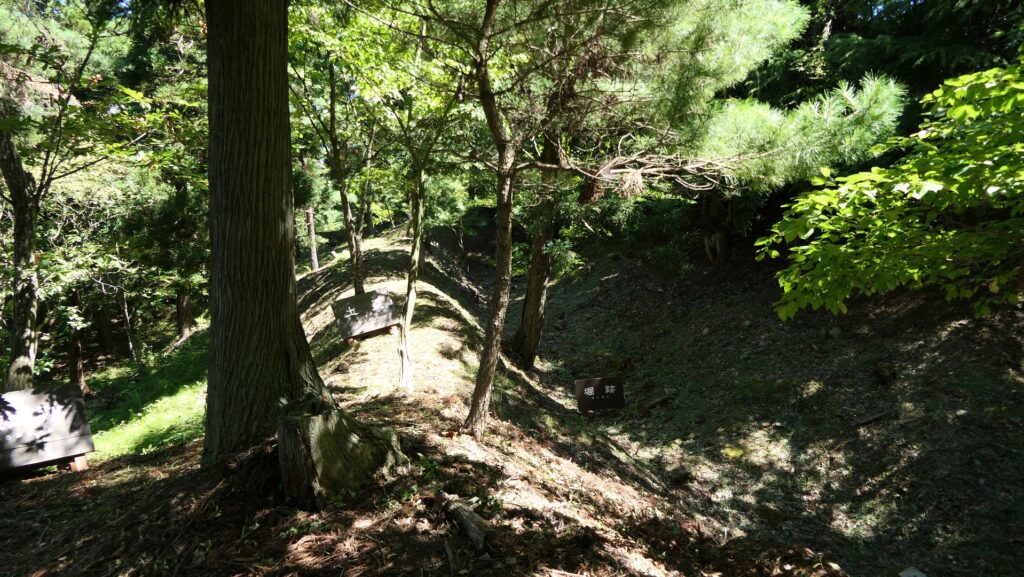
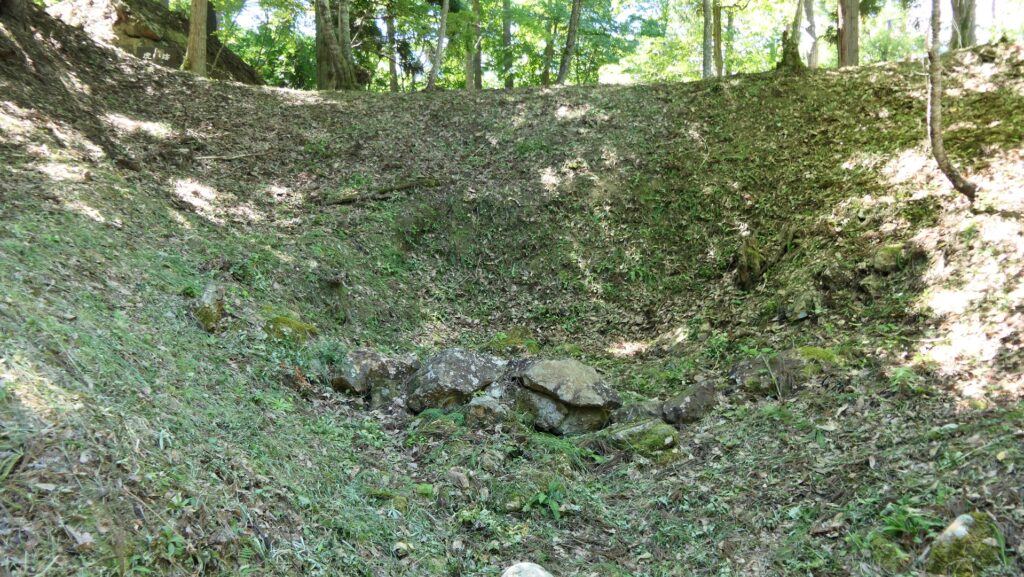
If you climb down and walk around the enclosure, you will see the essence of the castle. It is mostly soil-made structures all around. For example, the enclosure is surrounded by earthen walls and dry moats which are partially supported by stone mounds. The entrance of the enclosure consists of alternating earthen walls which also use large stones. However, these stones mostly collapsed. The original path through the castle is also made looking like another dry moat.

The earthen walls and dry moats surrounding the Second Enclosure
The dry moats are partially supported by the stone mounds
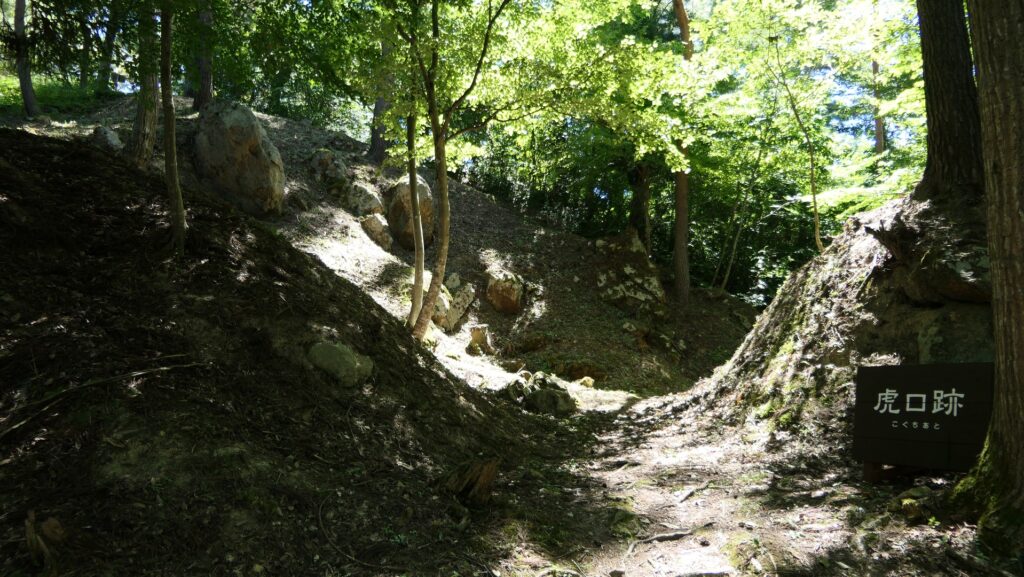
The ruins of the entrance to the enclosure
There are some large stones lying around, which were probably used for the entrance
The ruins of the original path

To be continued in “Mukai-Haguroyama Castle Part3”
Back to “Mukai-Haguroyama Castle Part1”
56.Takeda Castle Part2

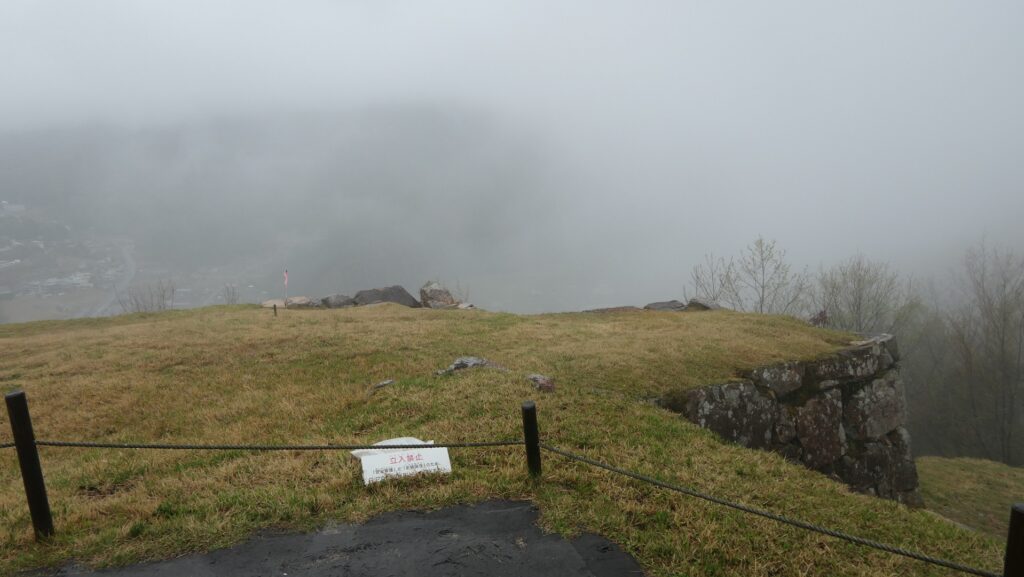
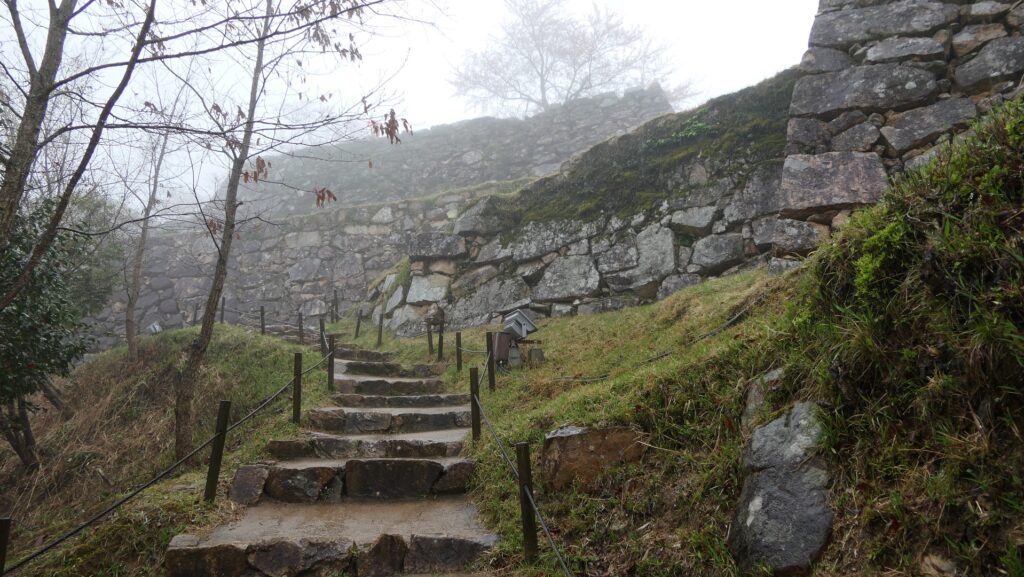
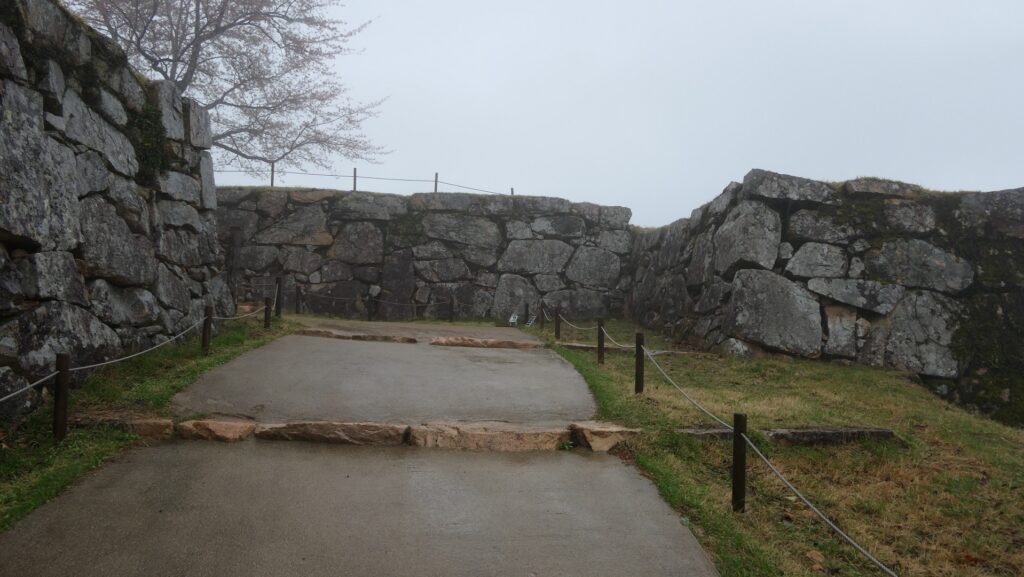
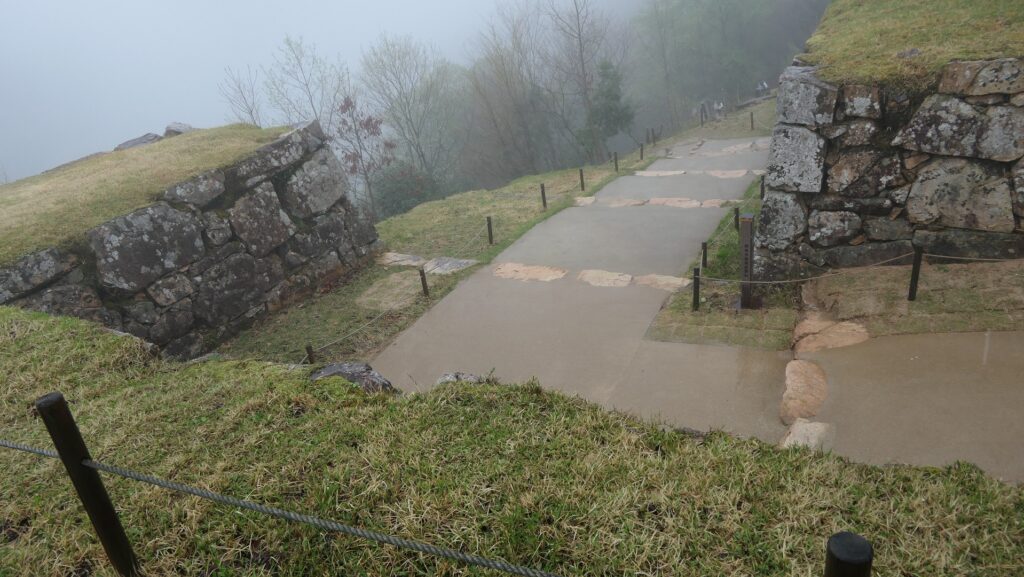
The current tourist route is very similar to the bypass route the castle originally had. Hence, the route for the defenders of the castle in the past makes it possible for current visitors of the ruins to move smoothly as well.

Features

Well-developed Castle Ruins

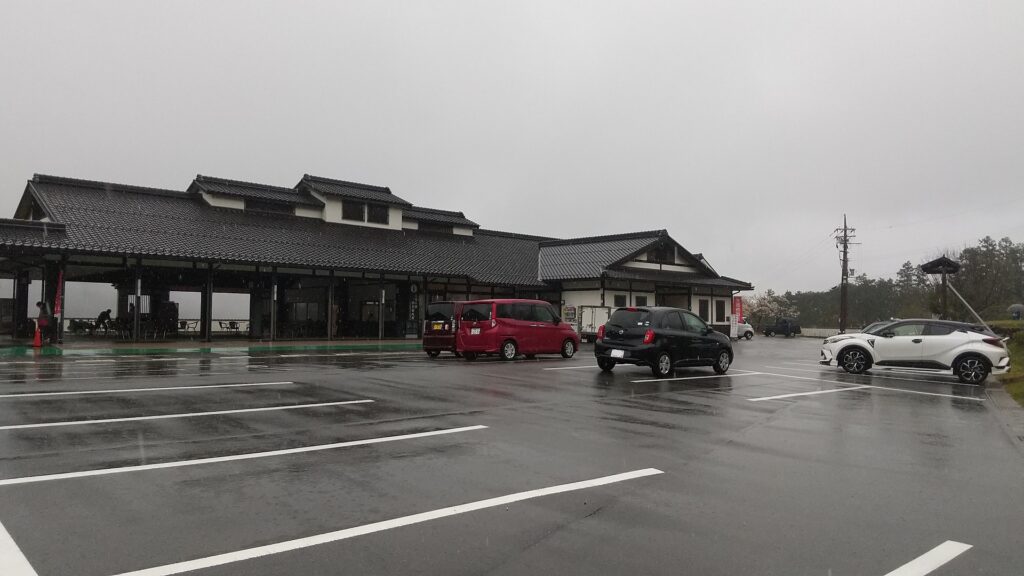
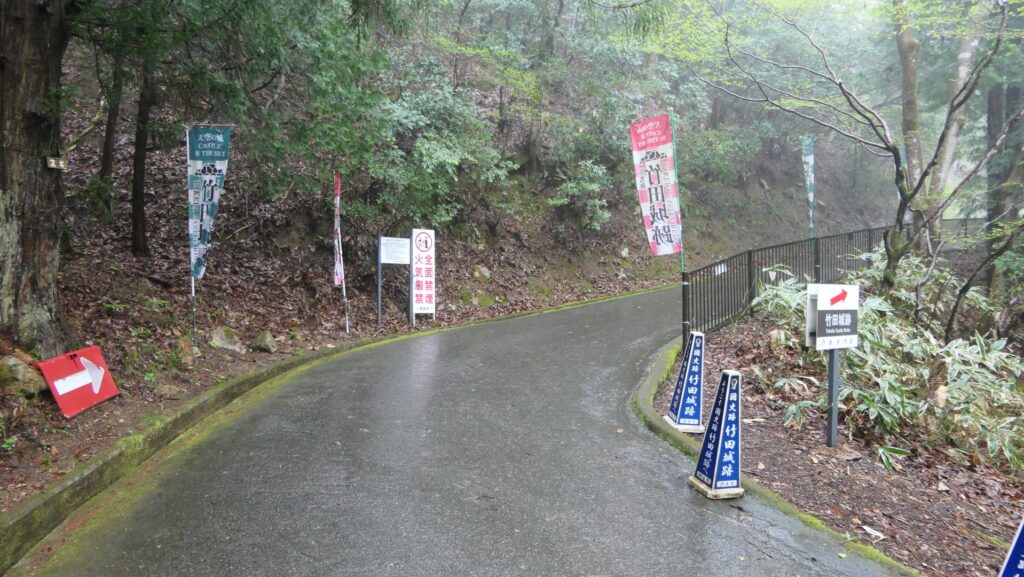
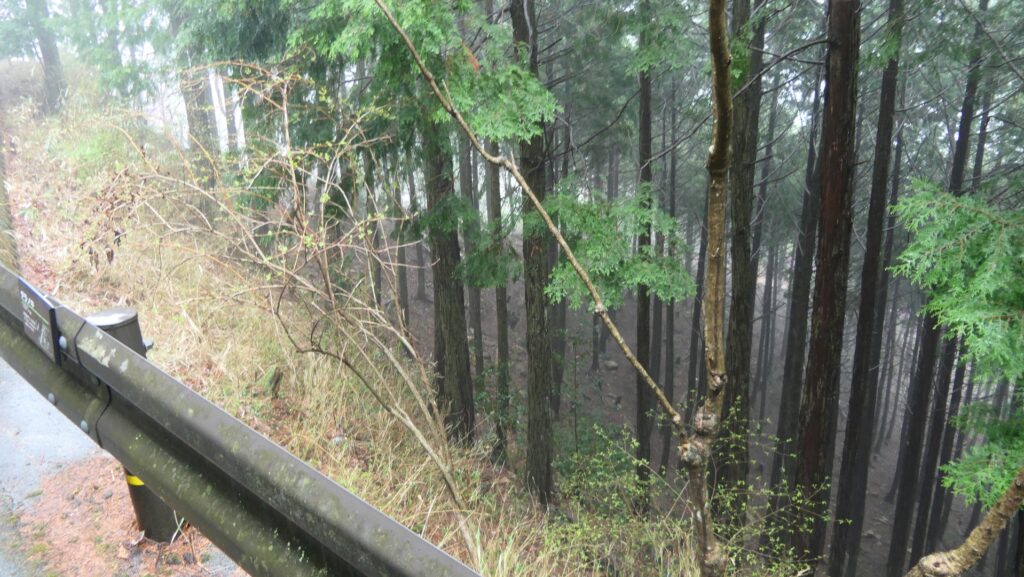
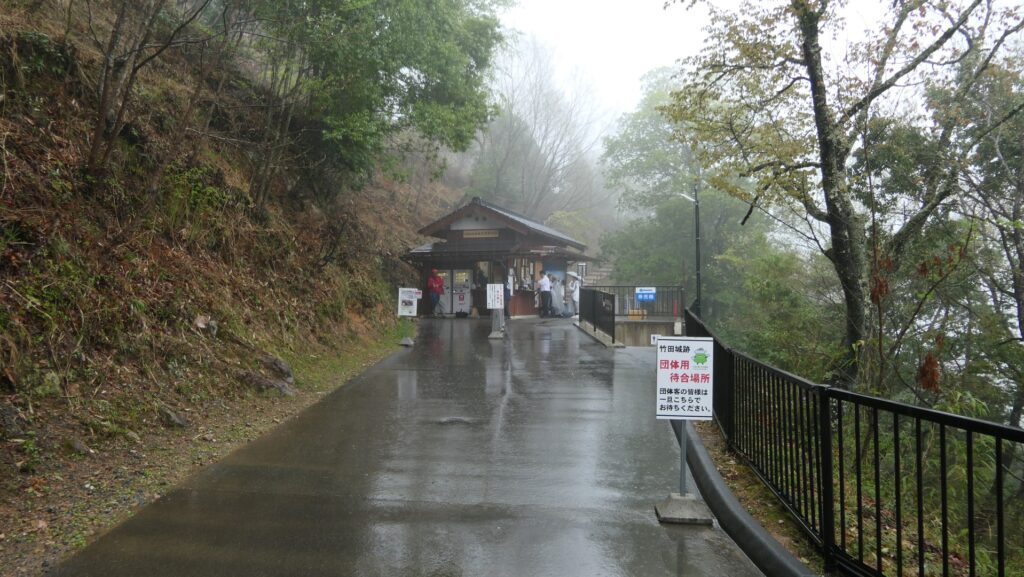
Today, the ruins of Takeda Castle have been well developed to maintain them and control many visitors. If you want to drive to the ruins, you need to park at a tourist facility called “Yamajiro-no-sato” (or “the Village of the Mountain Castle”) and get to the ruins by a taxi, a bus, or walking. Even if you use a taxi, you will still need to walk the last kilometer from where you are dropped off to the ticket office, the entrance of the ruins. The path to the entrance is paved, but the terrain of the mountain is steep and rough when you walk along this path. You may wonder why and how the builders built a castle with great stone walls on such a mountain.
The map around the castle

The tourist facility
Everyone must walk from here
You can see very steep and rough slopes beside the path
Arriving at the ticket office

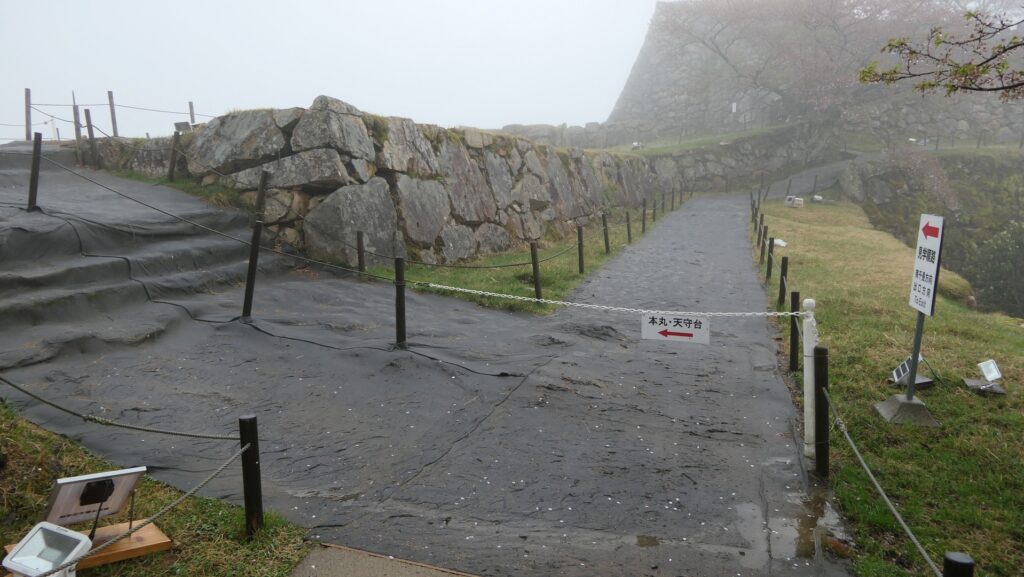
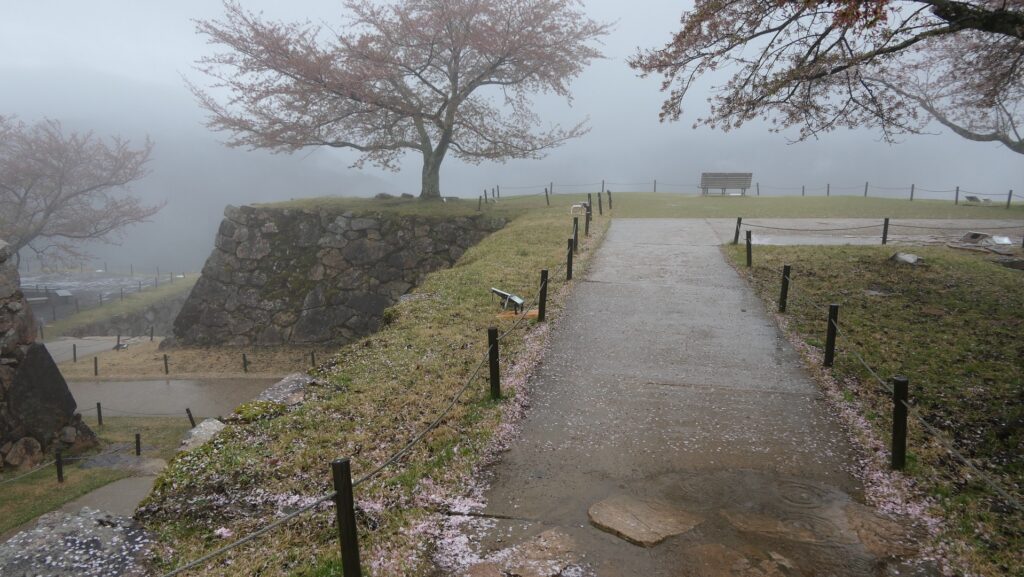
In the ruins, the tour routes are set one way and the range for visitors to walk around is also limited by poles and ropes. The stone walls and the foundations of the castle look well maintained. This is done by officials closing the ruins for a certain period of time to repair them every year. These activities contribute to keep the ruins in a good condition as well as securing the safety of visitors. For instance, visitors first enter the entrance of Kita-Senjo (meaning Northern 1,000 mat Enclosure in Japanese) at the edge of the northern ridge, then, walk on the ridge, pass the side of the stone wall base for the Main Tower at the Main Enclosure, walk on the southern ridge, and finally get out from the edge of it. This route is very similar to the bypass route the castle originally had. Hence, the route for the defenders of the castle in the past makes it possible for current visitors of the ruins to move smoothly as well.

The map around the castle

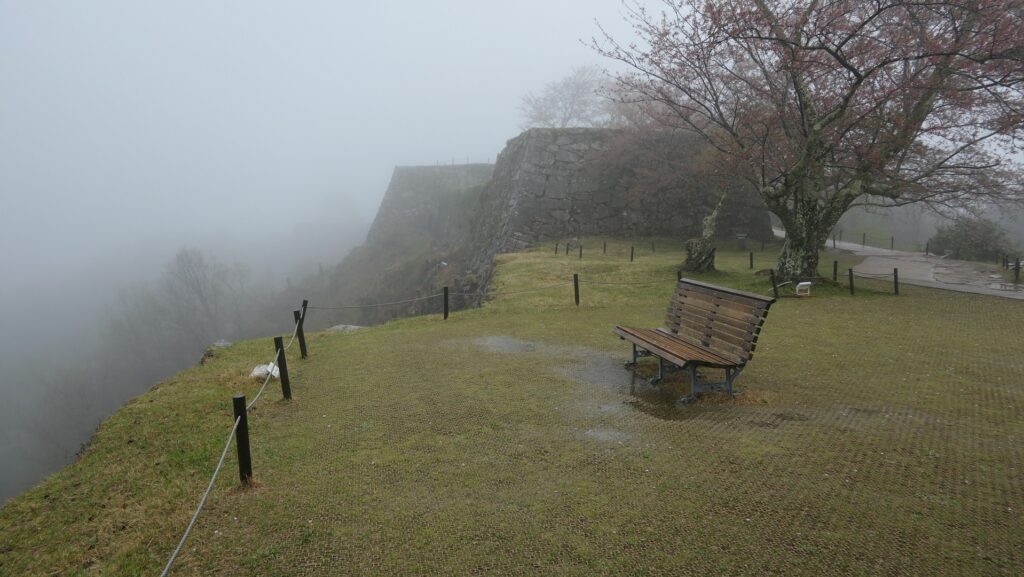
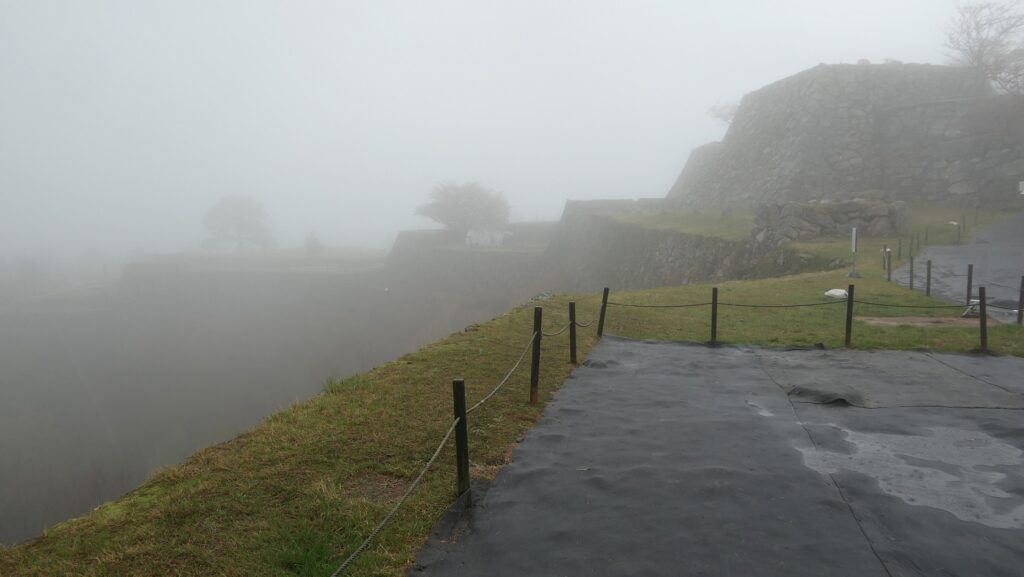
You can’t access the edge of an enclosure at the site

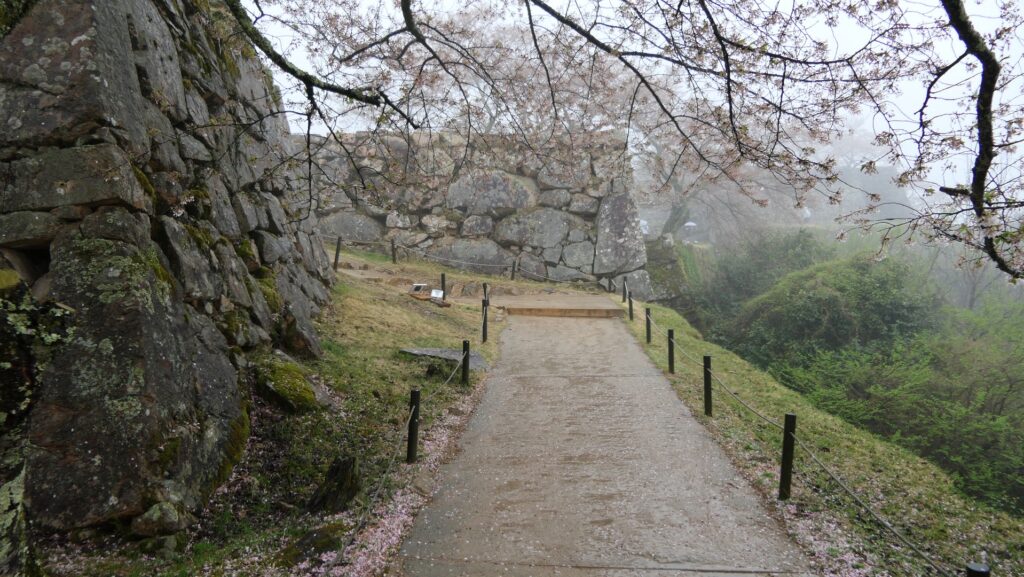
Entrances and routes are strictly protected

To get back to the entrance at the edge of the northern ridge, it has a defensive square space surrounded by high stone walls, called “Masugata”. It also had gate buildings on it, where the defenders would attack enemies outside by using guns and arrows. If the enemies reached the gate, they would be locked in the Masugata system.

The entrance of the castle ruins
The Masugata system at the edge of the northern ridge (called the Main Gate at the site)
The Masugata system seen from the inside

Inside the entrance, there is the extensive Kita-Senjo Enclosure, where as the name suggests, could accommodate lots of soldiers and supplies in the past, or tourist groups and events in the present.

The Kita-senjo Enclosure
A view around the enclosure
The Third Enclosure seen from the Kita-senjo Enclosure

If you want to go to the center of the ruins, you will pass another Masugata system to the Third Enclosure and an altered gate built with stone walls to the Second Enclosure through the zigzagging path.

The Masugata system in front of the Third Enclosure
Entering the Third Enclosure
The Third Enclosure
Going to the Second Enclosure

You will next walk on a narrow northern ridge through the Third and Second Enclosures, looking at the center of the castle with lots of stone walls and a view of the area around below. The route is guided by the official instructions to walk around safely in the narrow area.

The tourist routes are guided by the official instructions
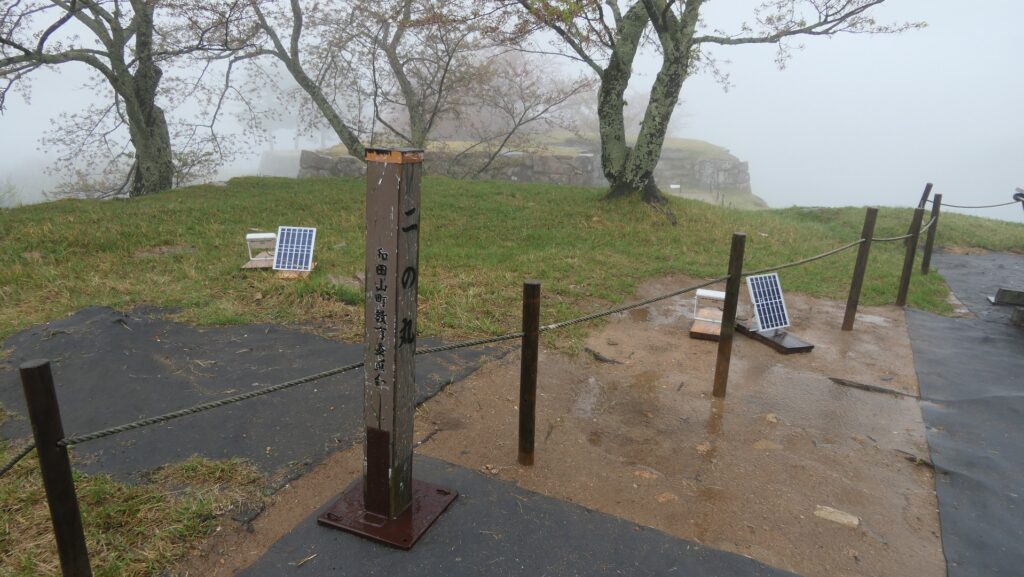
The Second Enclosure
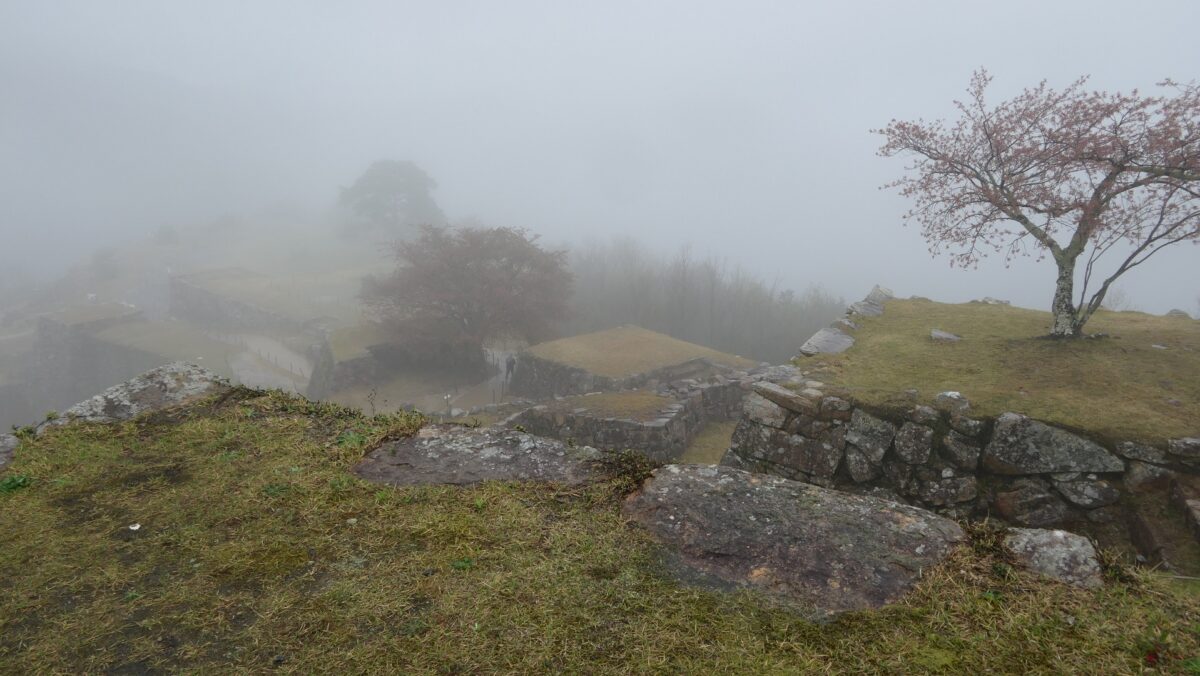
The lots of stone walls in the center, seen from the Second Enclosure
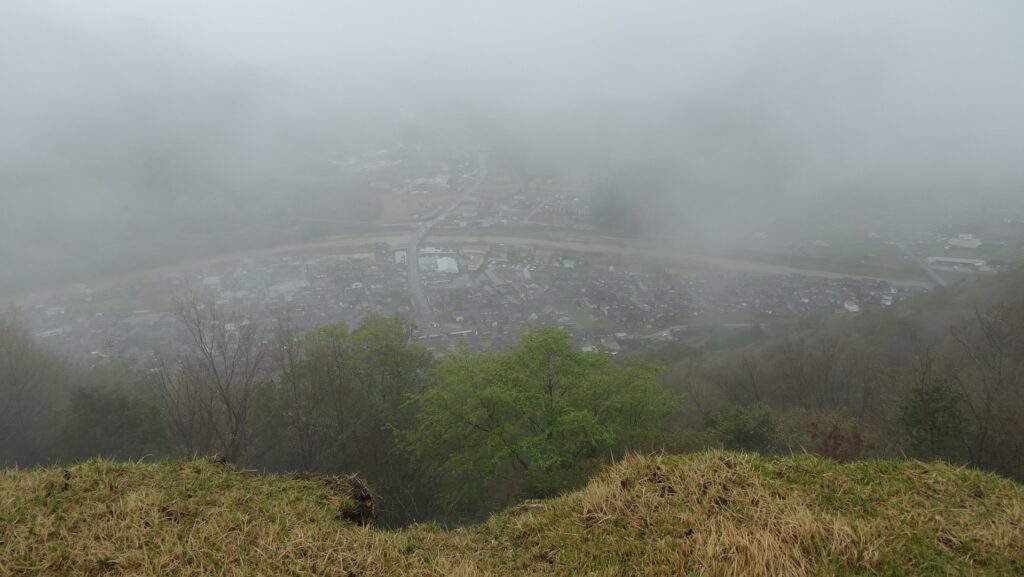
A view from the Takeda city area below

Main Enclosure with remaining Stone Wall Base for Main Tower

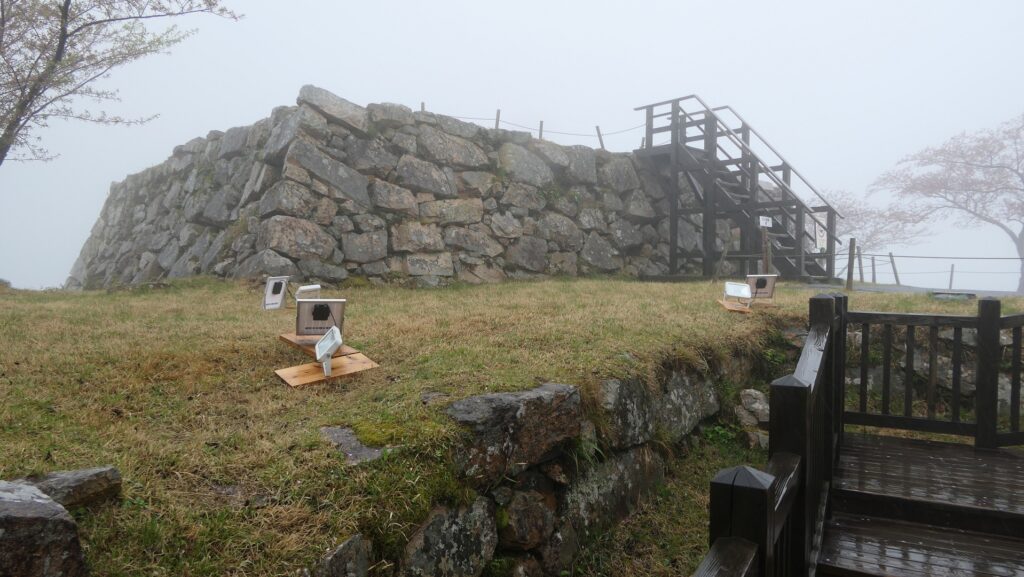
You will eventually reach the center, the Main Enclosure with the stone wall base for the Main Tower. The route goes beside the base on wooden steps and there are other wooden steps to the base. The base was built using natural or roughly processed stones in the Nozura-zumi method, which look really great. Some historians speculate that a three-level Main Tower might have been built on the base, according to the size of the base.

Arriving at the Main Enclosure
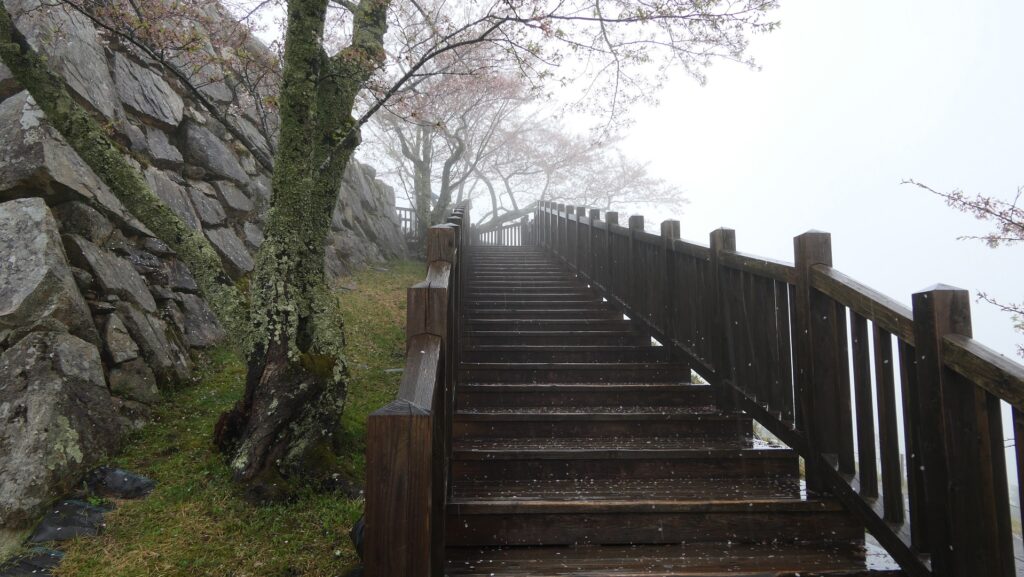
The route goes on the wooden steps beside the base
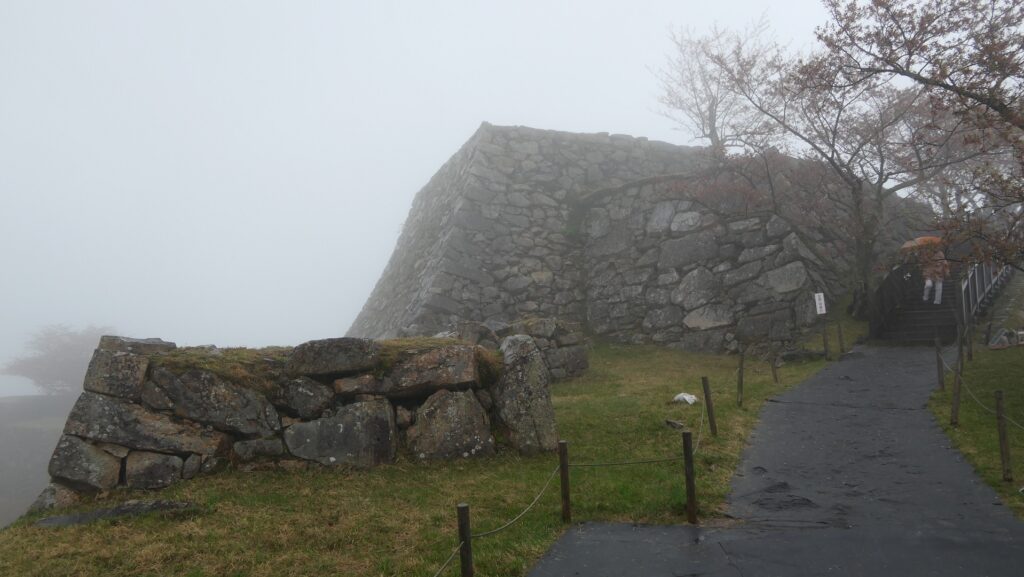
The stone wall base for Main Tower
The top of the base
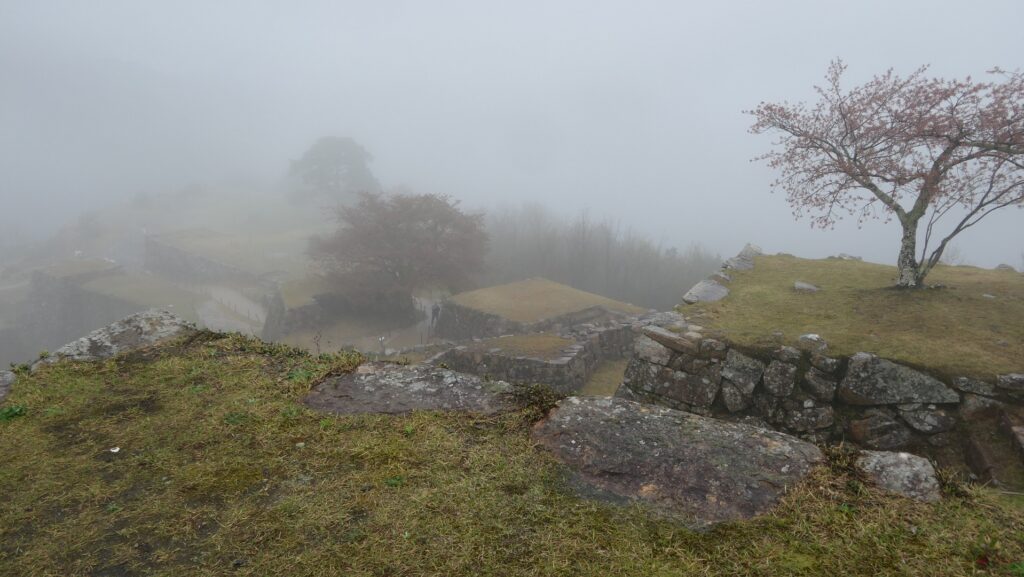
A view from the base

To be continued in “Takeda Castle Part3”
Back to “Takeda Castle Part1”