Features
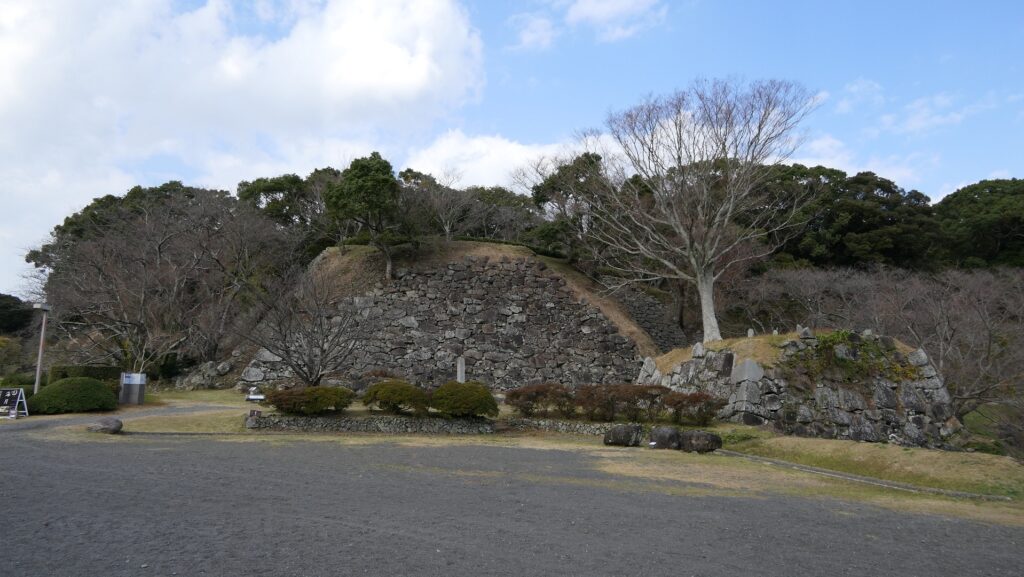
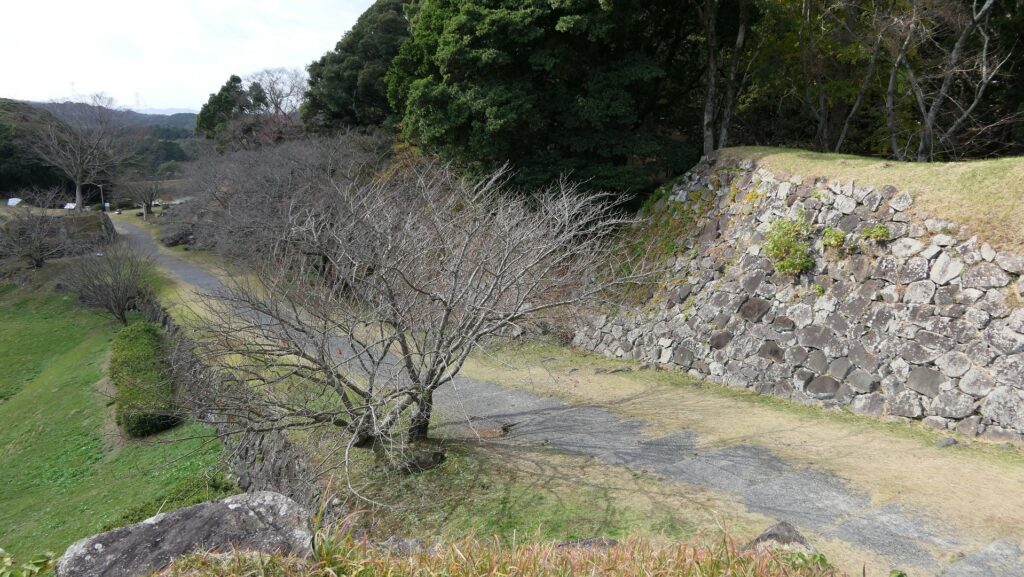
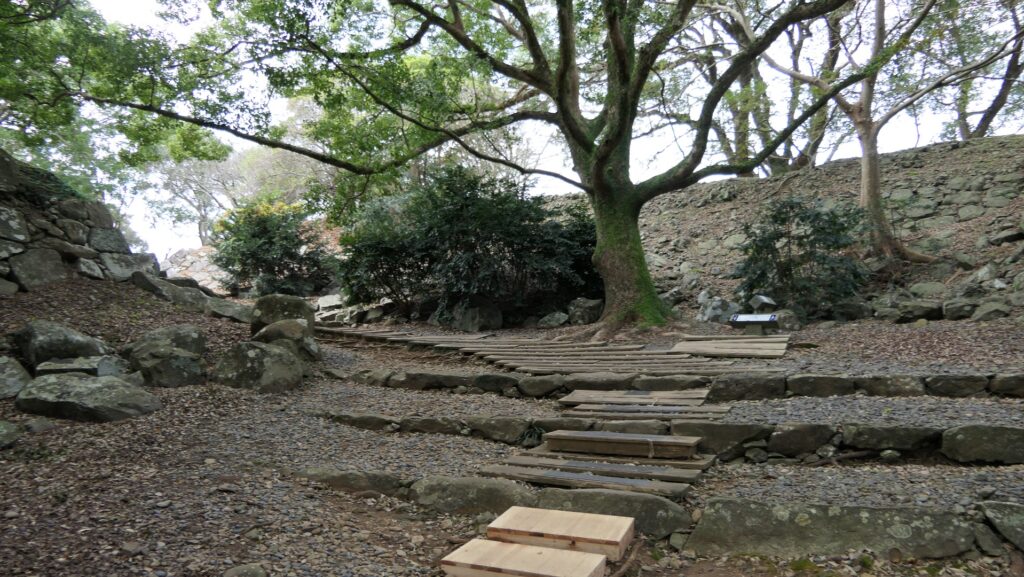
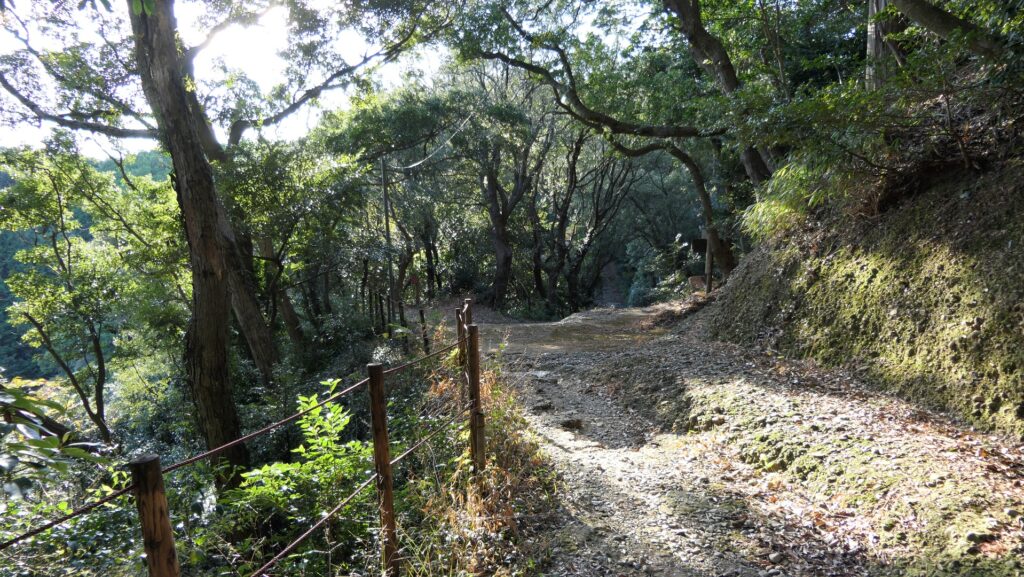
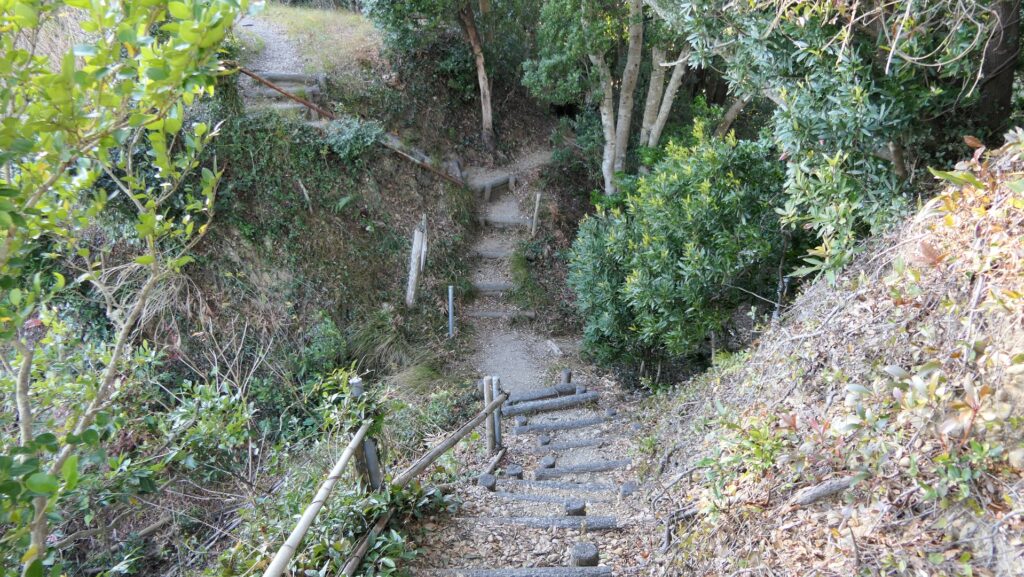
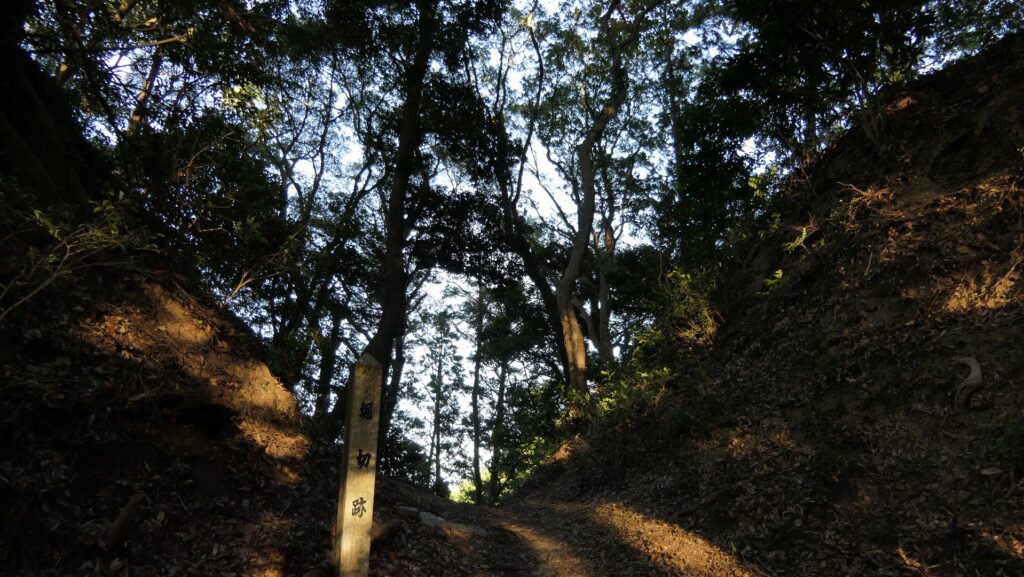
Going to Castle Ruins through steep slope
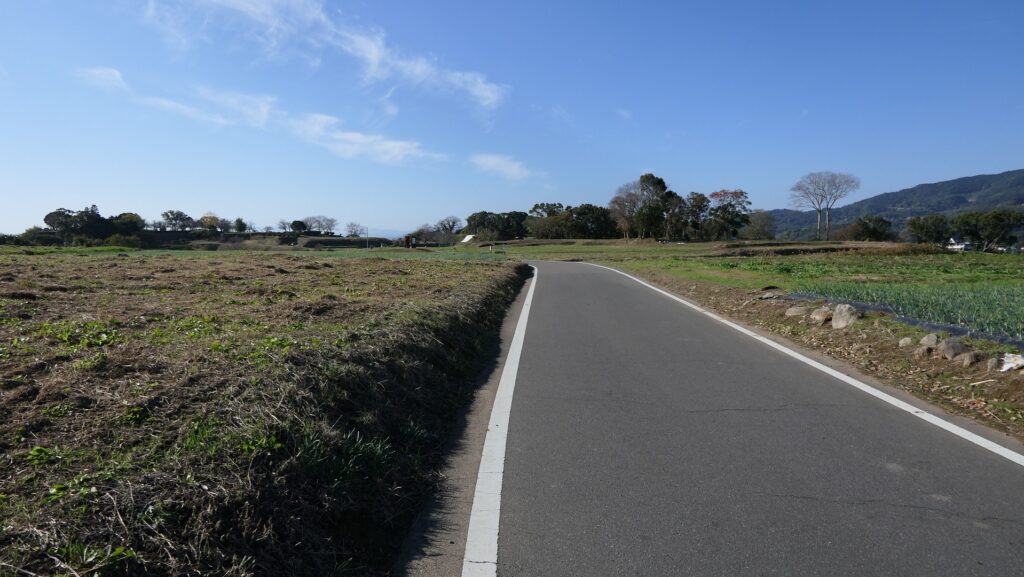
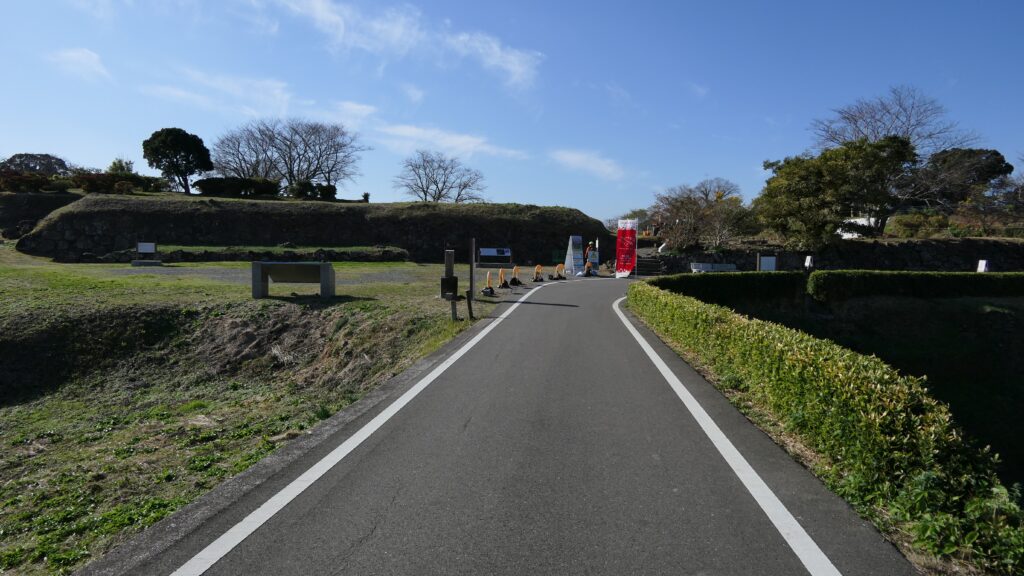
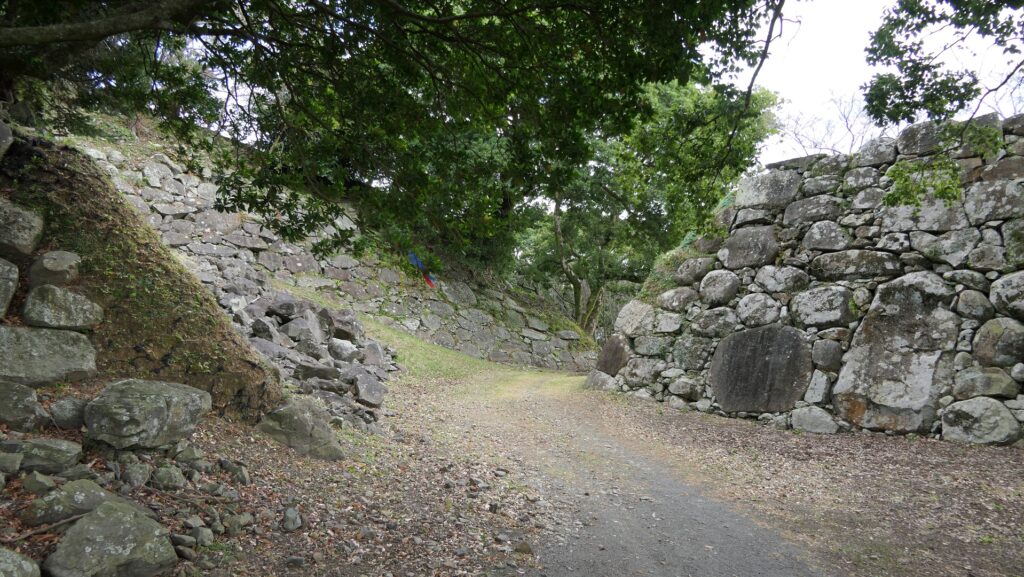
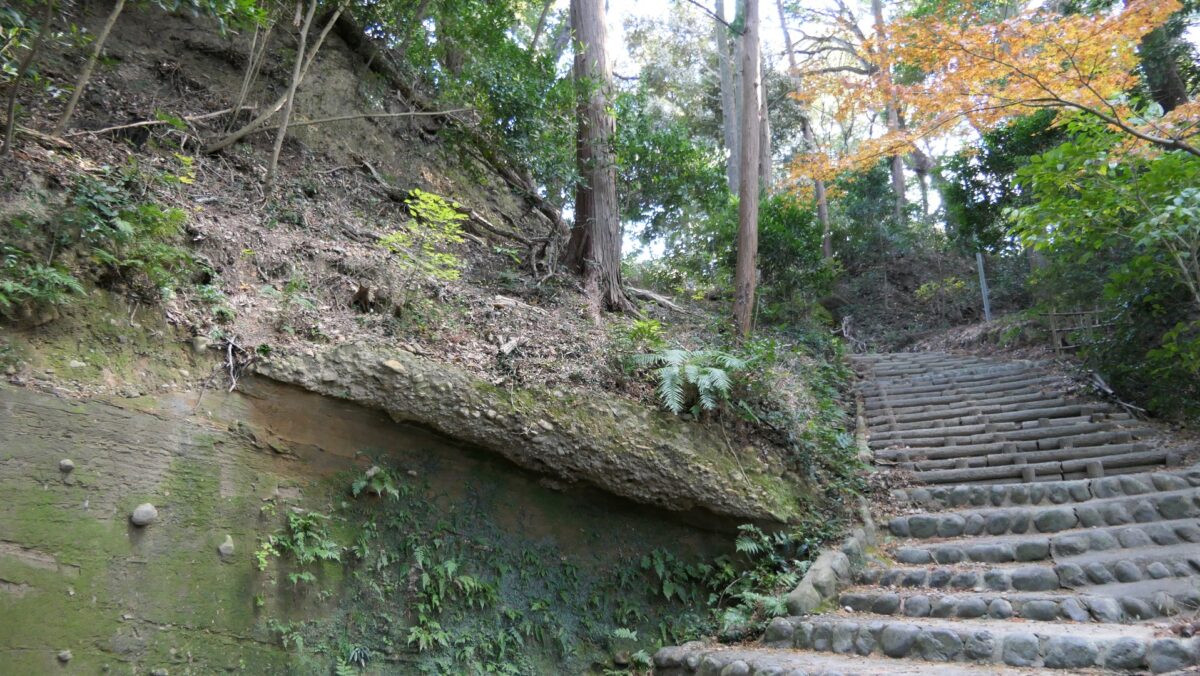
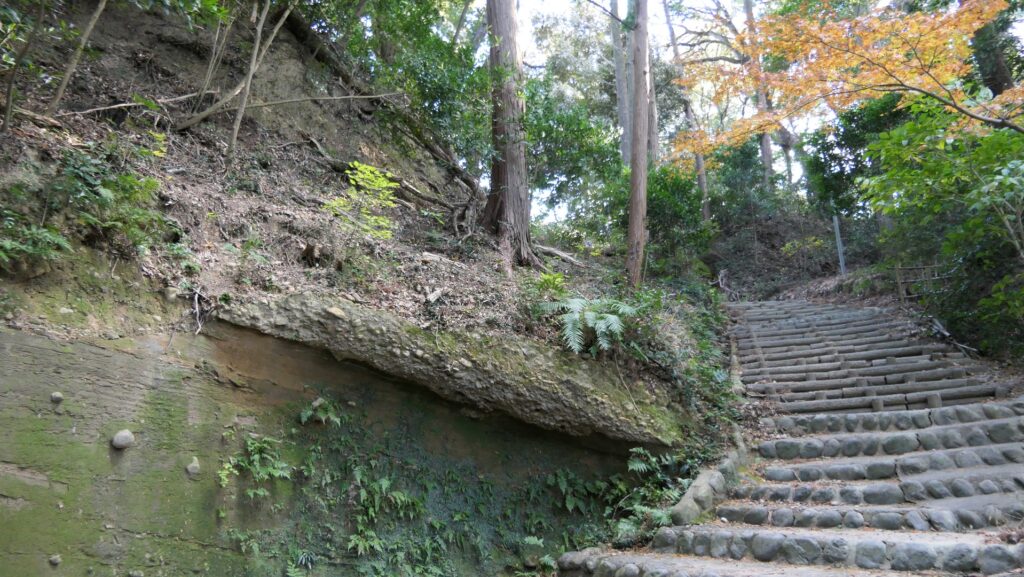
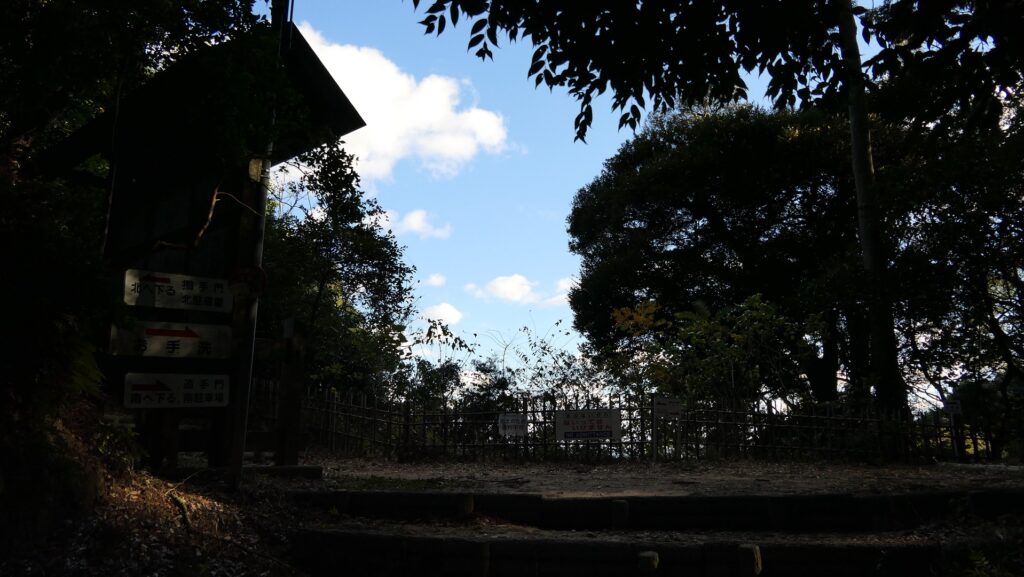
Today, you can visit the ruins of Takatenjin Castle easily if you have a car. You can park in front of either the Main Route in the south or the Back Route in the north. If you want to get a taste of how tough the castle was, I recommend walking on the Back Route. The route is flat all the way to the foot of the mountain, but it gets very steep on the slope. It goes up and zigzags through rough cliffs for a while. However, when you reach the top, you will see that it is actually flat. After seeing this, you will understand that the natural terrain was more than suitable for the mountain castle.
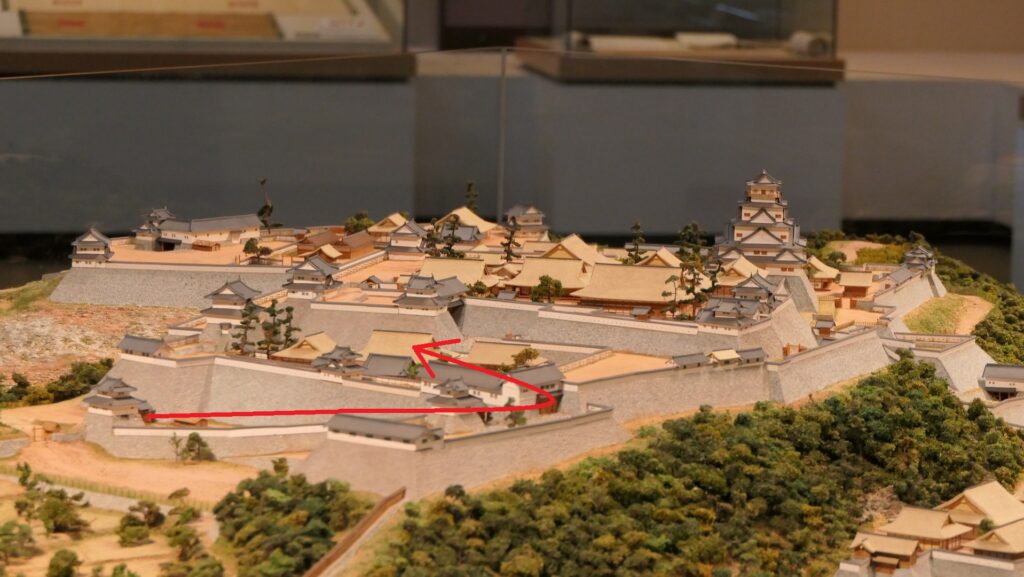
The map around the castle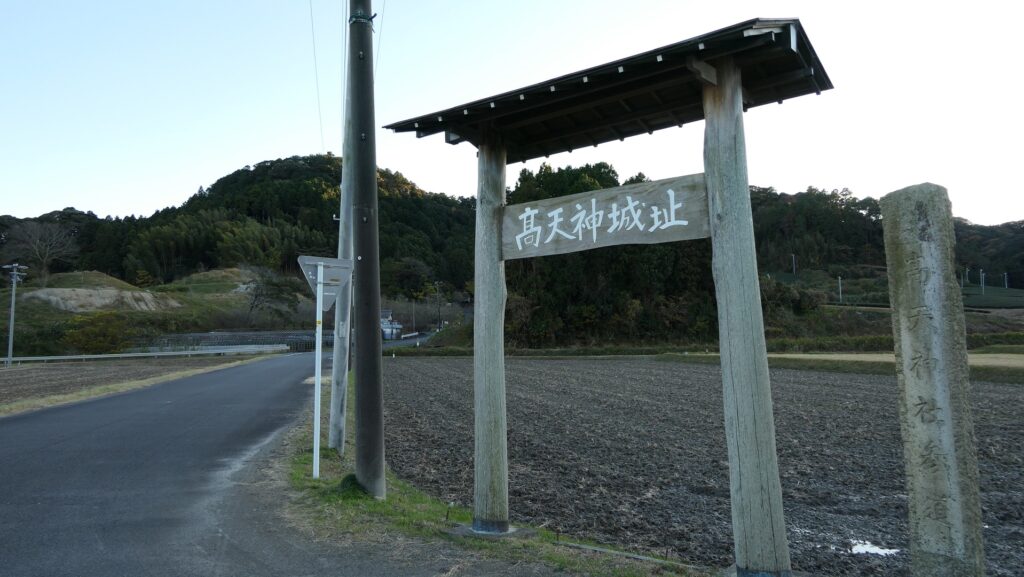

Western ridge part
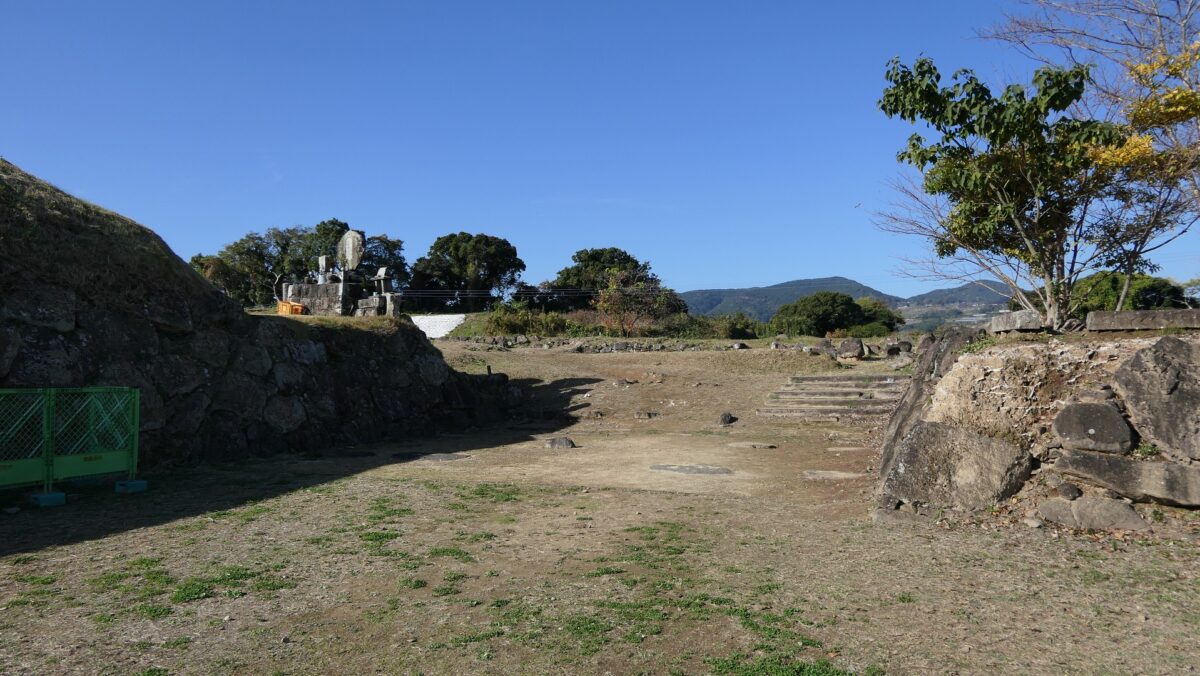
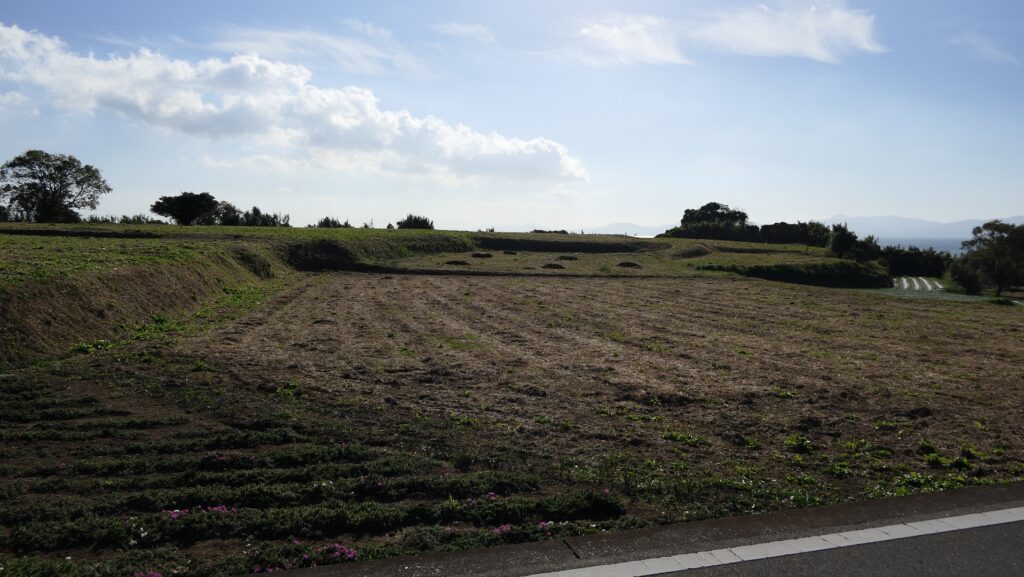
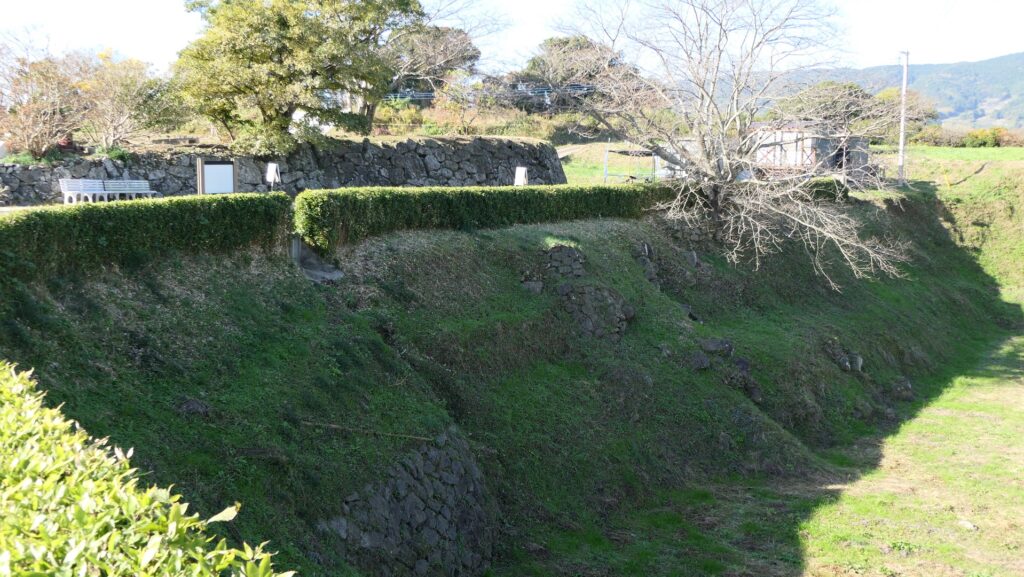
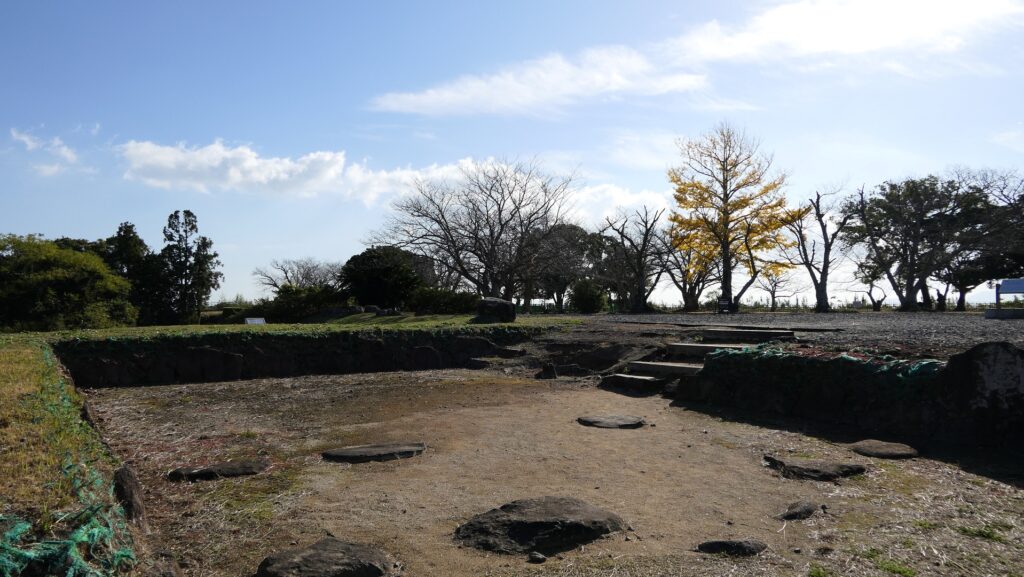
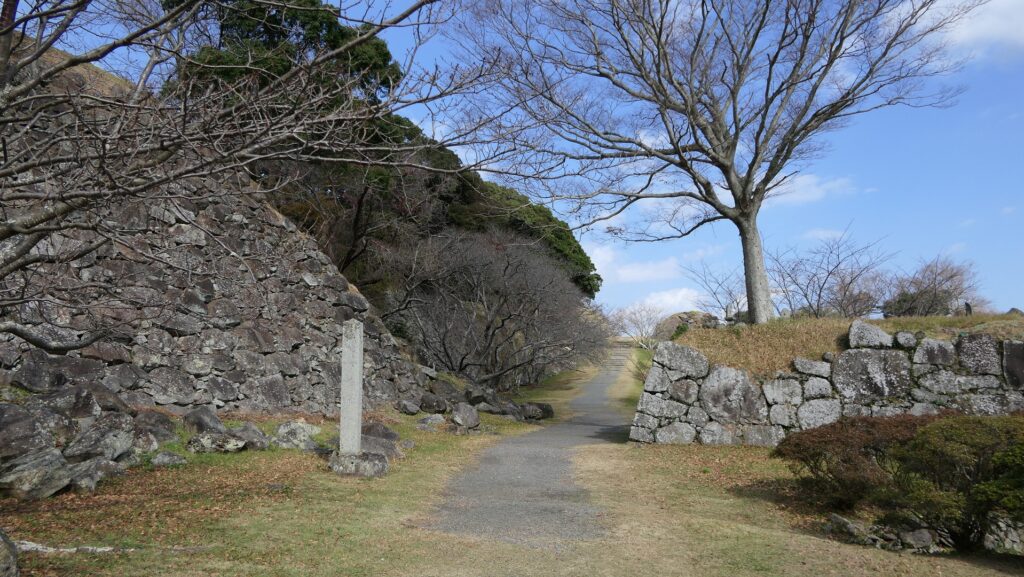
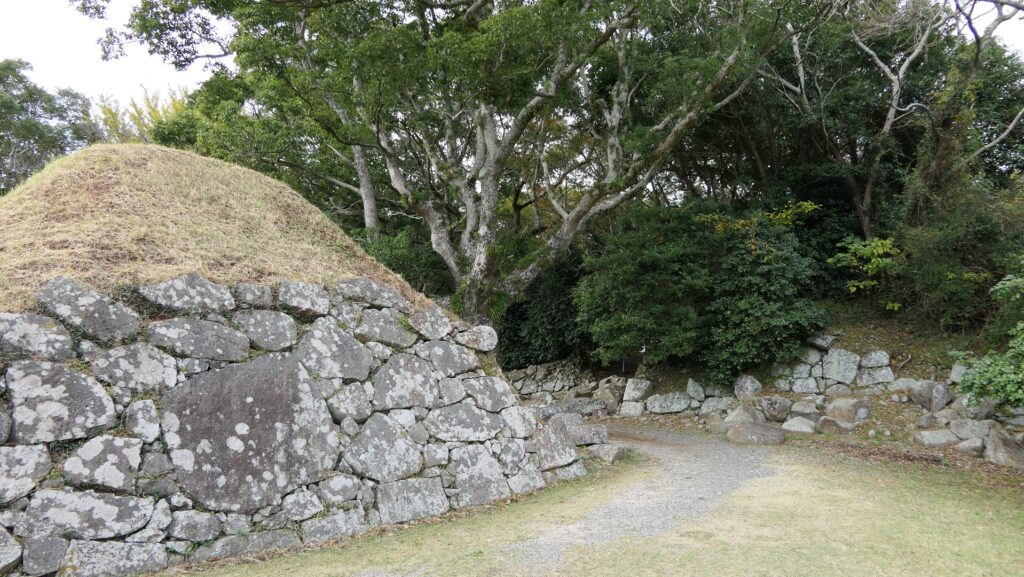
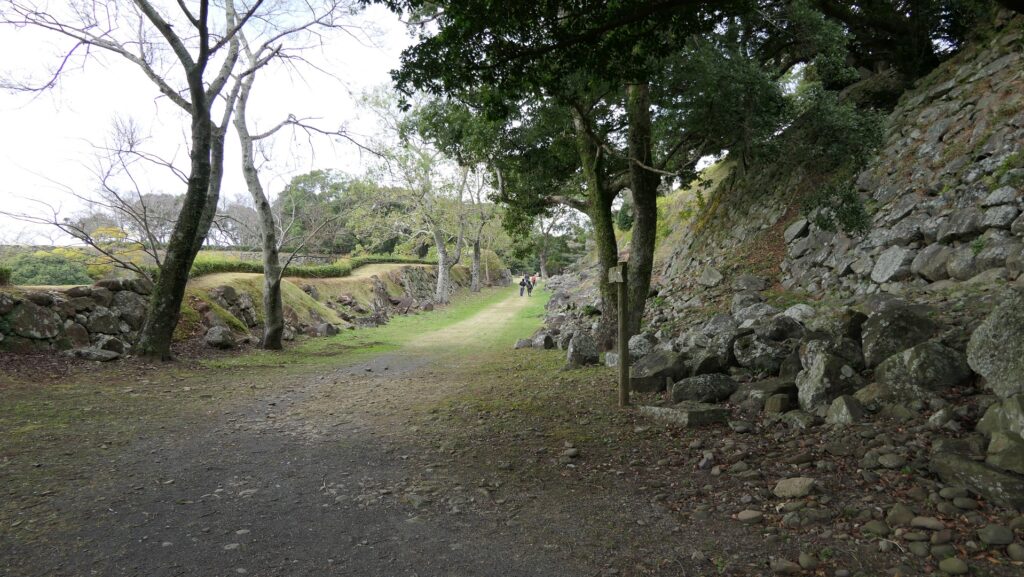
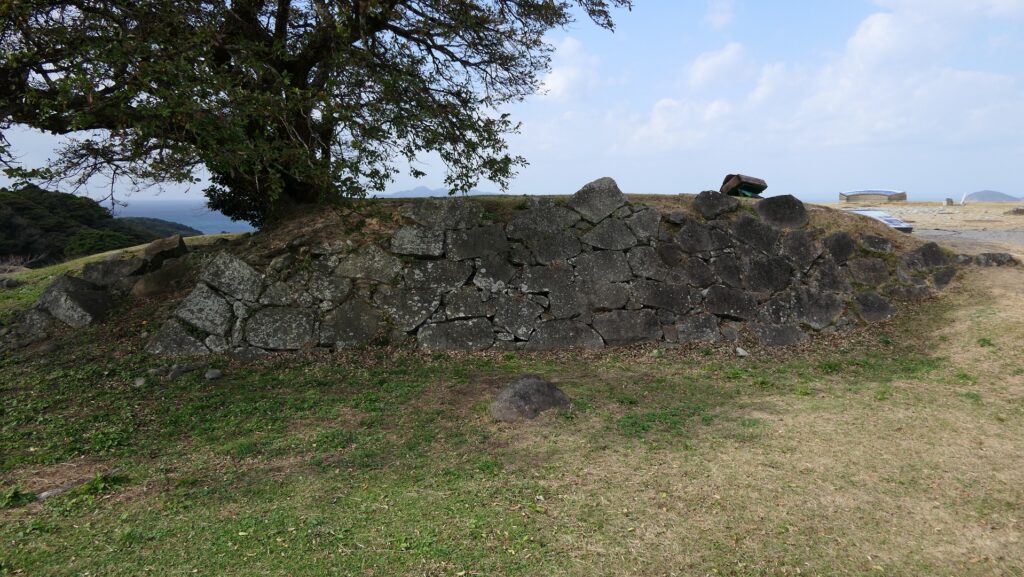
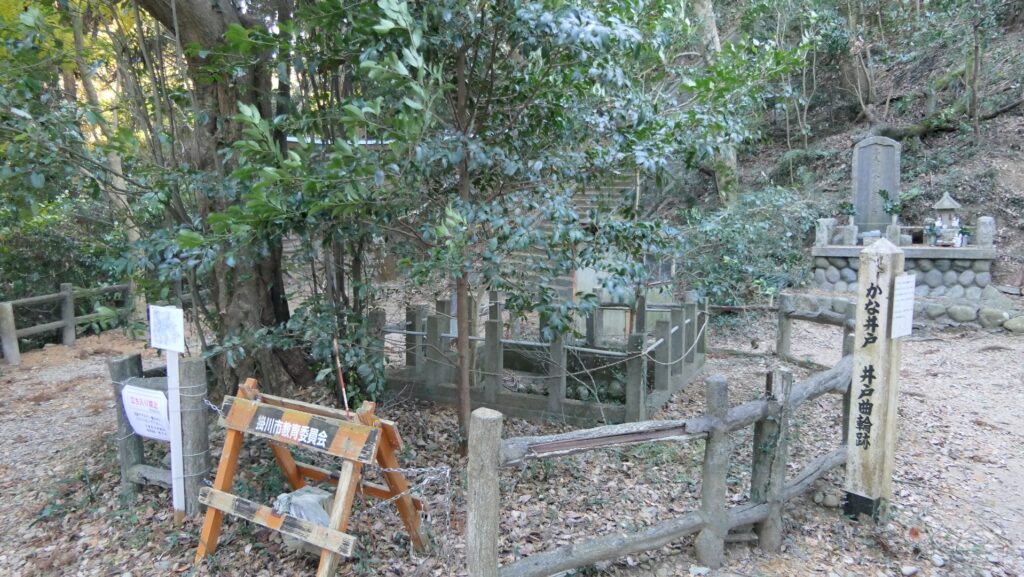
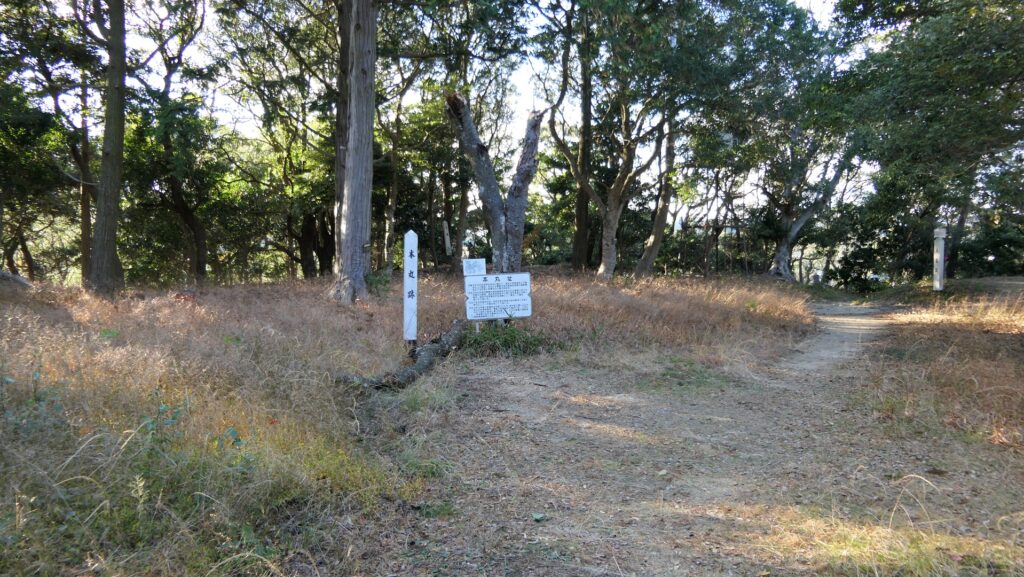
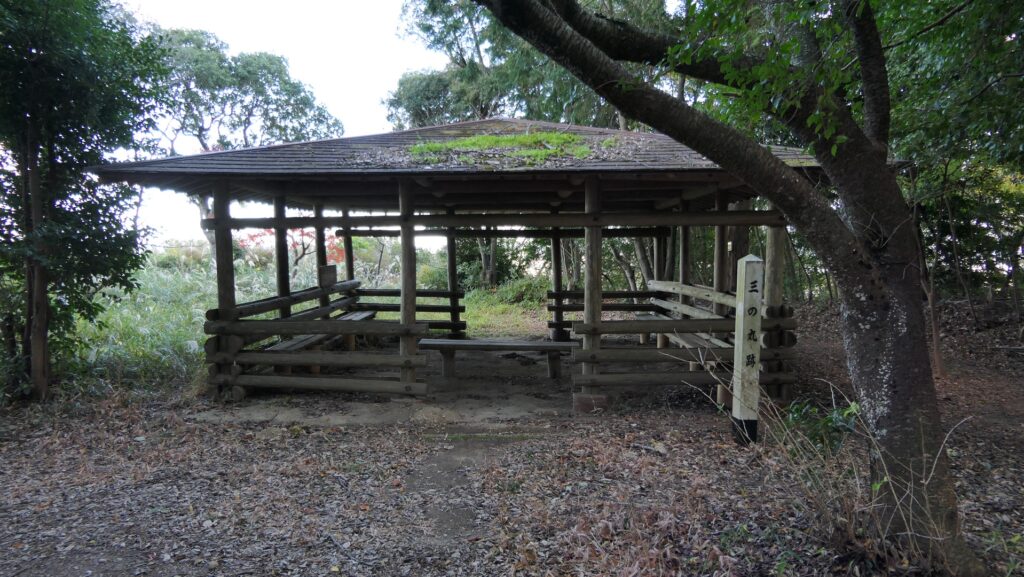
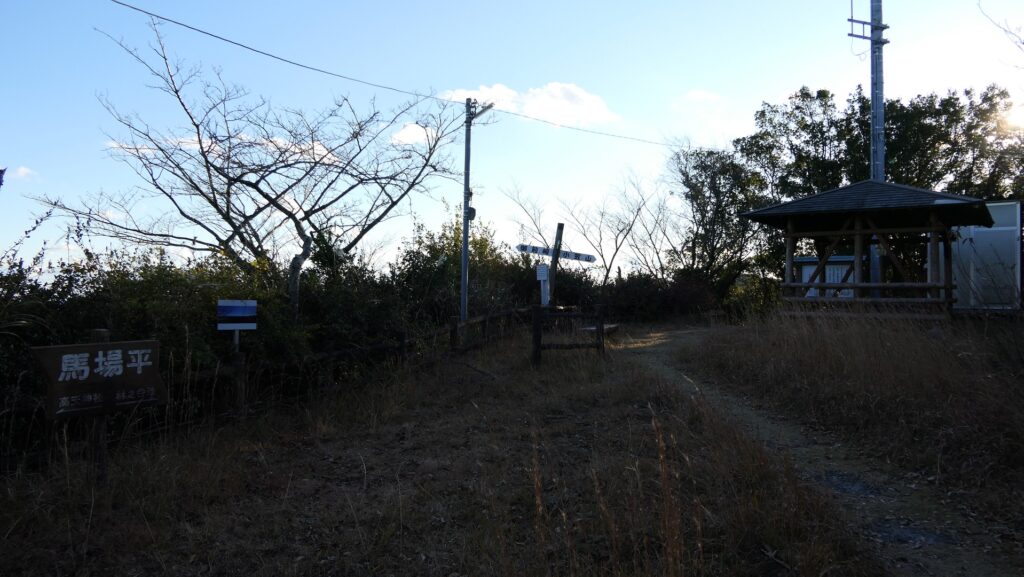
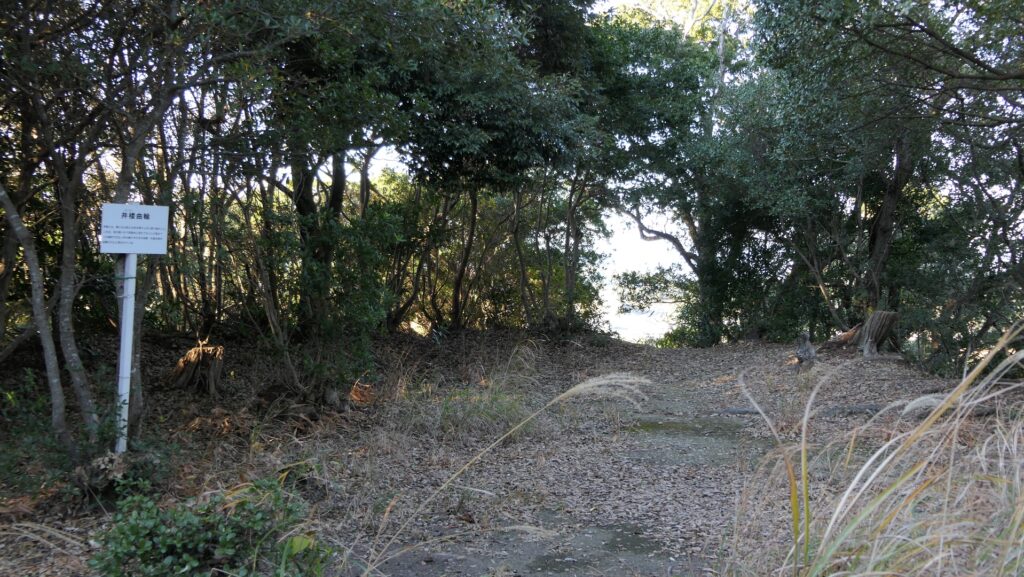
The spot you reached is called the Well Enclosure, which is the connecting point of the eastern and western ridges. The eastern ridge is the older part of the castle, which includes the Kane, Matoba, Main, Gozen, and Third Enclosures. These enclosures were built along natural terrain, which was partly surrounded by earthen walls and paths.
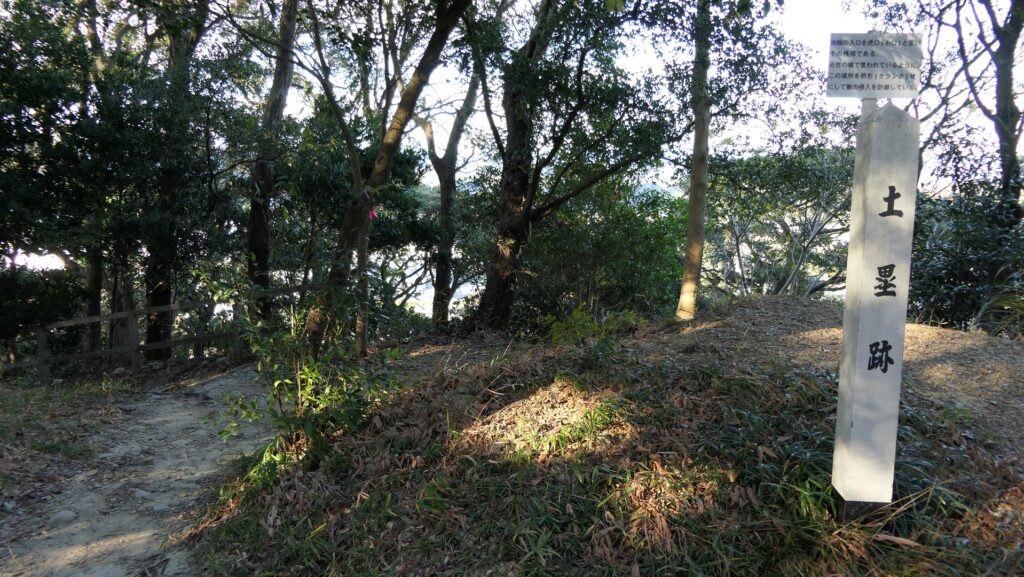
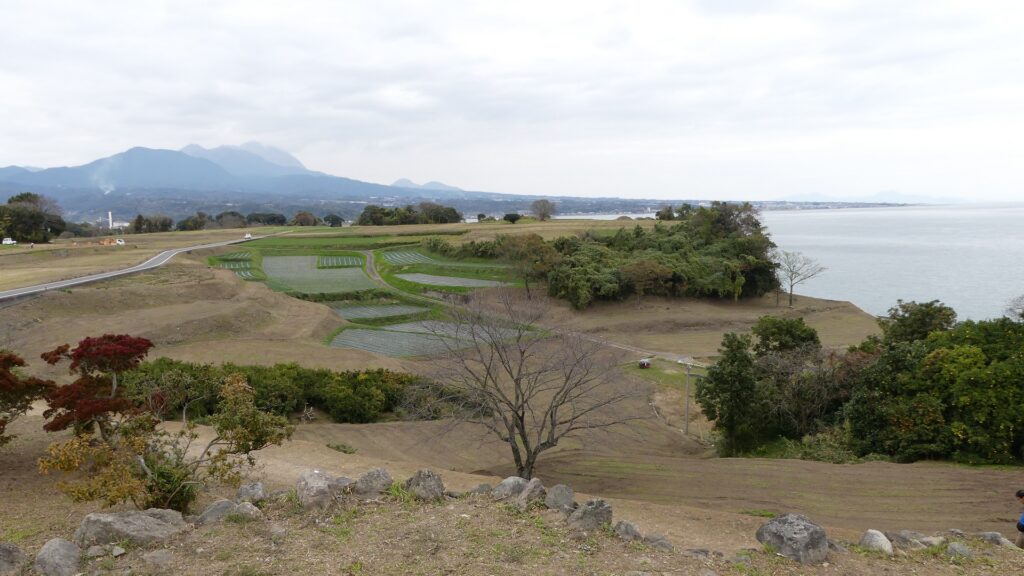
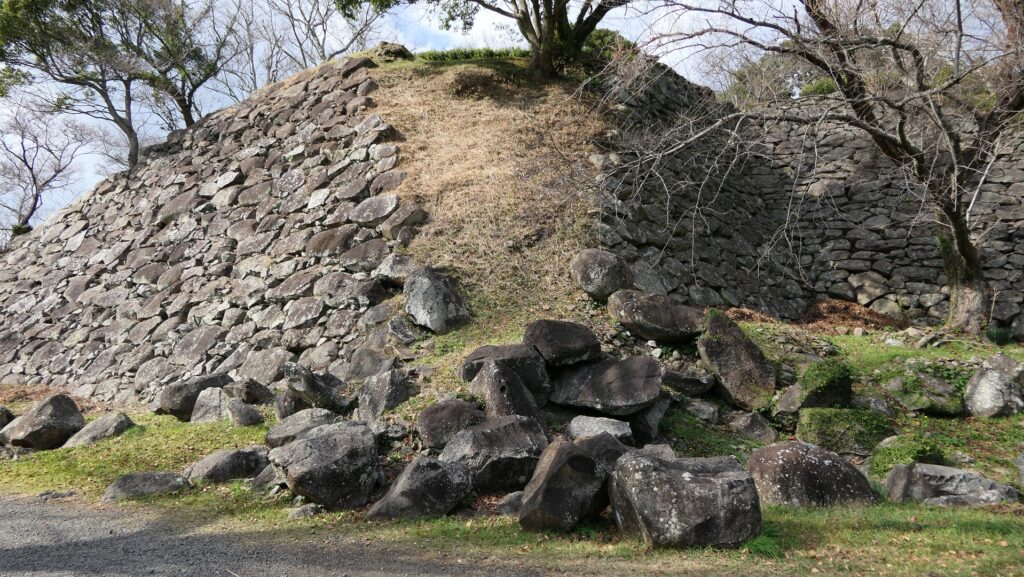
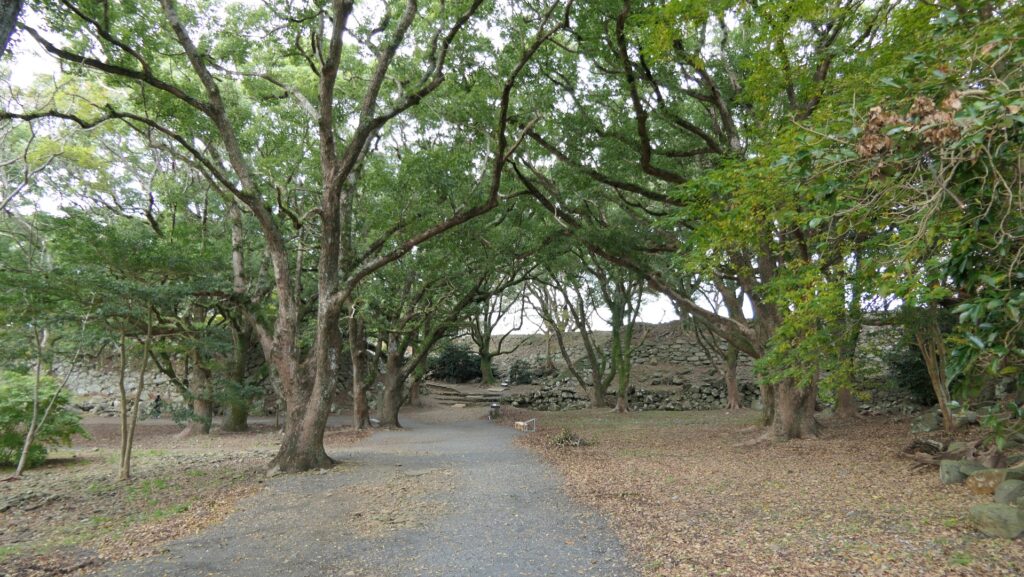
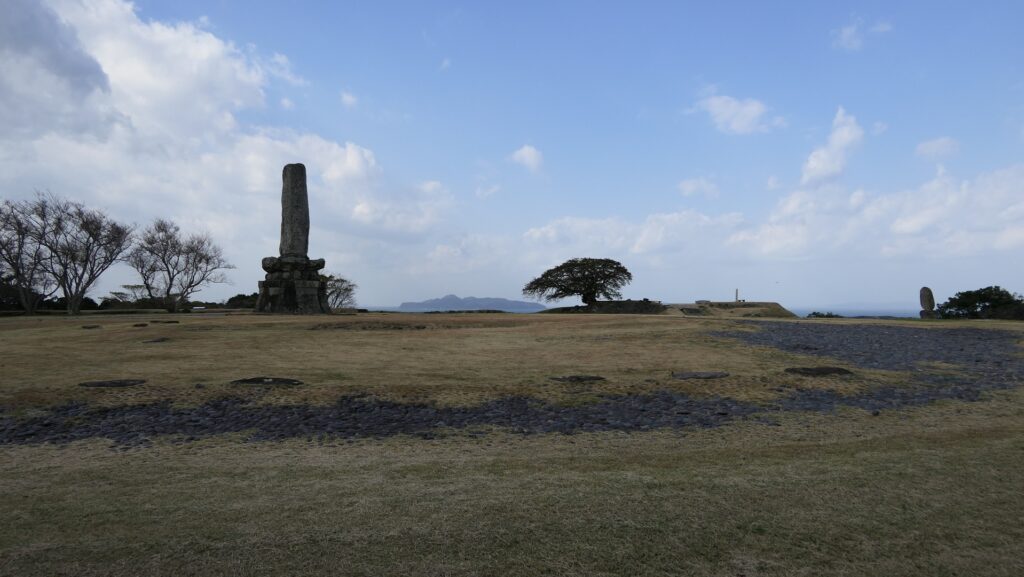
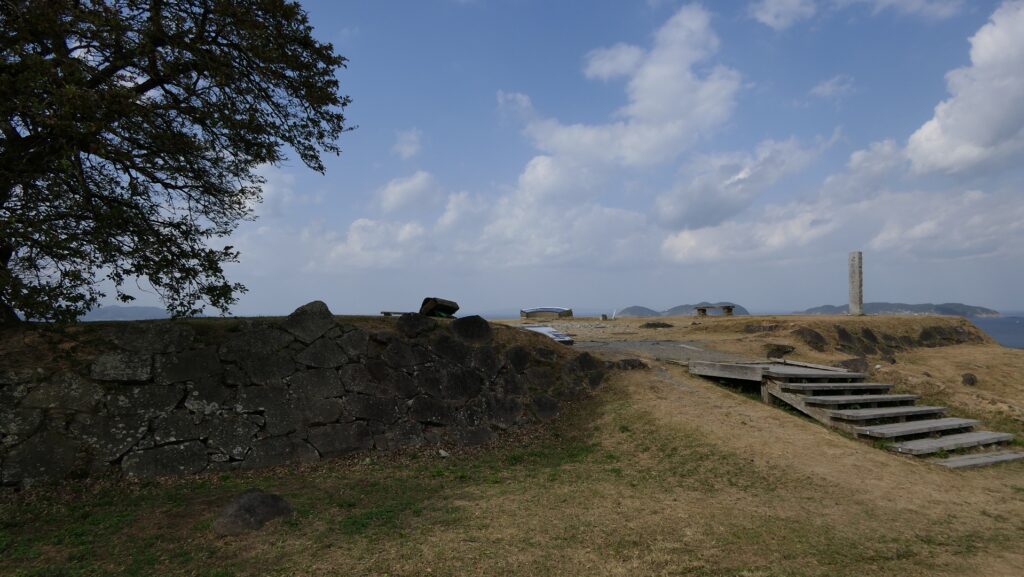
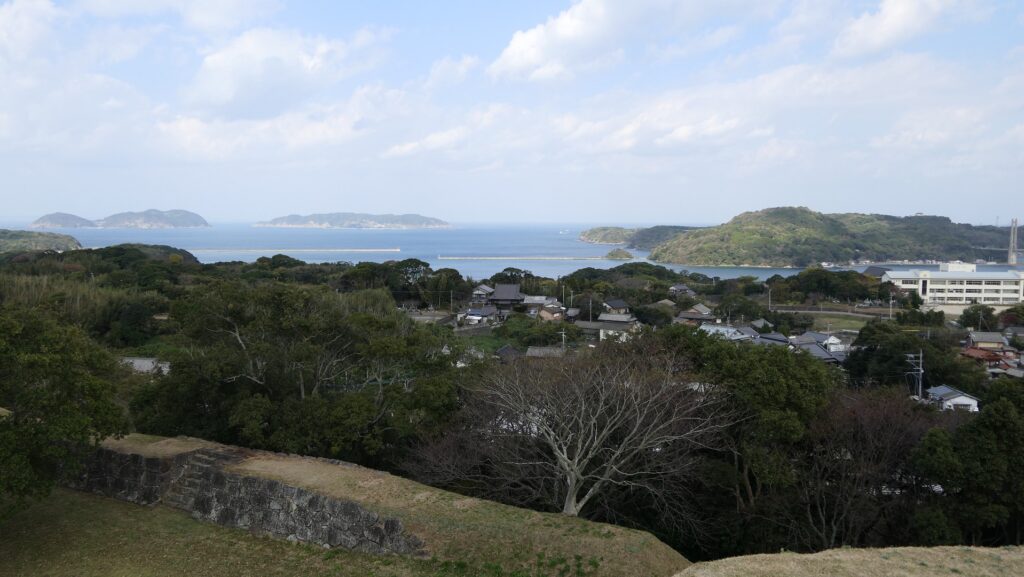
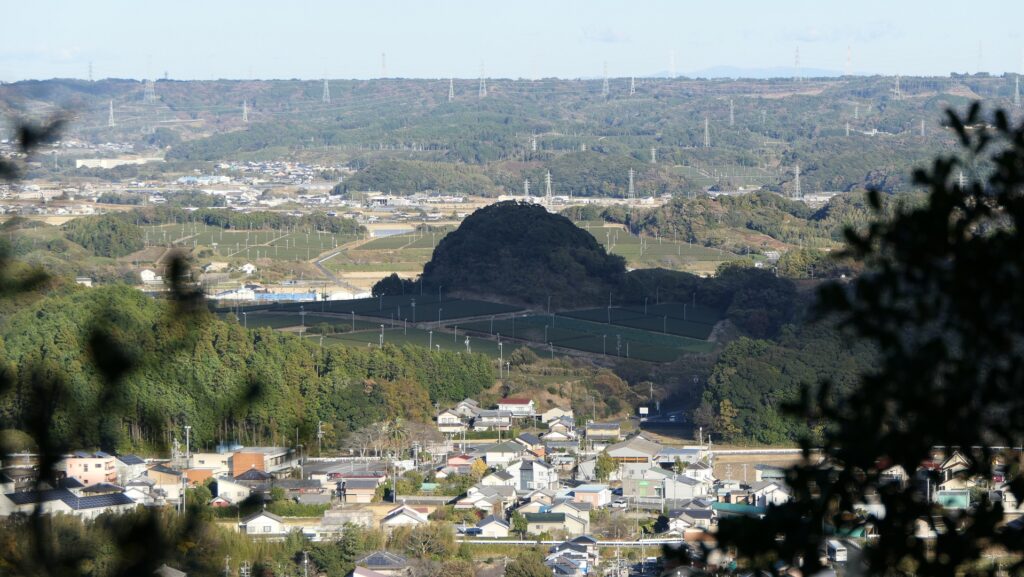
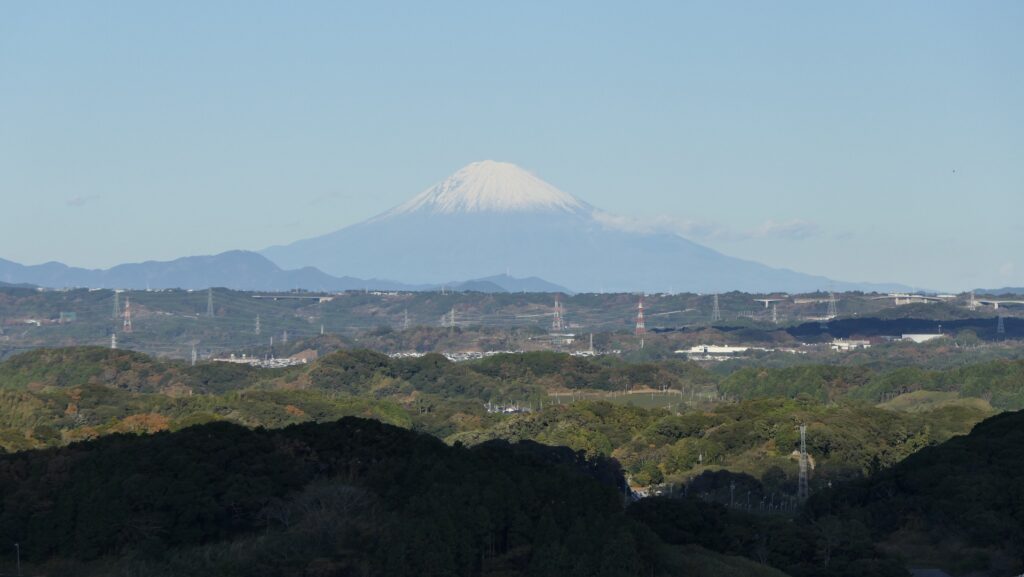
The Main Enclosure is at the center and it is the highest point of the castle. You can look down vertically at the steep cliffs anywhere and see a view of Fort Hinodake, one of the Six Takatenjin Forts, from the enclosure. The Third Enclosure is located at the easternmost part of the castle, having a fine view. On a clear and sunny day, you can see a great view of Mt. Fuji in the east.
Eastern ridge part
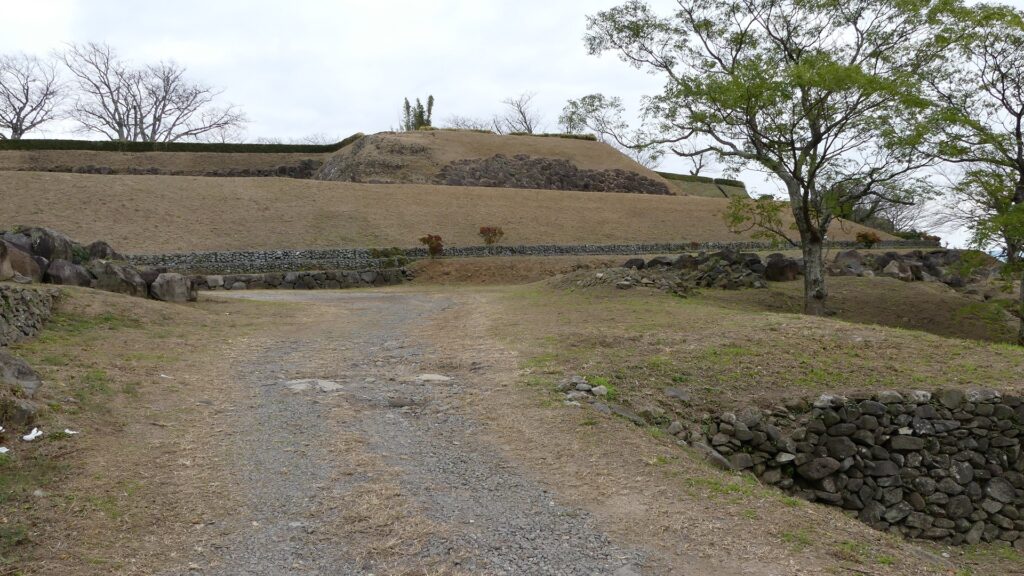
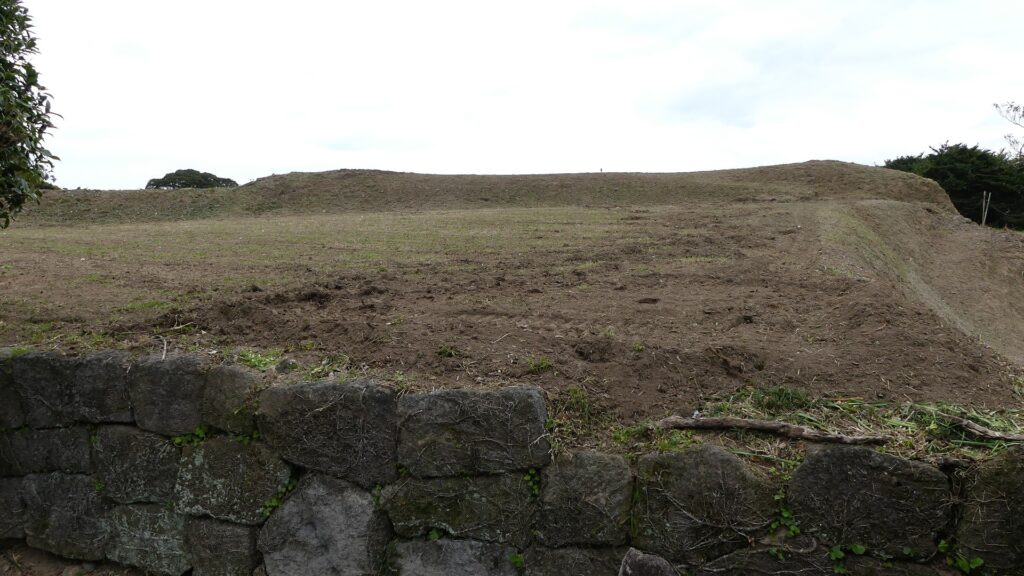
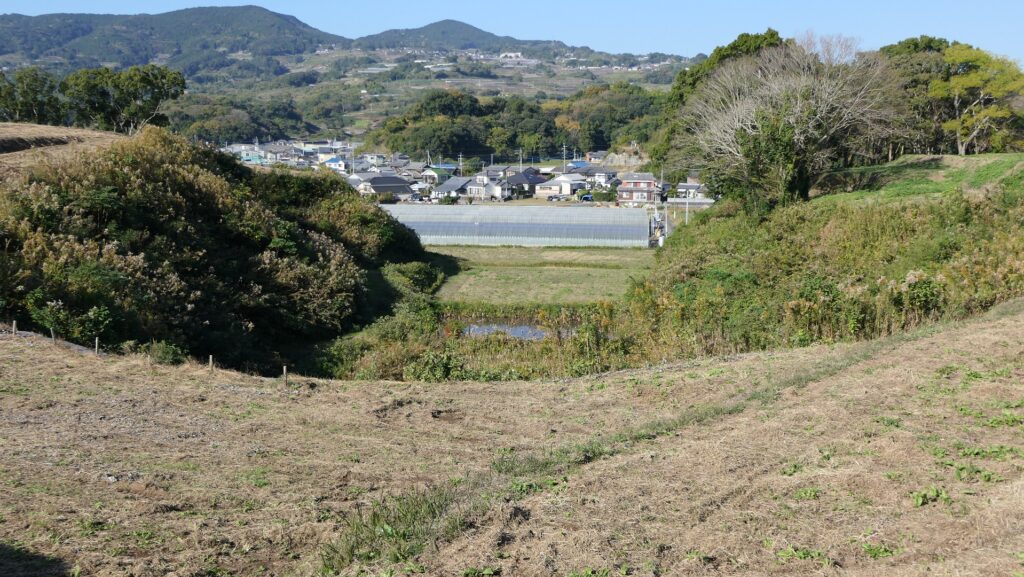
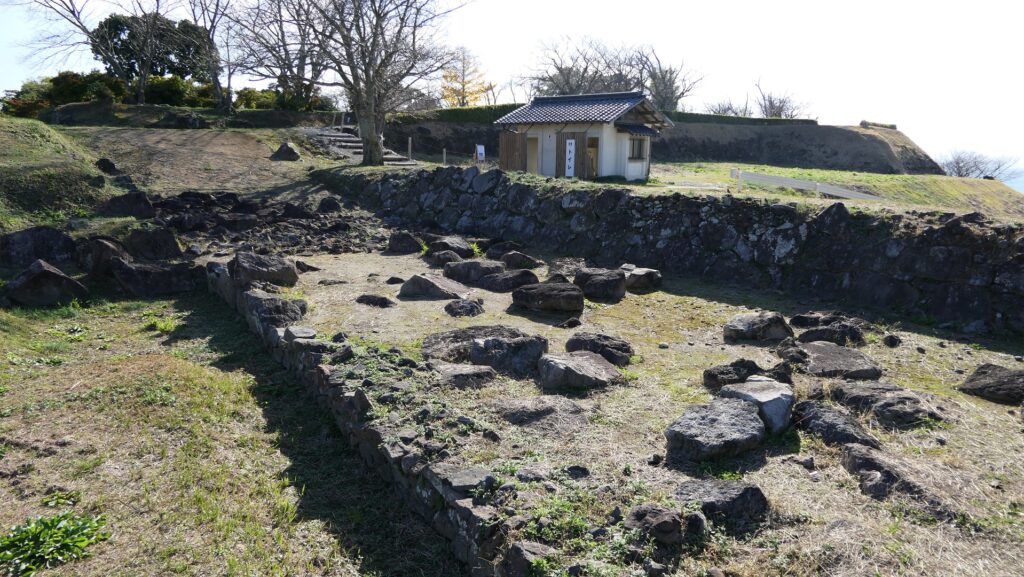
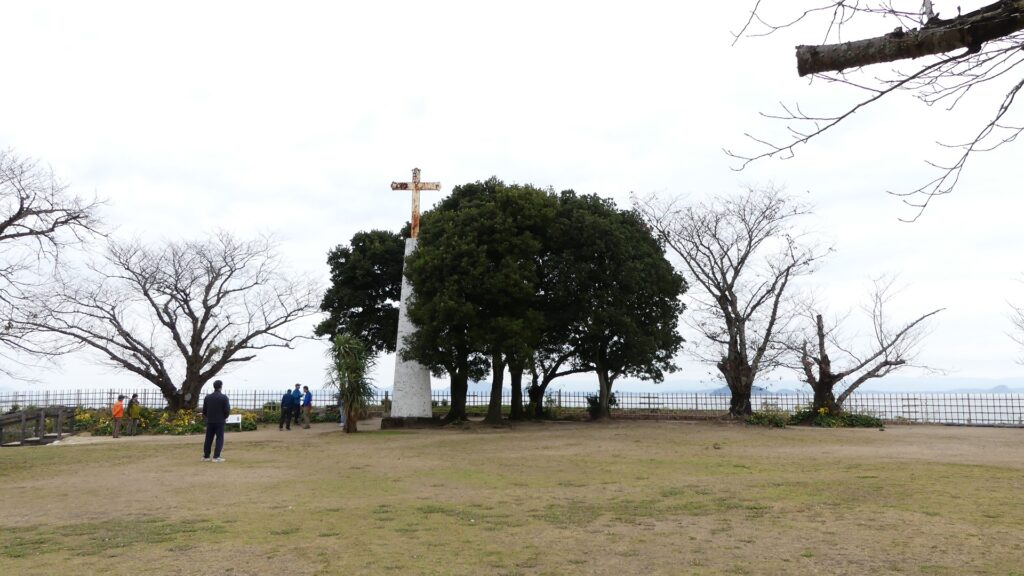
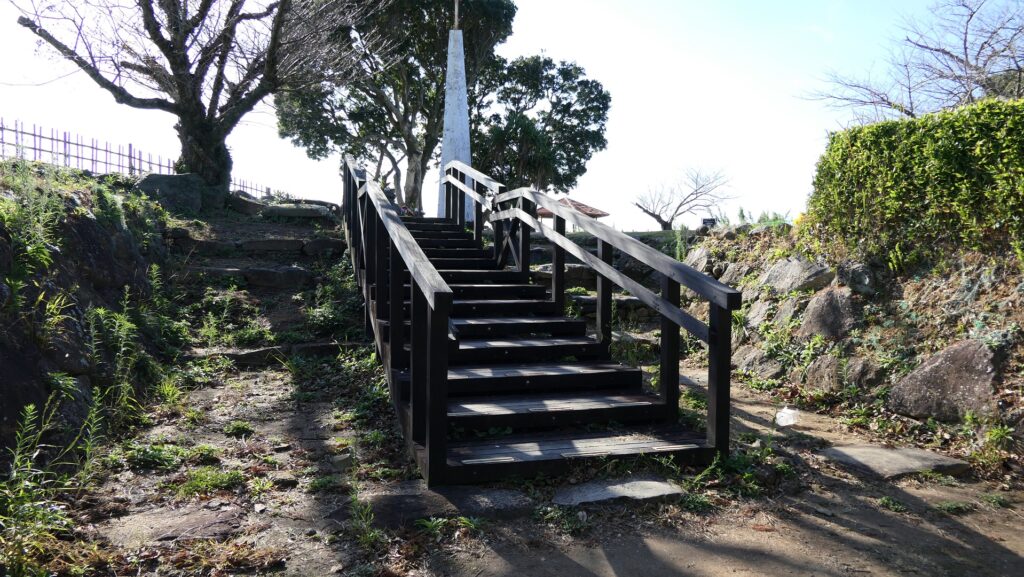
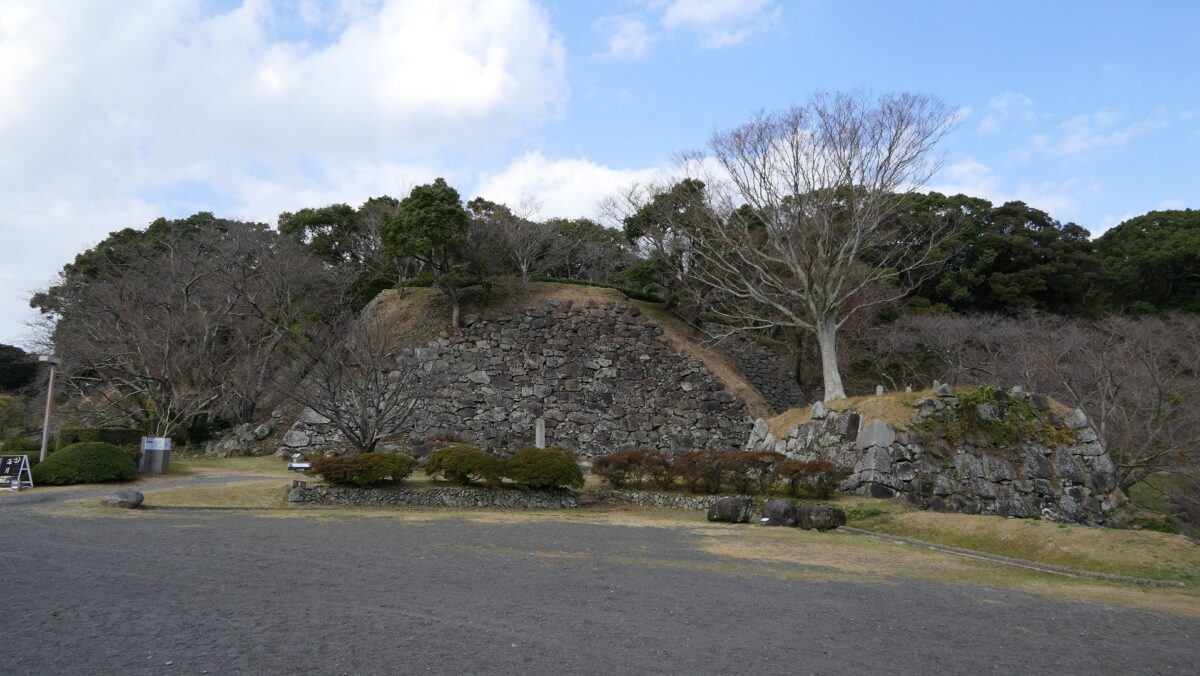
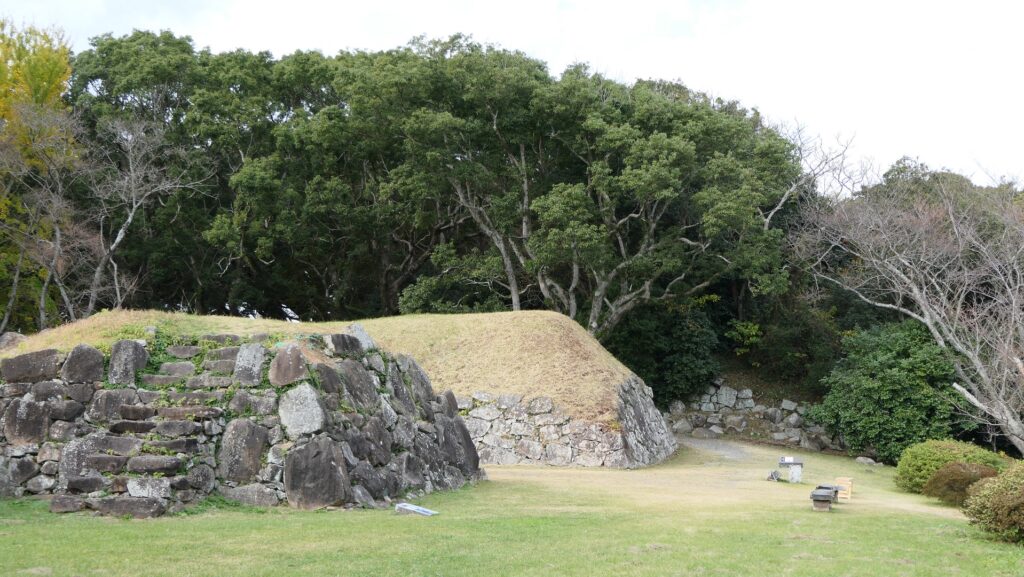
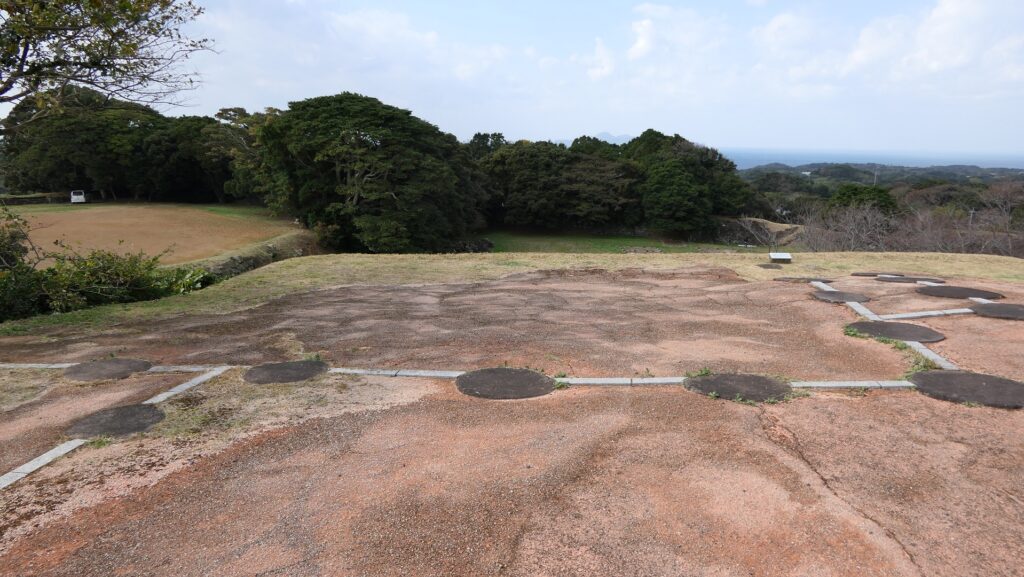
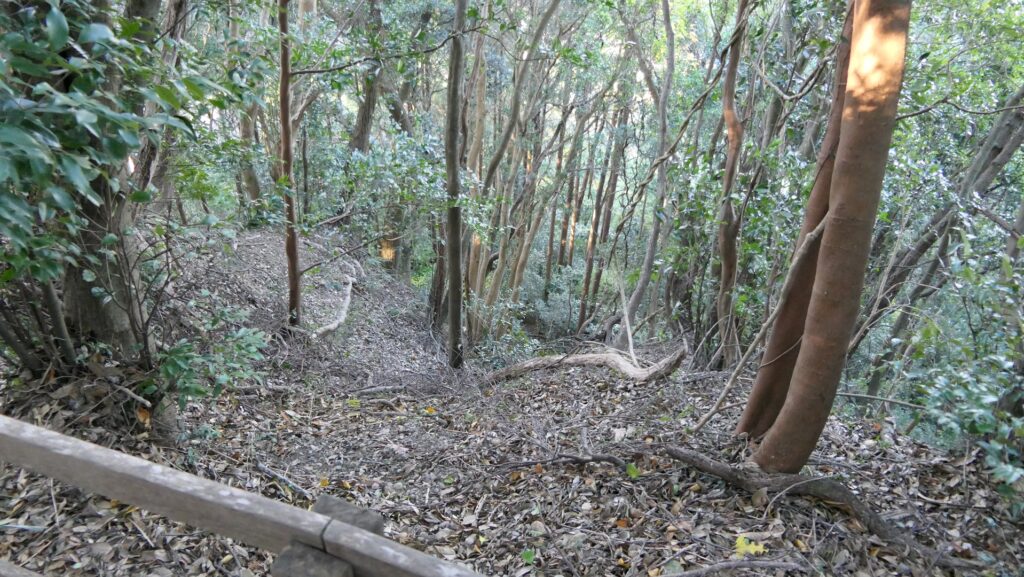
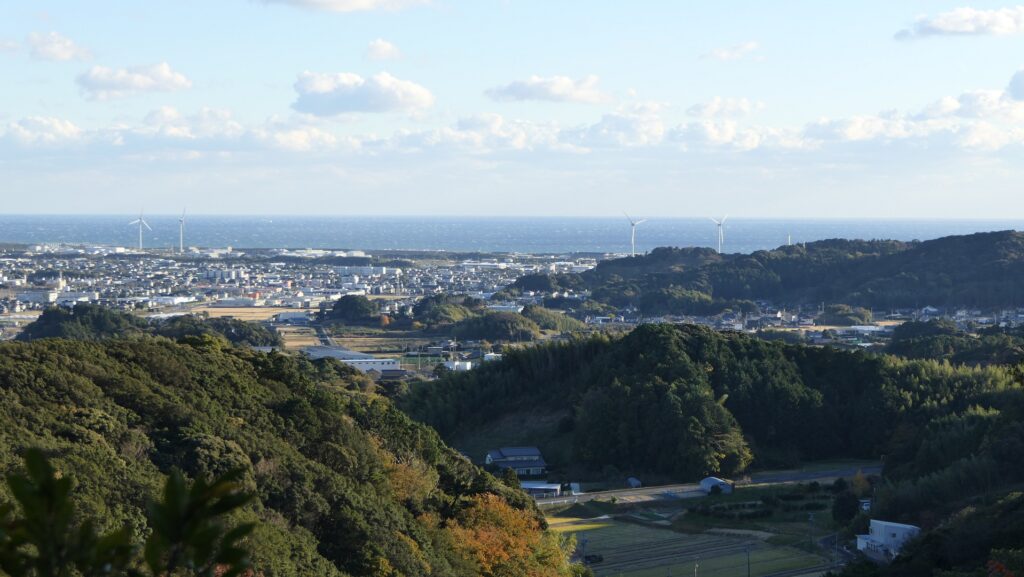
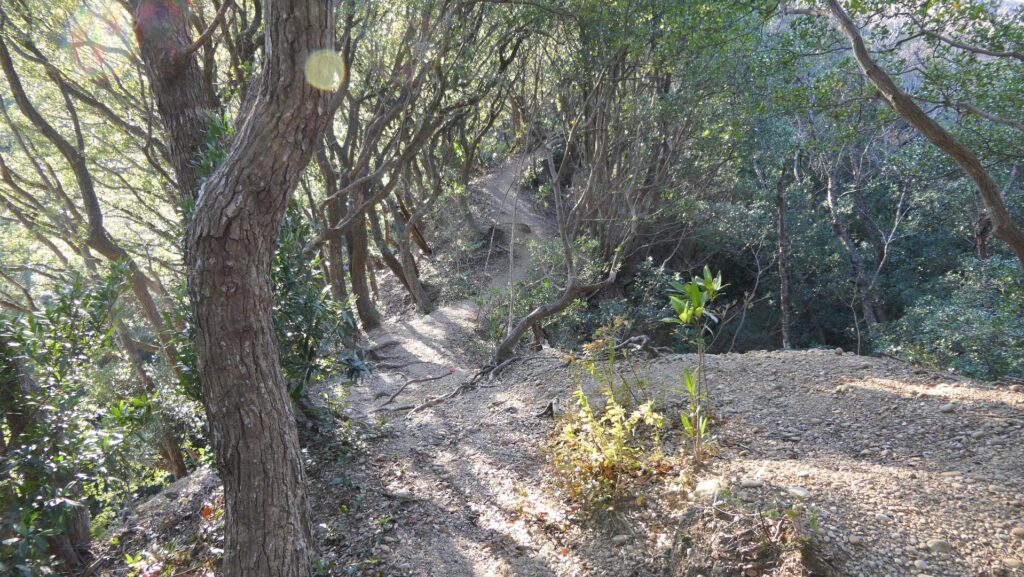
The western ridge is the newer part of the castle which includes the Western, Babadaira, Second, Dono-o, and Seiro Enclosures. The Western Enclosure is the highest point of the ridge where Takaten Shrine currently stands now, so you can see a good view of the Pacific Ocean in the south. The Babadaira Enclosure is below the Western Enclosure and divided by a ditch. Over the Babadaira Enclosure, there is a narrow path. This path is often referred to as “Inumodori” which translates to “Dogs return” meaning “Dogs cannot go through because it’s too tough”.

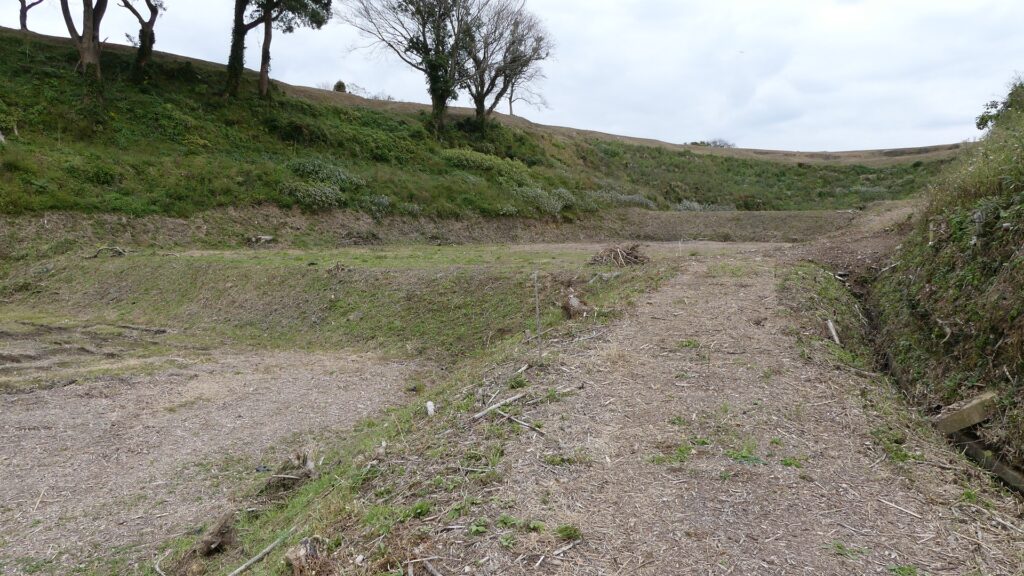
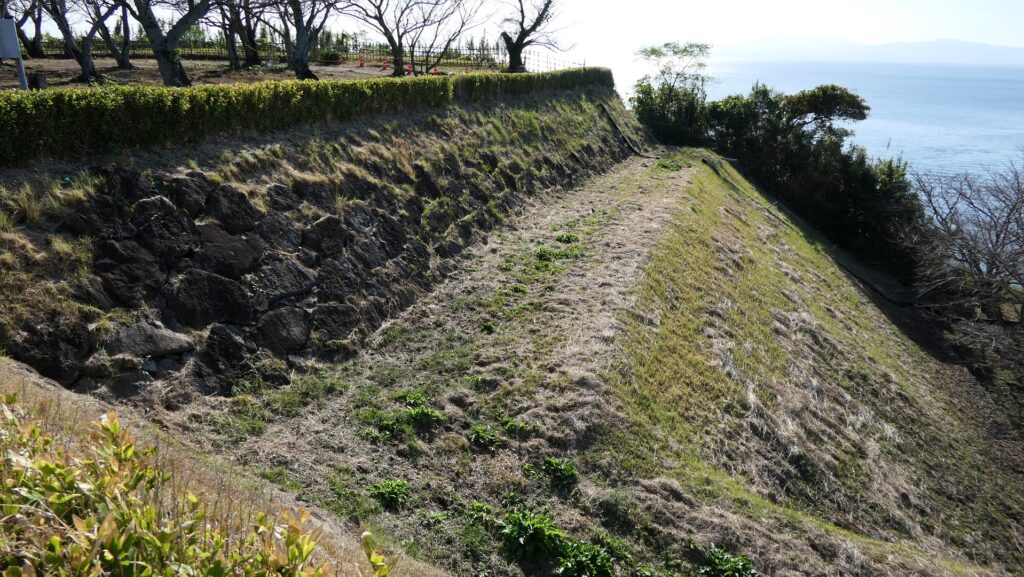
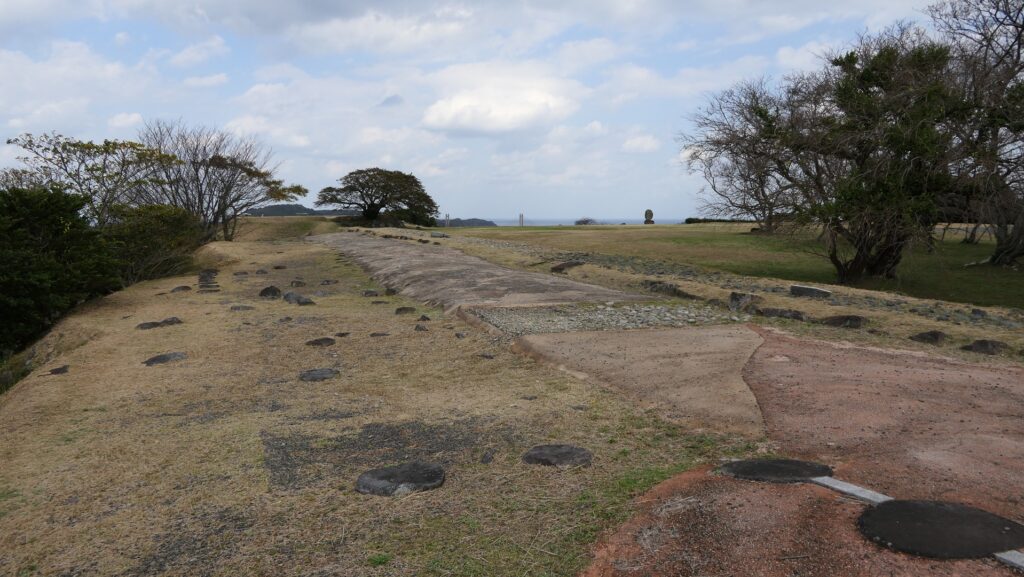
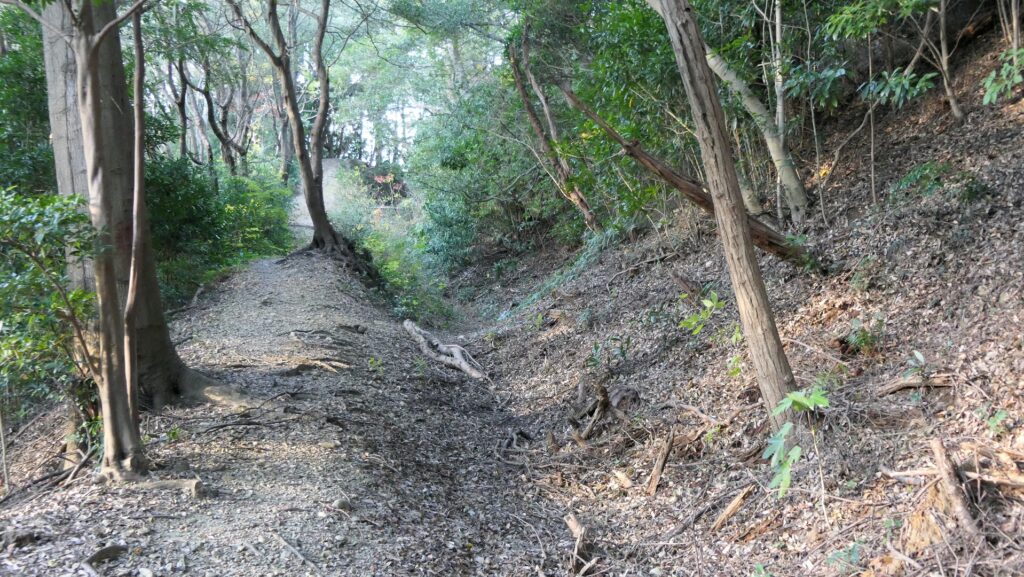
The Second, Dono-o and Seiro Enclosures are in a line next to the Western Enclosure, which were fortified by the Takeda Clan. This was because other mountains are connected over the Seiro Enclosure, which could have been attacked from this direction. To prevent this from happening, Takeda built a long dry moat along these enclosures and deep ditches dividing them.
To be continued in “Takatenjin Castle Part3”
Back to “Takatenjin Castle Part1”