Today, the ruins of Ako Castle have been well developed with lots of restored items probably thanks to the Ako Incident and the 47 Ronin. However, the ruins are worth more than its popularity and have distinct perspectives.
Features
One of Three Major Water Supply systems during Edo Period
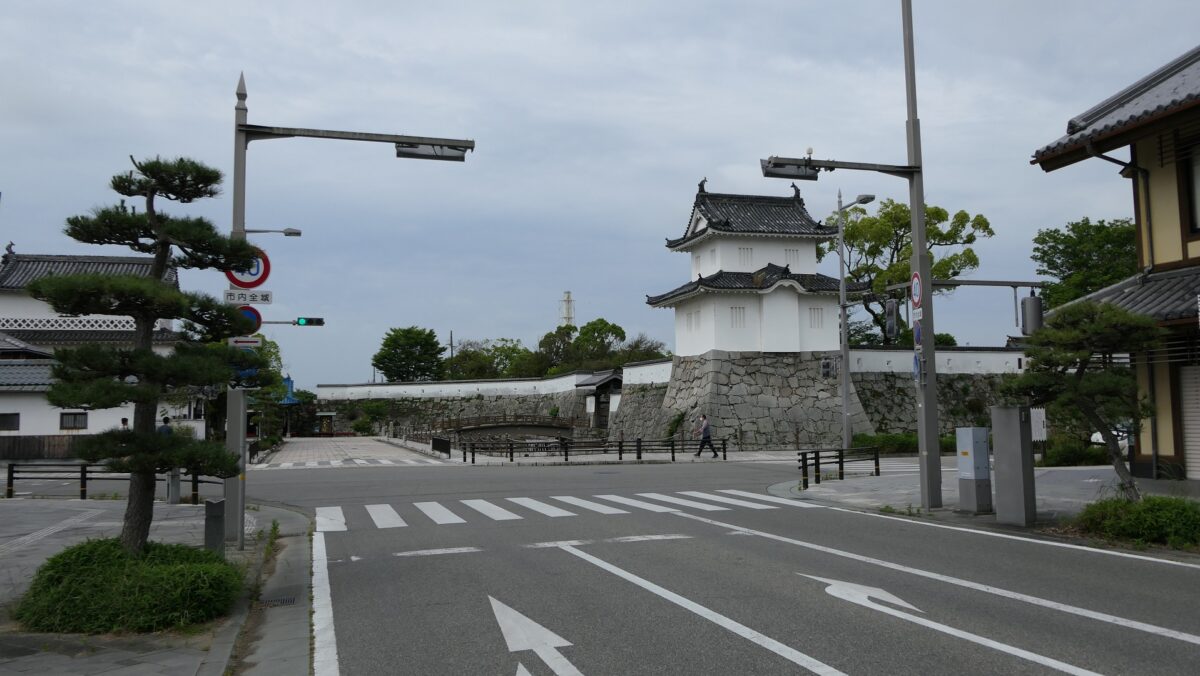
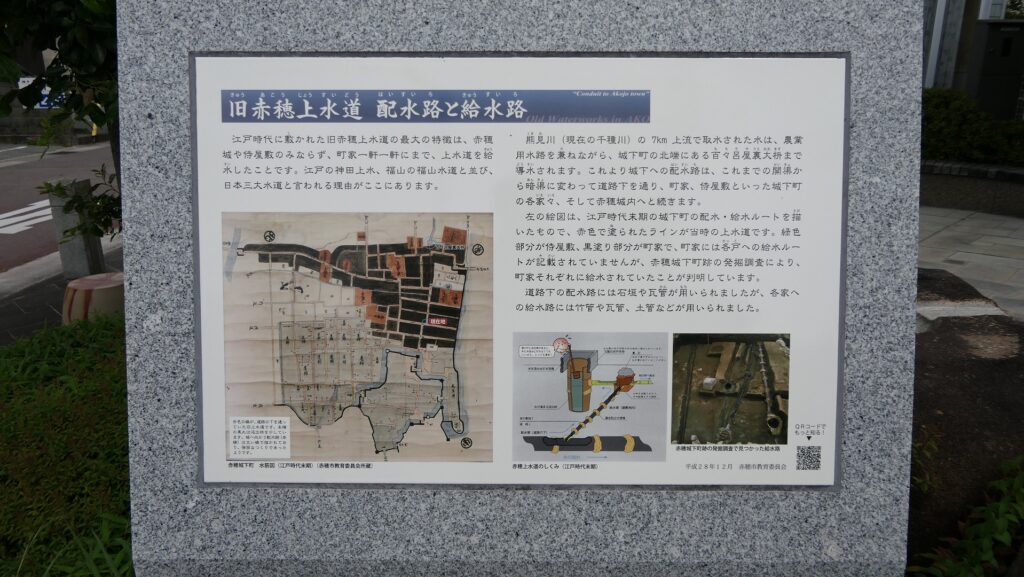
Today, the ruins of Ako Castle have been well developed with lots of restored items probably thanks to the Ako Incident and the 47 Ronin. However, the ruins are worth more than its popularity and have distinct perspectives. For example, if you walk from JR Banshu-Ako Station to the ruins along the central street, you will find some explanation boards and relics for the old Ako Water Supply system. The system is considered one of the Three Major Water Supply systems during the Edo Period in Japan. This was due to few wells in the Ako area because of its salt industry.
The street to the castle ruinsA signboard for the water supply systemThe water supply pipes exhibited in the turret gate of the Main Enclosure
Third Enclosure, Front of Castle
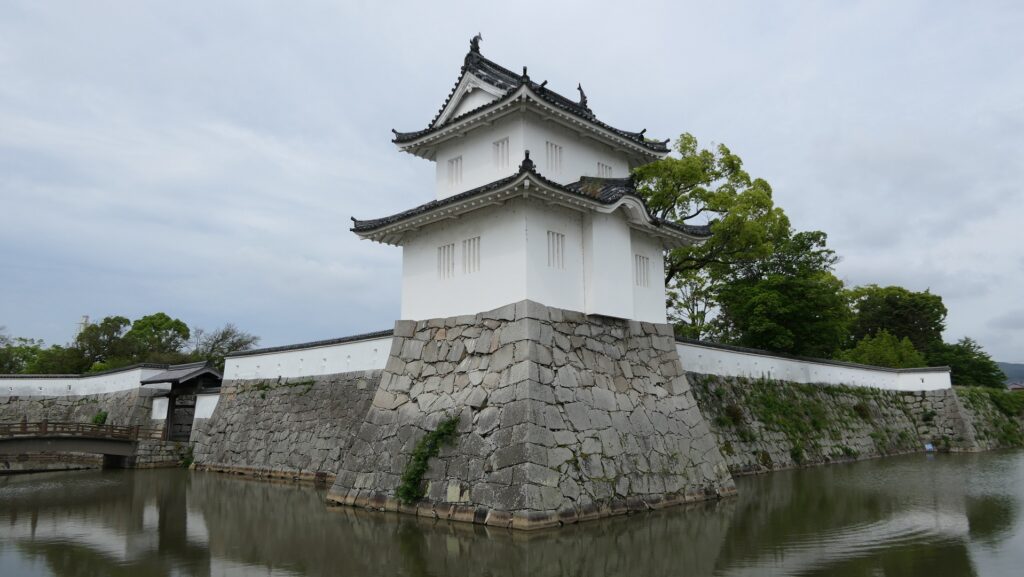
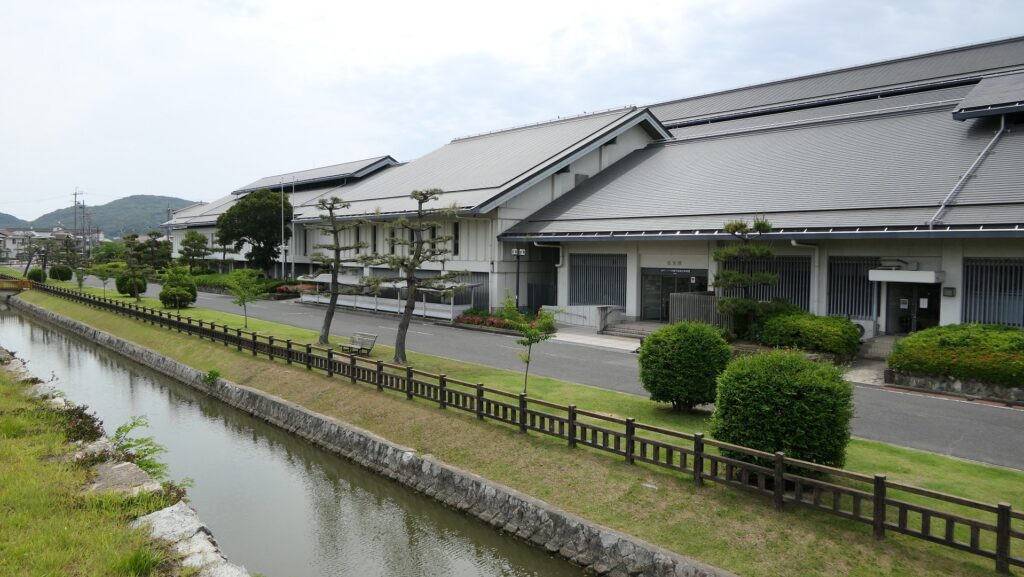
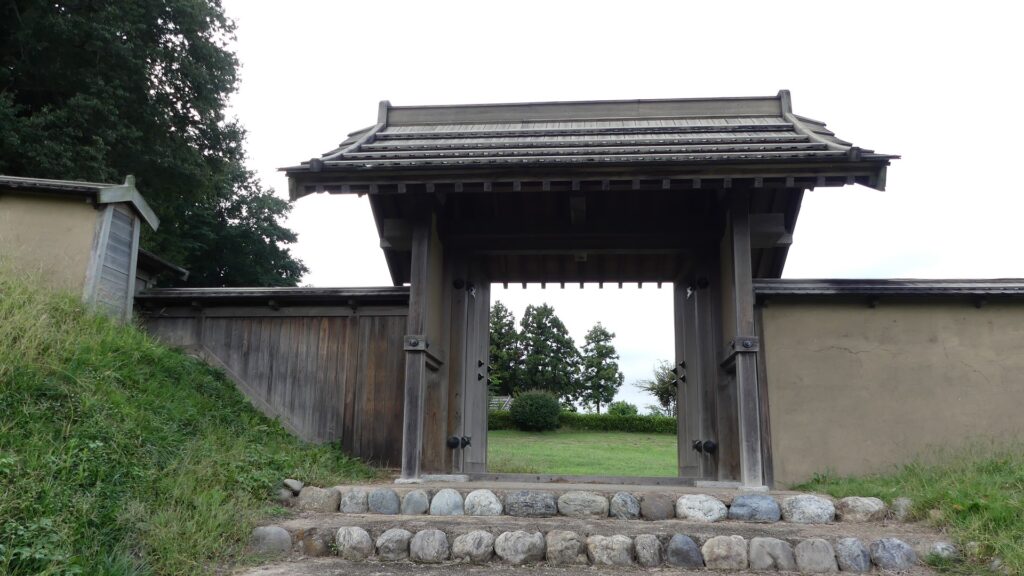
After walking for a while, you will get to the Main Gate with the Corner Turret at the northern edge of the Third Enclosure. These buildings were restored during the 1950’s and have become a symbol of the castle.
Main Gate[/leaflet-marker]
The castle ruins are at the end of the streetThe Corner Turret in the front and the Main Gate in the back
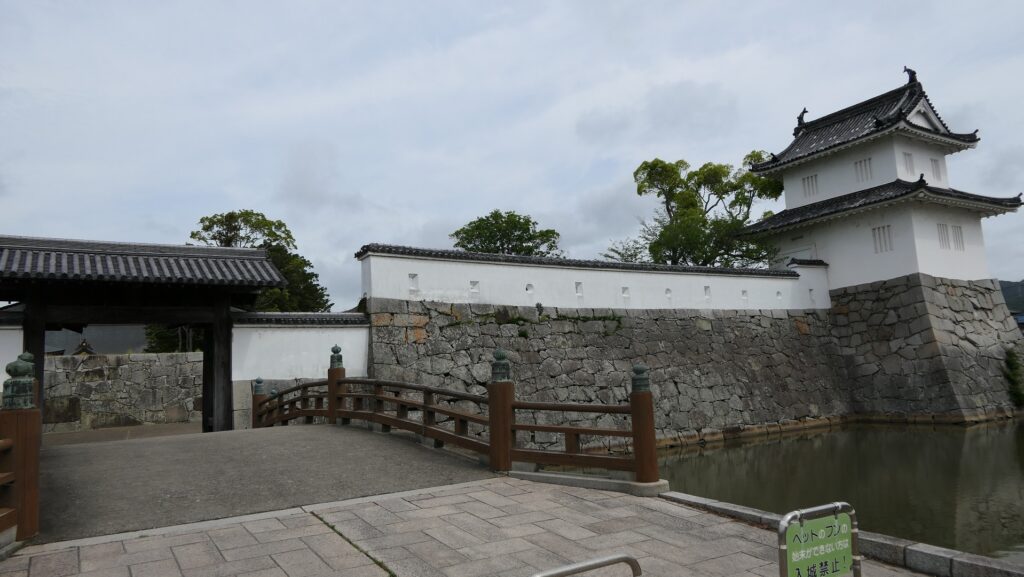
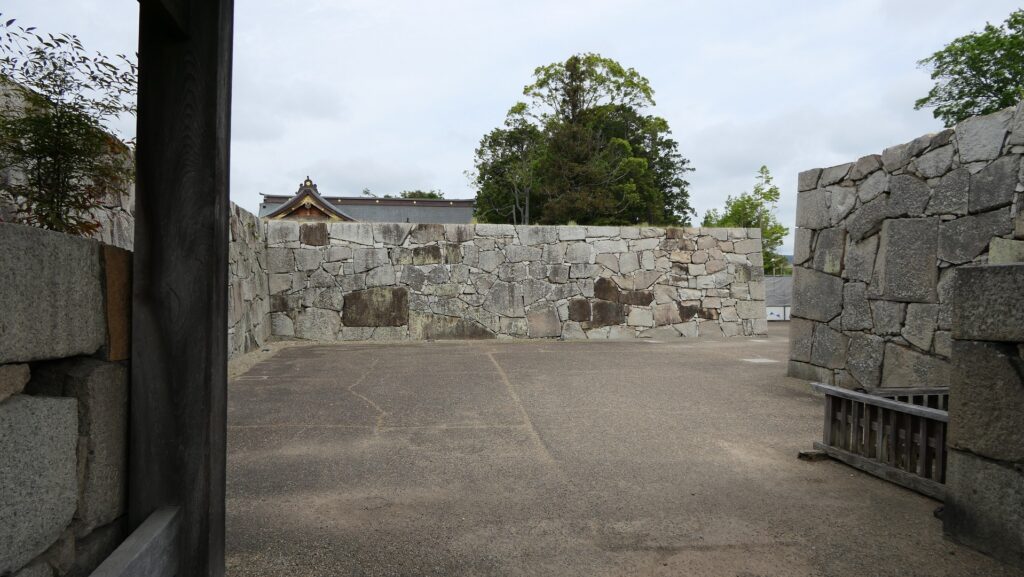
If you enter the gate after crossing the bridge over the moat in front of it, there is a square space surrounded by stone walls, called Masugata system. In the case of Ako Castle, the space consists of connected squares, more complex than a simple one, so the path has zigzag design, which would make the enemies get stuck.
Entering the Main Gate by going across the bridgeThe Masugata system inside the gateThe path in the system is like a maze
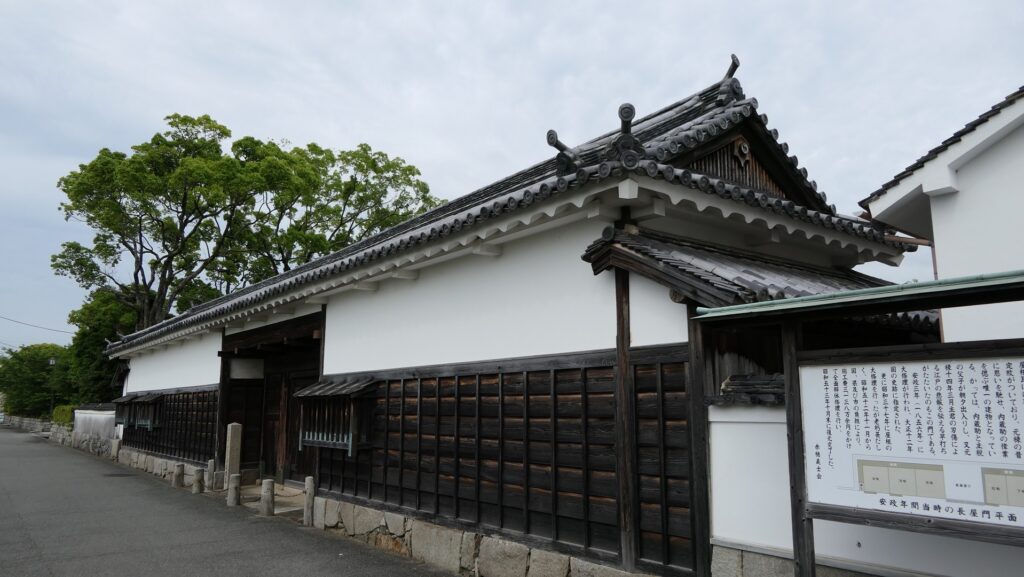
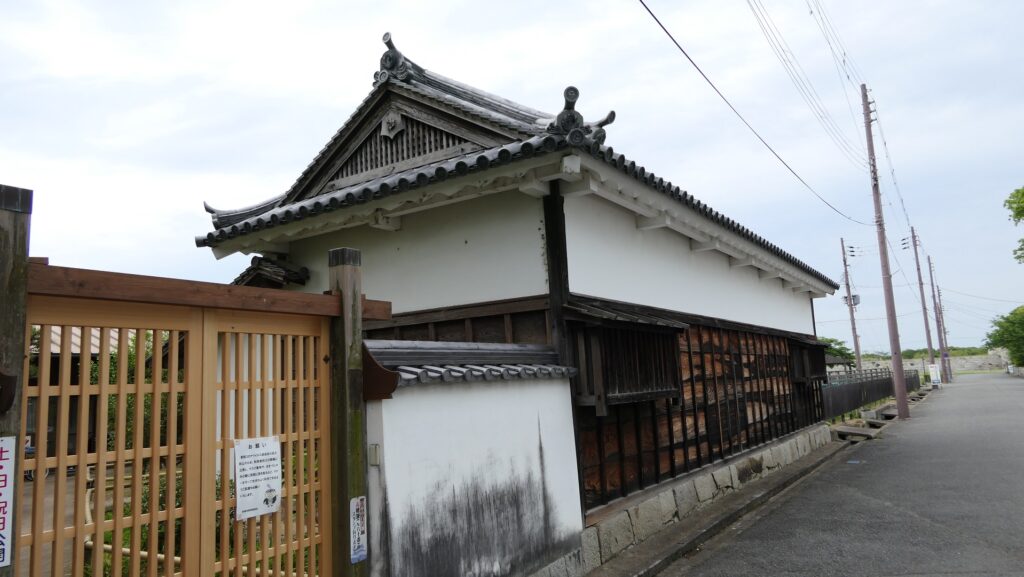
There is the Third Enclosure inside, which was used as the senior vassals’ residences, where only Oishi and Kondo’s row-house style gates remain on both sides of the path.
Entering the center of the Third EnclosureThe Oishi’s row-house style gate on the rightThe Kondo’s row-house style gate on the left
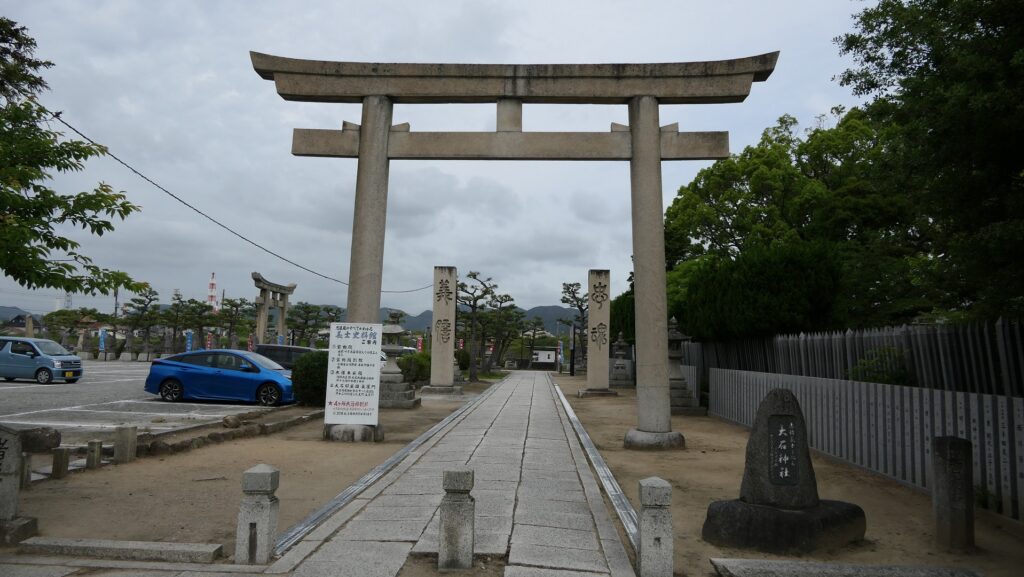
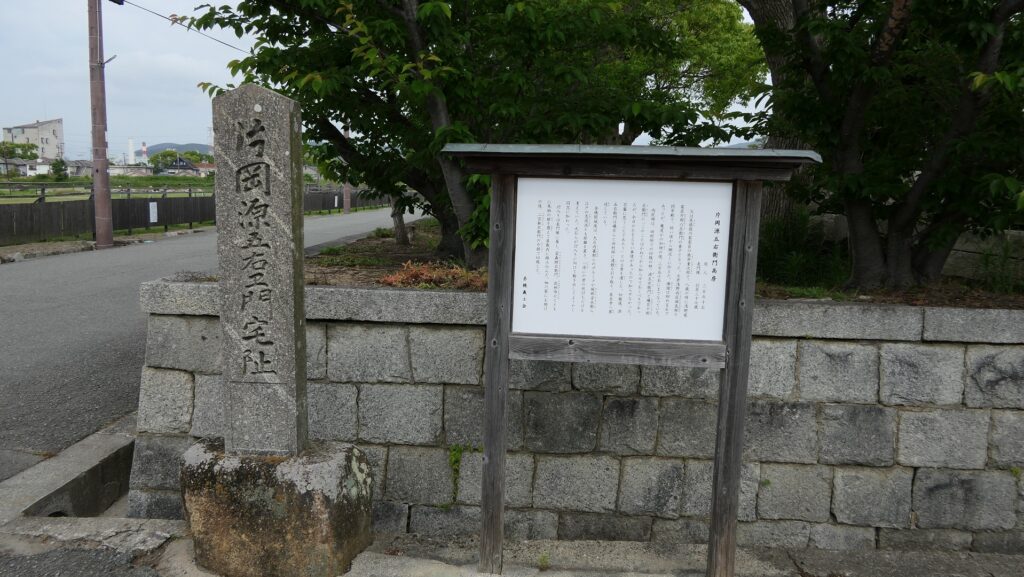
Oishi’s main residence was turned into Oishi Shrine where he and the Ronin have been worshiped as the heroes of the incident. It may be the most popular spot in the castle. There are also some ruins of other 47 Ronin’s’ residences around.
The Oishi ShrineThe ruins of Kataoka’s residence, one of the 47 Ronin
Second Enclosure facing Sea in Past
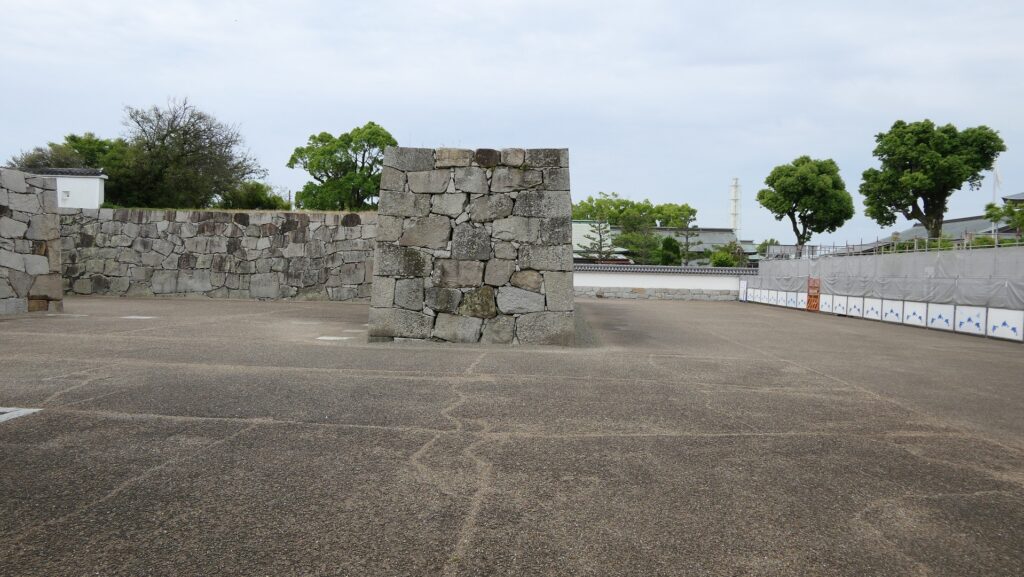
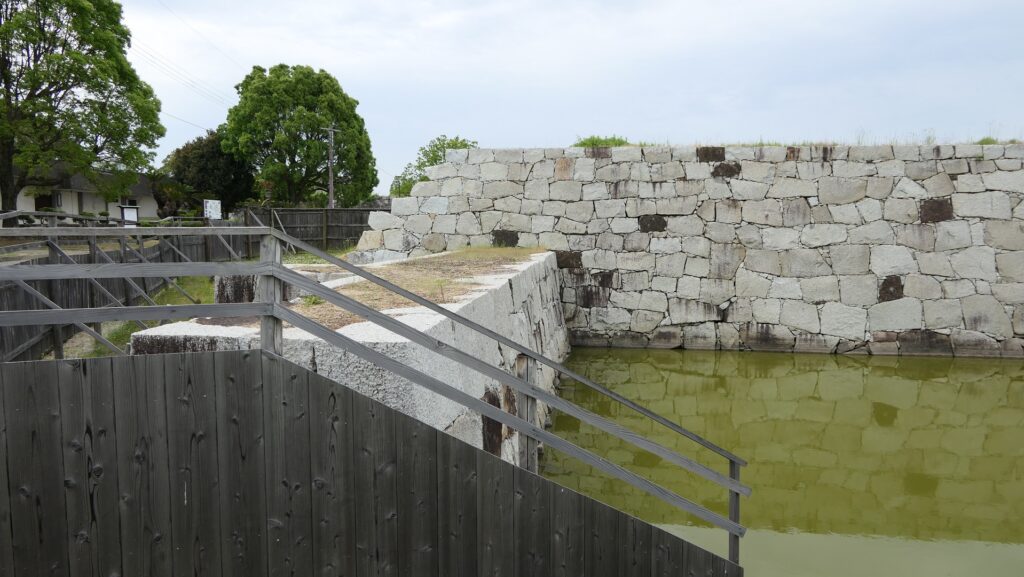
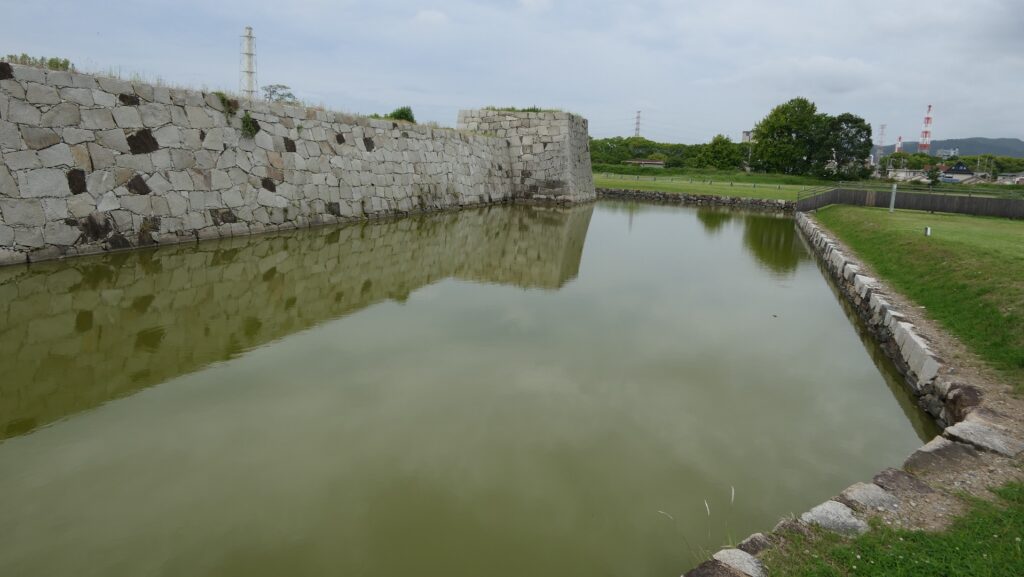
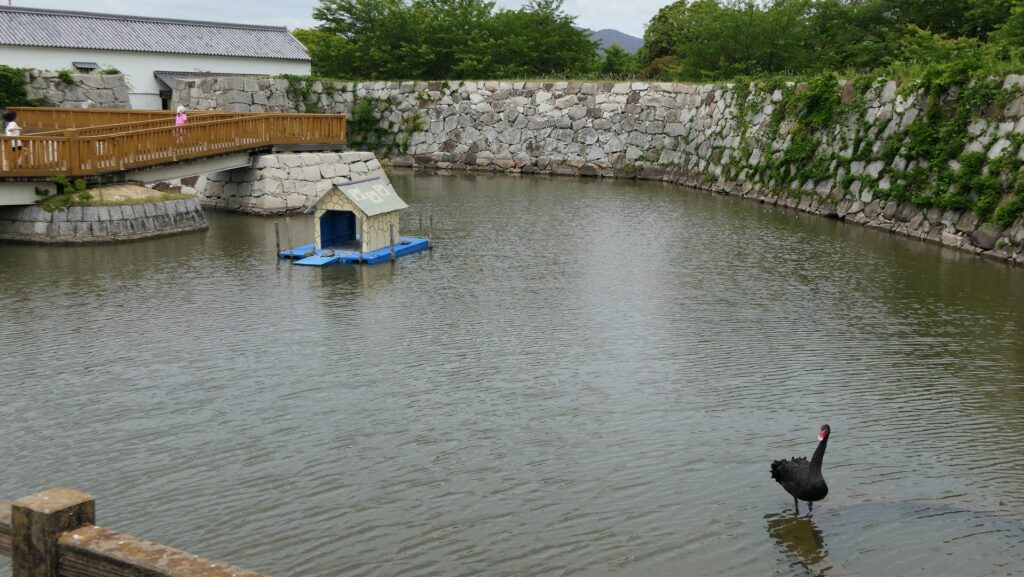
If you go further to the center of the castle, you will get to the ruins of the Second Enclosure Gate. The enclosure is mostly surrounded by its water moats and surrounds the Main Enclosure.
The ruins of the Second Enclosure GateThe water moats and the stone walls surround the Second Enclosure
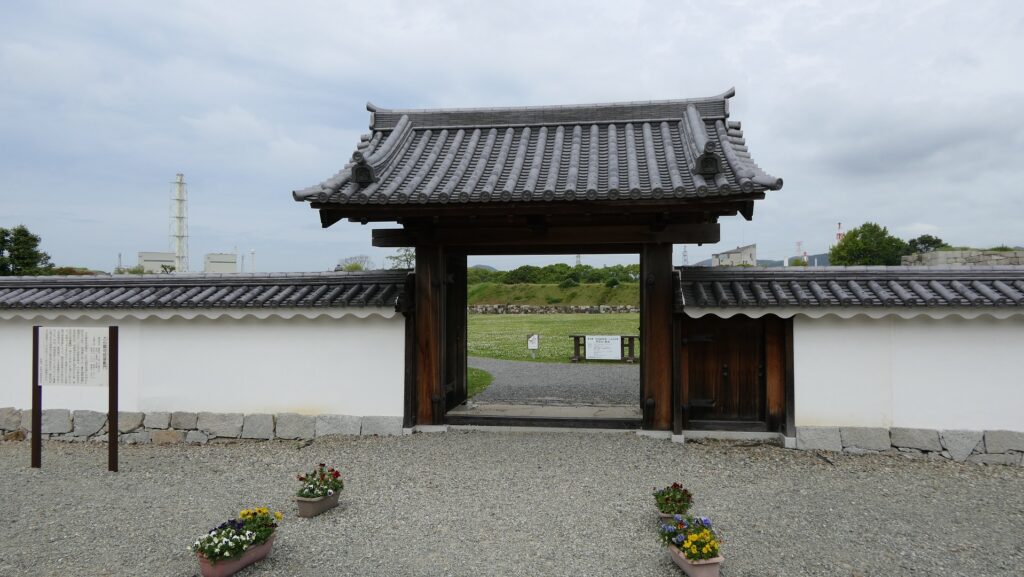
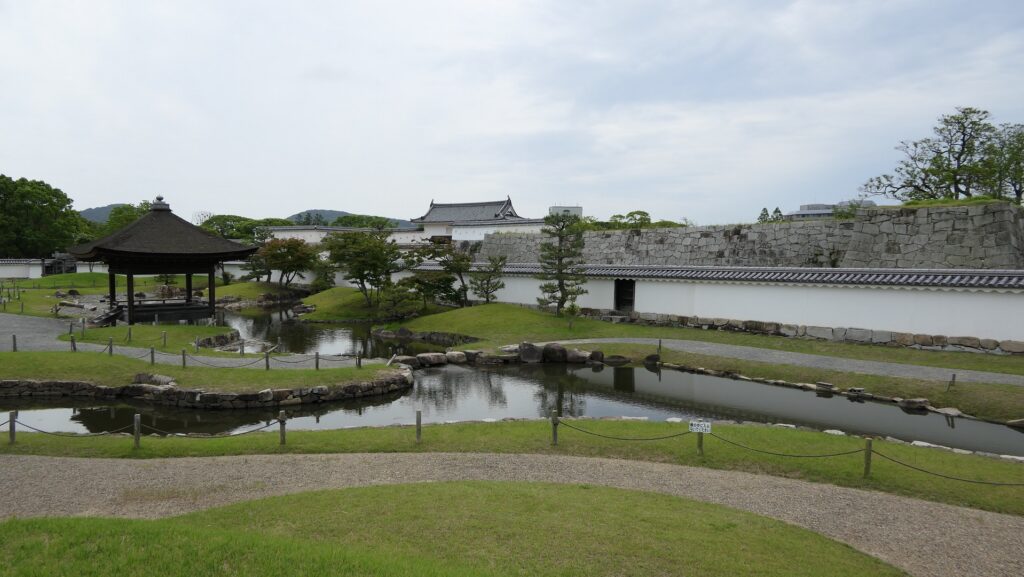
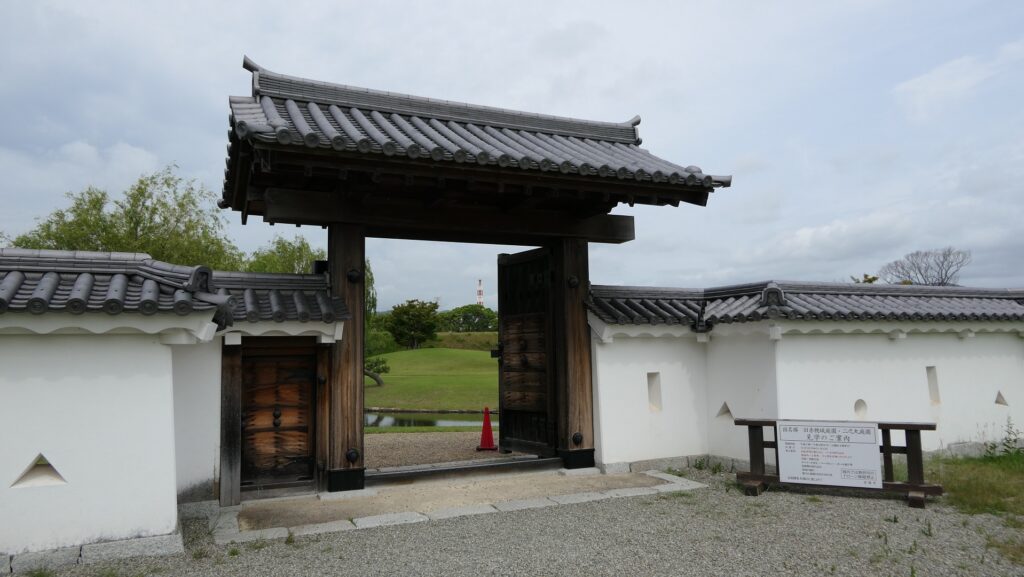
There was the residence of another Oishi (Tanomo-no-suke, Kura-no-suke’s great uncle) and the Second Enclosure Garden in the northern part inside. The residence’s gate and the garden were recently restored where you can enjoy walking and looking at the beautiful scenery. The partition gate dividing the northern and southern parts was also restored at the edge of the garden and you can use it during opening hours.
The restored gate of Oishi Tanomo-no-suke’s residenceThe restored Second Enclosure GardenThe partition gate dividing the northern and southern parts of the Second Enclosure
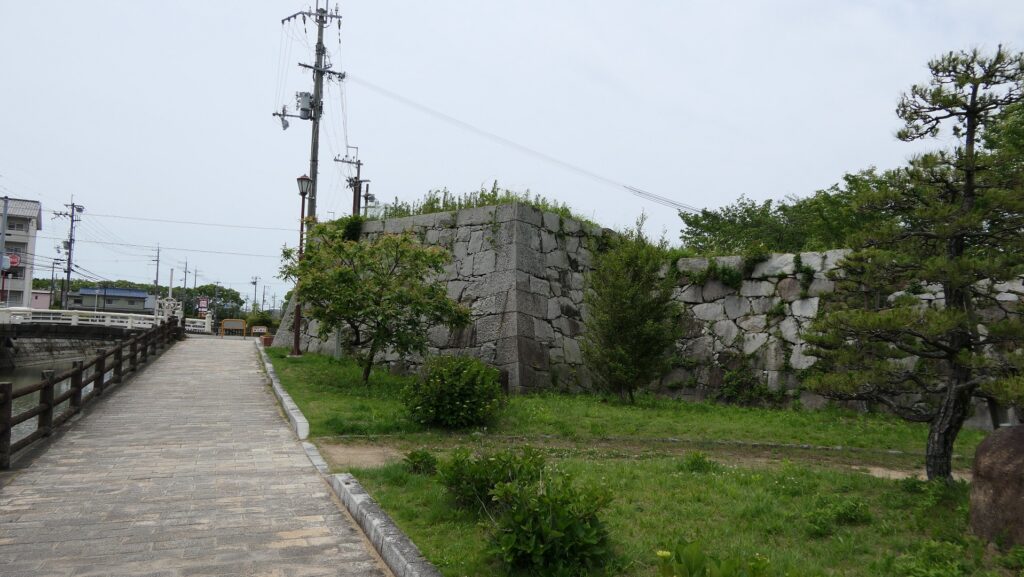
The southern part was turned into a modern flower park, which used to face the sea in the past. The sea area was reclaimed to public facilities, so you may not understand what it looked like. However, there are ruins of the pier and gate, and Shiomi (meaning Watching Tide) and Minami-Oki (South Ocean) Turrets on the southern side of the enclosure, where you may understand its location.
There was the sea area aroundThe ruins of the tier and gateThe ruins of Shiomi TurretThe ruins of Minami-oki Turret
I climbed Kuruma-yama Mountain to its top to confirm that the idea of the attackers firing upon the castle in the battle in 1590 would was realistic.
Features
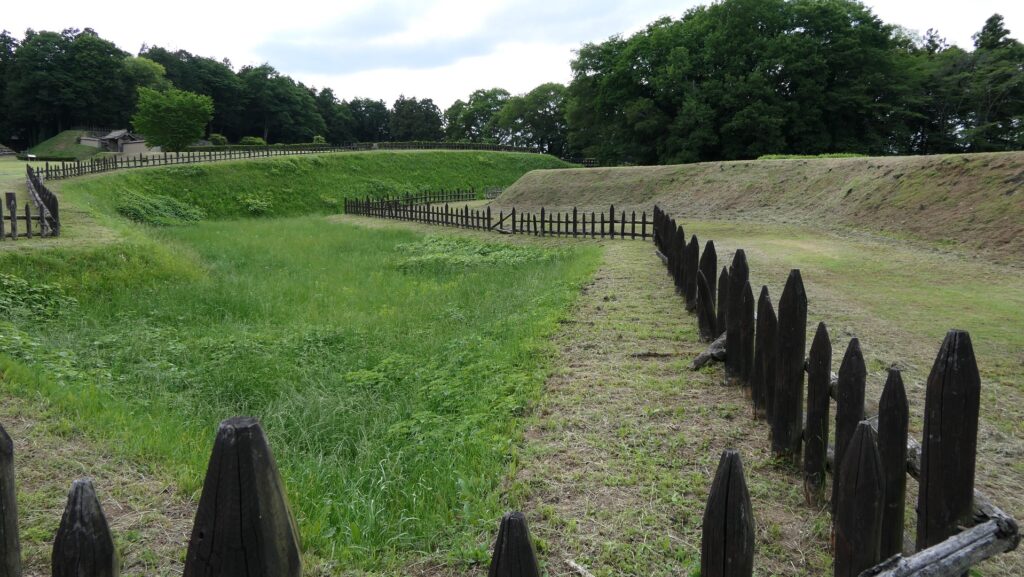
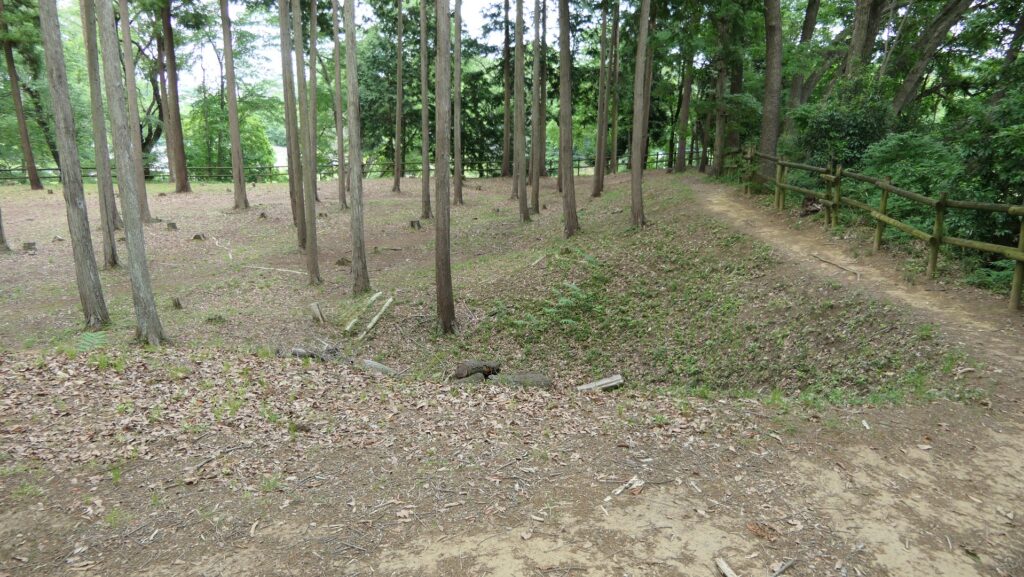
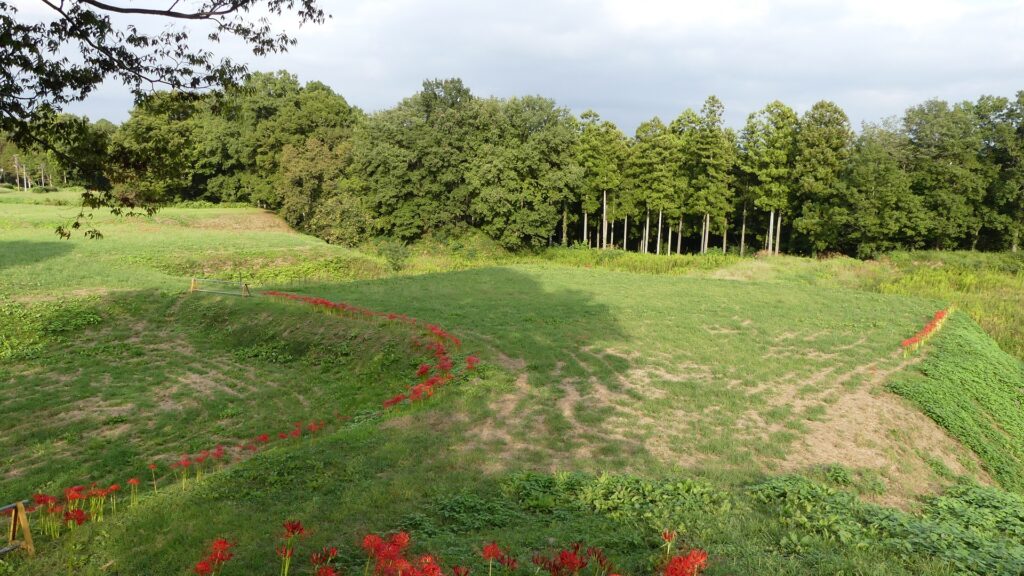
Well-Restored Dry Moats
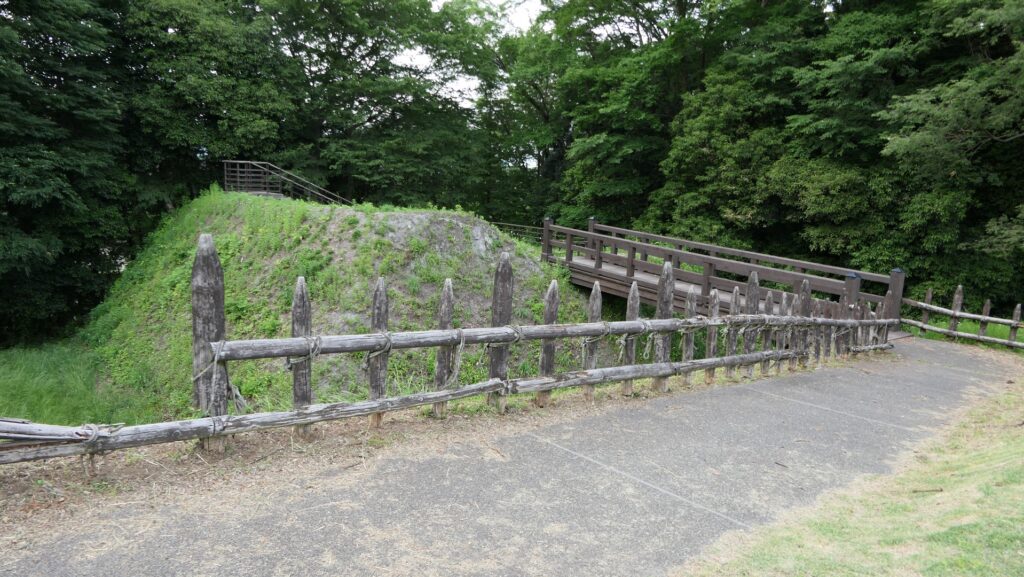
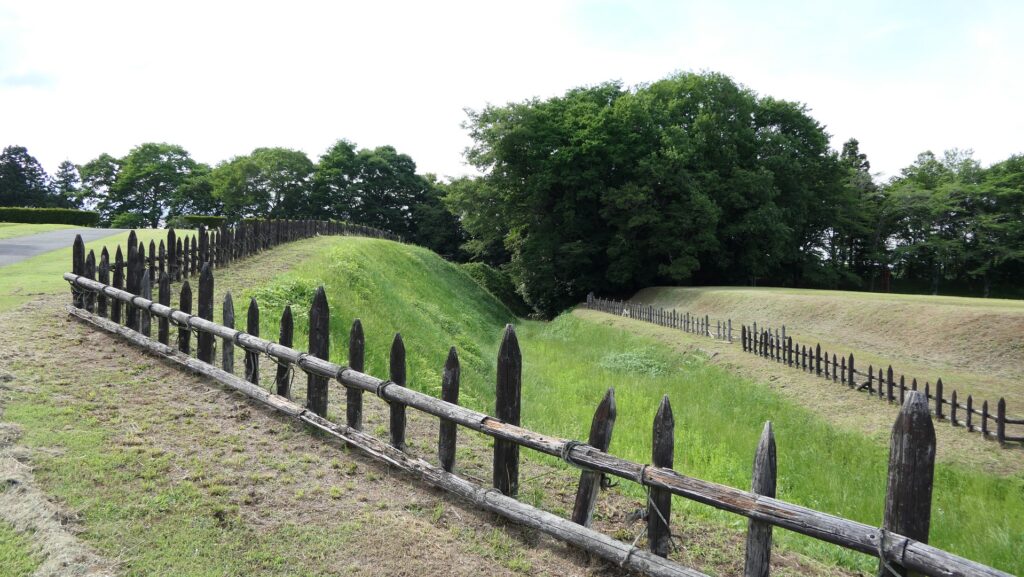
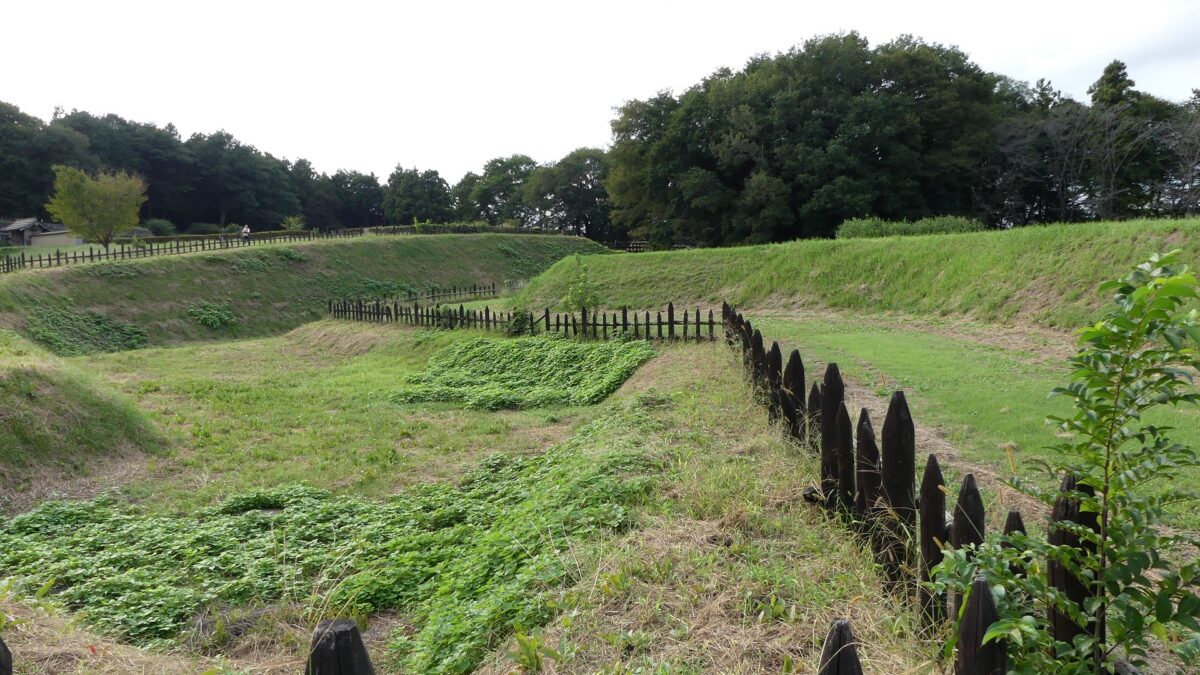
Zigzagged large dry moats with wooden fences between the Third and Second Enclosures, which allowed the defenders to attack enemies’ sides, have also been restored. Only two routes were available between them – the one via the Main Route and the other via the well restored Umadashi system. Also, if you compare the two enclosures, you will find the Third is higher than the Second. In other castles, the Second (which is closer to the Main Enclosure) is usually higher than the Third. However, in the case of Hachigata Castle, it is the other way around. In addition, the Third Enclosure had strong defense systems with four Umadashi which are originally designed by the Hojo Clan. That’s why author, Jun Ito says the Hojo Clan might have moved the center of the castle from the Main Enclosure to the Third in the final stages of the castle.
The aerial photo around the castle. the red markers indicates the four Umadashi systems
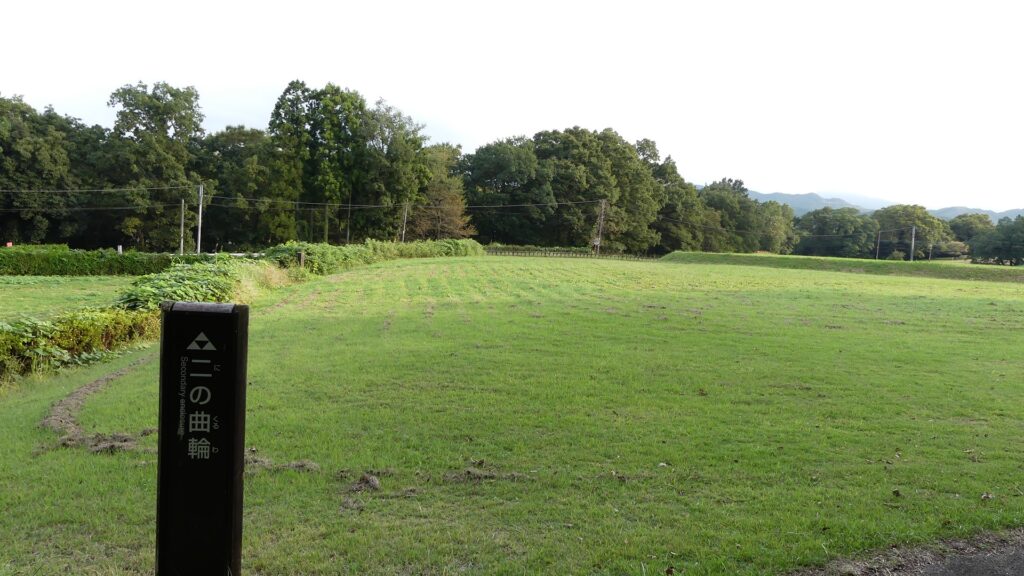
The dry moats between the Third and Second EnclosuresThe Umadashi system connecting the Third and Second EnclosuresThe Third Enclosure is higher than the Second oneThe Second Enclosure
Panorama of Main Enclosure
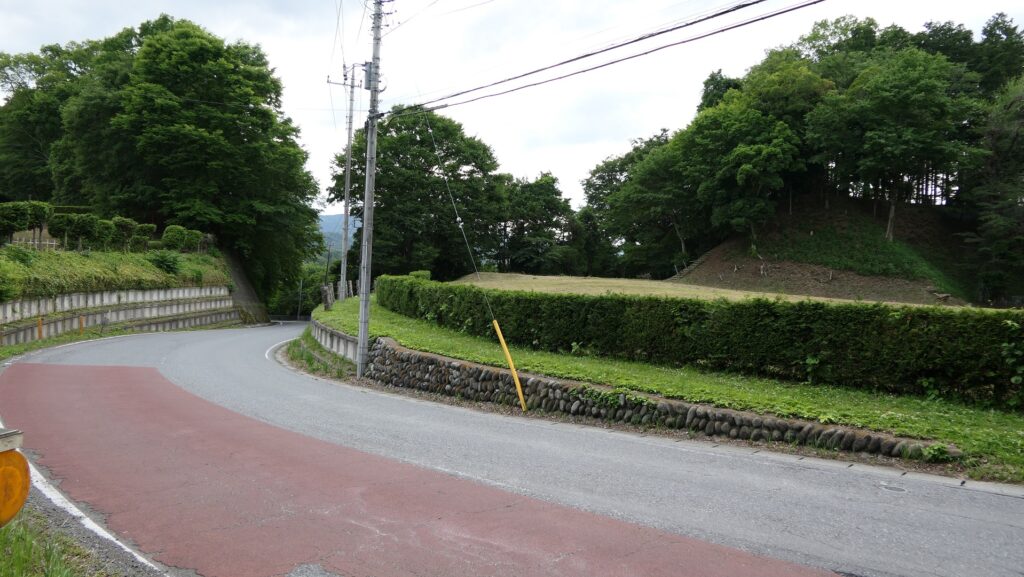
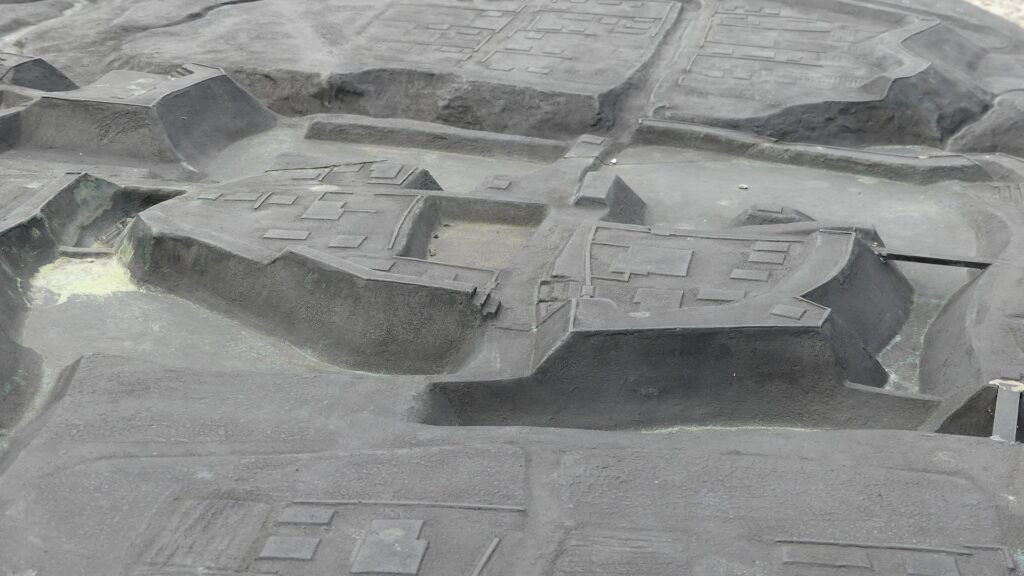
A paved car road goes between the Second and Main Enclosures, so it may be difficult to imagine what it used to look like. According to information at the Hachigata Castle History Museum, there used to be a large gate to the Main Enclosure and a wooden bridge over the deep dry moat in front of the gate.
The map around the castle
The paved car road between the Second and Main EnclosuresThe part of the entrance to the Main Enclosure in the diorama
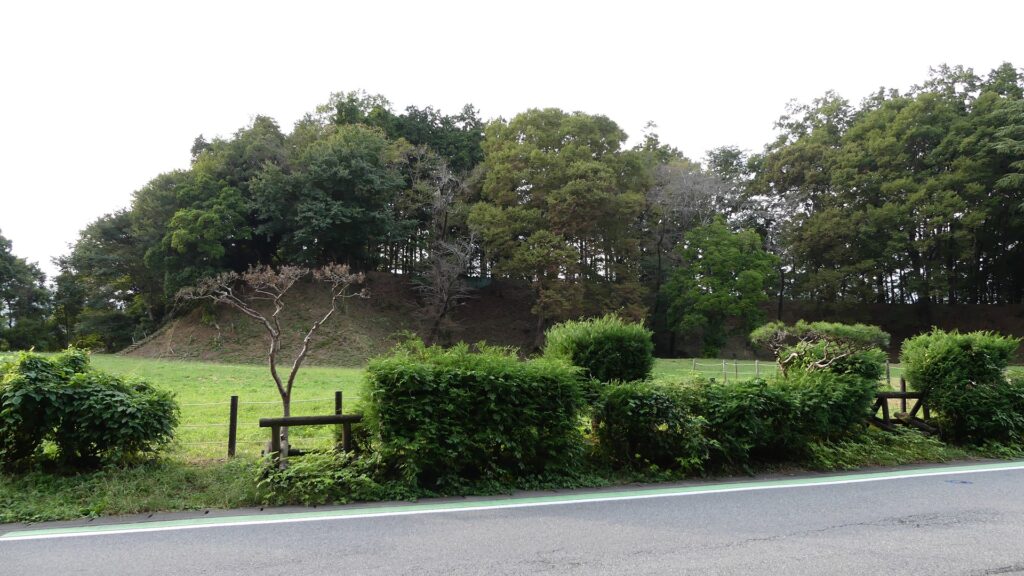
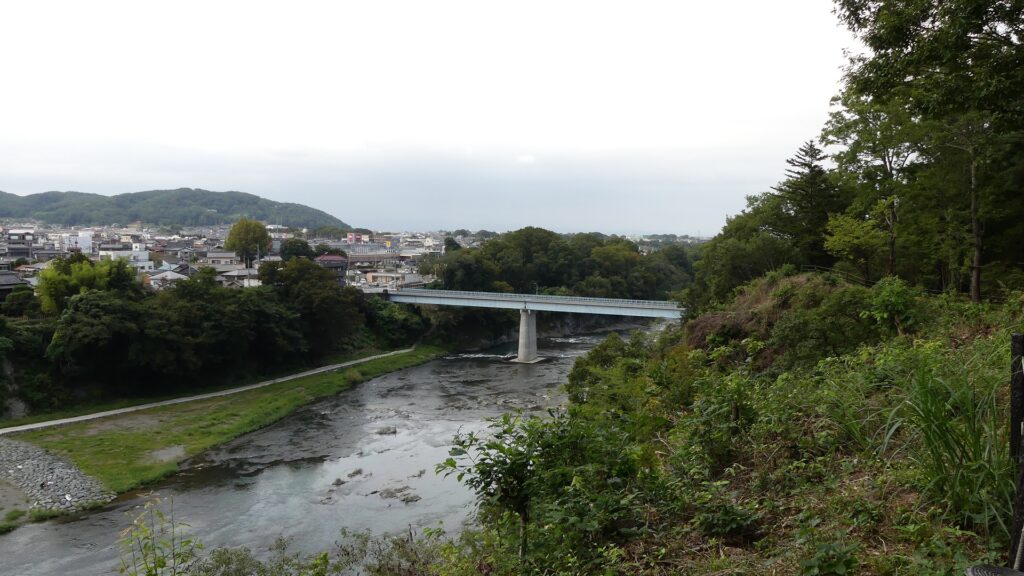
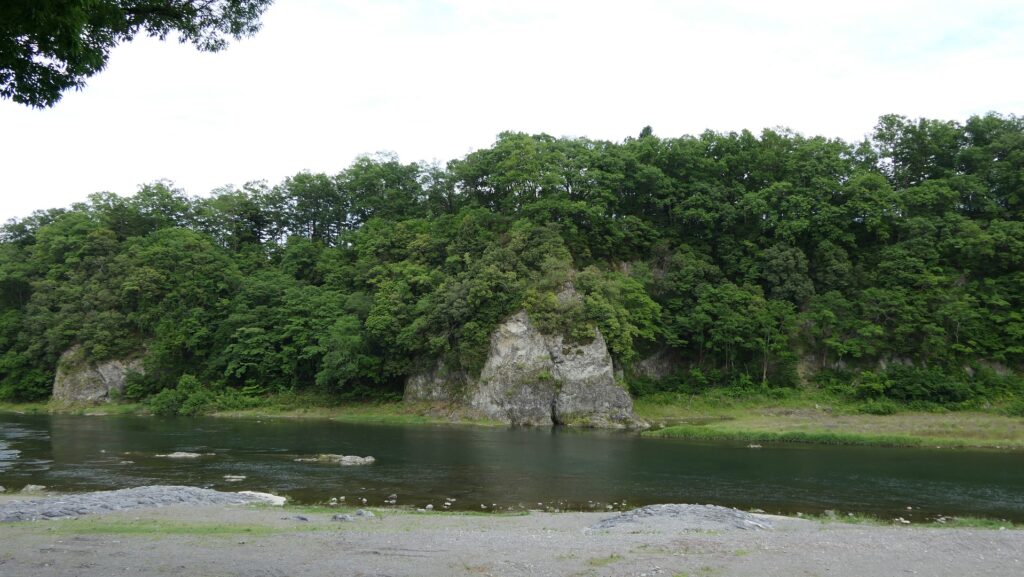
The enclosure has the other peak of the castle, standing beside a 30m tall cliff. no castle buildings remain, and it is purely made of soil, but the ground is still leveled so you can imagine the Main Hall for the lord as it was in the past. You can enjoy a great view of the Arakawa River and the surrounding area from the peak. You can also understand how the castle was naturally protected.
The Main EnclosureThe ruins of buildings on the enclosureA view from the enclosure
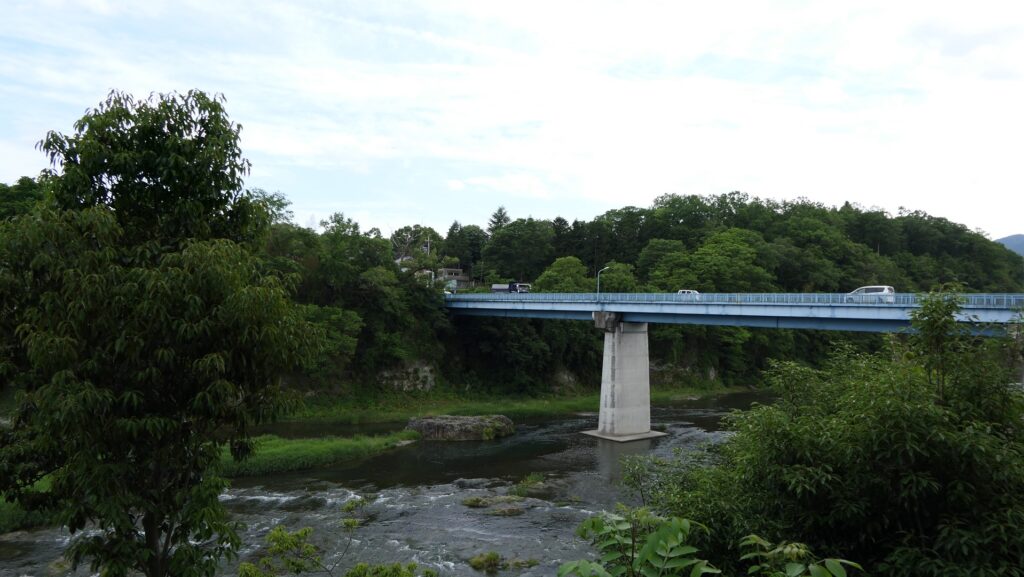
You will finally reach the Sasa Enclosure, near the tip, which is lower than the Main Enclosure. It is another entrance to the castle ruins, beside Shoki-bashi Bridge.
The Sasa EnclosureThe Shoki-bashi Bridge beside the castle ruins
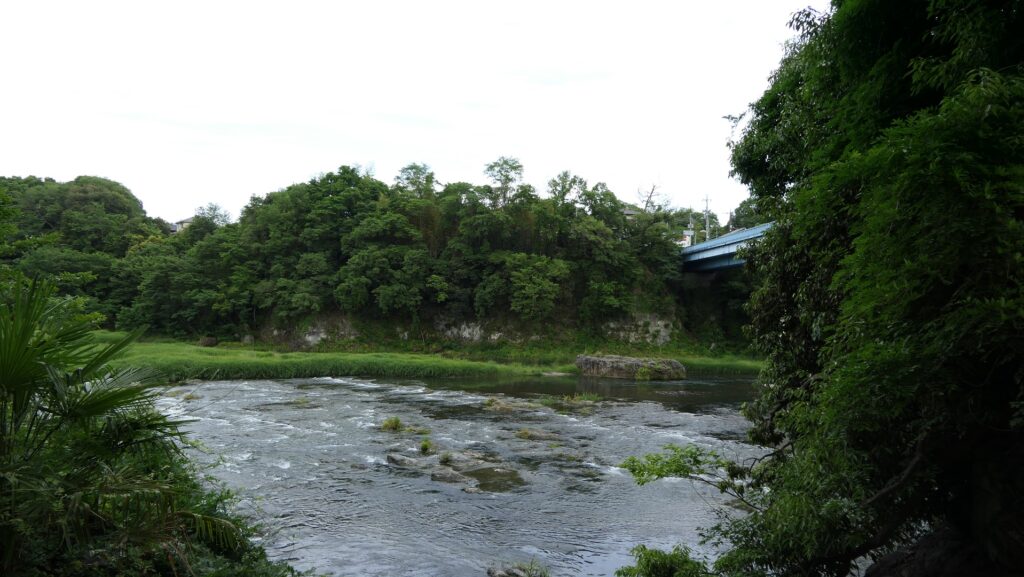
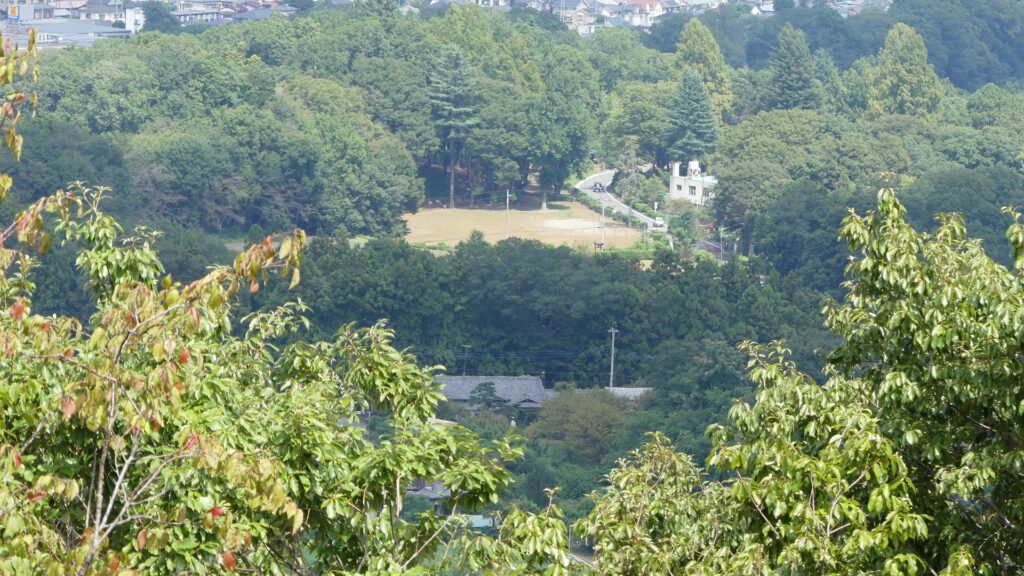
The tip area is a private area where visitors can’t enter, so you can only see this area from the opposite side of the river. If you cross to the opposite, you should check out another great view of the castle ruins on the cliff from the Tamayodo riverbed beside the bridge.
The tip area seen from the opposite sideThe castle ruins seen from the Tamayodo riverbed
Later History
At the beginning of the Showa era (around 1930), the JR Hachiko line was planned to be constructed through the ruins. Locals argued the plan needed to be changed and asked the government to preserve the ruins. They were successful and the ruins was designated as a National Historic Site in 1932. Yorii Town excavated and researched the Second, Third and Sasa Enclosures between 1997 and 2001. Based on these achievements, the town developed the Hachigata Castle Park and restored some structures of the castle. It also opened the Hachigata Castle History Museum in 2004 to display and educate people about the history of the castle and the studies into it.
The Hachigata Castle History Museum
My Impression
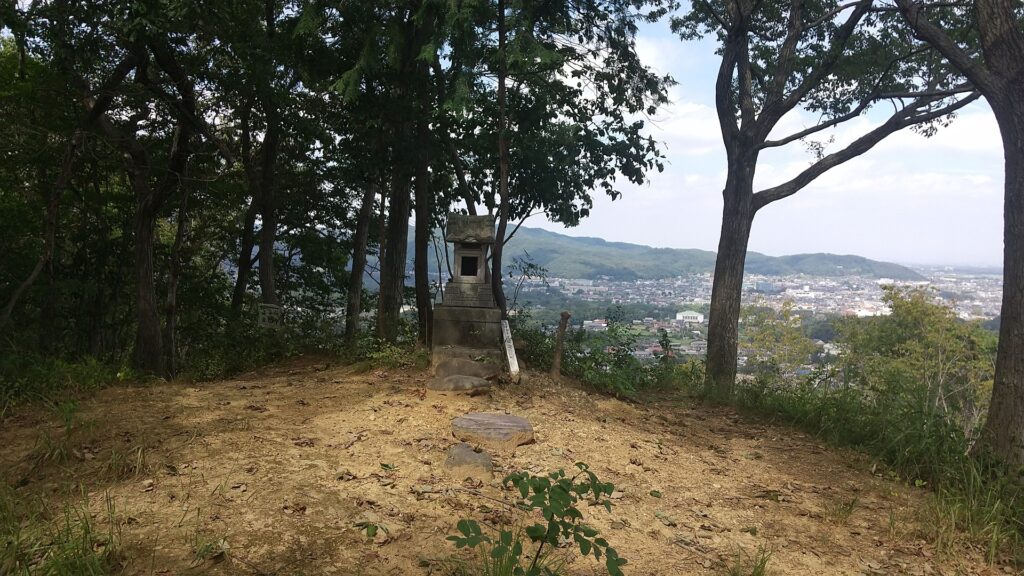
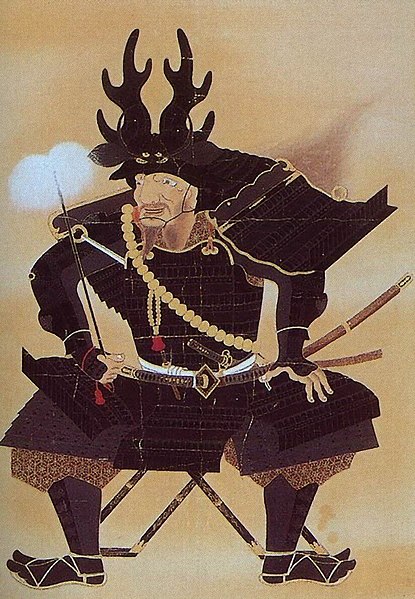
I climbed Kuruma-yama Mountain to its top to confirm that the idea of the attackers firing upon the castle in the battle in 1590 would was realistic. It is widely accepted that General, Tadakatsu Honda brought large guns, fired upon the castle, and broke the Main Gate. The mountain is 227m above sea level and about 100m above the castle, which is about 1km away (the Third Enclosure). A view of the castle ruins from above was actually not good because of the trees surrounding. My conclusion is that not all of the wildly accepted lore is correct. I think the firing itself is the fact, because a large gun shell of several cm in diameter was excavated from the Outer Enclosure of the castle. However, I don’t think shooting from the mountain would have been useful. In the winter campaign of the siege of Osaka in 1614, Ieyasu Tokugawa borrowed the large Western guns and fired upon Osaka Castle from his stronghold on a river delta , about 500m away the castle. Considering this case, shooting at the castle using (probably) Japanese guns 24 years previously, from more than 500m away, even from a mountain could not be done. My speculation is that Tadakatsu put his stronghold on the mountain but fired upon the castle from a place much closer to it than the mountain.
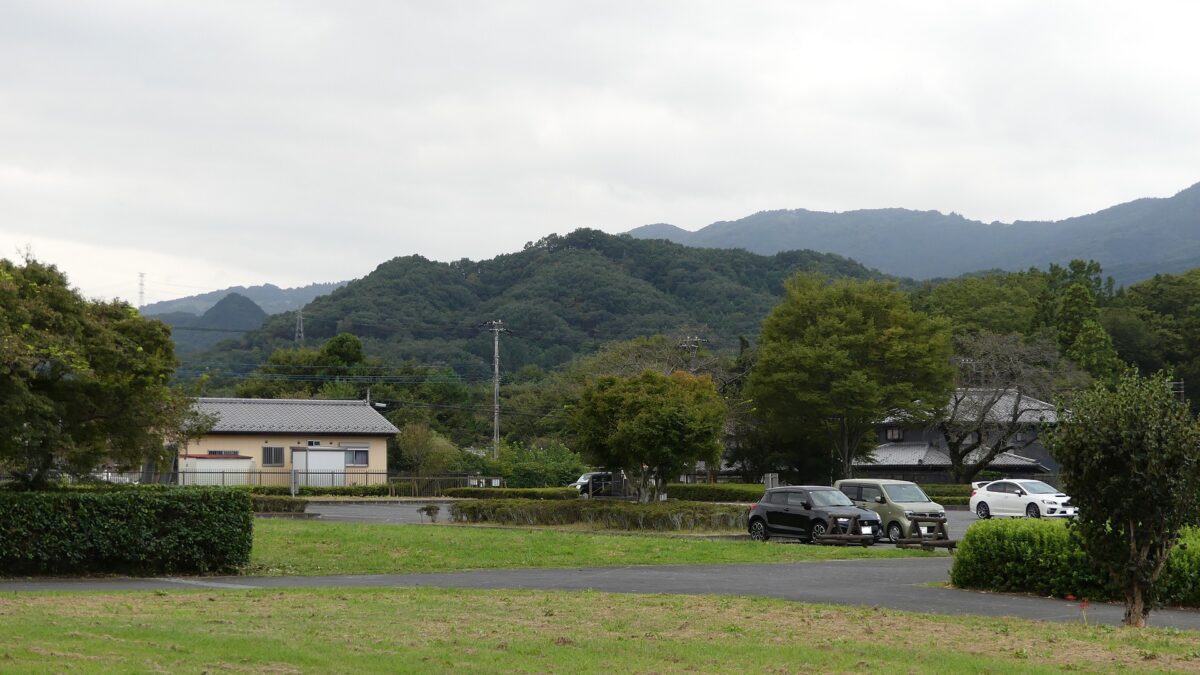
The Kurumayama Mountain seen from around the southern entrance of the ruinsThe top of the mountainI could just see part of the Main Enclosure from the top due to the trees surroundingThe portrait of Tadakatsu Honda, owned by Ryogenji Temple (licensed under Public Domain via Wikimedia Commons)
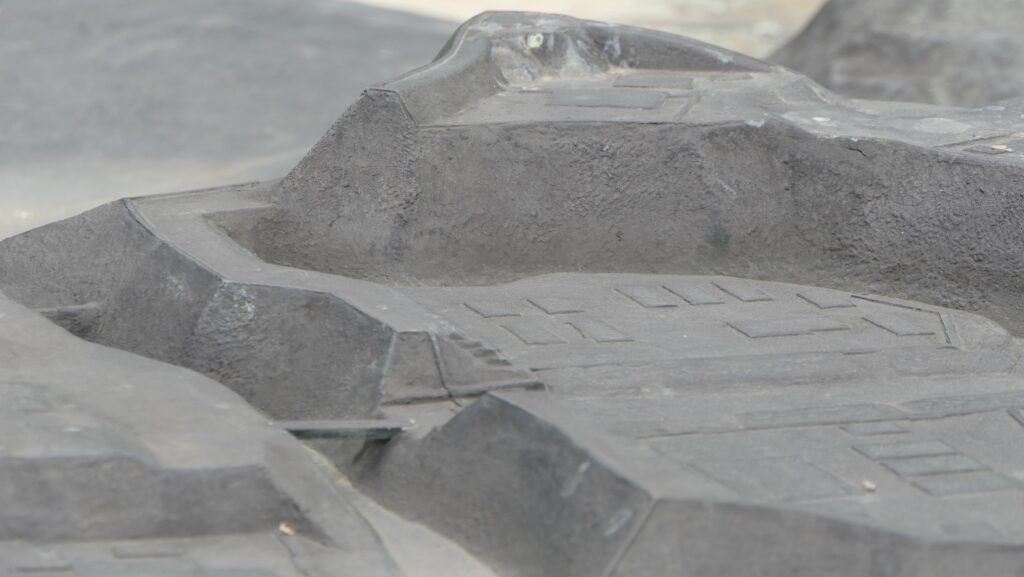
The relief map around Hachigata Castle
The relief map around Osaka Castle, using the same reduced scale as above
How to get There
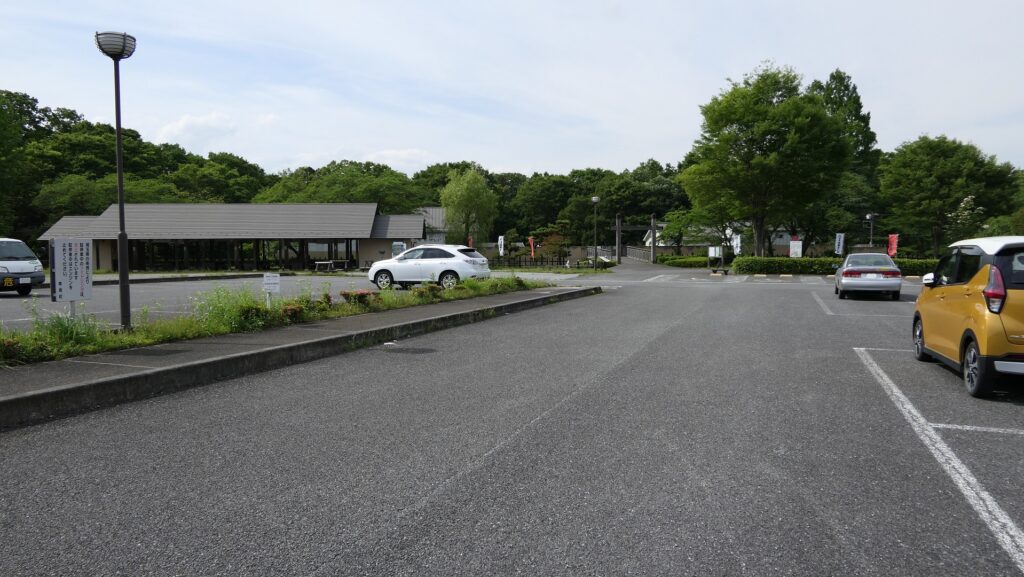
I recommend using a car when you visit the castle ruins because there are only a few buses available. It is about a 20-minute drive away from Hanazono IC on the Kanetsu Expressway. There are several parking lots in the park. If you want to use public transportation, it takes about 30 minutes on foot to get there form Yorii Station. From Tokyo to Yorii Station.: Take the Tobu-Tojo line from Ikebukuro Station, or take the Joetsu Shinkansen super express from Tokyo Station to Kumagata Station, and transfer to Chichibu Railway.
In this article, let us simulate walking from the outer southern edge of the castle through the center to the tip.
Features
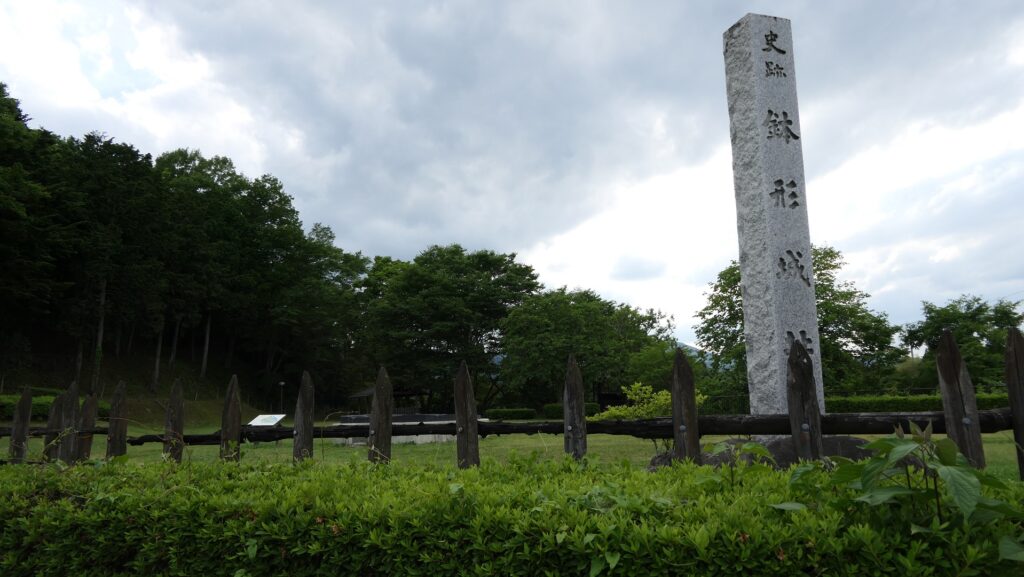
Castle becomes Hachigata Castle Park
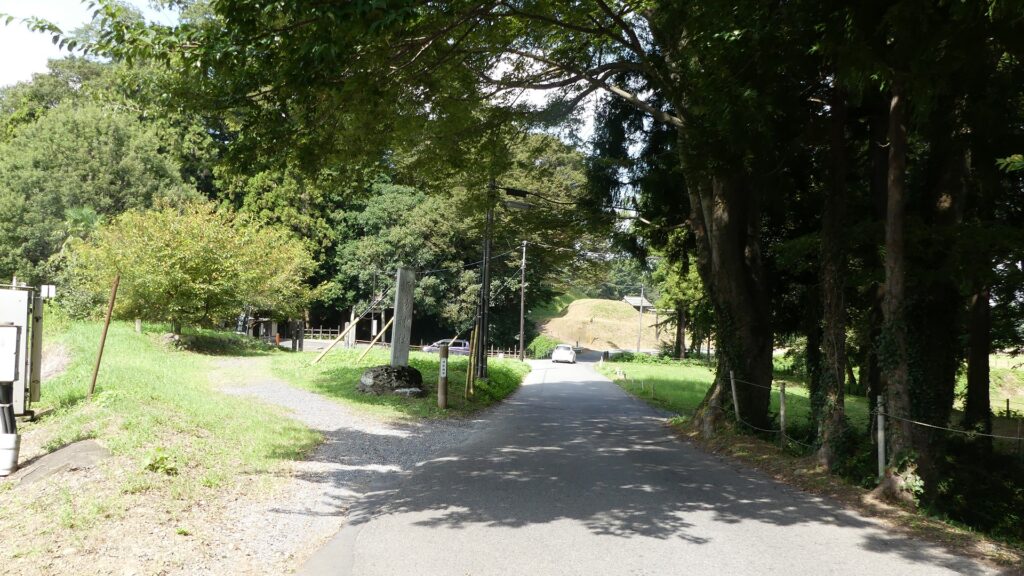
Today, the ruins of Hachigata Castle have widely been developed as Hachigata Castle Park of about 5 hectare.s Many people visit to see the historical artifacts on display in the castle, as well as enjoy walking and relaxing in a nature setting. For example, there is a big cherry blossom tree which has recently become popular, called “Ujikuni Sakura (Cherry Blossom)”, named after the lord of the castle, Ujikuni Hojo. I recommend you allow yourself enough time to walk around the park to check the important artifacts of the castle and hopefully discover more interesting things to you. In this article, let us simulate walking from the outer southern edge of the castle (the outside of the Third Enclosure) through the center (the Main Enclosure) to the tip (near the meeting point of the rivers).
The big cherry blossom tree, “Ujikuni Sakura”
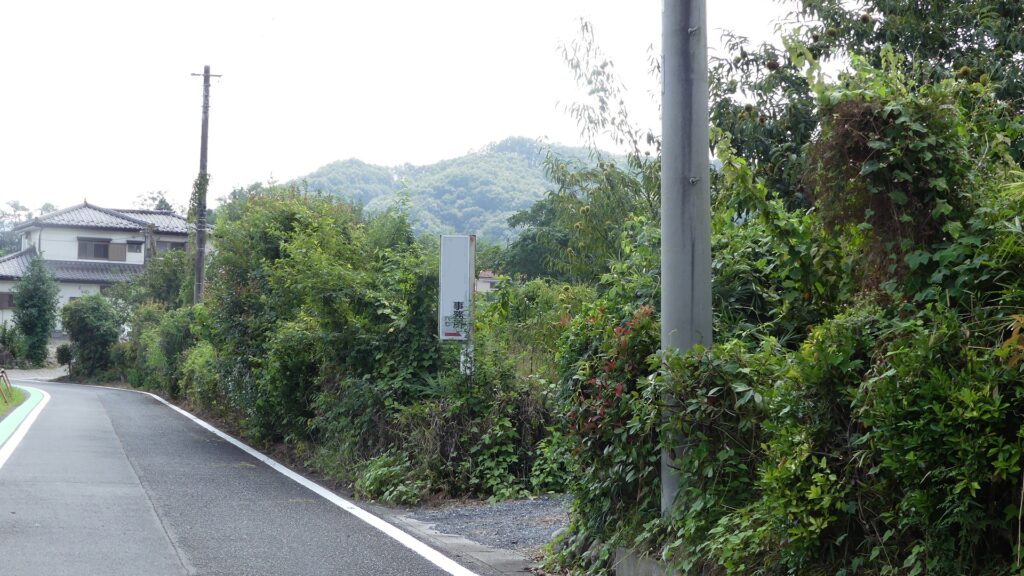
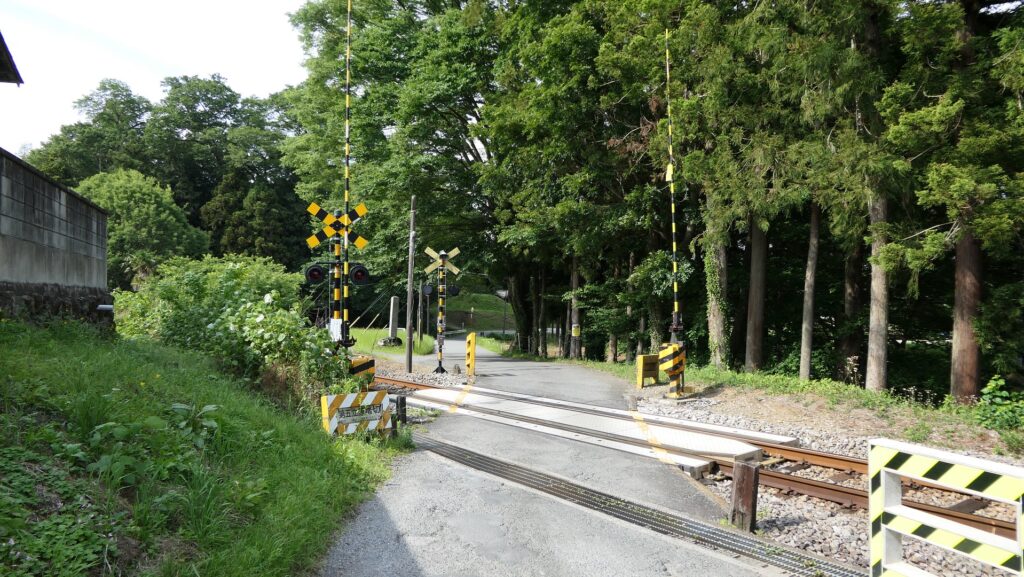
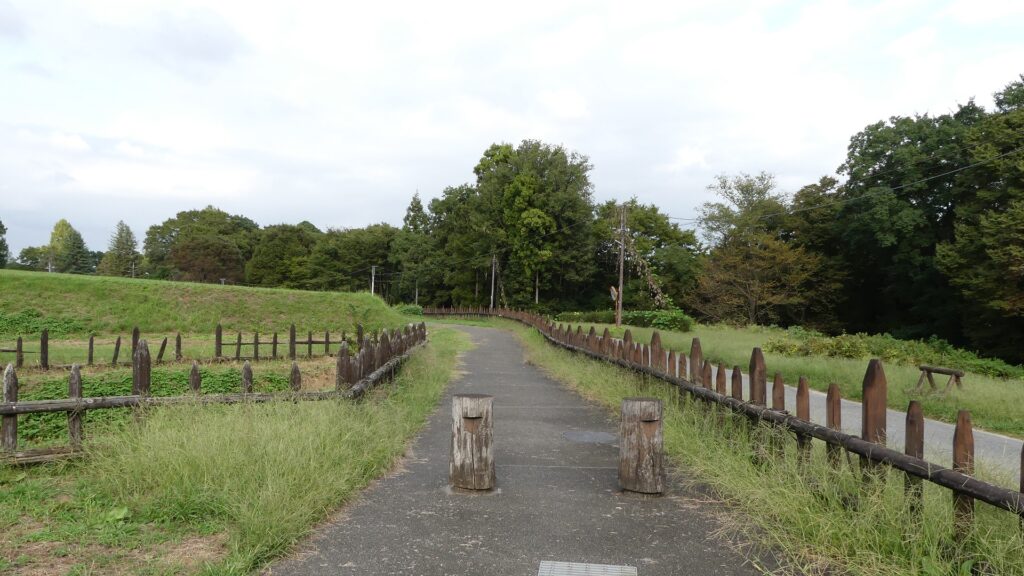
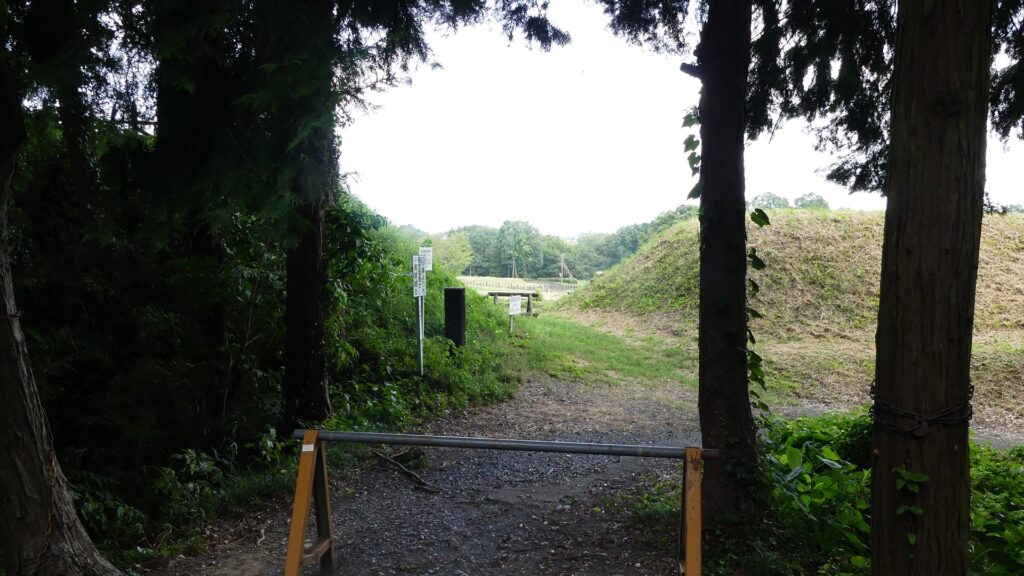
The front of the castle is near the railway crossing between the path and the Hachiko Line. The path after the crossing will divide into three – the centeral paved one which visitors usually go, the right one which was the Main Route, and the left one which leads to the Third Enclosure. The first route is convenient for casual visitors, however, we will take the second and third this time, in order to follow the original routes as closely as possible.
The map around the castle, the red broken line shows the route similar to the original Main Route and the blue broken line shows the route to the Third Enclosure
The railway crossingThe junction of the three routes
Going on Main Route
The right Main Route goes over some large deep moats beside the Main Route Enclosure, which could have been defensive.
The right Main RouteThe moat beside the entrance of the route (on the left)The Main Route Enclosure on the right
The route next turns left at a square Umadashi enclosure, which was the key to the castle’s defenses. From there, it goes towards the center of the castle and finally reaches the border of the Third and then Second Enclosures.
The route turns left at the Umadashi EnclosureIt goes to the Second EnclosureThe part of the Main Route in the castle diorama
You can see another Umadashi enclosure from the outside at the point, but originally, the route would have passed through it.
Another Umadashi is outside on the rightThe route goes straight to the Second Enclosure, not thought the Umadashi The route passed thought the Umadashi according to the diorama
Going to Third Enclosure via Suwa Enclosure
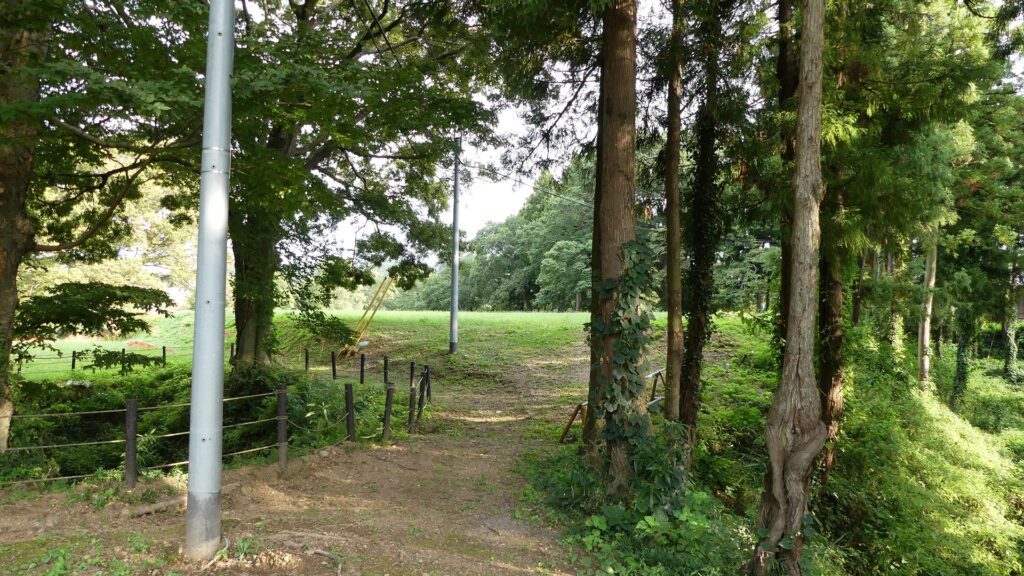
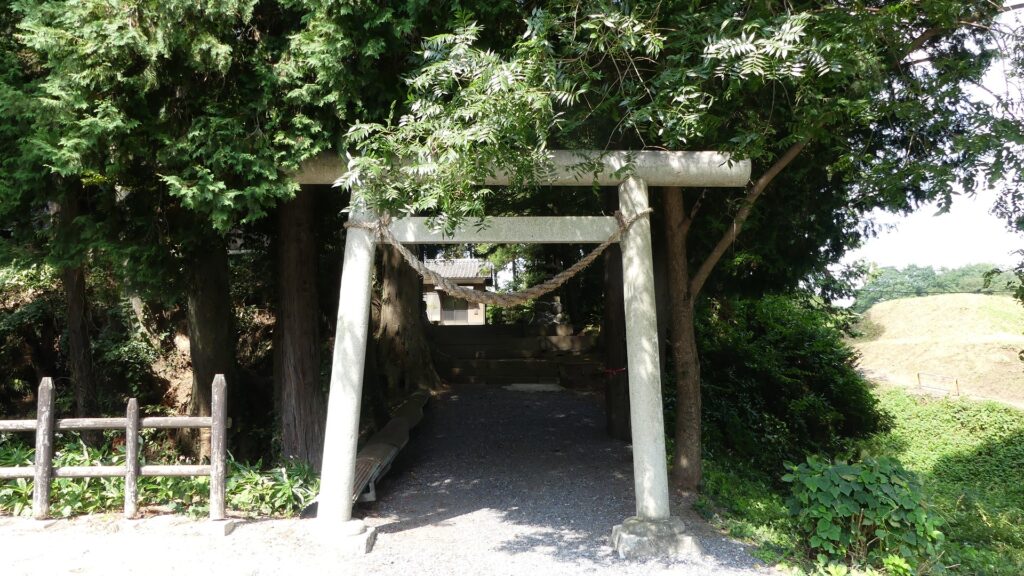
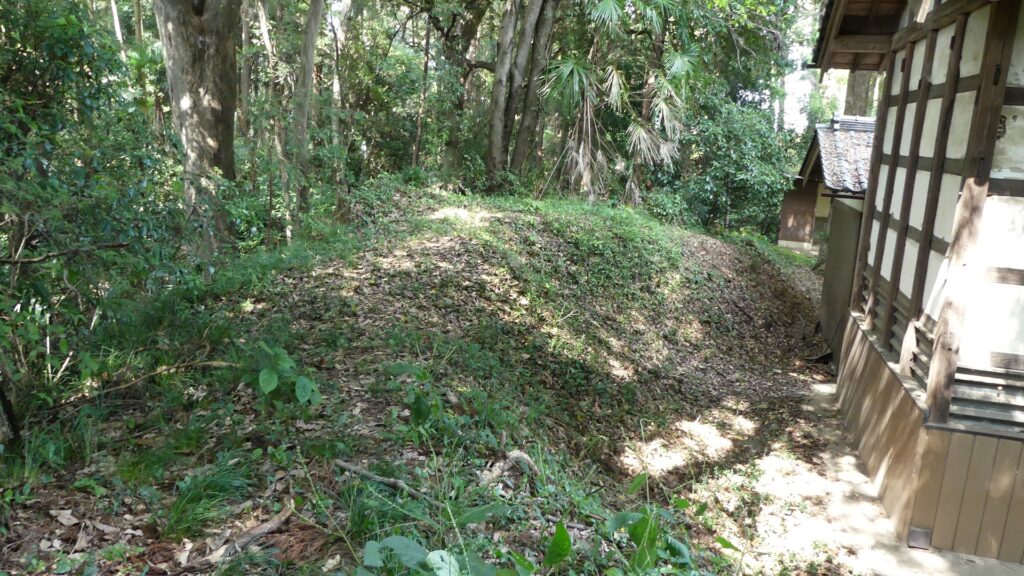
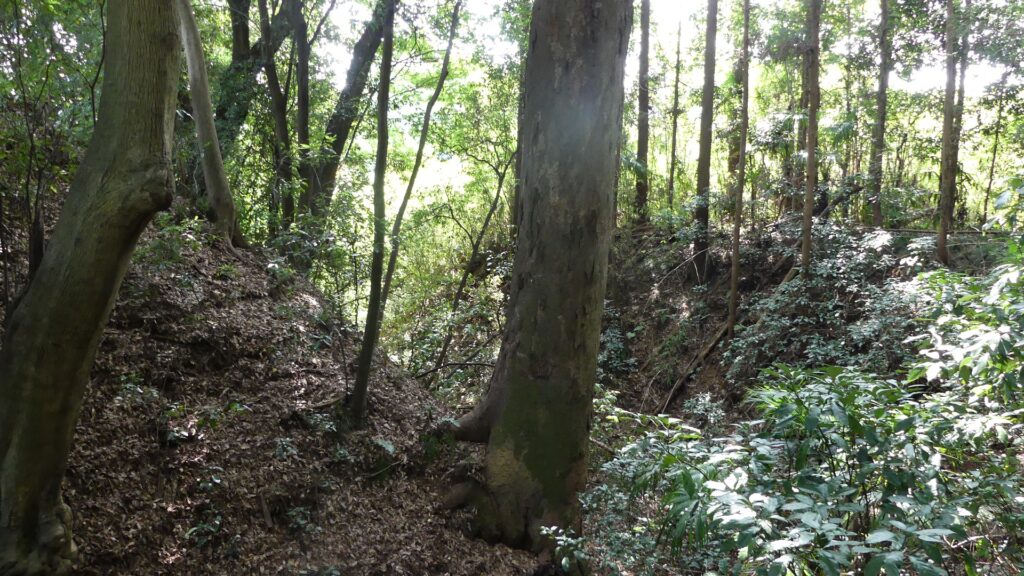
The left route is currently the approach to Suwa Shrine, also called the Suwa Enclosure. It is a square patch of land, still surrounded by earthen walls and deep dry moats, which are obviously a type of Umadashi system.
Entering the Suwa EnclosureThe earthen walls surrounding the enclosureThe dry moat outside the earthen walls
Another narrow path connects one side of the Umadashi to the entrance of the Third Enclosure, which looks very defensive. These are typical of the Hachigata Castle defense system.
Going from Umadashi of the Suwa Enclosure to the Third EnclosureThe entrance of the Third Enclosure, viewed from insideThe part of the Suwa Enclosure, the red arrow indicates the direction of the current route
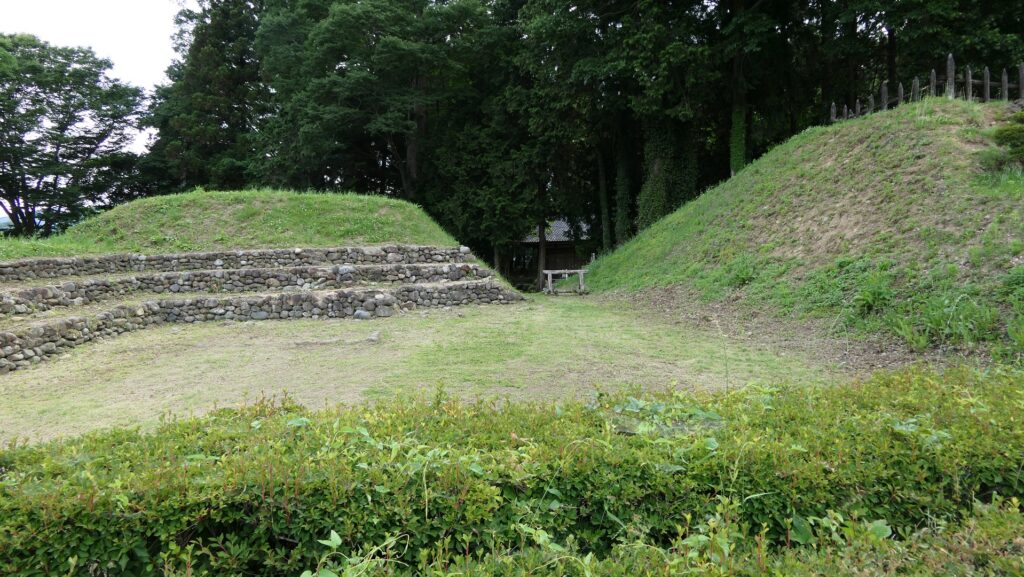
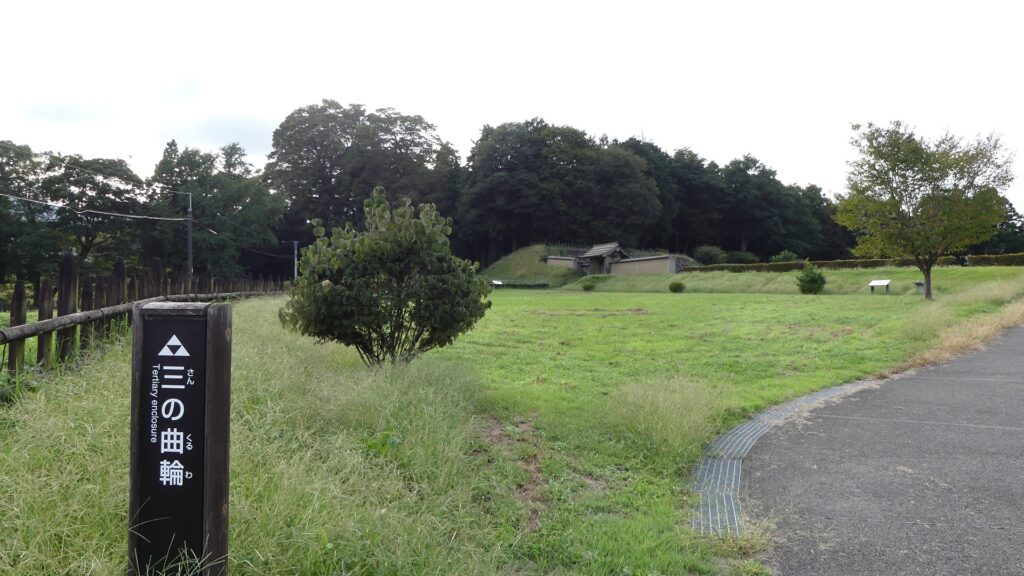
Third Enclosure as Important Site
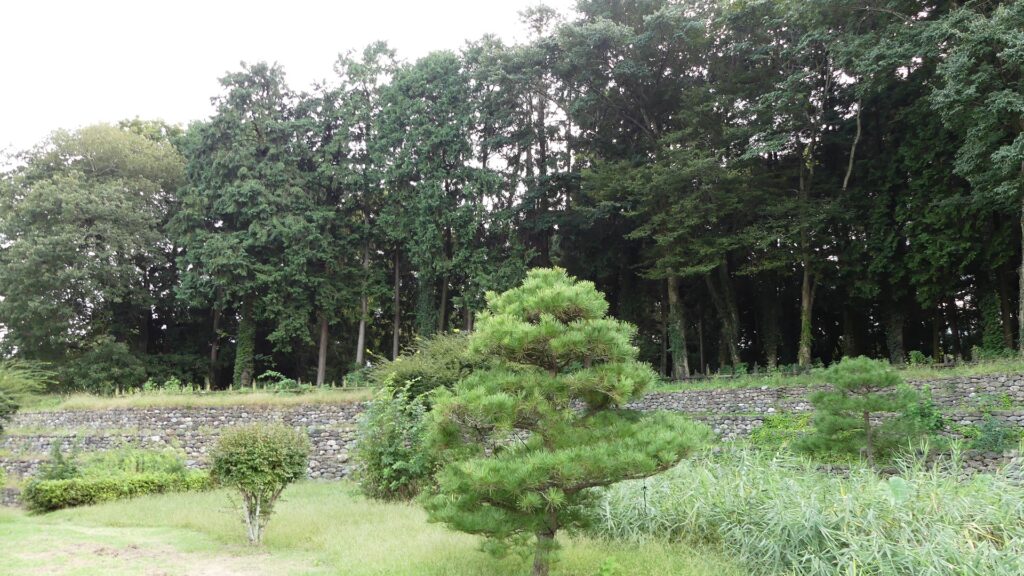
The Third Enclosure is the highest point of the castle. Tall, thick earthen walls, supported by stone mounds inside, (looking like stone walls), surround the enclosure. These structures were restored in the present time based on excavation records. A four-legged gate was also restored based on the research. Other evidence of buildings like halls has not been found so far, but the enclosure must have been important for the castle.
The Third EnclosureThe earthen walls, supported by stone mounds, surround the enclosureThe restored four-legged gate