16.Minowa Castle Part2

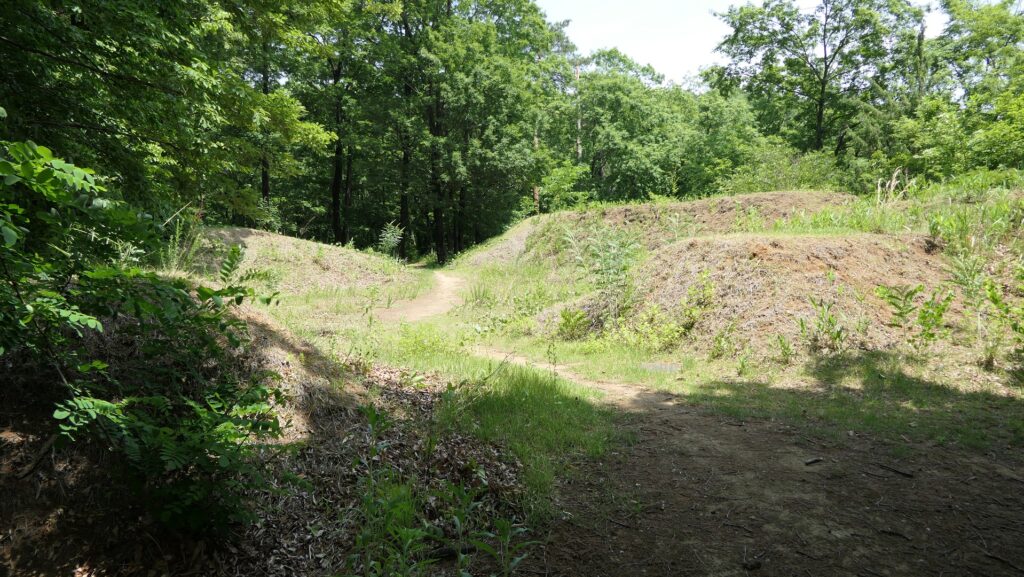
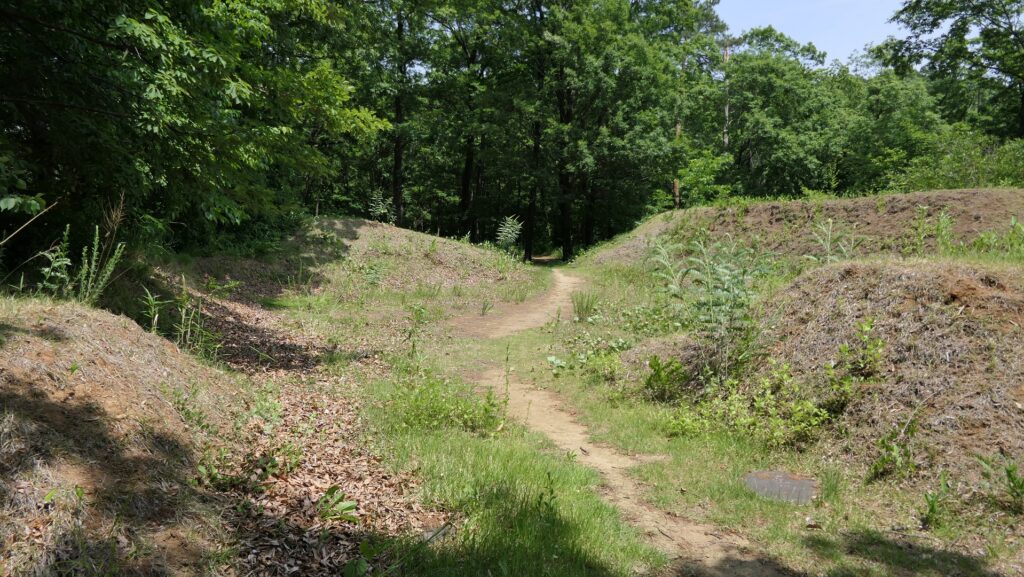
You can see how the castle was developed at the site.

Features

Older part of Castle

Today, the ruins of Minowa Castle have been well developed for visitors. If you have a car, you can park at some parking lots for the visitors beside the ruins. The main parking lot is the eastern foot of the hill where the castle was located. You can walk up from the parking lot to the ruins on a gentle winding slope which was actually the Back Route. You will first reach the Second Enclosure, part of the main portion of the castle.

The map around the castle
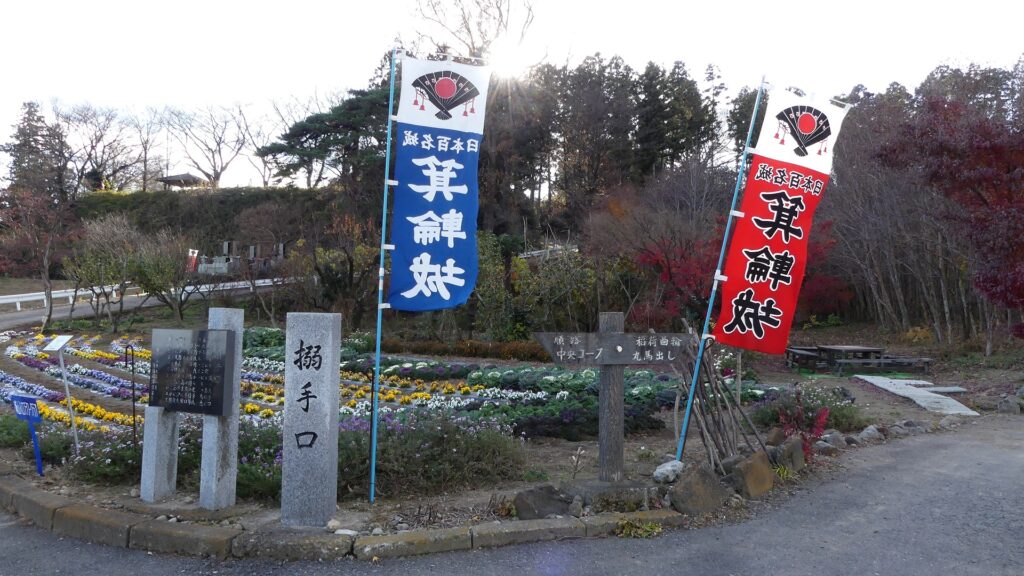
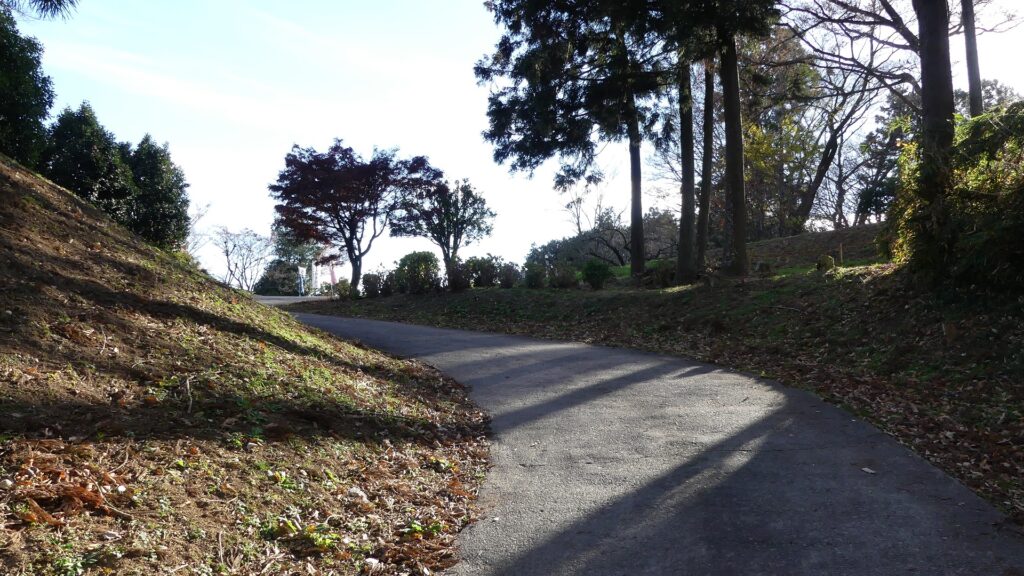
The Back Route
Going to the Second Enclosure

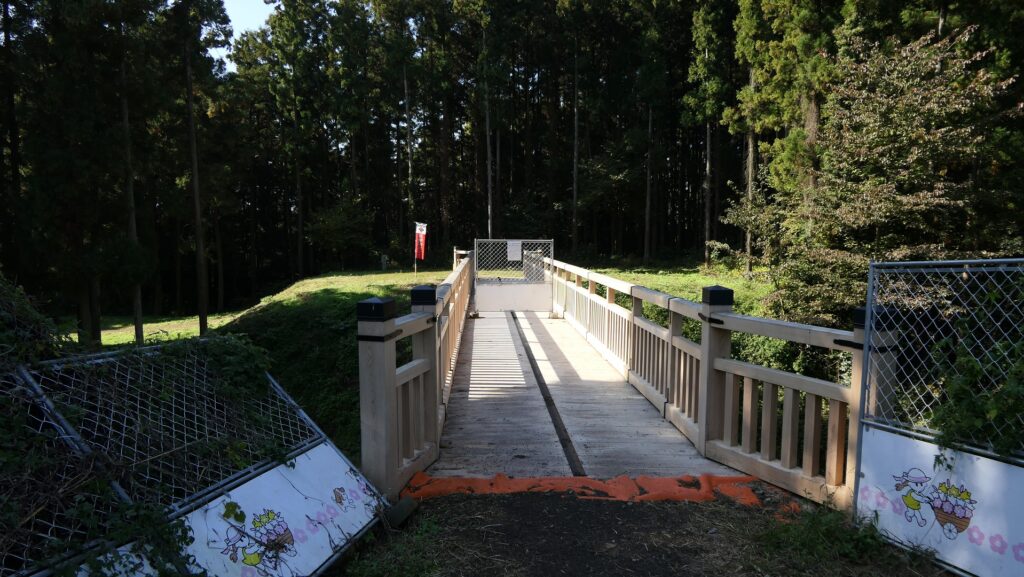
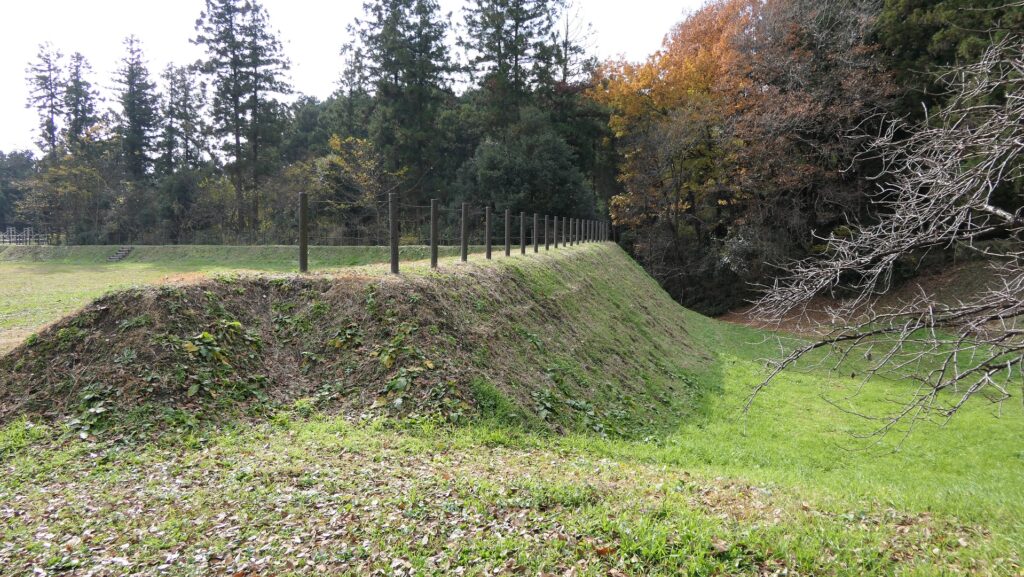
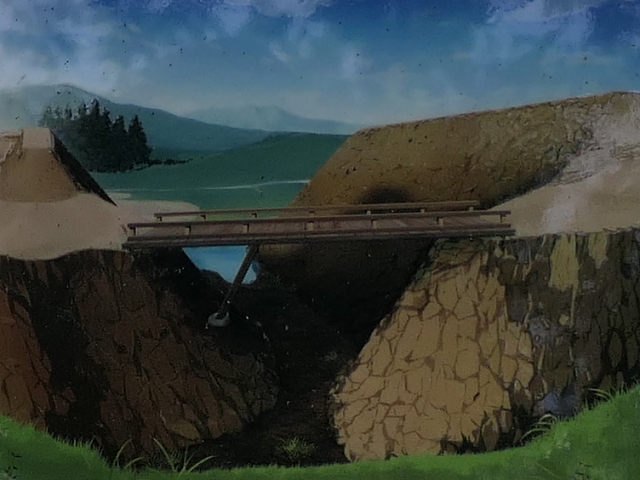
The main portion consists of the Second, Main and Gozen Enclosures from south to north. These enclosures are basically surrounded by thick earthen walls and divided by deep dry moats, which are the oldest part of the castle. If you walk into the Main Enclosure where the hall of the lord was built, you can now see the recently restored wooden bridge connecting to the western part of the castle.
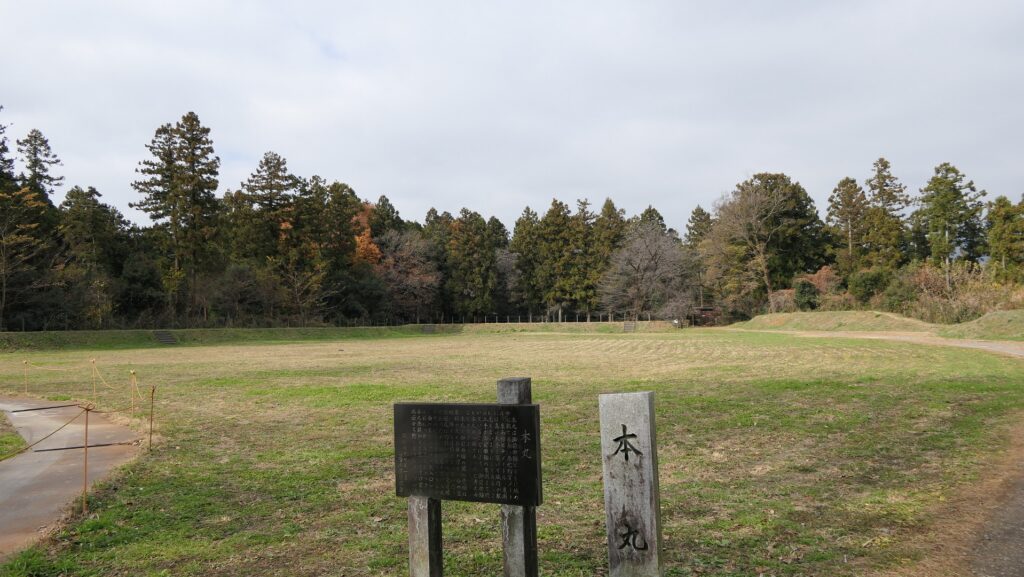
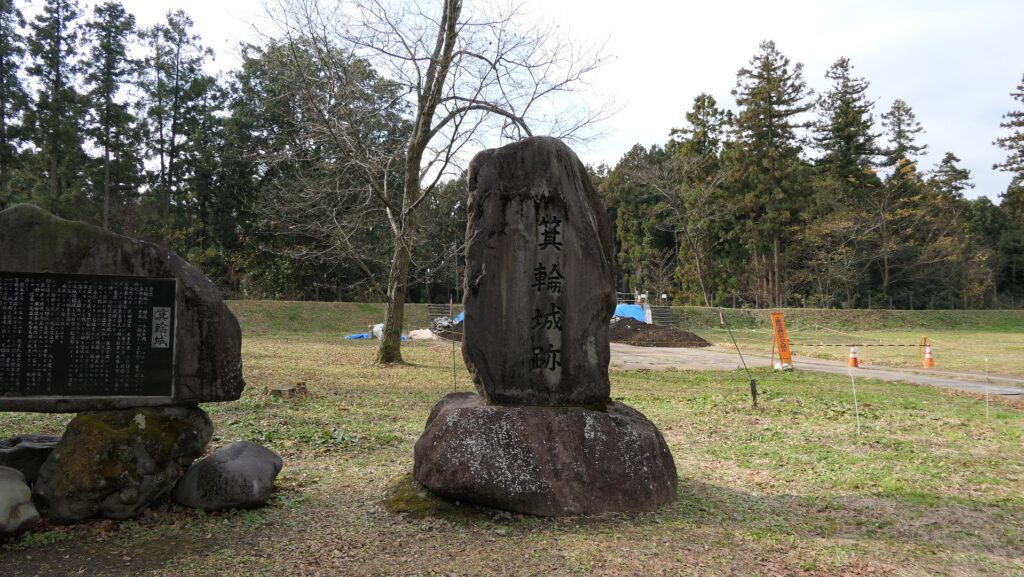
The Main Enclosure
The stone monument of the castle in the Main Enclosure
The wooden bridge connecting to the western part of the castle
The earthen walls of the Main Enclosure and the dry moat beside it

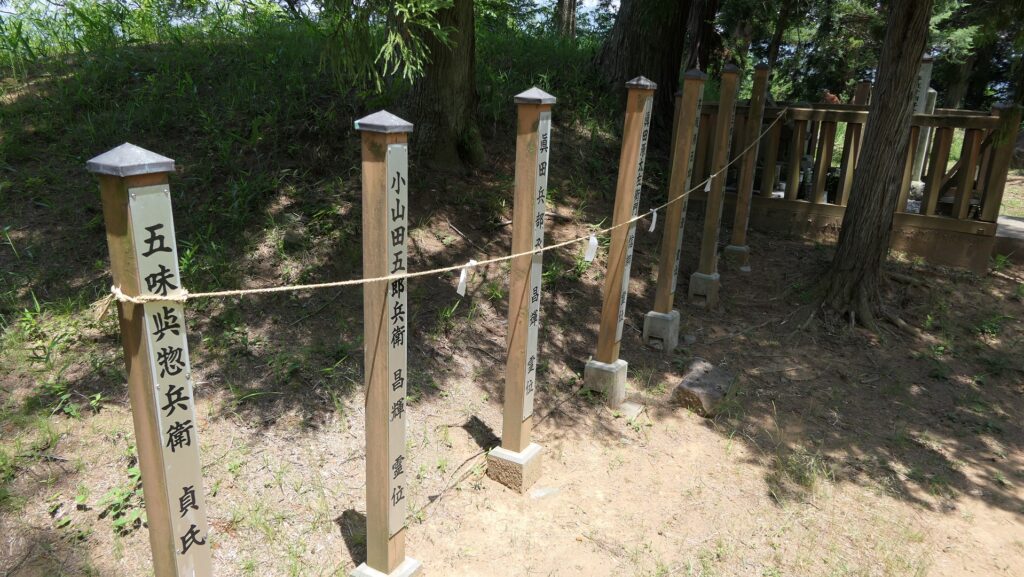
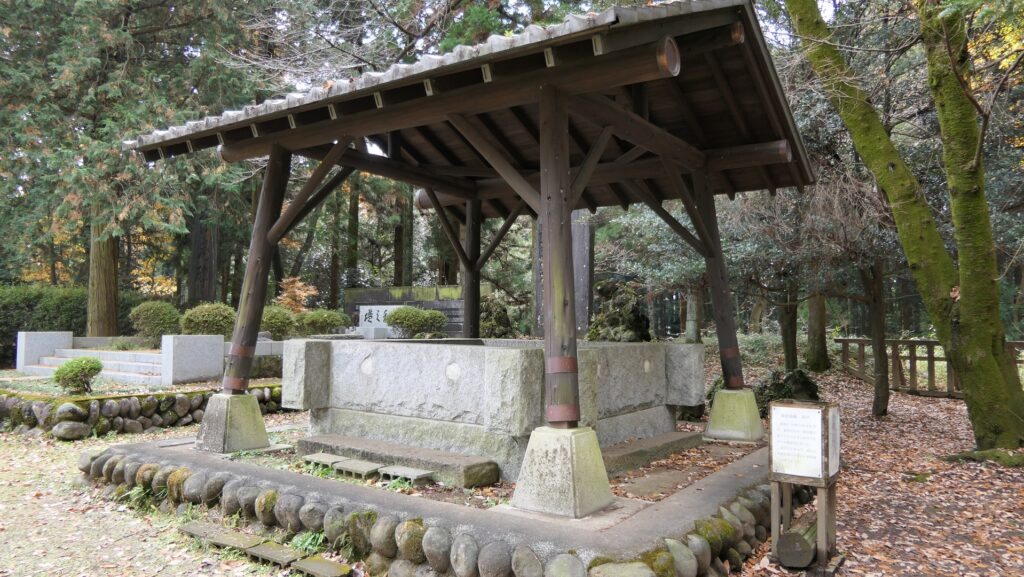
If you go further, you will reach the Gozen Enclosure, the last part of the Nagano Clan. There is the well in the enclosure, which was discovered in 1927, where many memorial tablets of the clan were found from the bottom. That meant the episode when the clan had been defeated may have been confirmed.
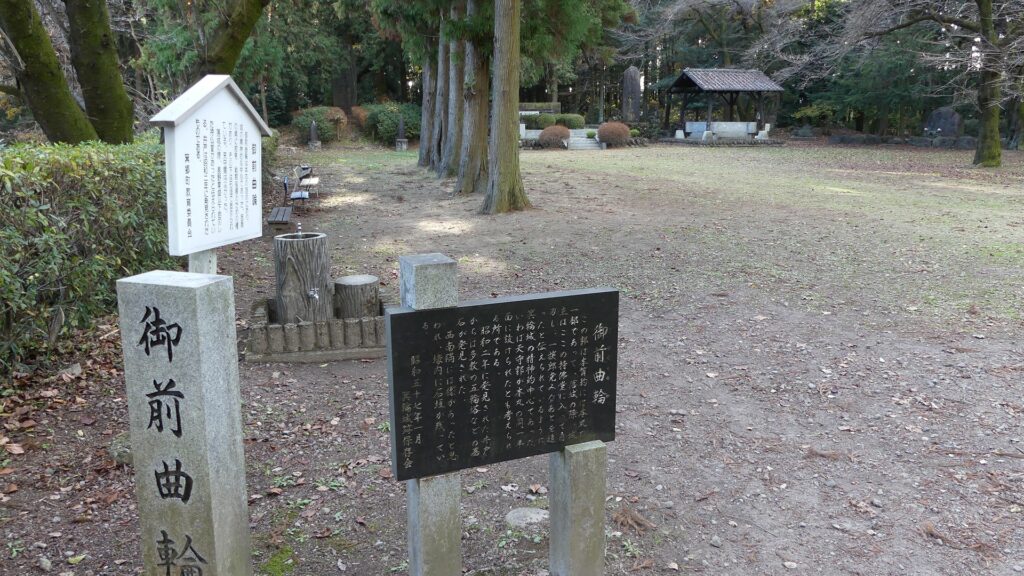
The Gozen Enclosure
The well where many memorial tablets of the clan were found

Vast Dry Moat

You can walk down the steep trail on the northern edge of the Gozen Enclosure to the bottom of the dry moat. If you turn right to the east, you will reach the Inari Enclosure that Naomasa Ii built. This enclosure had a water moat on the side in the past.
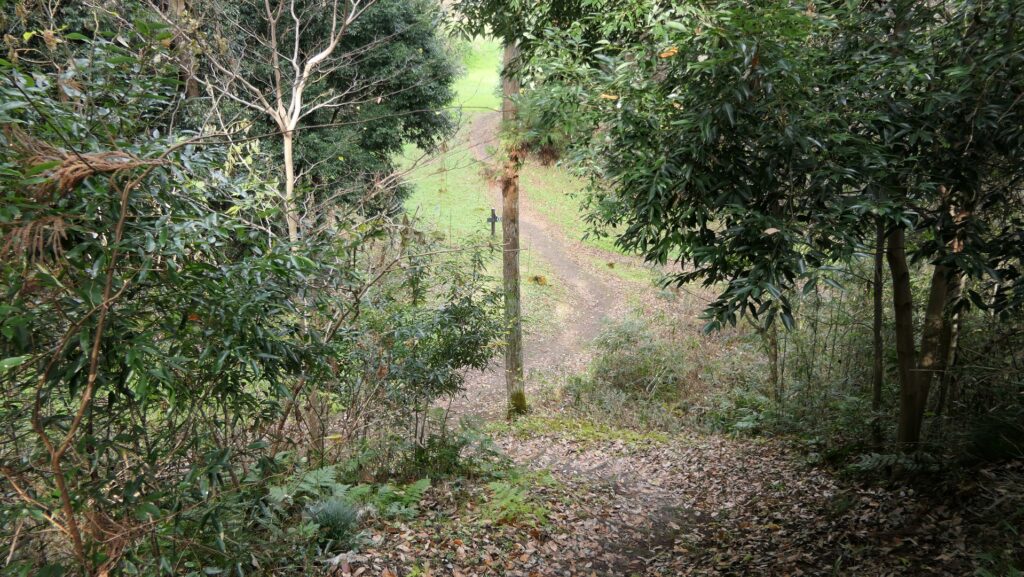
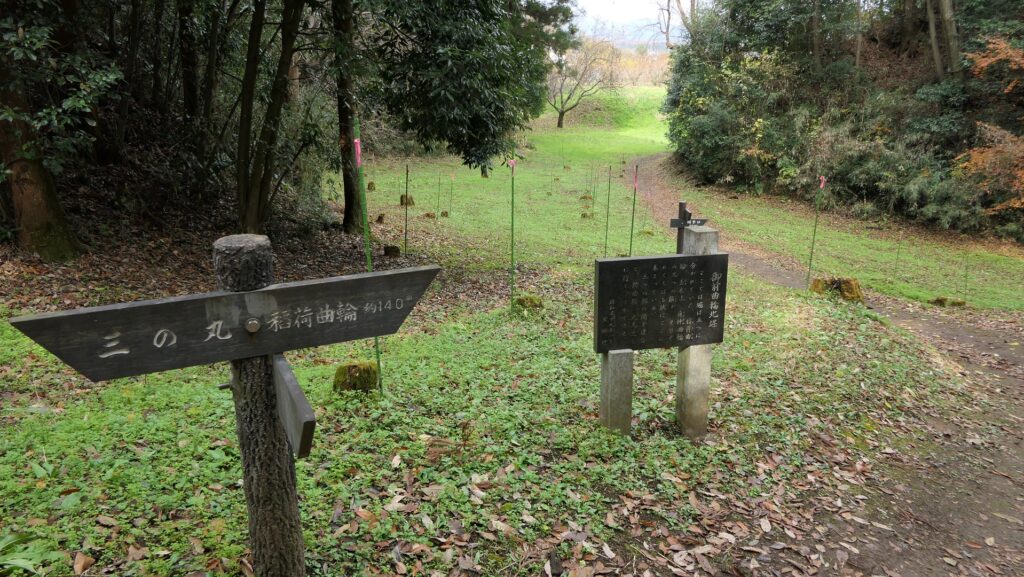
Walking down from the Gozen Enclosure to the bottom of the dry moat
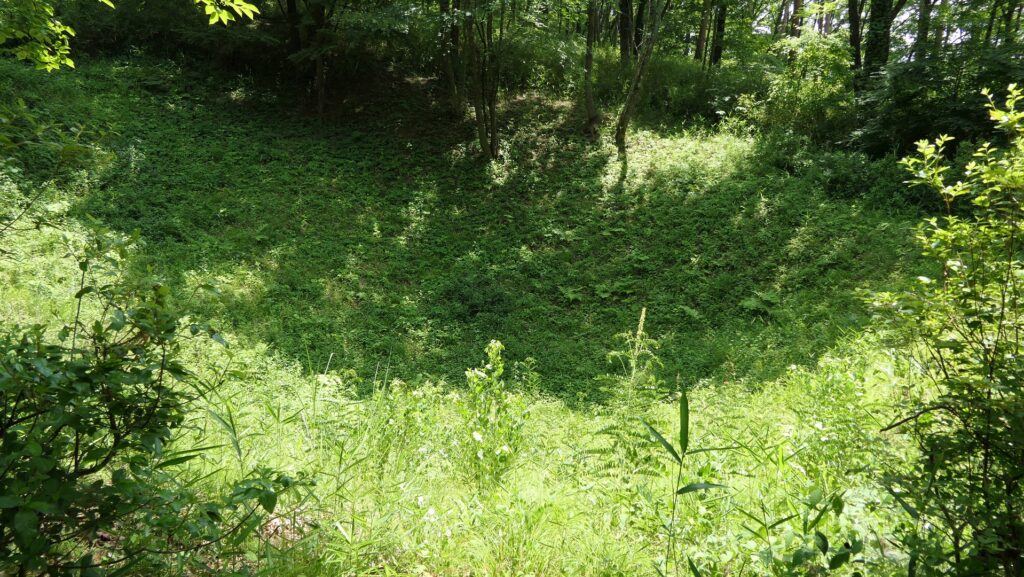
The bottom of the dry moat beside the Gozen Enclosure
The Inari Enclosure and the former water moat beside it

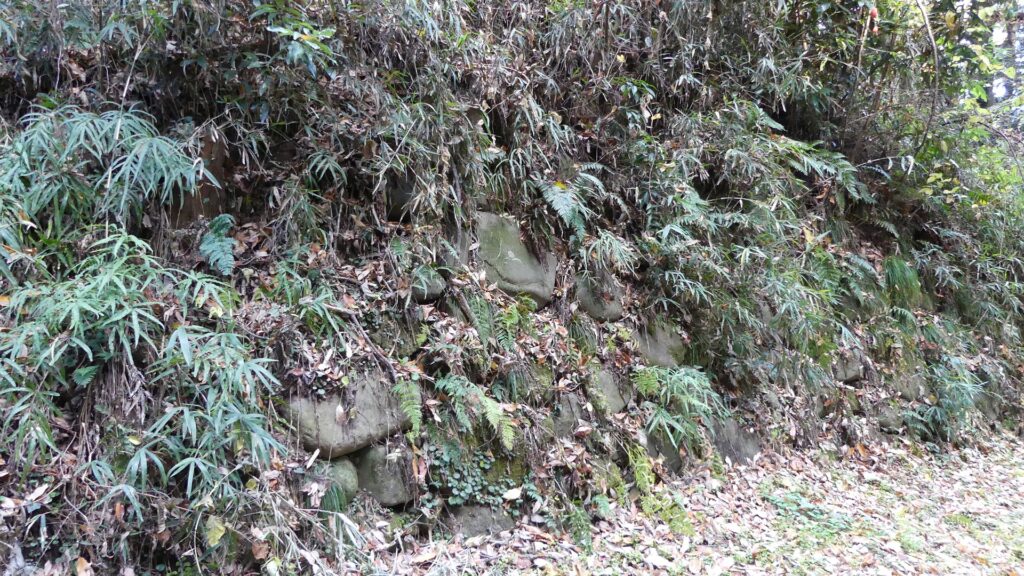
If you turn left to the west, you can walk around the bottom and see how large and deep the moat is. You can also see the older stone walls surrounding the Gozen Enclosure, which the Nagano Clan might have built. If you go further to the south, you will arrive at the Second Enclosure.
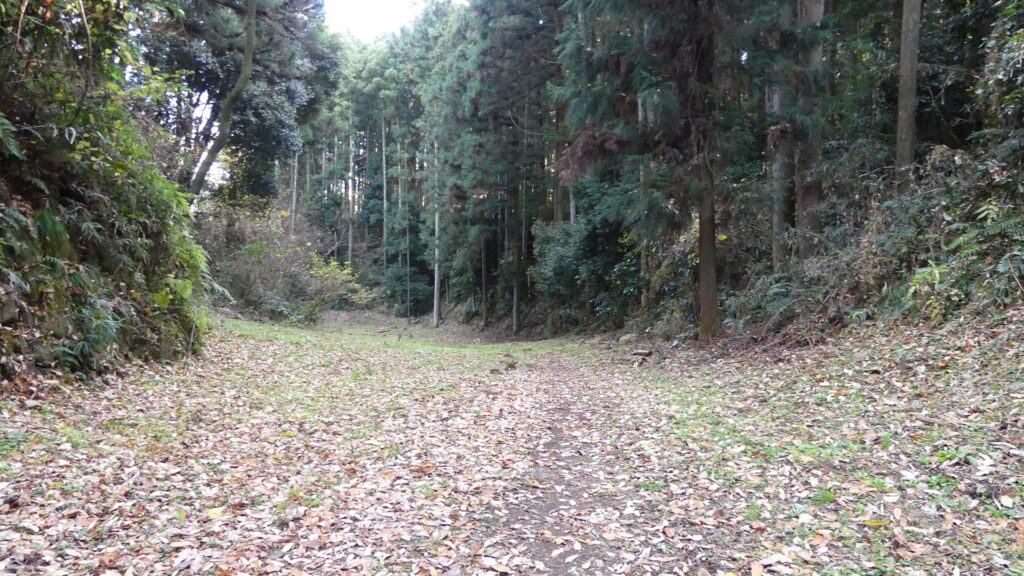
The vast bottom of the dry moat
The remaining stone walls under the Gozen Enclosure
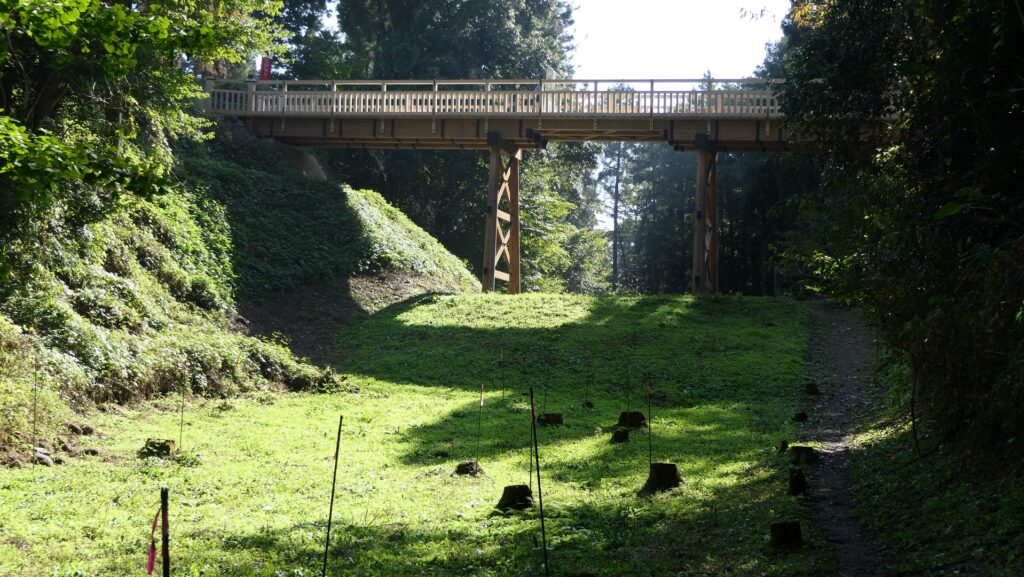
Going back to the Second Enclosure through under the wooden bridge

Umadashi System is developed later

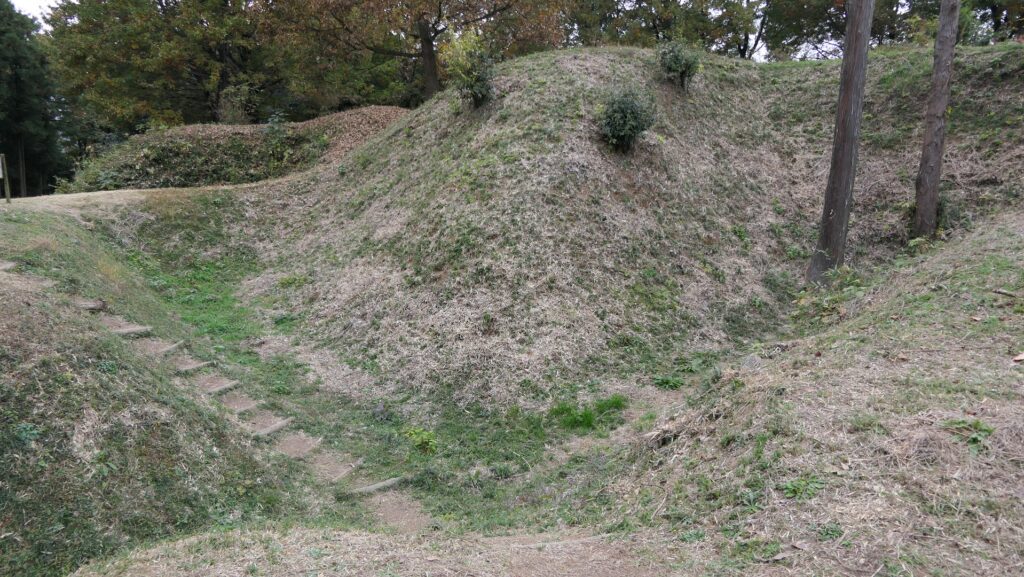
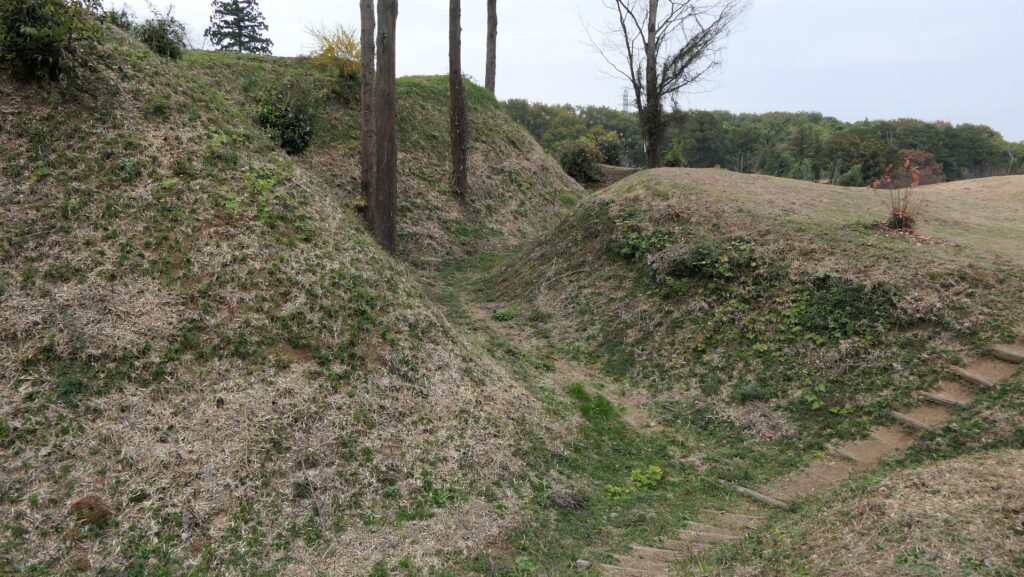
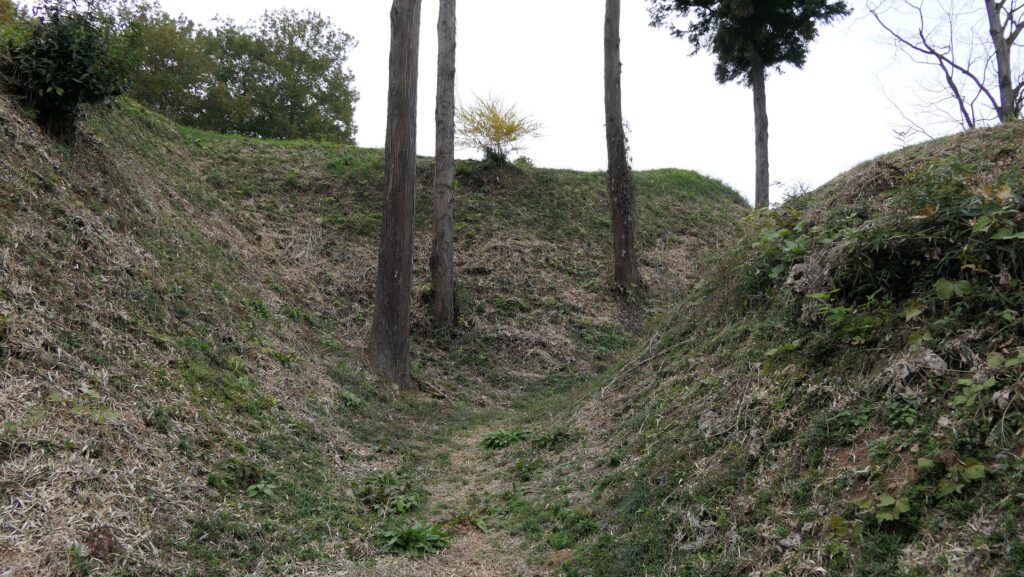
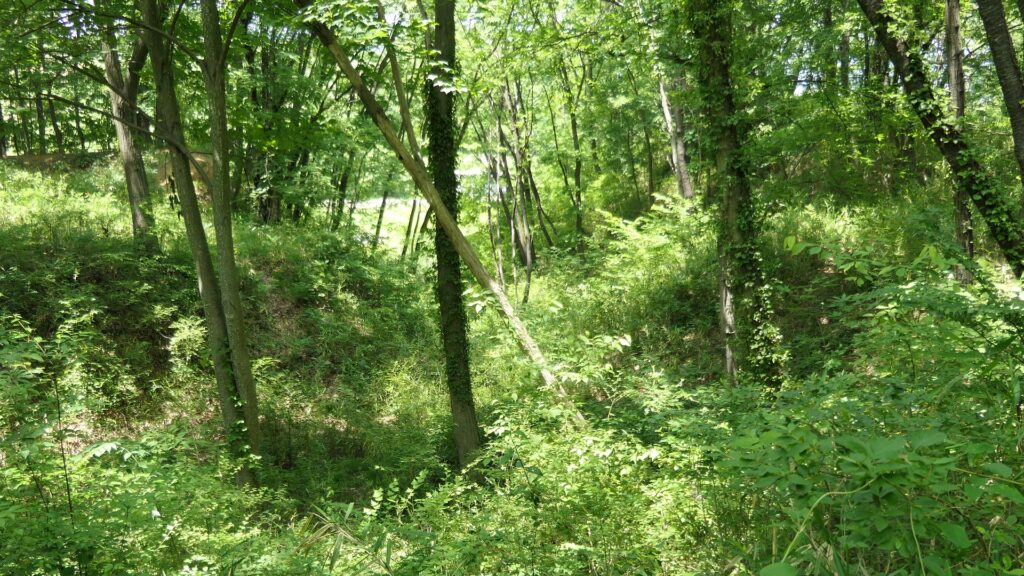
The Second Enclosure was the pivot of offence and defense, where the three main routes to the castle are all together. Other than the Back Route from the east, the Main Route comes from the west and the other route comes from the south. In particular, a great artificial trench called O-Horikiri is dug in the southern side of the enclosure to prevent enemies’ attacks.
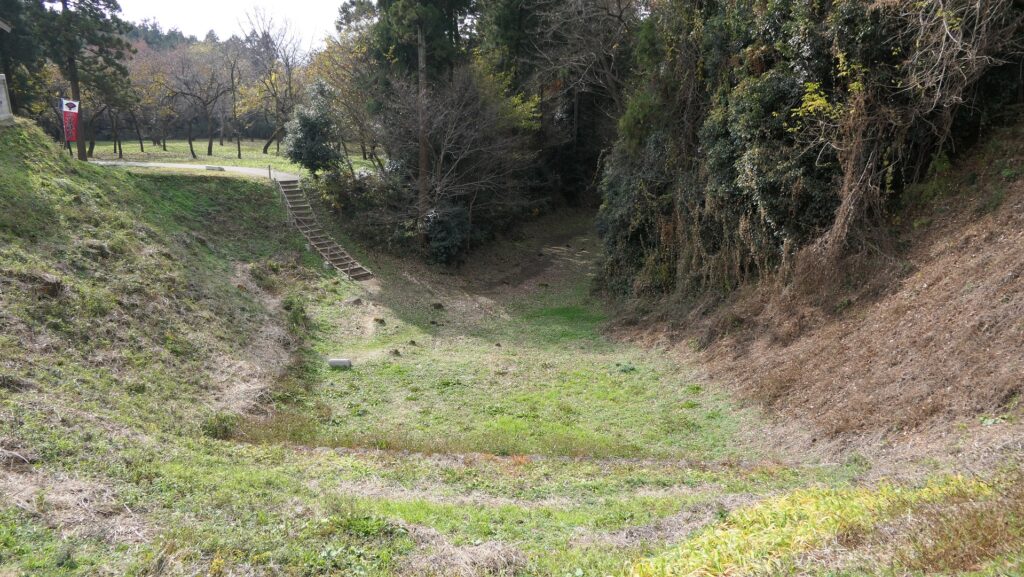
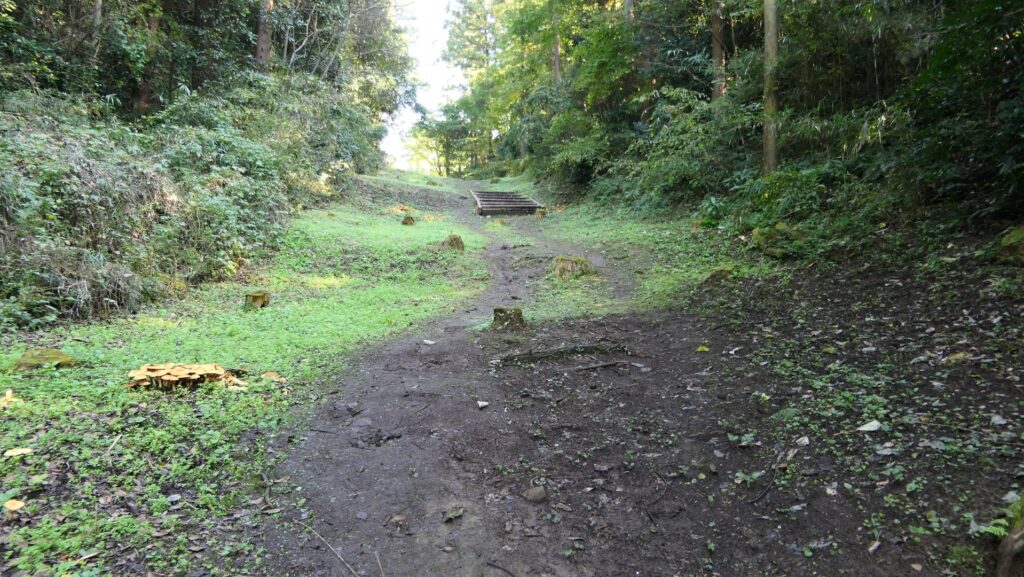
The great artificial trench
The bottom of the trench
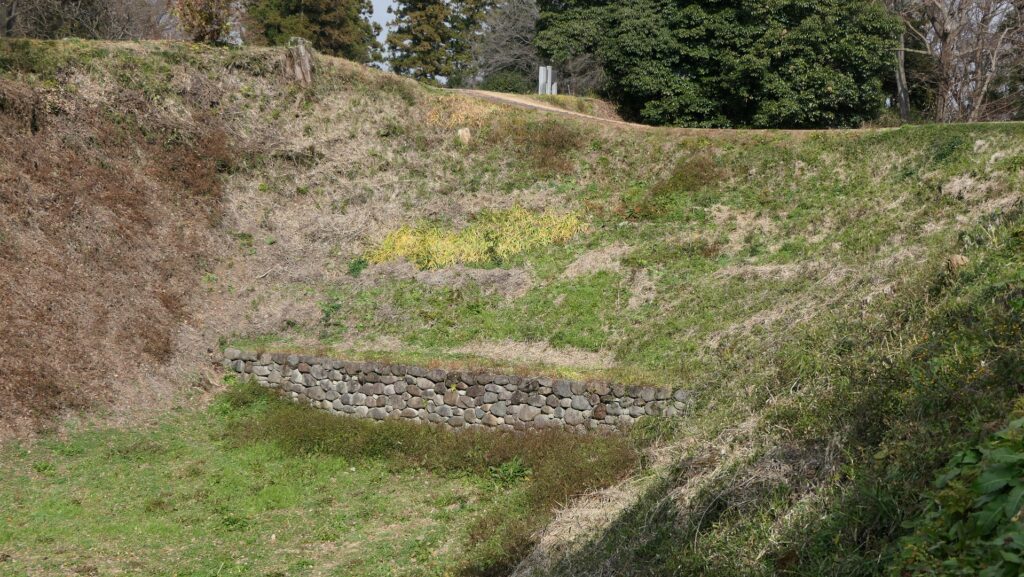
The stone walls under the earthen bridge over the trench

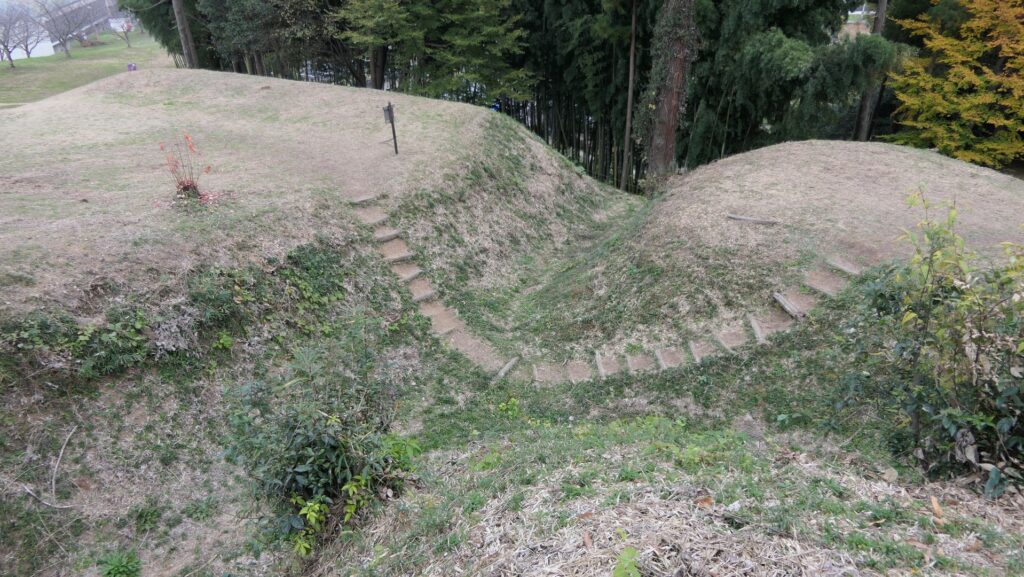
Only the narrow earthen bridge is over the trench, connecting to the southern route. Moreover, a square stronghold called Kaku-Umadashi is sticking out of the Second Enclosure through the bridge. The Umadasi system is a unique defense system which the Takeda and Tokugawa Clans often used. This system in Minowa Castle was probably developed by Takeda and completed by Naomasa under Tokugawa. The two-story turret gate called Kaku-umadashi Western Entrance Gate was recently restored based on the achievement of the excavation, which had been the symbol of the castle.
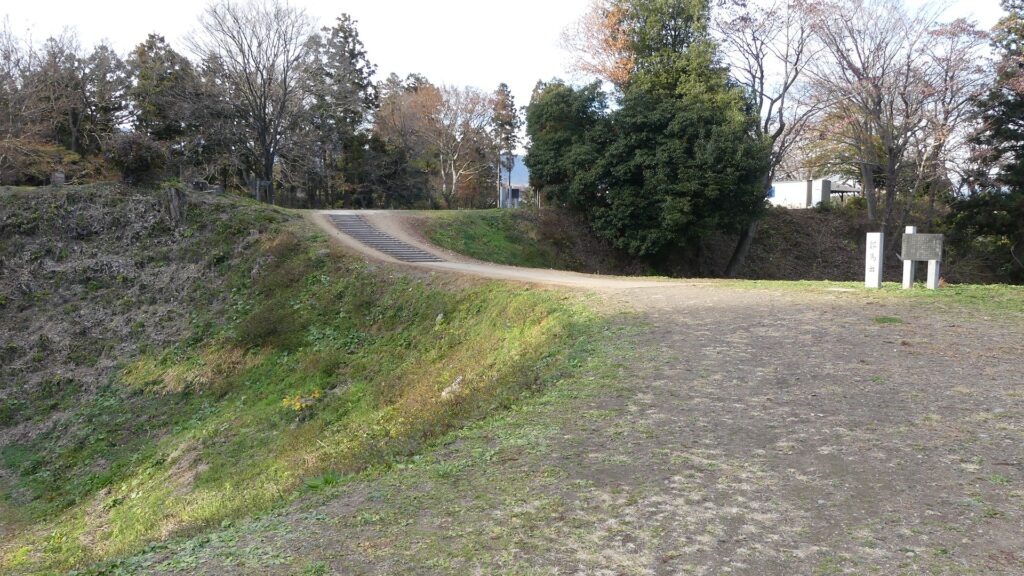
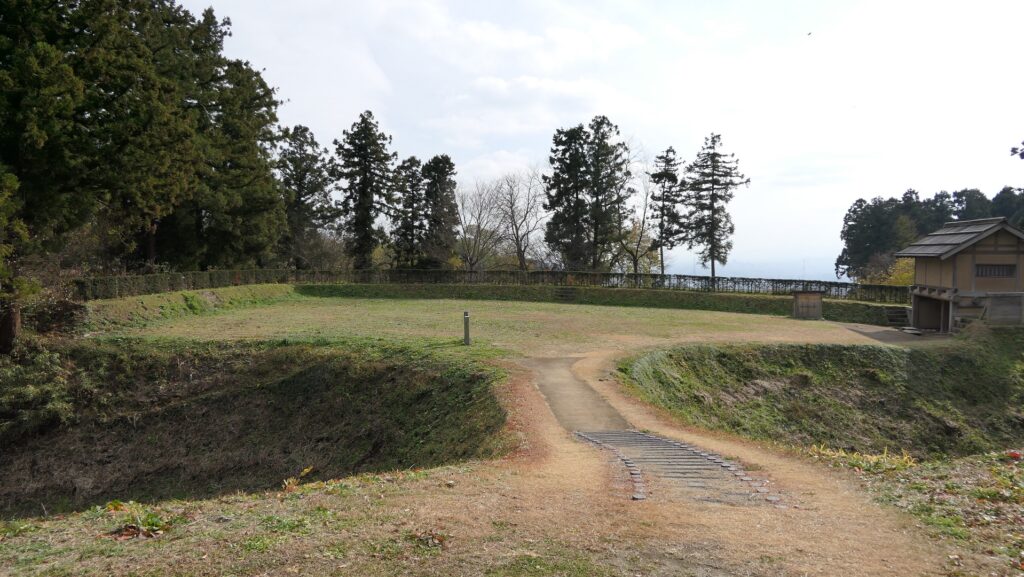
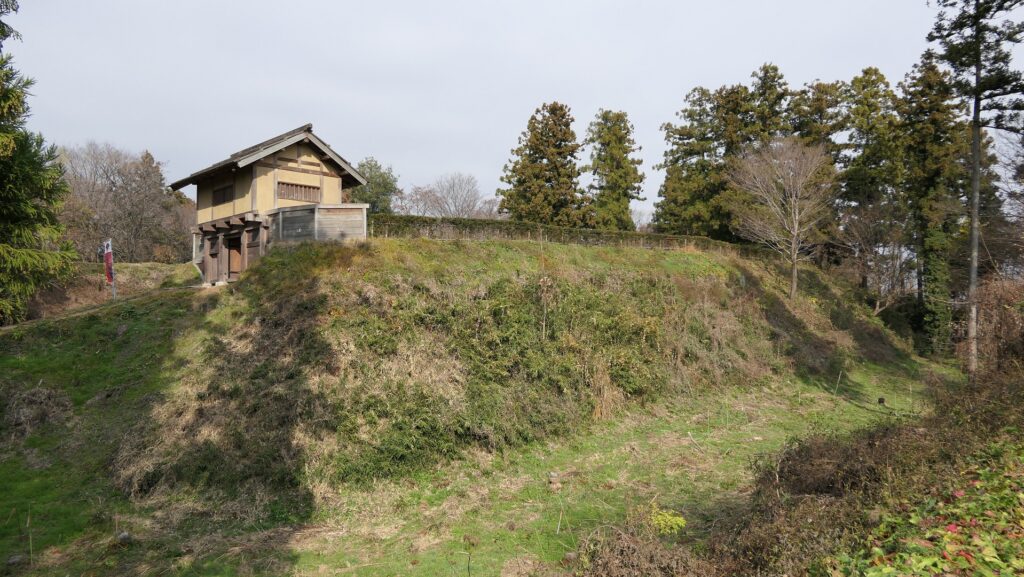
The earthen walls over the trench
The square stronghold called Kaku-Umadashi
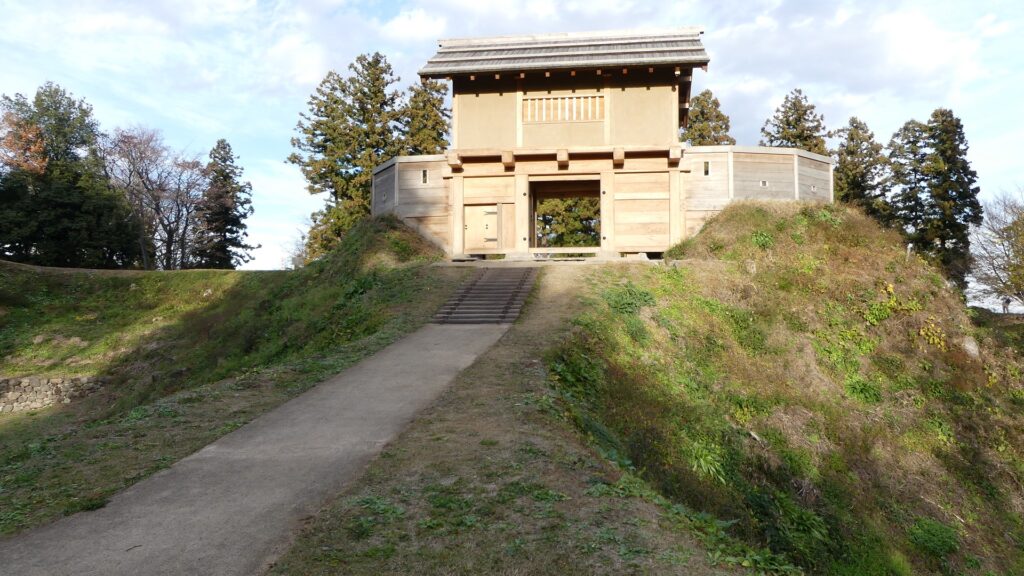
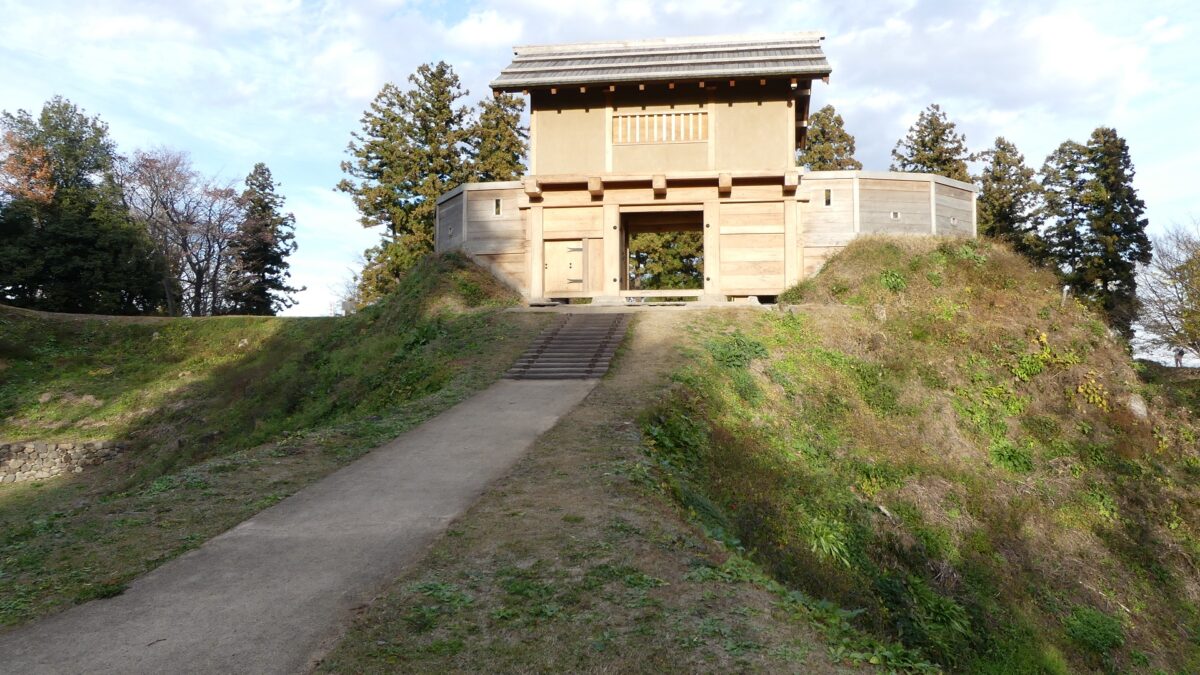
The restored turret gate
The Kaku-Umadashi seen from the south

To be continued in “Minowa Castle Part3”
Back to “Minowa Castle Part1”
119.Sugiyama Castle Part2

Let us simulate attacking the castle.

Features

Simulation of Attack from Main Entrance to Main Enclosure

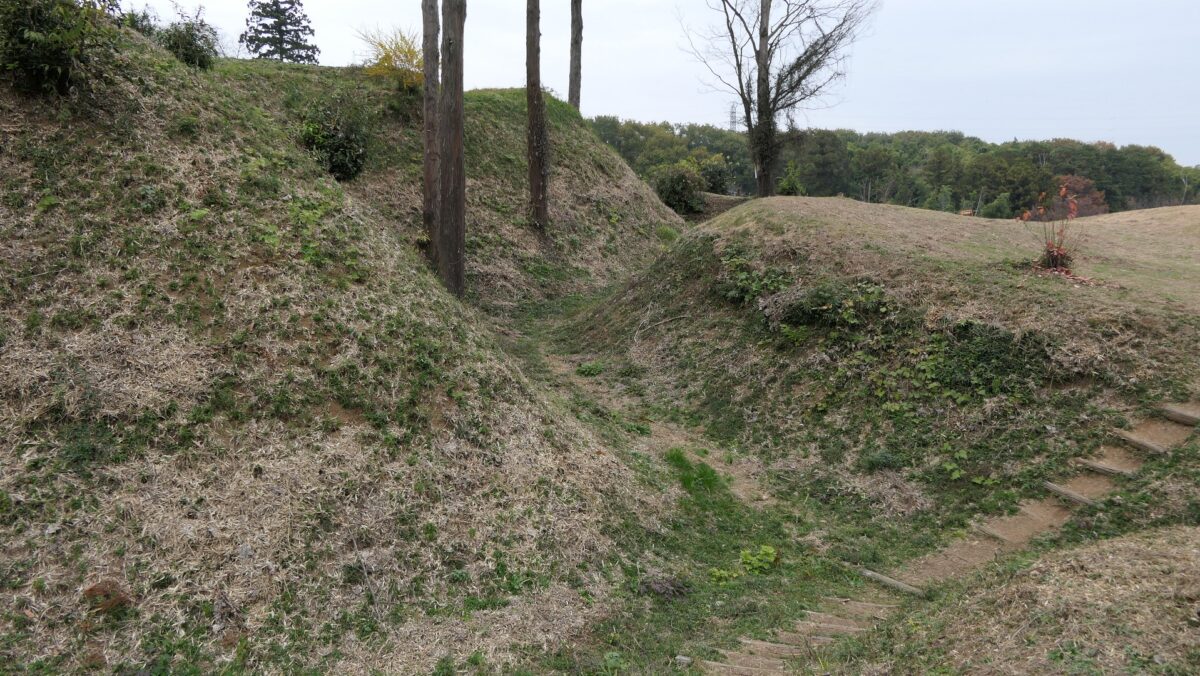
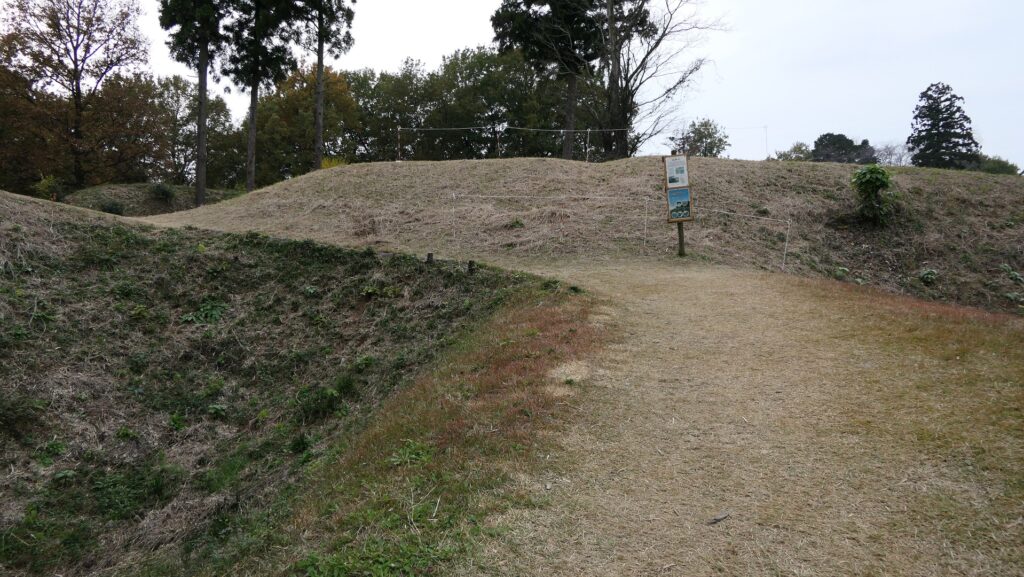
Today, the ruins of Sugiyama Castle are well-developed and maintained for visitors as a historic site. The ruins were once covered with a lot of trees and bushes, but most of them were removed. That means you can see the soil-made layout of the castle clearly. Let us simulate attacking the castle as an enemy.

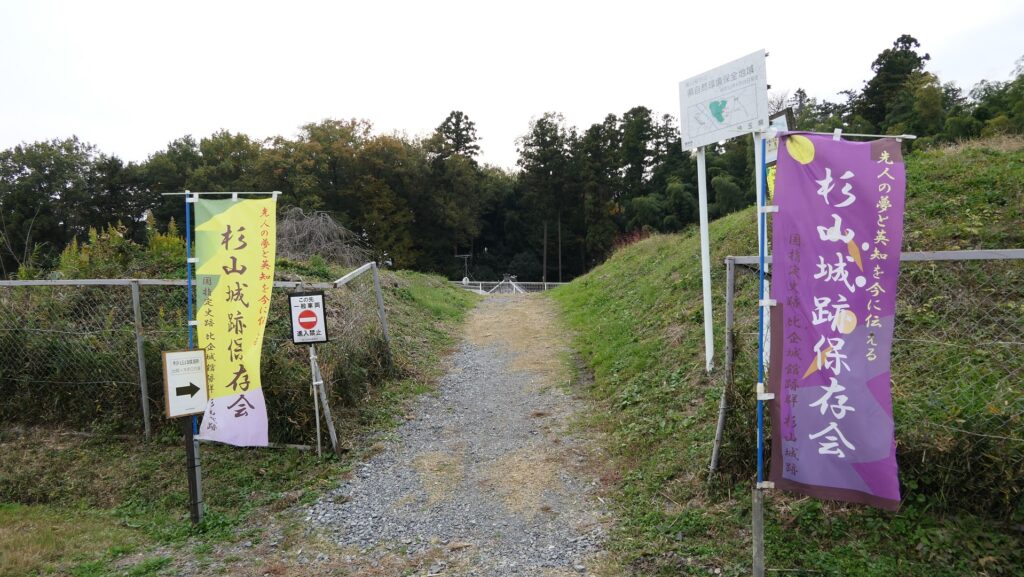
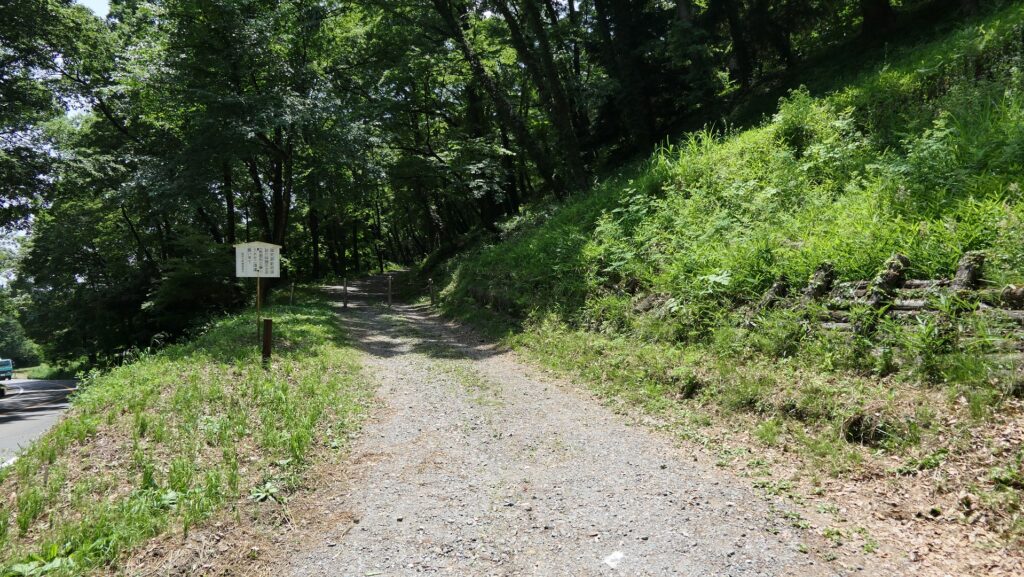
The entrance of the castle ruins
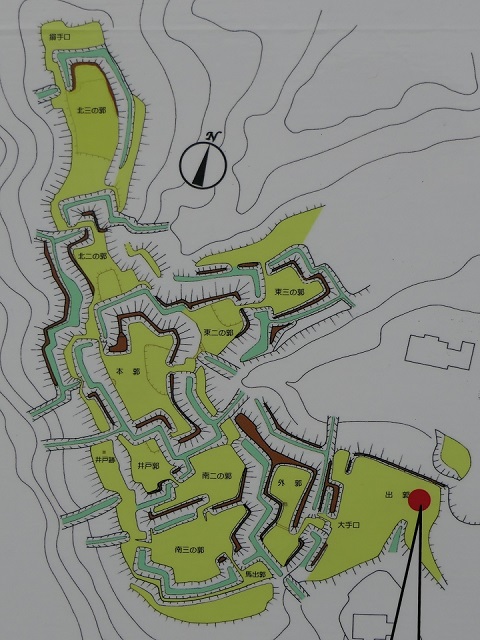
The location map at the site

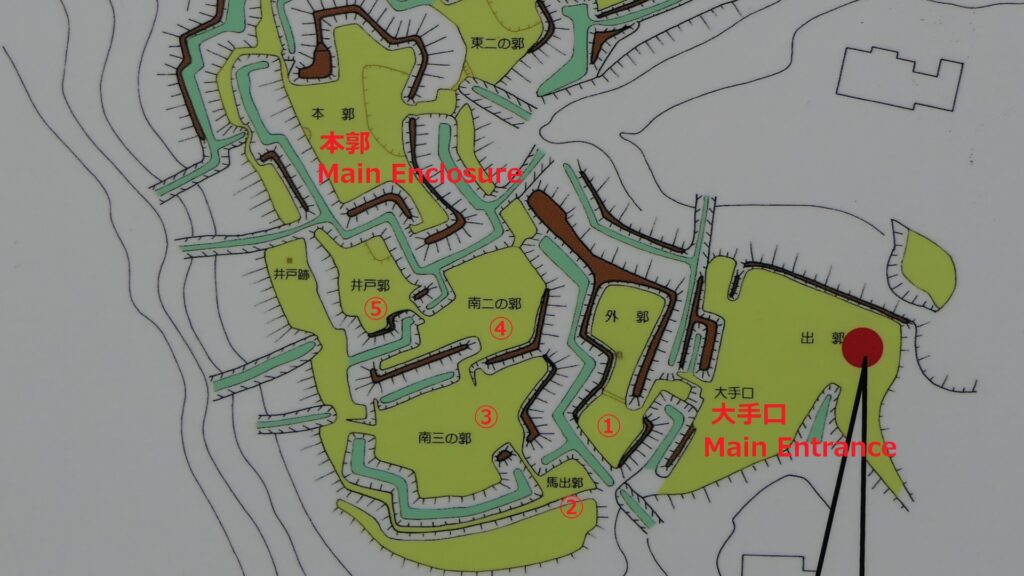
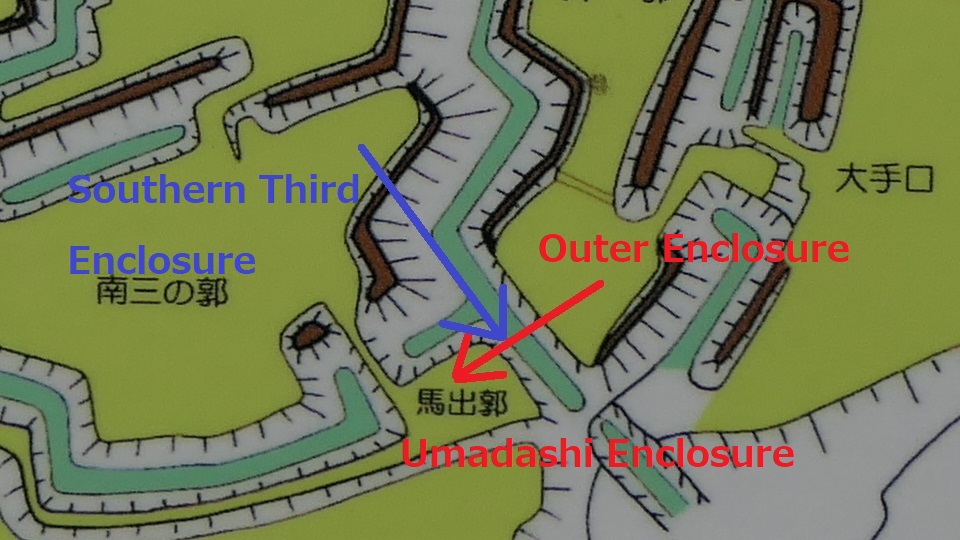
For example, if you approach the castle ruins from the south, you will first stand at the Main Entrance or Oteguchi as the starting point. In fact, you will need to pass through five enclosures to reach the Main Enclosure.

The Main Entrance
The enclosures between the Main Entrance and the Main Enclosure with numbering, from the location map adding the red colored letters

From Outer Entrance to Umadashi and Southern Third Enclosures

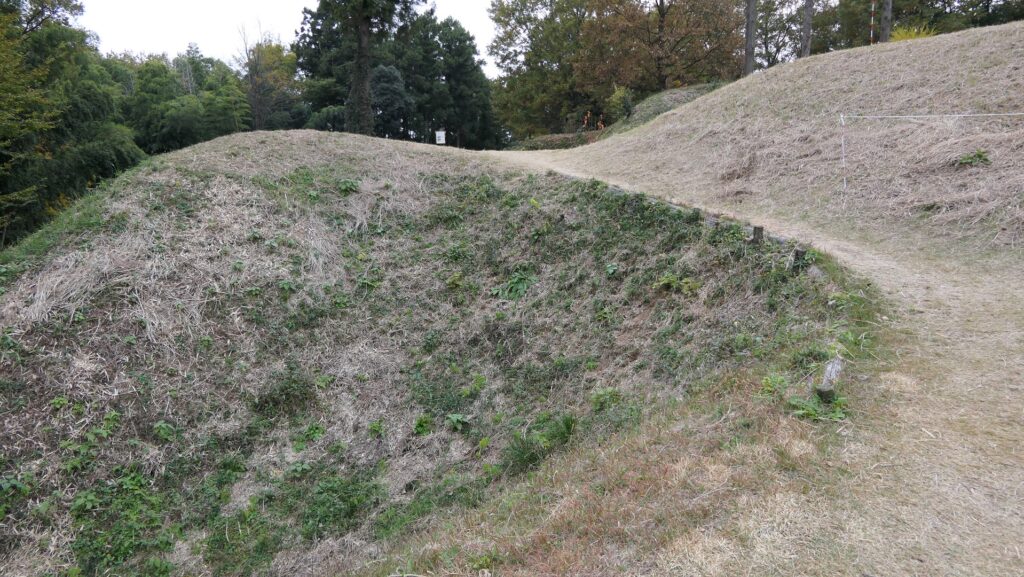
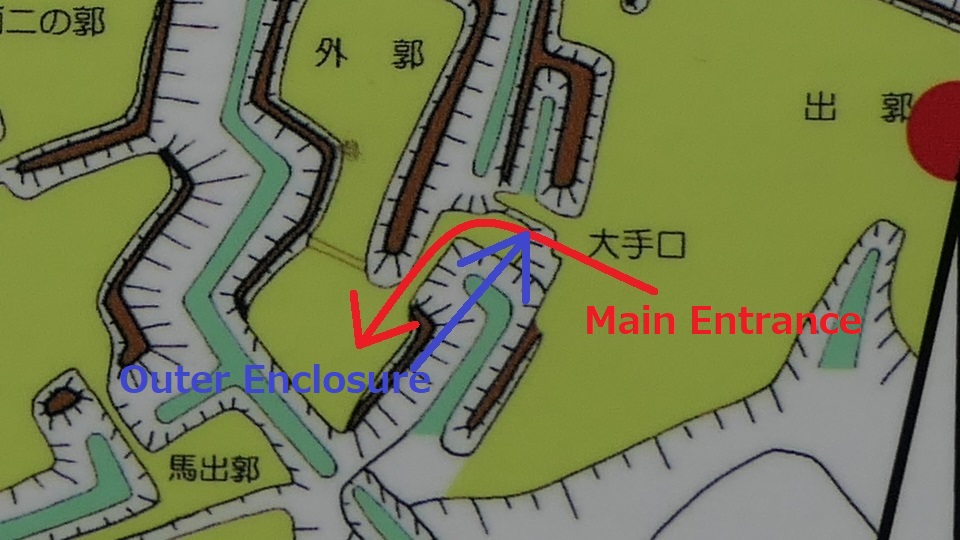
To enter the first enclosure called the Outer Enclosure, you will have to turn left in front of its entrance. Defenders could make a flanking attack on your left side before you turn.

Turn left to enter the Outer Enclosure
The route to entrance seen from the Outer Enclosure
The route to the Outer Enclosure (the red arrow) and the counterattack from the enclosure (the blue arrow)

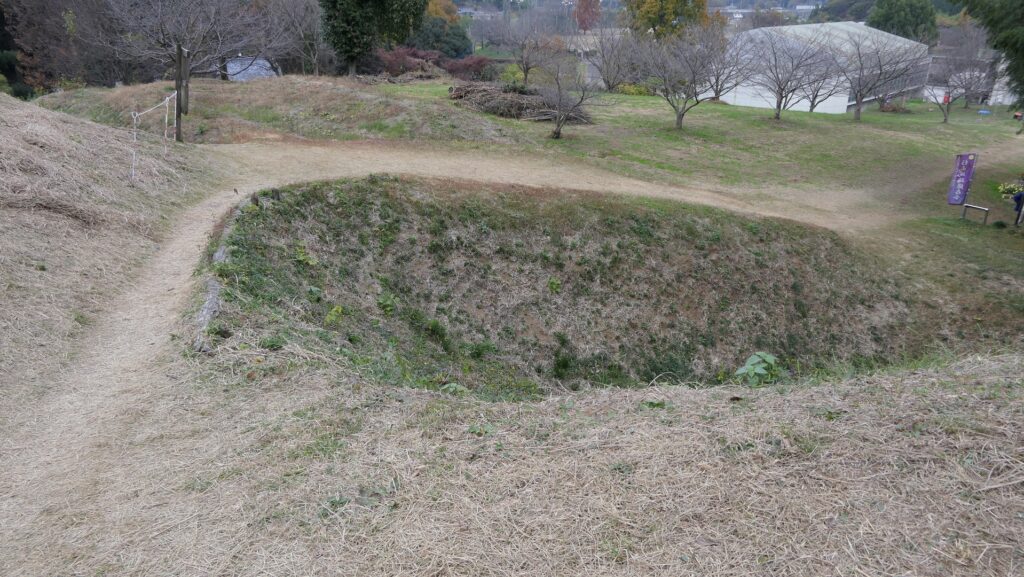
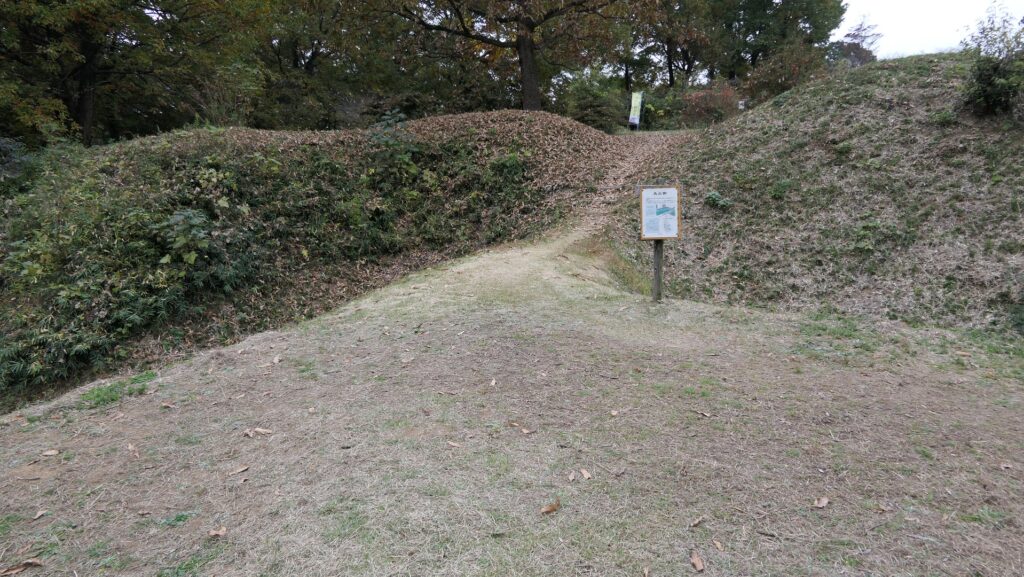
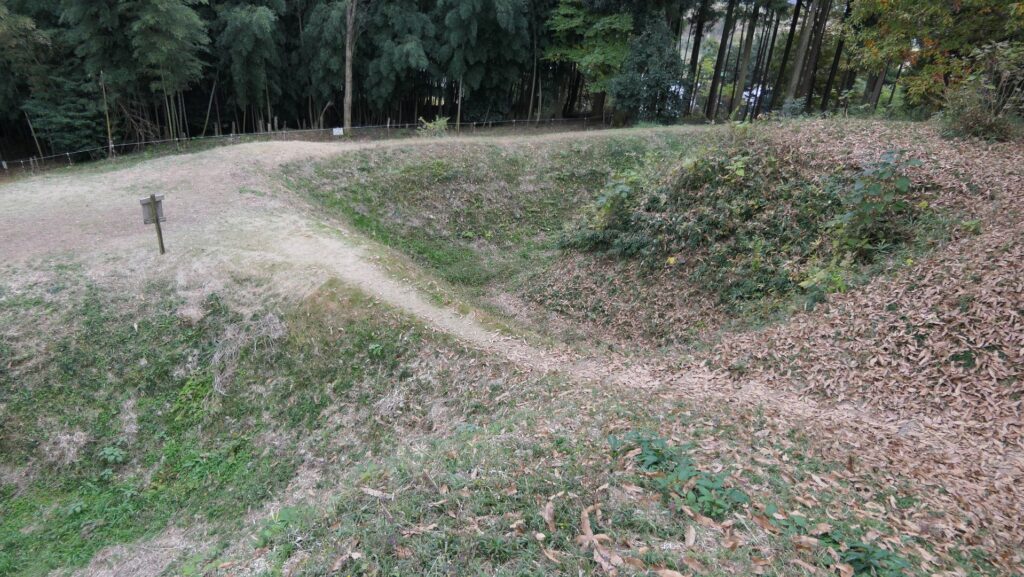
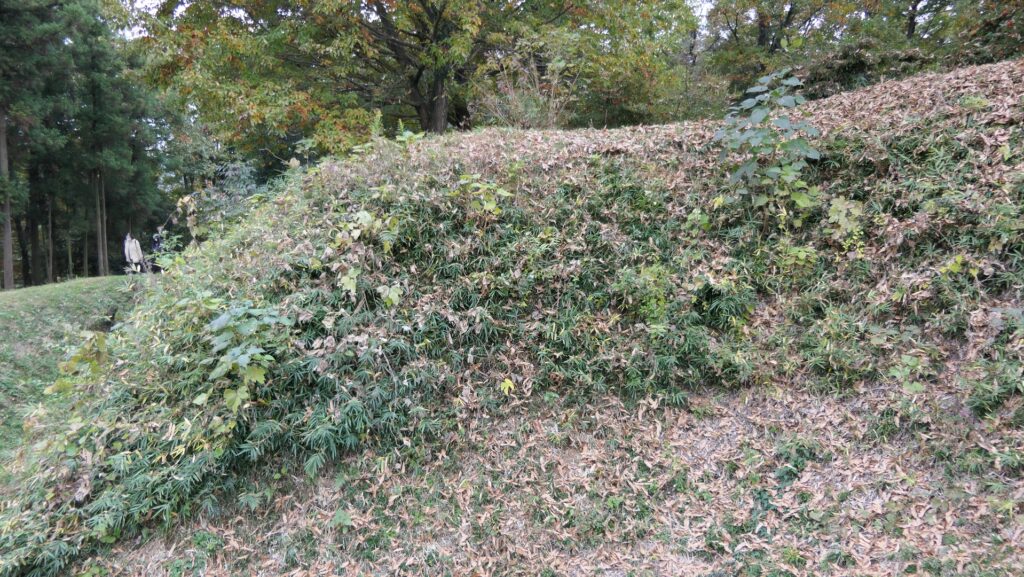
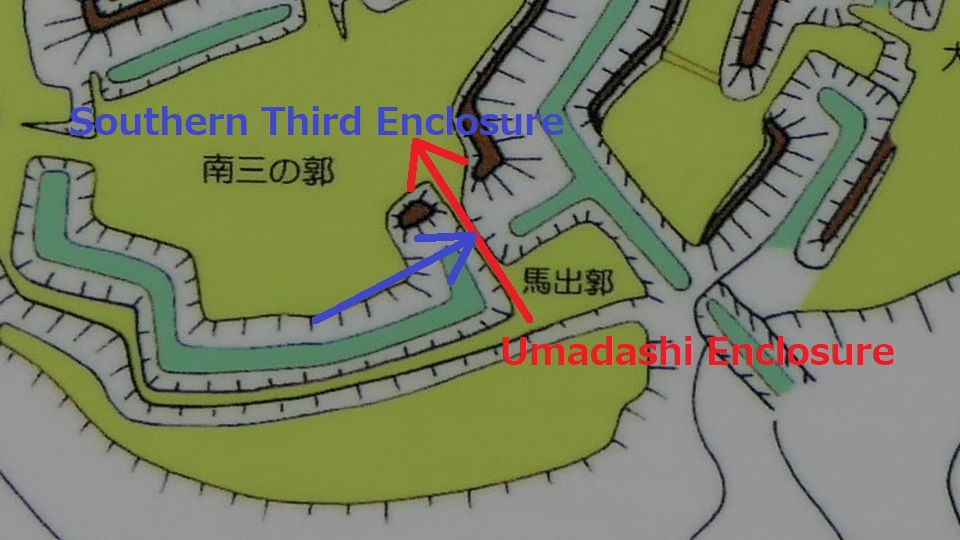
After entering the Outer Enclosure, the second one is the Umadashi Enclosure. You will need to go over the dry moat to get to the Umadashi Enclosure. A wooden bridge might have been built on it, but it would have been fallen if a battle occurred. When you cross the dry moat, you would be attacked on your right side from the L-shaped earthen walls of the Southern Third Enclosure.

The dry moat in front of the Umadashi Enclosure
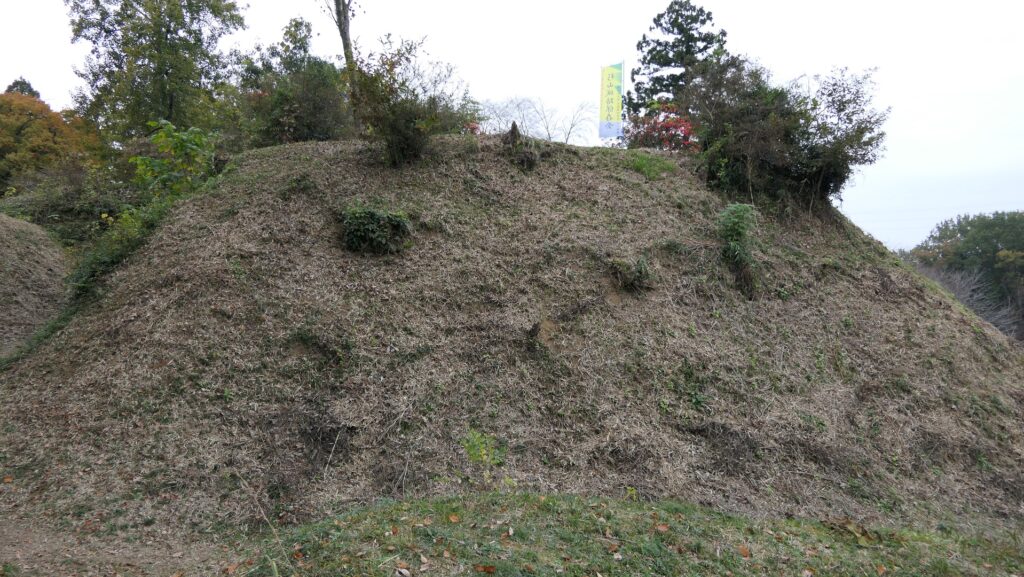
The L-shaped earthen walls of the Southern Third Enclosure
The Southern Third Enclosure seen from the dry moat
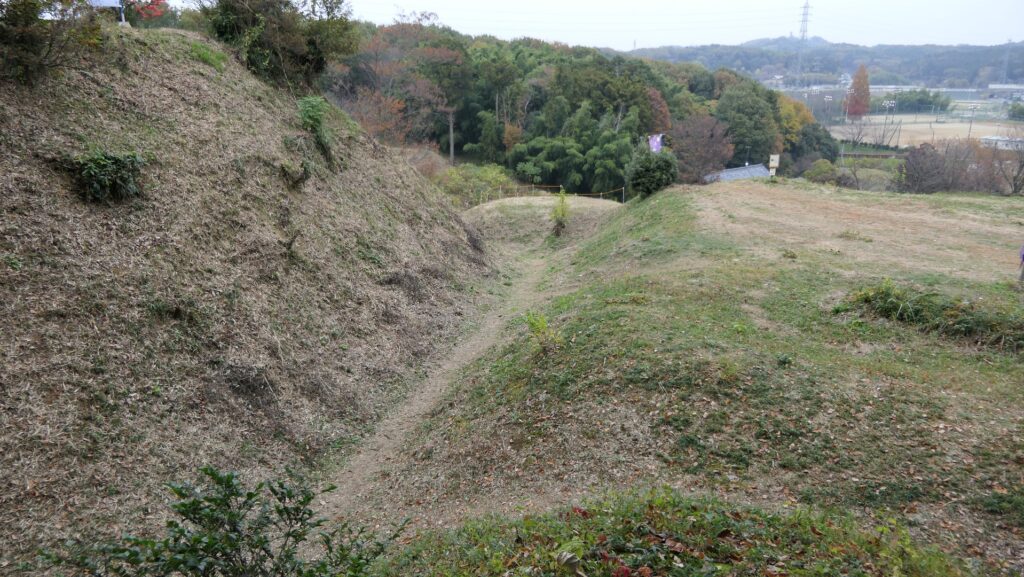
The dry moat seen from the Southern Third Enclosure
The route to the Umadashi Enclosure (the red arrow) and the counterattack from the Southern Third Enclosure (the blue arrow)

The Umadashi Enclosure is a small sticking out space from the entrance of the Southern Third Enclosure. The other L-shaped earthen walls of the Southern Third Enclosure also make it possible to defeat the enemy in this area of the castle.

The Umadashi Enclosure
The Umadashi Enclosure and the L-shaped earthen walls seen from the Southern Third Enclosure
The L-shaped earthen walls are nearby on the left if you stand at the entrance of the Southern Third Enclosure
The route to the Southern Third Enclosure (the red arrow) and the counterattack from the Enclosure (the blue arrow)

Strong Defense of Main Enclosure

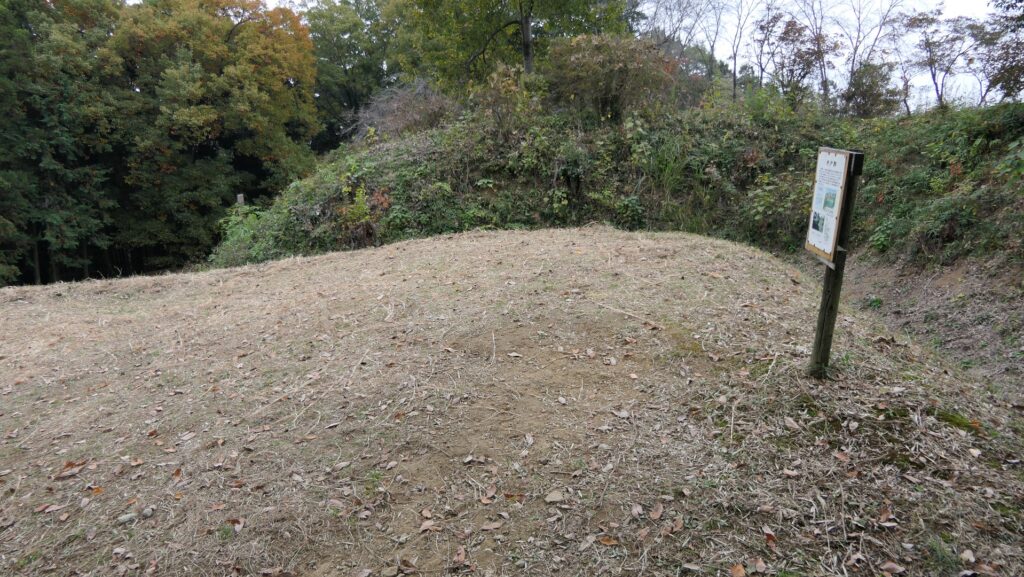
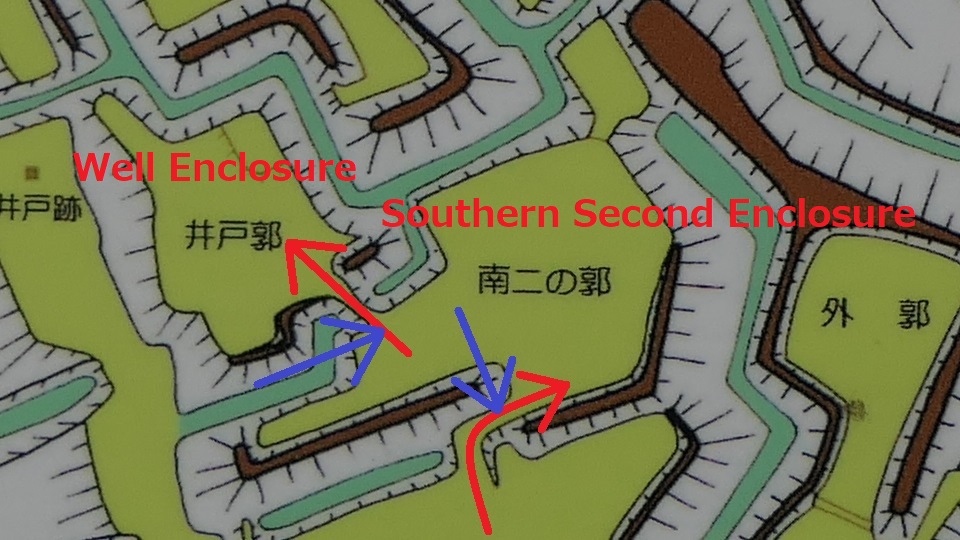
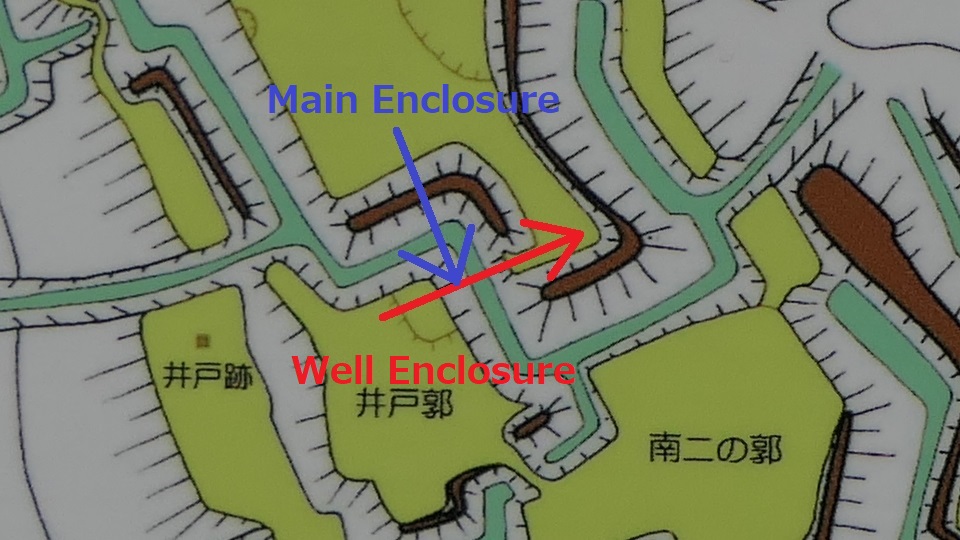
After that, if you somehow reach the Southern Second Enclosure after the Southern Third Enclosure, you will see the high earthen walls of the Main Enclosure. However, there is no direct route to the Main Enclosure, so you will have to move to the Well Enclosure on the left. (Its enclosure is guarded in a similar way to other enclosures.)

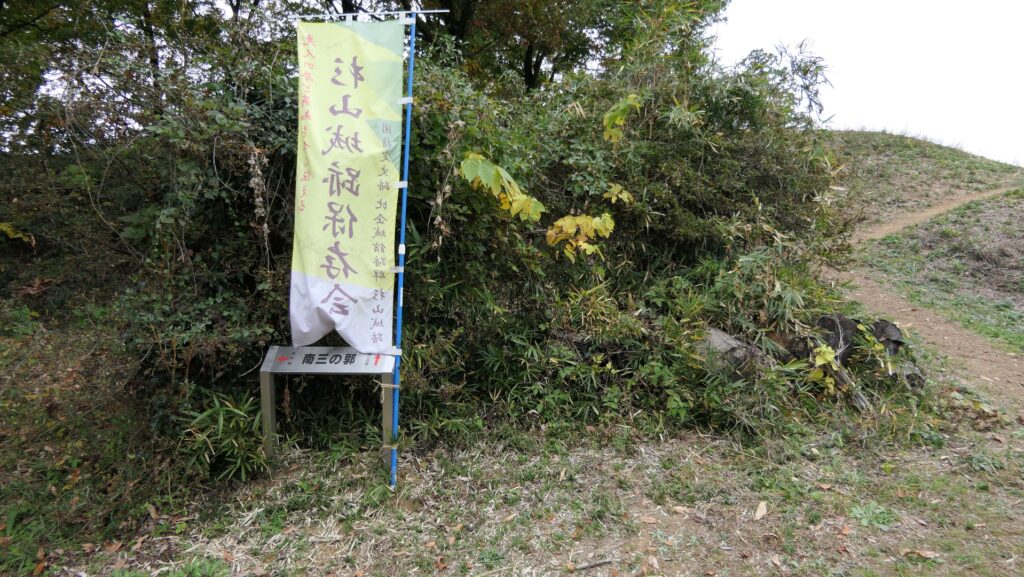
The Southern Third Enclosure
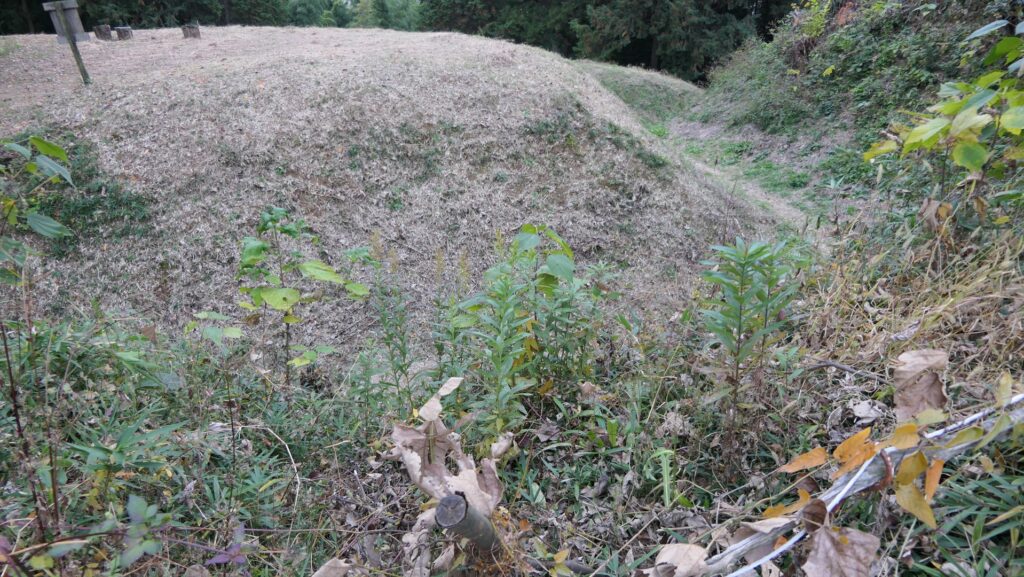
The high earthen walls of the Mani Enclosure seen from the Southern Second Enclosure
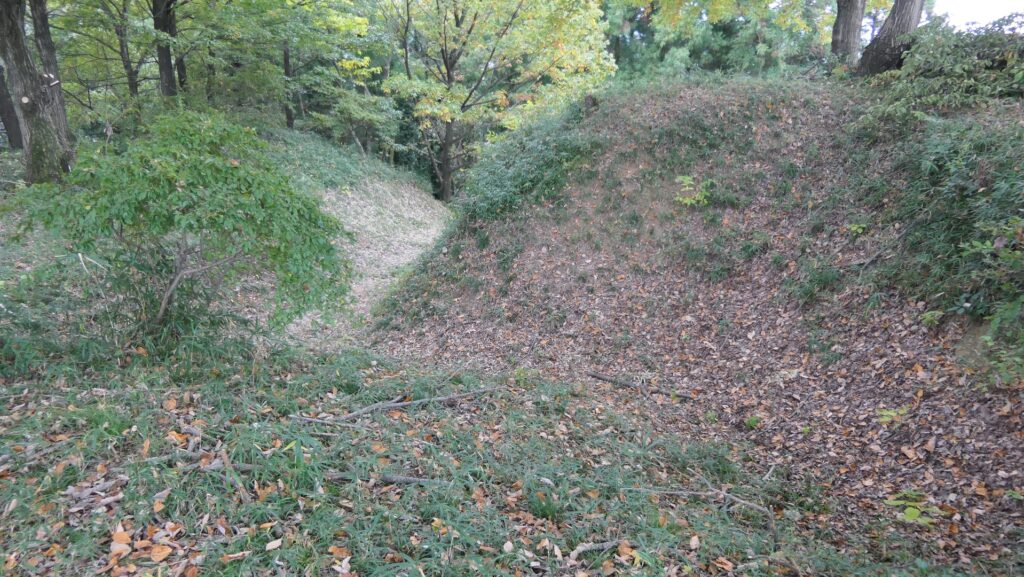
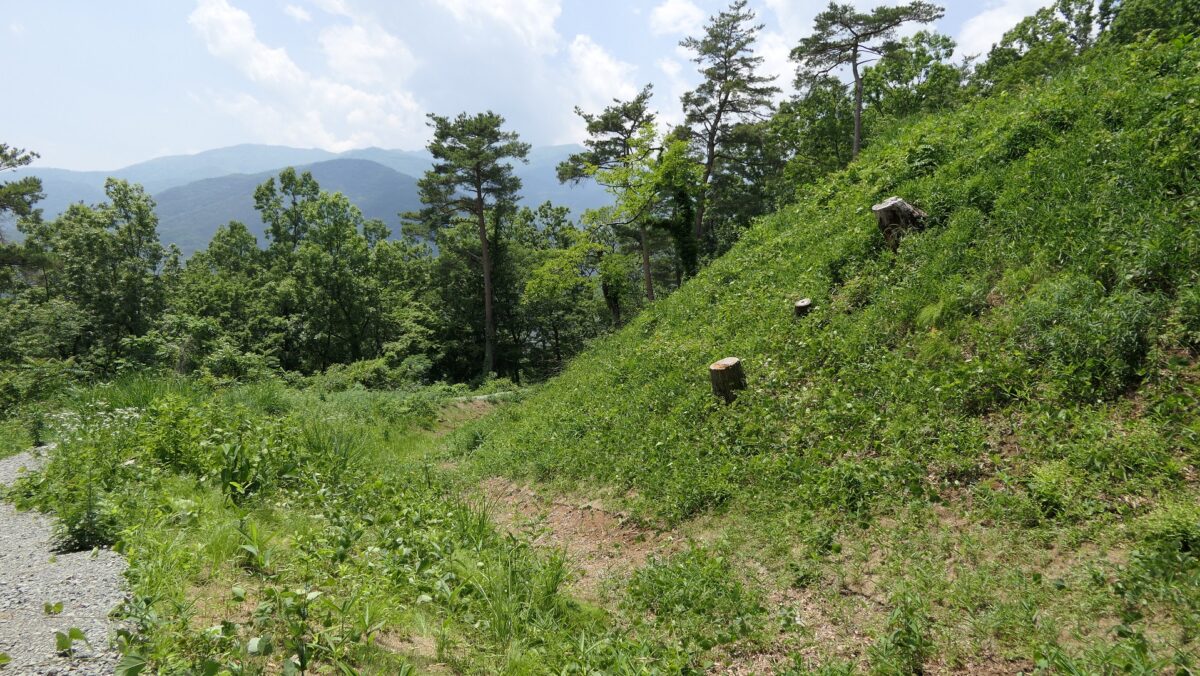
The dry moat between the Main Enclosure and the Southern Second Enclosure seen from the Well Enclosure
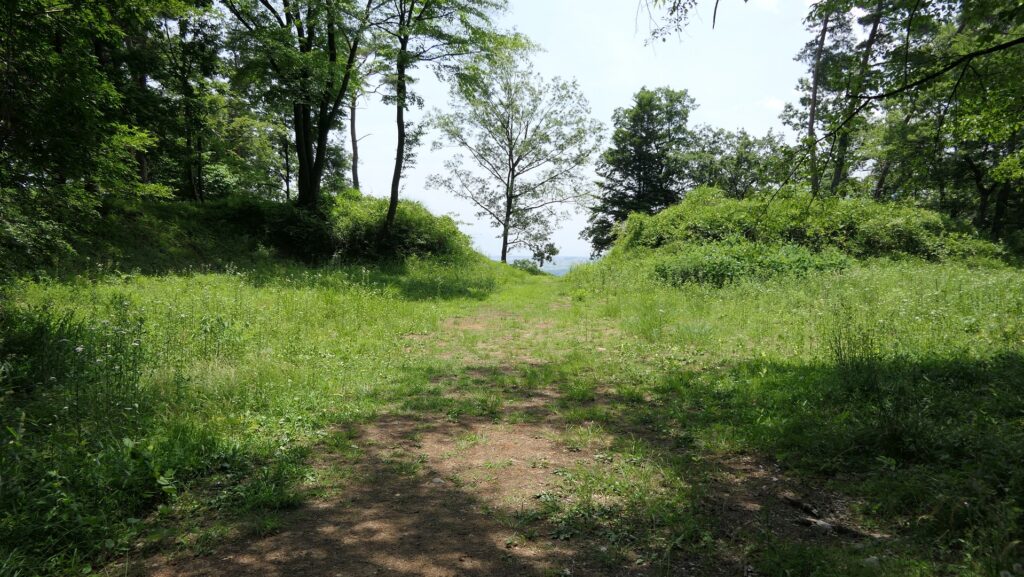
The Well Enclosure
The routes to the Southern Second and Well Enclosures (the red arrow) and the counterattack from the Enclosures (the blue arrow)

The Well Enclosure leads to the Main Enclosure, which was connected by the wooden bridge over the dry moat. However, you could be counterattacked from the front and from your left side from the Main Enclosure above. The earthen walls of the Main Enclosure are shaped to surround the attacker. Overall, you could suffer damages from the frank attacks as many as the number of the enclosures.

The wooden bridge was built over the dry moat
he L-shaped earthen walls of the Main Enclosure to make a flanking attack enemies in the Well Enclosure
The Well Enclosure seen from the Main Enclosure
The route to the Main Enclosure (the red arrow) and the counterattack from the Enclosure (the blue arrow)

To be continued in “Sugiyama Castle Part3”
Back to “Sugiyama Castle Part1”
127.Shinpu Castle Part2

You can see the completed version of Takeda’s method for building castles.

Features

The ruins of Shinpu Castle is open to the public. Visitors usually enter the ruins from the eastern side using two trails which were either built in the present time. One of them is the very steep approach with stone steps to the shrine on the top of the mountain. The other is the gentle steep footwalk going around the mid slope of the mountain to the south. I recommend using the latter if you want to look around the ruins.

The approach to the shrine
The footwalk for visitors

Powerful ruins of Main Gate and Umadashi system

The footwalk goes under the Third Enclosure above the Main Gate. You can walk down from the inside to the outside of the ruins of the gate. The gate ruins are still surrounded by the earthen walls.

The map around the castle

The ruins of the Main Gate

The ruins of the Umadashi system remain outside the gate. Umadashi was Takeda’s unique defense system which is a round shaped stronghold sticking out of a gate. It usually had a convex moon shaped moat in front of it to make it more protective. The defenders could also counter the attackers from the sides. The ruins of Umadashi in Shinpu Castle are very large and you can clearly see the shapes of the stronghold and the moat.

The imaginary drawing of the Umadashi part (from the signboard at the site)
The round shaped stronghold of Umadashi
The convex moon shaped moat of Umadashi
The side part of the stronghold

Main Enclosure which worships Takeda

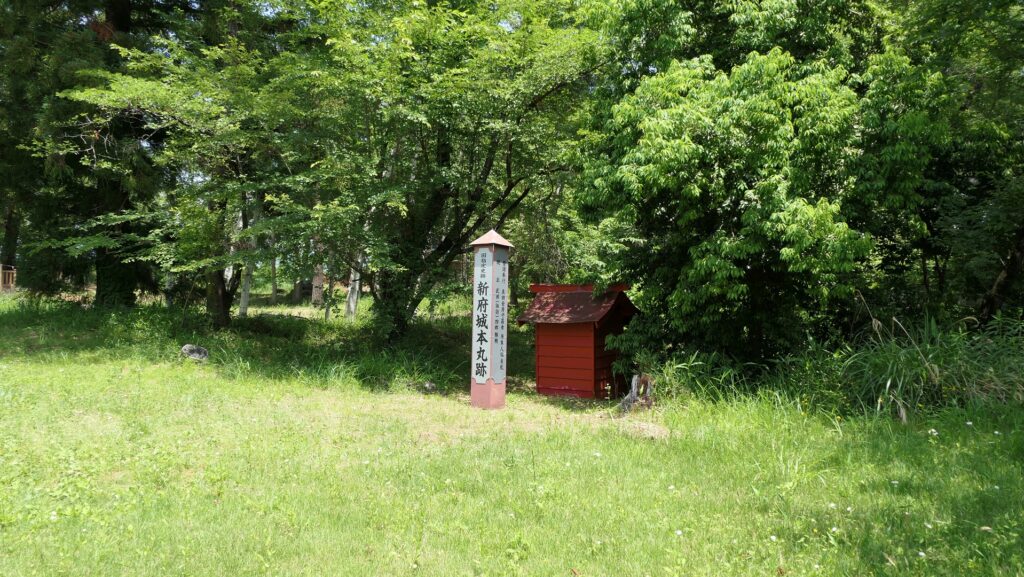
Going back to the footwalk, you can walk up to the Main Enclosure through the Second Enclosure. The Main Enclosure is largest one and on the top of the mountain, which had Katsuyori Takeda’s Main Hall. The excavation team recently found the foundation of the hall gate and the traces of the leveling probably done by Tokugawa.

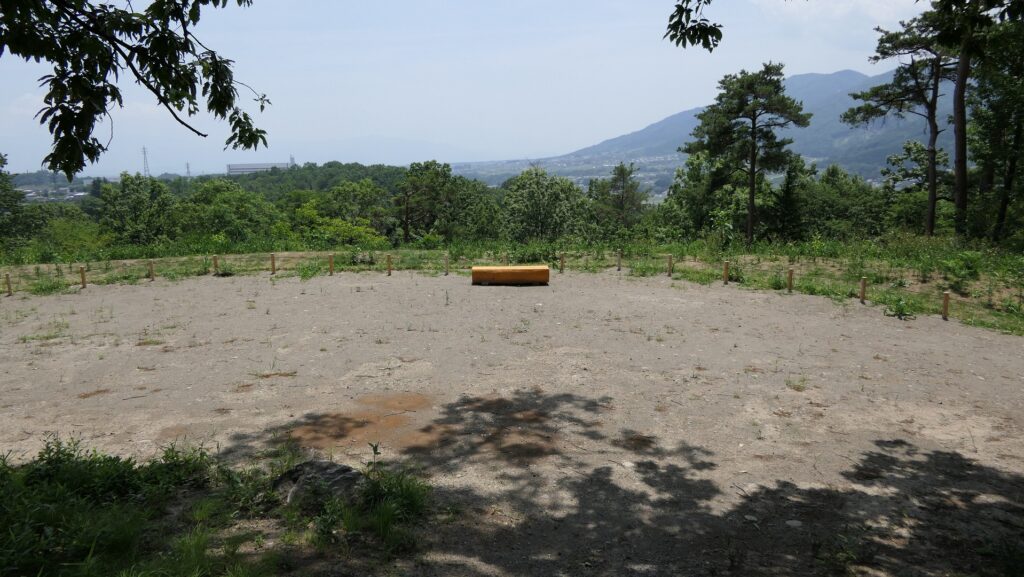
The Main Enclosure of Shinpu Castle

The only things that remained was the Shinpu-Fujitake Shrine which worships Katsuyori and the shrine which worships the war deaths in the battle of Nagashino on the spacious area.

The Shinpu-Fujitake Shrine
The steep approach that can be seen from the shrine
The shrine which worships the war deaths in the battle of Nagashino

You can see a good view from there including the Kamanashi-gawa River below and the mountains above.

A view from the Main Enclosure

Also pay attention to Back Gate

You can also walk down to the northern part of the castle from the Main Enclosure. Passing the ruins of the well and the wooden bridge, you will reach the ruins of the back gate called Inui-Mon.

The map of the northern part of the castle

the ruins of the well
The ruins of the wooden bridge
The imaginary drawing of the wooden bridge (from the signboard at the site)

The gate was built in the Masugata style which had a square space sandwiched by two gate buildings, which could prevent enemies from attacking easily. The earthen walls surrounding the space still remain intact and the foundations of the gate were also found.

The ruins of the Back Gate
The Masugata space which is surrounded by the earthen walls

To be continued in “Shinpu Castle Part3”
Back to “Shinpu Castle Part1”