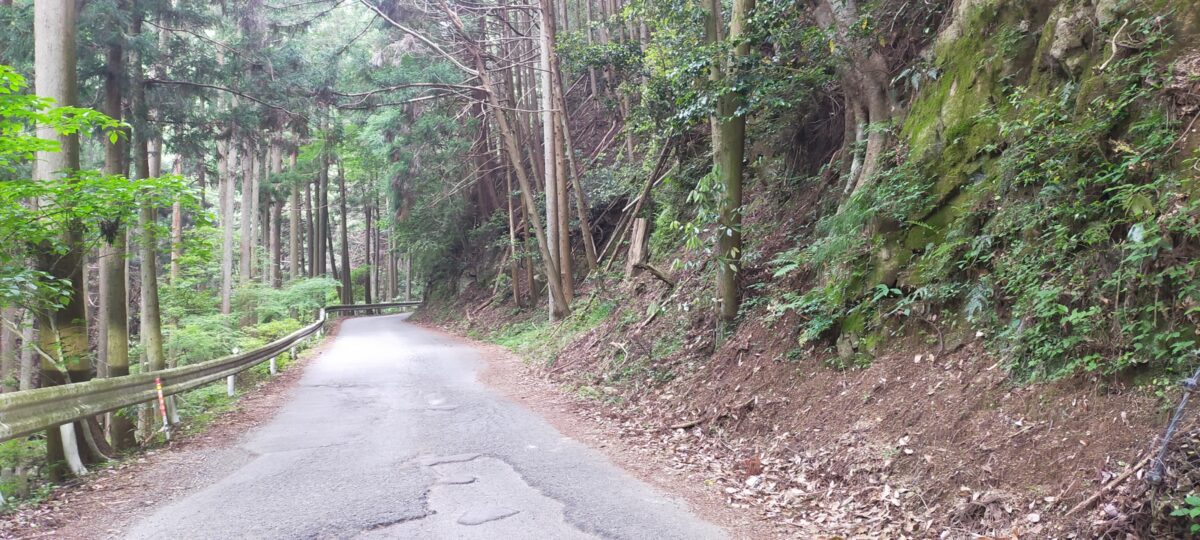
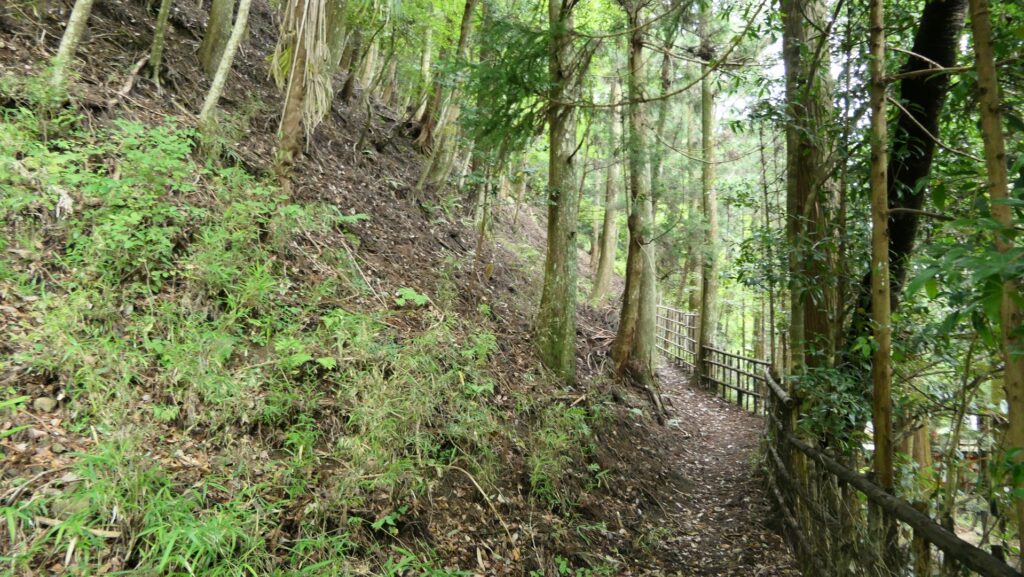
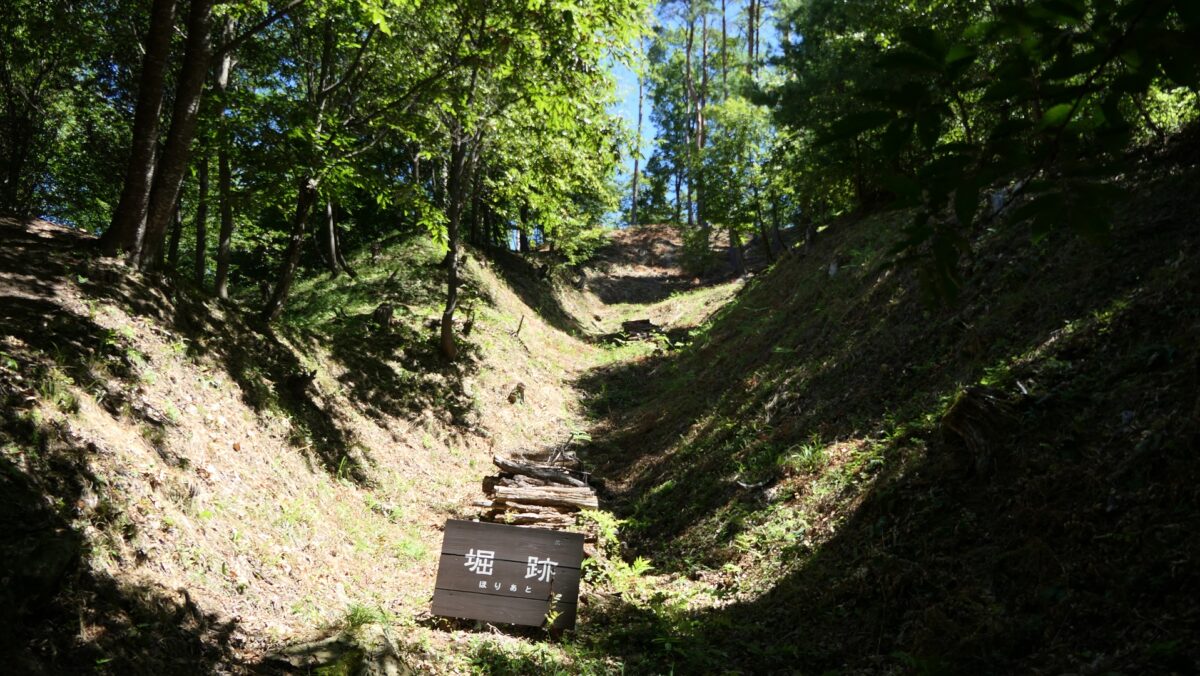
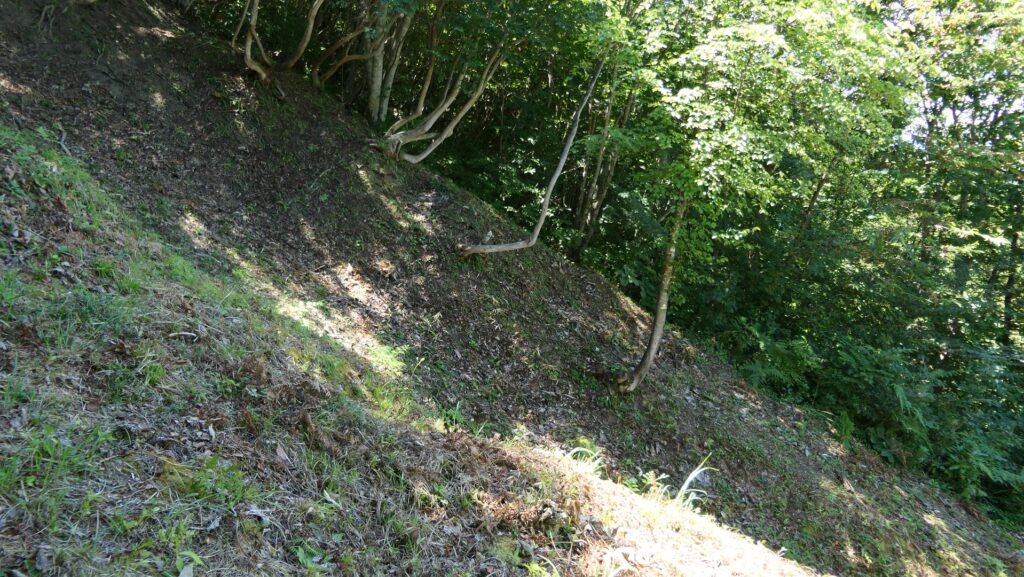
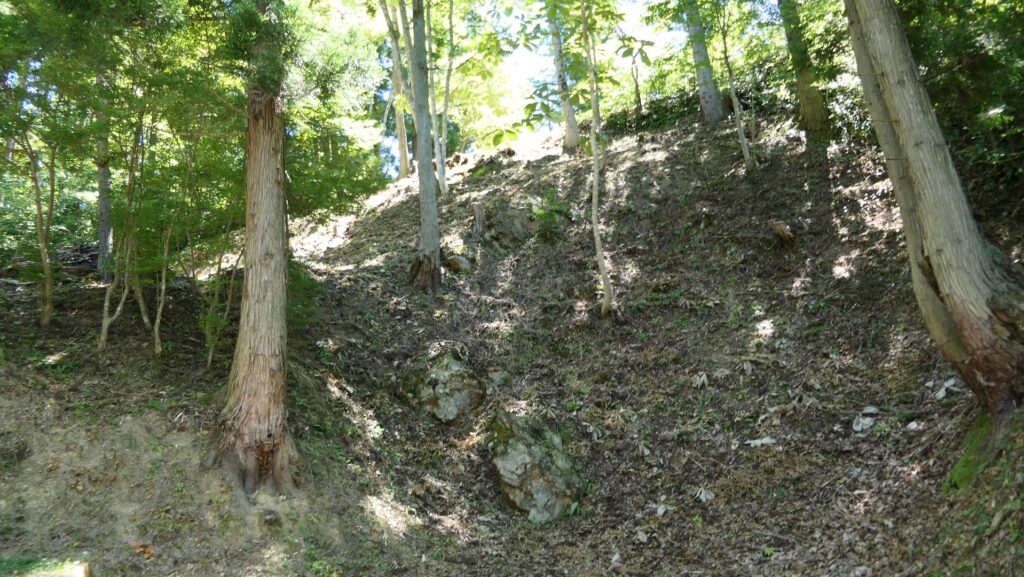
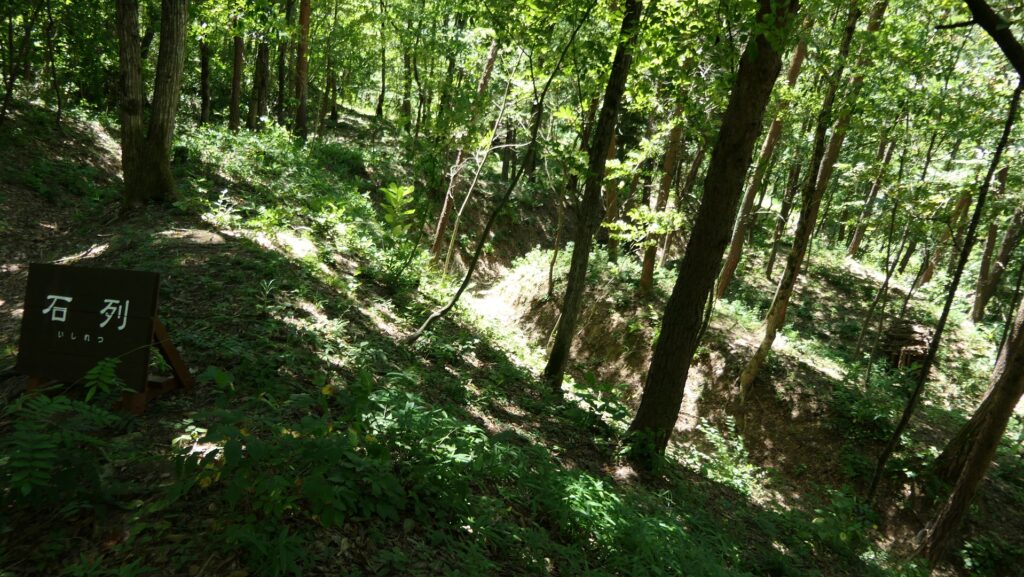
The trail to the Main Enclosure turns left or right, and then, a horizontal moat goes along it on the left. The other right side are vertical cliffs. That means the enemies were able to attack the enclosure only on this trail and the defenders would be able to focus on the spot.
Features
Main Enclosure is protected by Moats and Cliffs
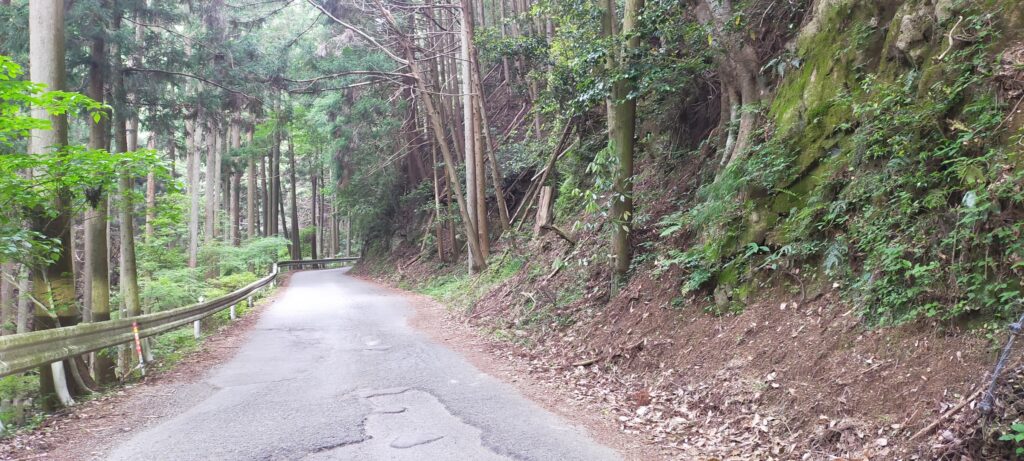
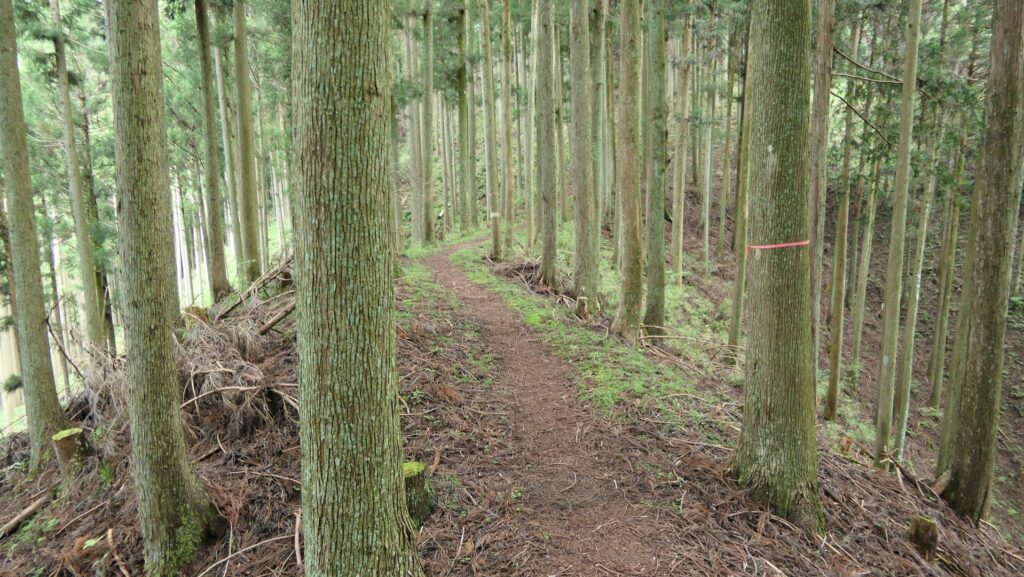
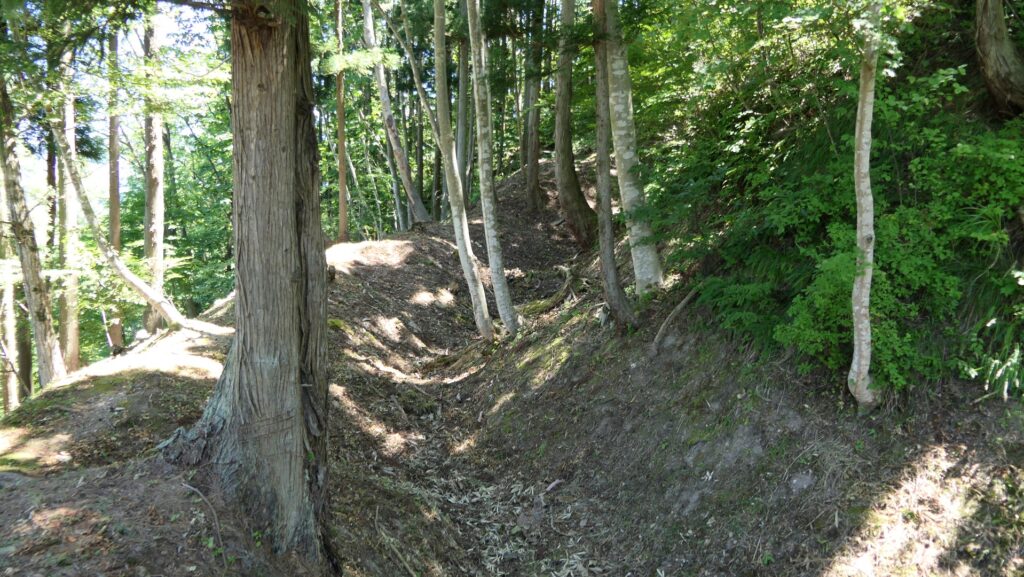
Going back to the forest road, you can also climb to the Main Enclosure on the top of Iwasaki Mountain. If you walk straight up on the trail, you will see a huge scale of vertical moat designed to avoid enemies from moving freely parallel to the right.
The map around the castle
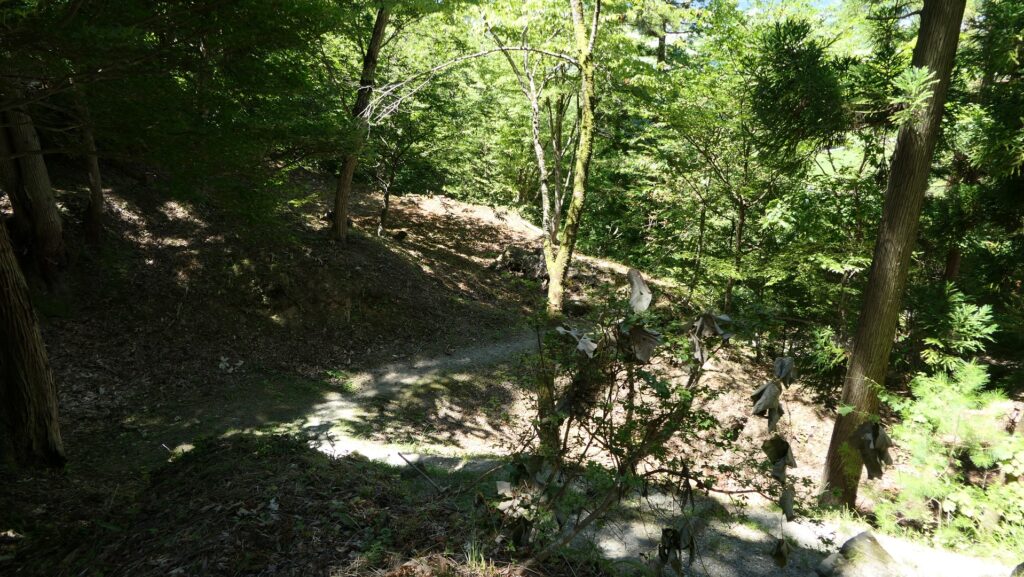
The trail to the Main EnclosureThe trail on the left and the vertical moat on the rightThe vertical moat beside the trail
The trail turns left or right, and then, a horizontal moat goes along it on the left. The other right side are vertical cliffs. That means the enemies were able to attack the enclosure only on this trail and the defenders would be able to focus on the spot.
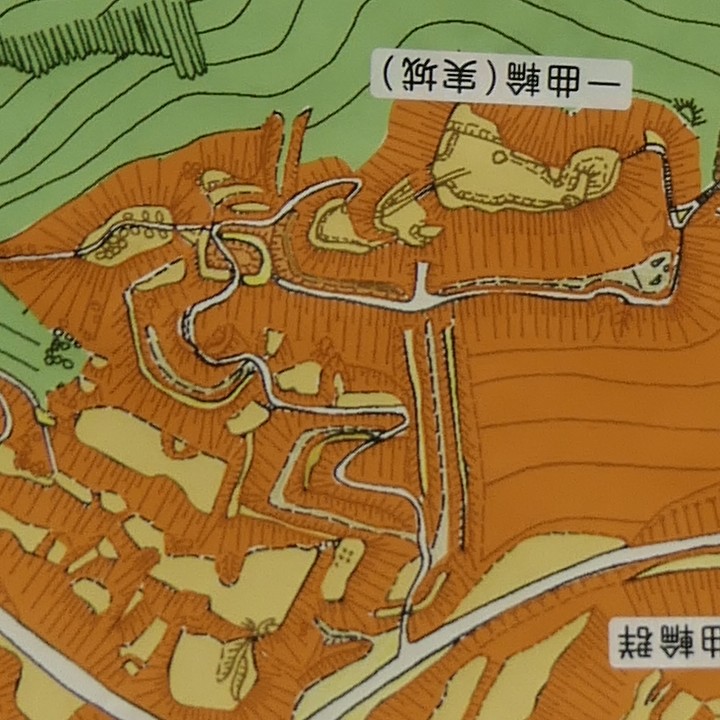
The layout of the Main Enclosure, the white part is the trail, the yellow part shows enclosures or bottoms of the moats, and the orange part is cliffs, exhibited by the Mukai-Haguro GalleryThe trail goes up while curvingThe horizontal moat left of the trailThe vertical cliffs right of the trail
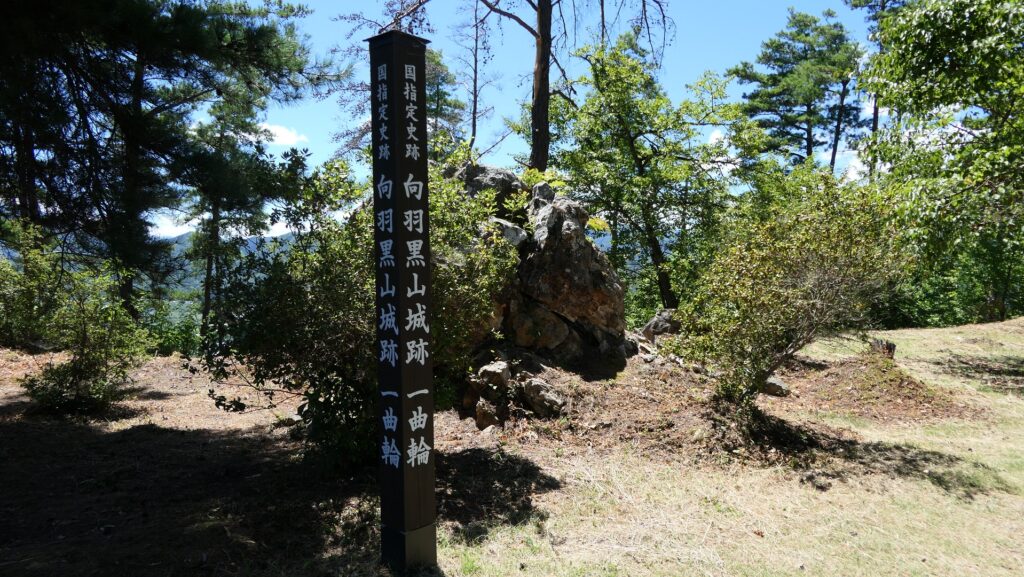
Final place of Final Castle
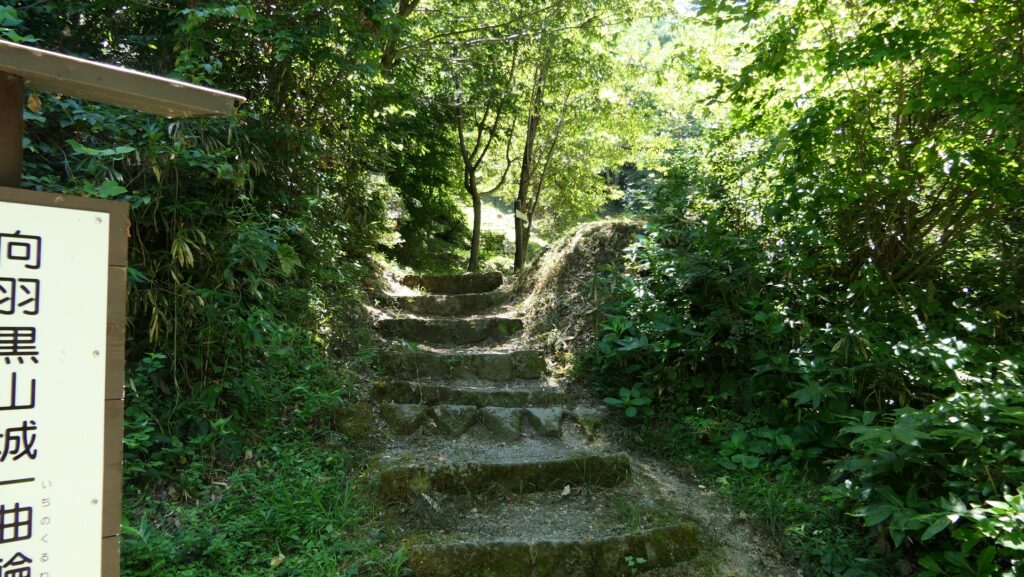
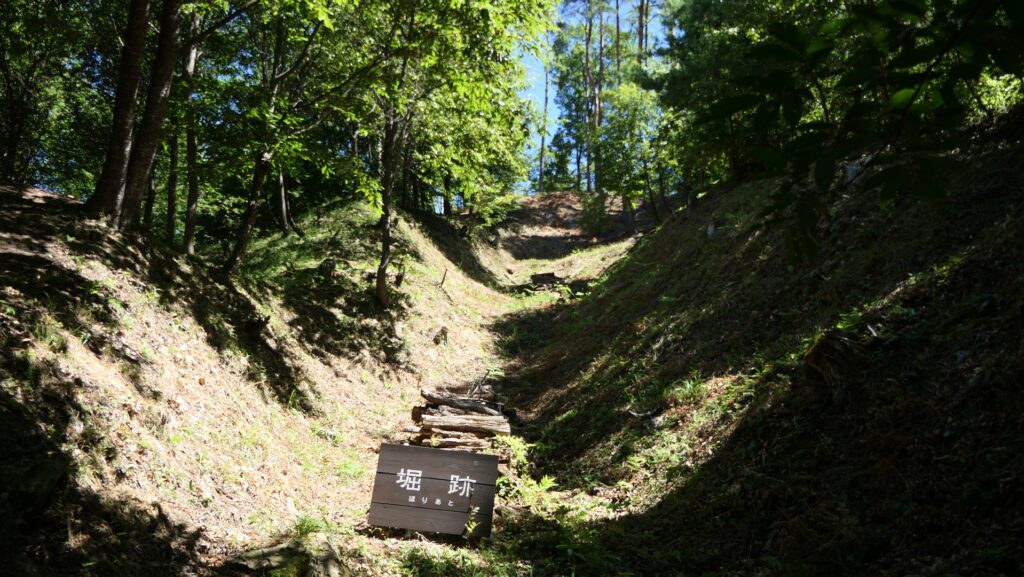
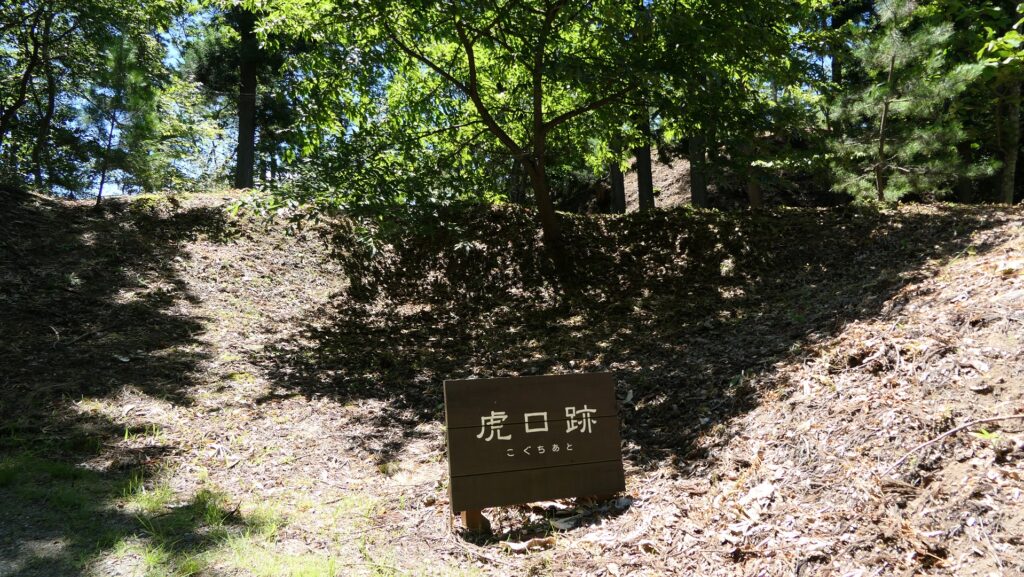
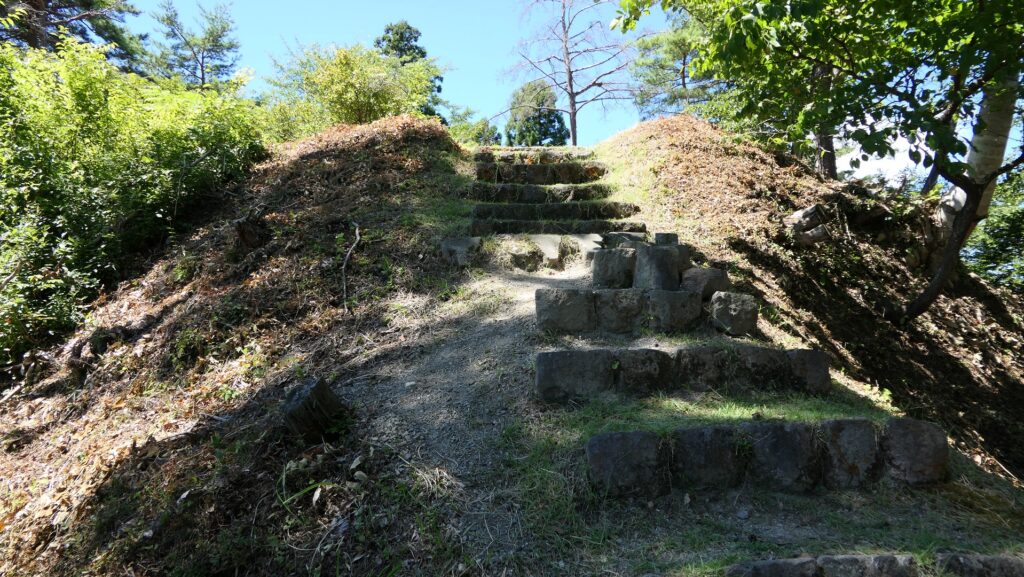
The trail goes in a zigzagged pattern and reaches the Main Enclosure. It is also protected by other alternating gate, earthen walls and dry moats like the Second Enclosure, but smaller and had steeper terrain, so it can be seen as the final place of the final castle.
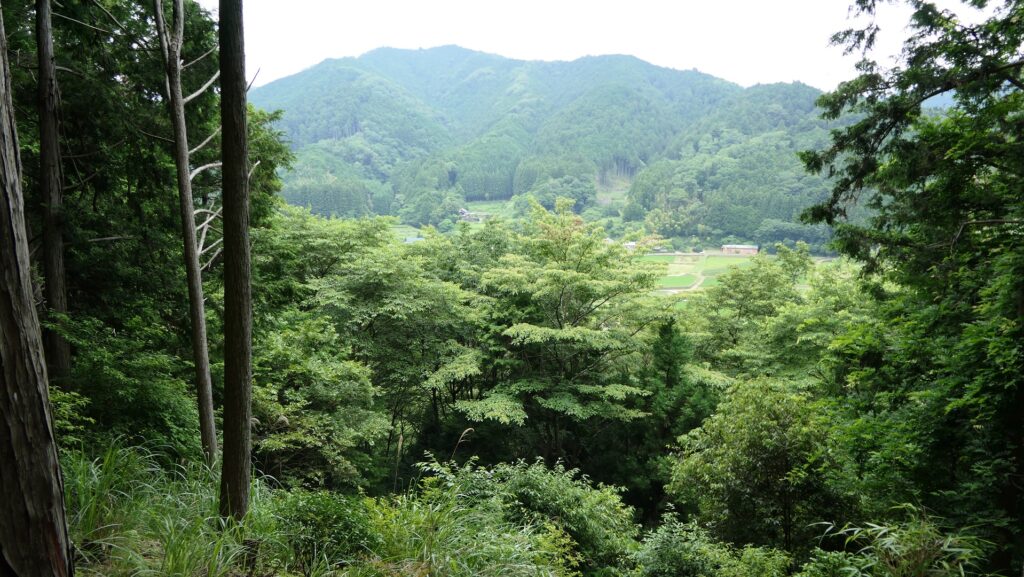
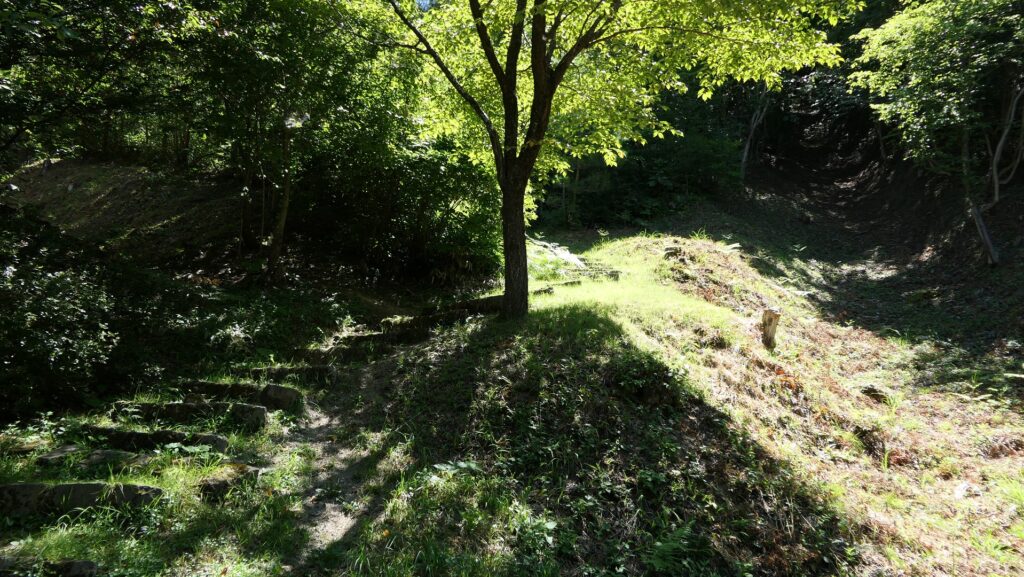
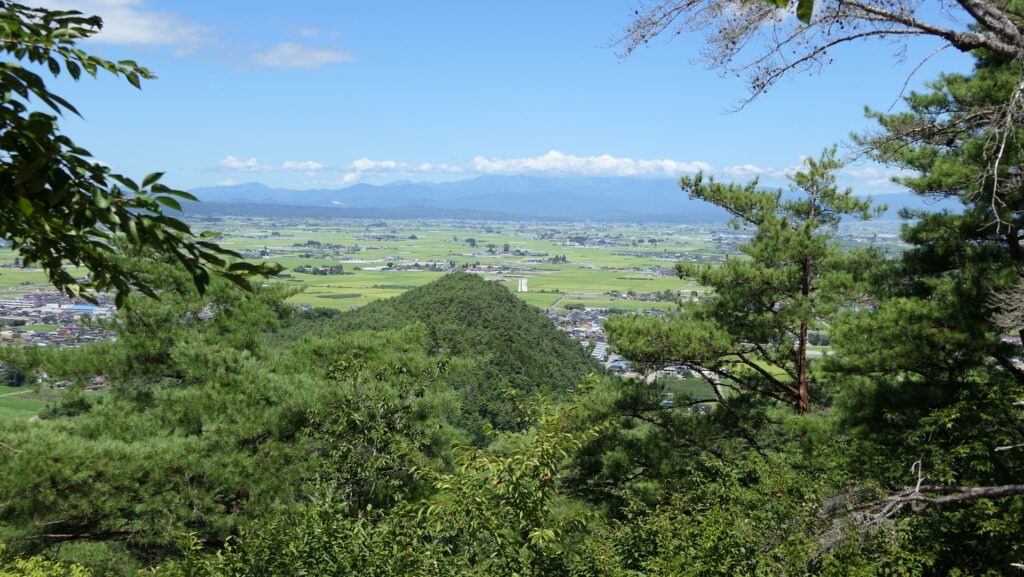
The zigzagged trailThe entrance ruins of the Main EnclosureThe Main Enclosure is surrounded by dry moats and earthen walls as wellGoing to the topThe top of the Main EnclosureA view from the enclosure
Later History
The mountain, where Mukai-Haguroyama Castle was built, was first designated as a natural park in 1953 and the forest road was developed on the mountain in 1964. As for the castle ruins, they were first designated as a historic site of Hongo Town (at that time) in 1974. The excavations of the ruins have been done since 1982. As a result, they were finally designated as a National Historic Site in 2001.
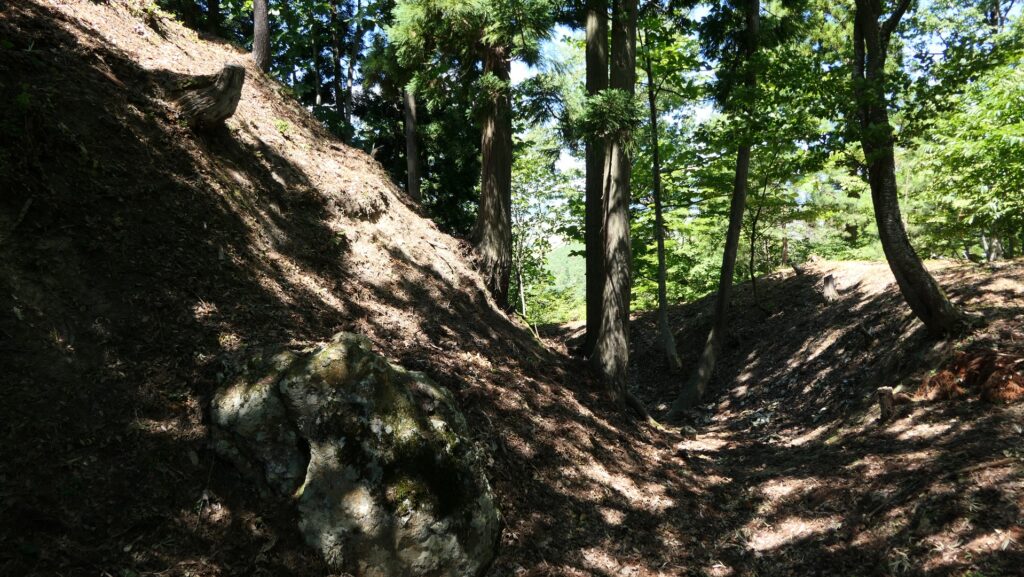
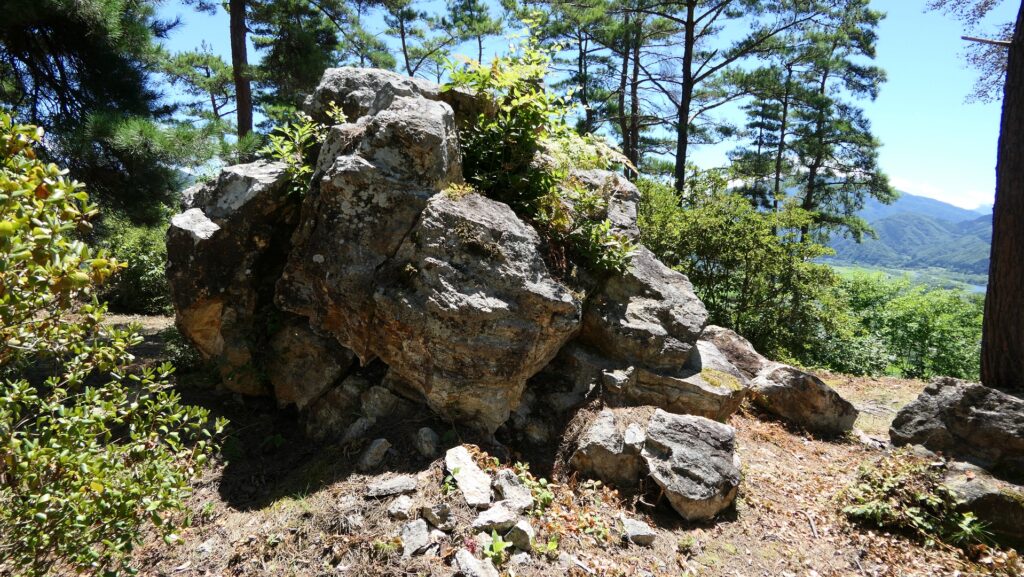
There is a huge rock on the Main Enclosure, which was partially cut to provide stone materials
My Impression
I visited the ruins of Mukai-Haguroyama Castle twice. During my first visit, I just found the castle ruins simply becoming the natural park. However, in my second visit, I was advised at the Mukai-Haguro Gallery in advance, so that I was able to see the major spots of the castle easily. In my experiences, I would like Aizu-Misato Town, the current owner of the ruins to install a streamline path for walking from the foot to the top which would make visitors better understand what the castle looked like.
there are many paths in the Third Enclosure, like a maze
How to get There
If you want to visit there by car, it is about a 15-minute drive away from Nitsuru smart IC or a 20-minute drive away from Aizuwakamatsu IC on the Banetsu Expressway. There are several parking lots for each spot of the ruins. By public transportation, it takes about 20 minutes on foot to get the northern entrance of the park from JR Aizu-Hongo Station. From Tokyo to the station: take the Tohoku Shinkansen super express, transfer to the Banetsu-sai Line at Koriyama Station, and transfer to the Tadami Line at Aizuwakamatsu Station.