Features
Main Route is partially available
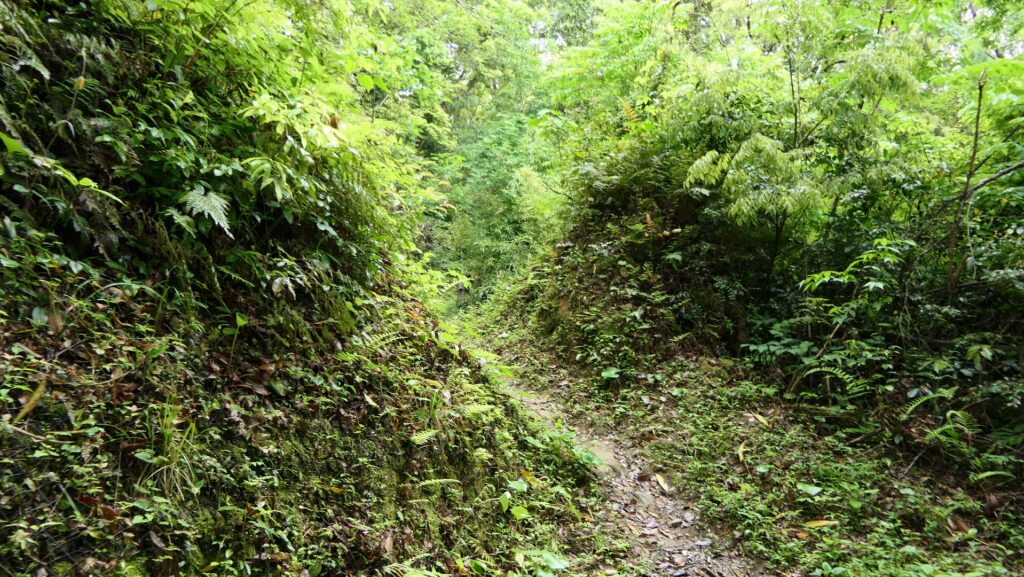
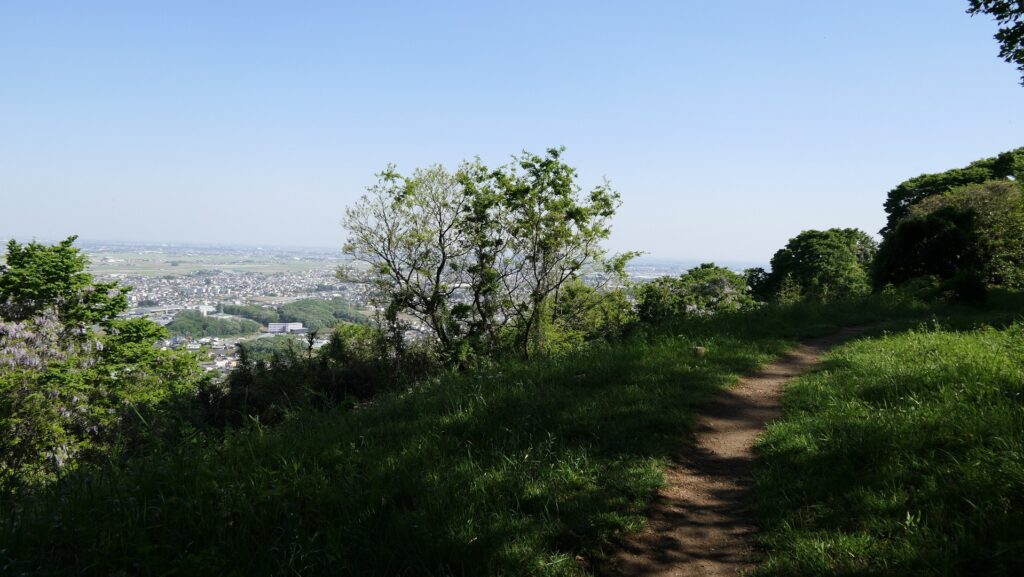
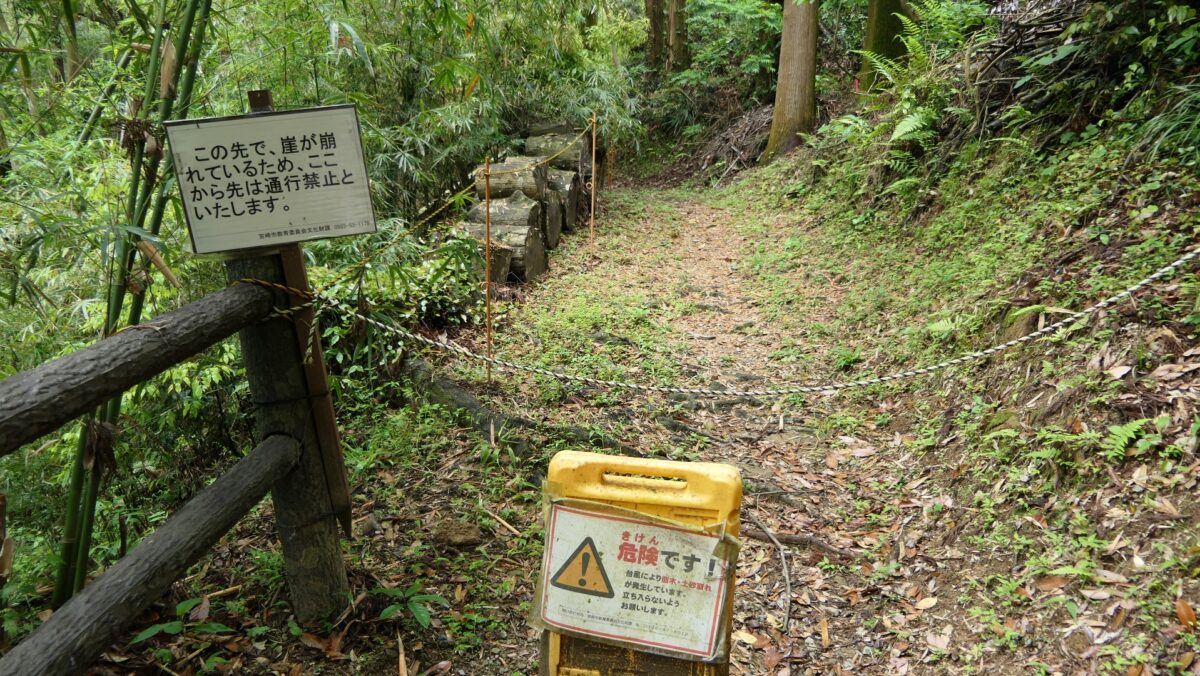
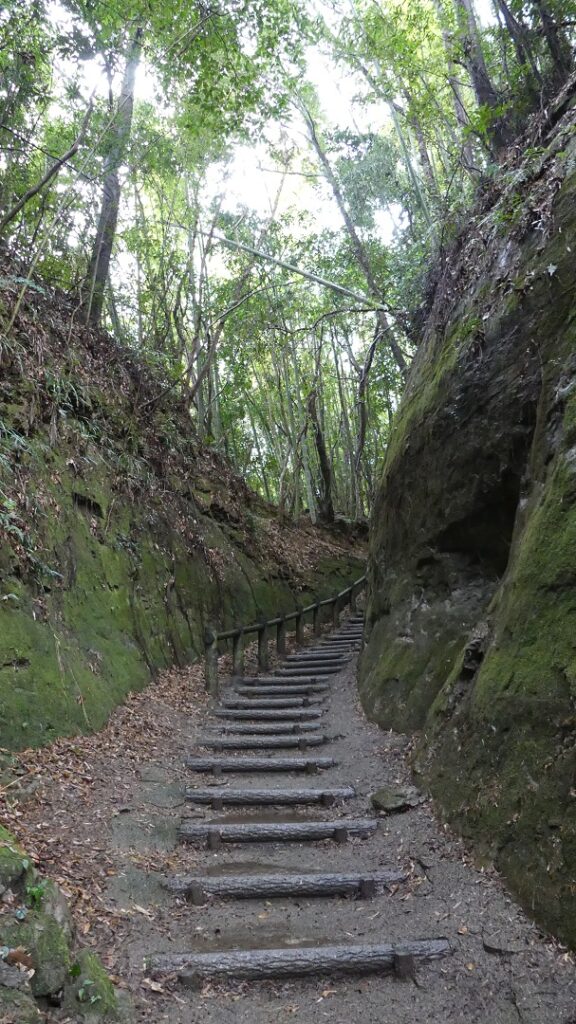
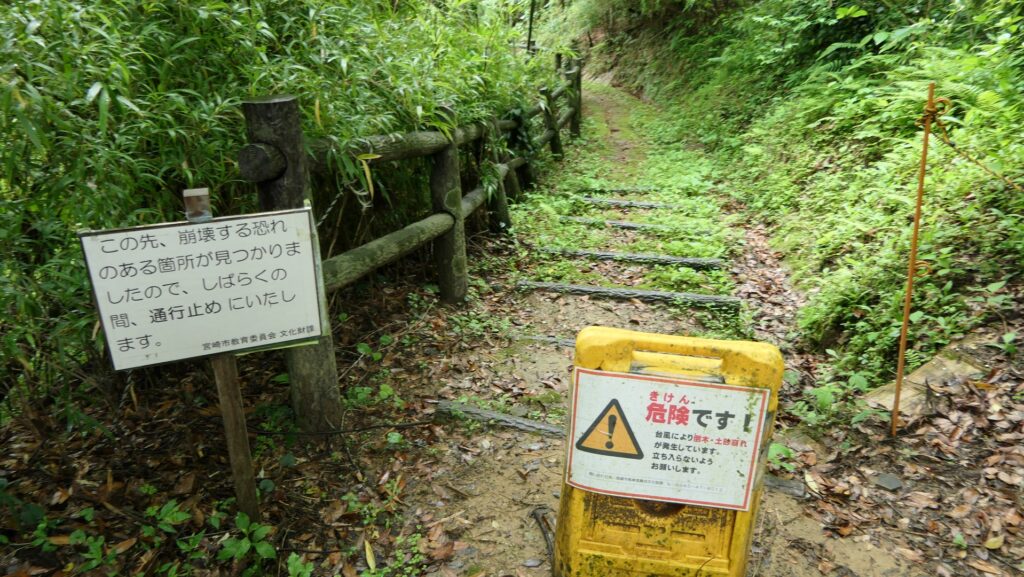
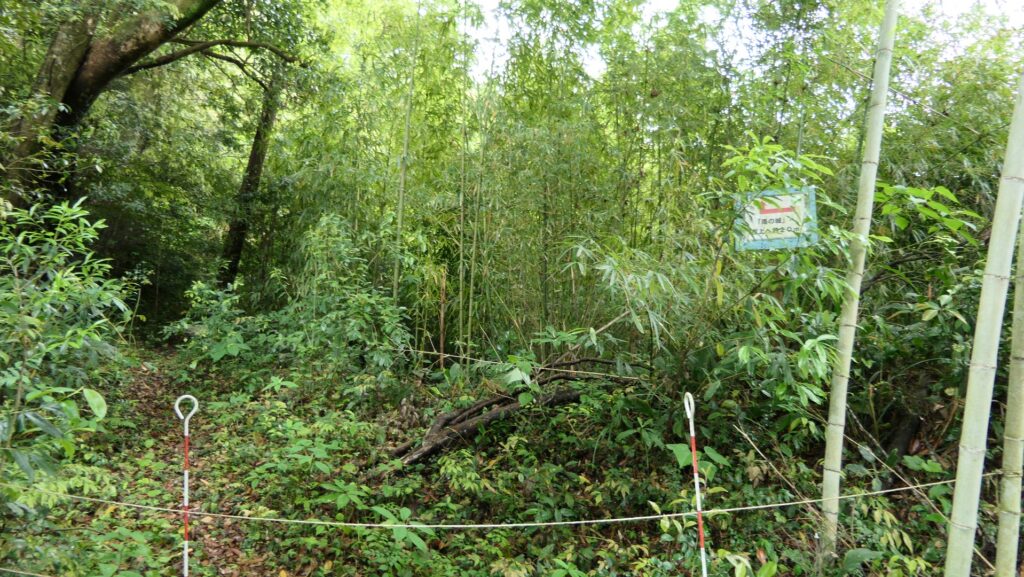
The Main Route to the top is still closed at the middle of the route where it is being repaired as of May 2023. Therefore, you can not go straight through the route, however you can see what it is by walking up the route from the foot to the repaired point and walking down from the top to the point. The route basically goes along another ridge of the mountain and its entrance is on the bottom of a large deep ditch which was surrounded by high vertically cut cliffs on both sides. Today’s visitors can enjoy a great view of the work by the builders, but past enemies must have felt a threat from the defenders. The narrow route continues to go along the ridge on the right, which the defenders would have attacked from in the past and landslides would easily destroy the route from today.
The map around the castle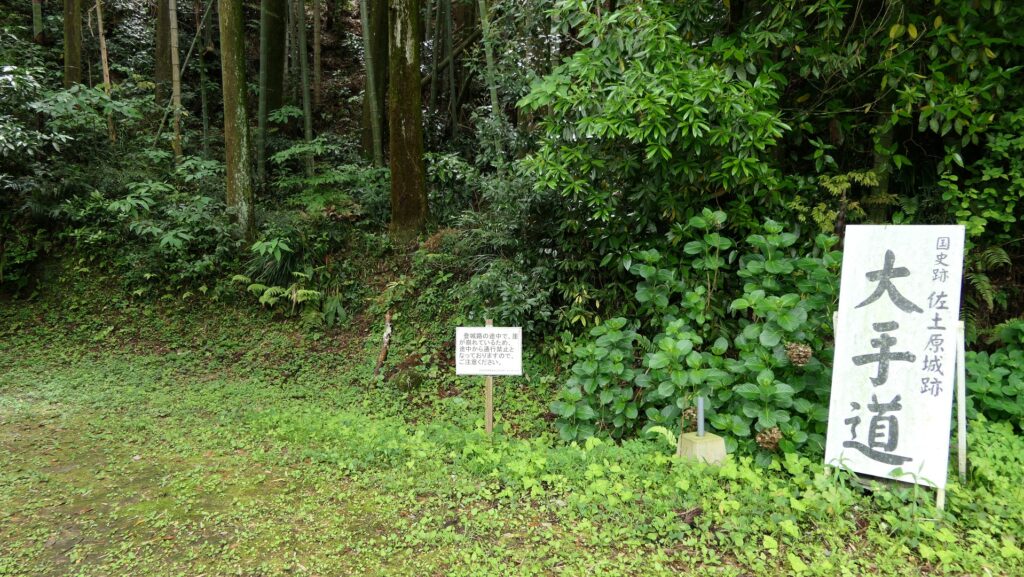
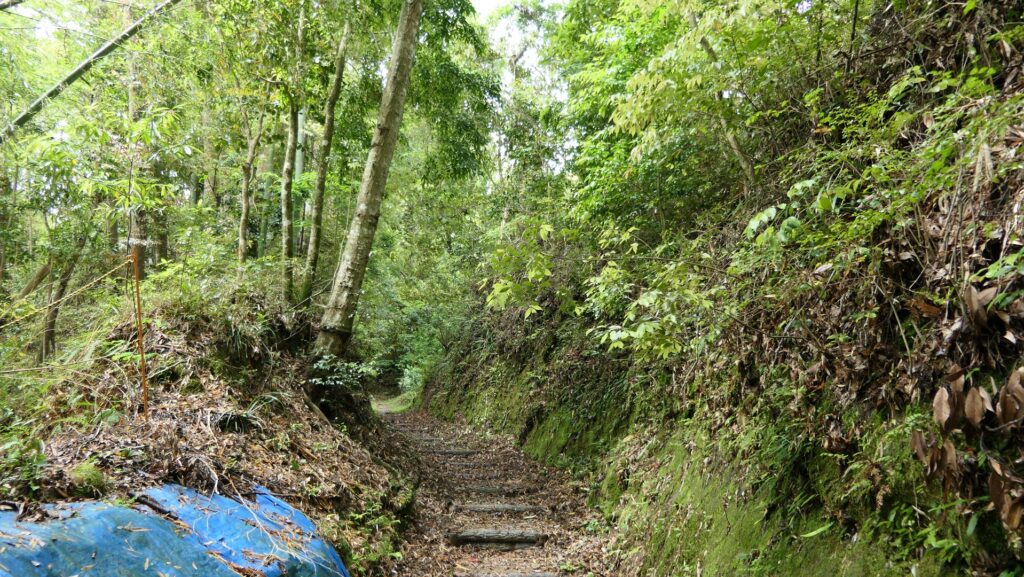

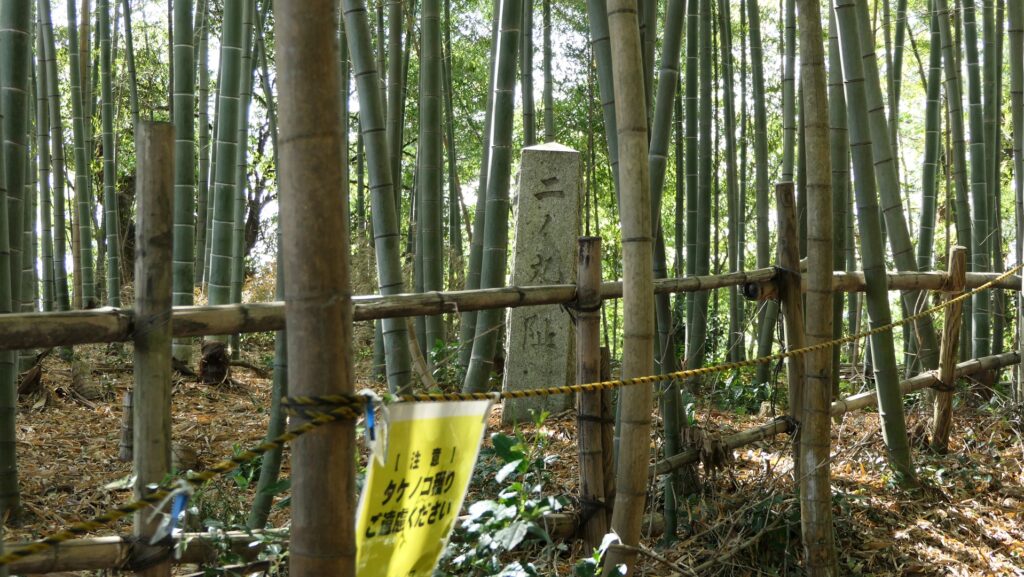
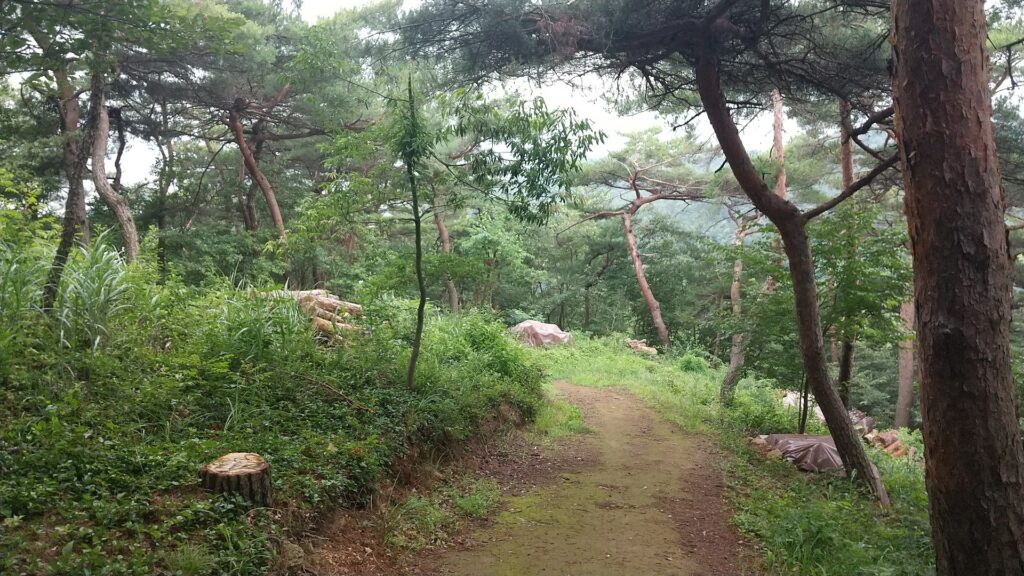
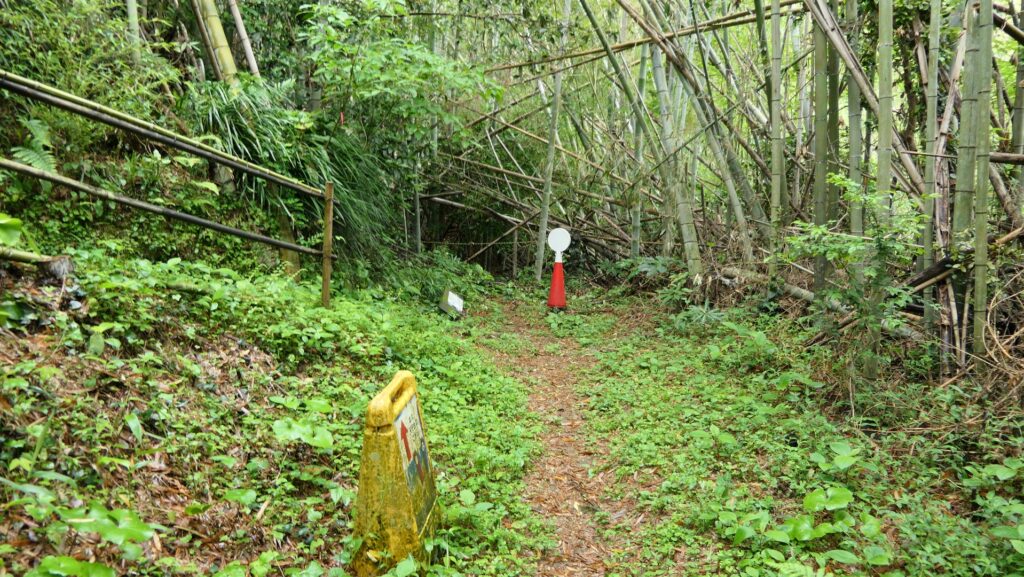
Above the repairing point, the route turns right and takes over another ridge to reach the Main Enclosure. The point taking over it is another artificially-made narrow ditch, which was another defensive point.

Later History
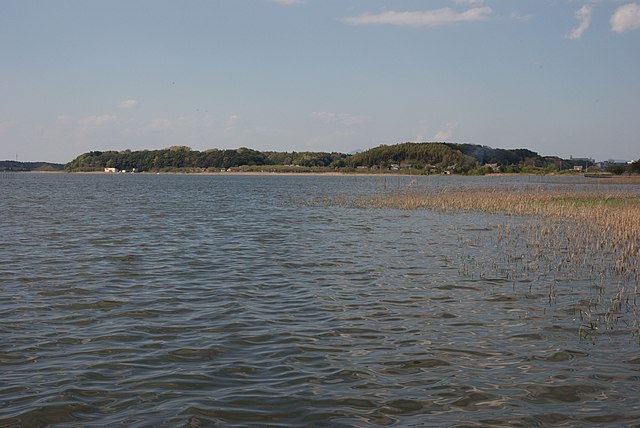
During the Meiji Restoration, the Satsuma Domain, a relative of the Sadowara Domain, got the power in the domestic politics. The Sadowara Domain joined the activities because the lords of both domains came from the same Shimazu Clan. The last lord of the domain, Tadahiro Shimazu was planning to move his home base to a more convenient land, Hirose. He started to build a new castle there and abolished Sadowara Castle where its buildings were all demolished in 1869. However, the launch of the castle was stopped before the abolition of the feudal domain system by the central government in 1871.
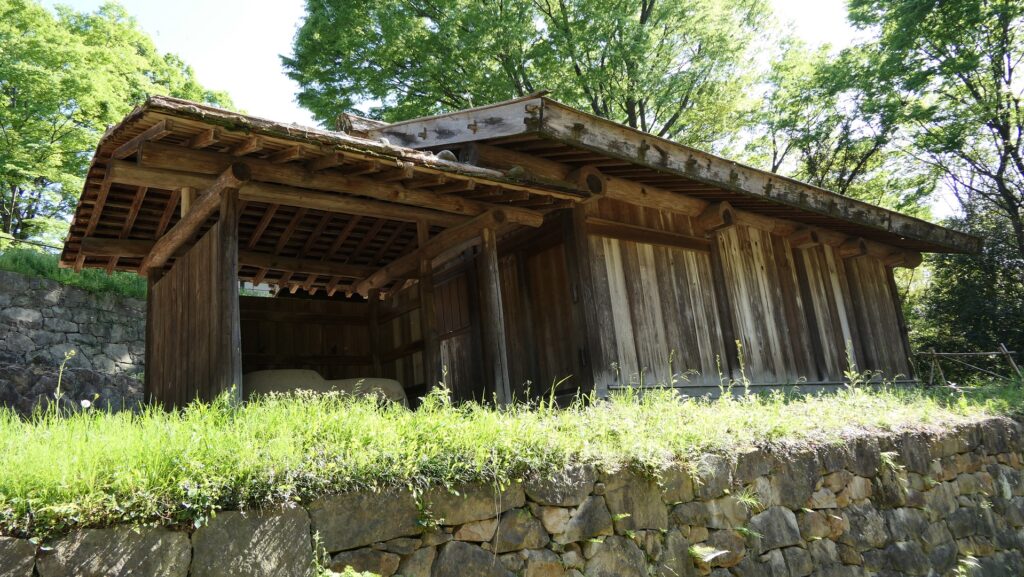
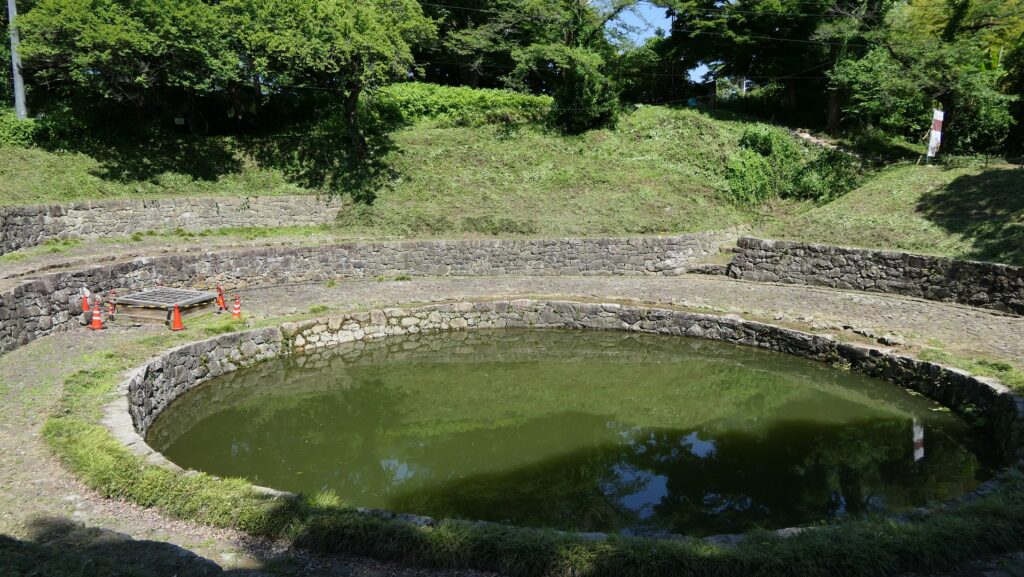
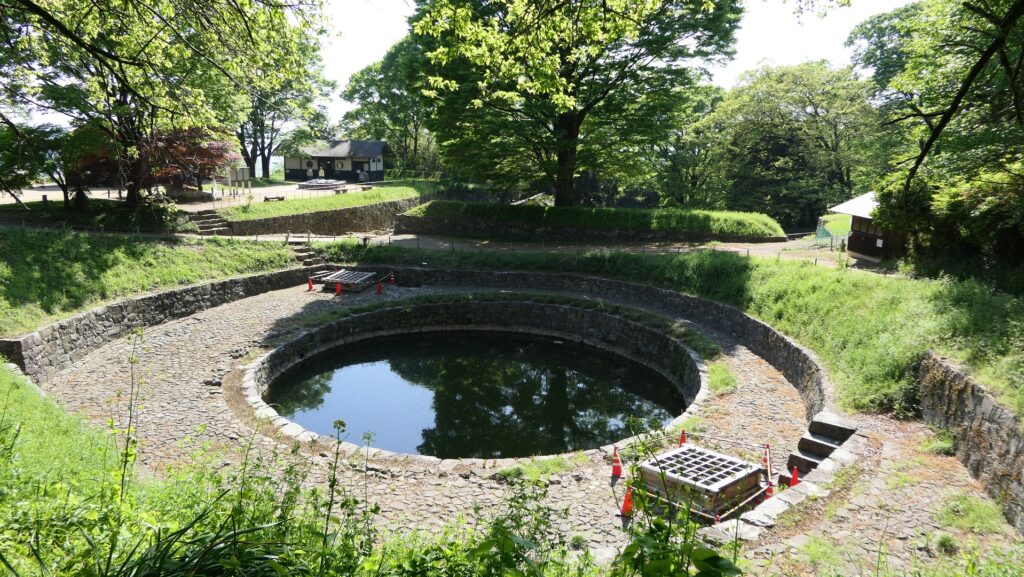
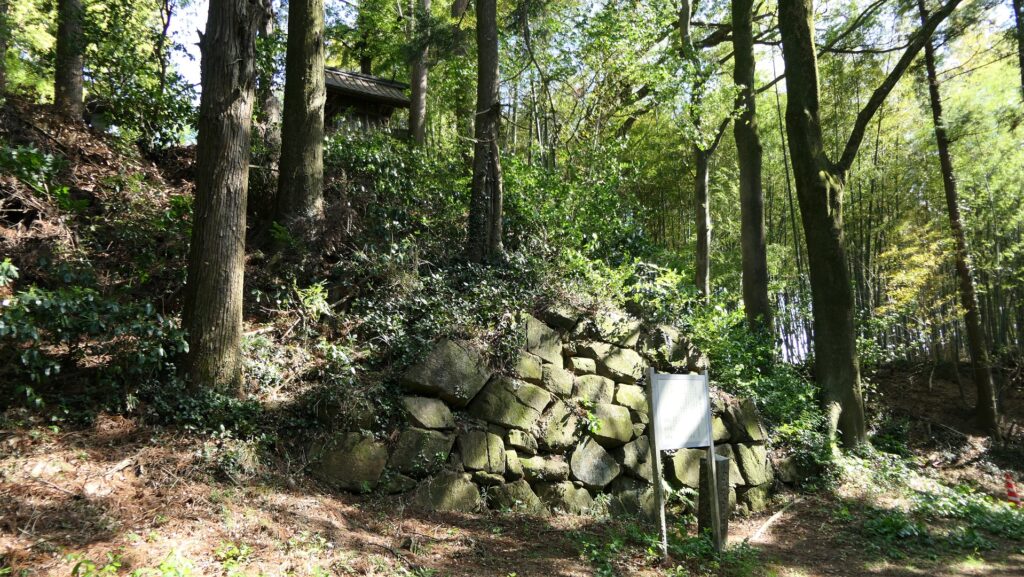
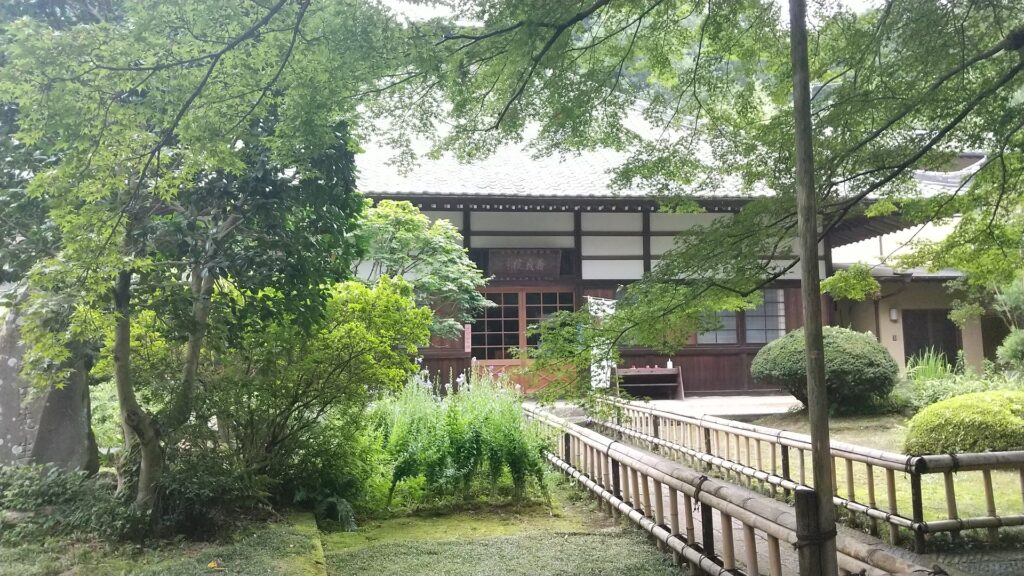
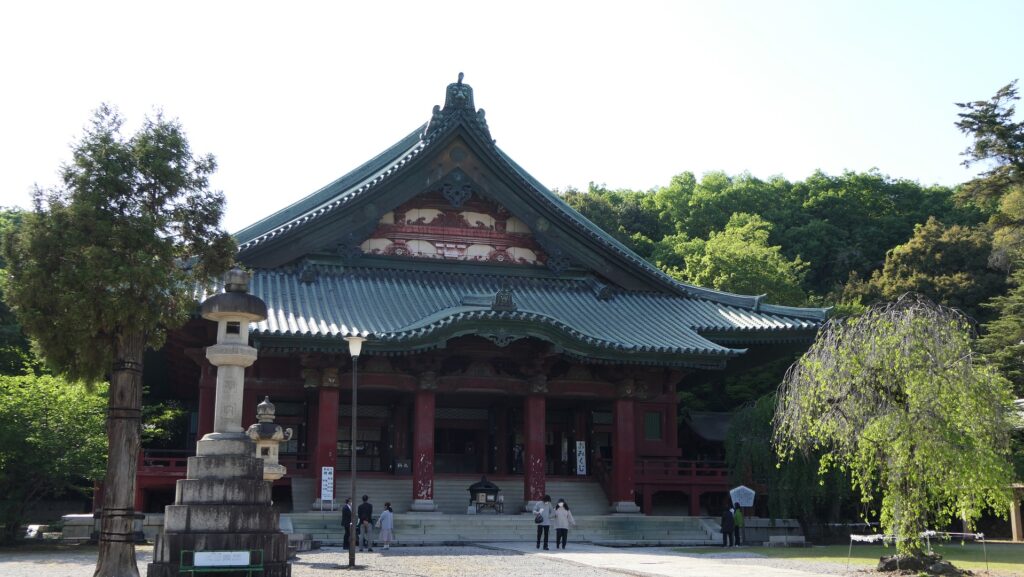
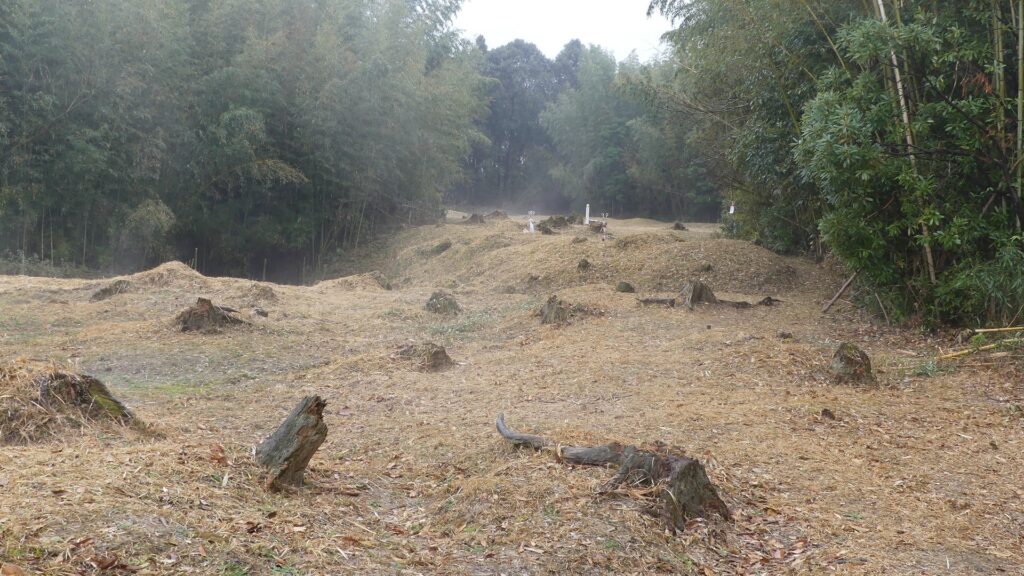
The ruins of Sadowara Castle had been used as fields (probably only in the plain area) for a long time. The excavation of the plain Second Enclosure was done in 1989 and the Main Hall on it was restored in 1993. The excavation of the Main Enclosure on the mountain was also done in 1996. It found that the foundations of the Main Tower Base and some roof tiles with golden leaf which was often used for Main Towers. That resulted in Sadowara Caste being the southernmost castle which had the Main Tower in Japan so far. As a result, the castle ruins were designated as a National Historic Site in 2004.
My Impression
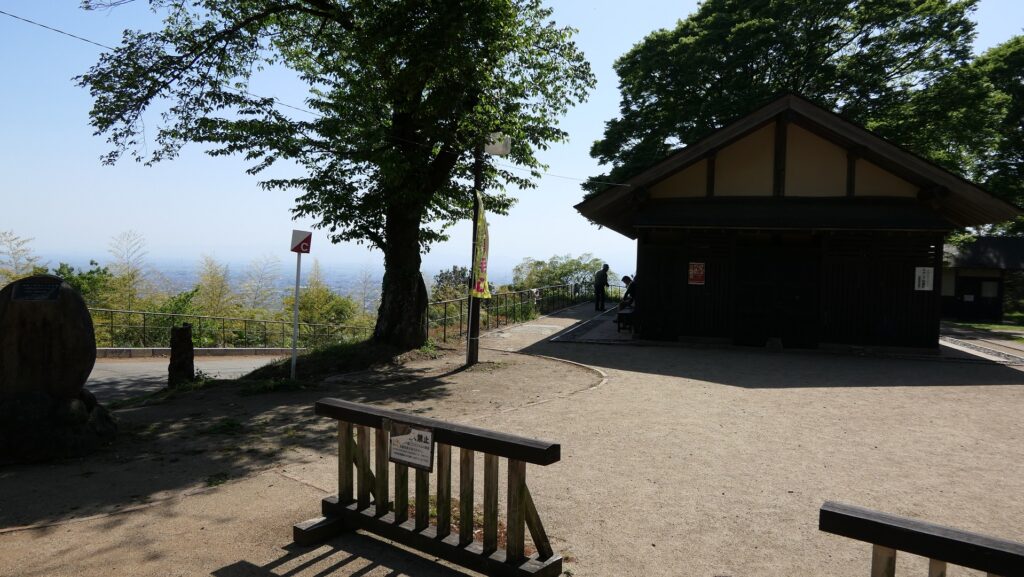
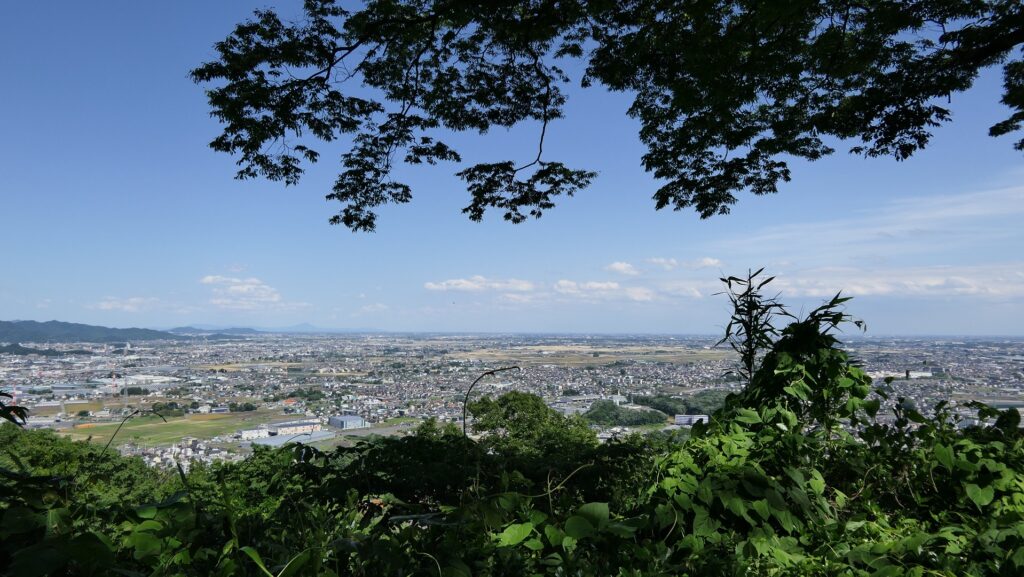
I visited the ruins of Sadowara Castle three times in total. My first visit was several years ago, which I don’t remember very well. The second one was in 2022 just after the closing of both routes to the mountain part due to the natural disaster, which disappointed me. I didn’t know about the news and the vulnerable nature of the mountain on the Shirasu Plateau. I finally reached the top again after hearing the good news of its re-opening. When I was wandering the top around, I found some other parts were still closed and some trees fell beside the road. I realized the difficulty of maintaining the ruins and thought that nature might have even helped the castle prevent enemies from attacking it. Please check if these routes are open if you want to visit the ruins.
How to get There
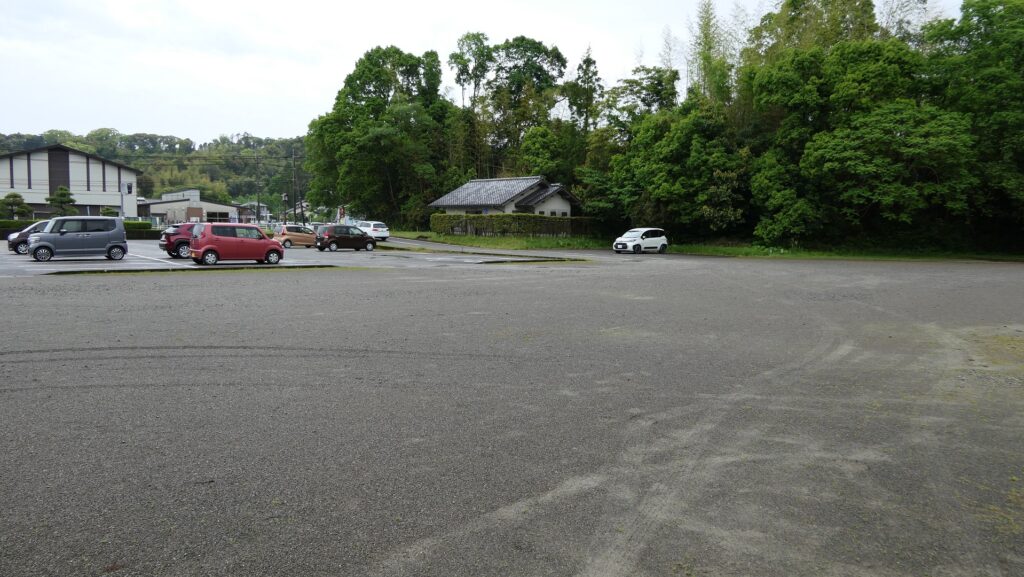
If you want to visit the castle ruins by car, it is about a 10 minute drive away from Saito IC on the Higashi-Kyushu Expreesway. There is a parking lot in front of the castle ruins.
If you want to use public transportation, you can take the Miyazaki Kotsu Bus bound for Saito Bus Center at Miyazaki Station and get off at the Koryu-Center-mae bus stop.
From Tokyo or Osaka to Miyazaki Station: Take the Miyazaki-kuko Line from Miyazaki Airport after using a plane.
That’s all. Thank you.
Back to “Sadowara Castle Part1”
Back to “Sadowara Castle Part2”