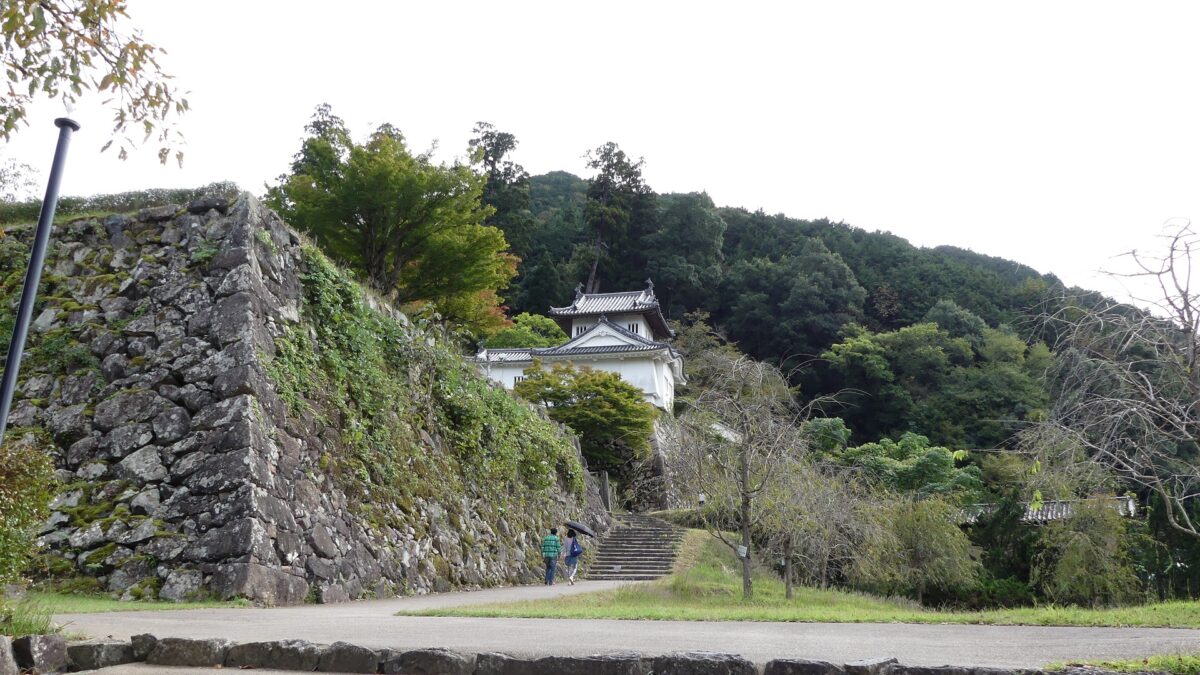
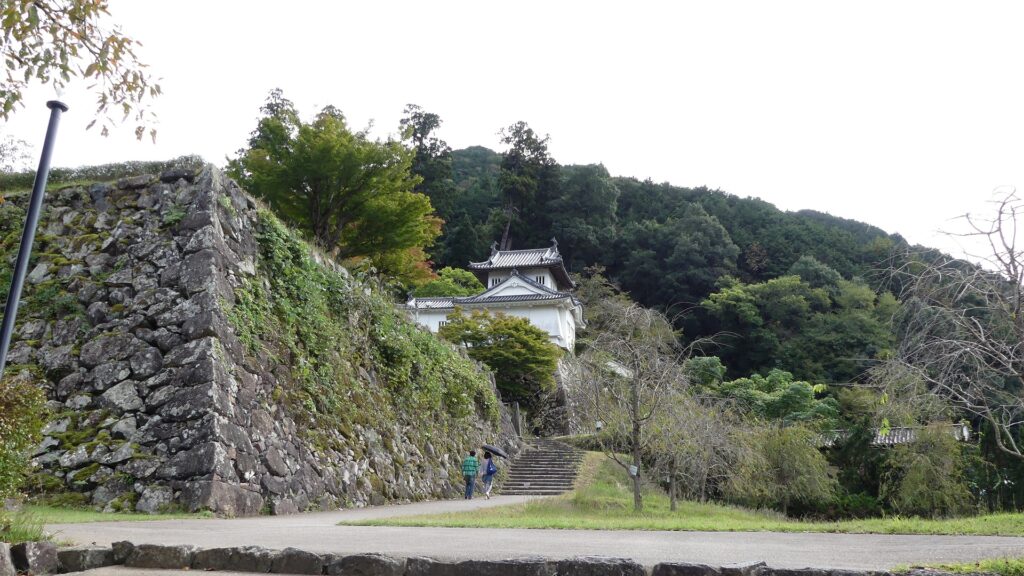
Next comes Izushi Castle Ruins. Visitors usually first go across Tojo-bashi Bridge over Taniyama-gawa River in front of the ruins and enter Tojo-mon Gate. You will climb gentle stone steps while seeing great stone walls of the Second Enclosure on the left.
Features
Easy Route to Izushi Castle Ruins
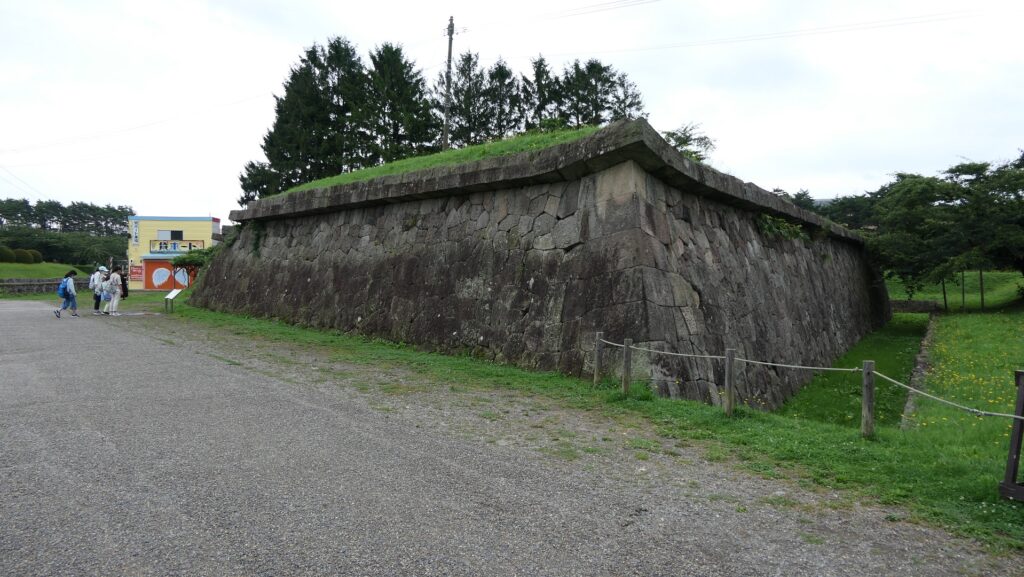
Next comes Izushi Castle Ruins which casual visitors can easily get to. The ruins consist of several tiered enclosures at the foot of the mountain. Visitors usually first go across Tojo-bashi (meaning the bridge for going to the castle) over Taniyama-gawa River in front of the ruins and enter Tojo-mon (meaning the gate for going to the castle). You will climb gentle stone steps while seeing great stone walls of the Second Enclosure on the left. The stones used for the walls look more processed and newer than those of Arikoyama Castle on the mountain, because of the difference of their periods. The enclosure is empty now, which was used as the domain’s offices.
The map around the castle
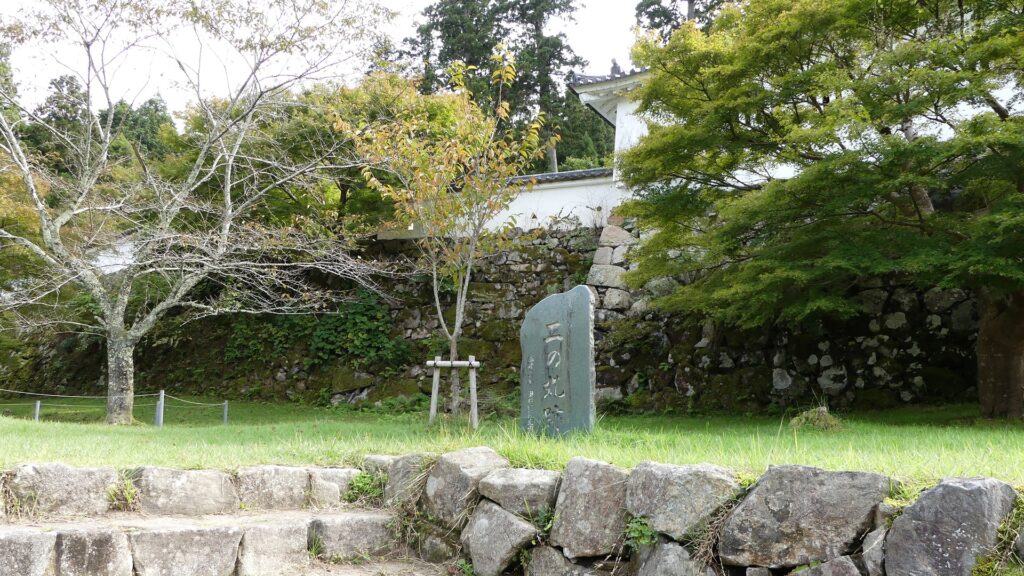
The Tojo-bashi GateThe Tojo-mon GateThe stone walls of the second enclosure on the leftThe top on the second enclosure
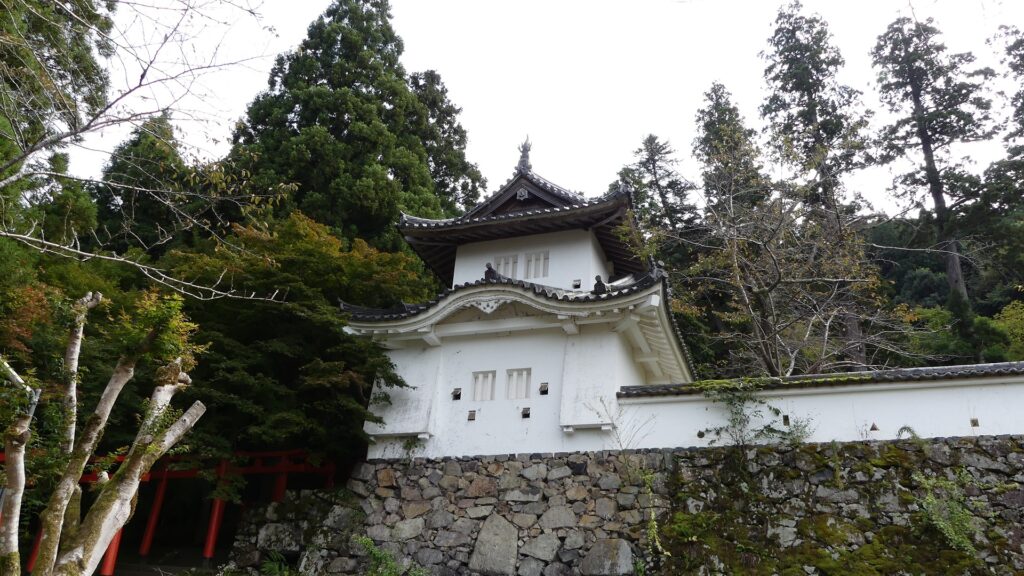
The main enclosure is above the second enclosure, which has two rebuilt turrets on both front corners (called the Eastern and Western Corner Turrets). Their designs are different from the original ones, but are made out of wood in a traditional way and look good matching the remaining stone walls.
The Western Corner TurretThe interior of the Western Corner Turrret, it is sometimes open to the publicThe Eastern Corner Turret
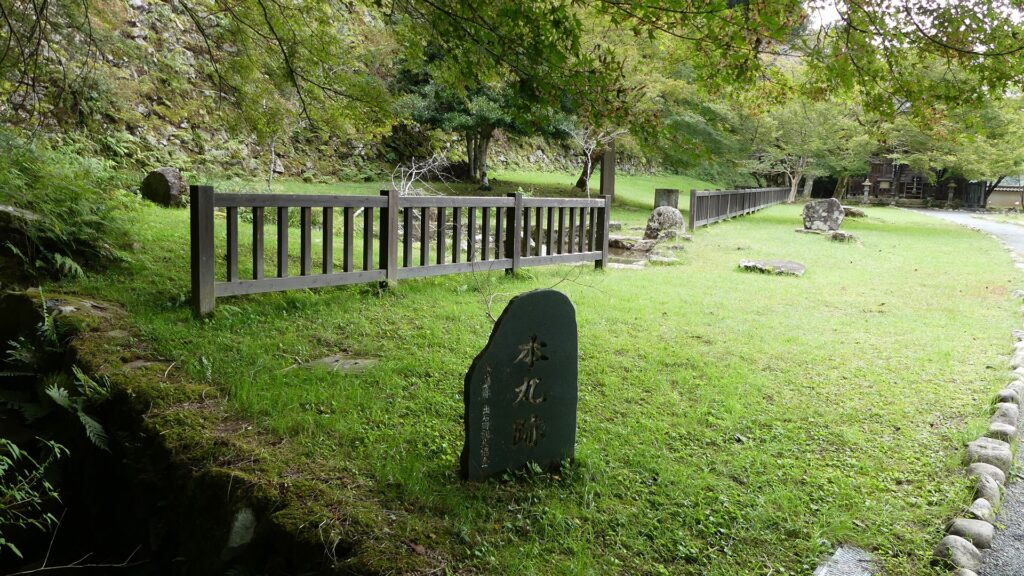
There was the Main Hall in the enclosure, and is now Kannoden Shrine instead, which worships Hisahide Sengoku, the founder of the clan.
The top of the main enclosureThe Kannoden Shrine
Inari Enclosure at Highest of Castle
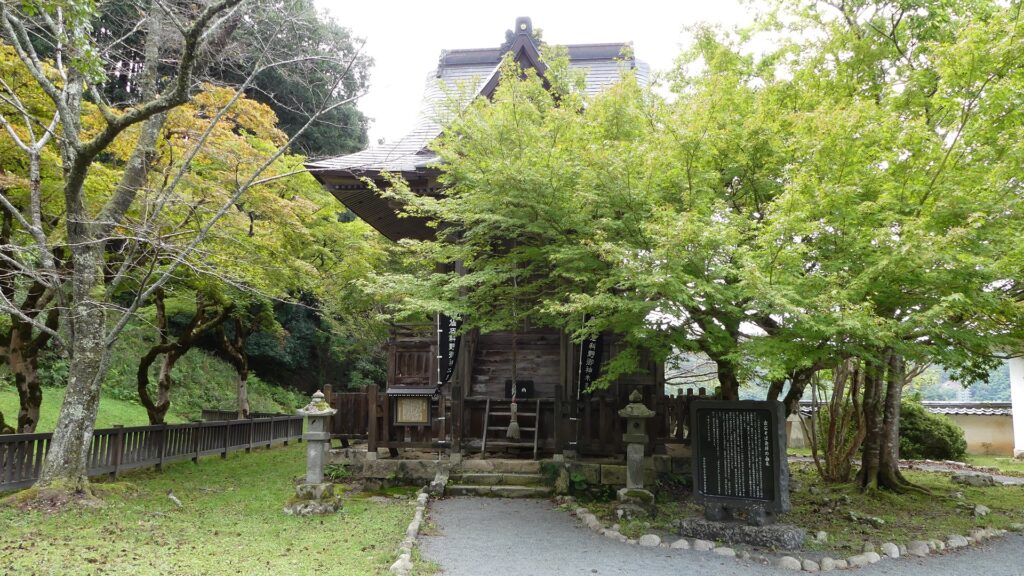
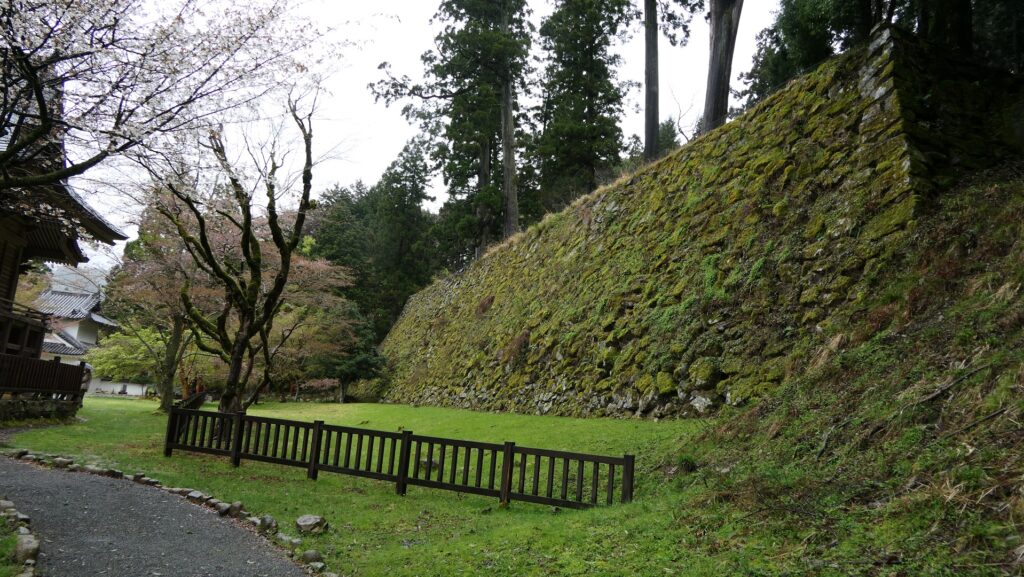
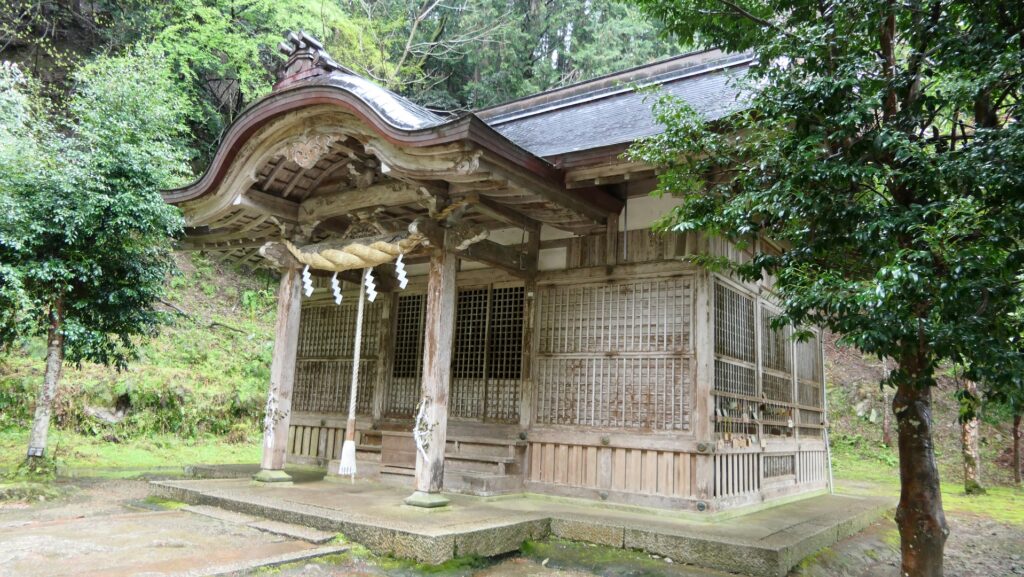
The Inari Enclosure is at the highest of the castle. It also has the highest stone walls in the castle at 13.5m. This is very rare among Japanese castles as other castles’ main enclosures are usually at the highest and have the greatest stone walls in the castle. The Arikoyama Shrine building has been constructed in the Inari Enclosure since the early stage of the castle. The current building was rebuilt during the late Edo Period and looks very old.
The high stone walls of the Inari Enclosure on the rightThe Arikoyama Inari ShrineA view from the enclosure
Attractions of Castle Town
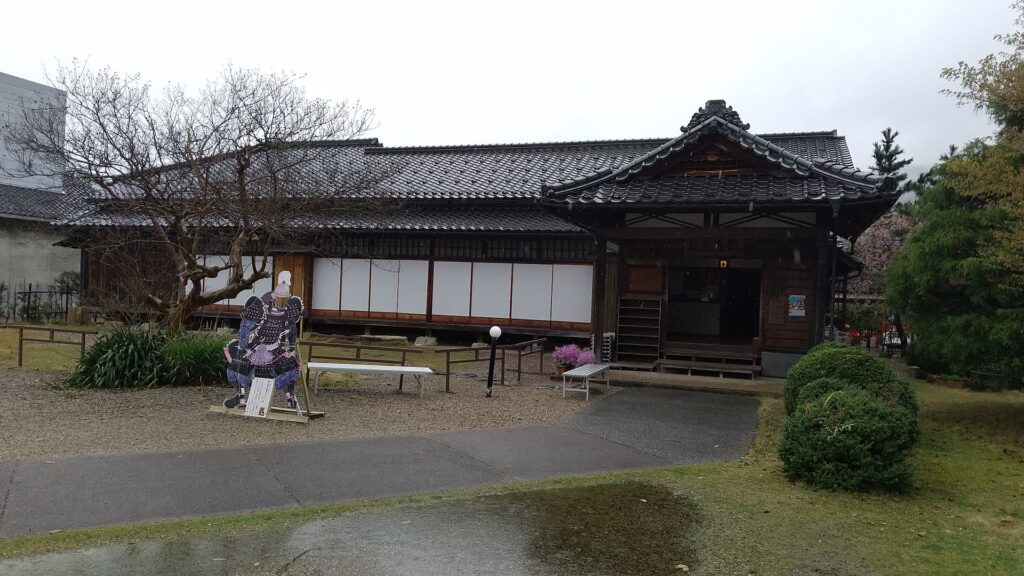
Part of the old castle town is the former third enclosure which had the Main, Eastern and Western Gates. You can still see the partially remaining stone walls of the Main and Western Gates there. You can also visit Karo Yashiki (meaning the Senior Vassal’s Residence) which is the only remaining Samurai residence in this area. It is interesting that it looks like a single-storied house, but in fact, it has a secret chamber as the second floor.
The map around the castle town
The stone walls of the Main GateThe stone walls of the Western GateThe Karo-Yashiki ResidenceThe hidden second floor of the residence, the host on the right can see who is coming from the steps on the left through the hole in the central wall
Later History
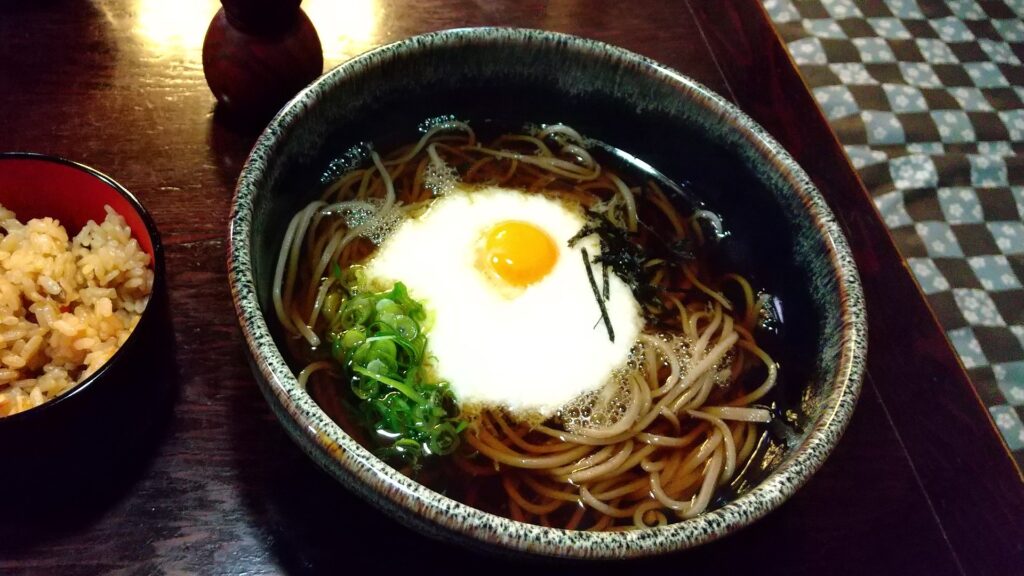
After the Meiji Restoration, Izushi Castle was abandoned and all the castle buildings were demolished in 1871. Instead, locals built a new drum tower called Shinkoro at the Main Gate in the same year. The tower was turned into a clock tower in 1881 and has become a symbol of the area. The area once declined because it deviated from a railway line. However, locals made great efforts to boost tourism by rebuilding castle buildings, promoting Izushi Soba noodles, Izushi Pottery which originated from the castle’s period, and so on. The area was also designated as a Preservation District for Groups of Historic Buildings in 2007. As a result, the area has become an attractive traditional town as we can see now.
The Shinkoro TowerIzushi Soba Noodles, they are usually served on a plate
My Impression
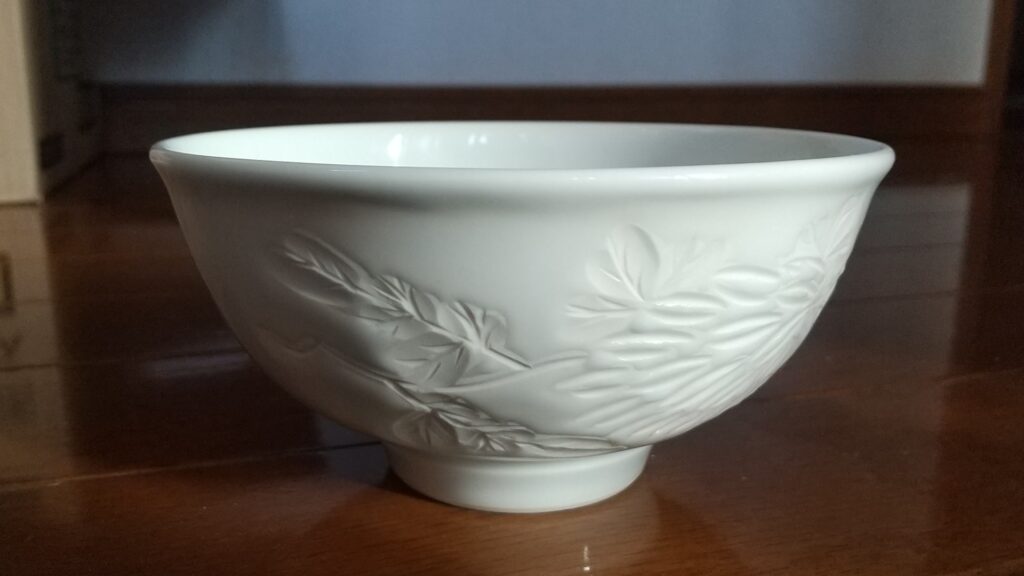
As a fact, visiting the Izushi area takes a lot of time no matter which transportation you take. However, lots of people often visit the area. That’s because there are many attractions including the two castle ruins of Izushi and Akikoyama. Other attractions also came from the long history of this area. In my case, I would like to visit that place again to get to the ruins of Konosumi-yama Castle which the Yamana Clan first lived and I didn’t know about during my last visit. Other than castles and ruins, I would also like to buy another Izushi Pottery which has white skin and engraved patterns.
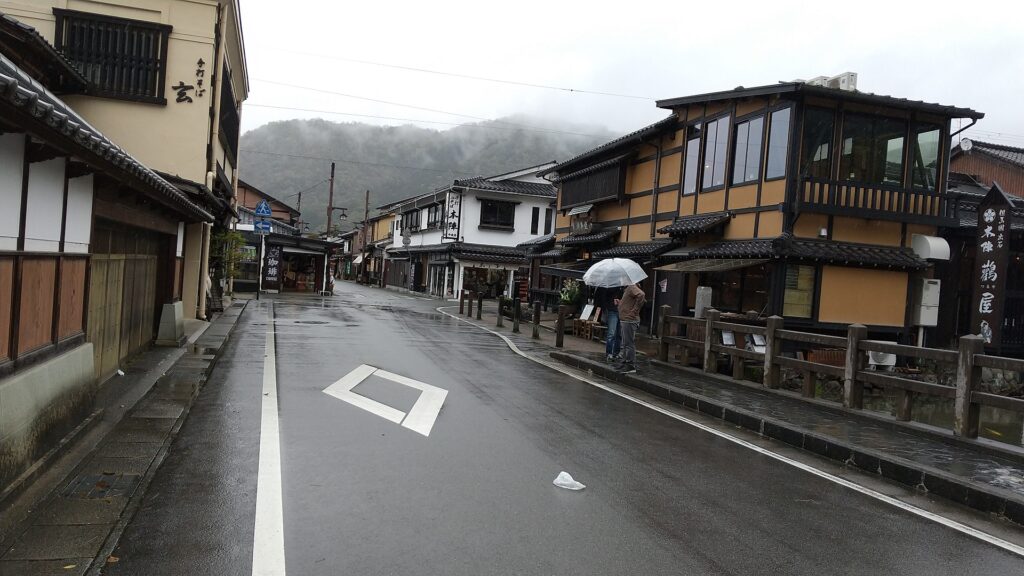
A street of the castle townIzushi Pottery
How to get There
If you want to visit the castle ruins by car, it is about a 30-minute drive away from Wadayama IC on the Bantan Renkaku Road. There are several parking lots around Izushi Castle Ruins. By public transportation, you can take the Zentan bus bound for Izushi from JR Toyooka Station and get off at the final bus stop. From Tokyo to Toyooka Station: take the Tokaido Shinkansen super express and transfer to the Sanin Line at Kyoto Station.
The Toyooka Station, the bus terminal is around the center