Features
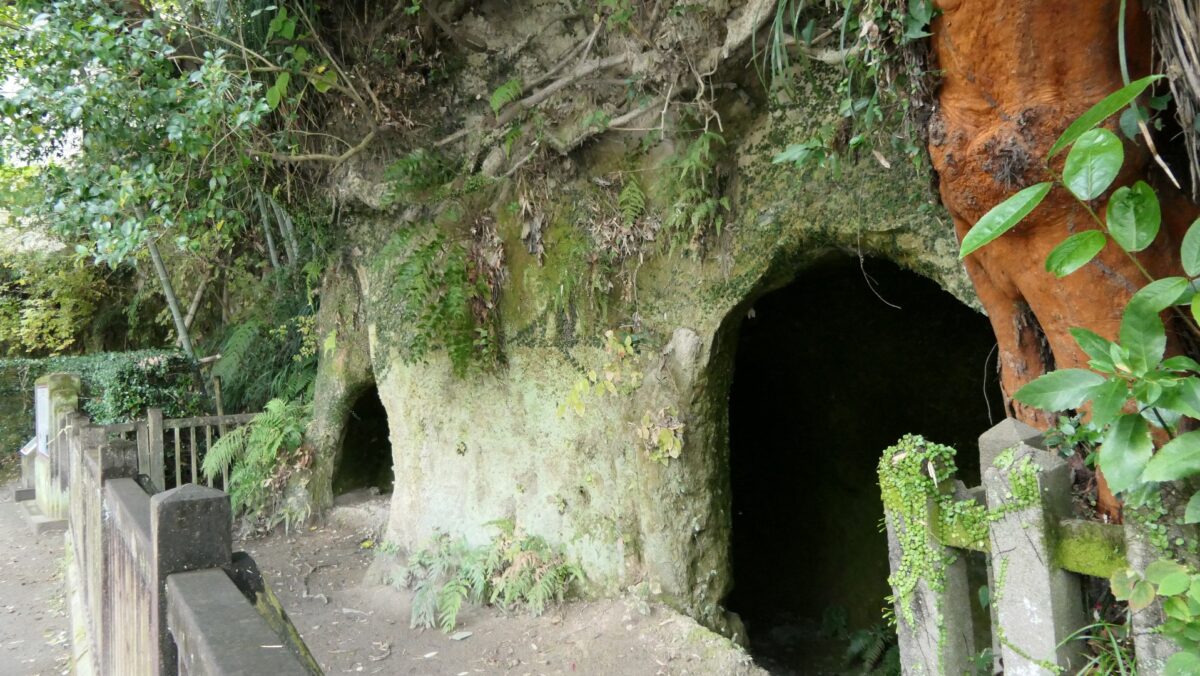
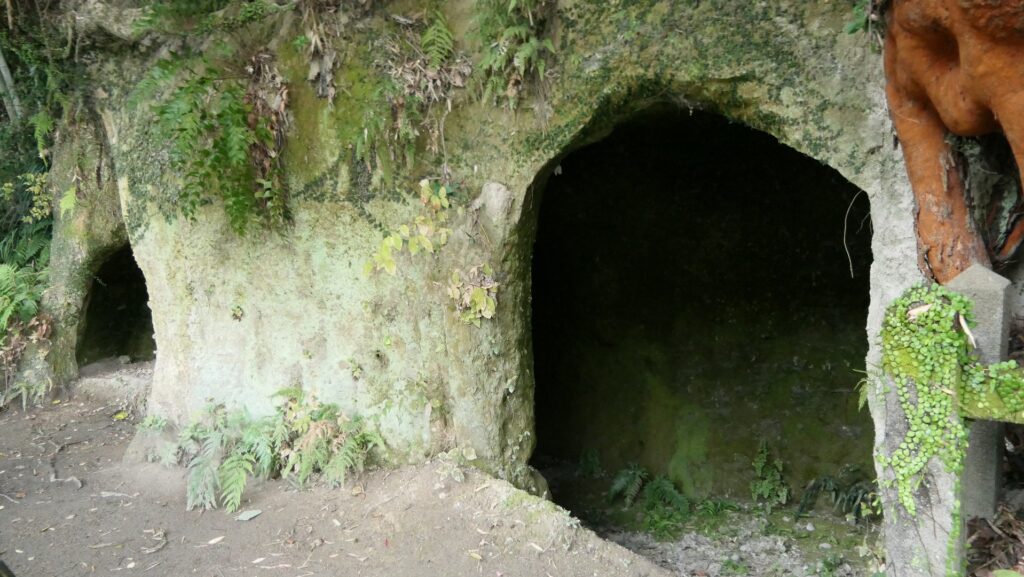
Melancholy Saigo Caves
Finally, please consider visiting the Saigo Caves which was the last place of Takamori Saigo and the Seinan War. This place is on the way to car road between the city area and the top of the mountain. Therefore, you can choose the timing of your visit either when you go to or return from the top. This is also another popular historical spot but there are just several caves in a line on the cliff. You may feel sad seeing them and imagining Saigo or his soldiers having to choose them as the last place, not a castle-like place.
The relief map around the castle

Later History
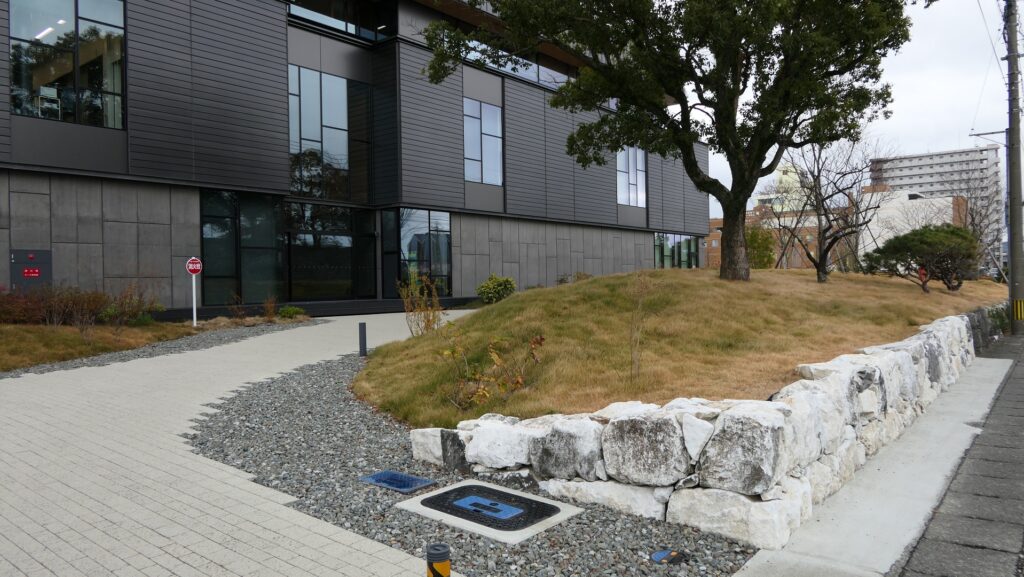
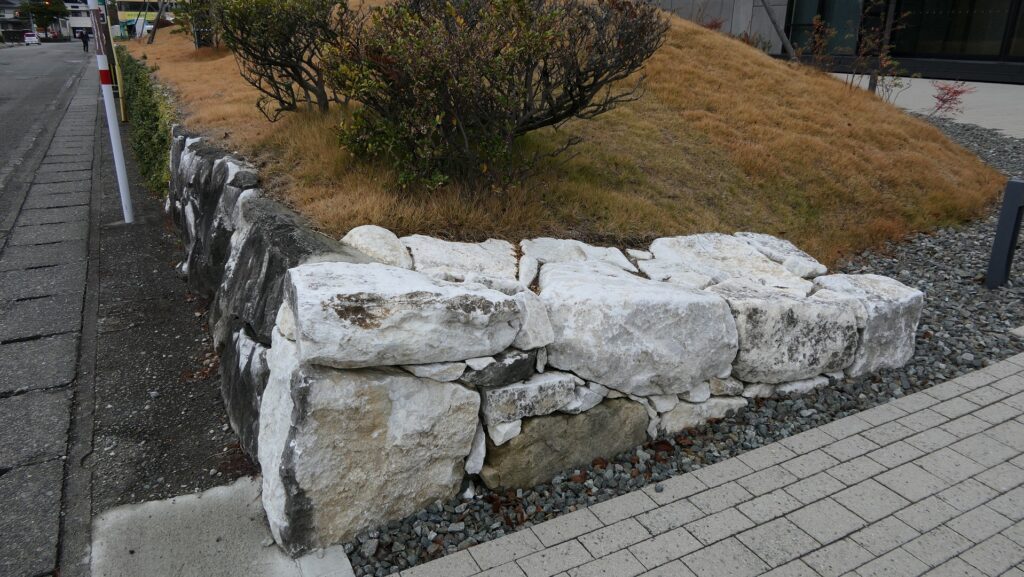
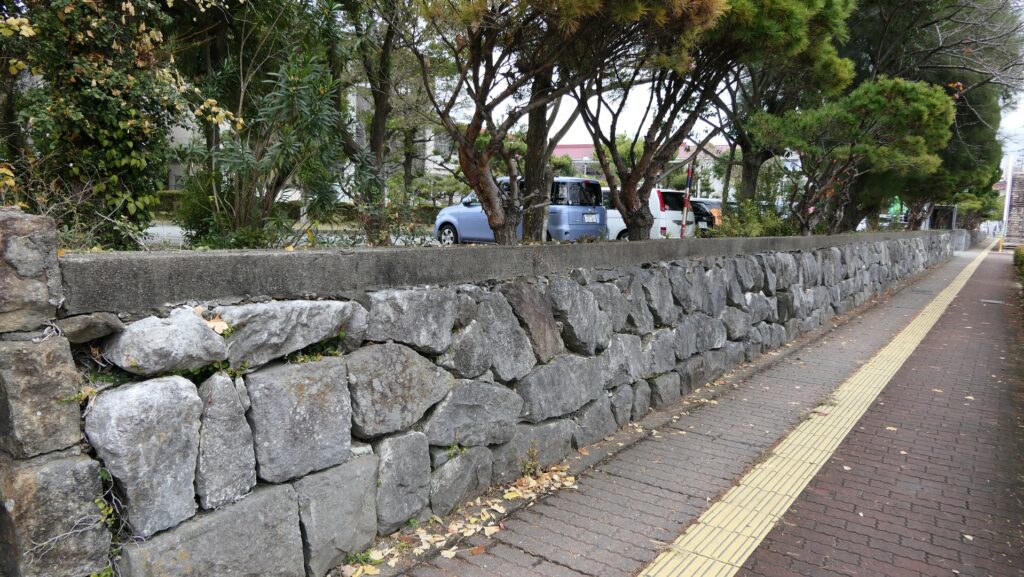
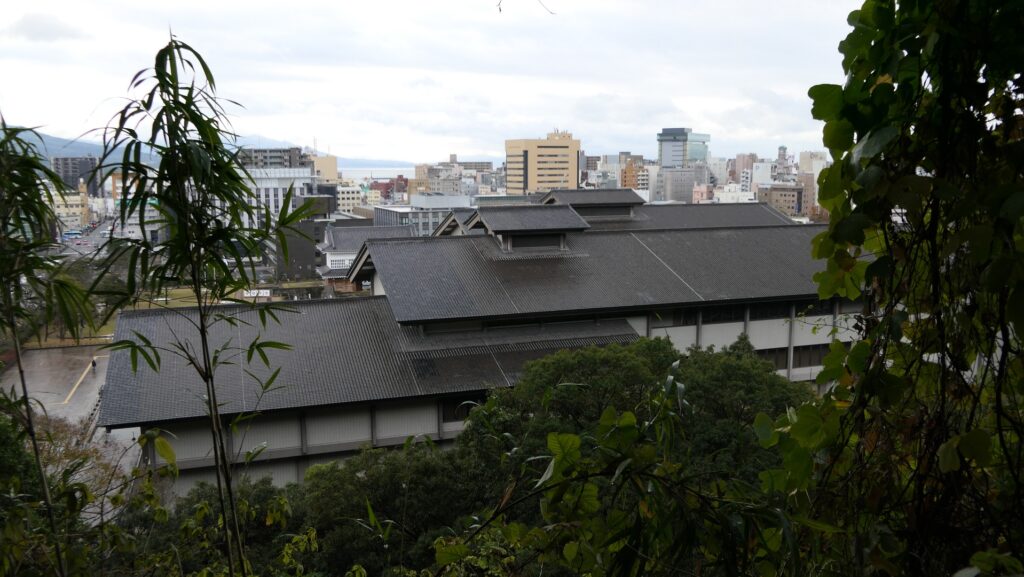
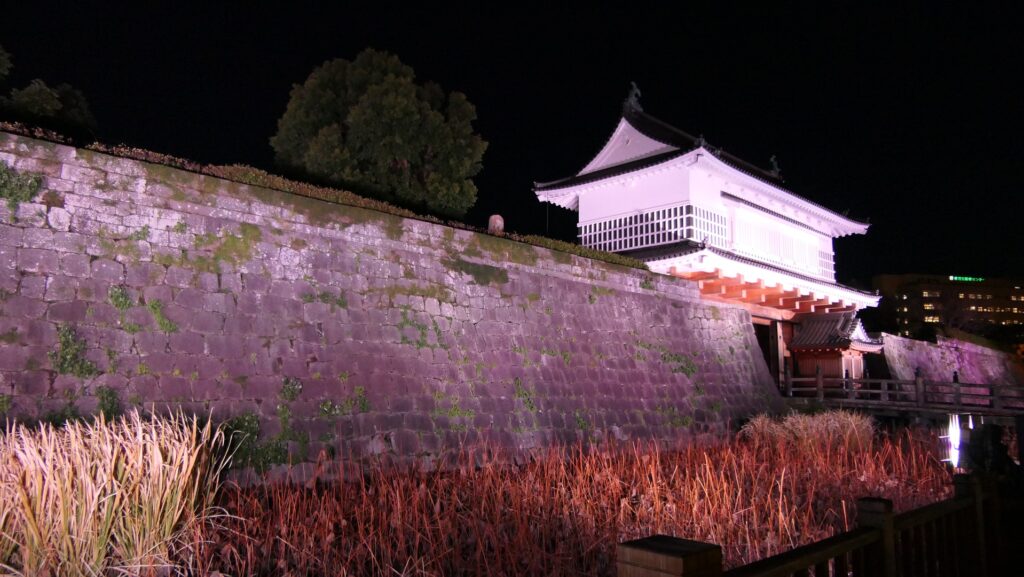
In the Seinan War, the remaining castle buildings of the Second Enclosure were also burned down. After that, the castle ruins at the foot of the mountain were used as schools like Kagoshima University. After the university moved to another location, the Reimeikan museum opened in the Main Enclosure in 1983. As for a historical site, the mountain part was first designated as a National Historic Site in 1931. In addition, the foot part is being added to the site based on the achievement of the recent excavation. Kagoshima Prefecture is also considering to restore other structures at Main Enclosure such as turrets and moats in the future.
My Impression
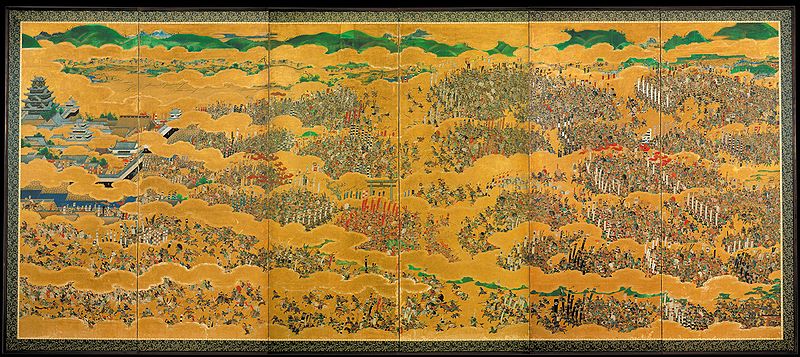
When I saw the Saigo Caves, I felt like Saigo had been in a guerrilla warfare. If he had fought in a final battle of the Sengoku Period, he would have stayed in a castle building such as the Main Tower, like the Toyotomi Clan used to do at Osaka Castle in the summer campaign of the siege of Osaka in 1615, or on the top of a mountain, like Masashige Kusunoki used to do at Chihaya Castle in the siege of Chihaya in 1333. However, the situation and technology had completely changed from those periods. I think Seinan War proved the end of the warriors as well as the end of Japanese castles.

How to get There
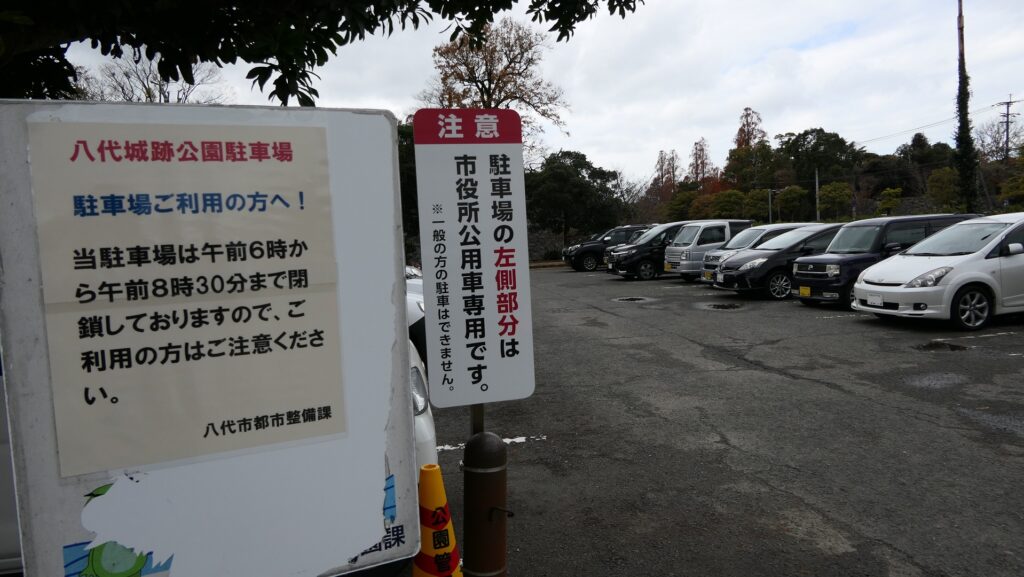
If you want to visit the castle ruins by car, it is about a 20 minute drive away from Kagoshima-kita IC on the Kyushu Expressway. There are several parking lots around the castle ruins. You can also use the parking lot of Reimeikan if you enter the museum.
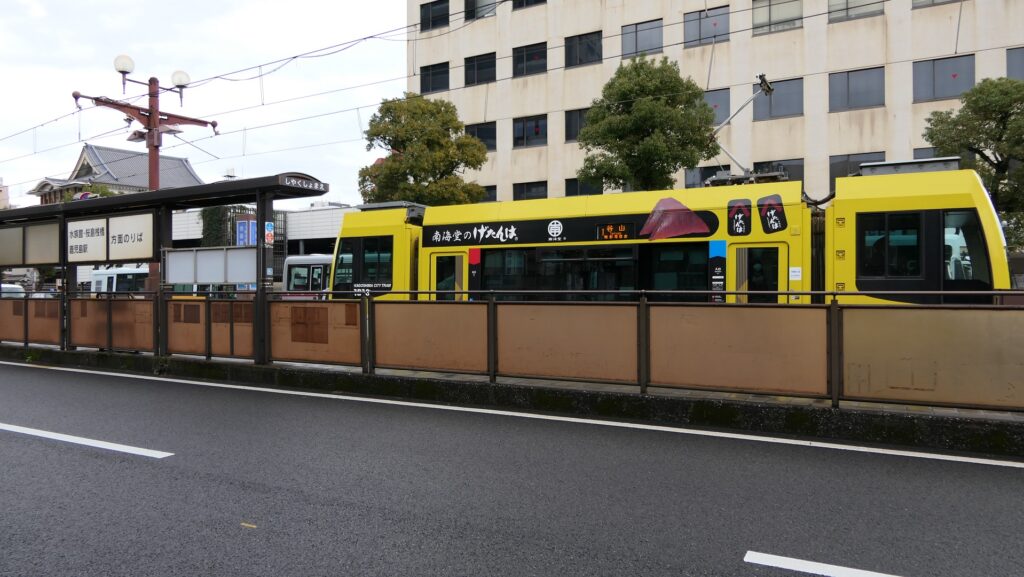
If you want to use public transportation, you can take the Kagoshima City-view Bus from Kagoshima-chuo Station and get off at the Satsuma-gishihimae bus stop or take the city tram bound for Kagoshima-ekimae from the station and get off at the Shiyakusho-mae stop.
From Fukuoka to Kagoshima-chuo Station: Take the Kyushu Shinkansen super express.
From Tokyo to Kagoshima-chuo Station: Take the express bus from Kagoshima Airport after using a plane.
That’s all. Thank you.
Back to “Kagoshima Castle Part1”
Back to “Kagoshima Castle Part2”