Location and History
Singu City has Long History
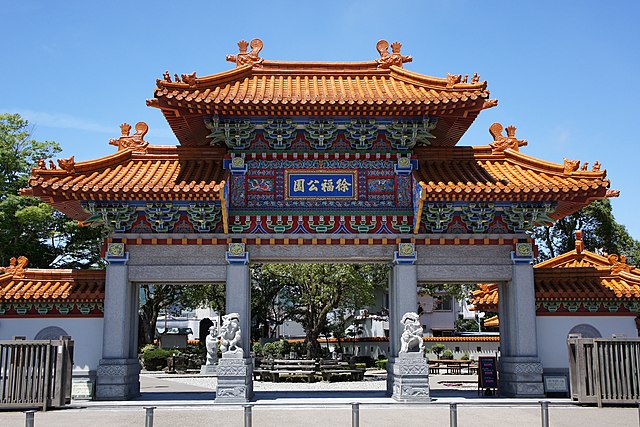
Shingu City is located in the southern part of Wakayama Prefecture, around the estuary of Kumano-gawa River. It has a rich nature and a long history. It even has a tradition that Jofuku of the Qin Dynasty in ancient China. He arrived in search of the elixir of life. It is also known for the location of Kumano Hayamizu Taisha, one of the three main Kumano Shrines. Because of the location, the Chief Priest or Betto of Kumano Shrines had governed the area. However, the Shrines’ power decreased during the Sengoku Period when many battles happened.

Tadayoshi Asano builds Castle, followed by Shigenaka Mizuno
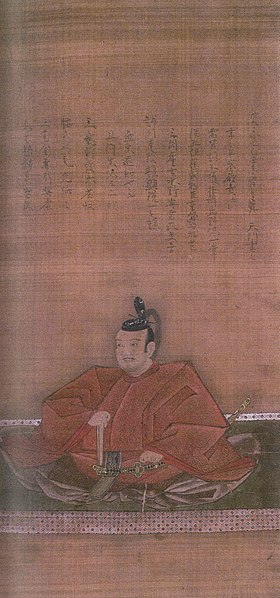
Instead, a local lord of the Horiuchi Clan got the power to govern. In 1600 when the Battle of Sekigahara occurred, the clan supported the Western Squad. That resulted in the clan’s destruction because the Eastern Squad, led by Ieyasu Tokugawa who was the founder of the Tokugawa Shogunate, won. The shogunate sent the Asano Clan to Kii Province, what is modern day Wakayama Prefecture, as its lord. The Shingu area was governed by Tadayoshi Asano, the clan’s relative, who first built Shingu Castle.
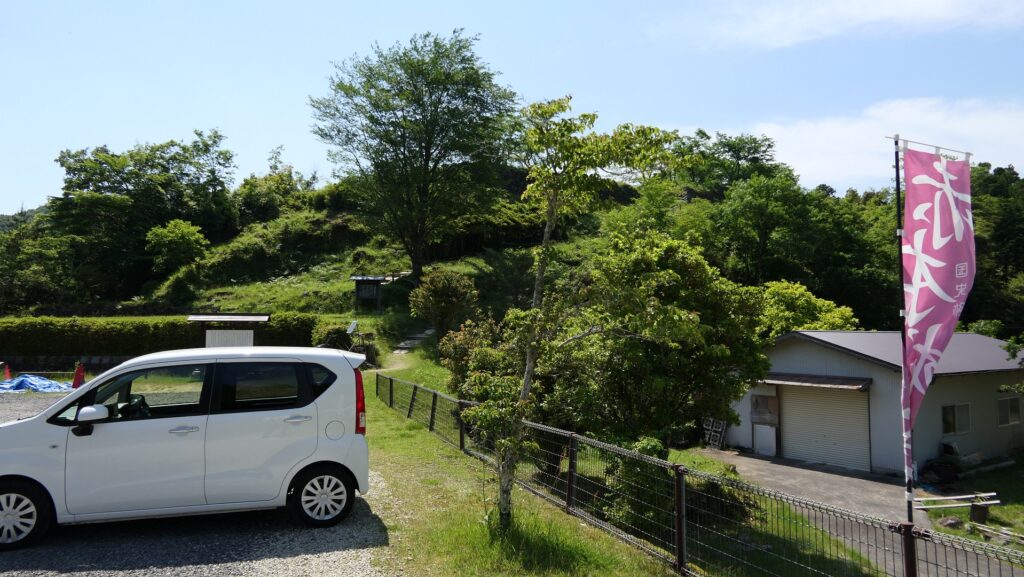
The range of Kii Province and the location of the castleThe area prospered as a junction for water transportation connecting Kumano-gawa River and the Pacific Ocean. Wooden materials such as the Kumano Cedar were gathered in and carried from there using it. People, who had been called the Kumano Navy in the Sengoku Period, operated it. Tadayoshi needed to control them by building the castle, which was built on a hill called Tankaku-yama near the estuary of the river. He was also required to make the castle strong because some local warriors and farmers called the Kitayama Uprising were against him. In 1614, the uprising people actually tried to attack the castle, but were repelled by the Asano troops with the former Navy people.
The castle was once abandoned in 1615 because of the Law of One Castle per Province by the Tokugawa Shogunate. However, Tadayoshi was allowed to start rebuilding the castle probably at the same place in 1618 for some reasons. After he was transferred to another territory by the shogunate, the Tokugawa Clan owned the province. The clan was one of the three branches of the Tokugawa Family, based in Wakayama Castle as the Kishu Domain. A senior vassal of the clan, Shigenaka Mizuno entered Shingu Castle following the construction that Tadayoshi Asano launched. The construction continued for many years and was finally completed in 1667.
Advanced Stone Walls and Water Supply Enclosure used for Trading
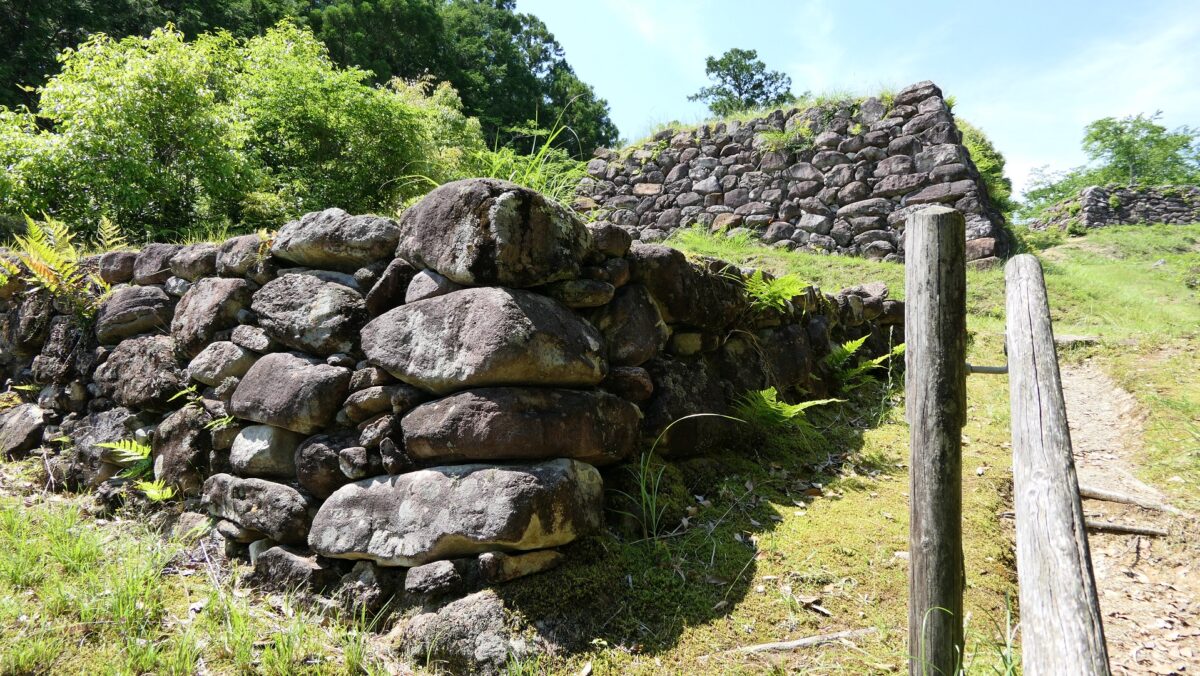
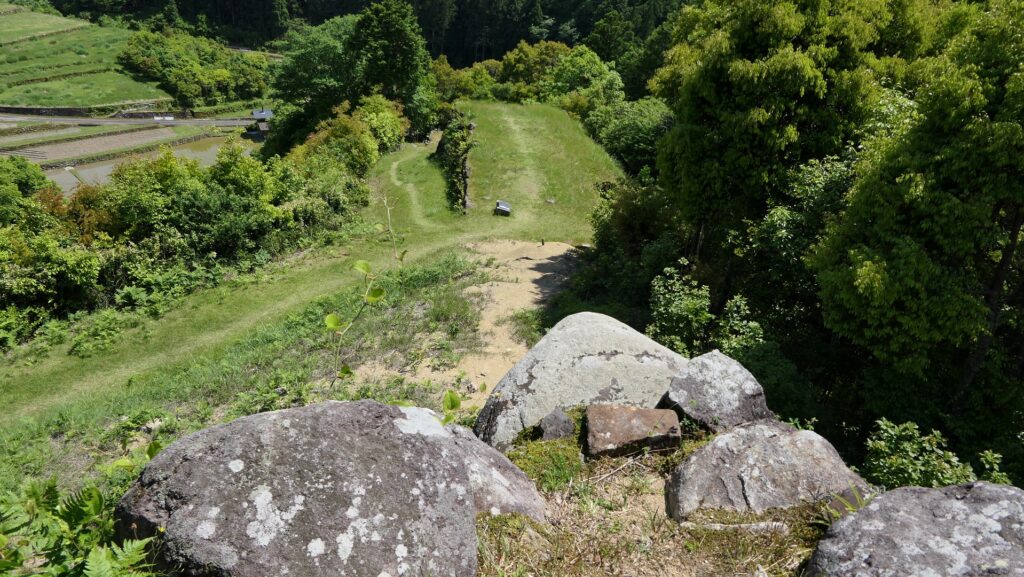
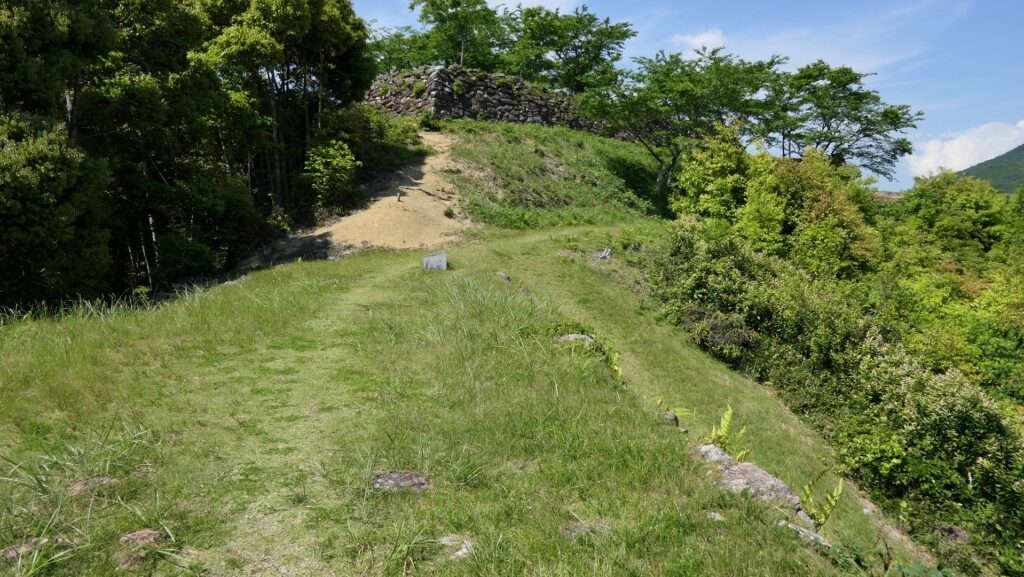
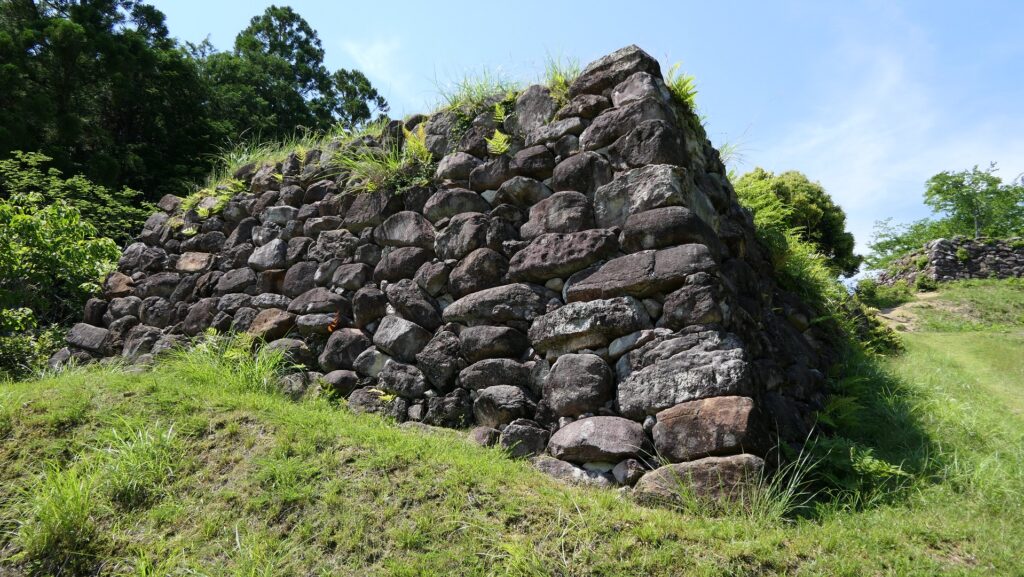
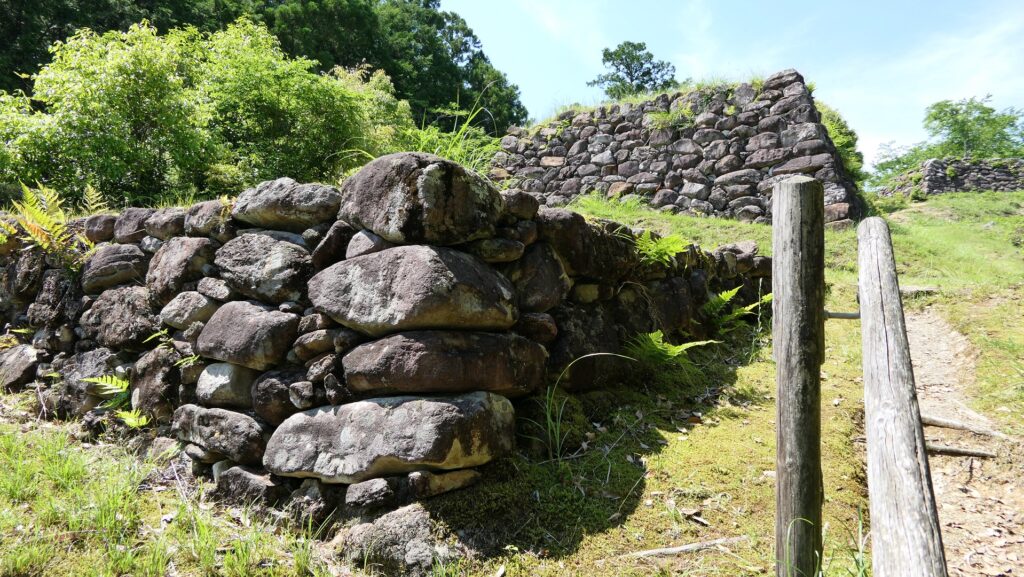
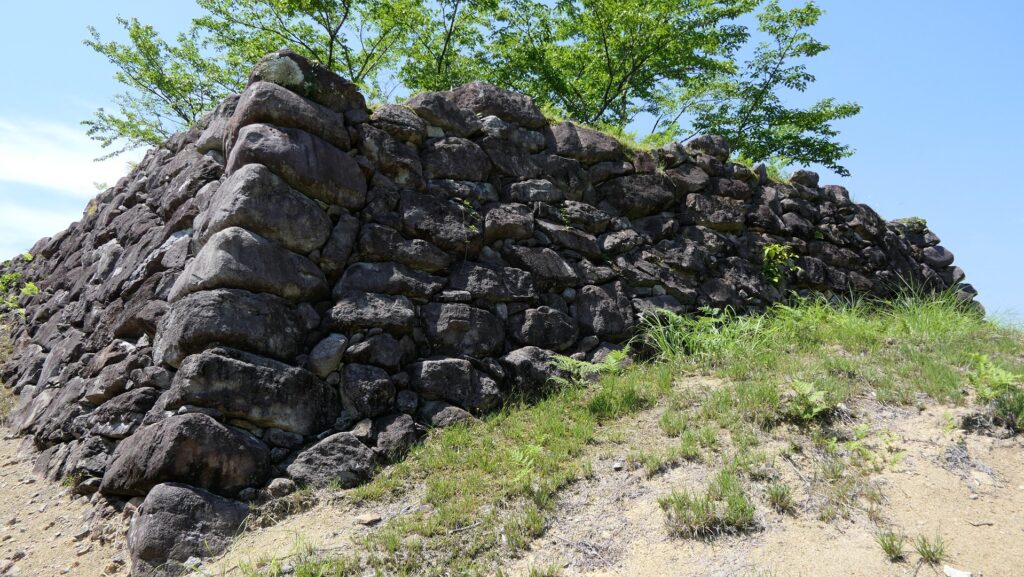
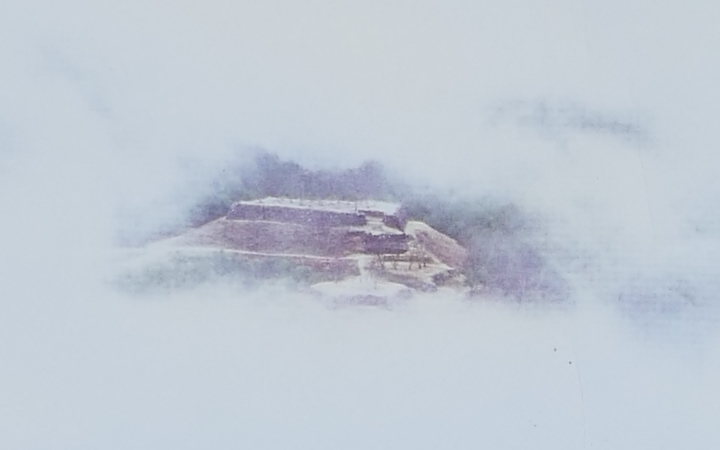
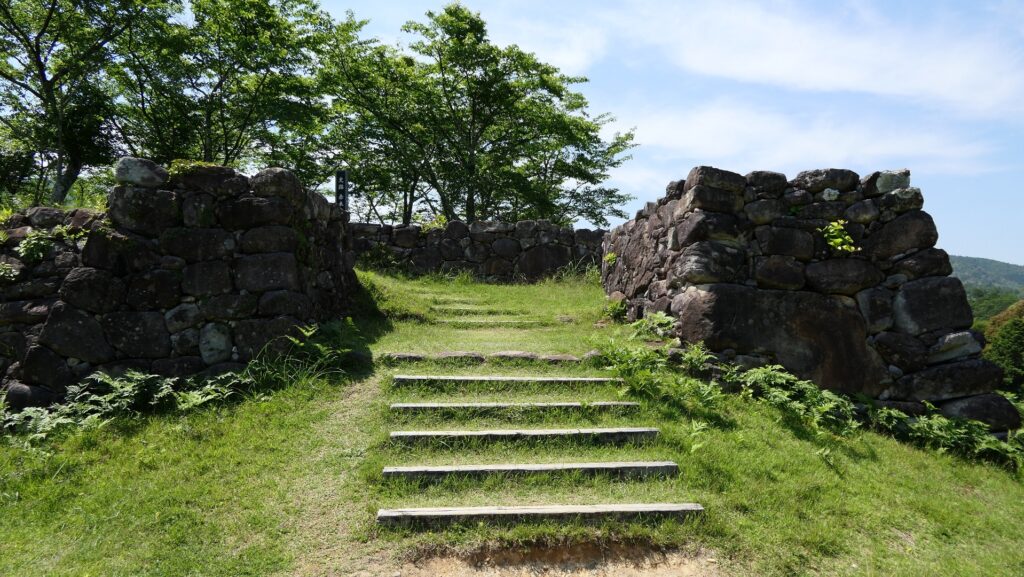
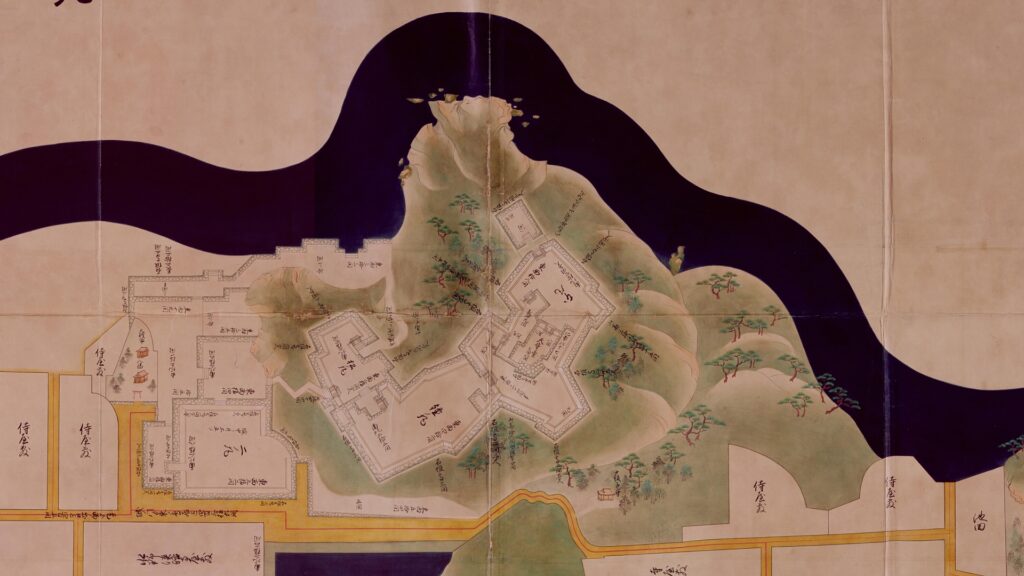
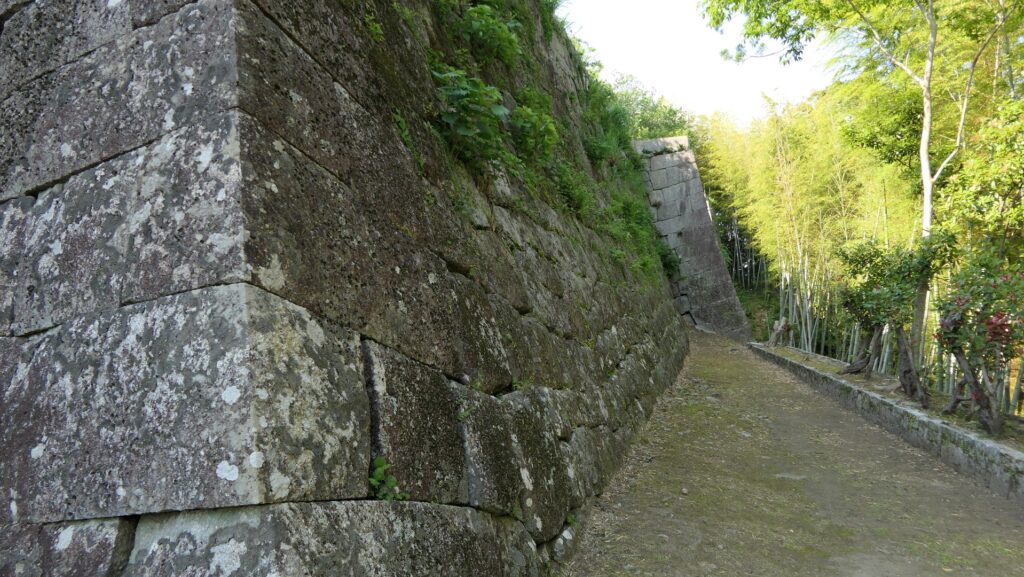
The castle had several buildings on the hill, including the three-level Main Tower. However, one of the most important features of it have been its advanced stone walls. The construction of the castle was done in the later period than those of other castles in Japan. This was because building new castles were basically not allowed after the law in 1615. Methods of processing and piling stone walls were much improved until then. Shingu Castle was one of the few cases which could enjoy the advanced technology completely.
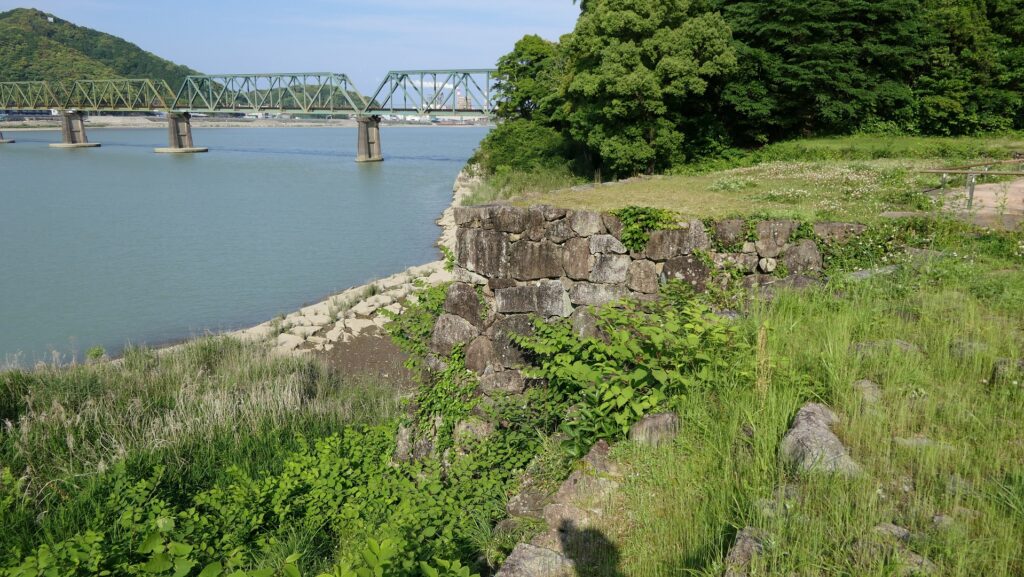
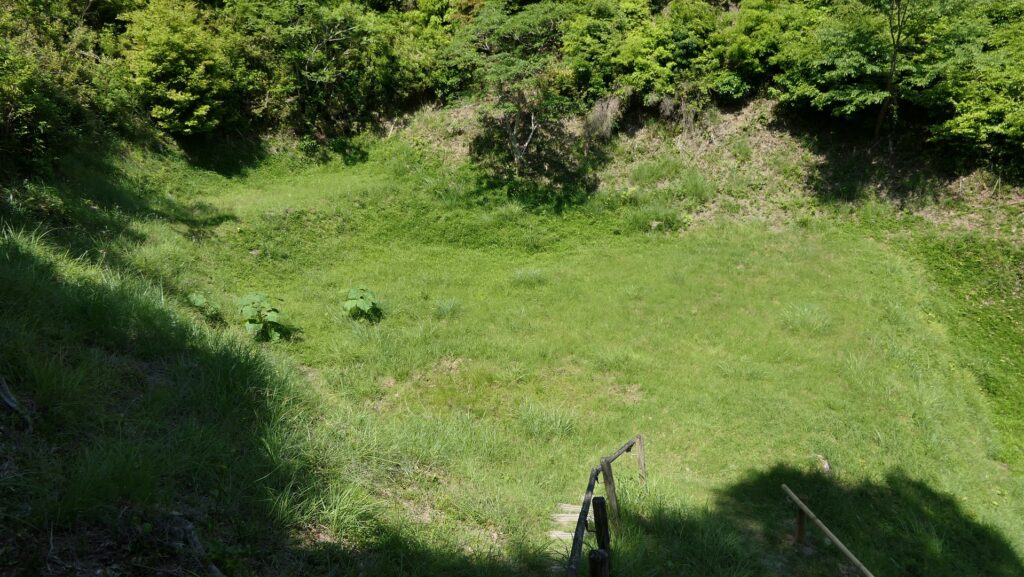
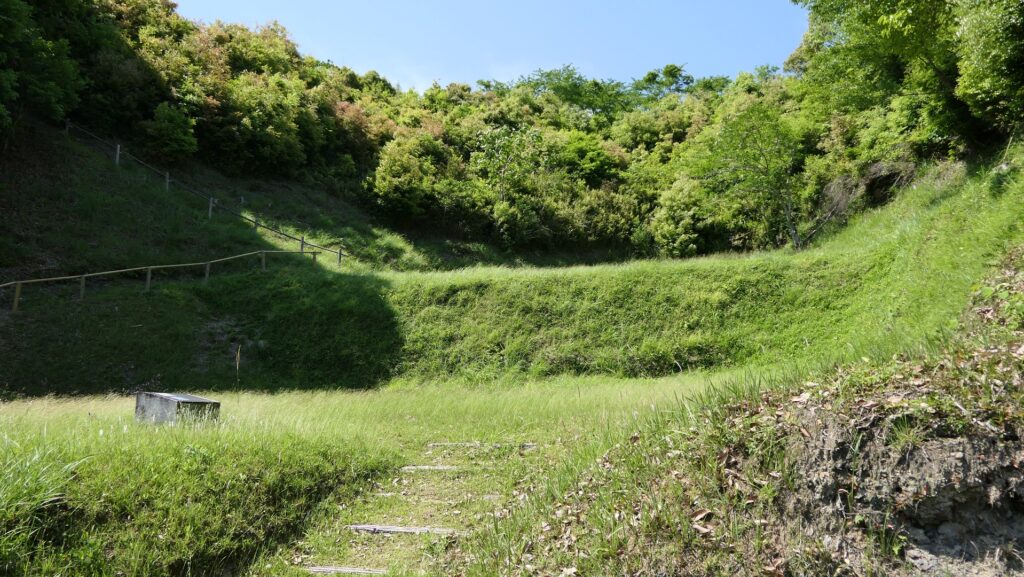
Another outstanding feature of it was Mizunote or the Water Supply Enclosure below the hill along the river. This was used as a port probably for the Navy at the first stage of the castle. However, in the peaceful time of the Edo Period, there were a lot of storage rooms for charcoal in the enclosure. It is thought that the charcoal was delivered from the castle to sell to large cities like Edo and Osaka. The Kii Domain made a profit on it. This was a rare example of economic activities which were done in Japanese castles.