133.Samegao Castle Part2

A typical mountain castle using natural terrain

Features

Three Routes to Castle Ruins

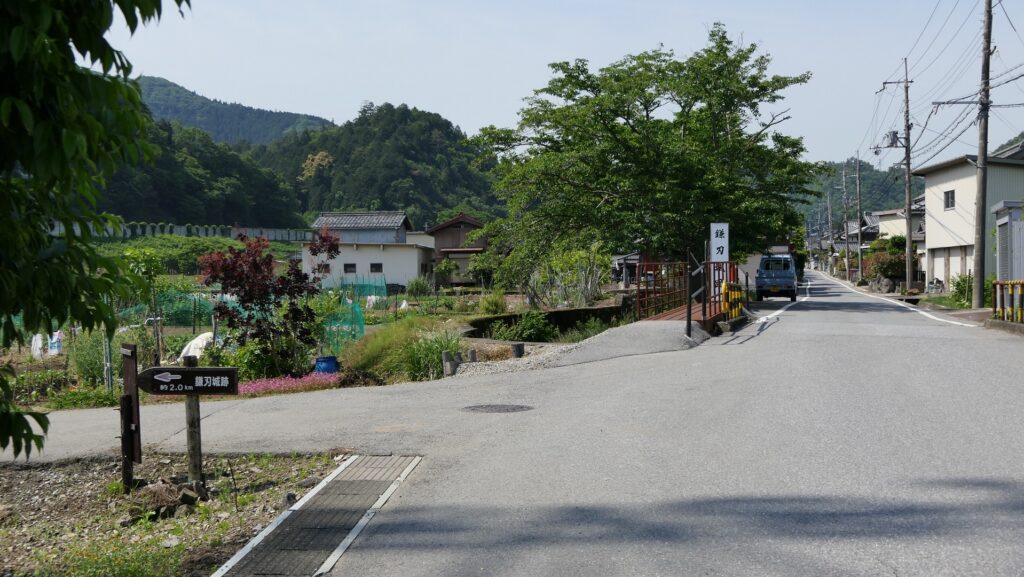
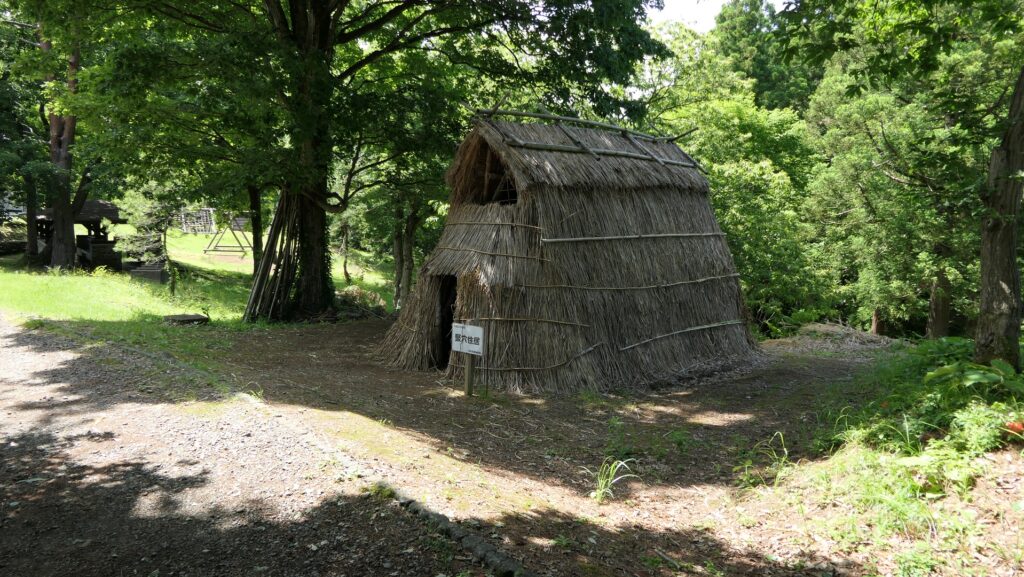
Today, the ruins of Samegao Castle have been developed as part of a historical park called the Hida Historical Village, which also includes ancient house ruins and groups of burial mounds. If you drive to the ruins, you can use the parking lot beside Hida Shrine which also has a long history. You can also stop by the information center of the park from the parking lot, where you can get a guide for the ruins.

The map around the castle
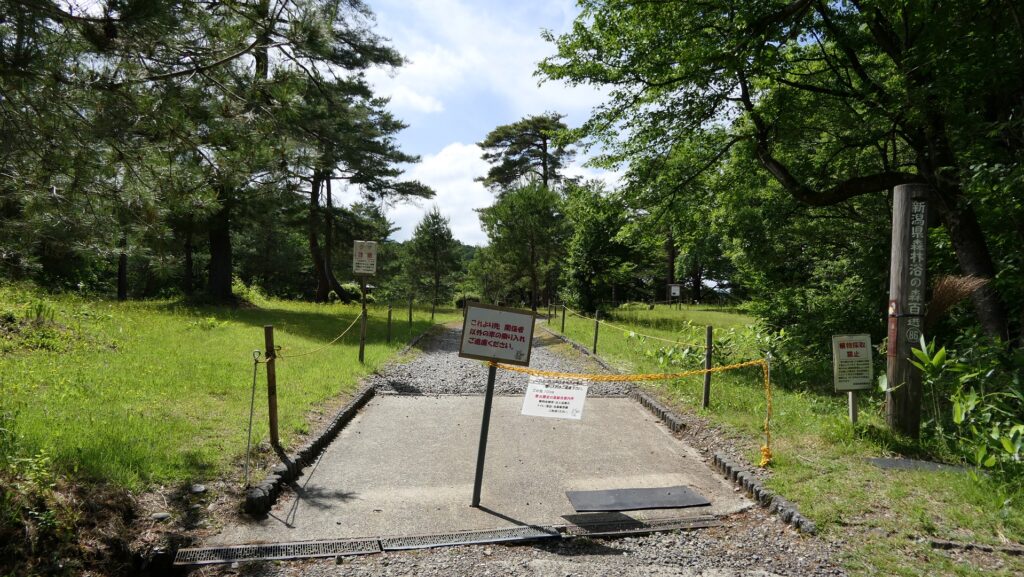
The park entrance
a restored ancient house
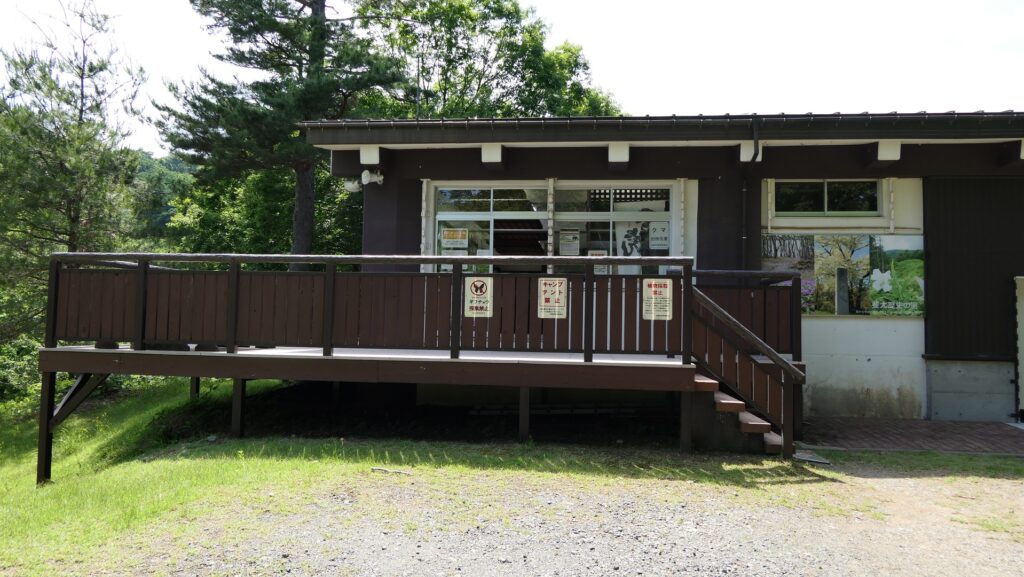
The information center

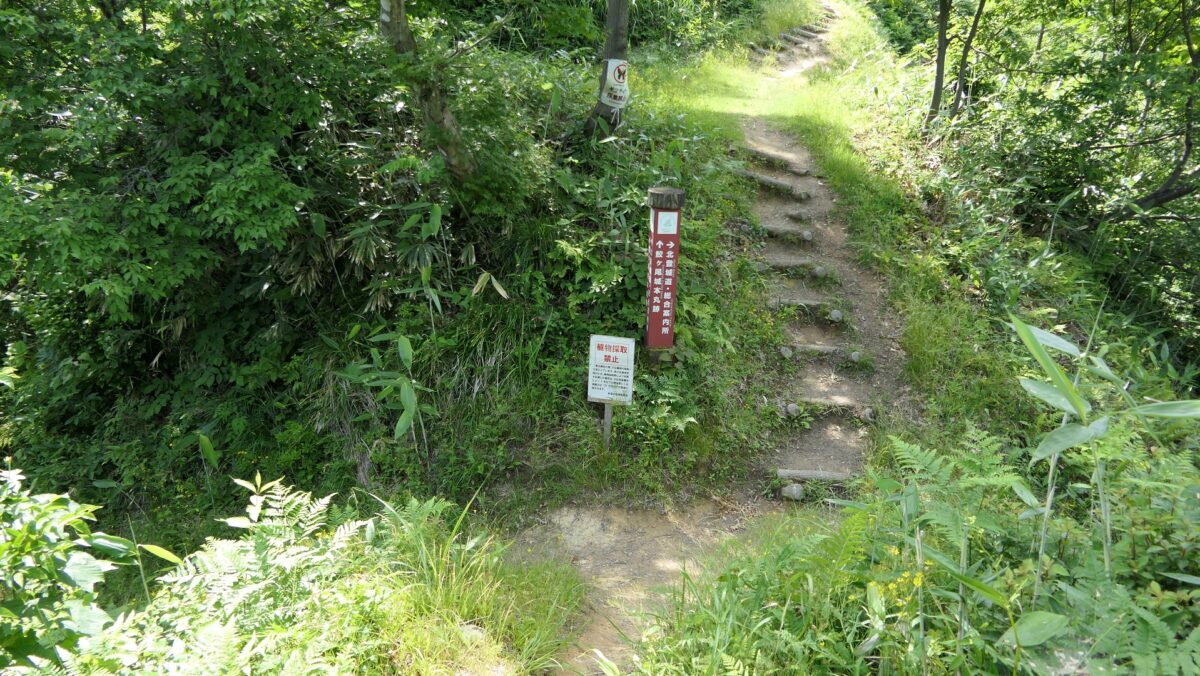
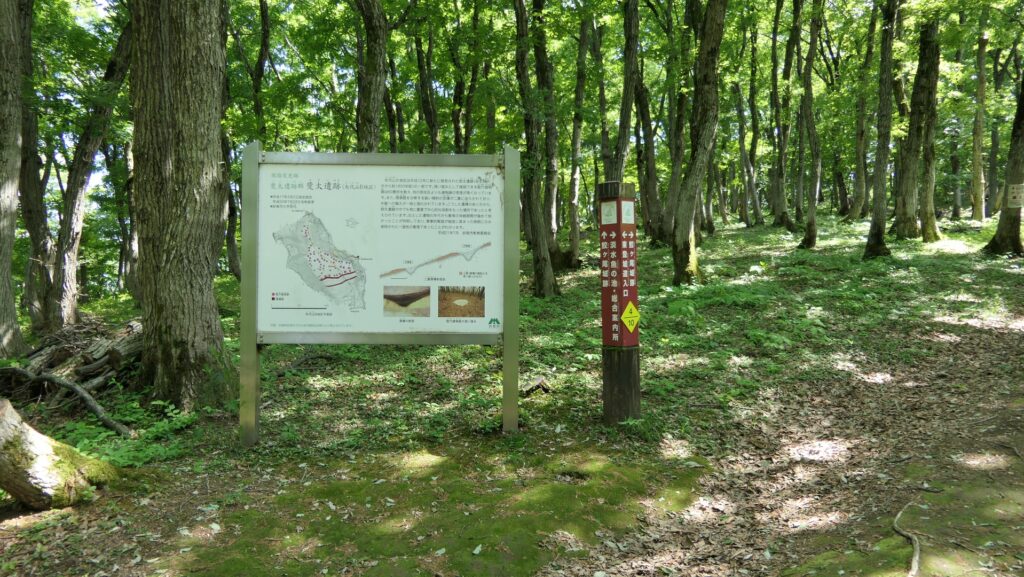
There are three routes to the castle ruins, which are the Eastern, the Northern and the Southern Routes. The former two routes start from the information center. In addition, the northern one has few historical items, so if it is the first time for you to visit the ruins, the eastern one would be better. The northern one can be used when you return.
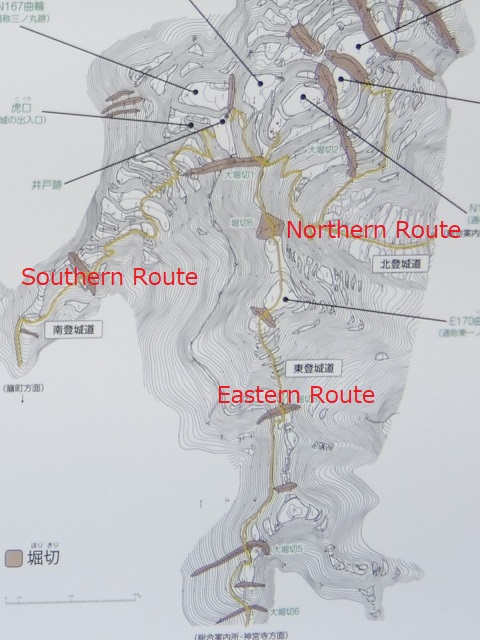
The three routes, from the signboard at the site, upwards is west on the map, adding the red letters
The Northern Route
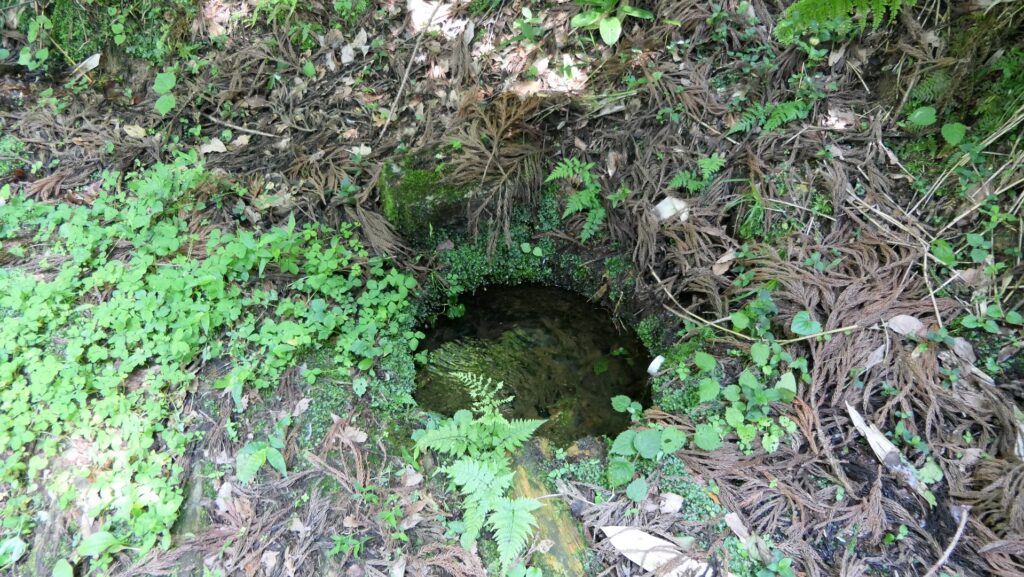
The well ruins along the Northern Route, called “Kagetora Spring”

Going on Eastern Route

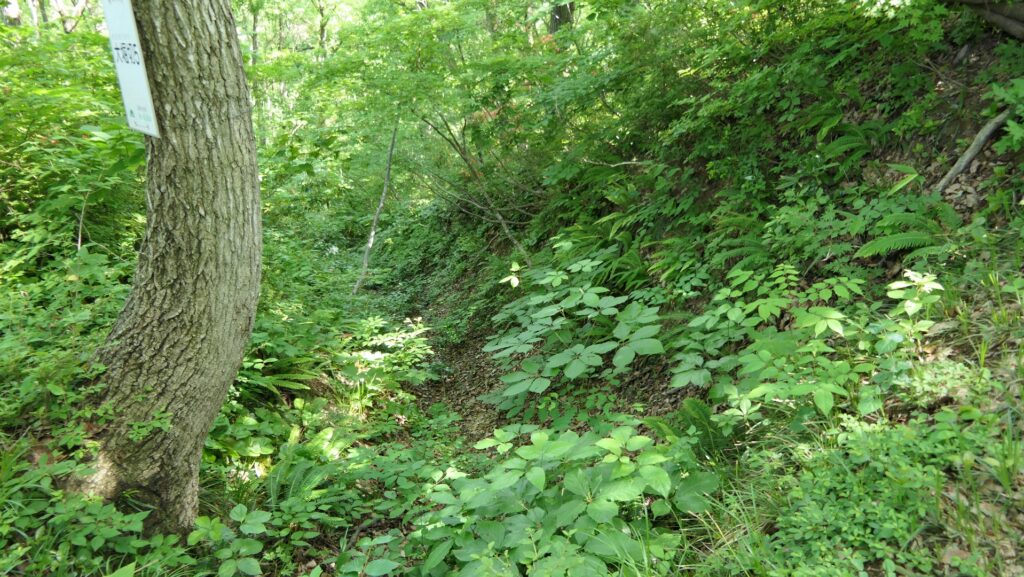
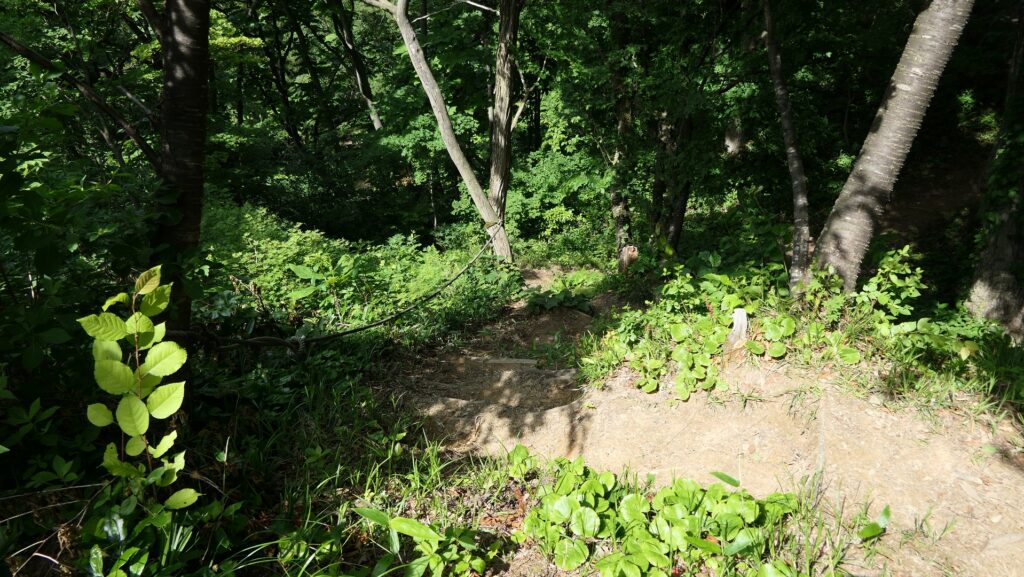
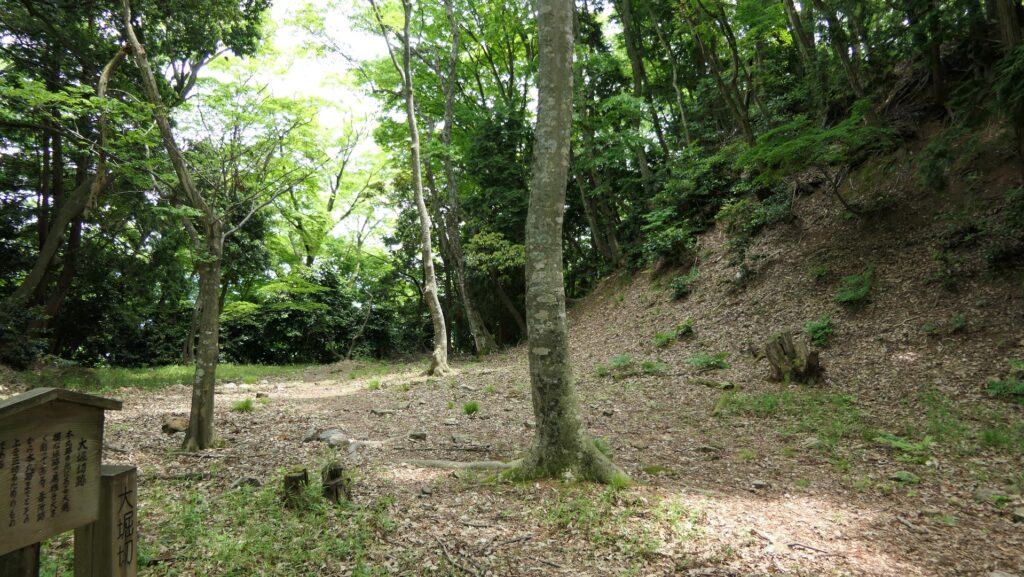
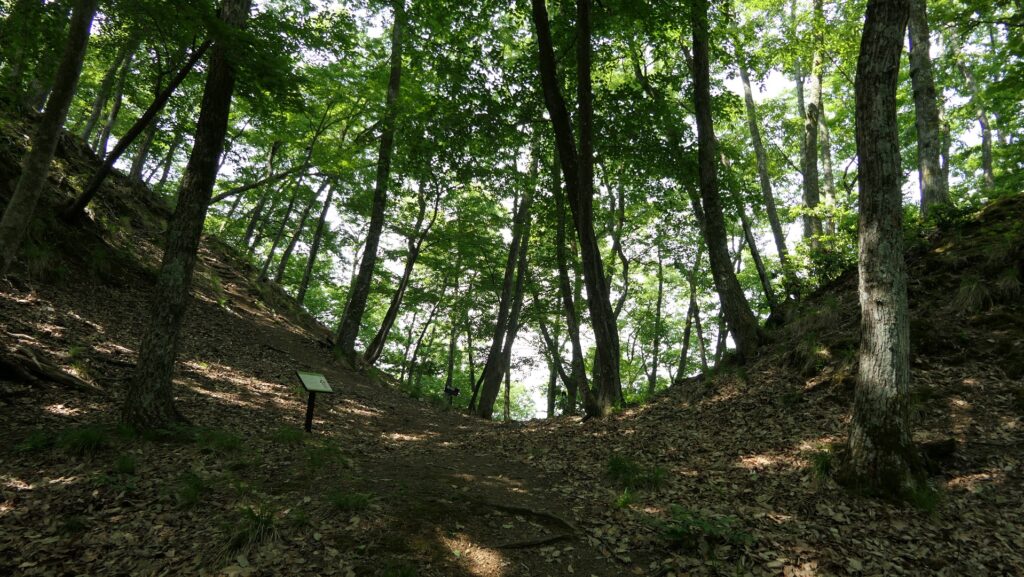
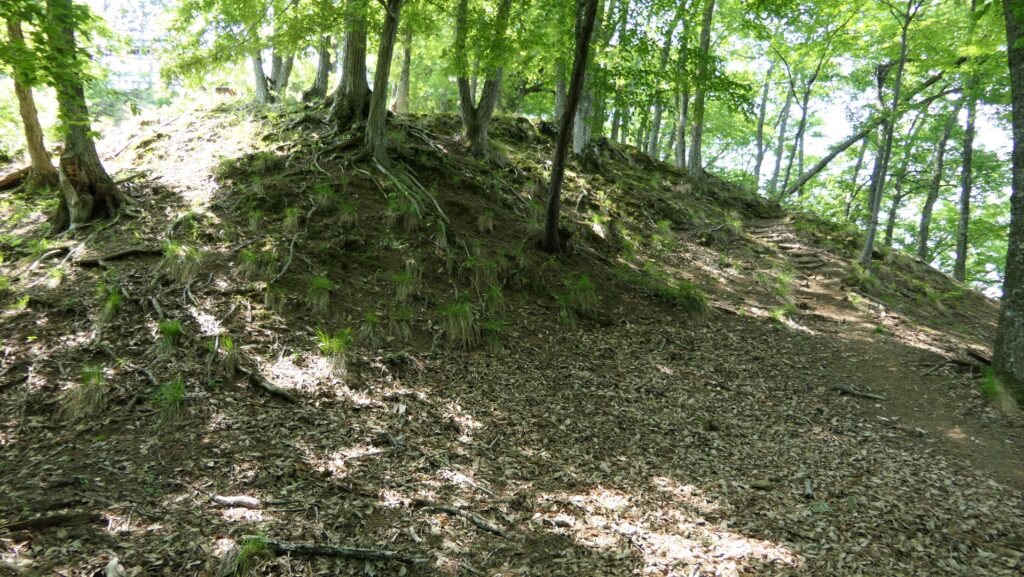
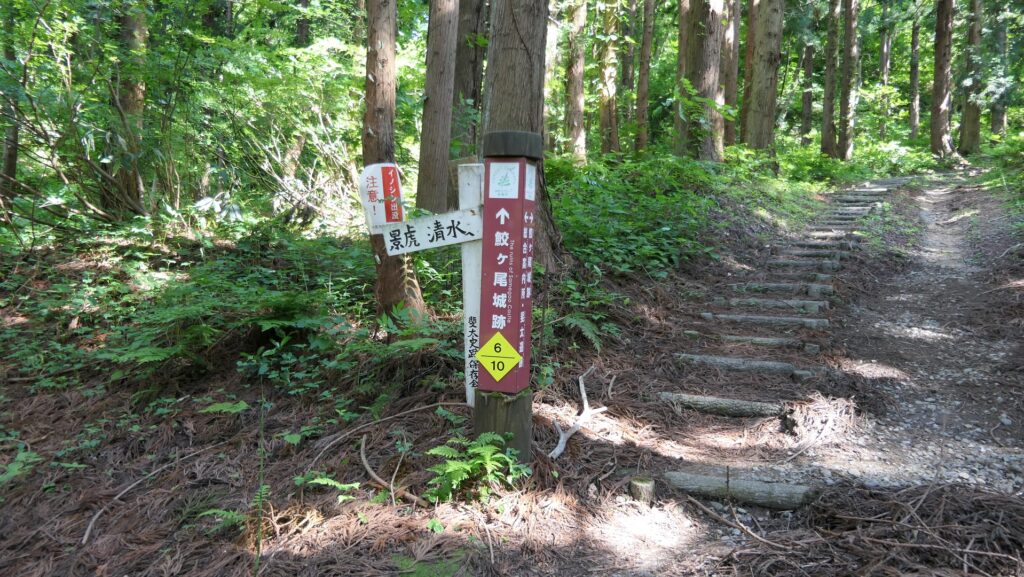
If you choose the Eastern Route as the original back route of the castle, you will walk on the route which goes on or beside the ridge of the mountain. You will eventually see the sign for “O-horikiri” or “Large Ditch 6” in Japanese. This is around the entrance of the ruins. You will come to Large Ditch 5, followed by several other ditches. The route is cut narrow over these ditches.

The relief map around the castle
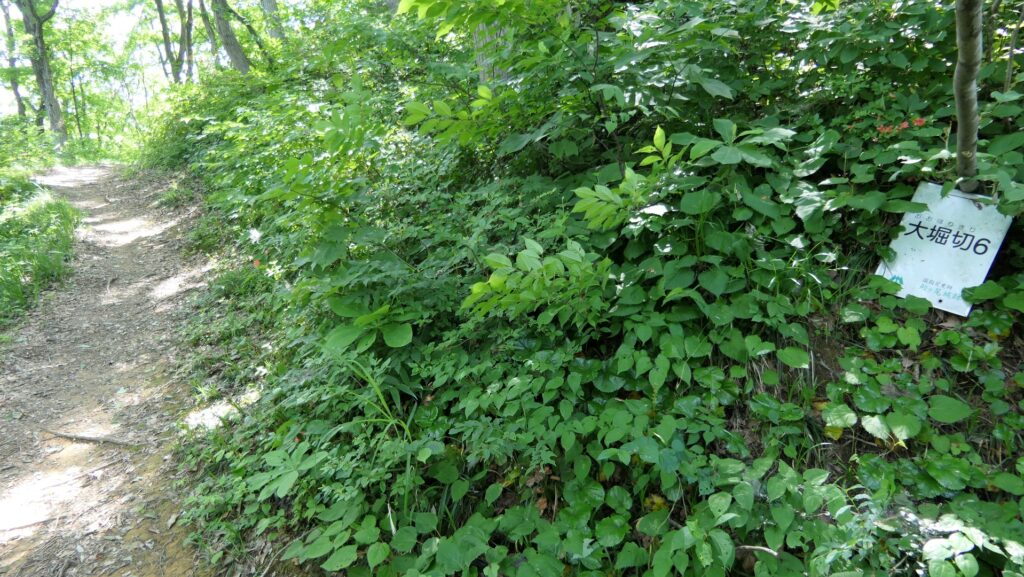
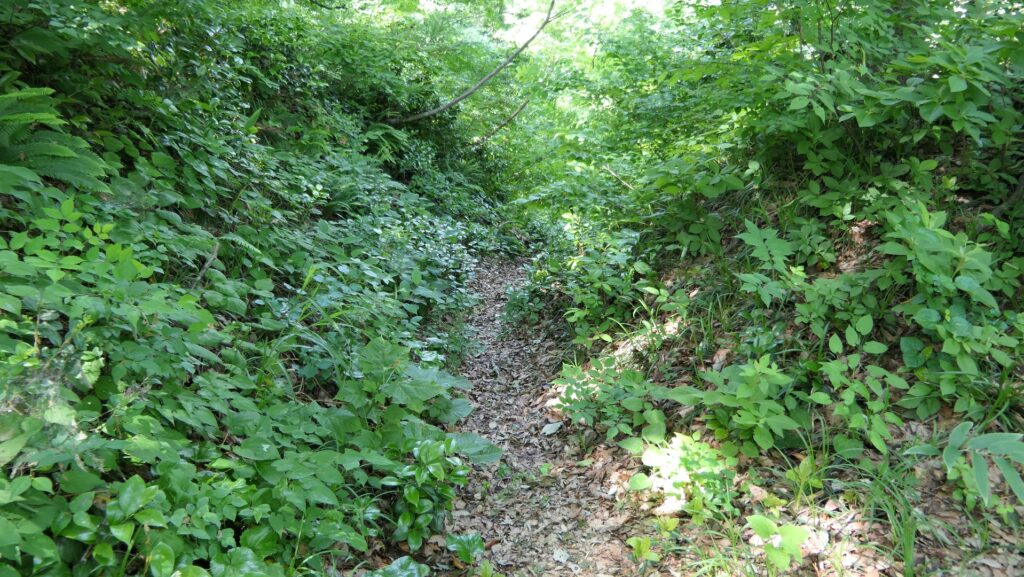
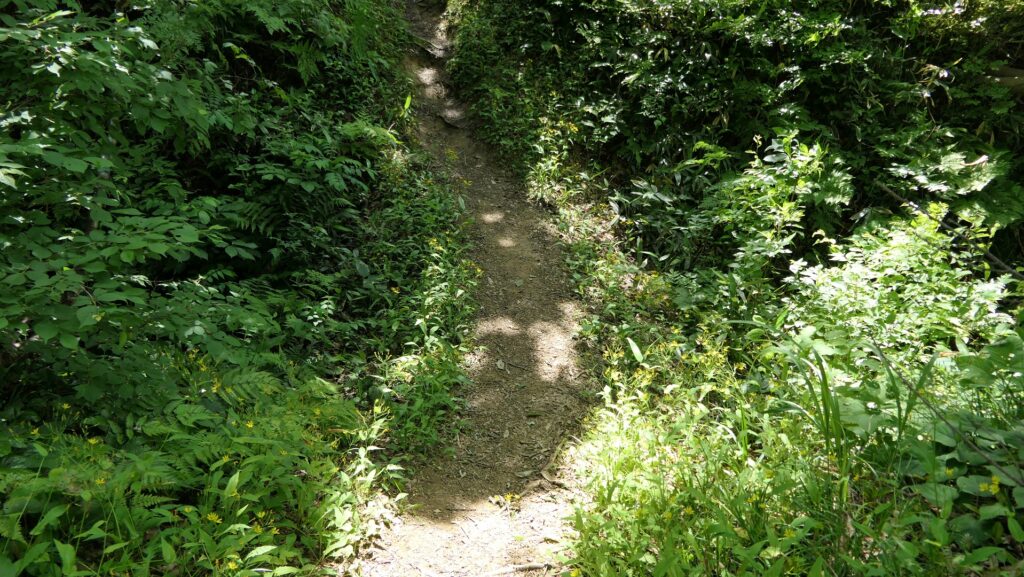
The Eastern Route
The sign for “Large Ditch 6” on the right
Large Ditch 6
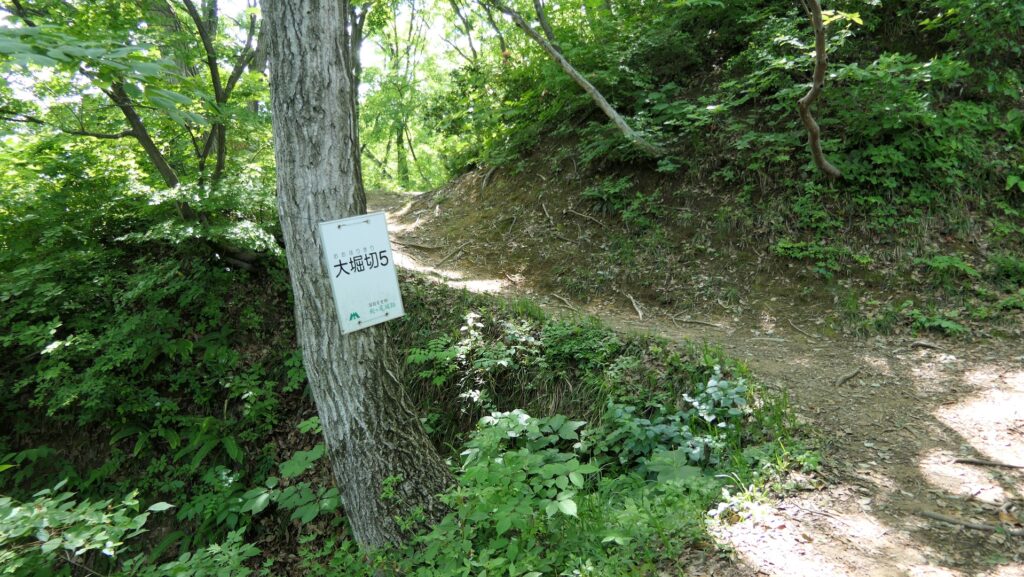
The sign for “Large Ditch 5”
Large Ditch 5
The earthen bridge on the route is cut narrow over these ditches

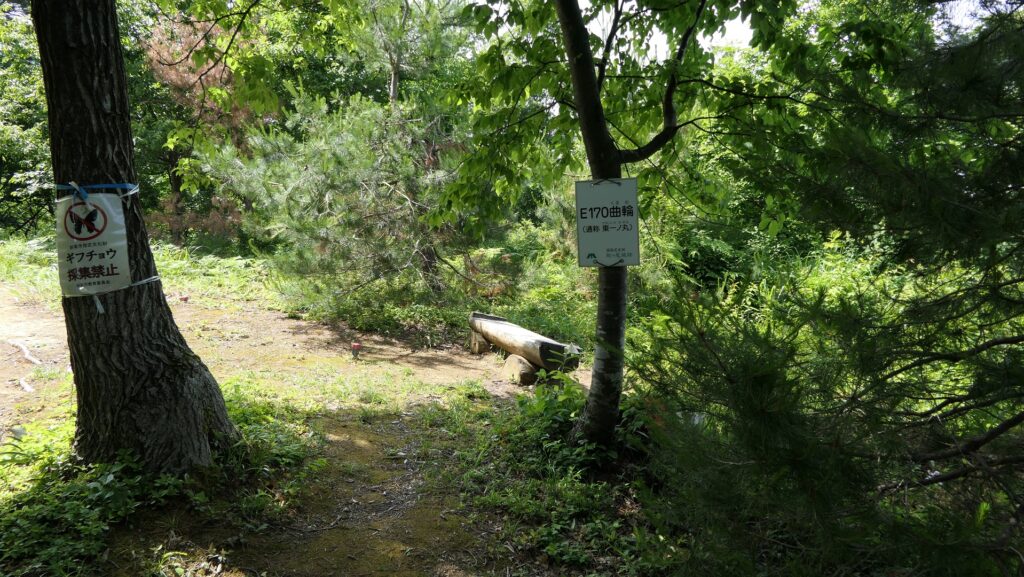
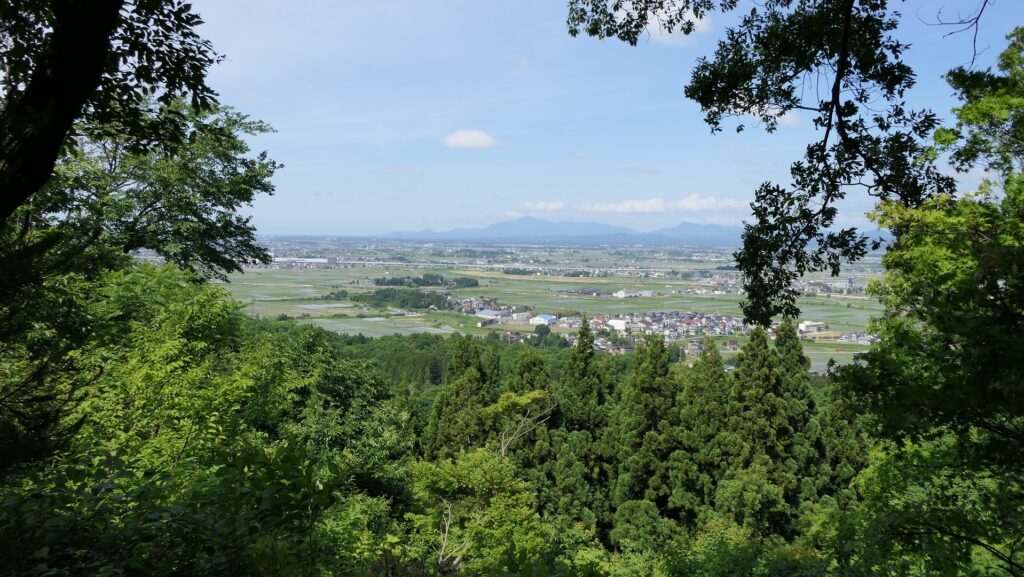
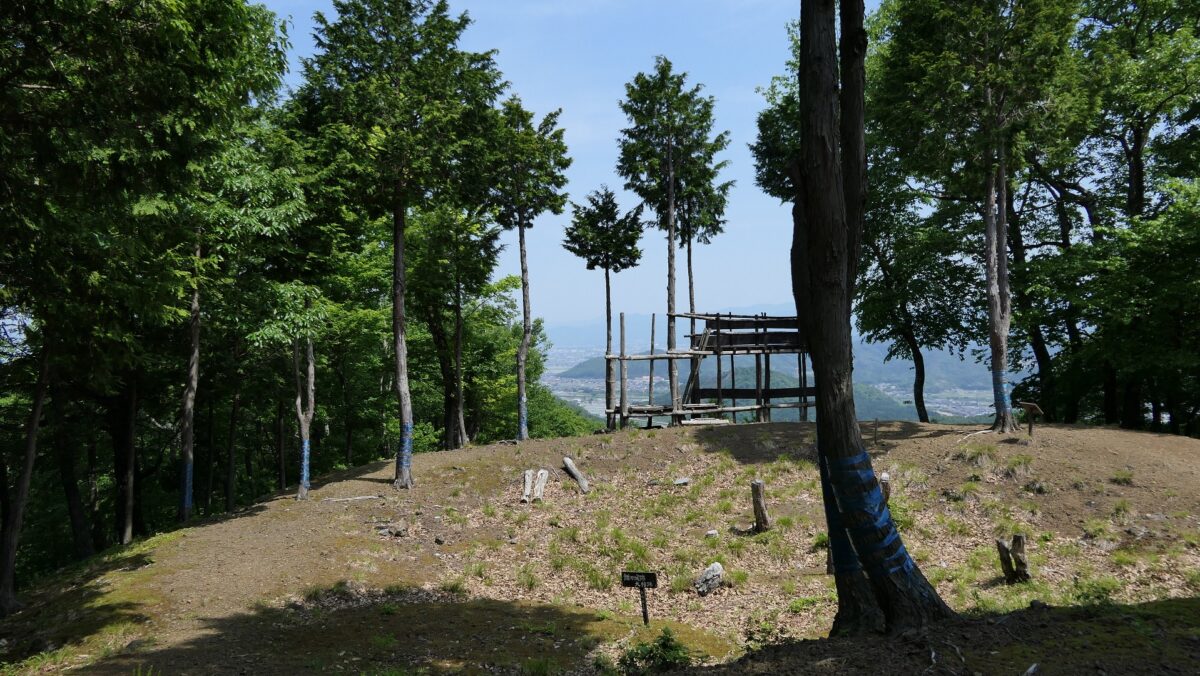
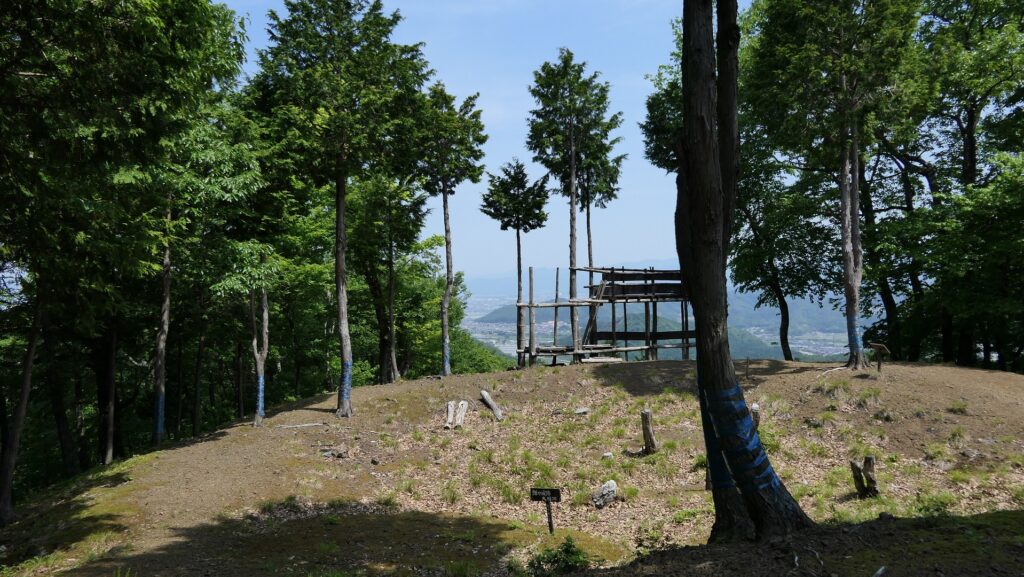
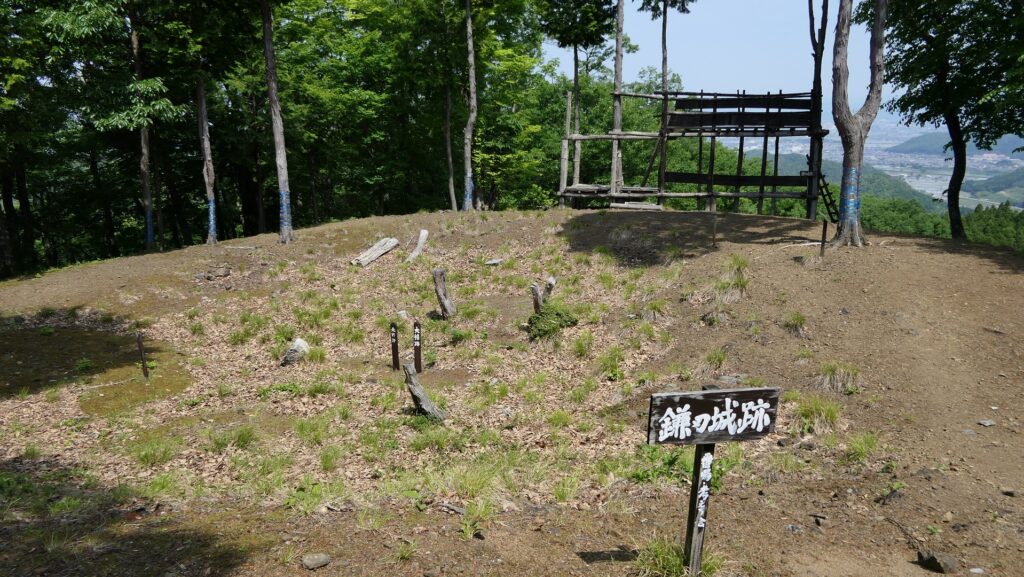
Then, you will be in the Eastern First Enclosure which seems to have been a lookout.
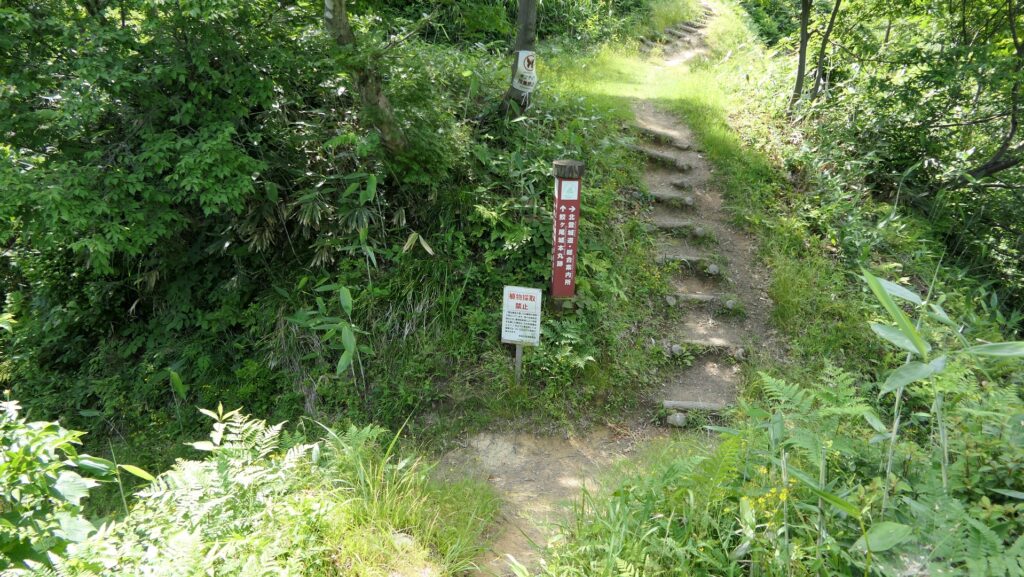
Getting close to the Eastern First Enclosure over another ditch
The Eastern First Enclosure
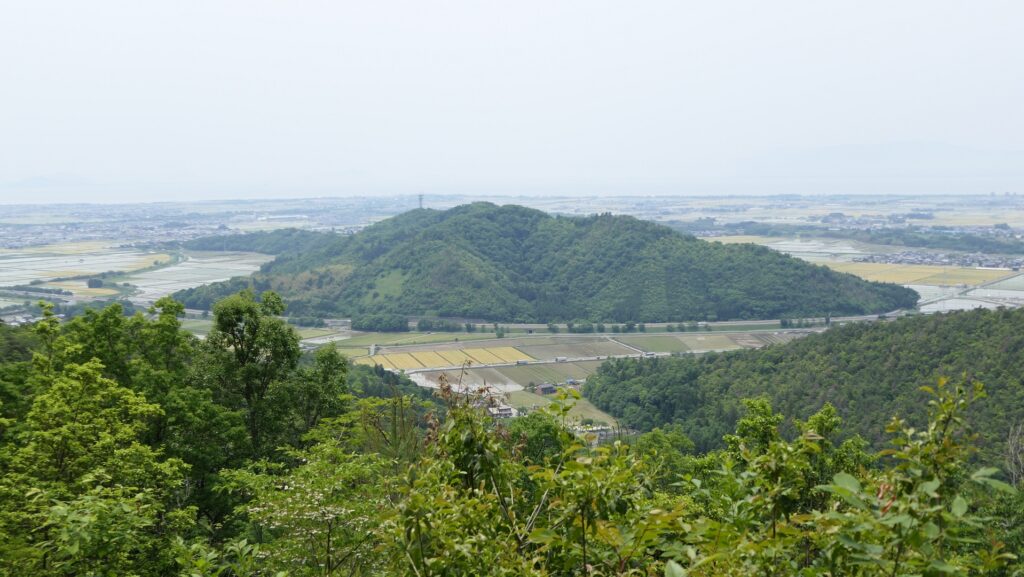
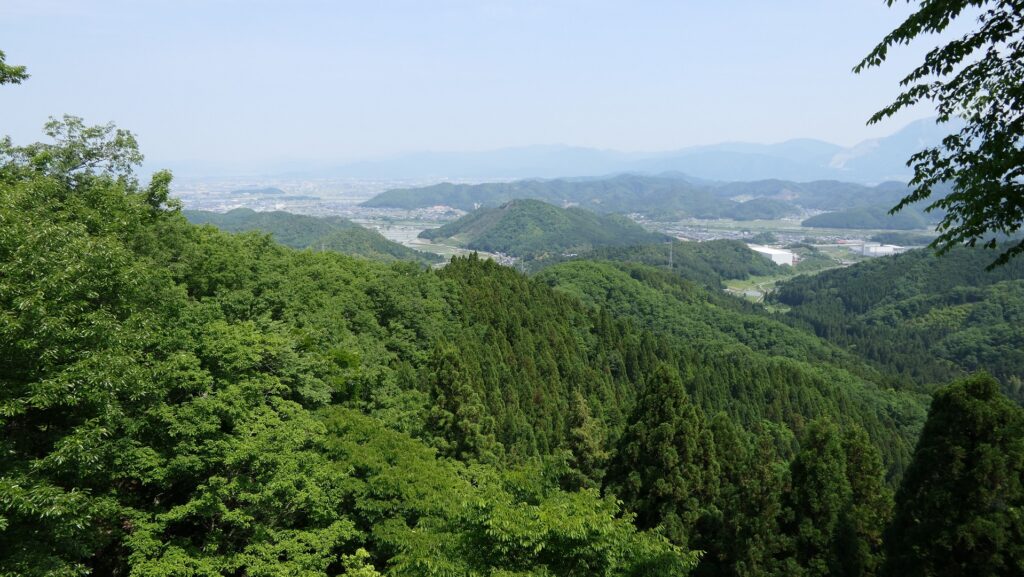
A view from the Eastern First Enclosure

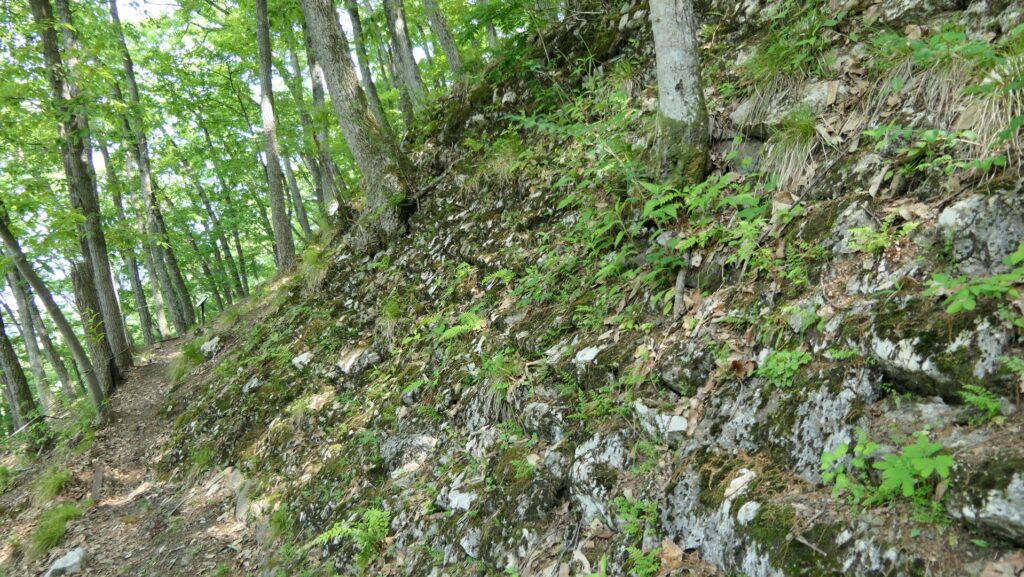
After passing Ditch 6, you need to climb a very steep slope with a rope to the next enclosure. This must have been an important point for defense in the past.
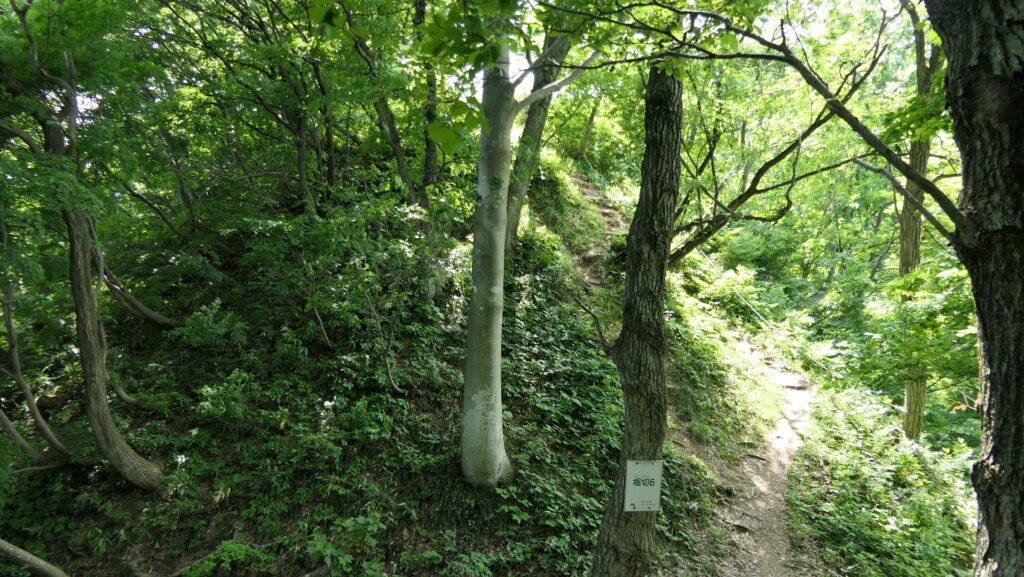
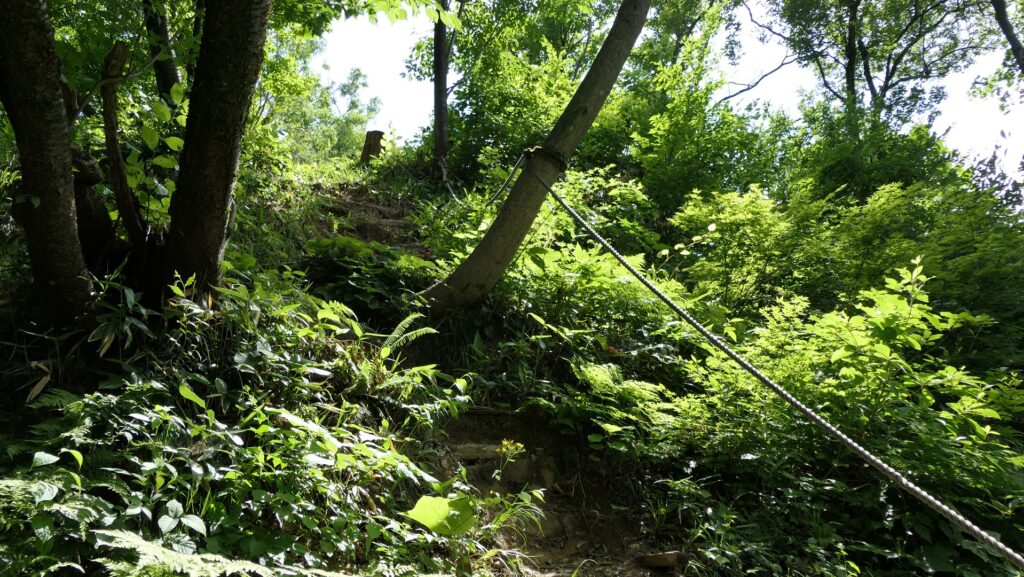
The very steep slope after Ditch 6
You need to climb this slope with a rope
Looking down the steep slope from above

You will soon reach Large Ditch 1, which is also the meeting point of the Eastern and the Southern Routes.
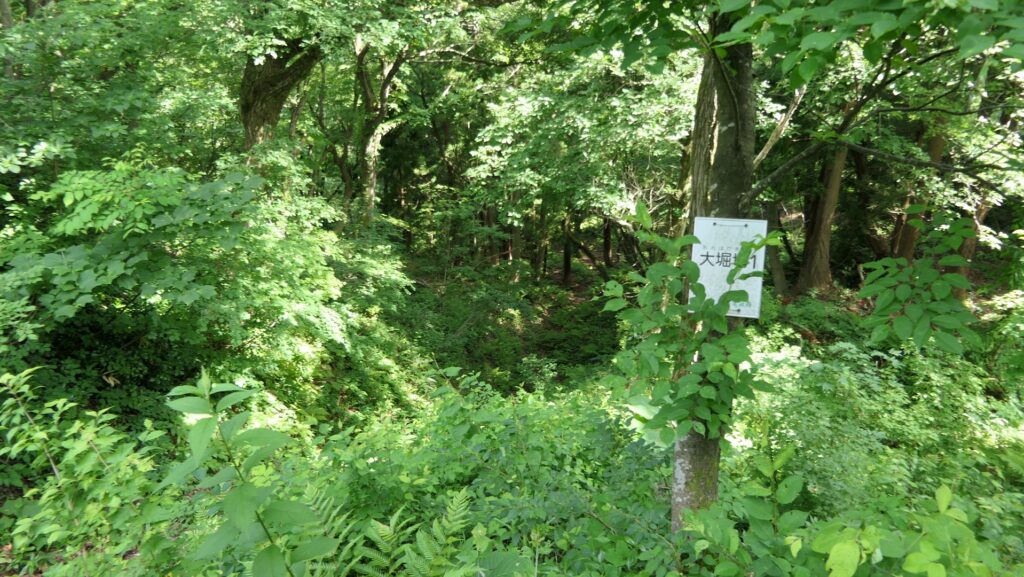
Large Ditch 1
The meeting point of the Eastern and the Southern Routes

Second and Third Enclosures on Southern Route

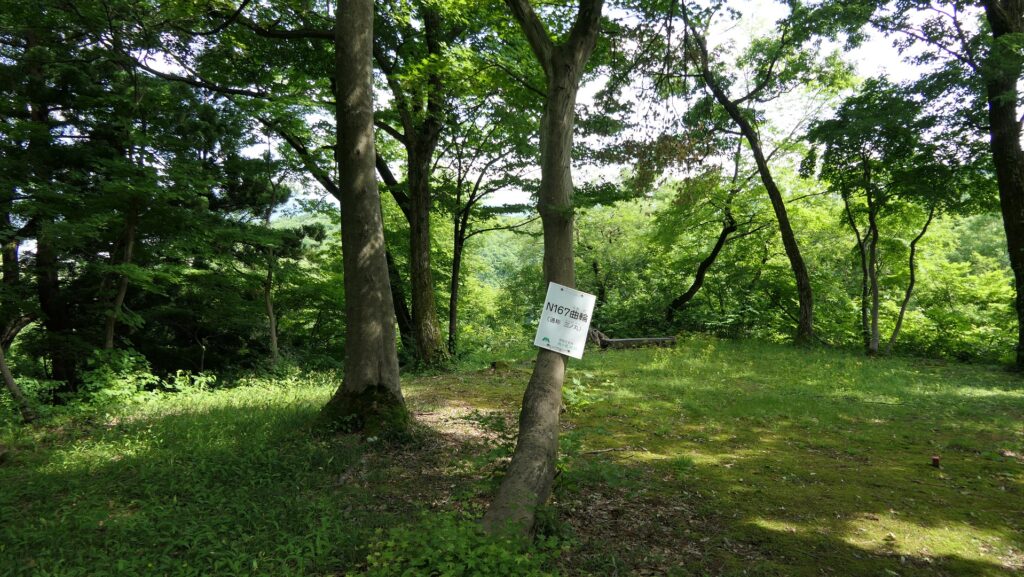
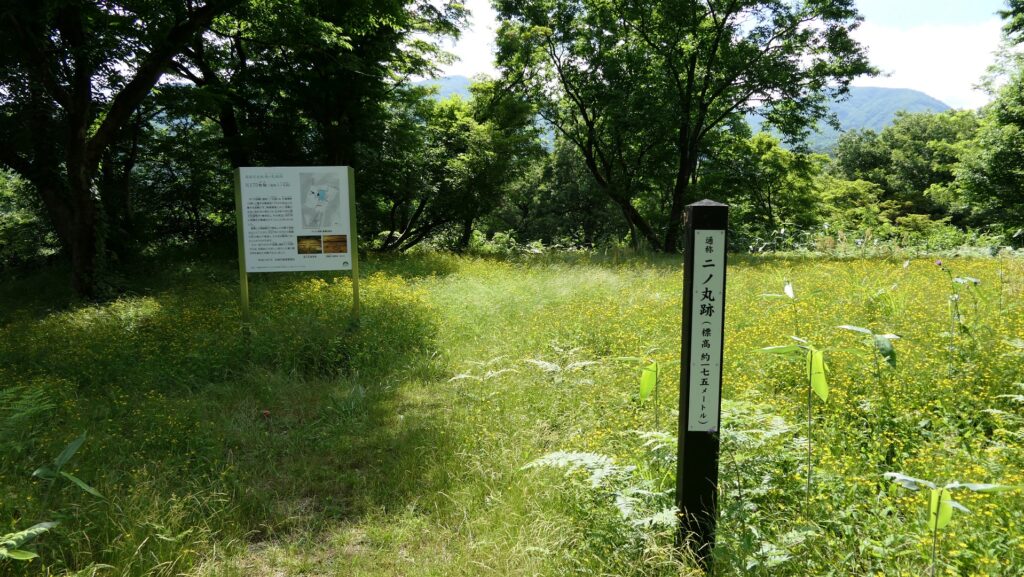
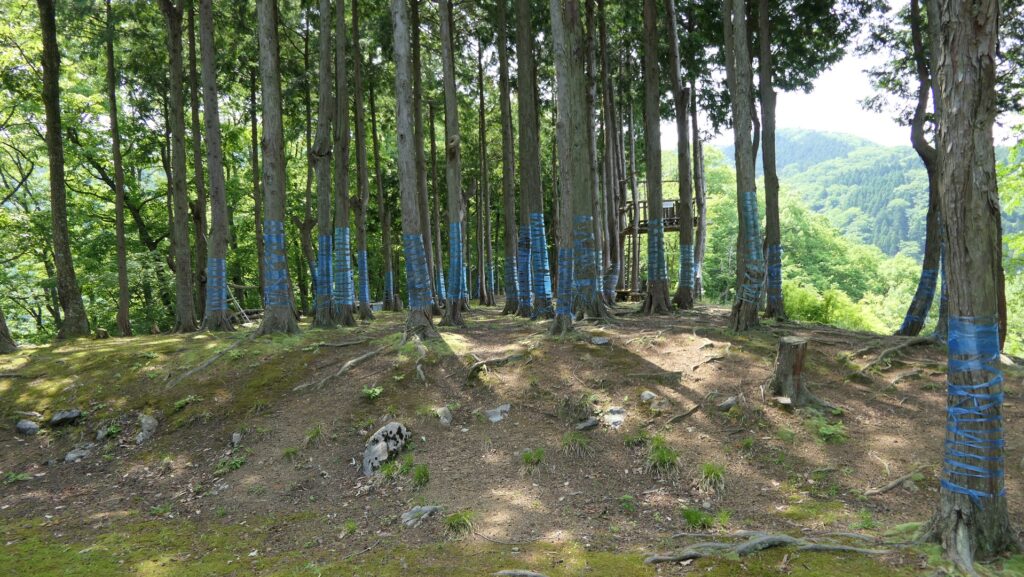
In fact, the Southern Route was the original main route of the castle. The route zigzags through a valley and on another ridge to make enemies attack slowly. The Third and Second Enclosures are the last parts of the route after the ruins of the gateway for defense, called Koguchi. The excavation team found traces of a fire from both enclosures, probably because of the Otate Rebellion. In particular, a burned rice ball was found in the Third Enclosure, which may have been the portable ration for a soldier.
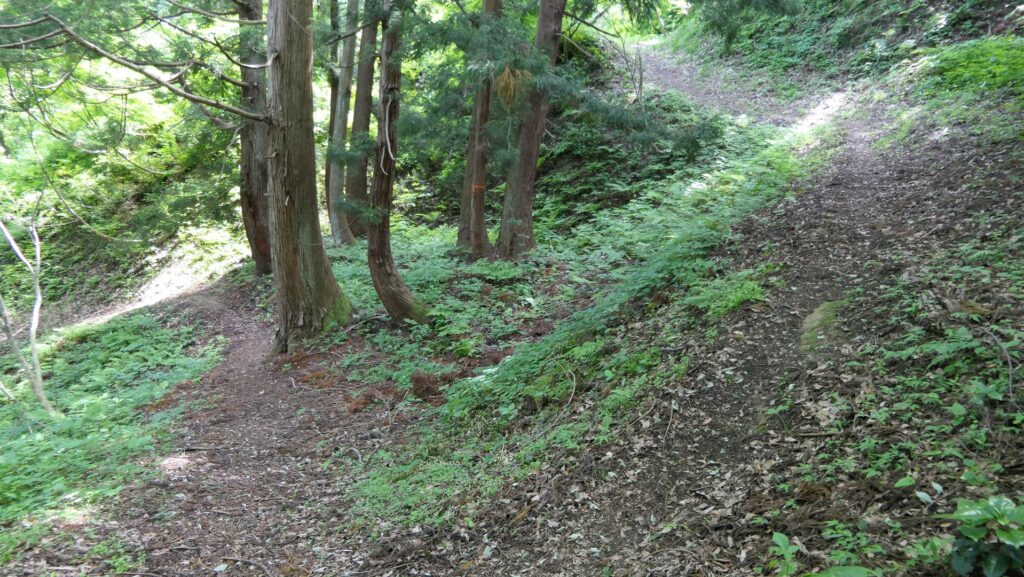
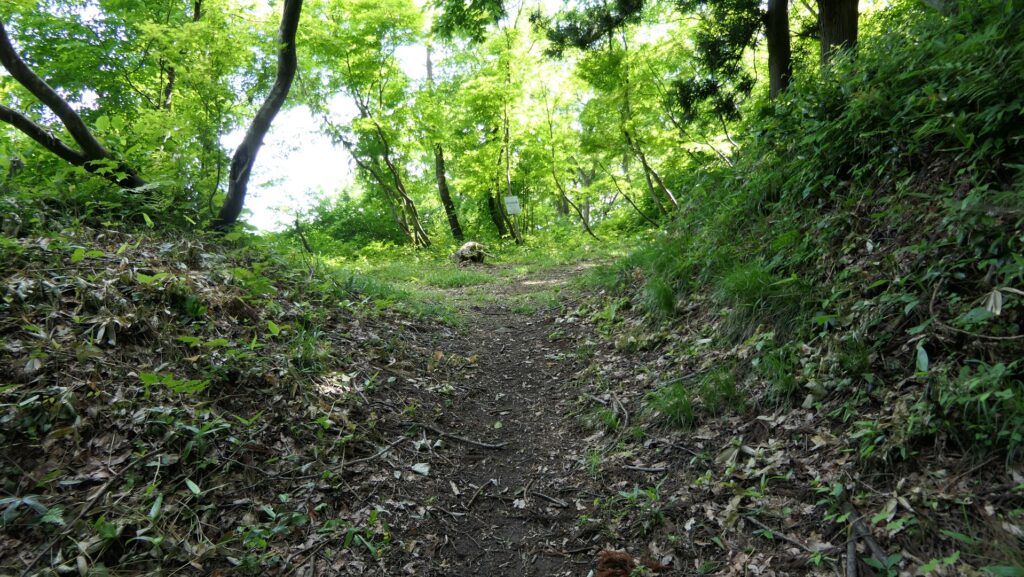
The Southern Route
The gateway ruins
The Third Enclosure
The Second Enclosure

To be continued in “Samegao Castle Part3”
Back to “Samegao Castle Part1”
49.Odani Castle Part2

Continuous enclosures on the ridge

Features

Large Main Portion

Today, if you are close to the ruins of Odani Castle, you will see Odaniyama-Mountain the castle was built is still standing out. You will also see another mountain called Toragozeyama Nobunaga used as his battle castle in front of Odaniyama-Mountain. Many people gather at the foot of Odaniyama-Mountain for visiting the ruins or hiking. If you drive to the ruins, you can choose your parking spot at the foot or the mid slope. In the case of parking at the mid slope, you can access the main portion of the castle near the parking lot. However, this portion is large, steep and rough on the mountain, so it is recommended to wear trekking boots.

Odaniyama-Mountain on the right and Toragozeyama-Mountain on the left
The road to the main portion from the parking lot at the mid slope

Imagine how it looked by reading signboard

There are no castle buildings and few remaining stone walls on the foundations made of soil. This is because these items were taken as waste materials for other castles’ constructions, and it took a long time after the castle was abandoned. However, you can still see many enclosures on the ridge of the mountain as you climb up. Some signboards explain what each enclosure was called, used for, and looked like.

The Guardhouse Ruins
The imaginary of the Guardhouse Ruins, from the signboard at the site
Toragozeyama Mountain from the view spot at the mid slope
The Teahouse Ruins
The imaginary of the Teahouse Ruins, from the signboard at the site
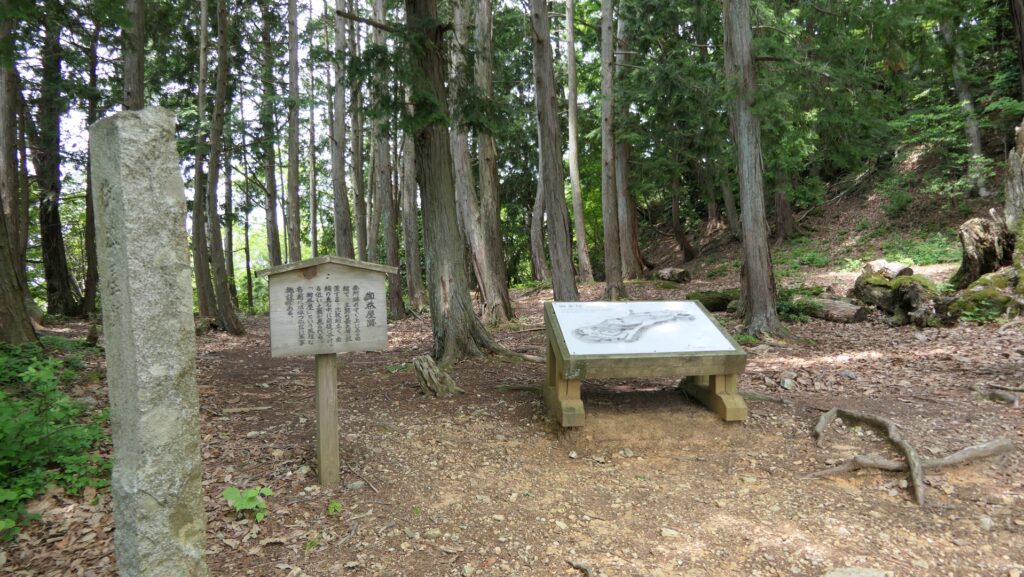
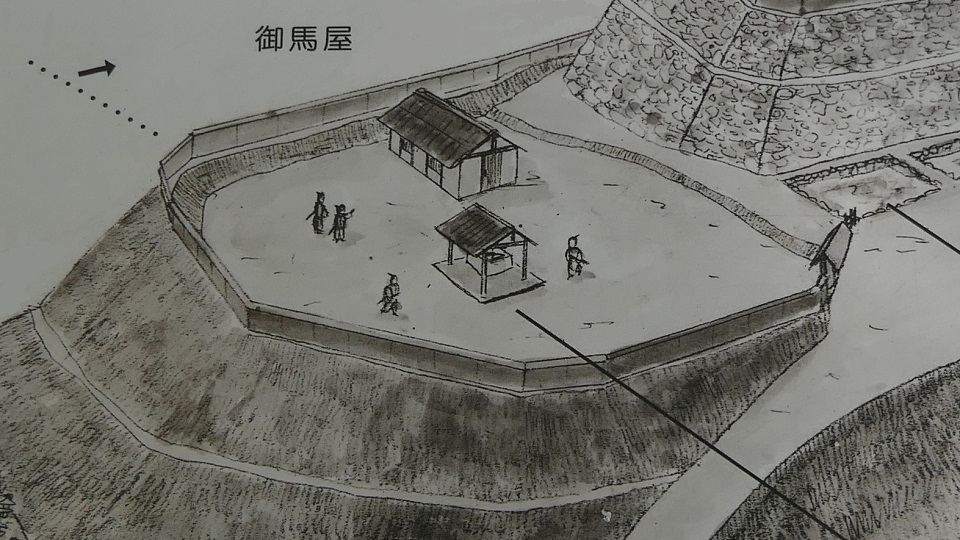
The Stable Ruins
The imaginary of the Stable Ruins, from the signboard at the site
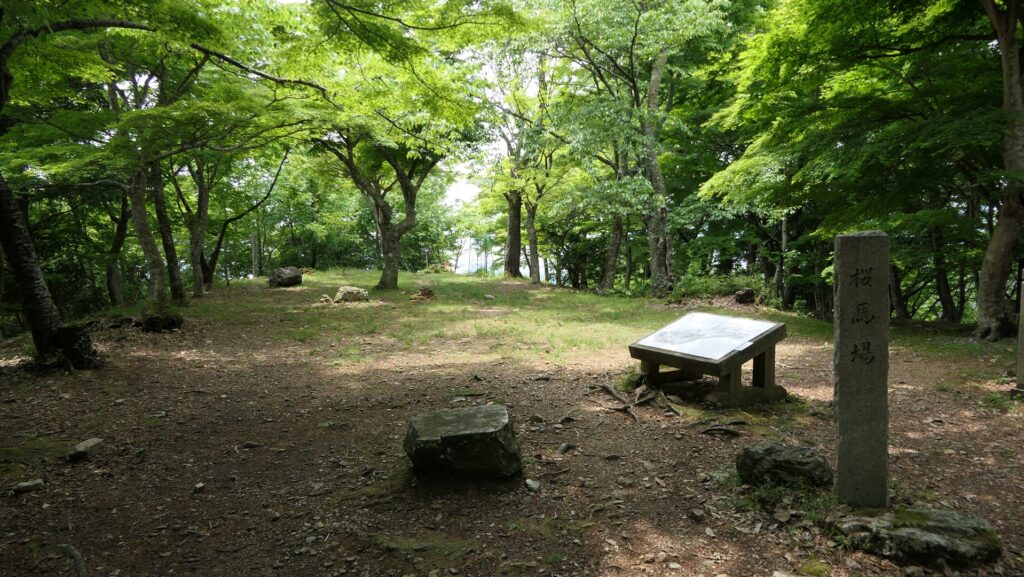
The Cherry Riding Ground Ruins
The imaginary of the Cherry Riding Ground Ruins, from the signboard at the site

Large Hall Nagamasa where lived and Main Enclosure where he fought

Ohiroma or the Large Hall Enclosure is the largest one in the castle. Its entrance is Korogane-mon Gate Ruins which have some stone steps and stone walls. There were the Main Halls for the lord and relatives. A lot of household items, such as earthen cups, silver cups, coins, and mirrors were unearthed by the excavation. You can also enjoy a good view from there, so Nagamawa and his family might usually have lived in the enclosure.

The map around the castle

Korogane-mon Gate Ruins
The Large Hall Ruins
A view from the Cherry Riding Ground Ruins nearby

The next is the Main Enclosure where Nagamasa fought against Nobunaga. It has two tiers with some remaining stone walls. It is speculated that it had a building like the Main Tower. Nagamasa sallied out from there but died in the Akao Residence Ruins nearby.

The Main Enclosure
The remaining stone walls of the Main Enclosure
The imaginary of the Main Enclosure, from the signboard at the site

You will see the Large Ditch behind the Main Enclosure to divide the castle into the front and back part. This ditch might have protected the enclosure from Nobunaga’s attack from the back part for a while.

The Large Ditch

To be continued in “Odani Castle Part3”
Back to “Odani Castle Part1”
156.Kamaha Castle Part2

Ruins in the animal kingdom now

Features

Several Routes to Castle Ruins

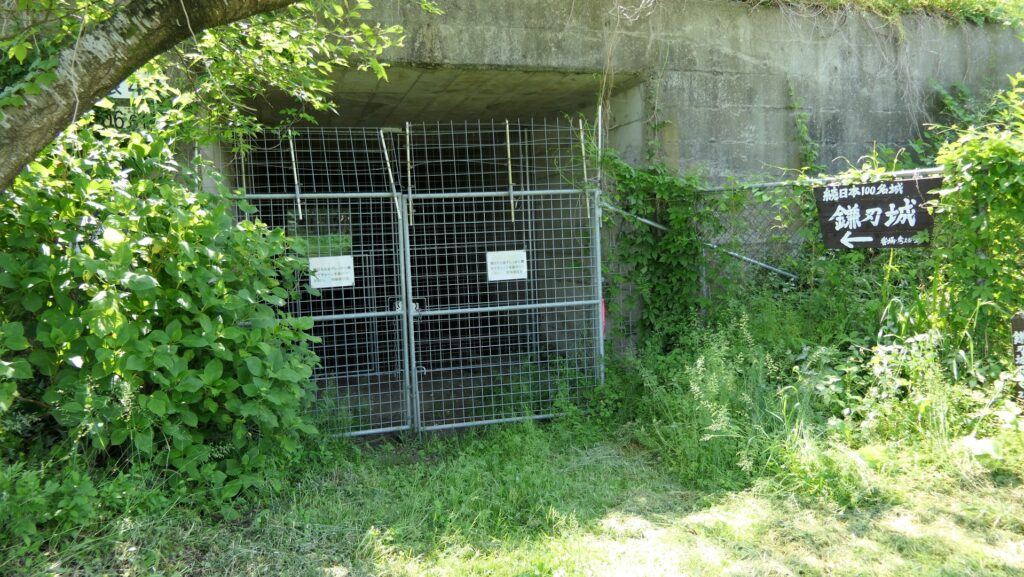
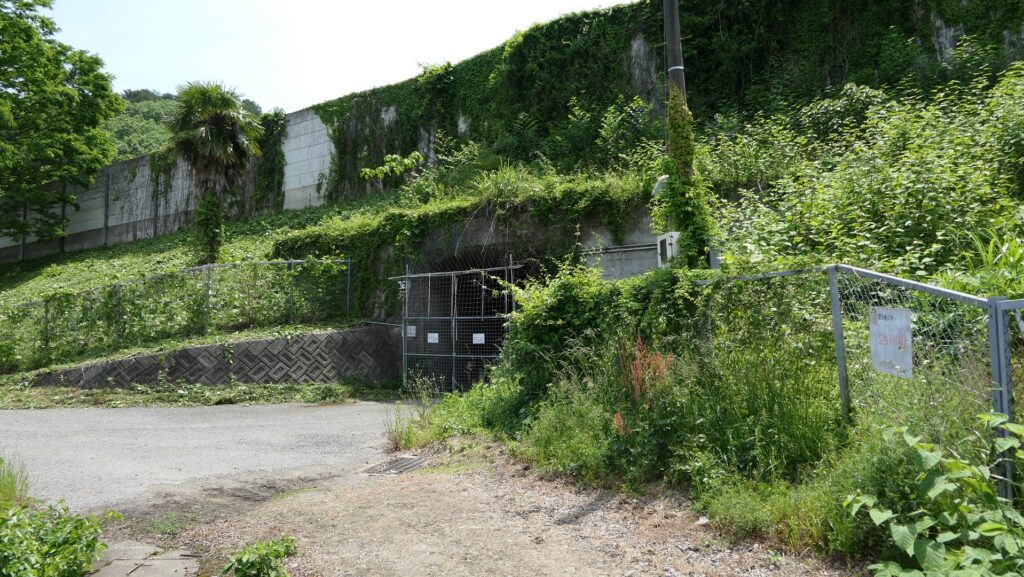
Today, visiting the ruins of Kamaha Castle needs climbing up the mountain. There are several routes for visiting them. Probably the popular ones are from the old Banba Station on the old Nakasendo Road, because they reach the front side of the castle. You have to walk on the routes for about 1 hour, but many signs will lead you along the way. From the station, you will first go through the underpasses of Hikone44 or 43 of the Meshin Expressway. You have to open and close the front wire netting gate in order to shut animals outside it when you pass. The inside of the gate is basically the animal kingdom now. the route from Hikone44 is relatively smooth but longer, and the one from Hikone43 is shorter but comparatively steeper. The route from Hikone43 seemed to be the original Main Route.

The map around the castle

The old Banba Station on the old Nakasendo Road
A distant view of the mountain where the castle was built
The underpass of Hikone44 of the Meshin Expressway
The underpass of Hikone43 of the Meshin Expressway

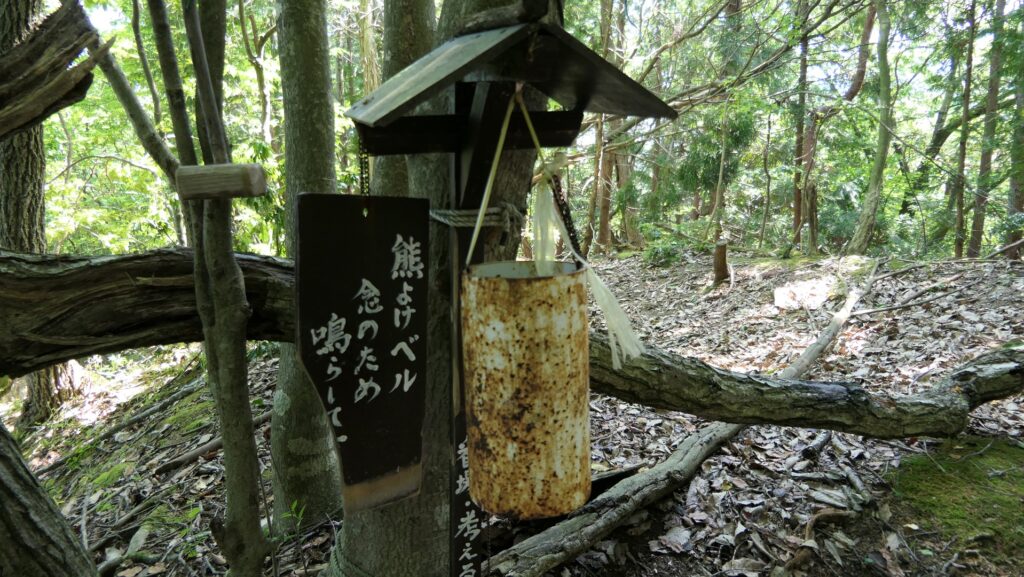
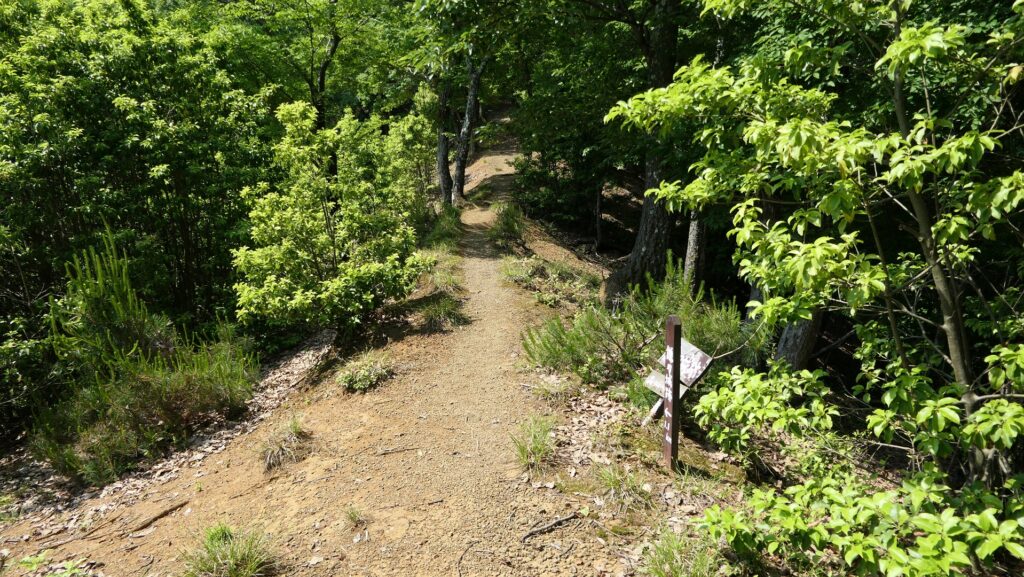
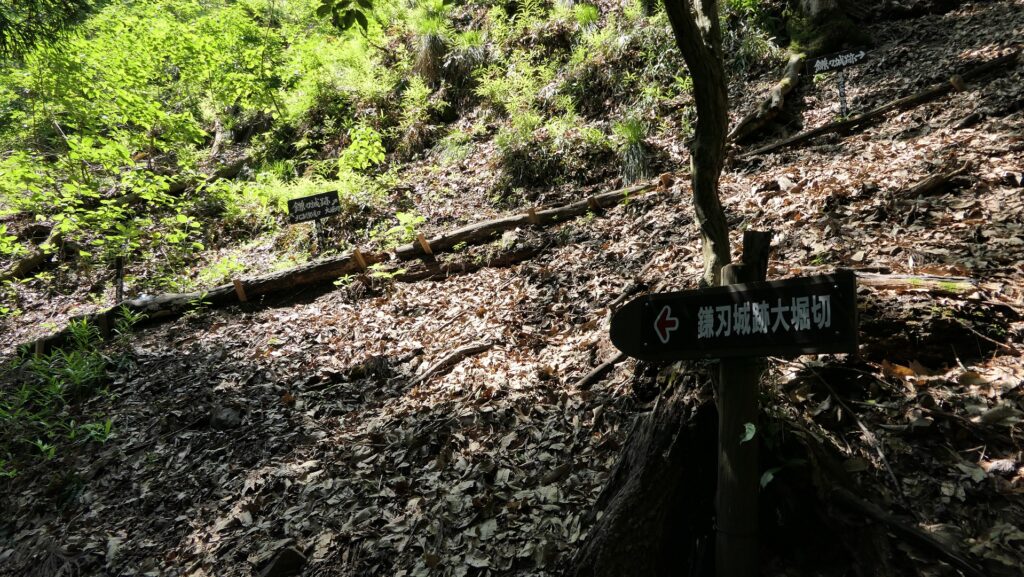
If you choose the route from Hikone44, the first part of your visit is completely a trek. You will go on the trail along natural valleys and ridges for over 30 minutes. The signs will show you when you are close to the castle ruins. You will also find a bear-avoiding bell that you can ring. You may not visualize there was an advanced castle where many people usually used it over such a place.

Going on the trail from the underpass of Hikone44
A bear-avoiding bell
Going on a ridge
Closing to the castle ruins

Large Ditch and Stone Walls

You will first reach the Large Ditch in the northern edge of the castle. It may look like a natural valley, but, in fact, it is artificial. The enclosure behind the ditch is called the North VI.

The map around the castle

The Large Ditch
Looking up the North VI Enclosure from the Large Ditch

You can see the Large Stone Walls in the western side of the enclosure. These stone walls were made in a unique method which uses clay to fill in the gaps.

The Large Stone Walls
The cray between the stones can’t be seen just looking at them

Ruins of Large Turret and Entrance

Large scale earthen walls also remain on the enclosure, which supported the Large Turret in the past. A simple wooden observation platform stands there now.

The North VI Enclosure
The remaining earthen walls of the enclosure
Looking down the Large Ditch from the observation platform
A view from the observation platform

The next part is the North V Enclosure which has the other entrance ruins with stone steps and stone mound than those in the Main Enclosure.

The entrance ruins of the North V Enclosure
Water is supplied in the enclosure from its source somewhere

After that is the North IV Enclosure has another wooden observation platform for visitors probably because it is a good viewing spot. You can enjoy a good view of the Omi Plain beside Biwa Lake.

The North IV Enclosure
The observation platform in the North IV Enclosure
A view from the observation platform

To be continued in “Kamaha Castle Part3”
Back to “Kamaha Castle Part1”