Features
Part of expansive Natural Park
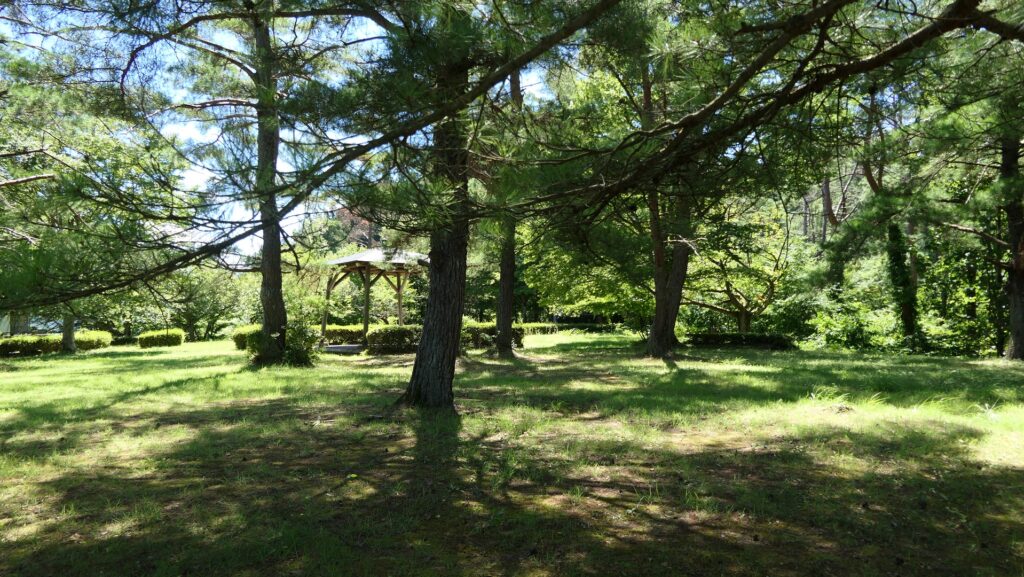
Today, the ruins of Mukai-Haguroyama Castle have been developed as part of the Hakuho-zan Park. The park is an expansive natural park which is 112 hectares in size, including three mountains, Kannon-yama, Haguro-yama, and Iwasaki-yama. The castle ruins are on the Iwasaki-yama Mountain, which is 50 hectares in size. The ruins are also huge and mixed with the park’s other facilities like adventure playgrounds, promenades, and arbors.
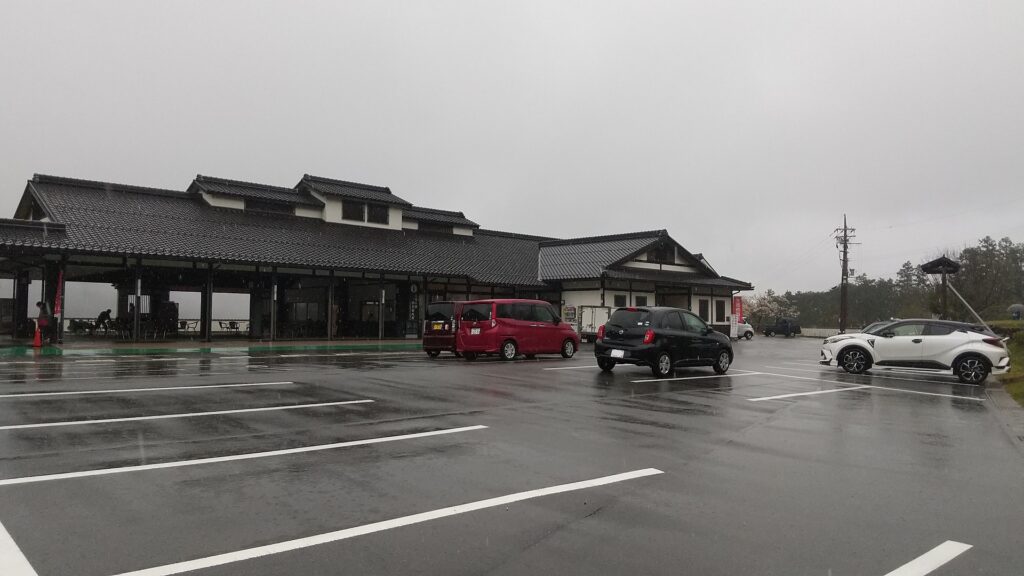
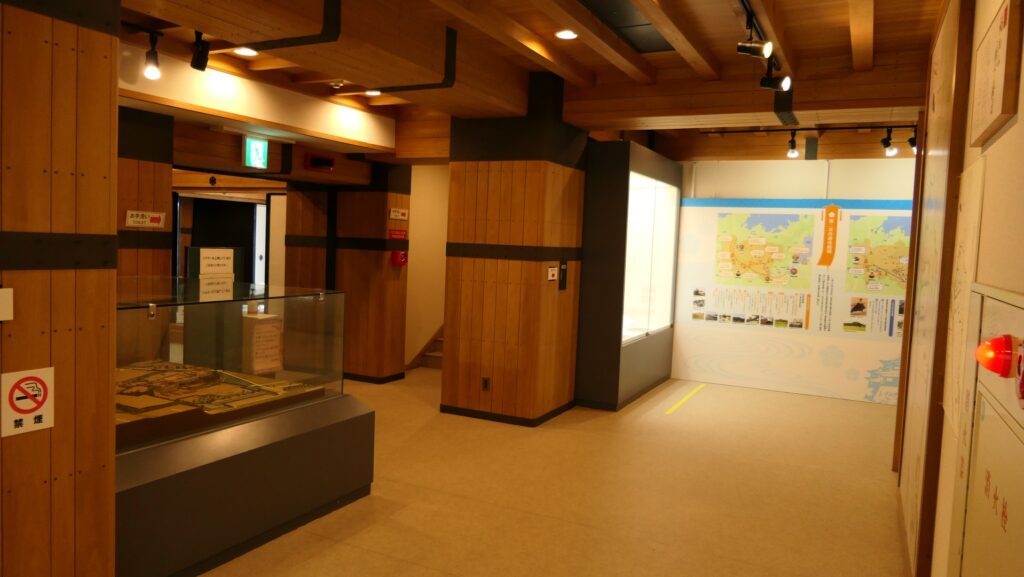
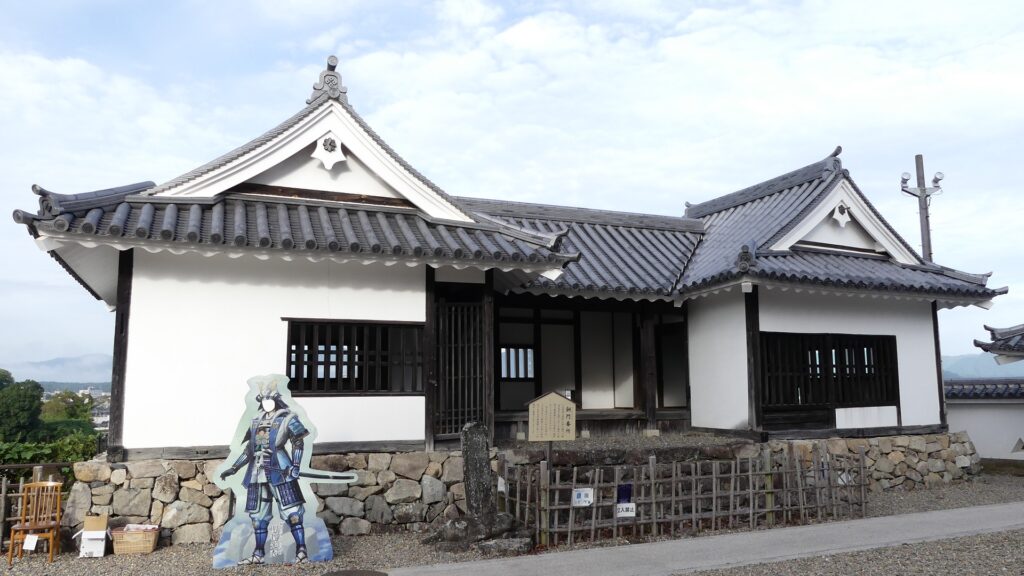
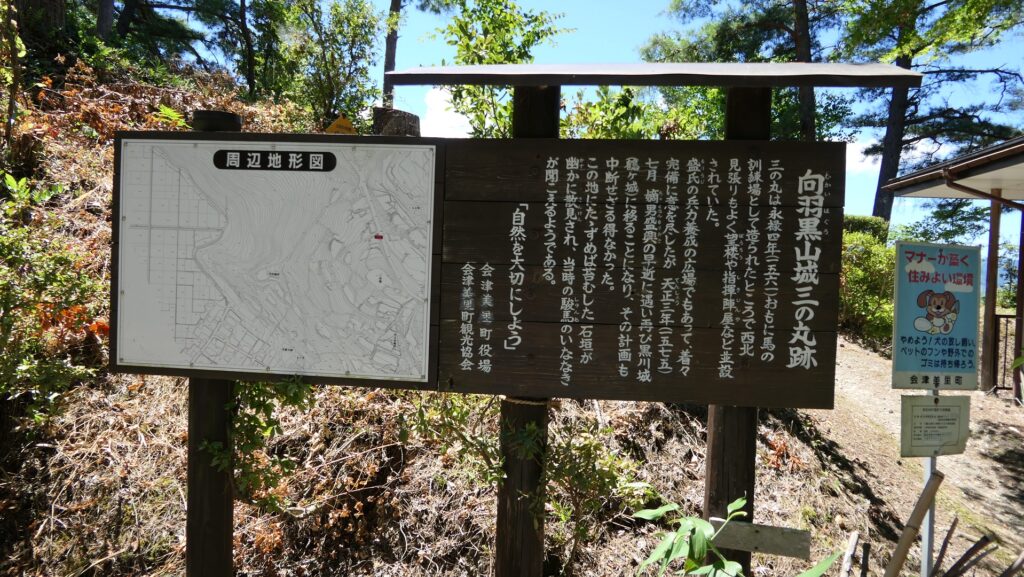
The map around the Hakuho-zan ParkTherefore, it may be difficult for visitors to go around all of the ruins without proper instructions. It is recommended to visit the guidance facility called Mukai-Haguro Gallery in advance to get the information of the ruins. Please make sure that the facility is open only on weekends and holidays from mid-April to mid-December. In addition, please check if the ruins are open or not, for example, in cases of bears being found. Anyway, let me introduce the summary of the ruins.

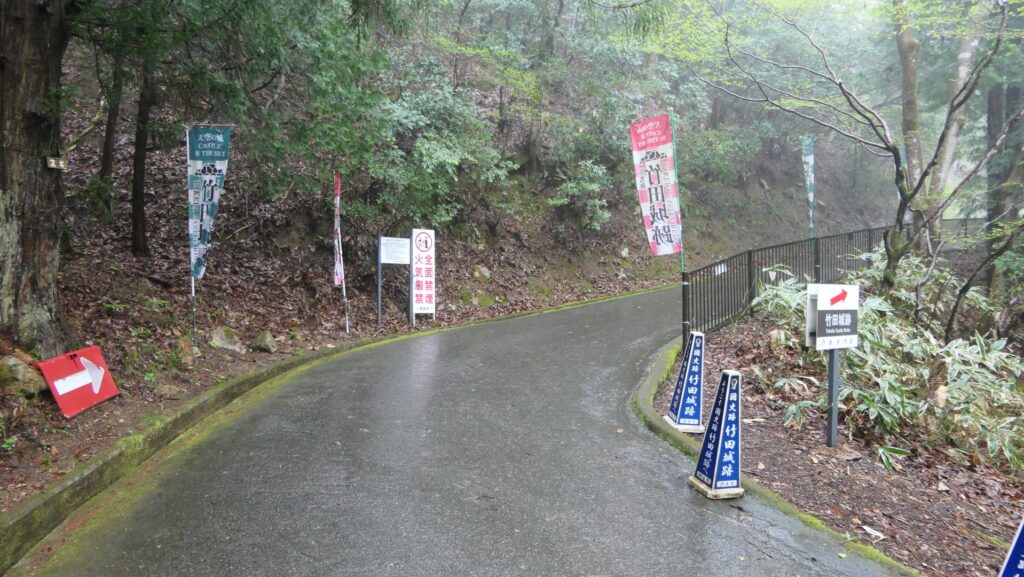
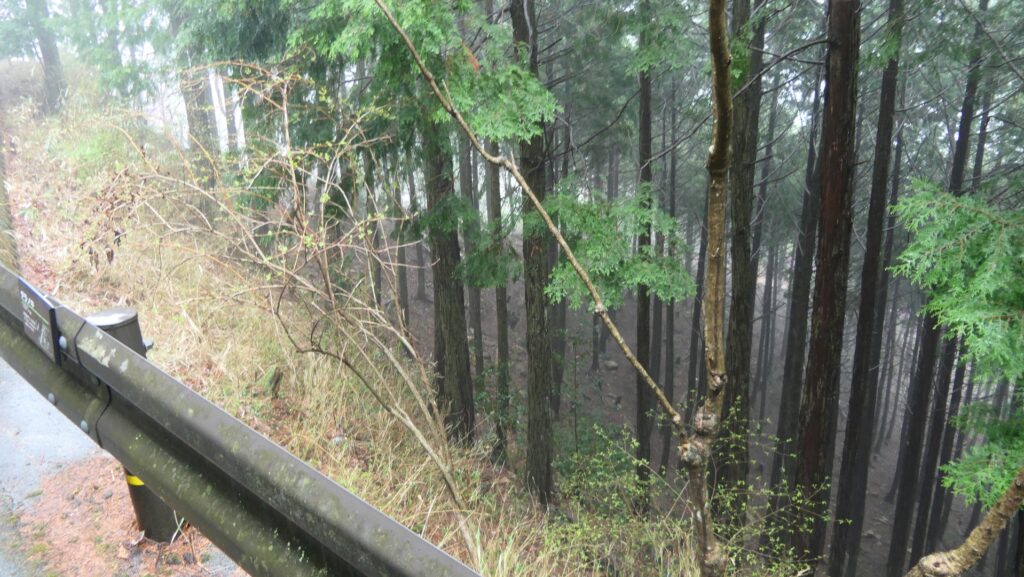
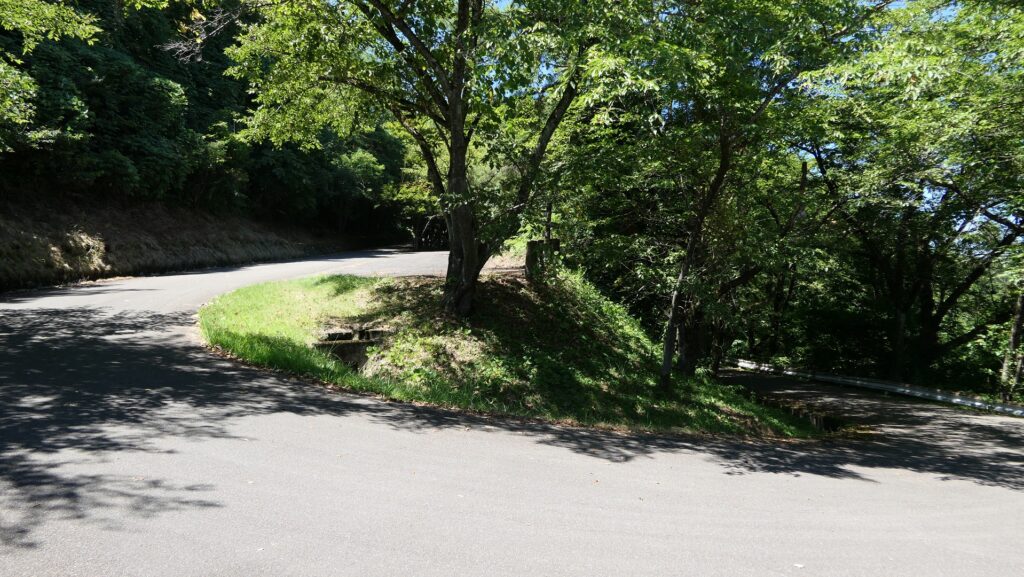
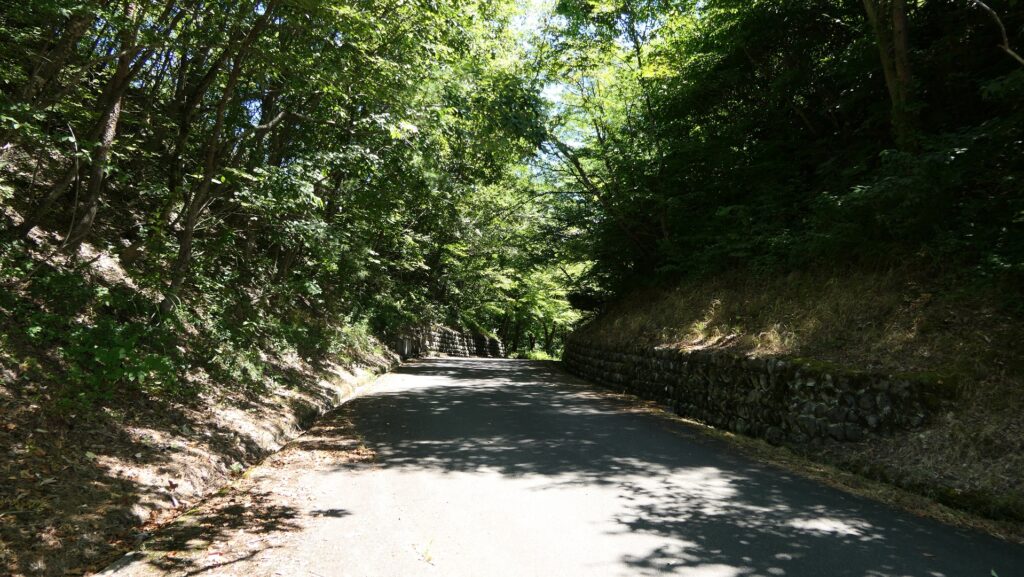
If you enter the park from the north beside the Mukai-Haguro Gallery, you can go on the paved forest road over Kannon-yama and Haguro-yama Mountains to the castle ruins on Iwasaki-yama Mountain in the back even by car. However, please be careful when passing each other because the road is very narrow.
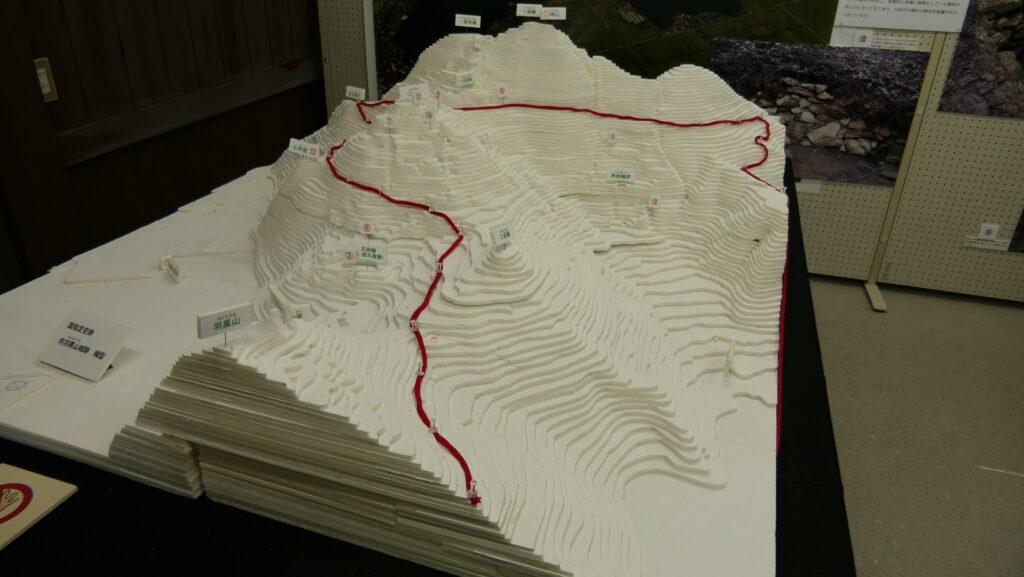
The map around the castle
Large Third Enclosure
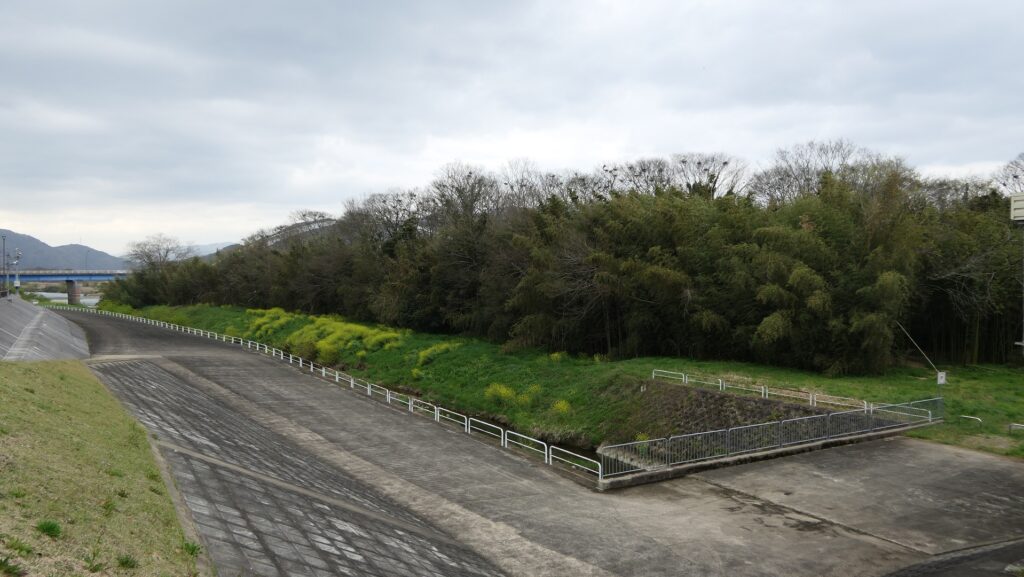
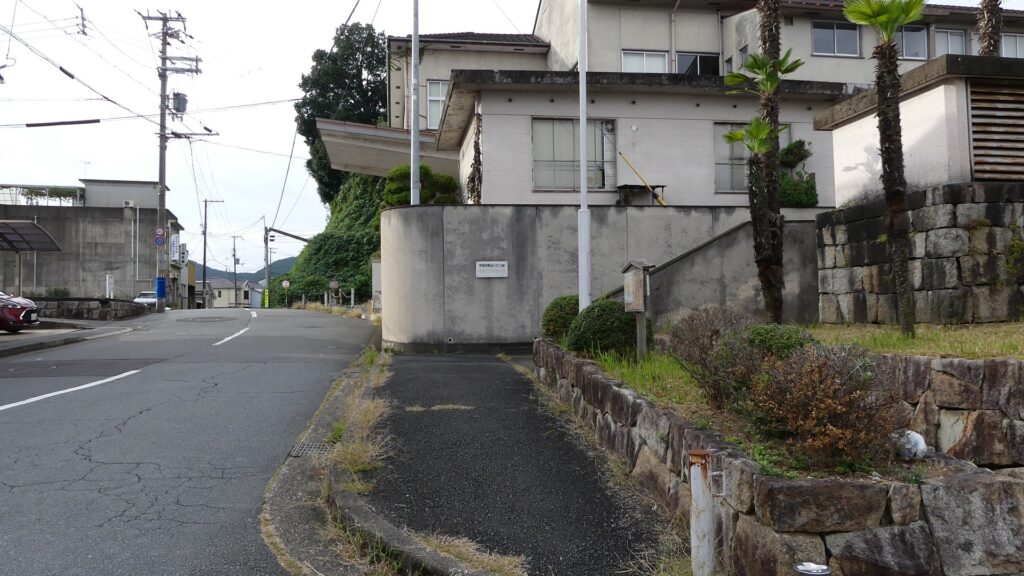
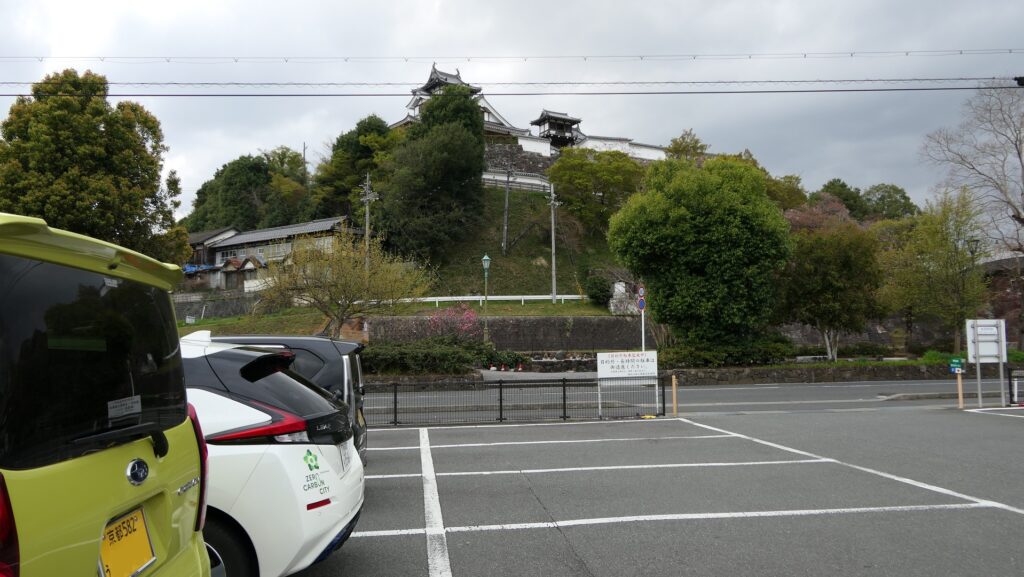
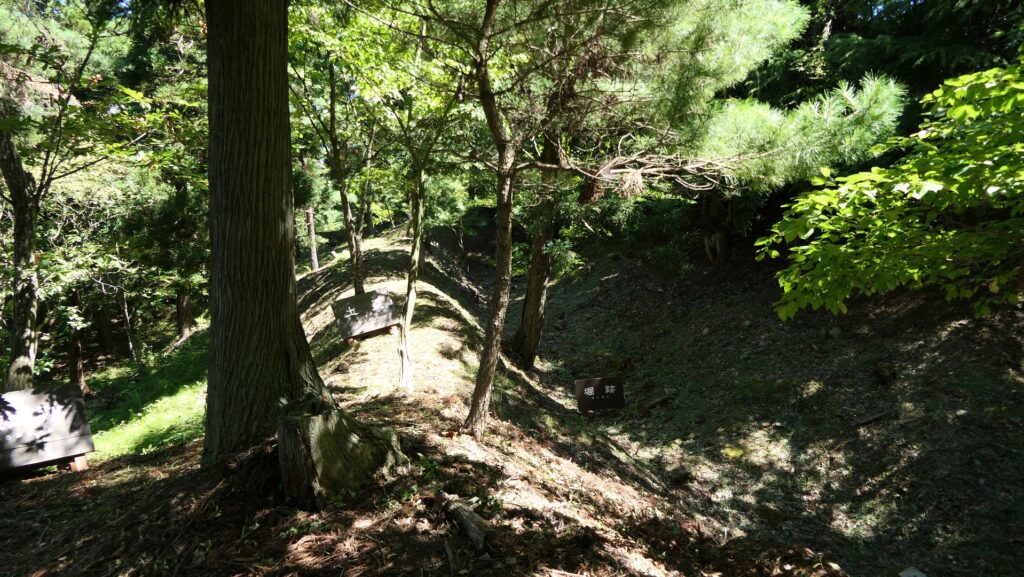
If you manage to find the administration building of the park on the right, it is around the Third Enclosure of the castle. The enclosure is spacious which was said to be used as a riding ground for horses. Its thick earthen walls and deep dry moats are still there. There are also the Northern Enclosure and the ruins of Moriuji Ashina’s residence across the road.


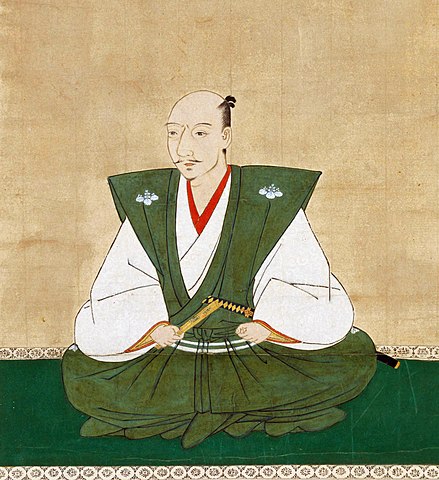
Next, you can go up the road and you will find Ochayaba (meaning the Tea House) Enclosure on the left, which is a viewing spot. It is said that Moriuji held tea ceremonies there.

Second Enclosure as Center of Castle
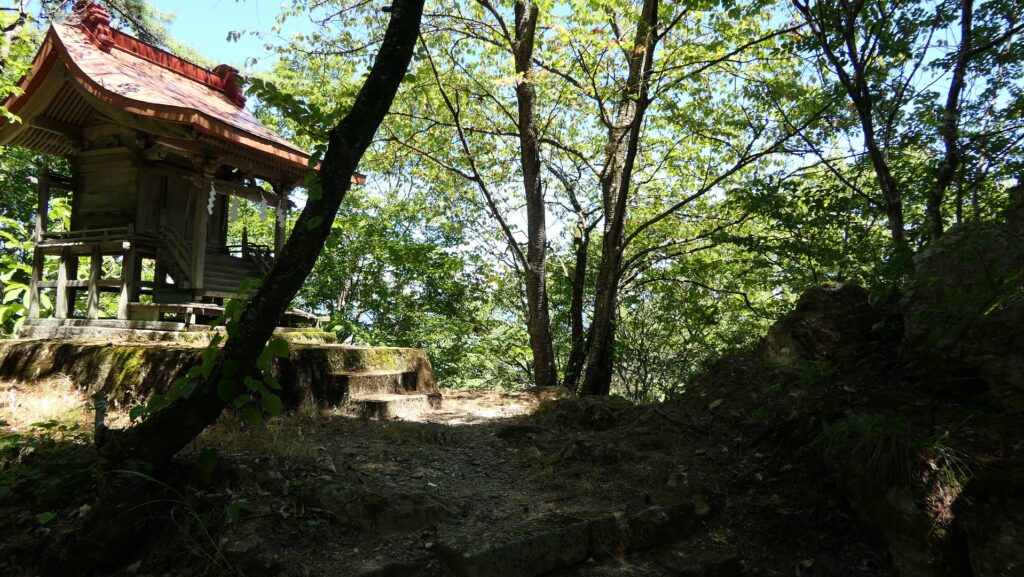
If you go further and turn right along the road, while seeing Benten Enclosure on the left, you will be between the Second Enclosure on the right and the Main Enclosure on the left. In fact, the road at the spot is the bottom of the former ditch dividing them.

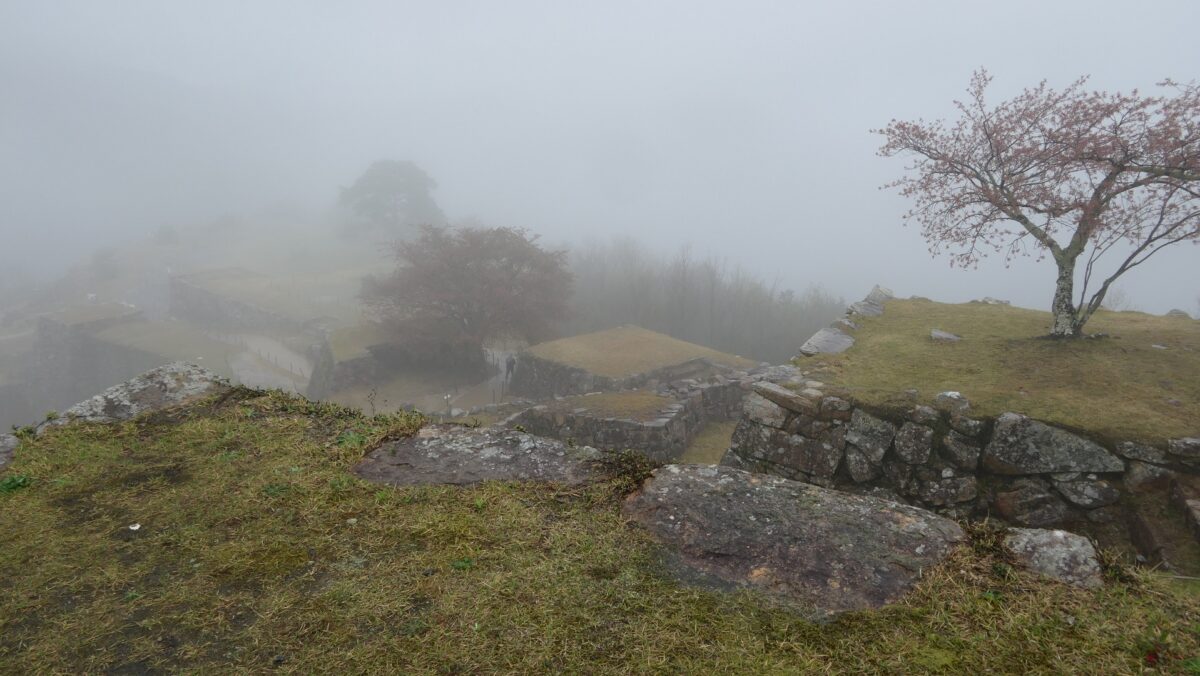
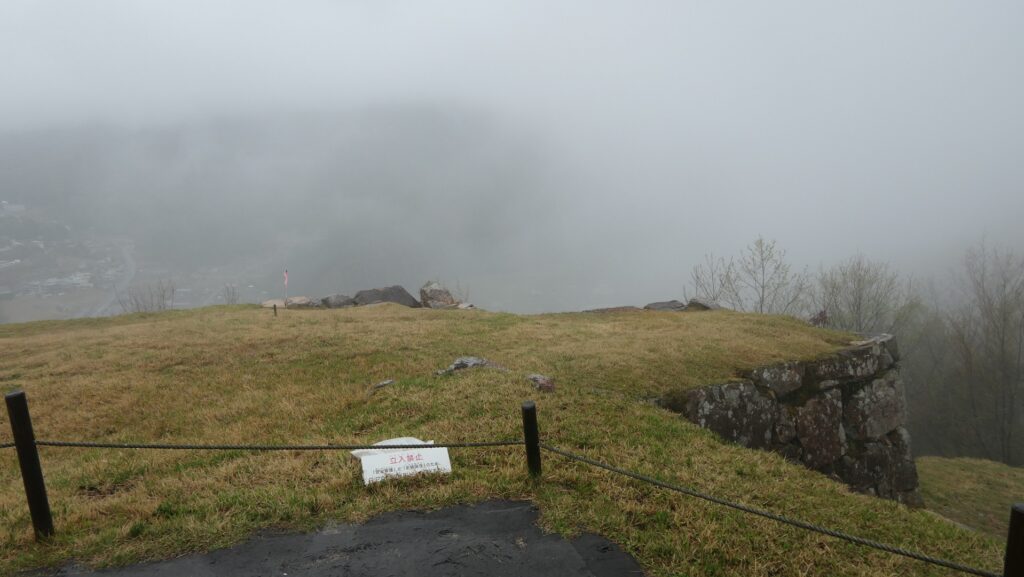
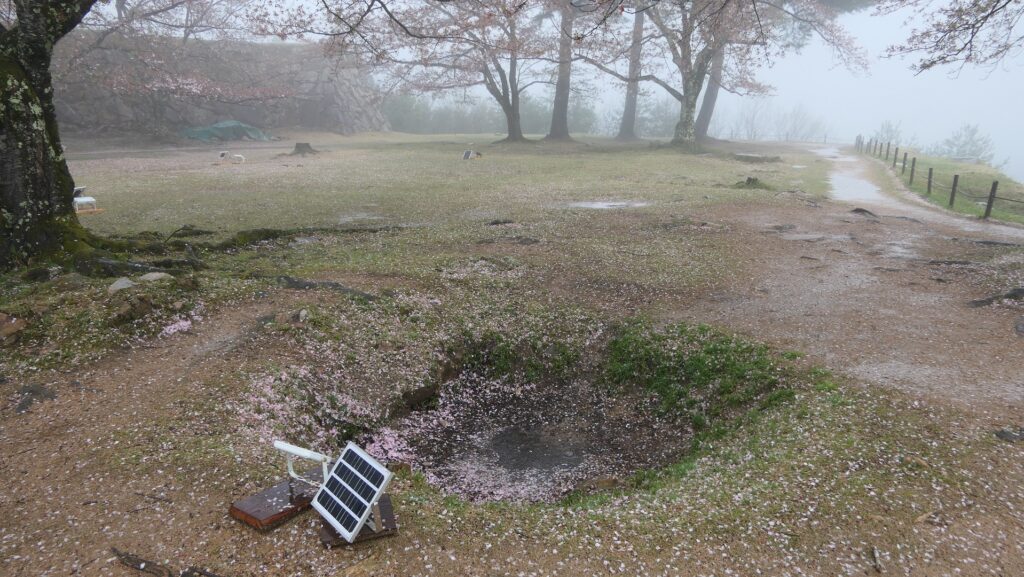
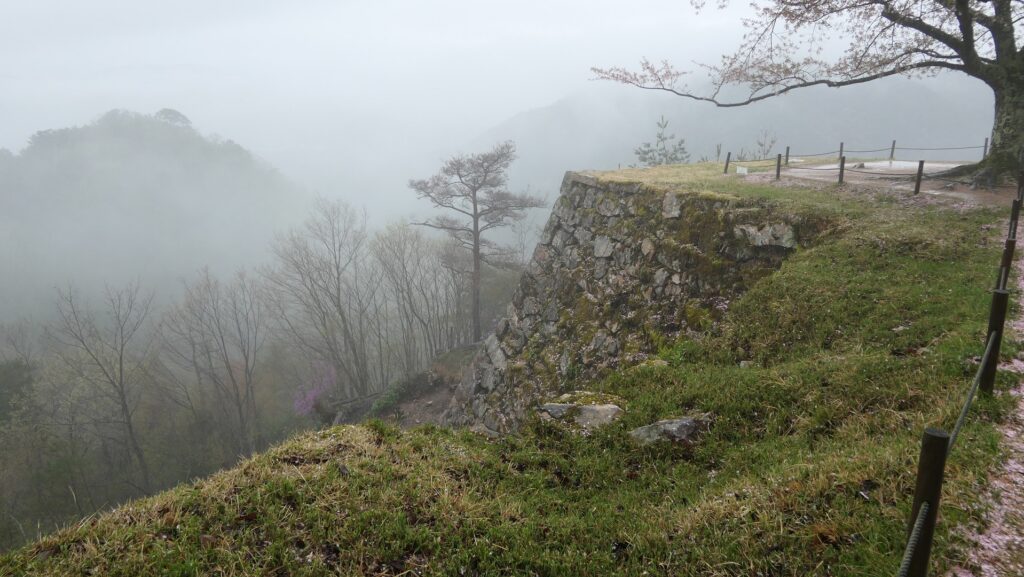
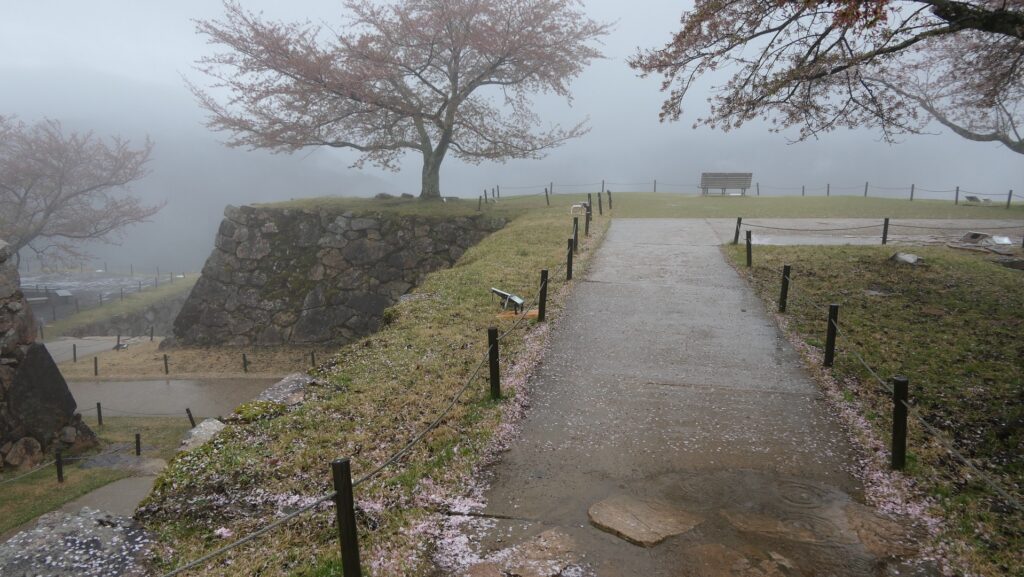
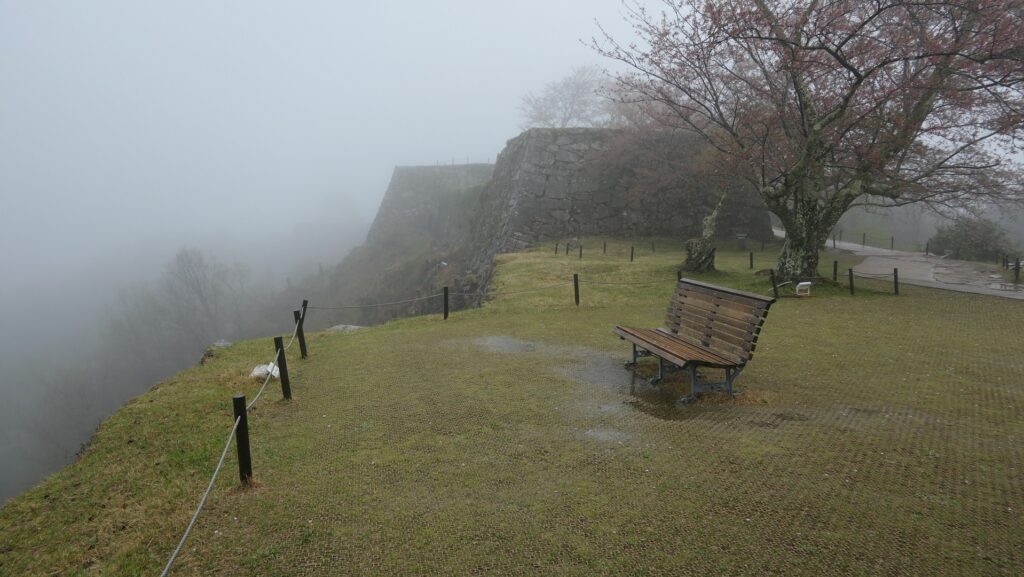
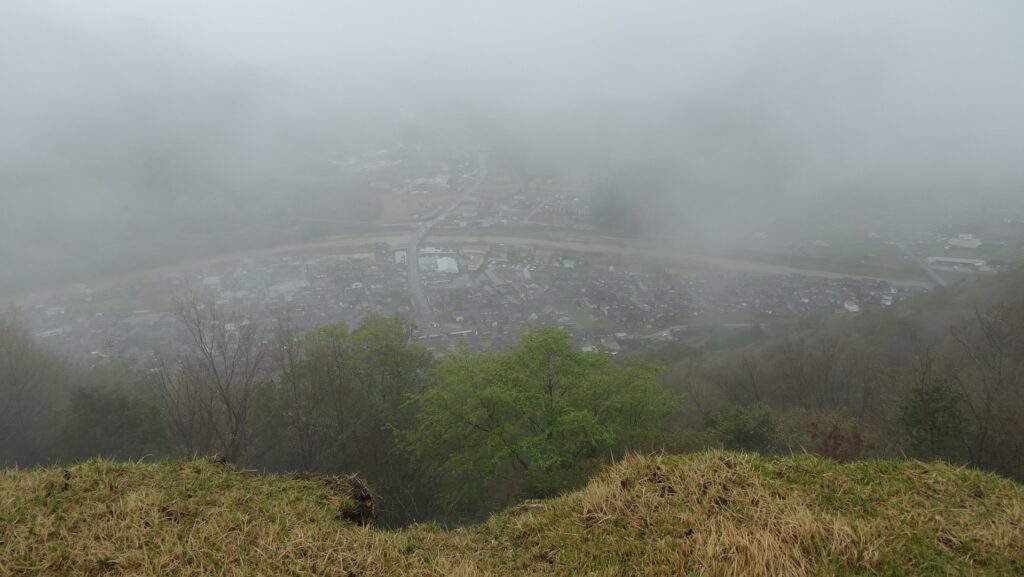
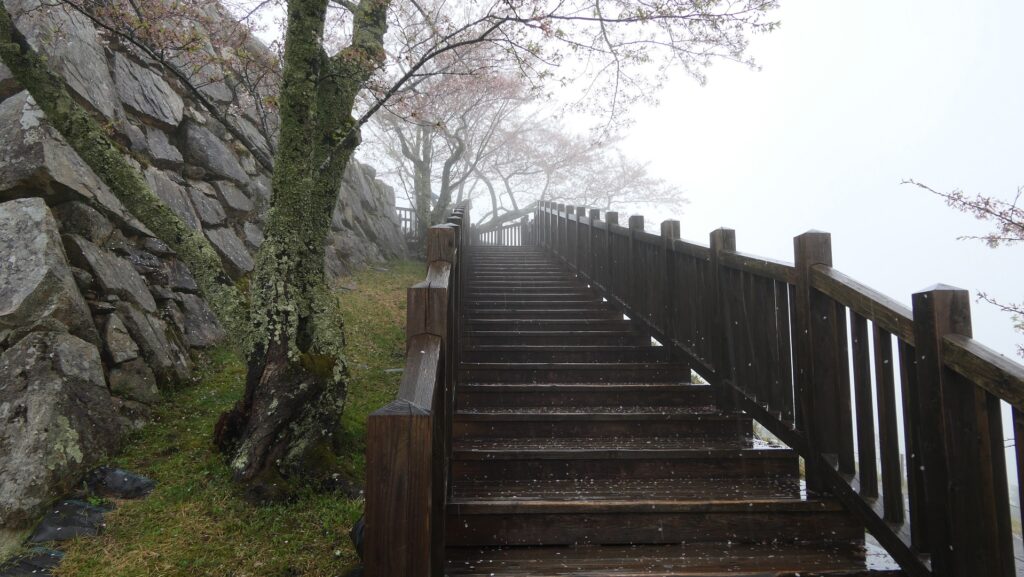
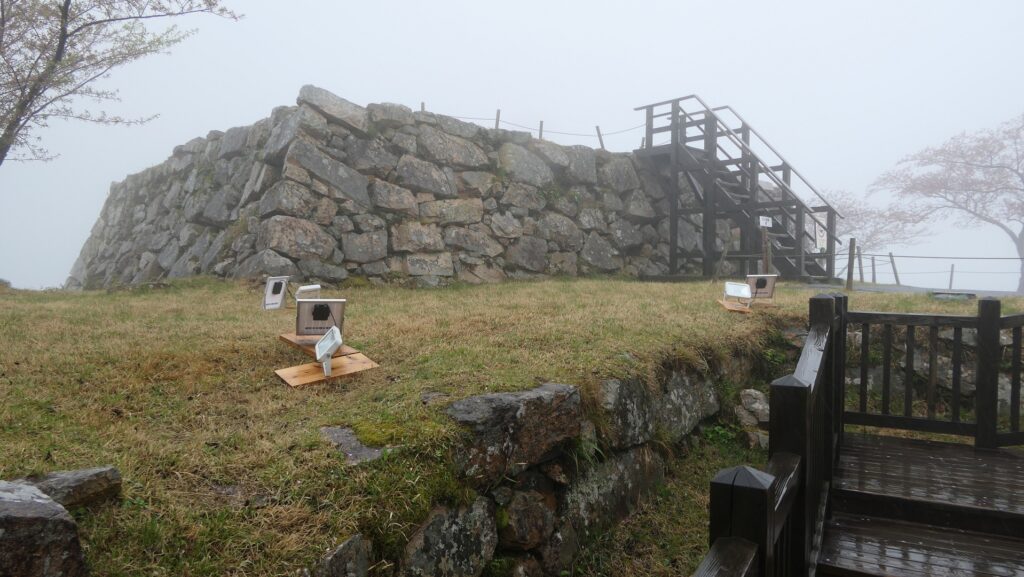
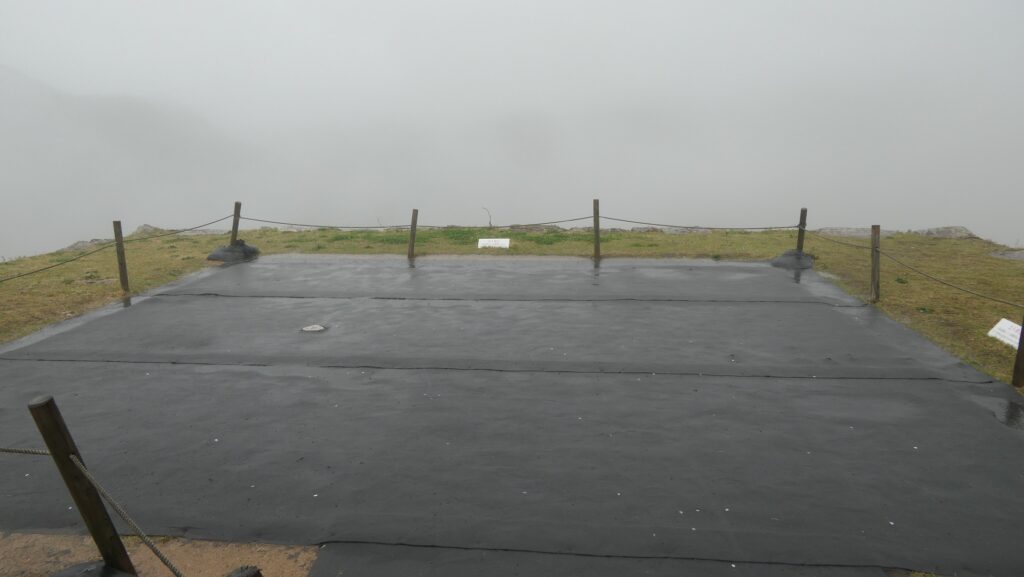
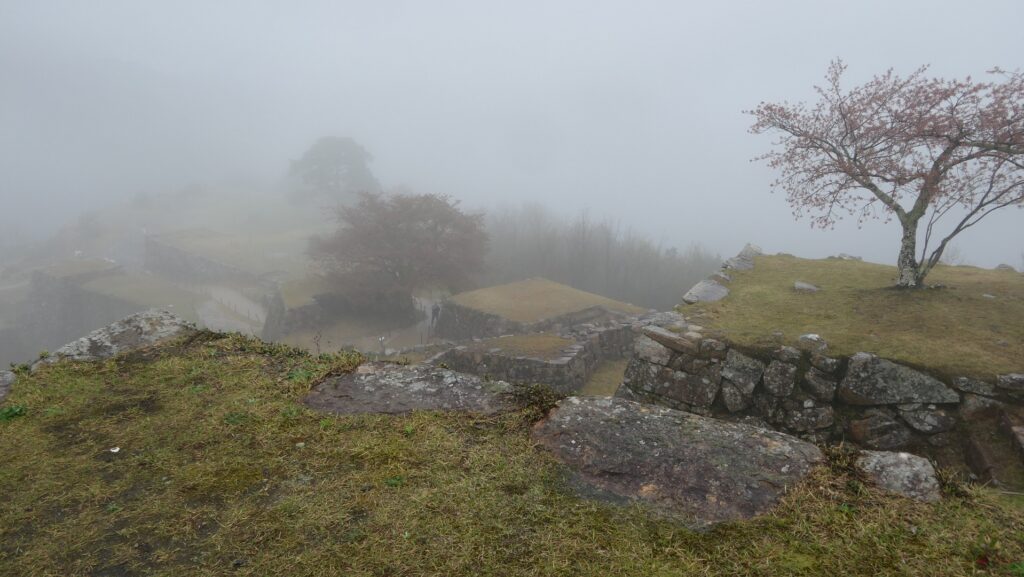
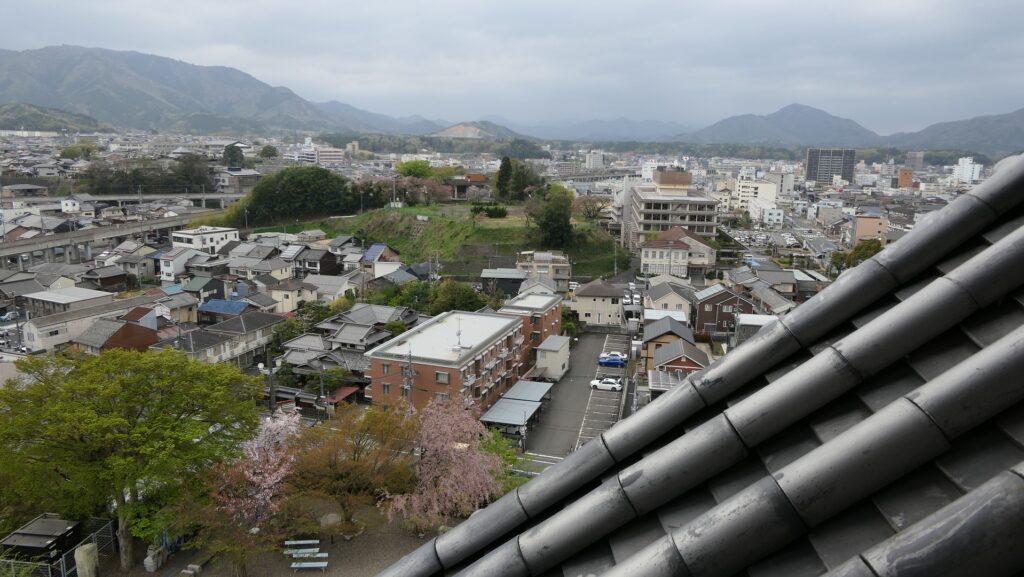
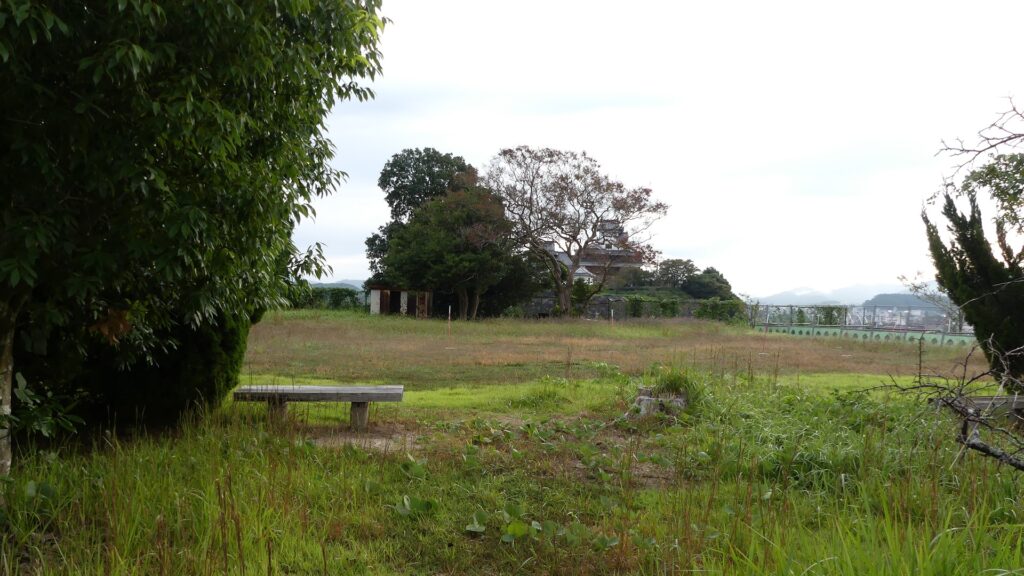
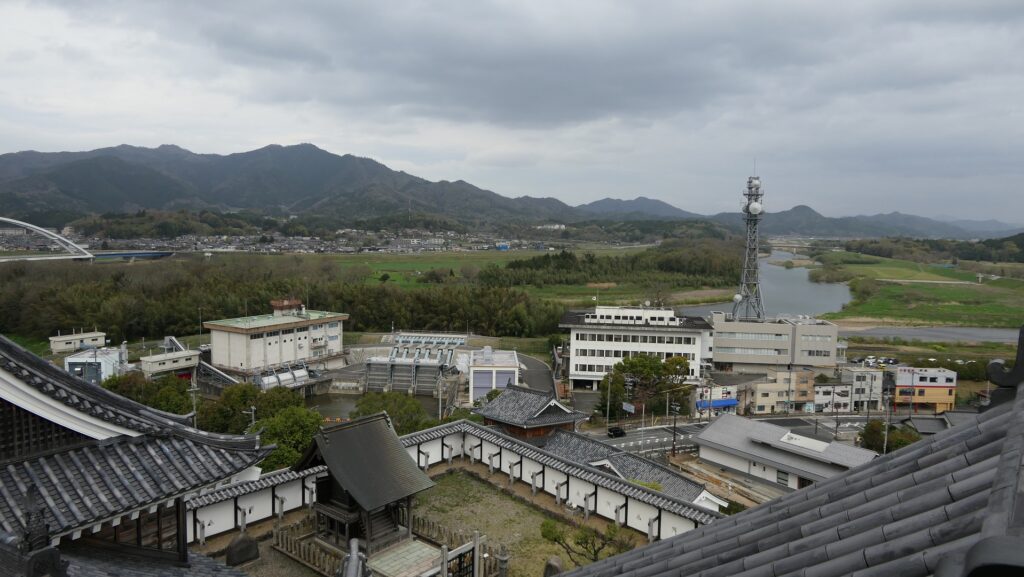
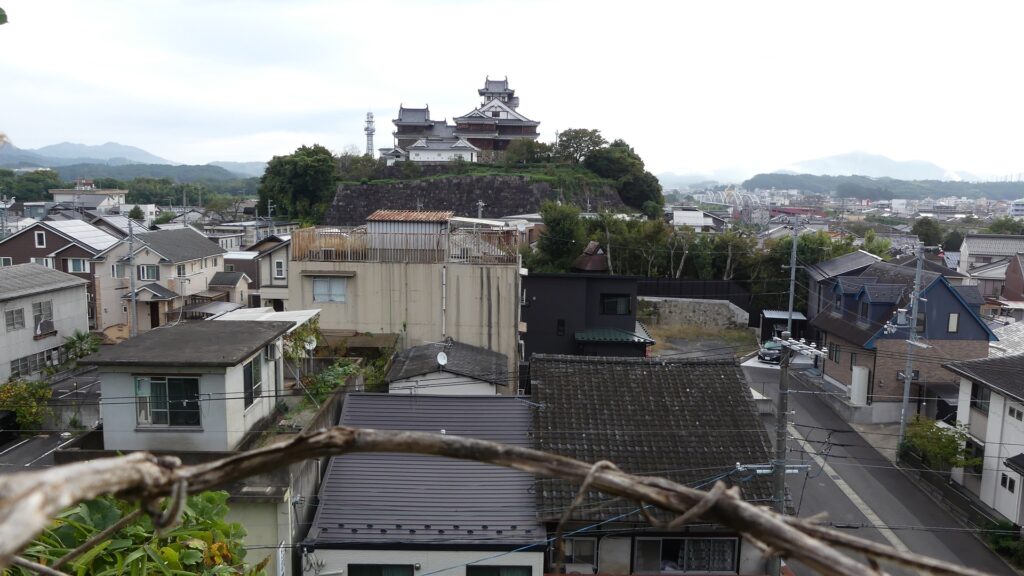
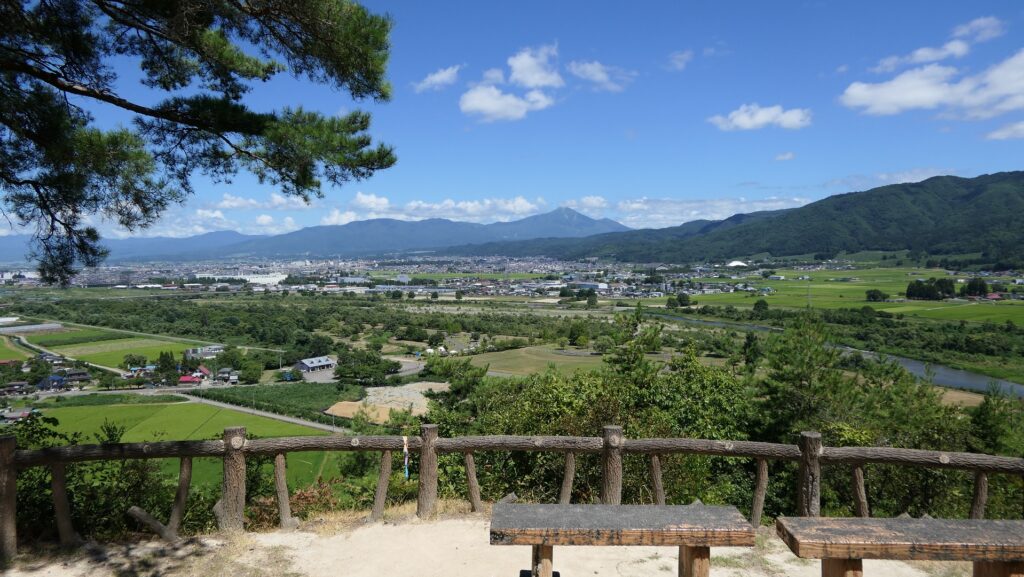
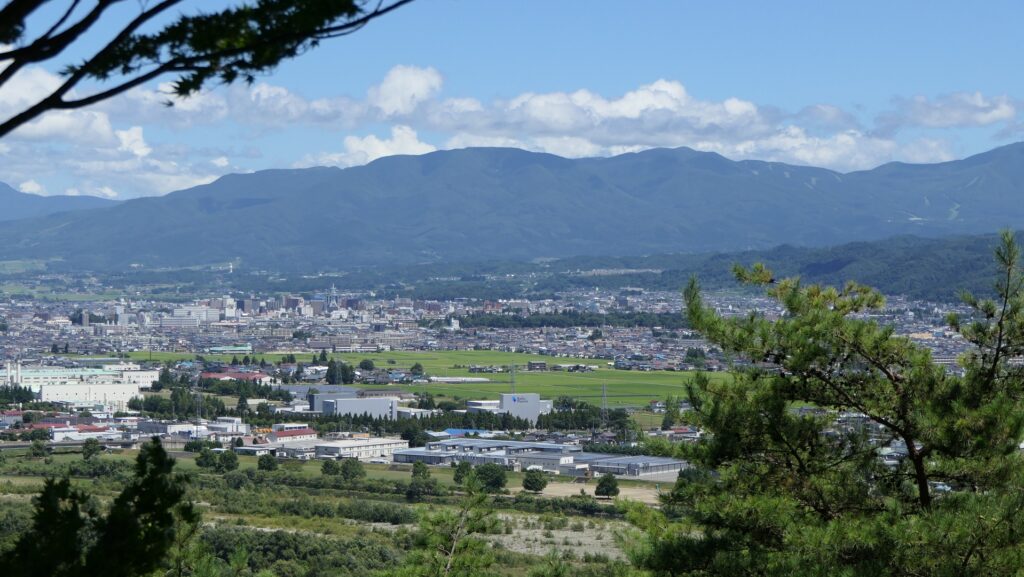
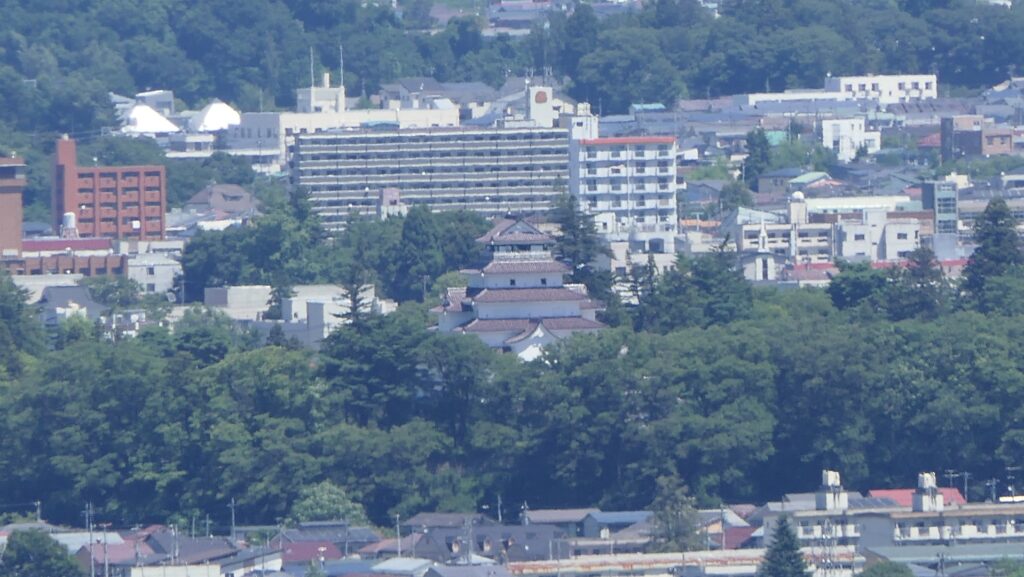
The Second Enclosure is on the top of a ridge which was thought to have been the center of the castle as it was larger and has a better view than the Main Enclosure. In addition, the Waterwell Enclosure is just below it. You can climb to the top and understand these points while seeing a great view of the Aizu Basin and Wakamatsu (the former Kurokawa) Castle
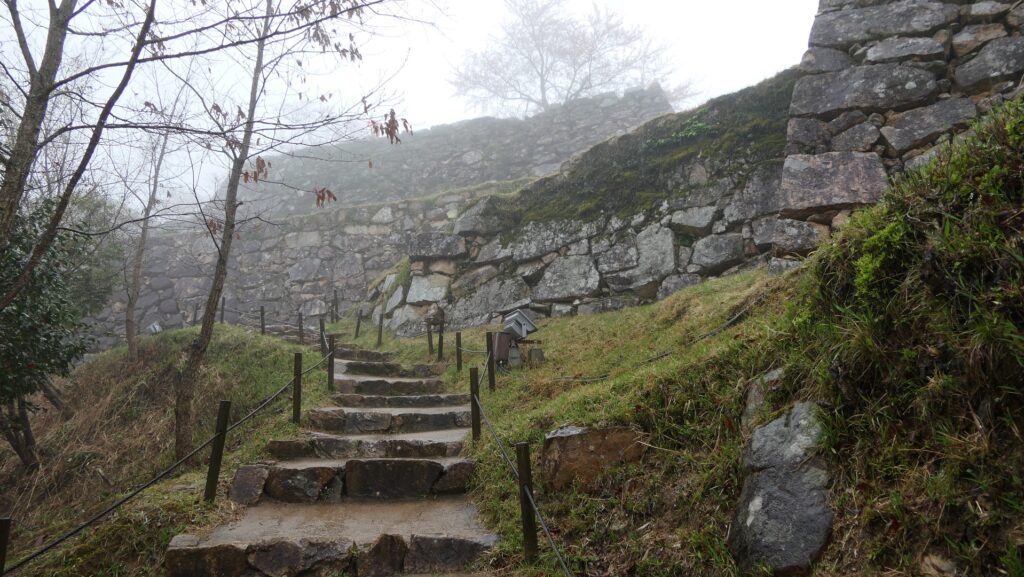
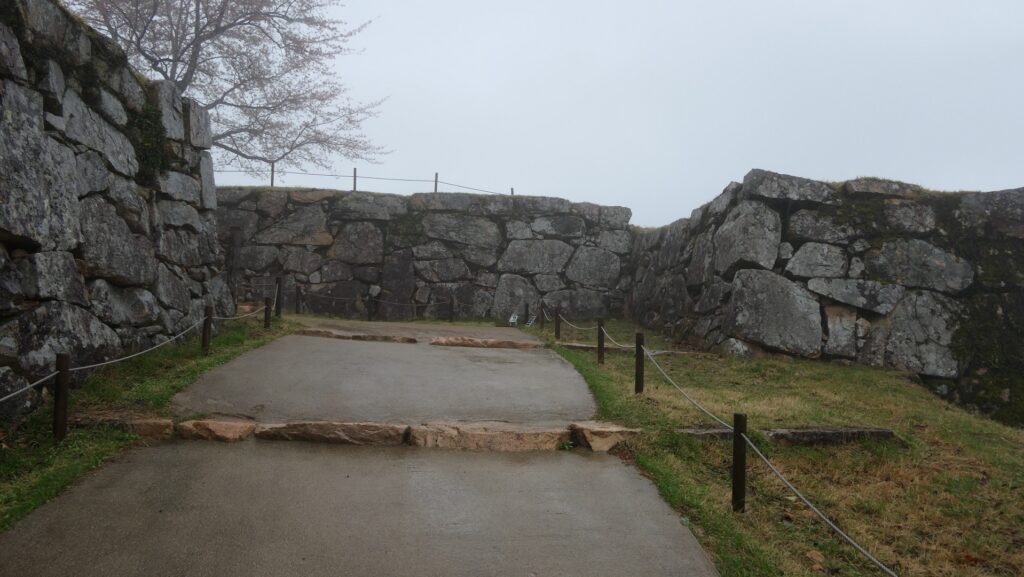
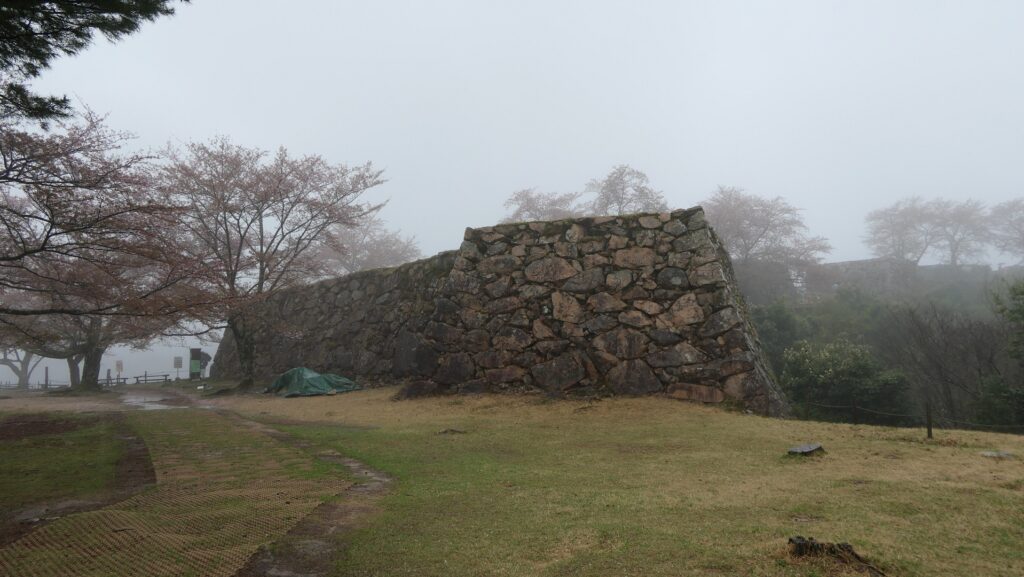
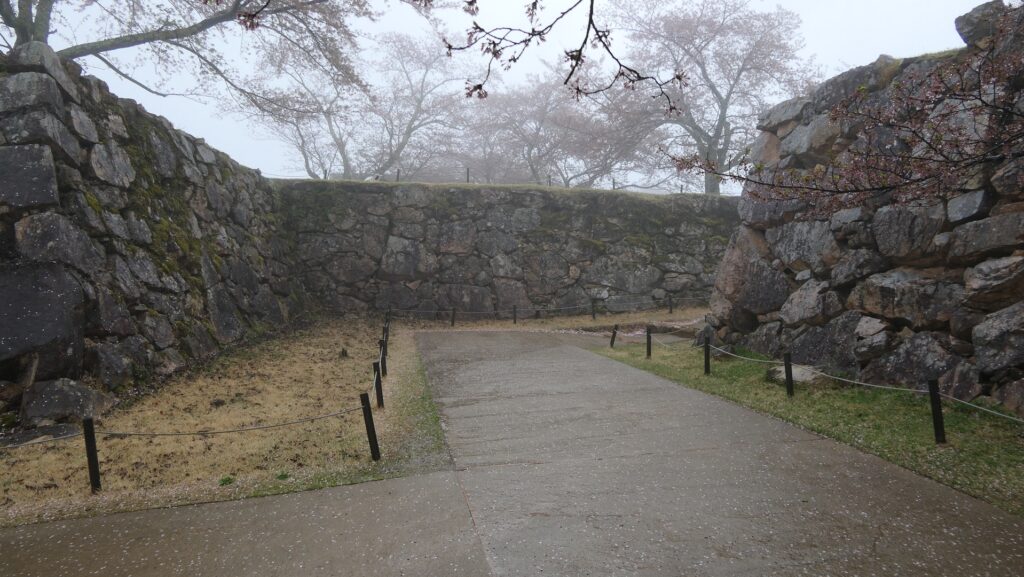
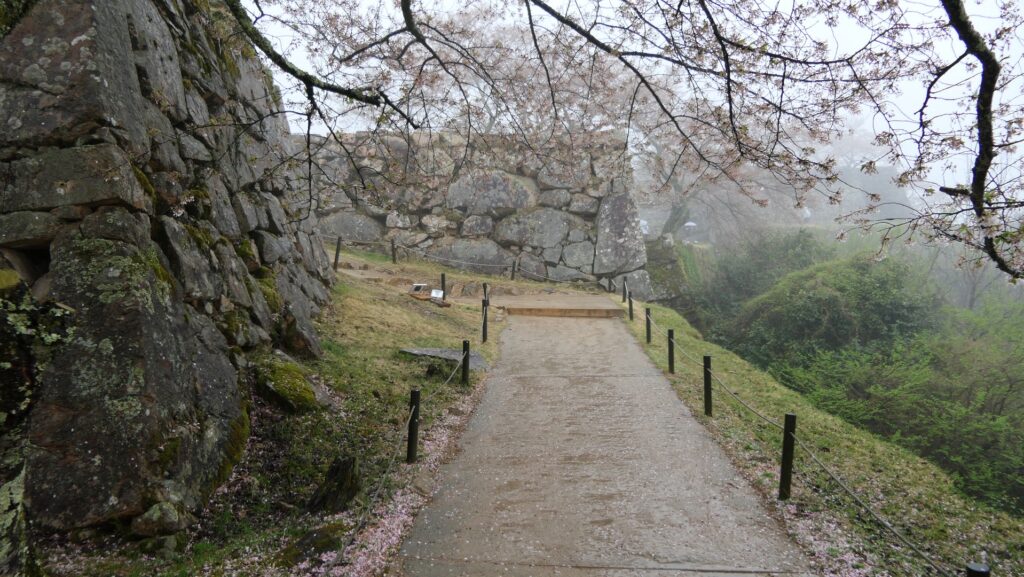
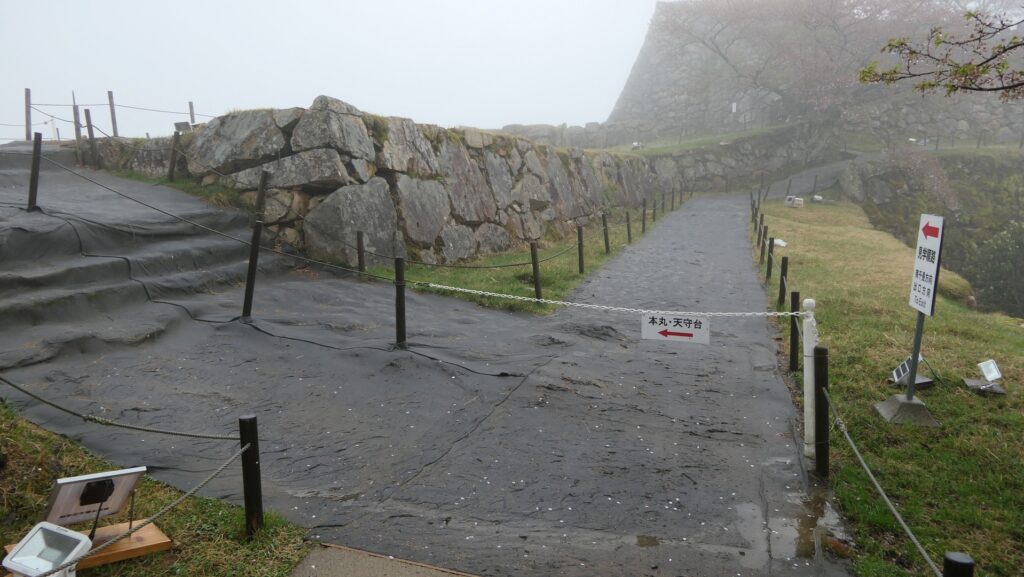
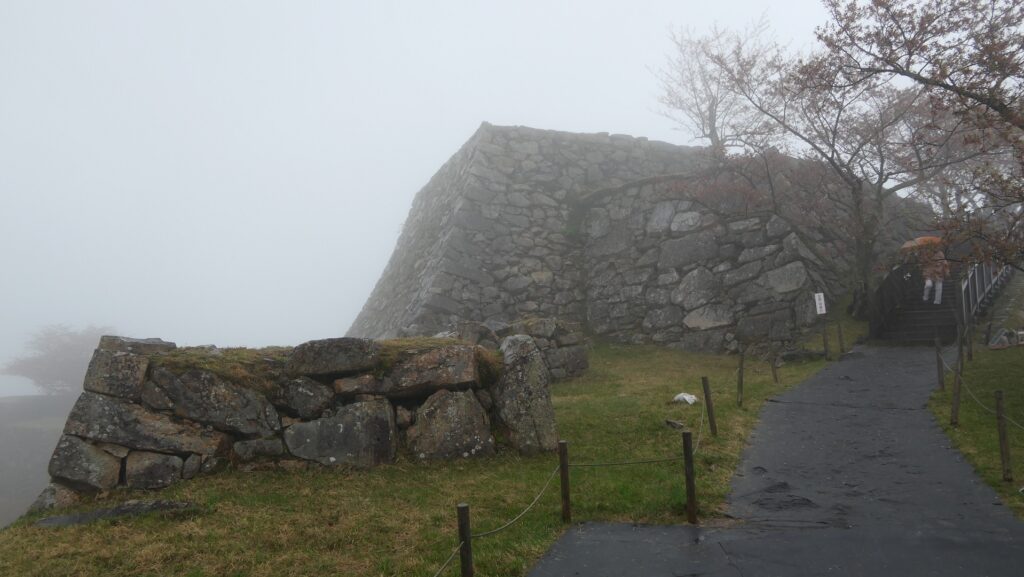
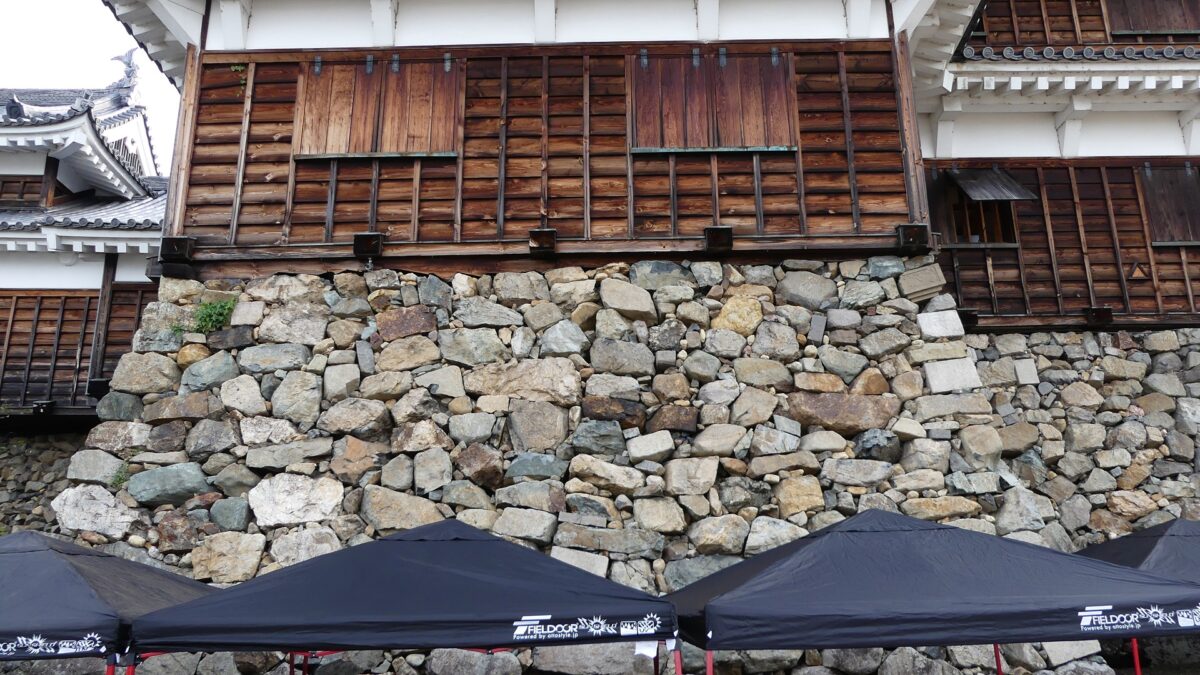
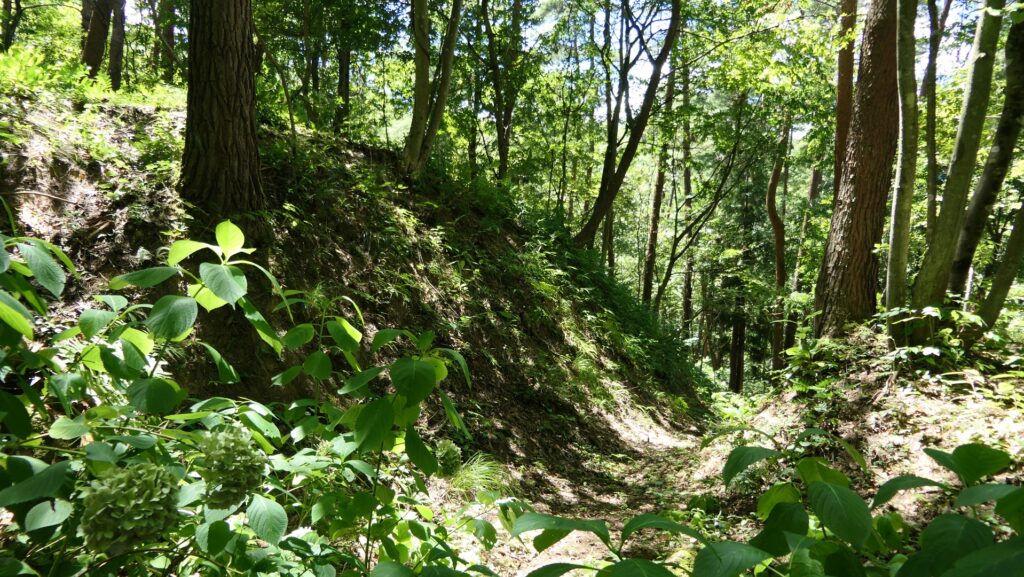
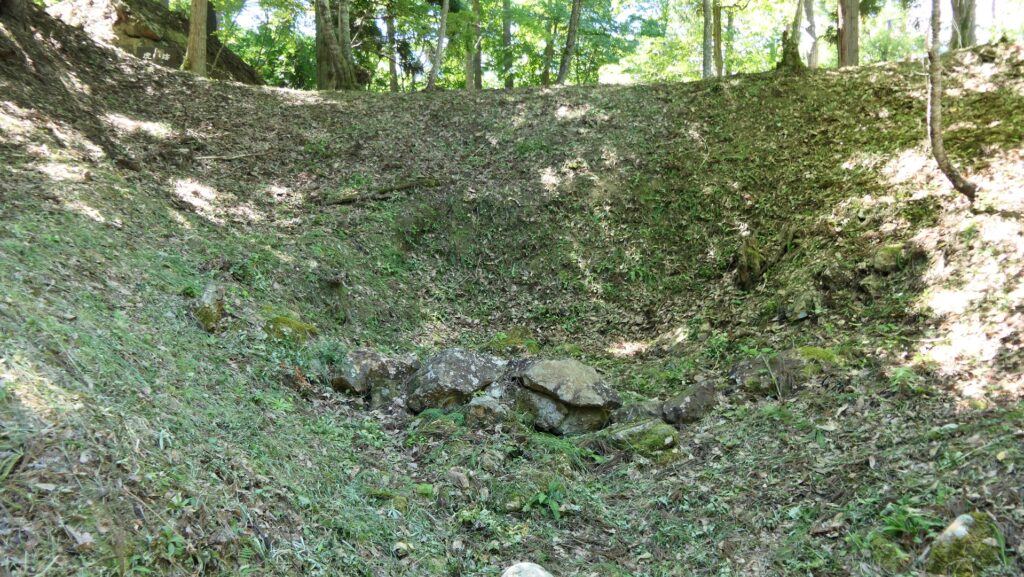
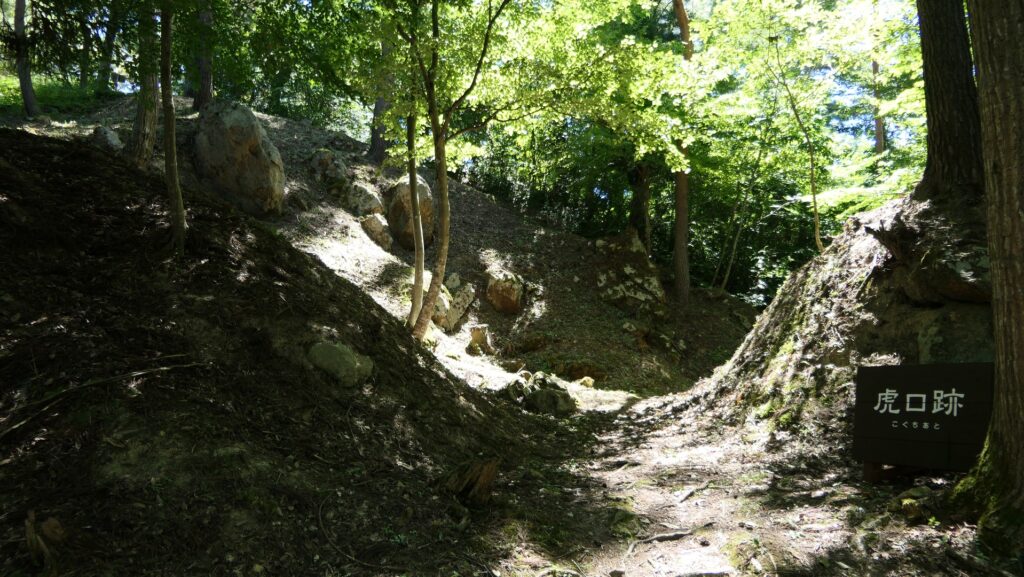
If you climb down and walk around the enclosure, you will see the essence of the castle. It is mostly soil-made structures all around. For example, the enclosure is surrounded by earthen walls and dry moats which are partially supported by stone mounds. The entrance of the enclosure consists of alternating earthen walls which also use large stones. However, these stones mostly collapsed. The original path through the castle is also made looking like another dry moat.

To be continued in “Mukai-Haguroyama Castle Part3”
Back to “Mukai-Haguroyama Castle Part1”