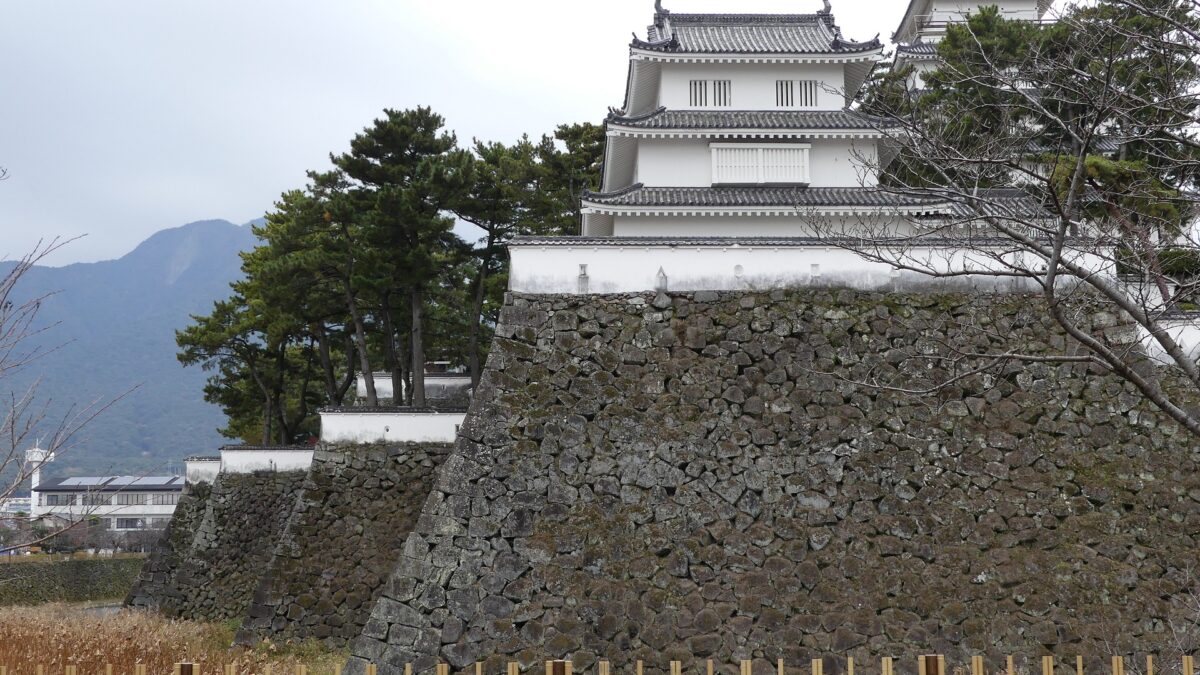
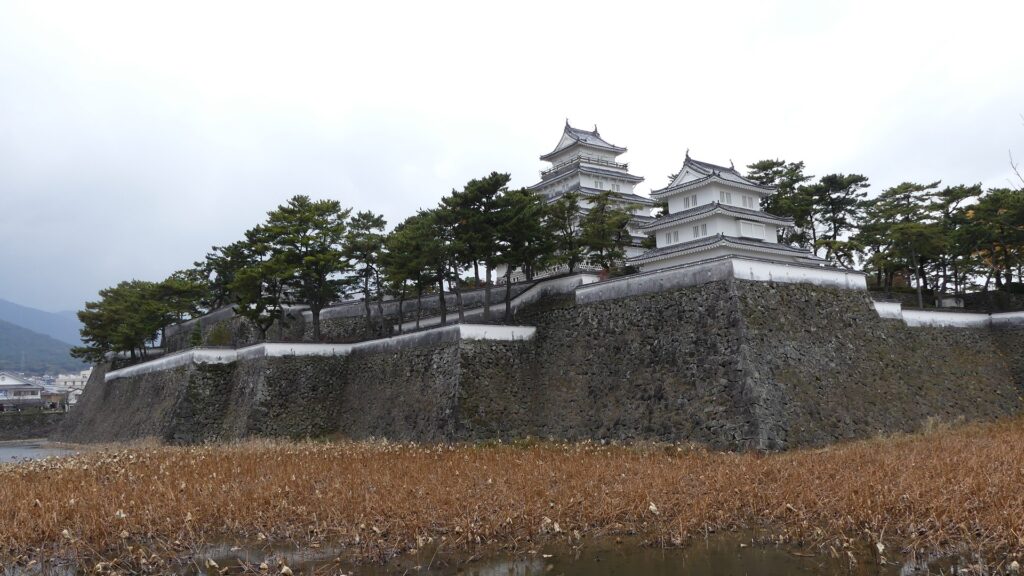
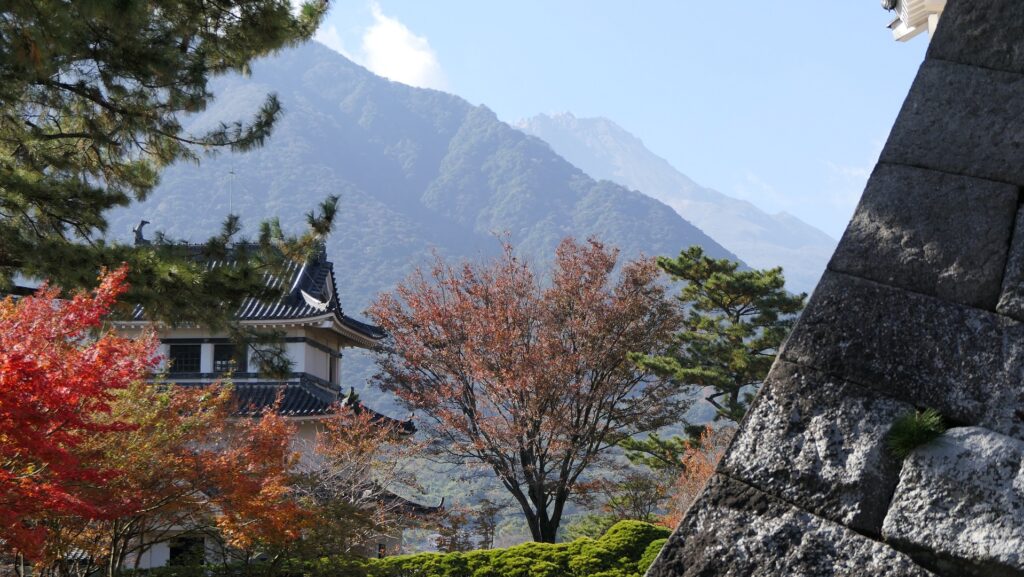
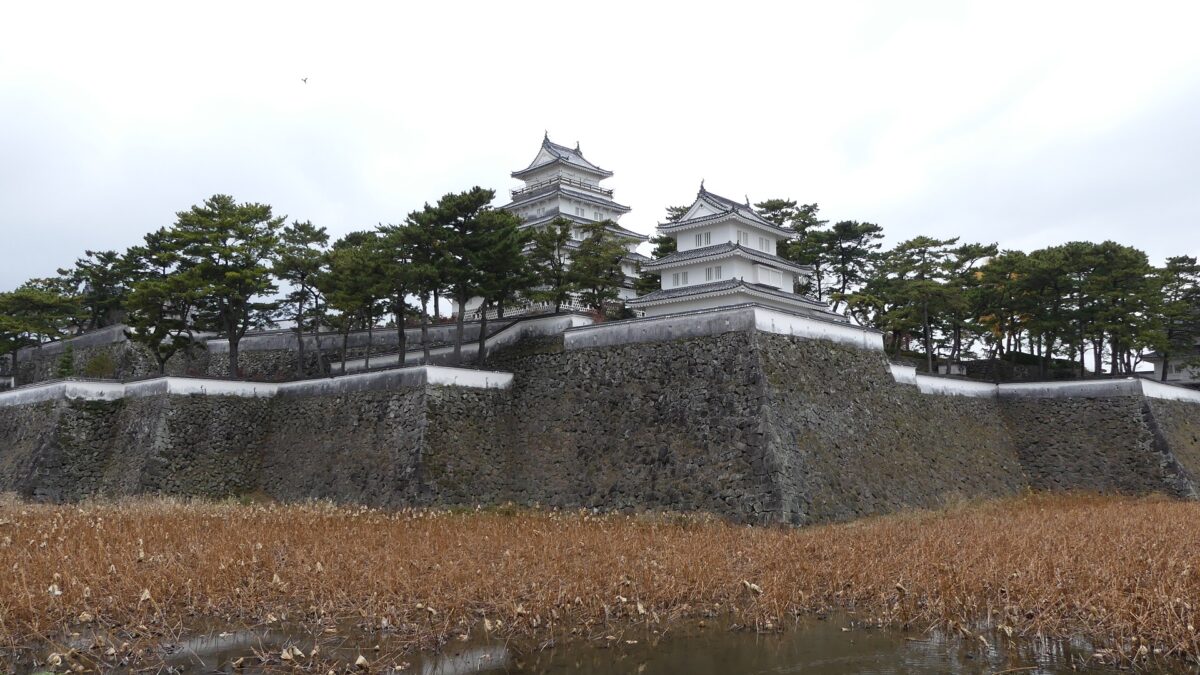
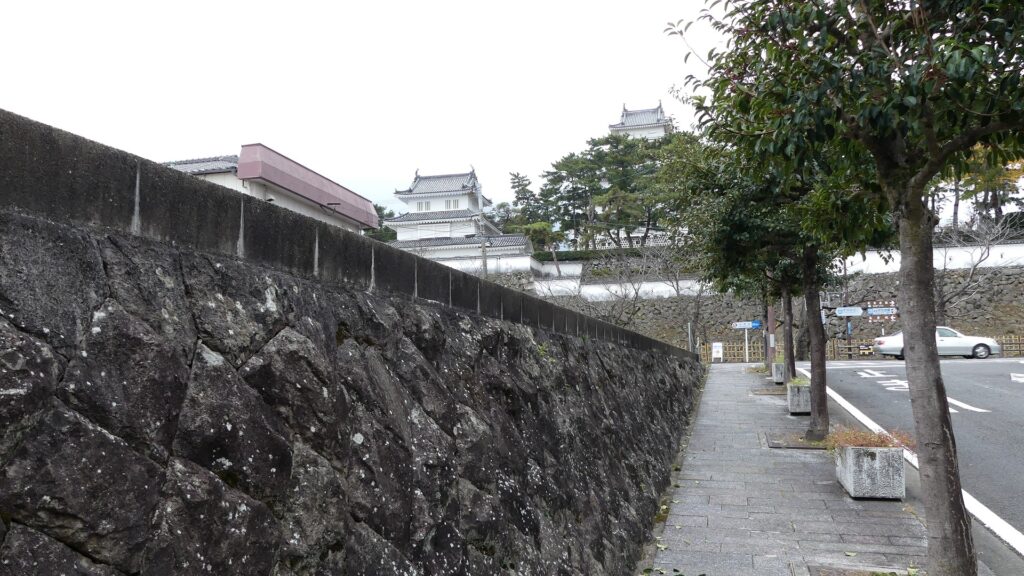
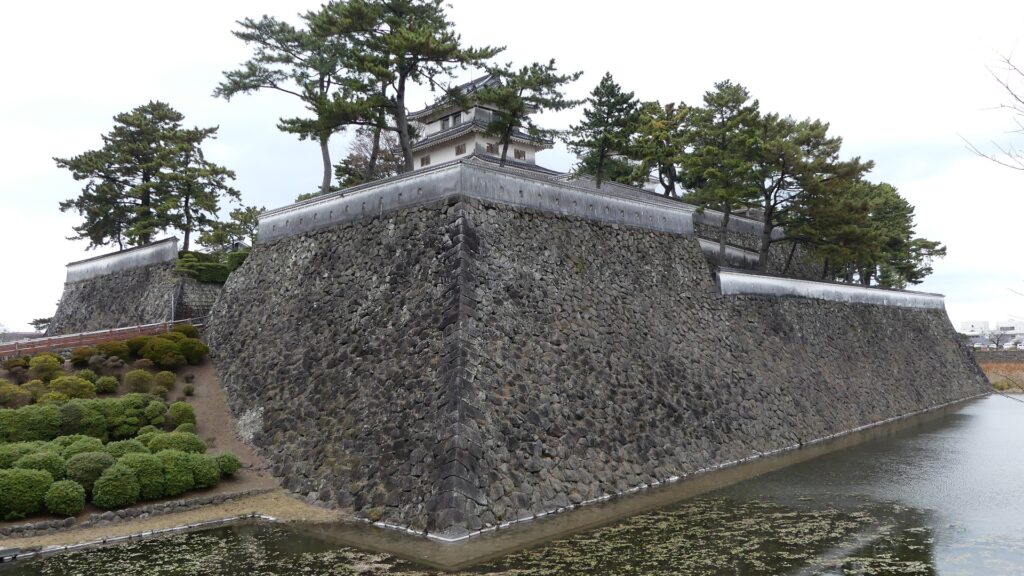
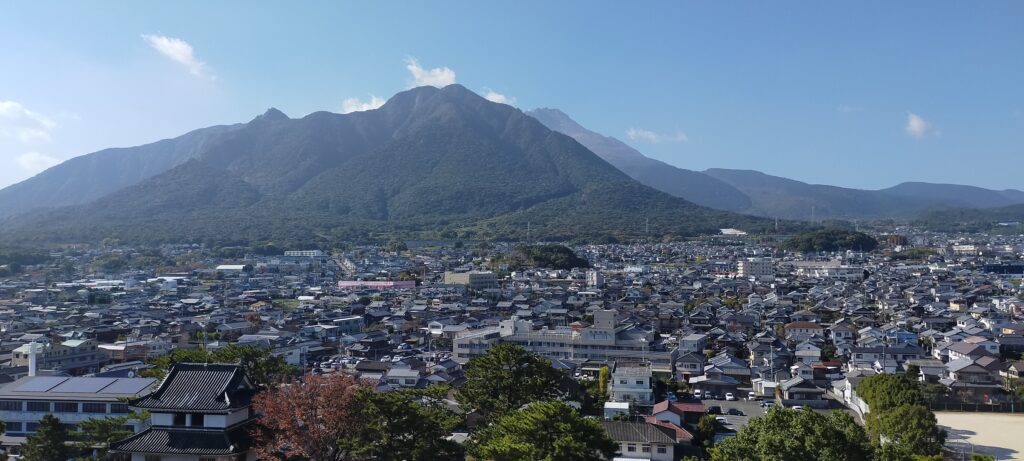
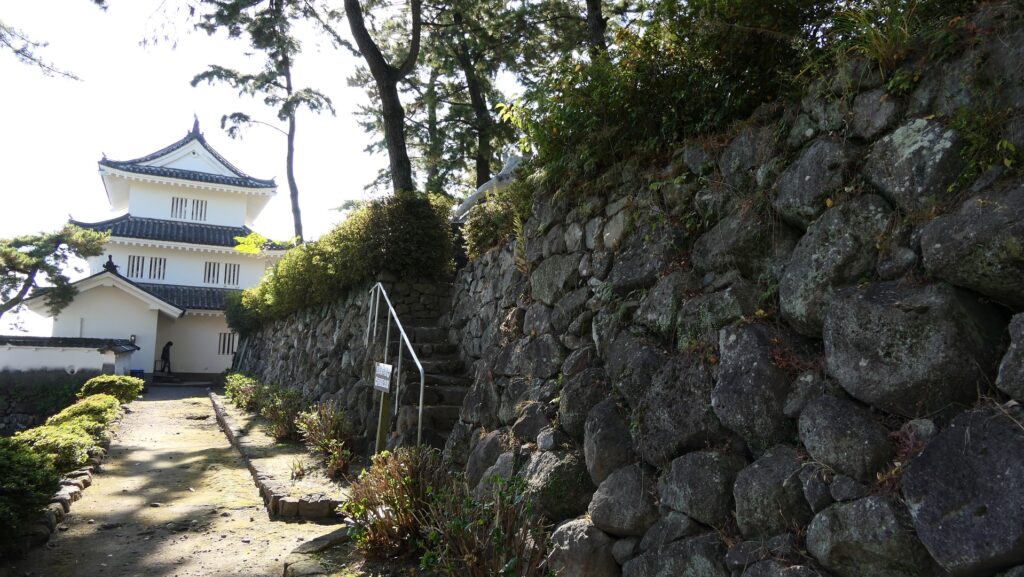
Shimabara City, which owns Shimabara Castle, is located on the skirts of Mt. Unzen. If you walk around the city area, you will notice the particular geography. The hill called Moritake, where Shimabara Castle was built, was created by the explosion of Mt. Mayuyama about 4,000 years ago. You can feel the power of nature there. If you also walk around the castle, it conserved its appearance with the great stone walls surrounded by the Inner Moat and some restored castle buildings. In particular, the high stone walls remain in good condition, so you can see the line of the walls is folded like a folding screen. The castle may be compact, but strongly built, looking like a battleship.
walking on the slope of the skirt from the city area to the castleThe remaining high stone wallsShimabara Castle looks like a battleship
Collaboration of remaining Stone Walls and rebuilt Buildings
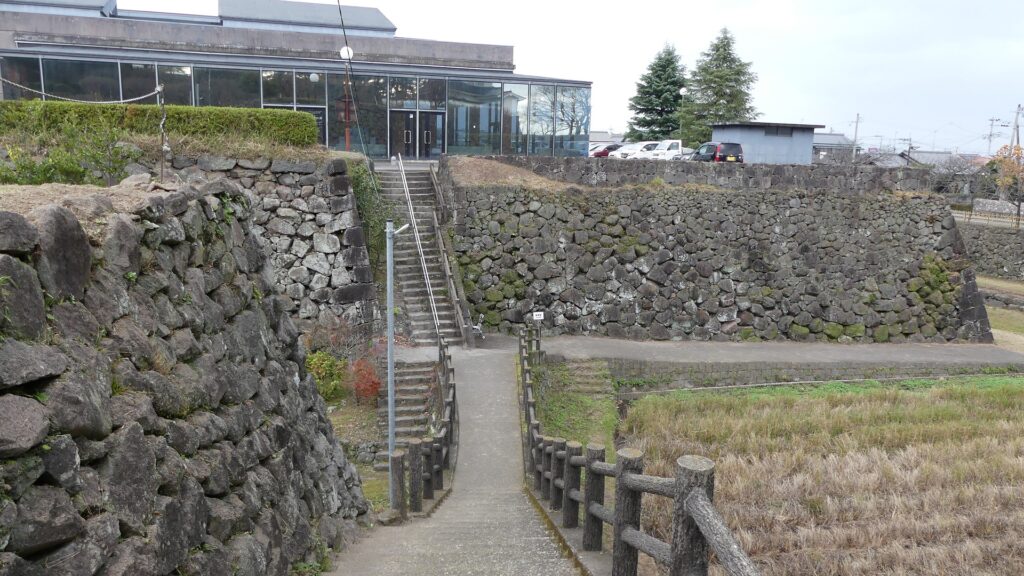
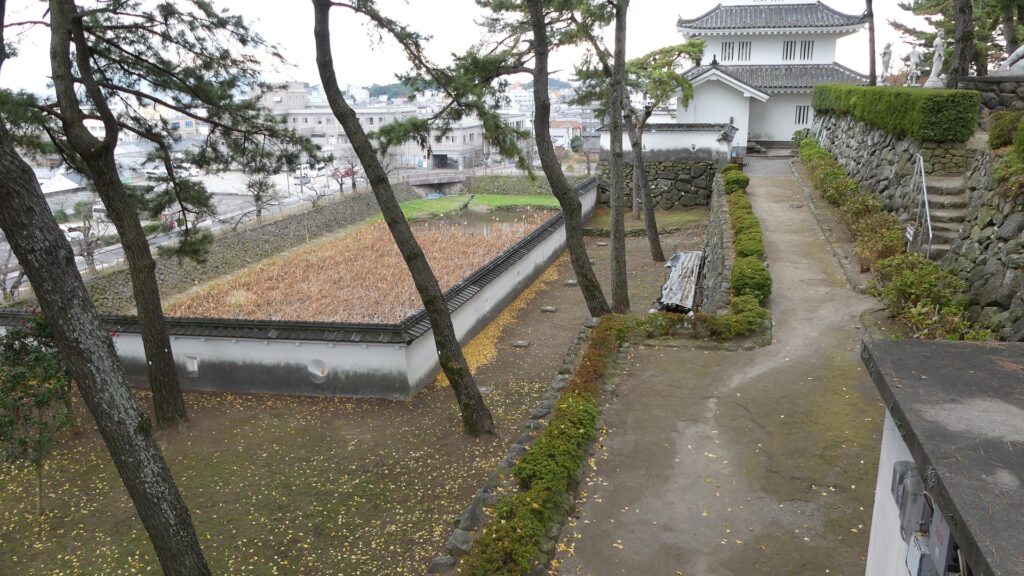
The area inside the original Inner Moat, including the Main and Second Enclosures, is designated as a historic site by Nagasaki Prefecture and is developed as a historical park. If you drive to the castle site, you can easily enter the Main Enclosure by crossing the earthen bridge, built in the present time, and park inside it.
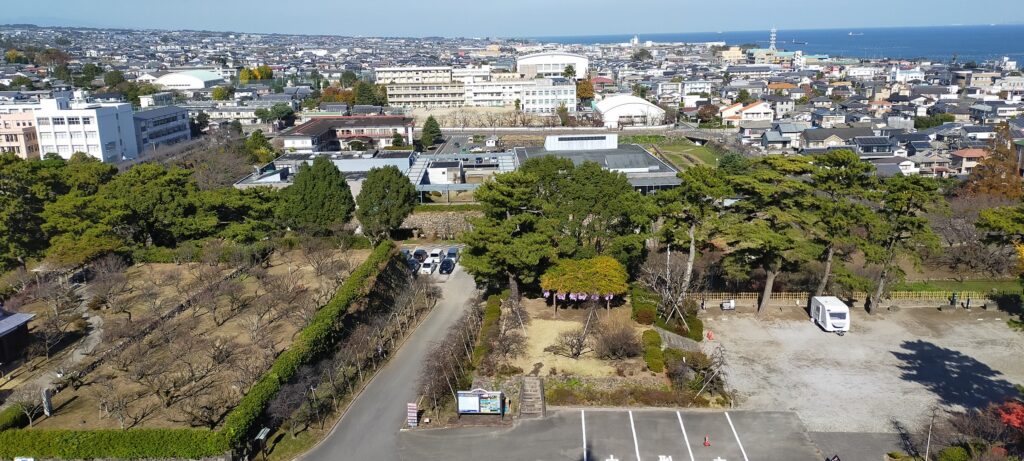
The aerial photo around the castle
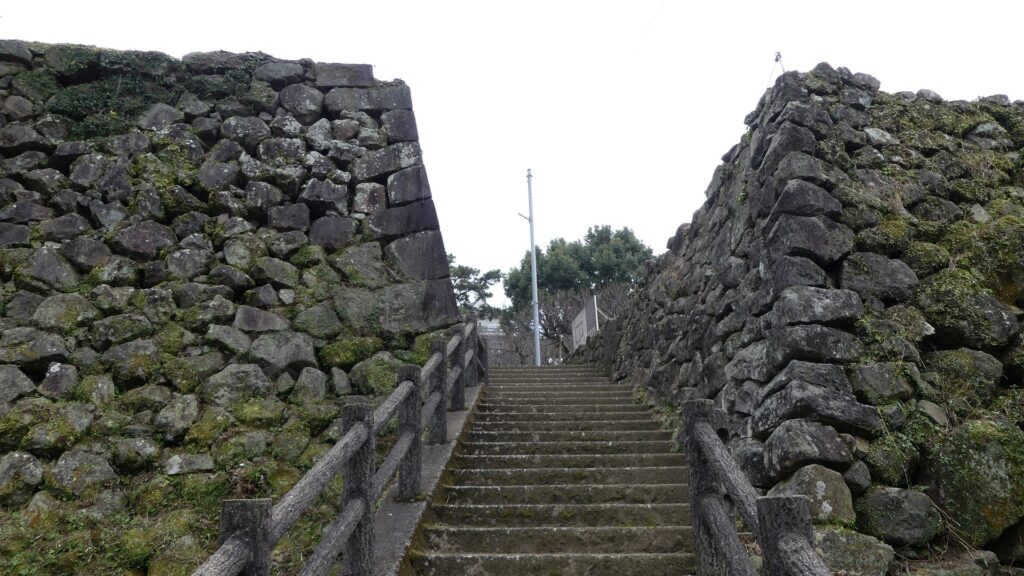
The entrance of the Main EnclosureThe inside of the Main Enclosure
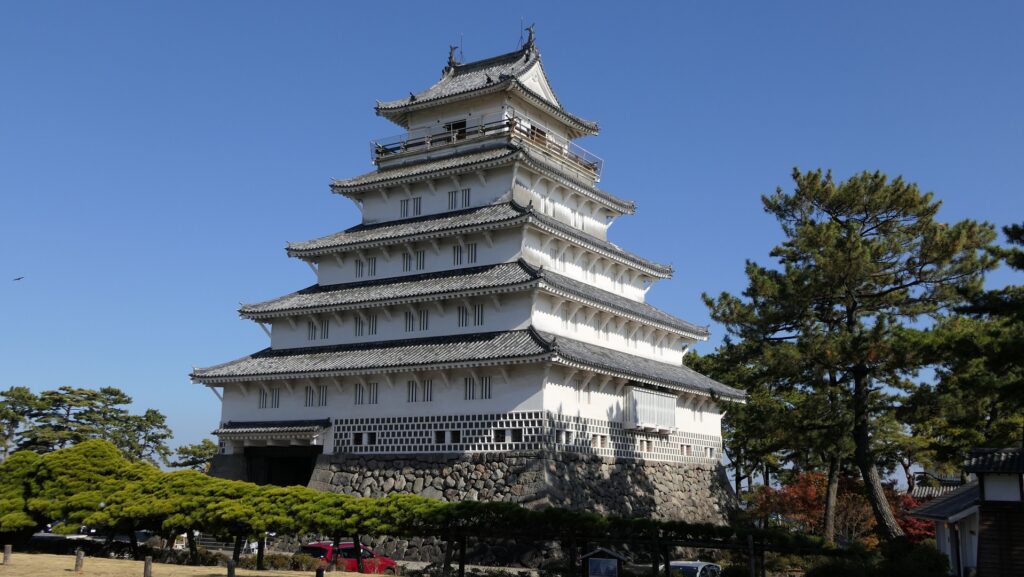
Great View from rebuilt high Main Tower
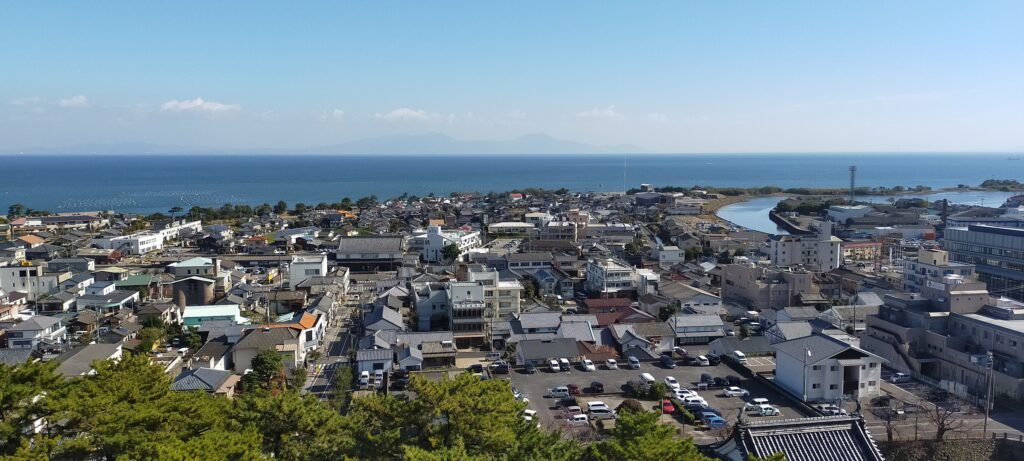
The rebuilt five-level Main Tower stands out with its 33-meter height, the third tallest existing Main Tower in Japan. It is actually a modern building used as a museum and observation platform. Inside the tower, you can learn more about the history of the castle and the Shimabara Rebellion. On the top floor, you can enjoy see a great 360-degree view of the city. For example, Mt. Aso on Kyushu Island over Ariake Sea in the east. The Main, Second and Third Enclosures form in a line in the north. You can also see Mt. Mayuyama with Mt. Unzen behind it in the west.
The rebuilt Main TowerA view of the eastern side from the towerA view of the northern side from the towerA view of the western side from the tower
Exhibition of rebuilt Turret
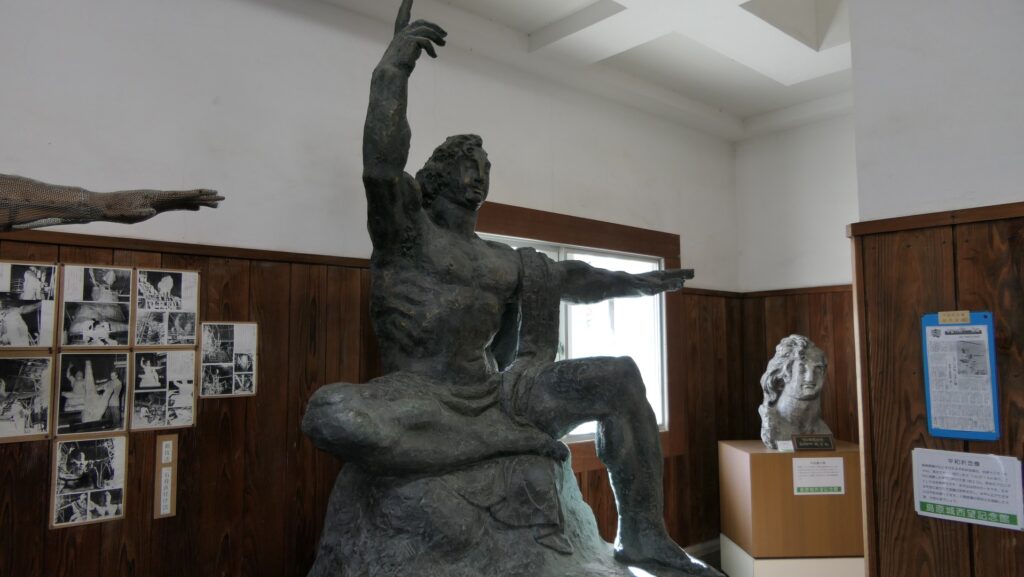
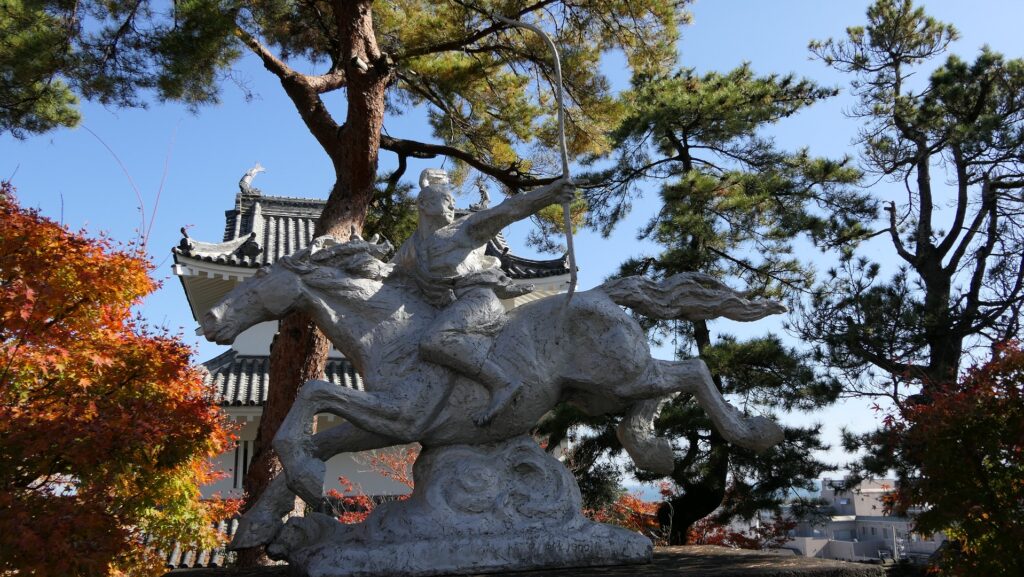
The Main Enclosure has more attractions. The three rebuilt turrets also have distinct exhibitions. For example, one of the turrets, called Tatsumi Turret, is used as an art gallery dedicated to a local famous sculptor, Seibo Kitamura. You can see his representative statue works such as the Peace Statue (the reduced version of that in Nagasaki Peace Park) inside. You can even see his other works outside such as the statues of Shiro Amakusa, who led the Shimabara Rebellion, and a young Nobunaga Oda, who was a great warlord in central Japan.
Going to the rebuilt Tatsumi TurretThe Peace StatueThe statue of Shiro AmakusaThe statue of young Nobunaga Oda