Motonari might have been a great lord as well as a prophet.
Features
Main Portion of Castle
The Third and Second Enclosures had each alternative entrance called Koguchi to avoid enemies from entering easily. You can still see their traces today. The Third Enclosure is the largest one in the castle.
The map around the main portion of the castle
The entrance ruins of the Third EnclosureThe inside of the Third EnclosureLooking down the stone walls of the Third Enclosure
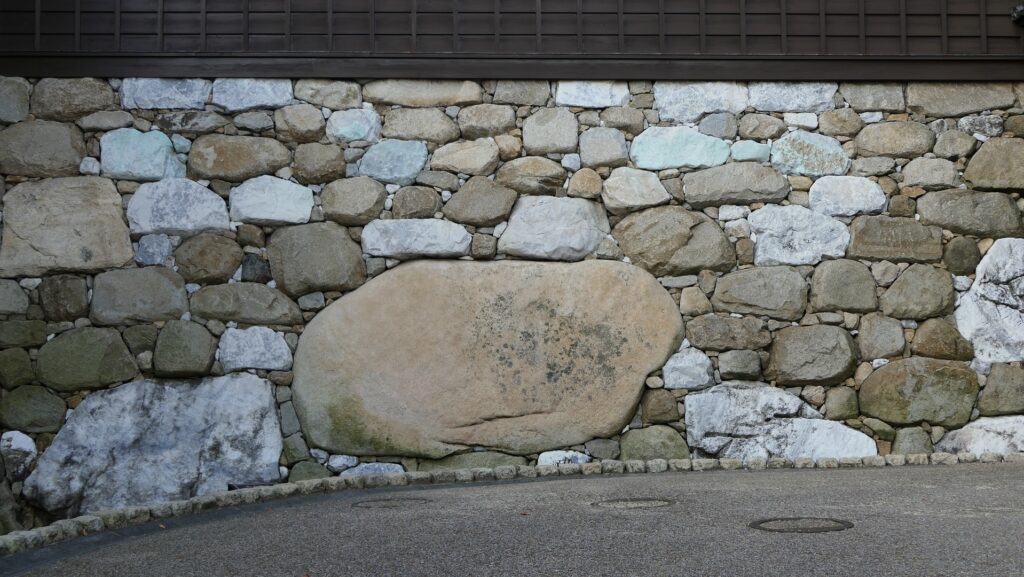
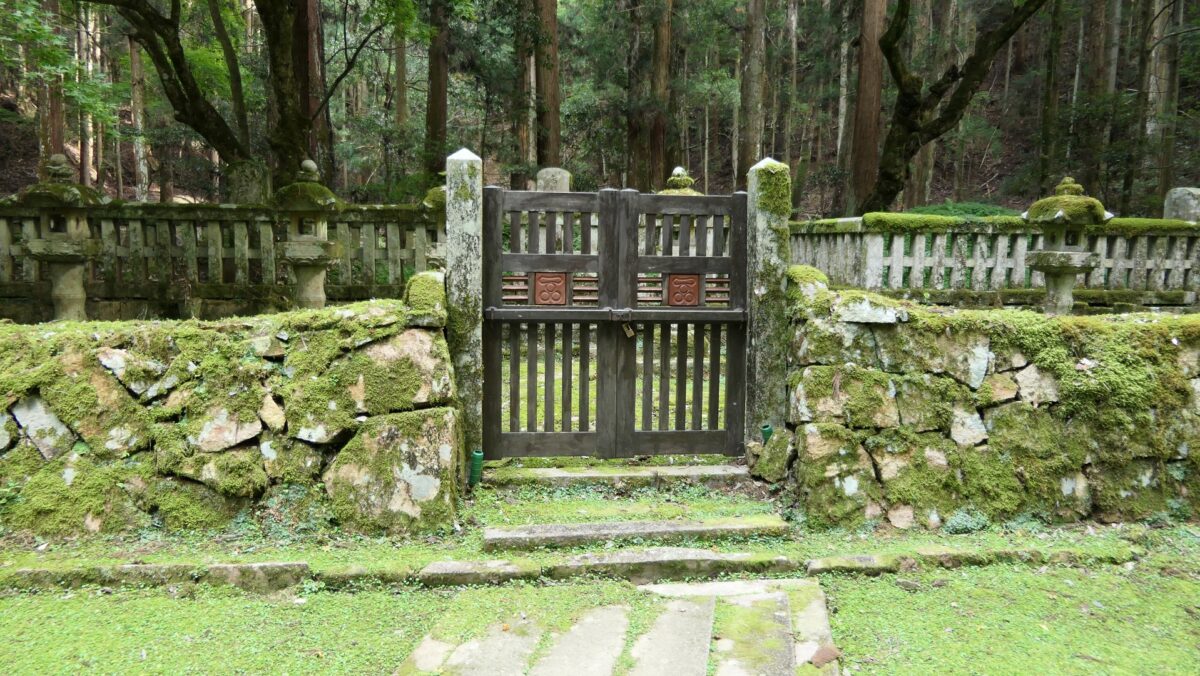
The Second Enclosure also had stone walls, but it was said that their stones were partially taken to use for Motonari’s grave during the Meiji Era as well.
The Second Enclosure
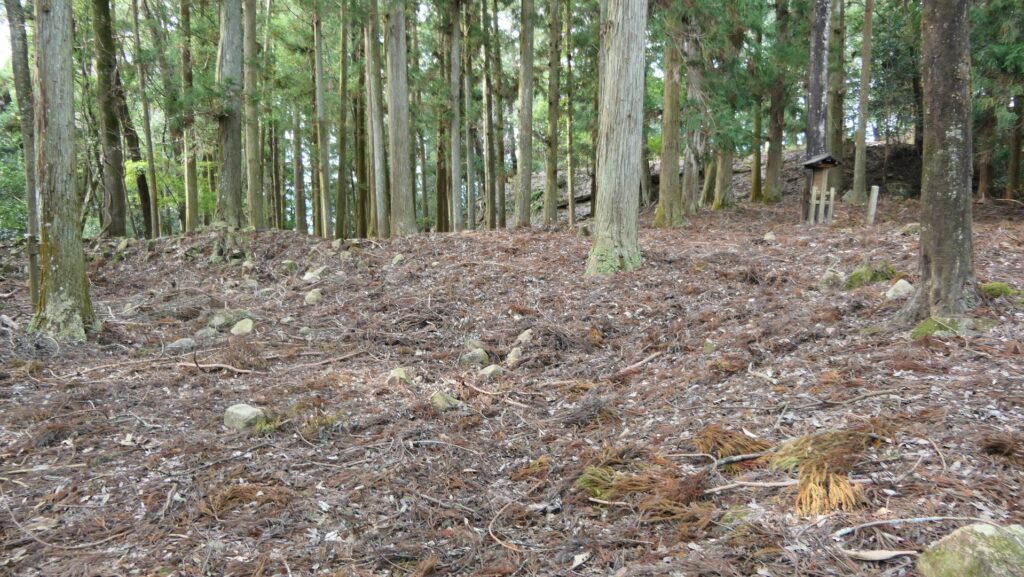
The Main Enclosure is highest in the castle. It was thought that it had Motonari’s residence and a lookout tower. Unfortunately, the view from there today is not clear because it is covered by trees.
The Main Enclosure
Going to Main Castle though Ozaki-maru Enclosure
The tour route will eventually lead you to Ozaki-maru Enclosure where Motonari’s son, Takamoto lived by climbing down along another ridge. This enclosure is still separated by an artificial ditch from the others. Others were said to have been divided by each other in the same way. A viewing spot is nearby to see the area around the mountain.
The map around the castle
Climbing down towards the edge of another ridgeOzaki-maru EnclosureThe remaining ditch beside Ozaki-maru EnclosureThe viewing spot which could have been an enclosureA view from the spot
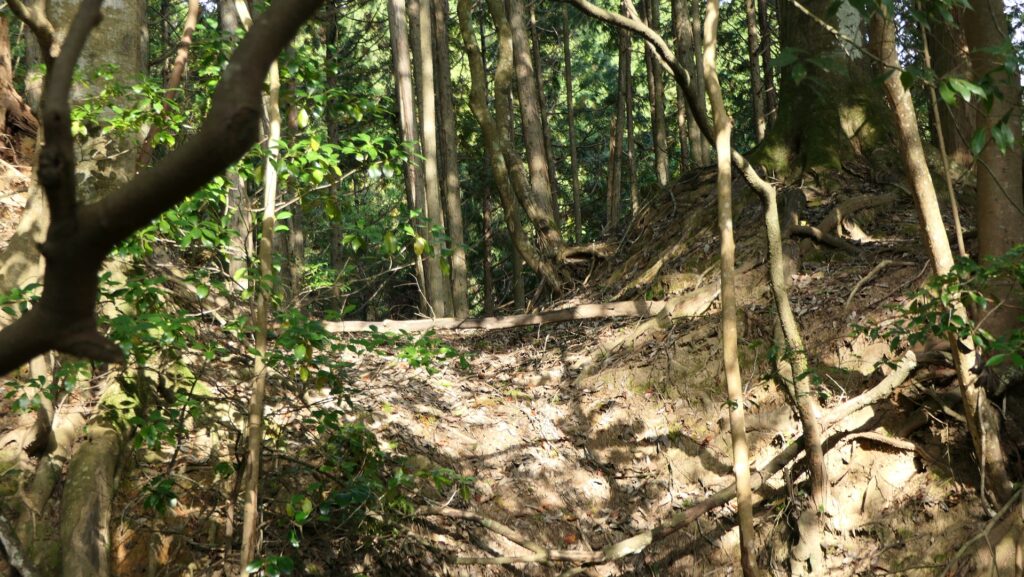
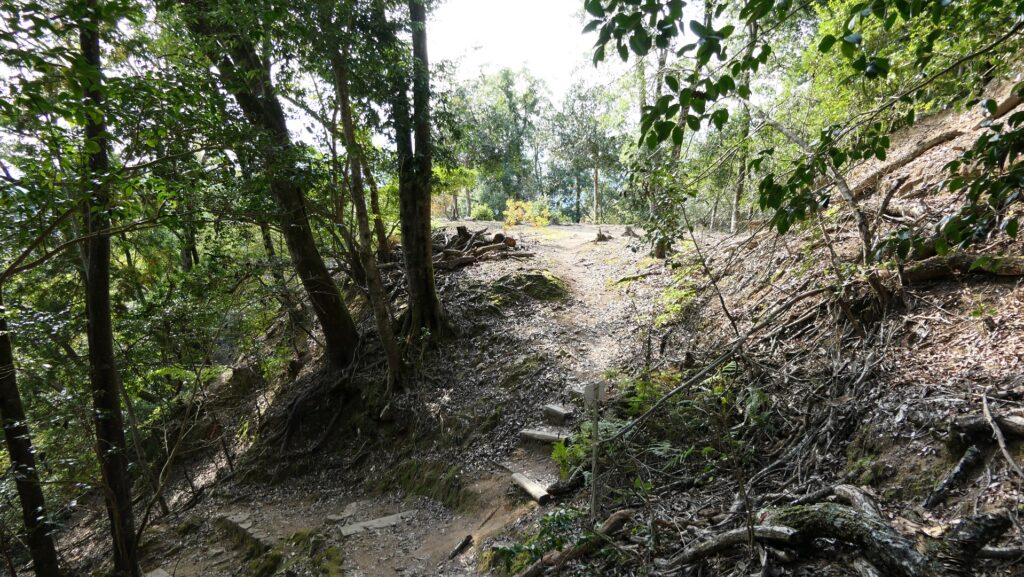
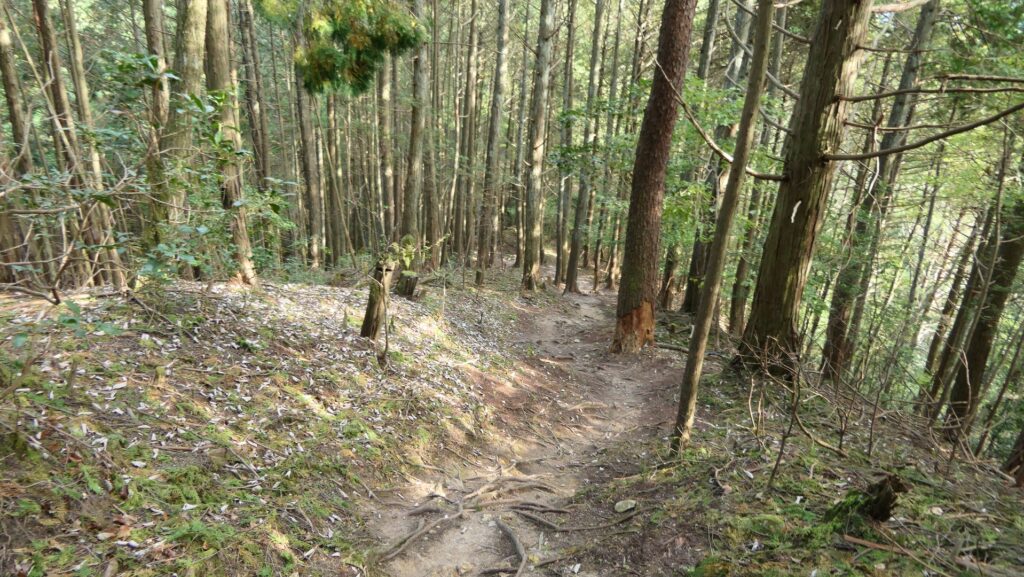
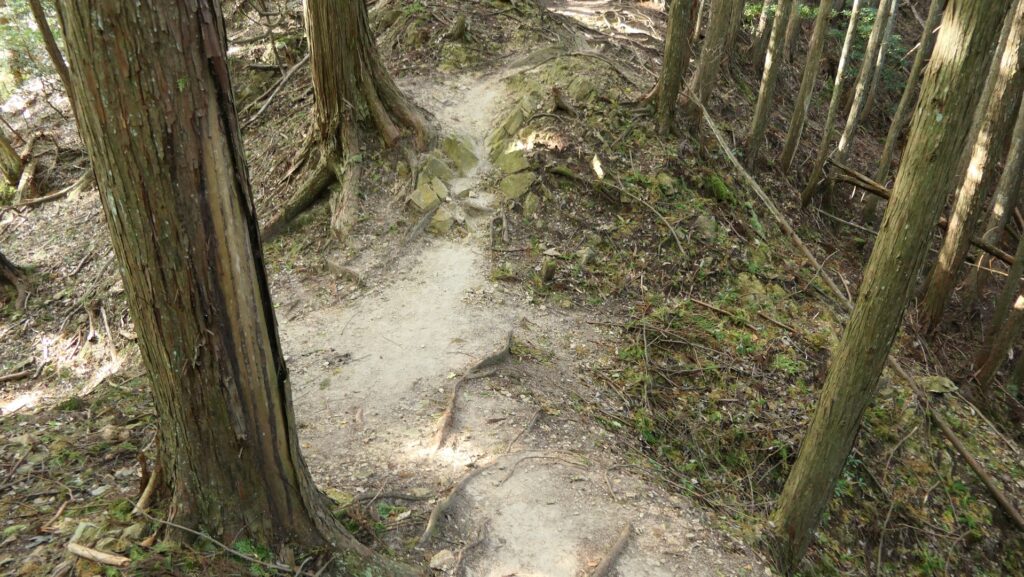
Finally, you will be at the intersection to the starting point or the Main Castle where Motonari and Takamoto originally lived in. I recommend visiting the Main Castle if you have time. This is the only route to it, so you will have to continue to climb down on the steep ridge to the edge of it. You will also see several ditches to avoid enemies from attacking from the back. You will eventually arrive at the Main Castle which is much lower and smaller than so many other enclosures on the top. Its name originates from the original main portion of the castle. You will realize what the Mori Clan was developing with this castle. To return to the starting point, you will need to climb up the same steep ridge. You will also realize why Takamoto wanted to move near the top from there.
The intersection to the Main CastleClibming down on the steep ridgeA ditch dividing the ridgeThe Main CastleLooking down the edge of the ditch from the enclosure
My Impression
Perhaps I shouldn’t say this, but I honestly felt that it was incredible that such a great warlord came from such a local location when visiting the Yoshida town of Aki-Takada City which owns the ruins of Yoshida-Koriyama Castle. That probably proves why Motonari Mori was an outstanding leader. In addition, Motonari also managed to persuade his children not to get more territory than him. However, his grandchild, Terumoto wanted to be the ruler of Japan in the Battle of Sekigahara but failed. That’s why he had to leave Aki Province where he was originally from. Motonari might have also been a great prophet.
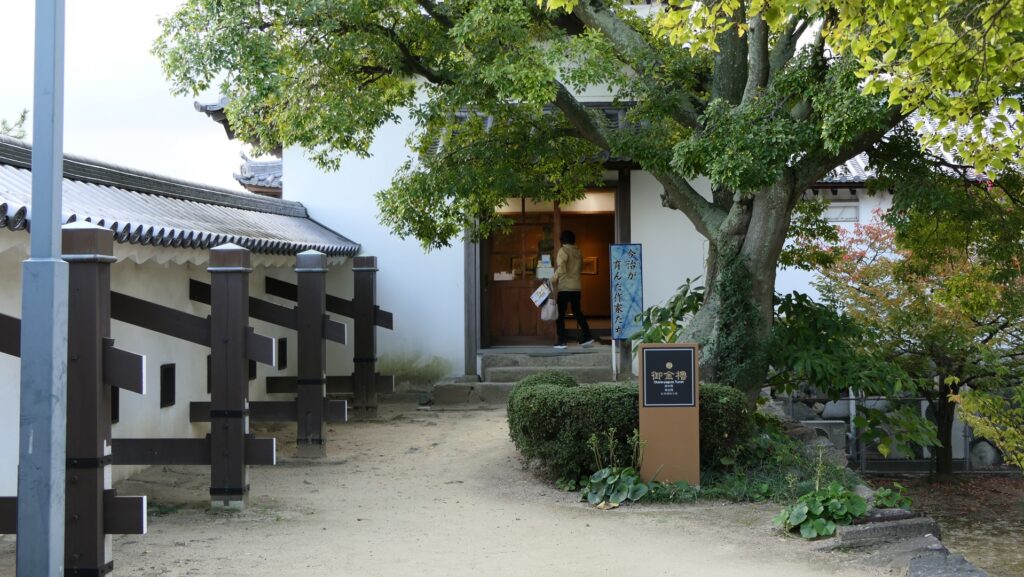
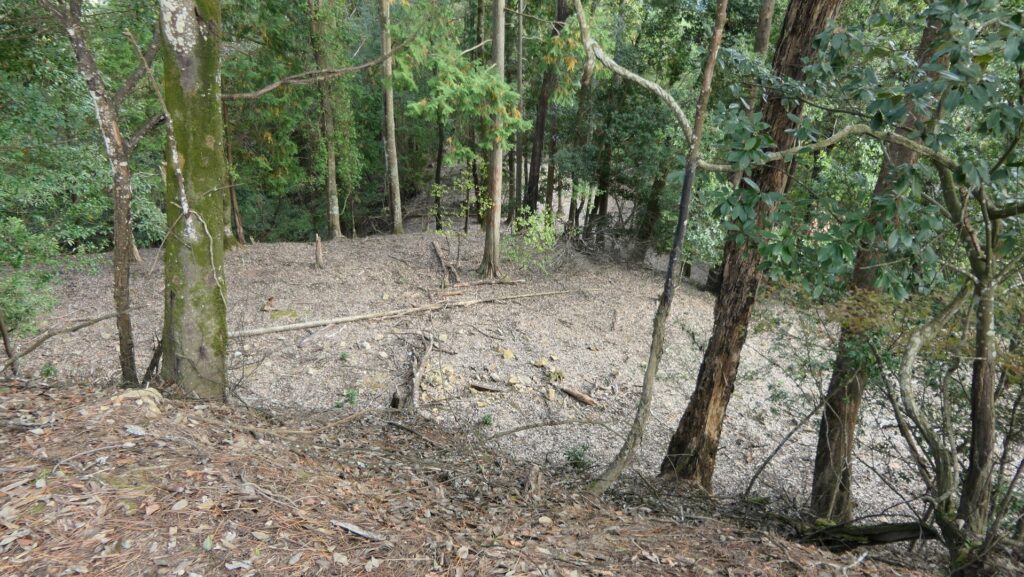
The remaining earthen walls of the Warehouses Ruins
How to get There
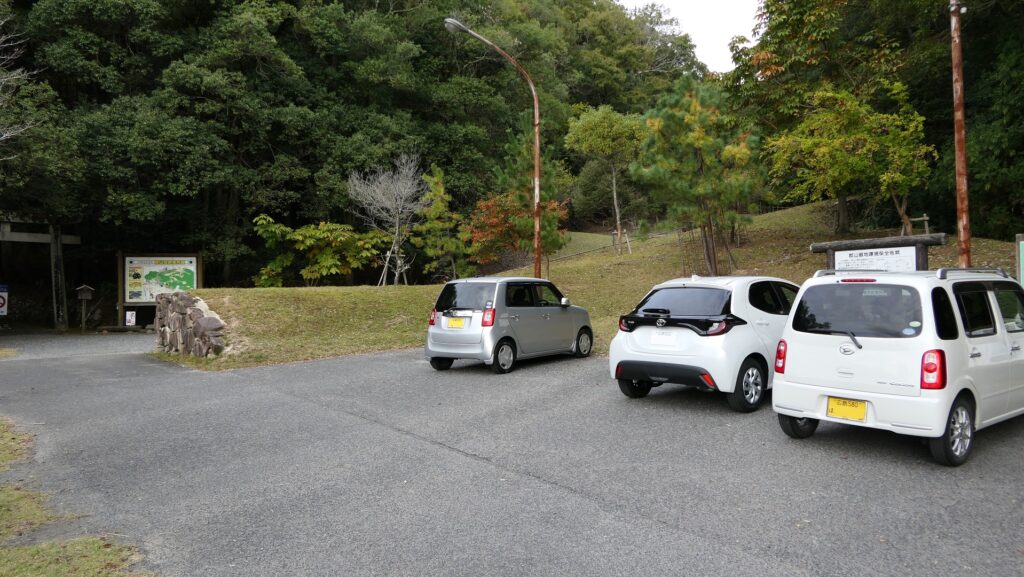
I recommend using a car when you visit the castle ruins because there are only a few trains and buses available. It is about a 20-minute drive away from Takada IC on the Chugoku Expressway. There is a parking lots at the foot of the mountain.