立地と歴史
朝鮮侵攻のための巨大な陣城
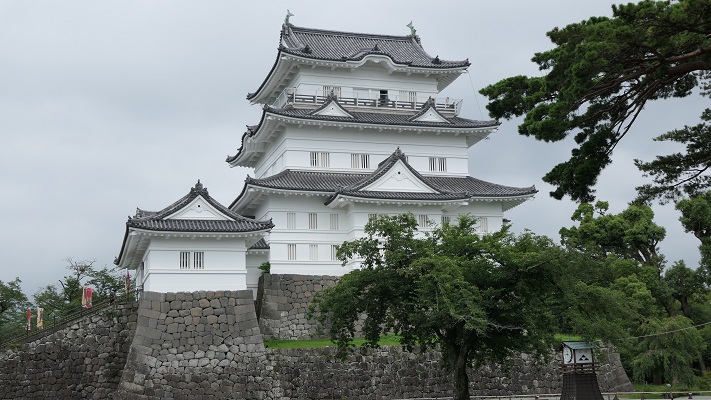
肥前名古屋城は、豊臣秀吉の朝鮮侵攻を進めるために築かれた陣城で、九州北西部にありました。秀吉は、16世紀後半に天下統一を成し遂げた天下人として知られています。彼は、1590年の小田原征伐にて、小田原城に立てこもる北条氏を下すことで統一を完成させました。ところが、天下統一の間もない1591年に、秀吉は中国征服を宣言し、日本中の大名たちにその準備をするよう命じました。秀吉配下の多くの大名や武士たちも、この新たな領地が得られる計画に賛同しました。天下統一後の戦がない中、日本国内では新たな領地を得ることができなかったからです。
城の位置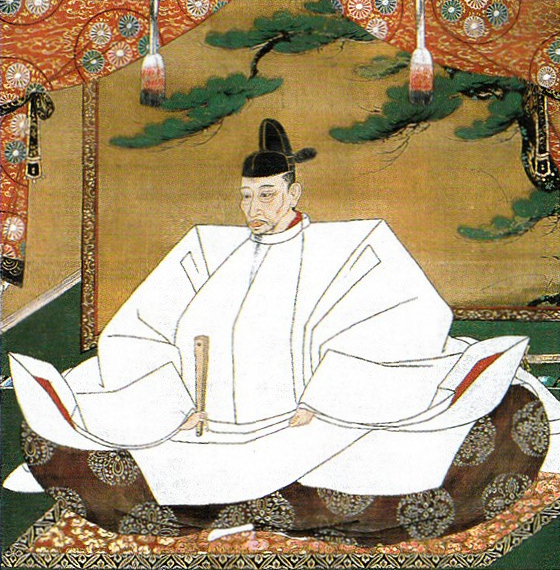
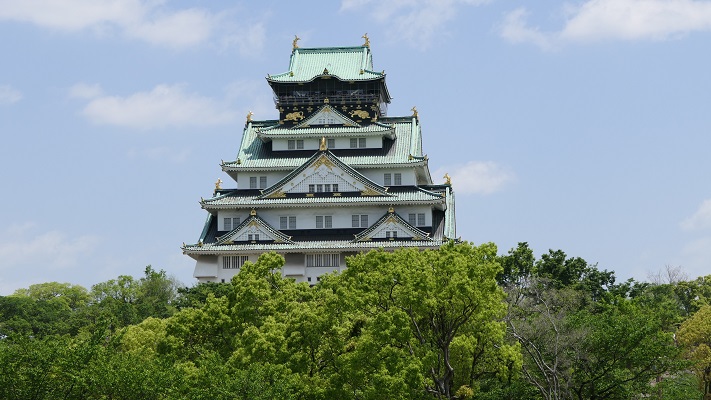
秀吉はまた、朝鮮に近い九州の地に陣城を築くよう大名たちに命じました。これが肥前名護屋城です。陣城とはそもそも一回限りで使われ、単純な作りでした。秀吉はかつて小田原征伐のときに、もう一つの豪華に作られた陣城である石垣山城を築きました。ところが、肥前名護屋城はさらに大きく、強力に作られました。その大きさは、秀吉の本拠地の大坂城に次ぐほどでした。この城の建設は、大名たちによる割り普請の結果、わずか8ヶ月で完了しました。約120の大名たちが集まり、城の周りに彼ら自身のための陣屋の建設も行いました。この城が築かれた場所は、もともと単なる漁村でした。ところが、ここは極めて短期間に日本有数の都市になったのです。20万人近くの兵士たちがこの軍事都市から朝鮮に渡り、10万人以上の人たちがここに留まりました。


豪華かつ強力な作りの城
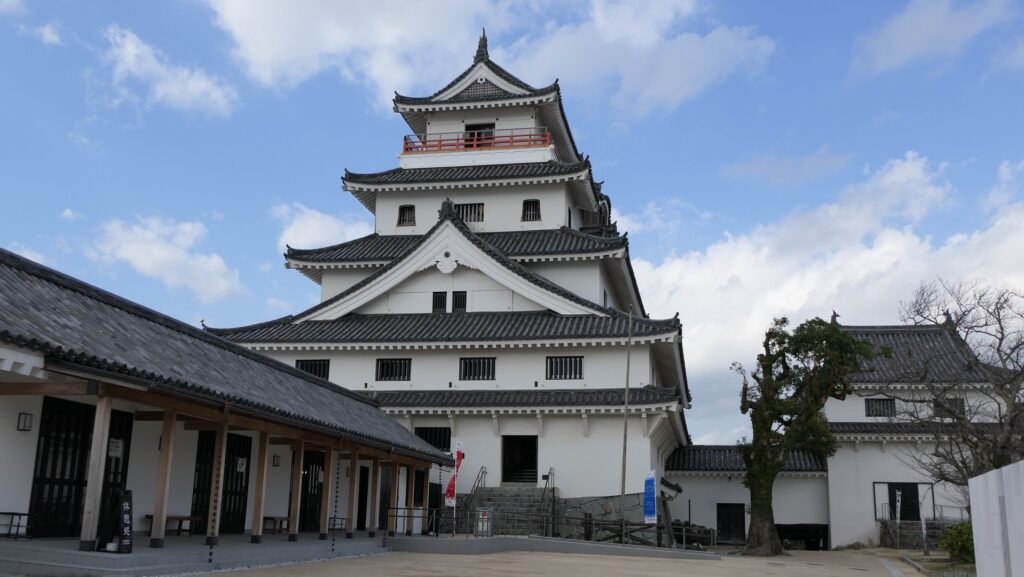
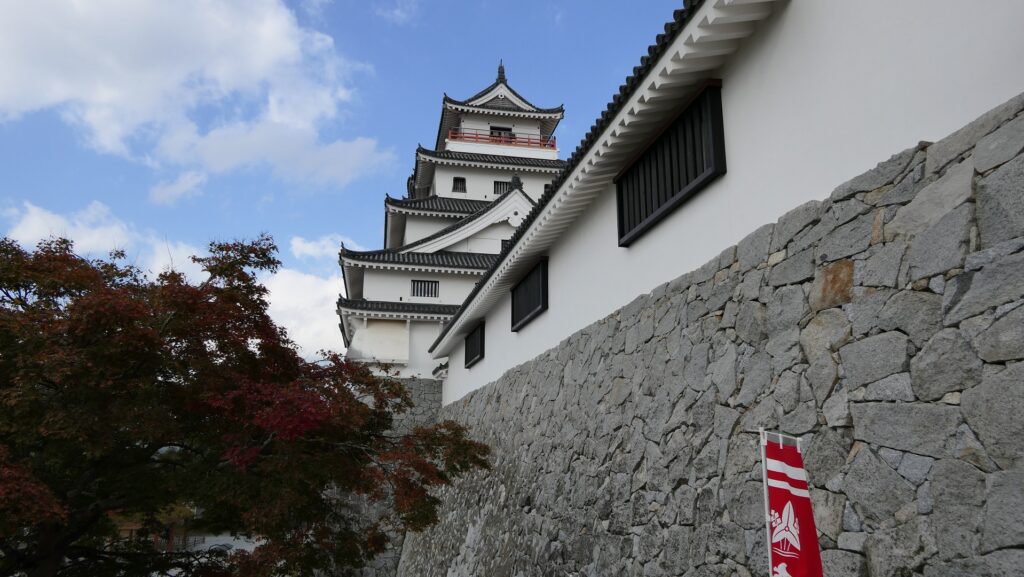
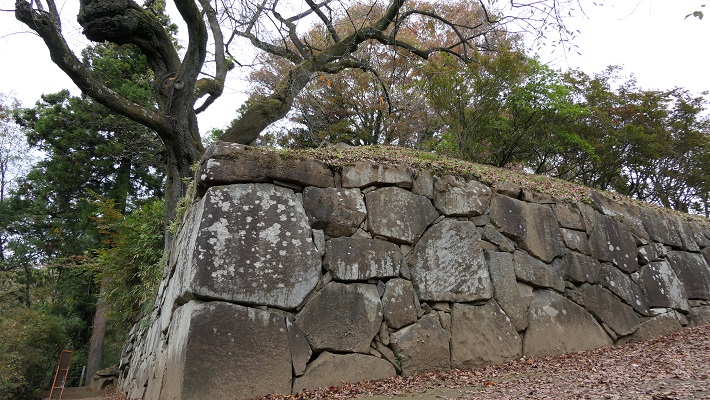
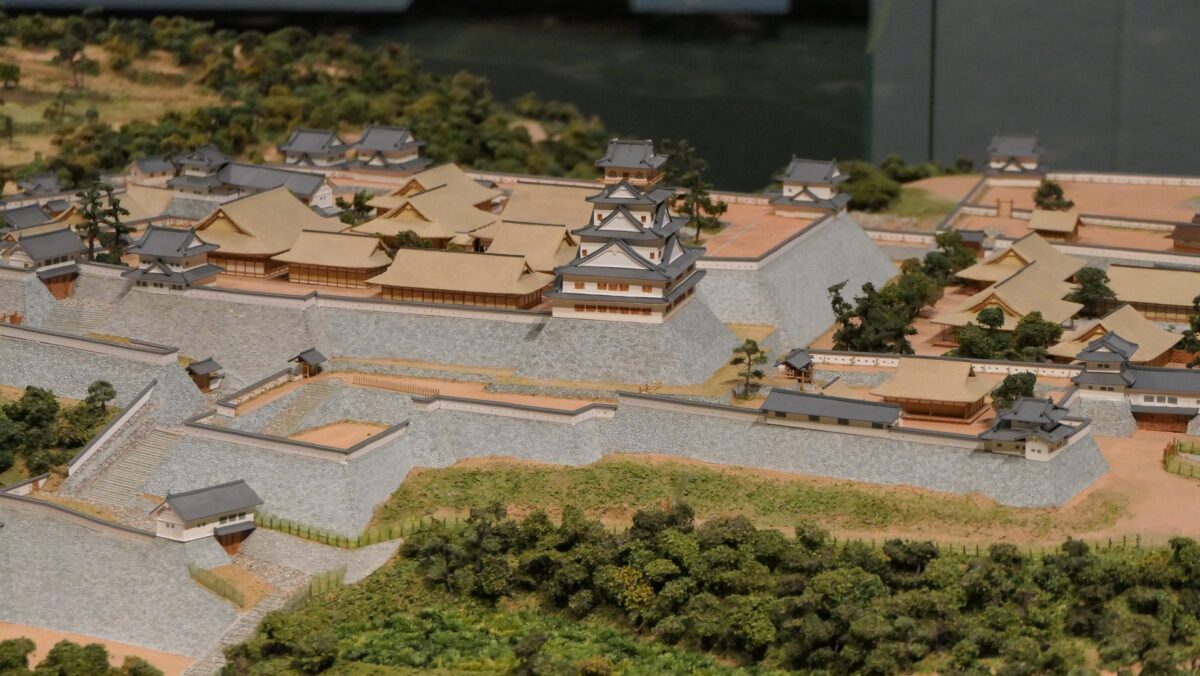
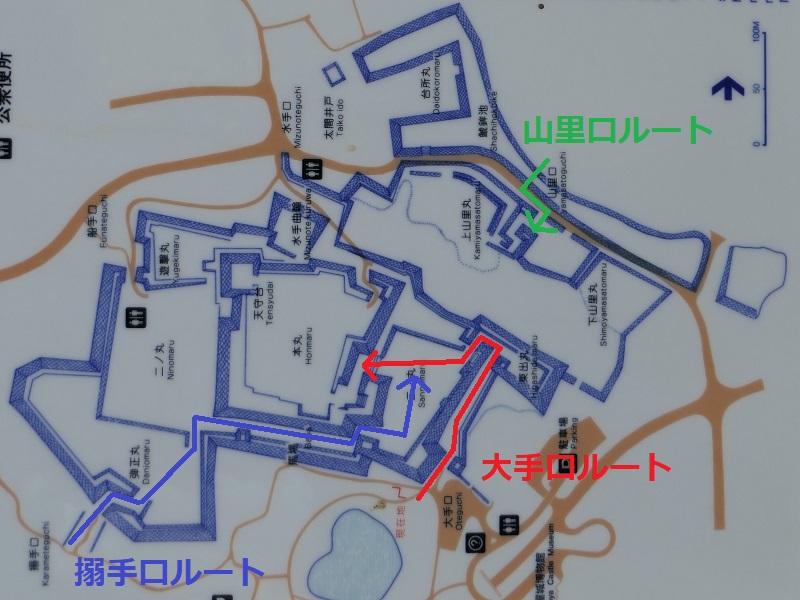
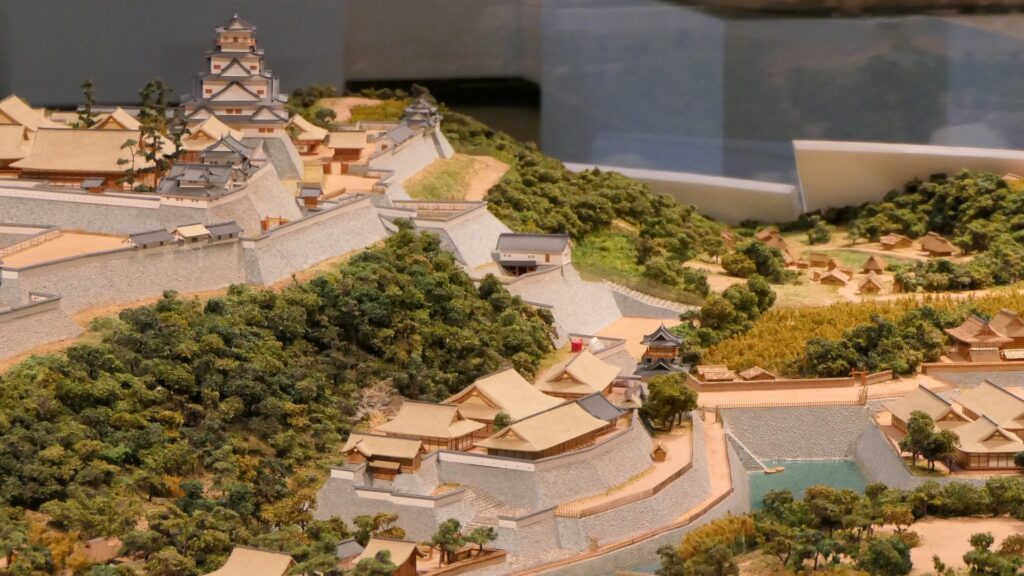
肥前名護屋城の一番高い場所には、天守と御殿を伴う本丸がありました。登城ルートは五つありました。主なものとしては、大手口、搦手口、そして山里口が挙げられます。大手口は、南方から本丸の東側にあった三の丸に、東出丸を経由して通っていました。本丸の大手門は、この三の丸に向かって開いていました。搦手口は、本丸の西側にあった二の丸の外側から始まっていました。ところが、このルートは直接本丸には至らず、その南側を回り込んで東側の三の丸に通じていました。歴史家の中には、こちらの方がより防御がしっかりしているため、搦手口こそが本当の大手口であったのではと推測しています。山里口は、三の丸より低く、またその北側にあった山里丸に通じていました。茶室が付属した秀吉の居館が、手前の方に建てられました。全ての曲輪は石垣で囲まれており、城を強固にするとともに、秀吉の権威を見せつけていました。

長引く戦いと秀吉の死による挫折
朝鮮侵攻は1592年に始まりました(文禄の役)。この戦いはもとは中国征服が目的でしたが、必然的にその途上にある朝鮮で戦いが起こりました。日本軍は、最初は短期間のうちに朝鮮のほとんどを占領しました。秀吉は、肥前名護屋城に居座り、そこから軍を指揮していました。彼はそのよい知らせを聞き、満足した様子で、中国と朝鮮をどのように分割するかということまで計画しました。ところが、中国の明王朝から派遣された援軍や、朝鮮の義勇兵や水軍による反撃により戦線は南朝鮮で膠着しました。1593年には明王朝からの使節が停戦交渉のために肥前名護屋城を訪れました。

この交渉は長期間続きました。しかし決裂し、1597年に戦いが再び朝鮮南部で起こりました(慶長の役)。戦意に乏しい日本軍は、無益な戦争を明軍と戦わねばなりませんでした。朝鮮の無辜の人民も多く殺されました。1598年の秀吉の死の直後、ようやく日本軍は朝鮮から引き上げました。この戦いの失敗は、豊臣氏の凋落と徳川幕府の設立を早める結果となりました。肥前名護屋城は、撤退とともに廃城となり、静かな場所へと戻っていきました。